
Skeleton Ribcage Corset | Halloween Costume
Print Profile(2)


Description
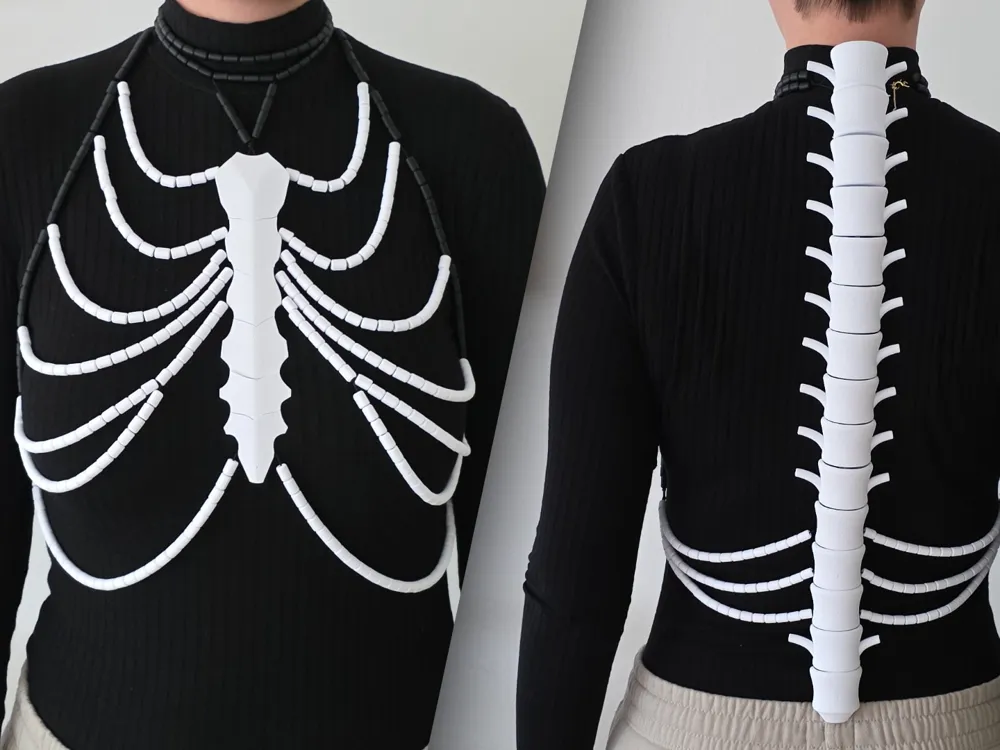
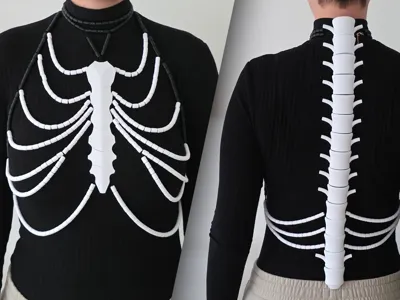
Want a great-looking Halloween costume but don't want to put on layers of itchy fabric or ill-fitting masks? Easily assembled and almost fully 3D-printed, my skeleton ribcage corset might just be your perfect costume. Just put it on over your favorite black shirt and have the Halloween party of your dreams.
Boost Me (for free)
Thanks for your boost - this helps me create even more fun projects for you and me!
To make your costume making process easier, here's all the tips and tricks I stumbled upon while creating this corset. Also, if you make this in another size, it'd be lovely to have a few more printing profiles so we can be as size-inclusive as possible! Due to time constraints, I was only able to make this in my size but since it's mainly made of beads it's really easy to size up and down (see further down for instructions).
PRINTING TIPS
- The default print profile is for the A1 Mini. With a larger printer I would print the vertebrae and sternum parts together, but print the beads separately.
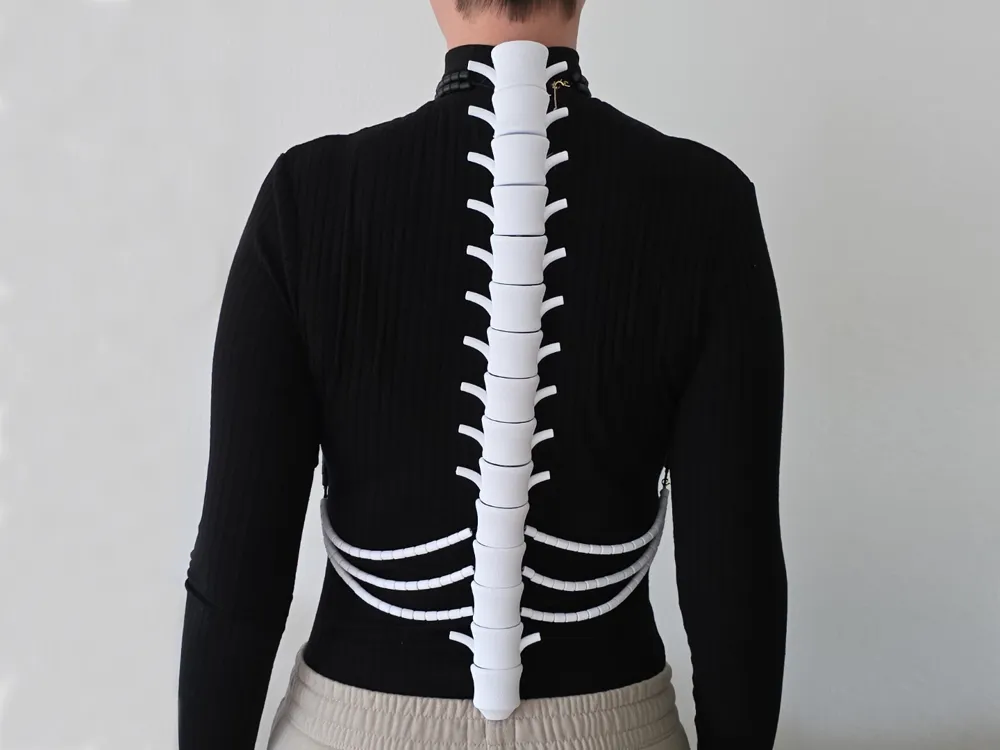
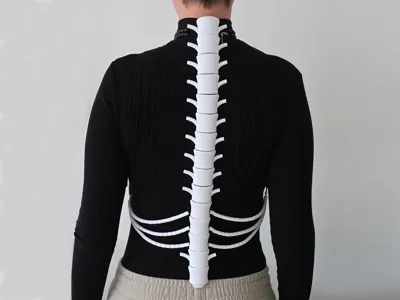
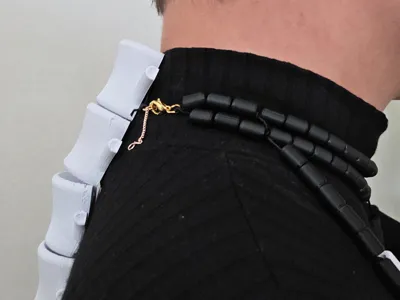
- The vertebrae are articulated but printed separately since they would not fit on any printer and especially not my A1 Mini. You can simply click them together after printing.
- I added brims to the beads and a few of the vertebrae since I had issues with bed adhesion in some of my test prints. If you don’t have any issues, feel free to remove them.
MATERIALS
To assemble, you only need the following materials:
- Black (or matching your outfit) thread, about ~1mm thick, I used a 0.8mm nylon thread
- Tweezers or a needle for stringing the thread through the spine and sternum
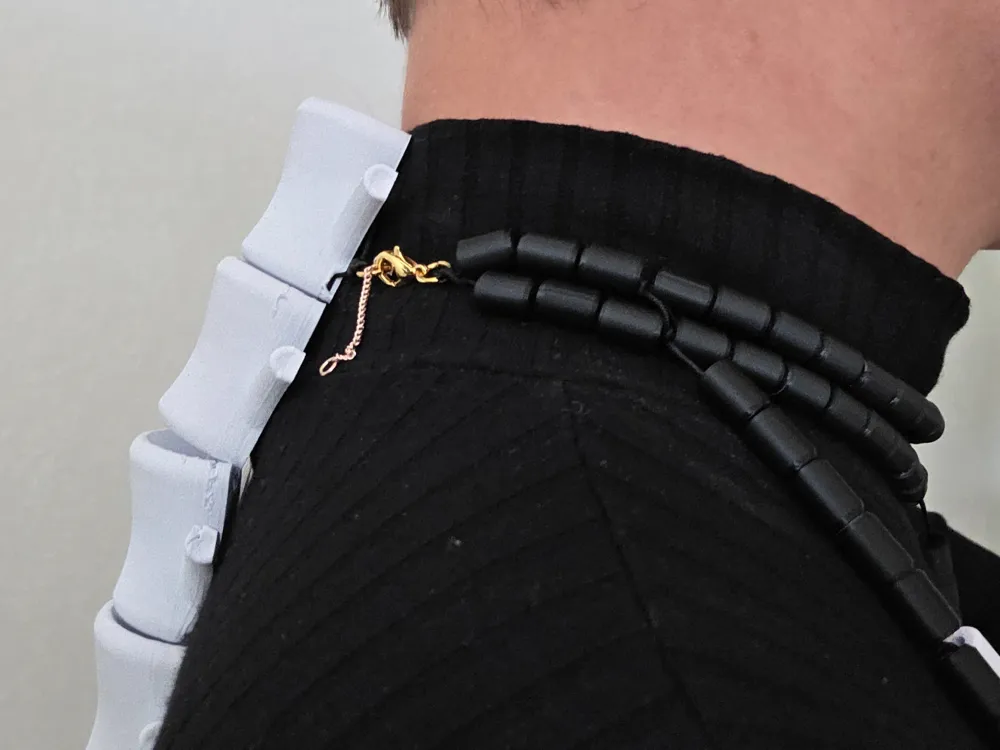
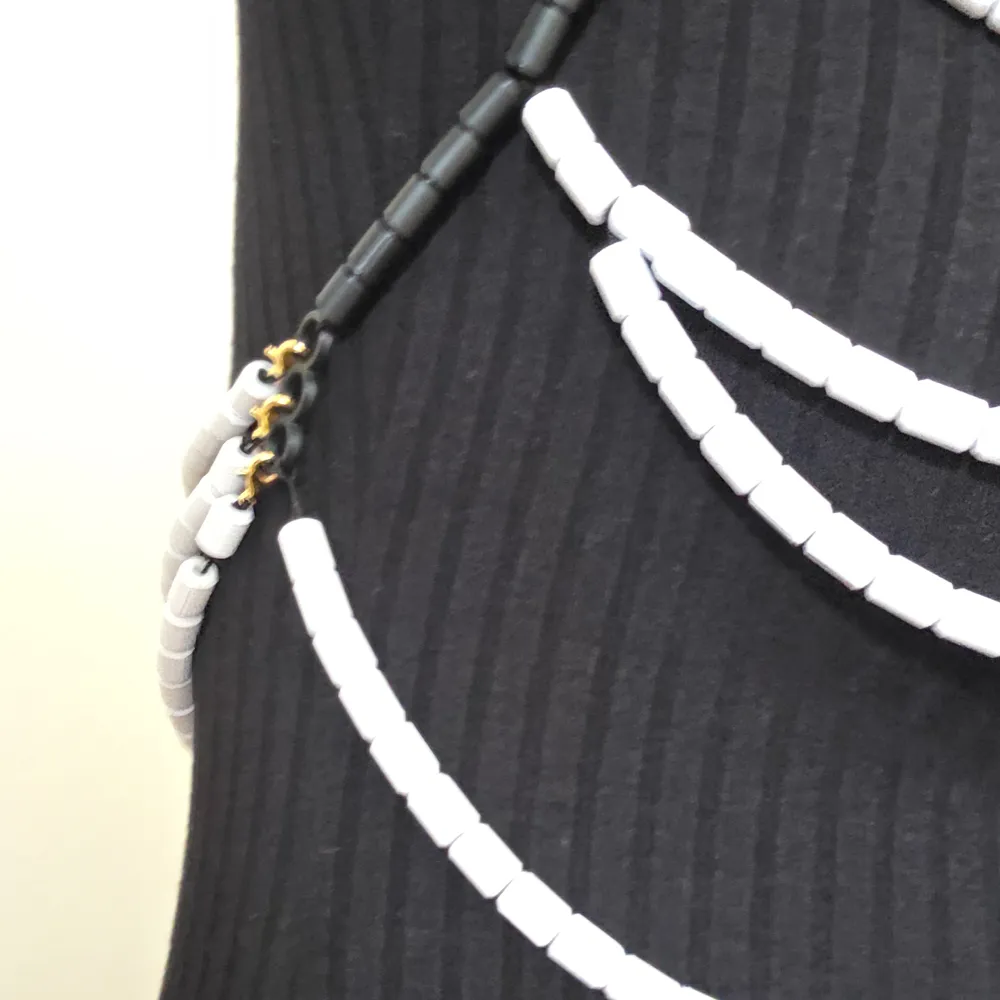
- 4 necklace clasps and one matching O-ring
- Glue to secure the knots
ASSEMBLY GUIDE
I’ve added a PDF detailing the assembly of the entire corset.
A few tips:
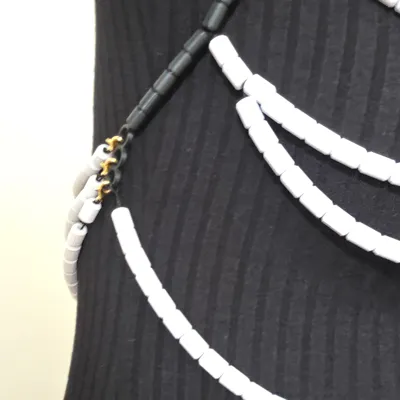
- To tie two strings together, knot one around the other between two beads. Then hide the loose end inside one of the beads. (If needed, fix it in place with a drop of glue.)
- If using nylon string, simply burn the ends of the strings with a lighter and roll them between your fingers to obtain easily threadable ends.
- Frequent try-ons during assembly are useful to guarantee the corset fits you.
SIZING GUIDE
The pictures and print profile are a female size M (size 10 US, size 38 EU).
This contains the following parts:
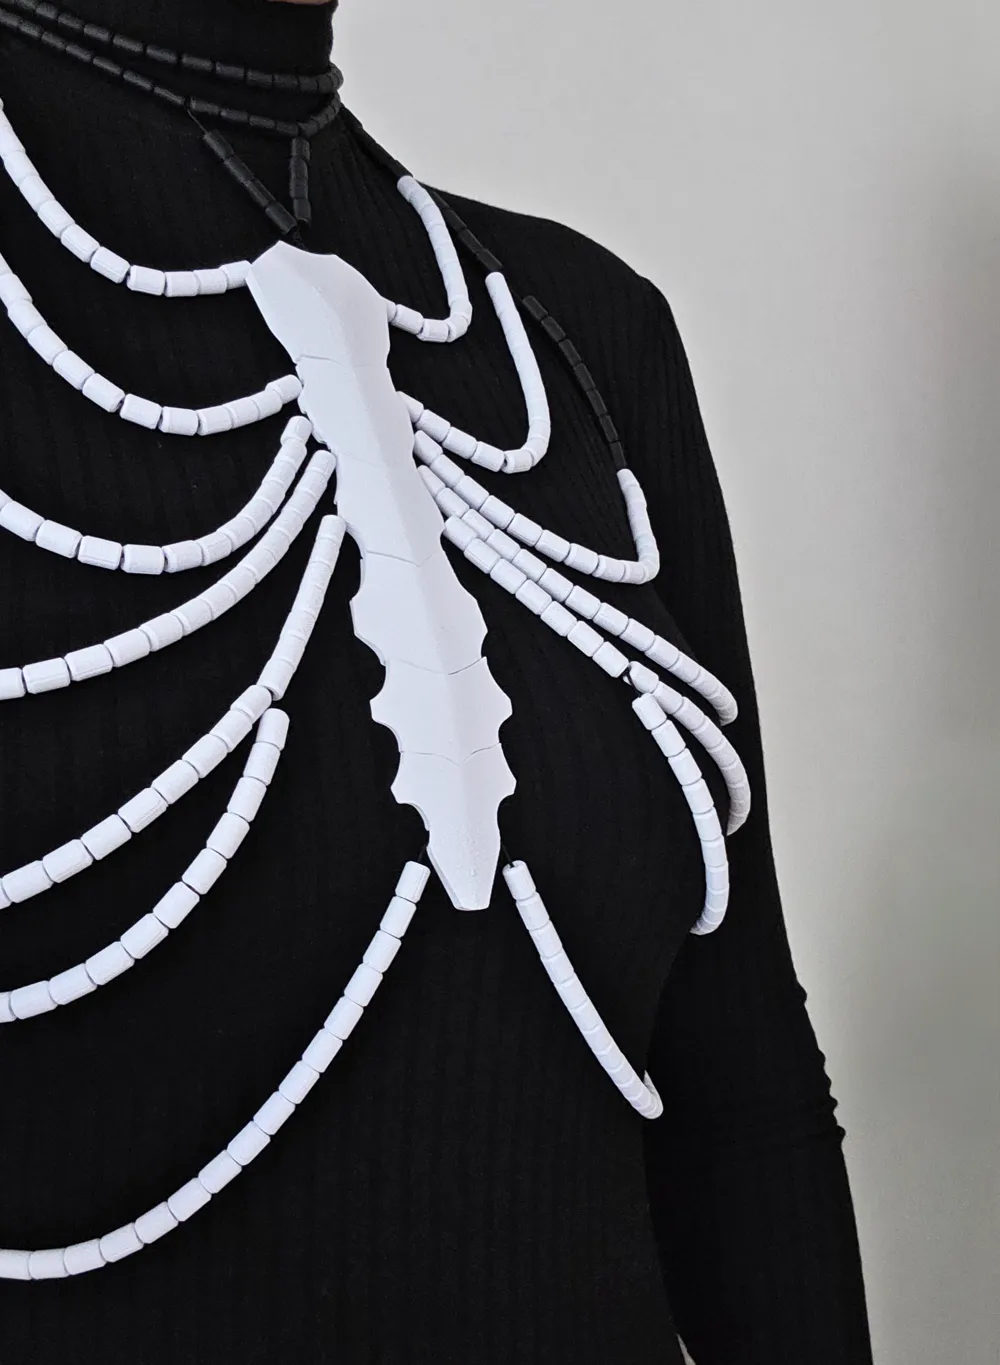
- 400 white beads (that is a few more than needed)
- 10 standard vertebrae, 3 threadable vertebrae, 1 bottom vertebra, 1 top vertebra
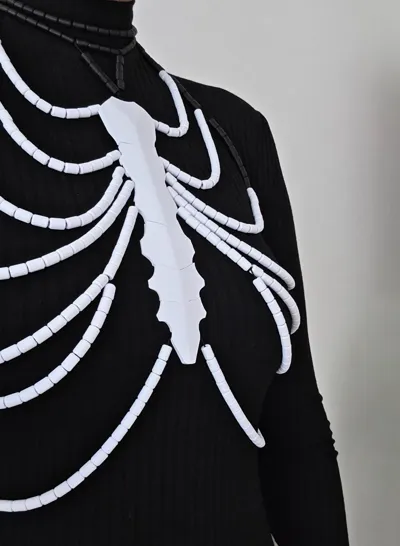
- Sternum in 6 parts
- 130 black beads
- 2 black side holders
To size up:
- Measure the length you want the sternum to be and scale up accordingly (size M = 23 cm / 9 inches).
- Increase the number of vertebrae if you have a longer torso.
- Increase the number of beads.
To size down:
- Decrease the number of beads as needed.
- Decrease the number of vertebrae if you have a shorter torso.
- Warning: Don’t scale the sternum down since the thread won’t be able to fit then.
Documentation (1)
License



Comment & Rating (29)