
H2D & H2S - Dial Gauge Bed Tramming Mount + GCODE
Print Profile(1)

Description
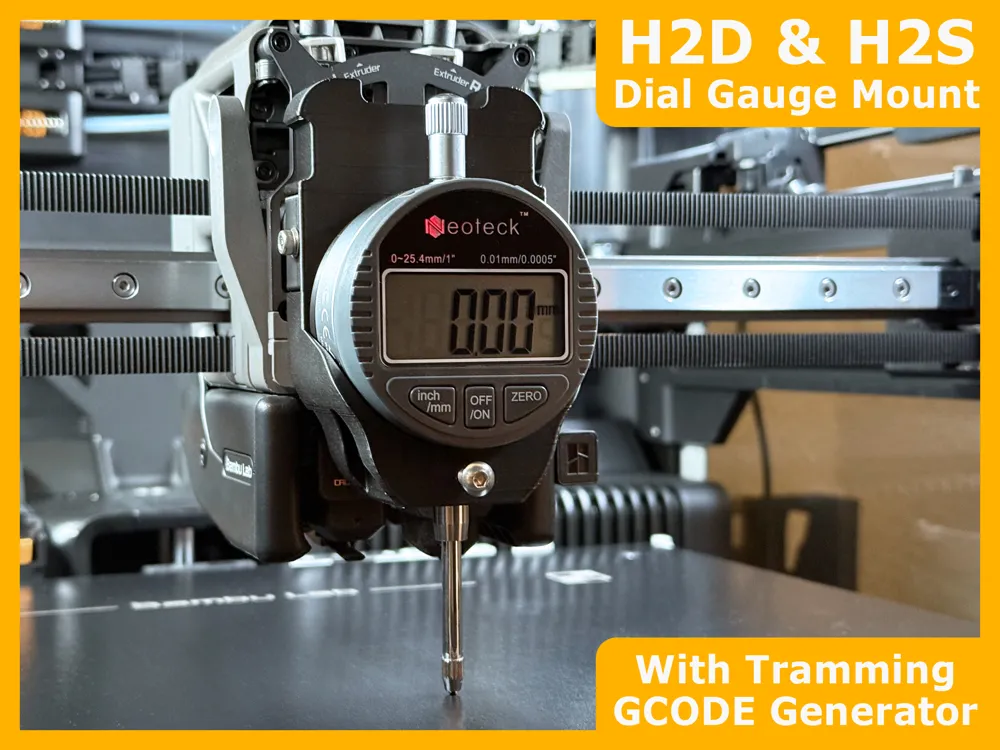
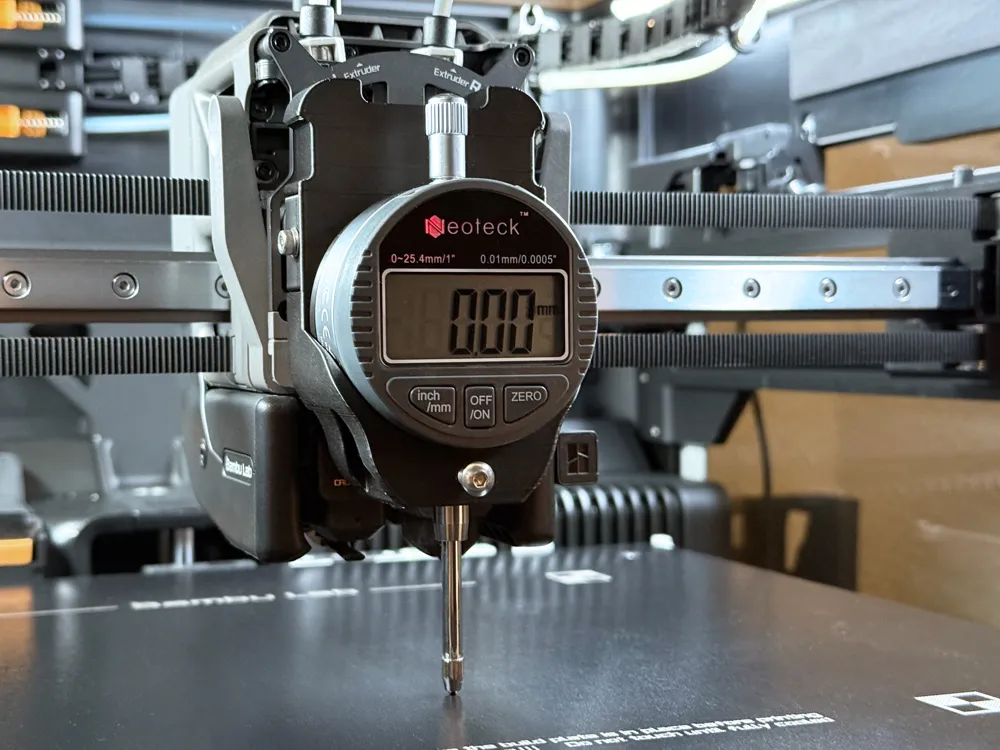
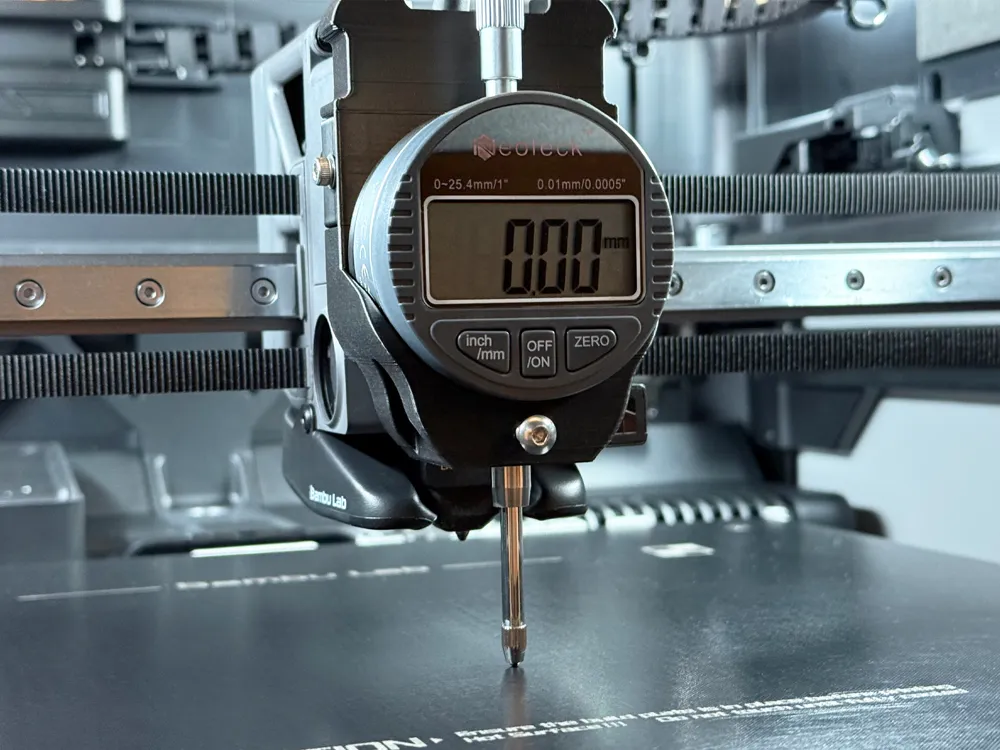
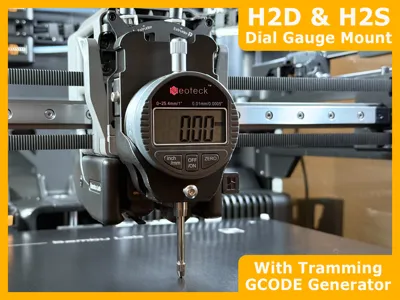
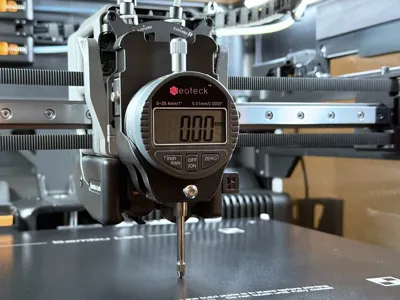
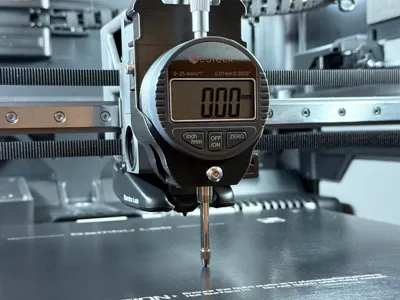
Dial gauge / indicator mount compatible with the H2D and H2S for tramming the bed.
Added H2C support on December 23rd, but this version is UNTESTED by me. Please run it with no indicator attached and let me know if all the coordinates are good.
Also includes a GCODE generator to customize the tramming process: https://3dp-usr.github.io/h2-series-bed-tramming/
Designed to fit indicators with a 57mm diameter. This is the indicator I use: https://amzn.to/4nH6hi9
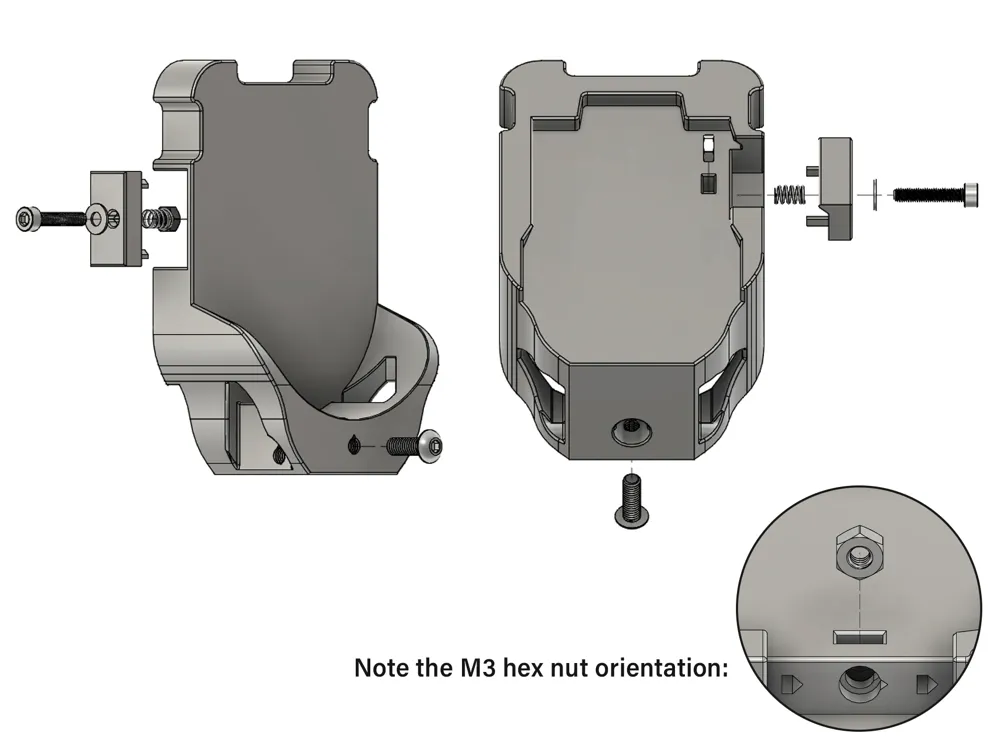
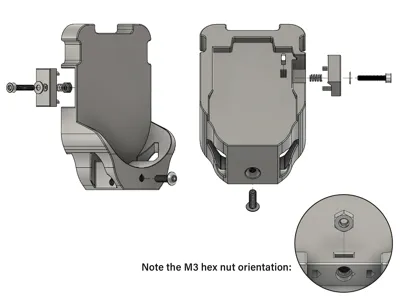
Take a look at the "exploded view" screenshot for assembly details. Hardware used:
- (1) M3 x 16mm screw
- (1) M3 hex nut
- (1) M3 flat washer (optional)
- (1) 15mm section of a ballpoint pen spring 3.75mm ID, 4.5mm OD (optional)
- (1) M4 x 12mm screw. 8mm is probably fine too
- (2) M4 x 12mm screws to adjust perpendicularity (really unnecessary)
To customize for the shaft size of your indicator if it isn't 8mm:
- Click the “Customize” button underneath the print profile.
- Set the hole diameter you want. I use the actual shaft diameter + 0.30mm
- Press “Generate”.
- Download the STL.
- Open in Bambu Studio and print.
Printing
Print in the orientation shown in the print profile.
Some of the support settings are important - if you customized the shaft diameter and exported as an STL, you will need to place that file back into the print profile/project file and manually add supports “On overhangs only” using the fill tool on the face highlighted with my mouse in the screenshot below.
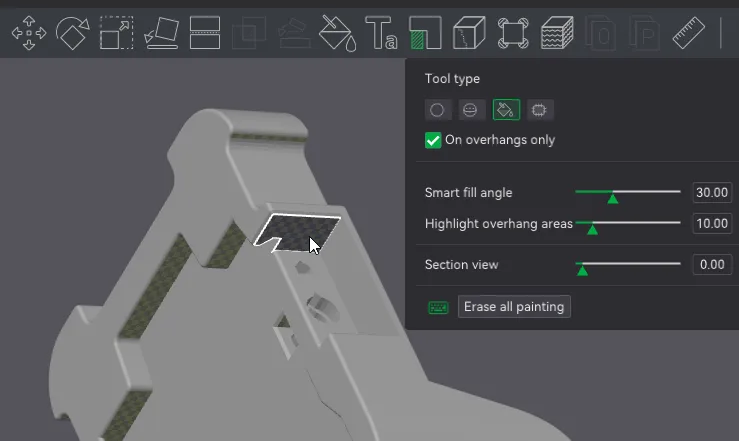
Print profile uses PLA with PETG as a support interface layer, so be sure to have both filament types loaded.
Generating the GCODE
The GCODE generator is here: https://3dp-usr.github.io/h2-series-bed-tramming/
- Printer Model: Select the printer model you are tramming the bed for. Each printer uses different test point coordinates.
- Bed Temperature: Set what temperature you want to perform the process at. Ambient is a good start, but you can also do it at higher temps like 55C to better account for thermal expansion and actual printing temperatures. A custom temperature adds 3 minutes to ensure consistent heating.
- Number of Measurement Rounds: Set how many times you want to repeat the measurement of all 4 points. 3 is good.
- Time (in seconds) at Each Measurement Point: Set how long you want the toolhead to wait at each test point for each set of 4. 60 sec→45 sec→30 sec is good for 3 rounds.
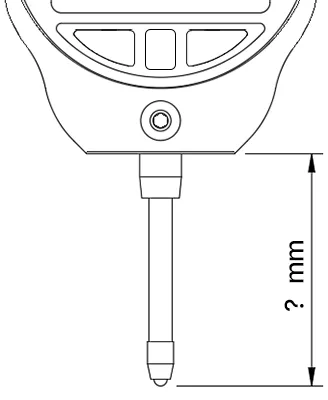
- Distance Between Printed Part and Indicator Tip: When your indicator is attached to the printed mount, measure how many millimeters it protrudes - see image below. This is important so we know how much to move the bed down to avoid crashing. DOUBLE CHECK this value. For example, I have an indicator that have 0-1 inch of measurement range. With the indicator in the printed part, it sticks out 44.1mm from the bottom of the printed part to the top of the indicator.
- Probe Height: Set the height you want the bed to move up to when taking the measurement. This is essentially the nozzle offset from the bed. 5mm is a good starting point.
- Play Sounds: Highly recommended. Choose whether the printer should emit beeps when it's time to zero the indicator (2 beeps) and when the toolhead is moving to the next measurement point (1 beep).
- Download your generated GCODE file, put it on a USB stick, and insert into the top of the printer. Ensure that you had the right printer selected…the automatic file name should include the printer name.
Tramming Process
I recommend a “dry run” first with ONLY the printed part attached to ensure all your settings look good.
- If tramming an H2D or H2C, ensure that you have the right-side nozzle selected in the “Nozzle & Extruder” section on the printer's LCD.
- Remove the print plate and clean the surface of the heatbed. Clean the nozzle so there is no leftover filament on it.
- Follow the instructions on the Bambu Lab Wiki showing how to Loosen the Fixing Screws of the Heatbed and Tighten the Bed Leveling Screws https://wiki.bambulab.com/en/h2/manual-bed-leveling or https://wiki.bambulab.com/en/h2s/maintenance/manual-bed-leveling. I back off the 4 bed screws 1 turn (counter-clockwise) after tightening.
- Perform homing from the “Motion: XYZ” section on the LCD.
- Assemble the printed part, not attaching the indicator yet (see exploded assembly view screenshot).
- Slide the printed part onto the toolhead. Ensure it is fully seated all the way down. Tighten the screw on the left side.
- Move the bed down and then attach the indicator and lock in place with the M4 screw. There should be a few millimeters between the bed and indicator tip. On the H2D you need to remove the clear plastic cover first. On the H2C you need to remove the toolhead fan cover. On the H2S you need to remove the plastic cover and the spinning indicator wheel.
- On the Home screen of the printer, click on Print Files→USB tab→Select the file and press Print.
- The process will start. After the homing sequence, the toolhead will move to the first measurement point. It will beep twice (if you enabled sounds) and stay on this point for an extra 5 seconds to give you time to zero your indicator. If you set a custom temperature for performing the measurements, the bed will start to heat up after homing. The bed will drop down about halfway to keep radiant heat away from the indicator and printed part and wait 3 minutes for the bed temp to even out.
- Adjust the bed screw at each measurement point so they are all as close as possible to your zeroed value. The printer will beep 2 seconds before the bed drops down to move to the next adjustment point. Take your hex wrench and hand away from the bed & motion system to avoid collisions!
- When complete with all the measurement rounds, securely tighten all (7) bed screws evenly to lock the adjustments in place. These are the ones you loosened at the beginning that are shown in the Bambu Lab Wiki.
- Remove the dial indicator mount after loosening the left screw, and place the toolhead cover back on.
- Put your print plate back on the heatbed.
- From the printer screen, click on Settings > Calibration > Print Calibration >Auto Bed Leveling to start the calibration.
Sample video with a 5 second pause at each measurement point (not trammed yet):
Boost Me (for free)
License

You shall not share, sub-license, sell, rent, host, transfer, or distribute in any way the digital or 3D printed versions of this object, nor any other derivative work of this object in its digital or physical format (including - but not limited to - remixes of this object, and hosting on other digital platforms). The objects may not be used without permission in any way whatsoever in which you charge money, or collect fees.


Comment & Rating (84)