
Zipper Bookmark

Print Profile(10)


Description
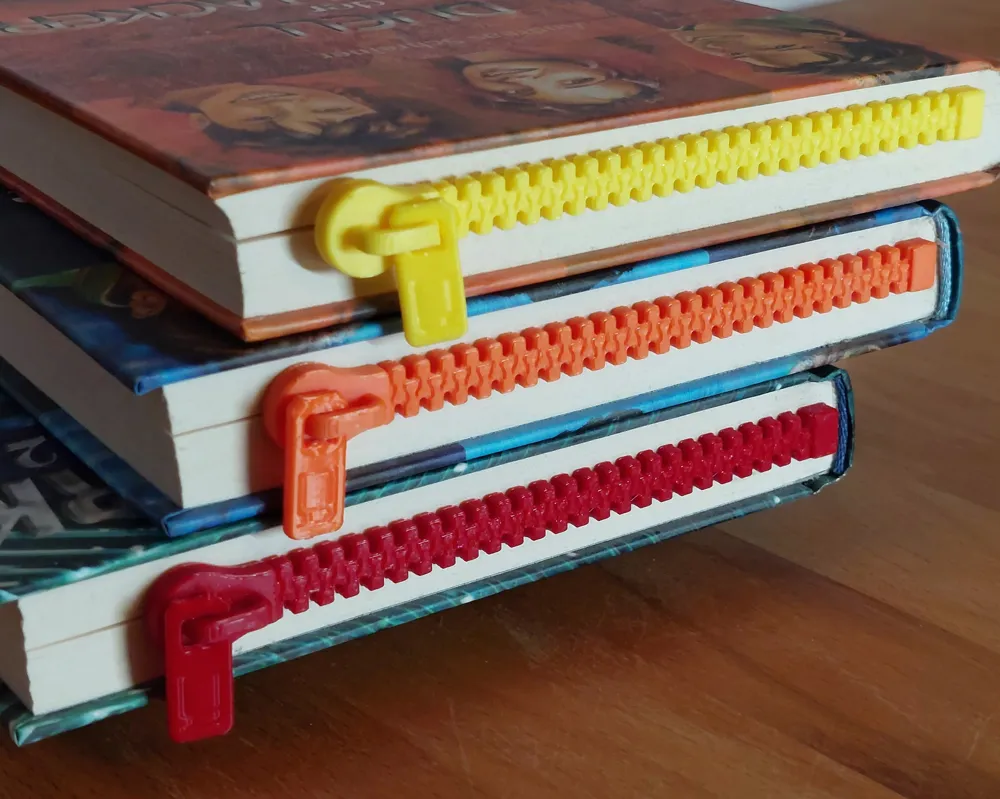
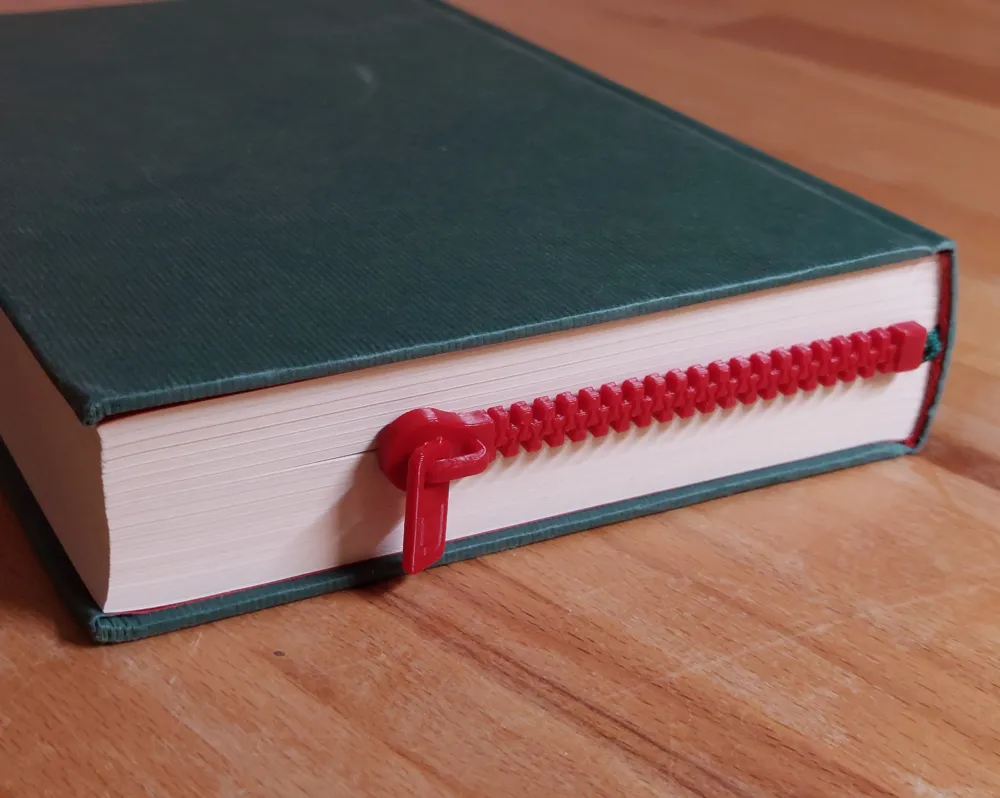
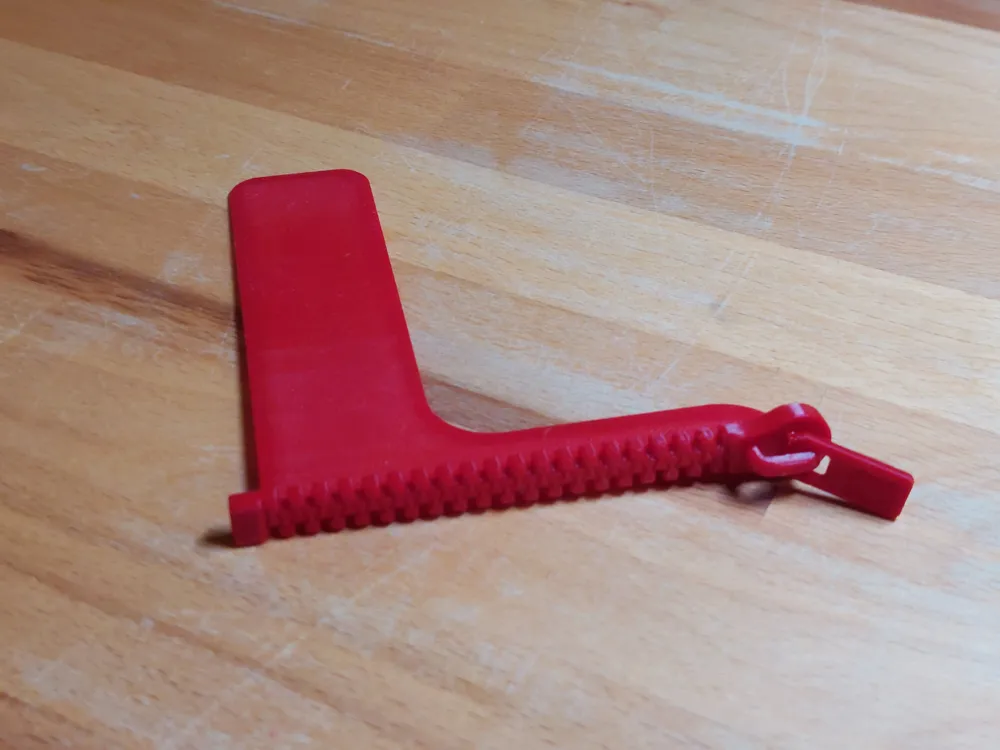
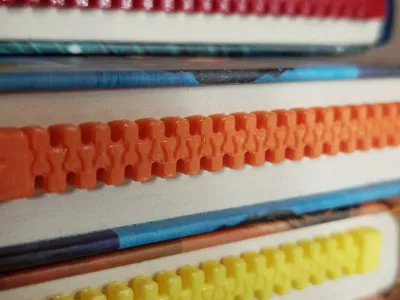
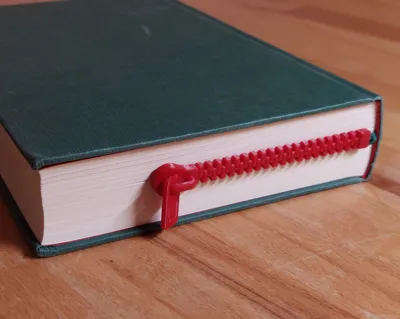
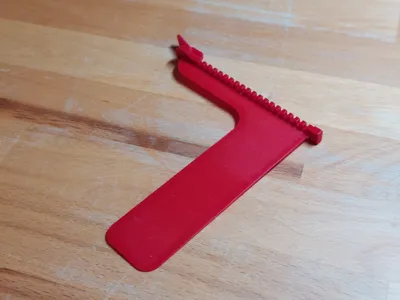
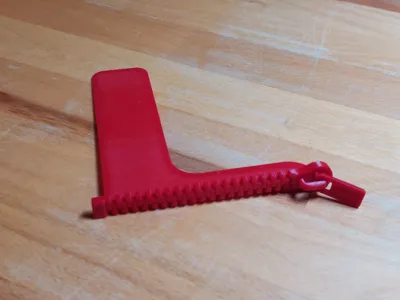
Zip into your next chapter with this zipper bookmark!
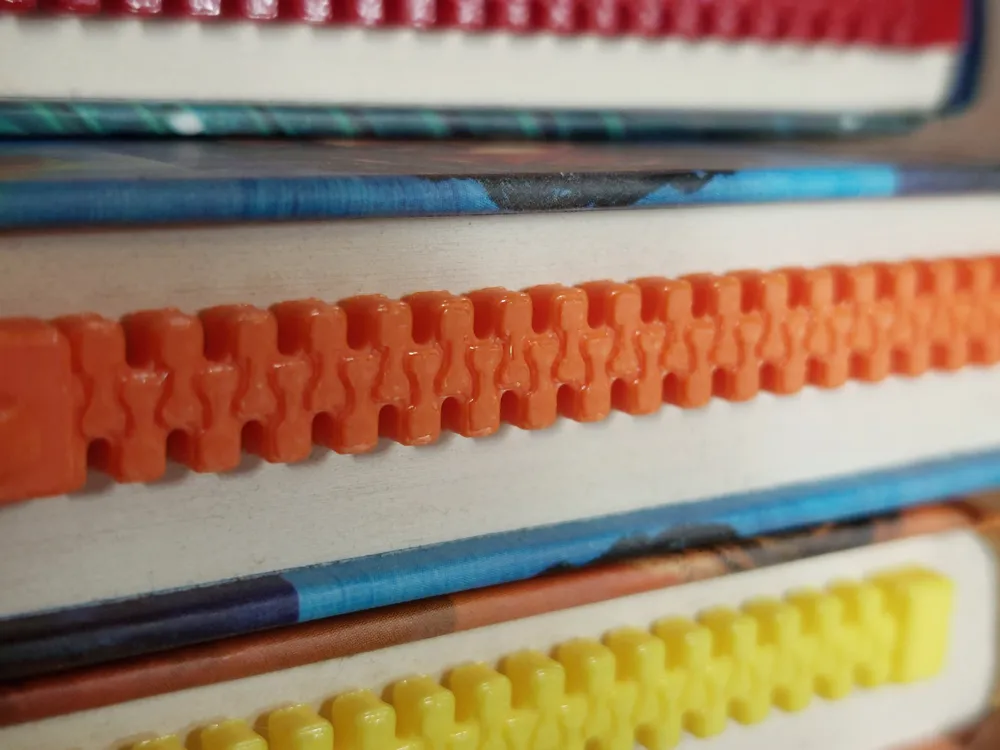
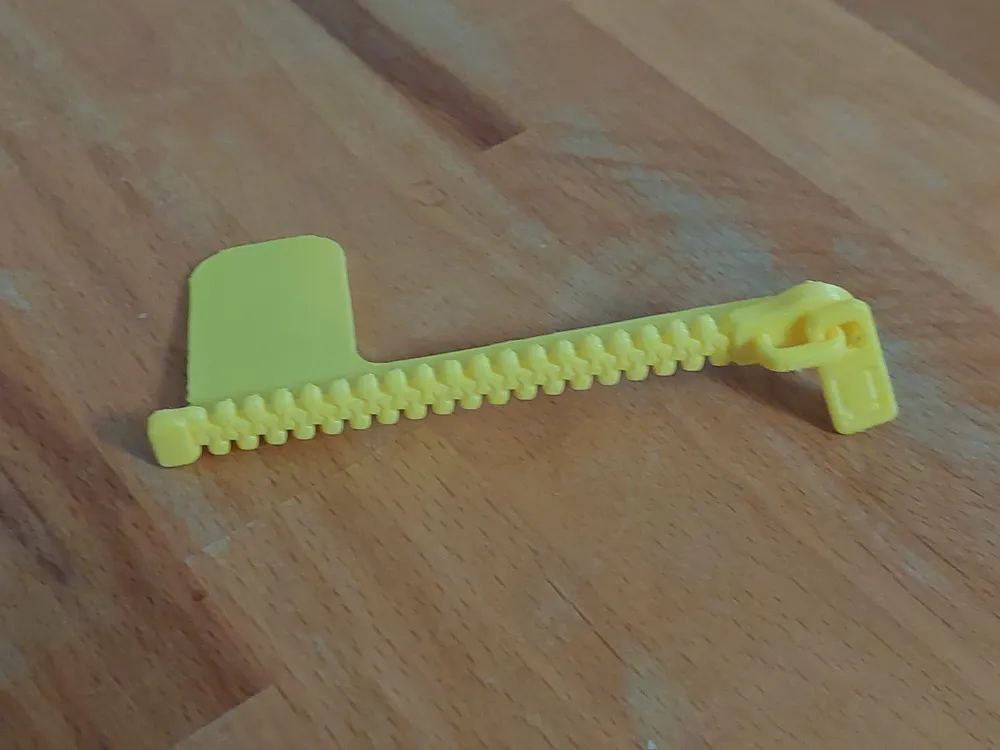
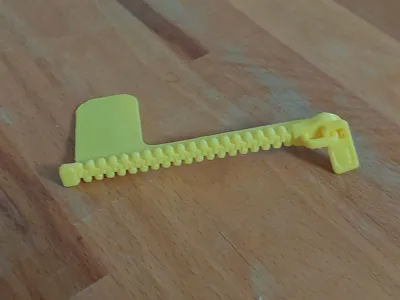
This sleek and innovative accessory is designed to resemble a real zipper, adding a a fun and trendy twist to the traditional bookmark. The intricate detailing of the zipper teeth and pull tab creates a lifelike appearance that is sure to catch the eye of anyone who sees it. The pull also features a charming engraving that looks like a book, adding a touch of literary charm to your reading experience. Whether you're an avid reader, a collector of unique bookmarks, or a fan of 3D printed accessories, this zipper bookmark is a must-have item. It also makes for a thoughtful and distinctive gift for the bookworm in your life.
Size:
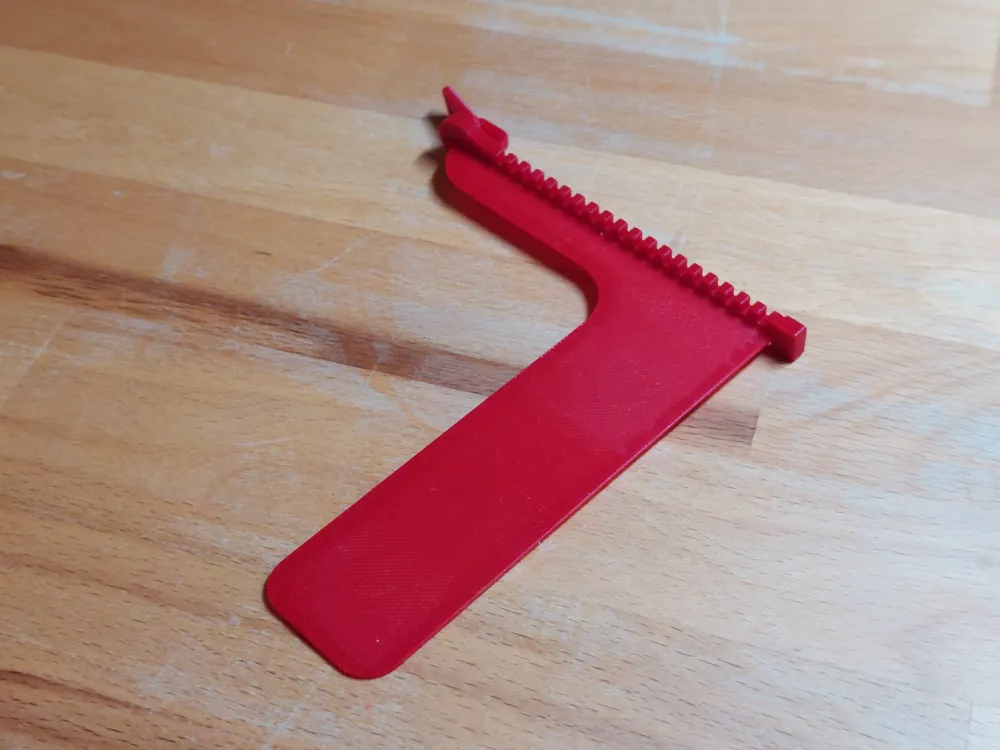
- approximately 10 cm wide and 11 cm tall for the two-part version
- approximately 10 cm wide and 4 cm tall for the single-part version
Assembly
Update 2024-02-12: there is now a print profile version that requires no assembly. However, this comes at the price of generation of lots of supports. Due the geometry of the model you might damage your model while removing the support: the long fin is only 0.8 mm thick and can easily break when not being super cautious. I advise against the profile, but it is your choice.
The bookmark requires zero supports if the two part print profile us being used. This means that it is easy to print and all surfaces have a nice finish. This comes at two costs, though. First, you need to wiggle the pull loose without damaging it, because it is printed on top of the slider. And second you connect the zipper and the actual bookmark part using glue.
- carefully remove from build plate
- gradually wiggle the pull free
- verify that the fin fits into the slot
- apply glue within the notch
- connect the parts and let the glue dry if necessary

Click on the picture above in case the assembly animation does not play automatically.
Printing Instructions
The zip chain has a lot of edges, therefore make sure the print plate has good adhesion. This model requires zero supports, therefore do not print too fast! Especially the pull can be problematic, since it is attached only with one line to the slider. I recommend to use my print profile, this worked well many times.
Printed on an A1 mini with PLA from various vendors (e.g. eSUN) on a 0.4mm nozzle.
Boost Me (for free)
License

You shall not share, sub-license, sell, rent, host, transfer, or distribute in any way the digital or 3D printed versions of this object, nor any other derivative work of this object in its digital or physical format (including - but not limited to - remixes of this object, and hosting on other digital platforms). The objects may not be used without permission in any way whatsoever in which you charge money, or collect fees.


Comment & Rating (2364)