Cauldron Handbag


Print Profile(1)

Bill of Materials


Description
Boost Me (for free)
Enjoy my work? Boosting is a free and easy way to show your support that helps me a lot! Click this banner to boost me!
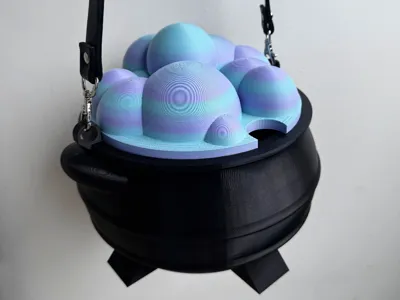
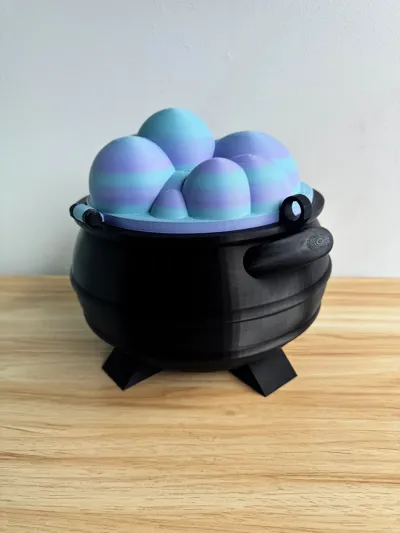
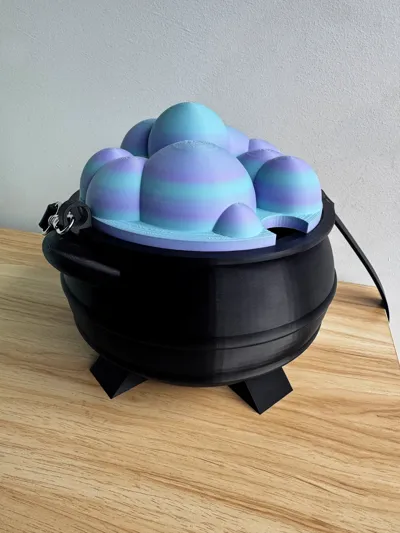
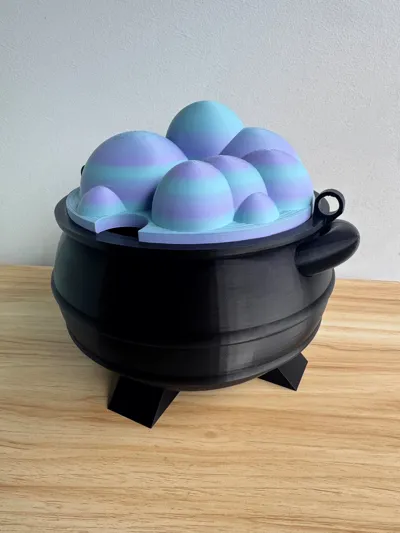
🪄 Cauldron Handbag
A magical, functional, and fully 3D printable Cauldron Handbag - perfect for everyday witchy vibes or Halloween adventures.
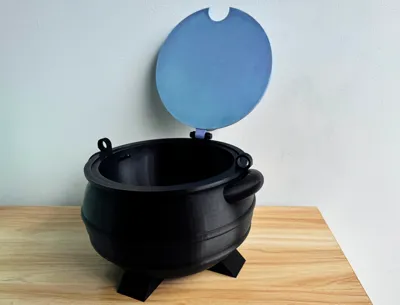
This design features a hinged lid and sturdy base, all completely 3D printed (no AMS required). The only non-printed part is the strap — you can add your own crossbody strap of your choosing, chain, or even 3D print one to match your style.
Assembly is simple, with a 3D printed hinge and a bit of glue required to secure parts.
⚠️ Do not scale below 50% — smaller prints will compromise the hinge function.
🎃 Doubles as a cute candy collection bucket for Halloween!
🛠️ Print Profile Notes
My provided print profile has manual supports enabled, and this setting is essential for a successful print. The supports ensure that the handles and certain sections of the cauldron base print cleanly and with proper structural integrity.
⚠️ Please do not disable manual supports, as doing so may cause the handles or hinge areas to fail during printing.
🧩 Assembly Instructions
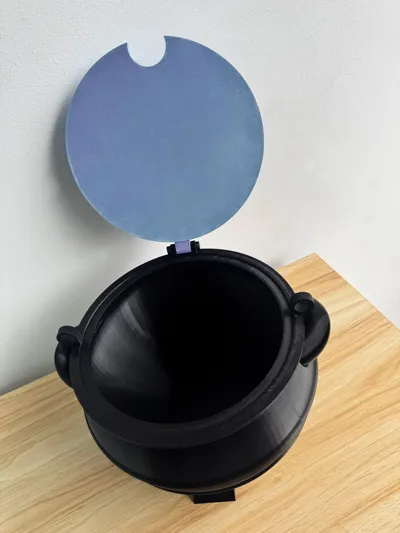
Attach the Lid:
Place the bubble lid on top of the cauldron base, aligning the hinge pieces carefully.

Insert the Hinge Bolt:
Slide the bolt through the hinge. It should move freely—avoid forcing it too tight.

Secure the Hinge:
Apply a small amount of glue to the cap piece and slide it onto the exposed end of the bolt to lock the hinge in place.

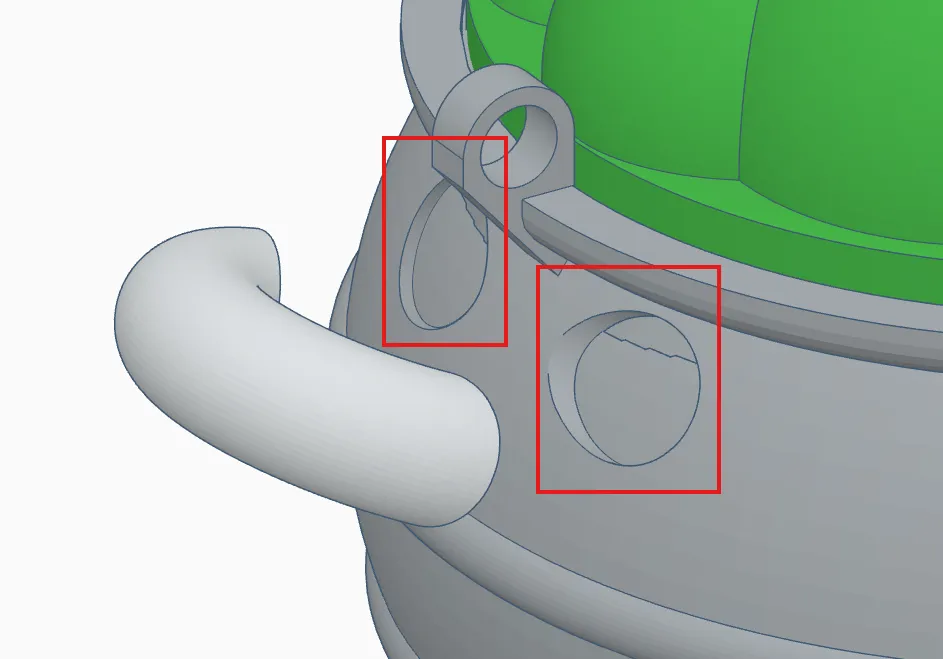
Attach the Handles:
Add a dab of super glue into each of the cutouts on the left and right sides of the bag.
Test the orientation of the handles before gluing - they have a specific angle that allows them to slide in best.
Final Check:
Once all pieces are glued, let them cure fully before attaching your strap to the marked loops.

🧙♀️ Tip: I recommend super glue or contact cement for best adhesion and a clean finish.
Membership
Want to sell this as a commercial product? Check out my commercial membership which gives you the right to sell any of your prints of my files, anywhere. Plus, it supports me in doing what I love!
Documentation (1)
License
You shall not share, sub-license, sell, rent, host, transfer, or distribute in any way the digital or 3D printed versions of this object, nor any other derivative work of this object in its digital or physical format (including - but not limited to - remixes of this object, and hosting on other digital platforms). The objects may not be used without permission in any way whatsoever in which you charge money, or collect fees.
Comment & Rating (6)