
Print Profile(1)

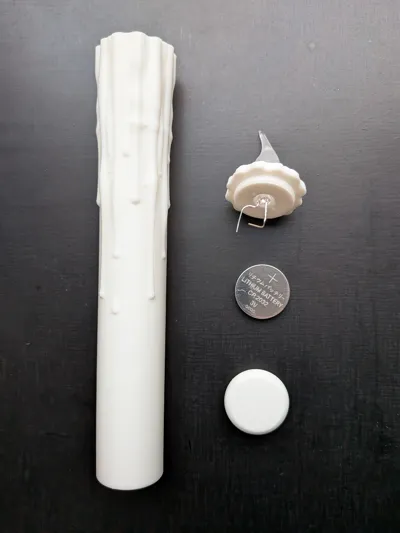
Bill of Materials


Description
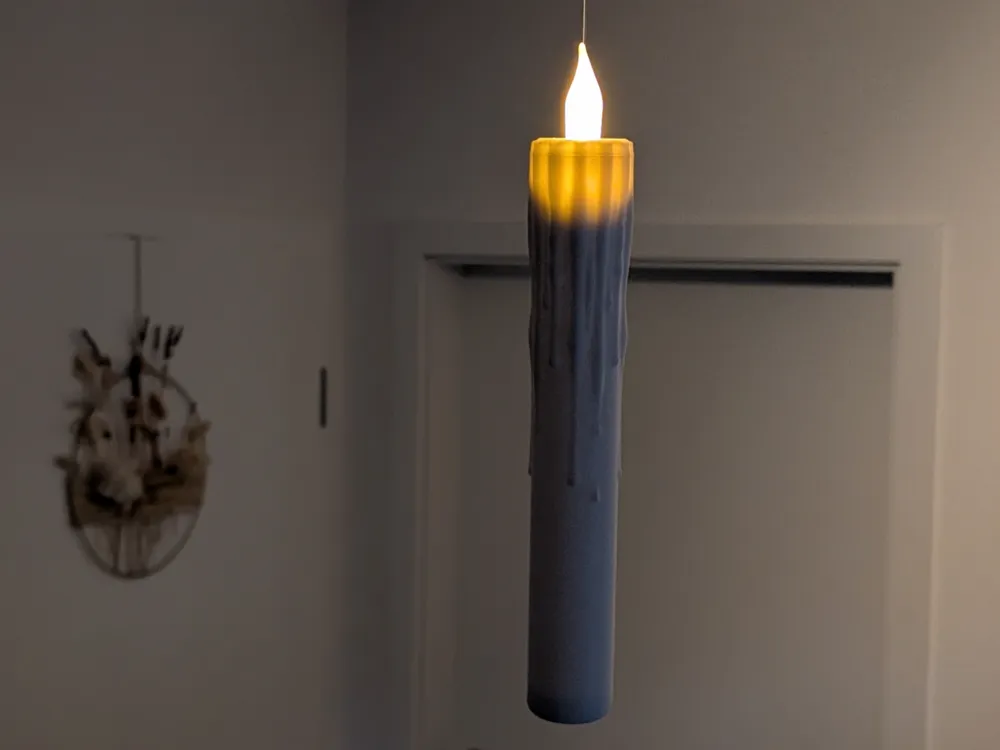
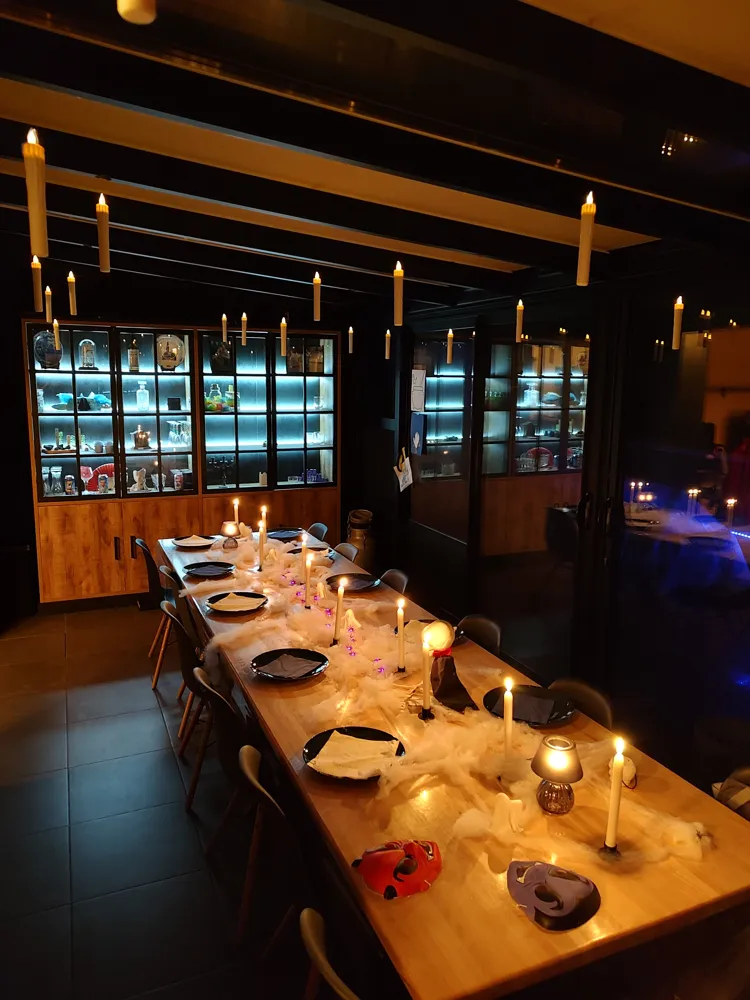
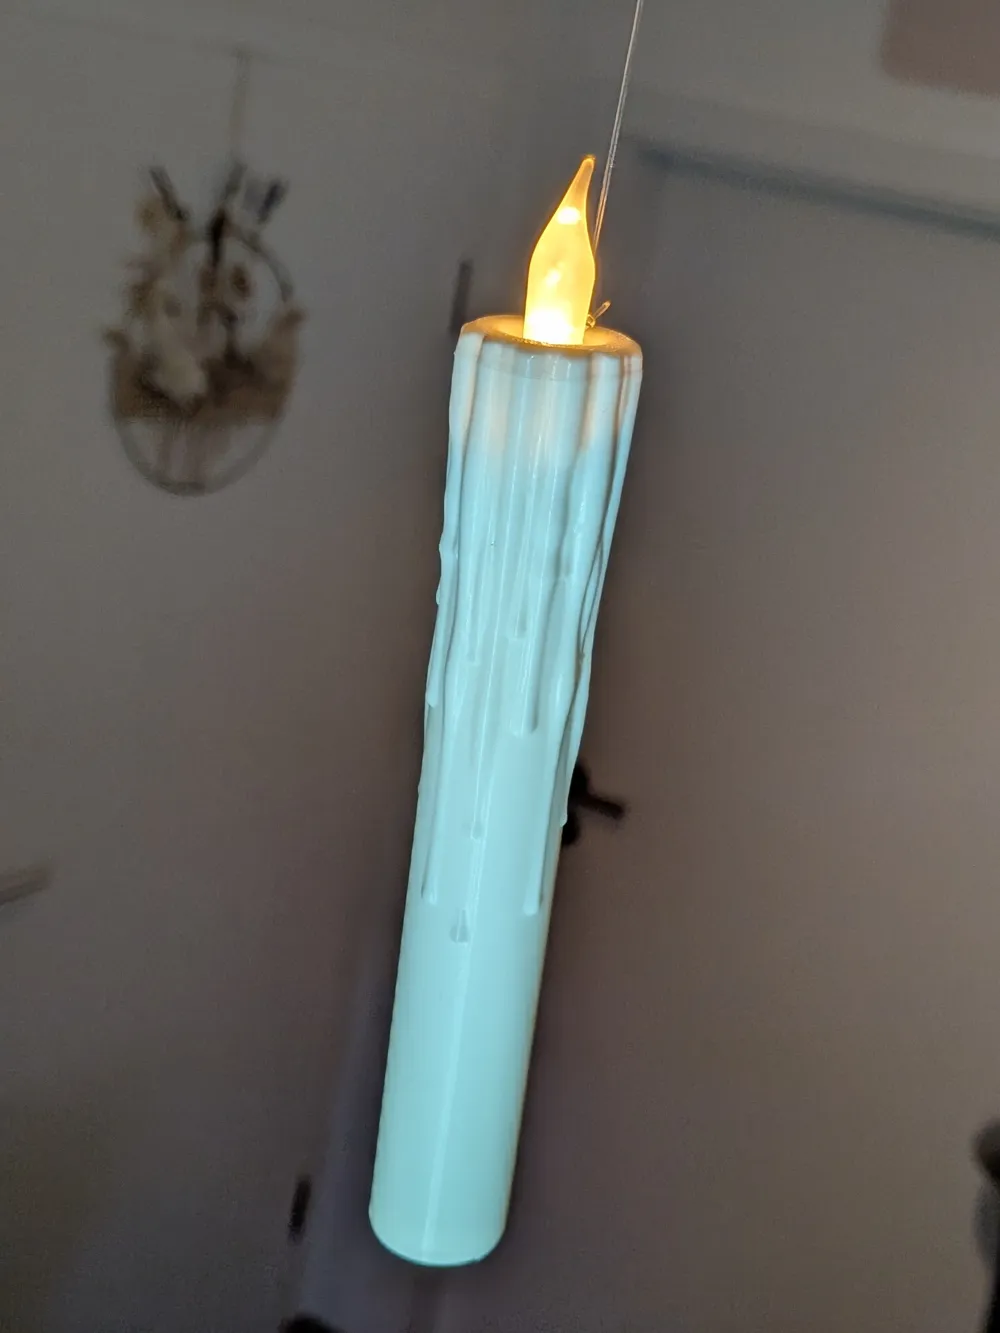
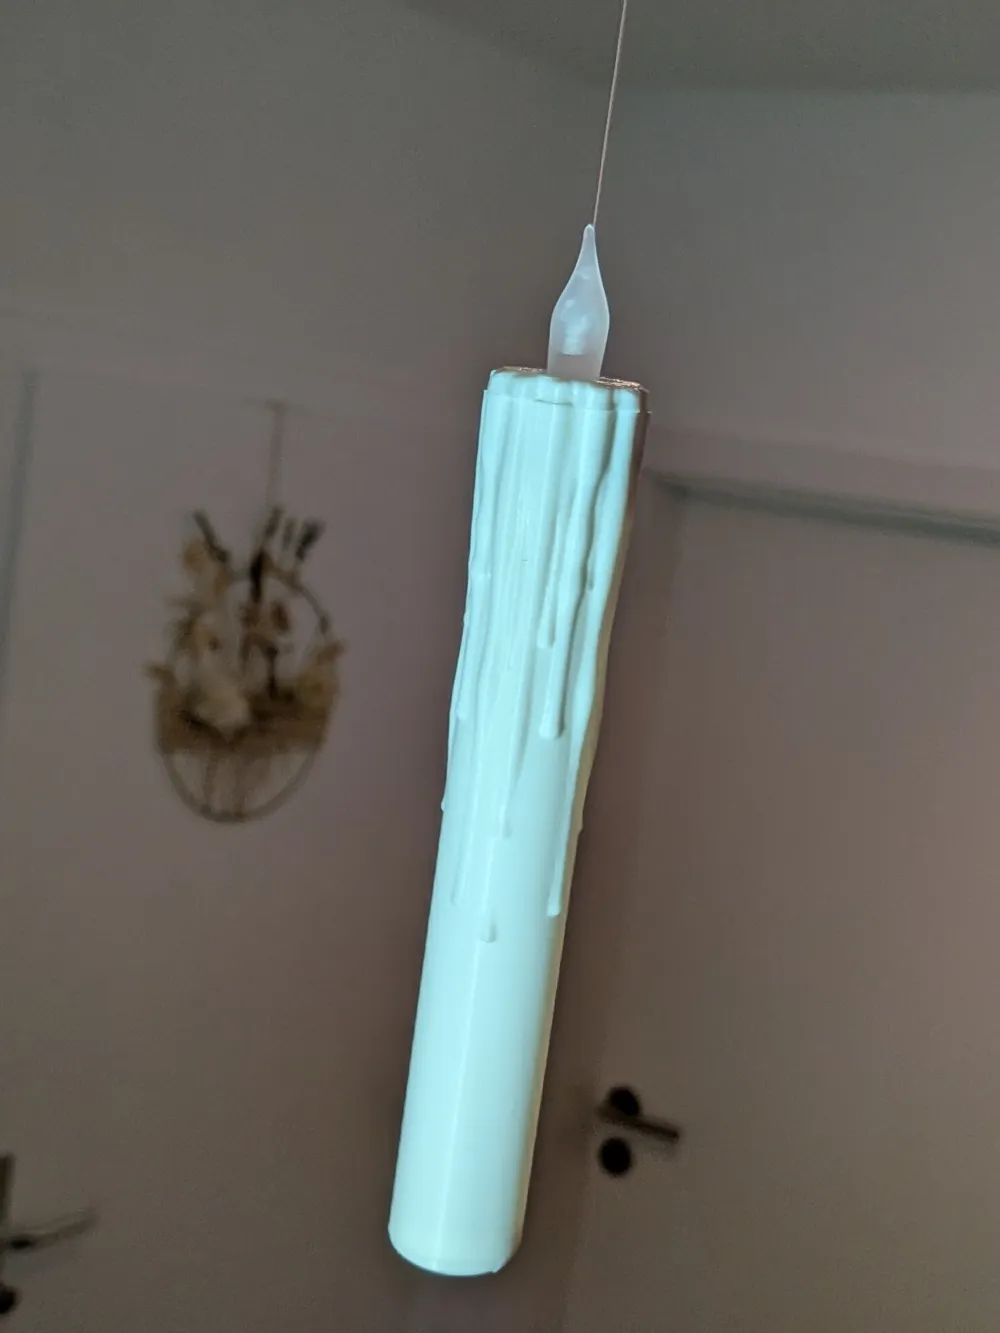
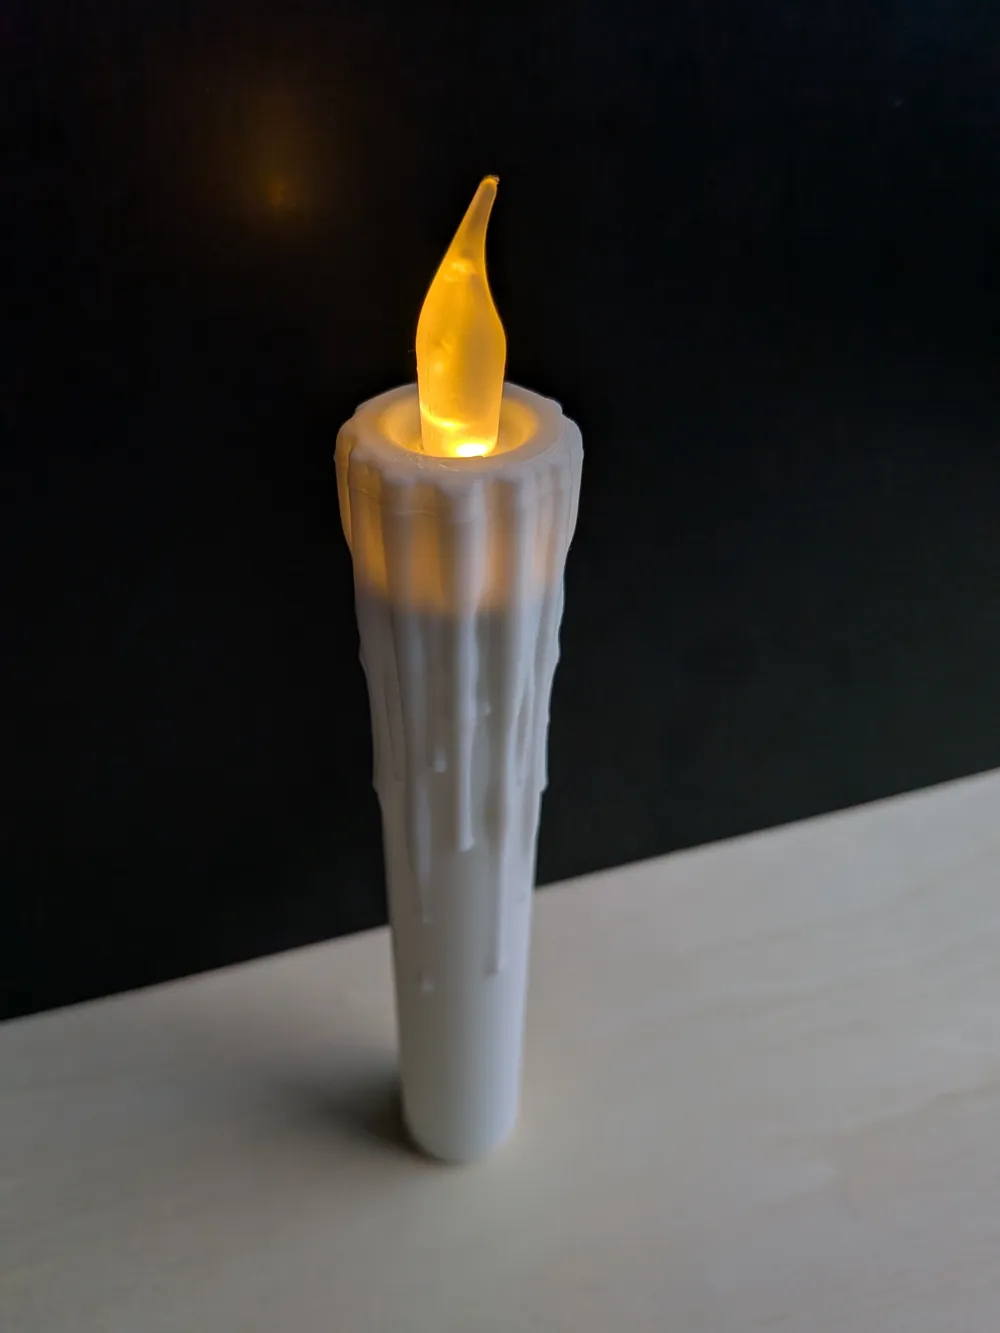
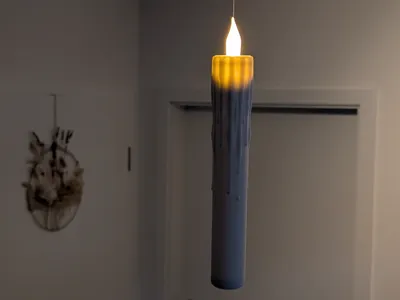
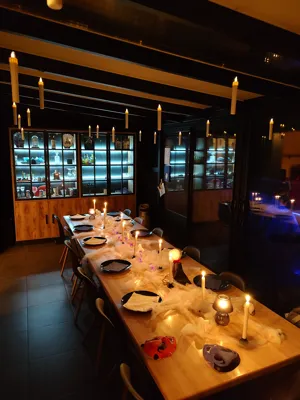
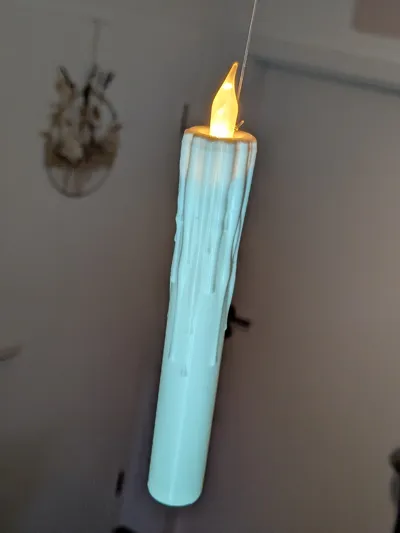
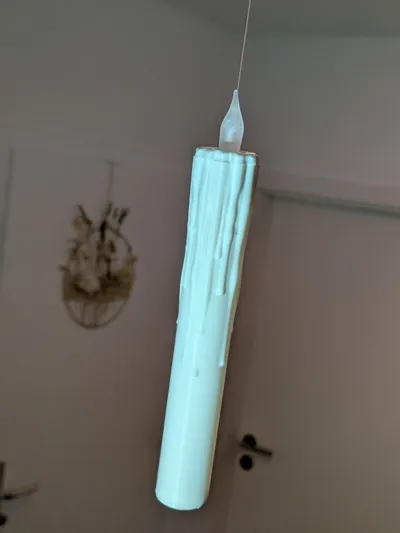
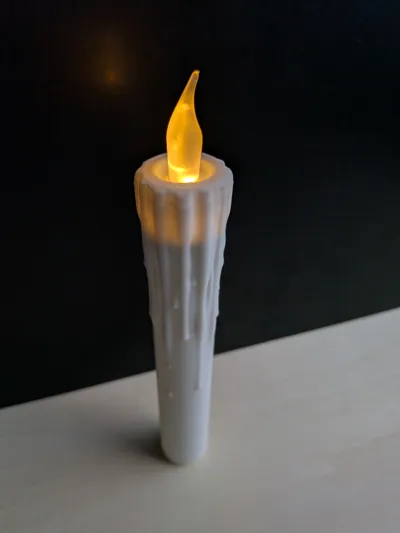
This candle floats!
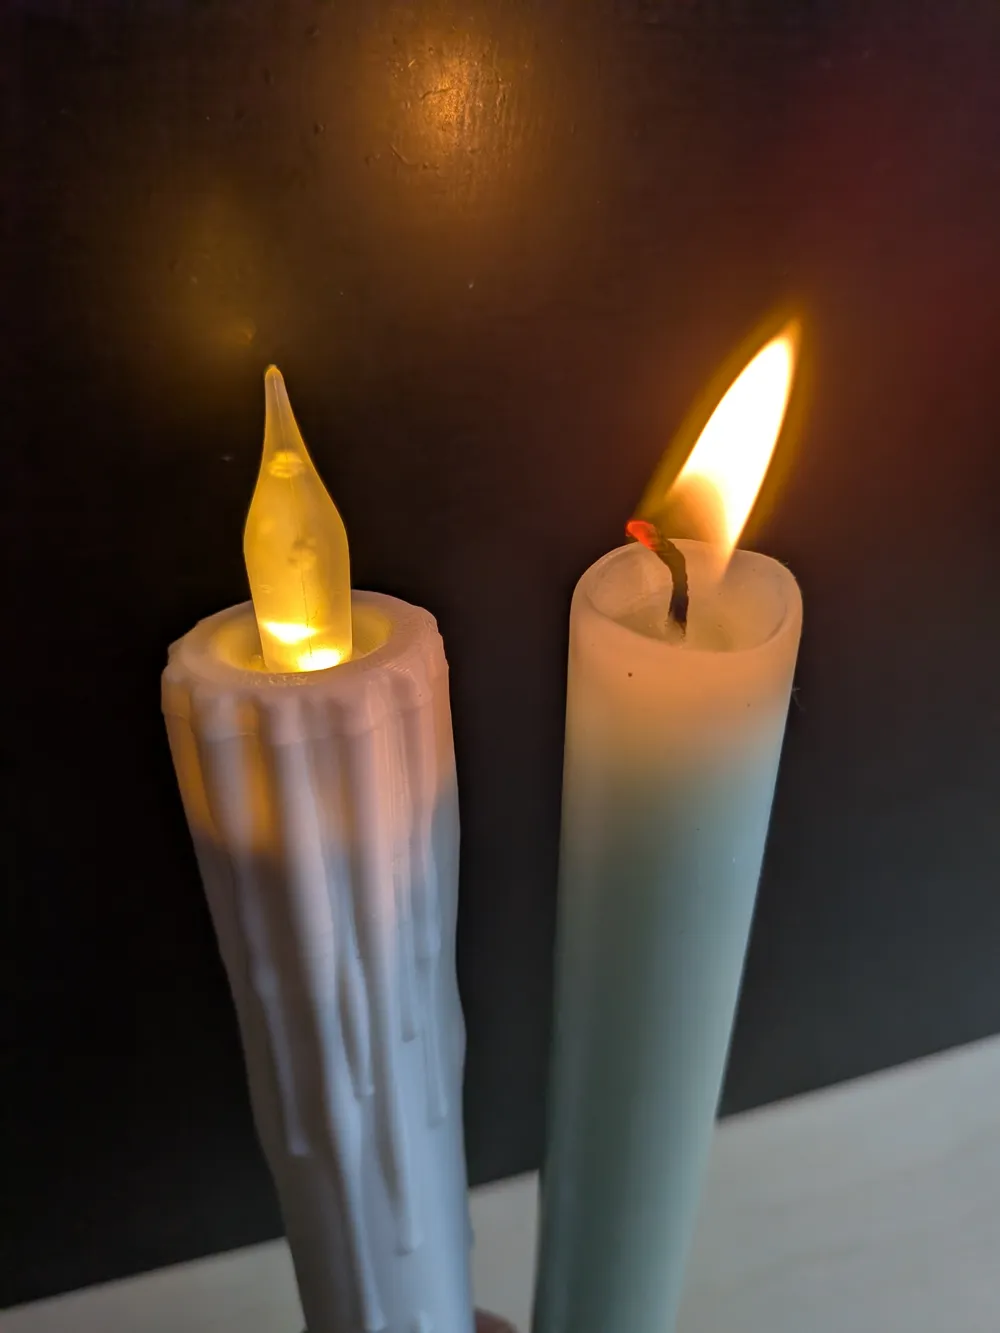
I was looking for a model of a floating candle, but I wasn't convinced by the models available. They were all so wide that an LED tea light would fit inside, but then it wouldn't look like a nice candle stick. I didn't have a smaller light source either, so I took apart a standard LED tea light—and the idea was born!
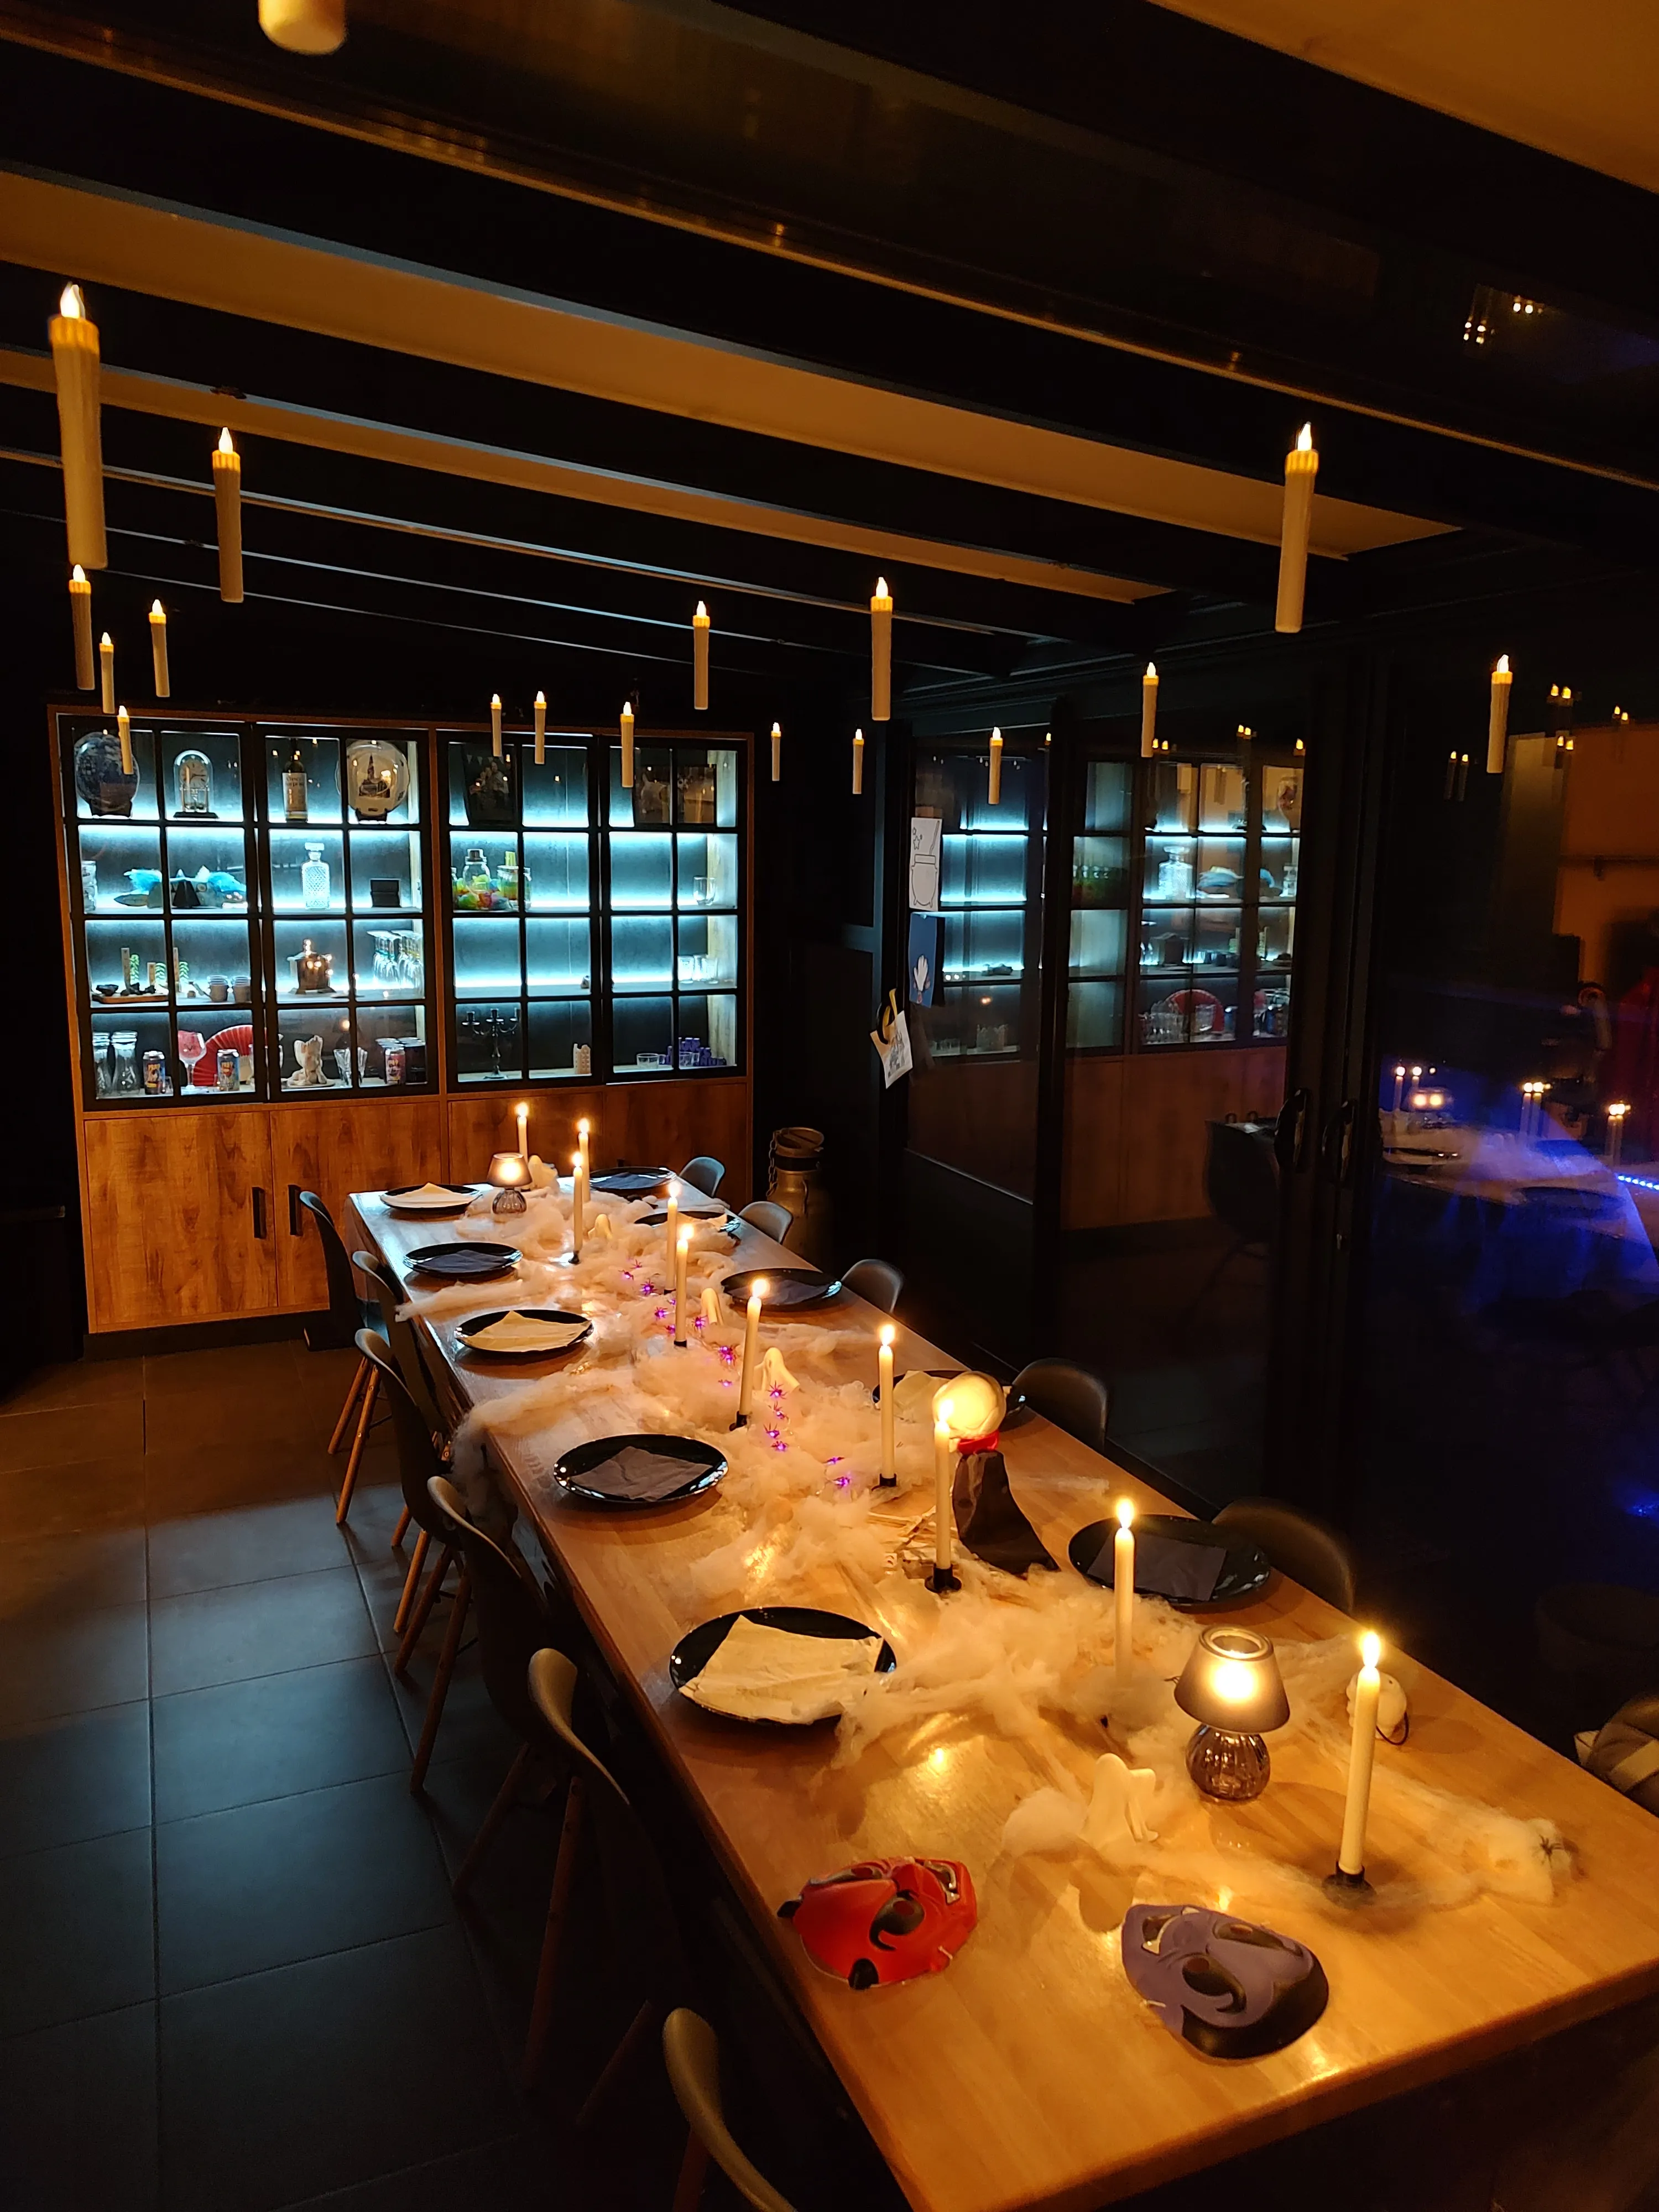
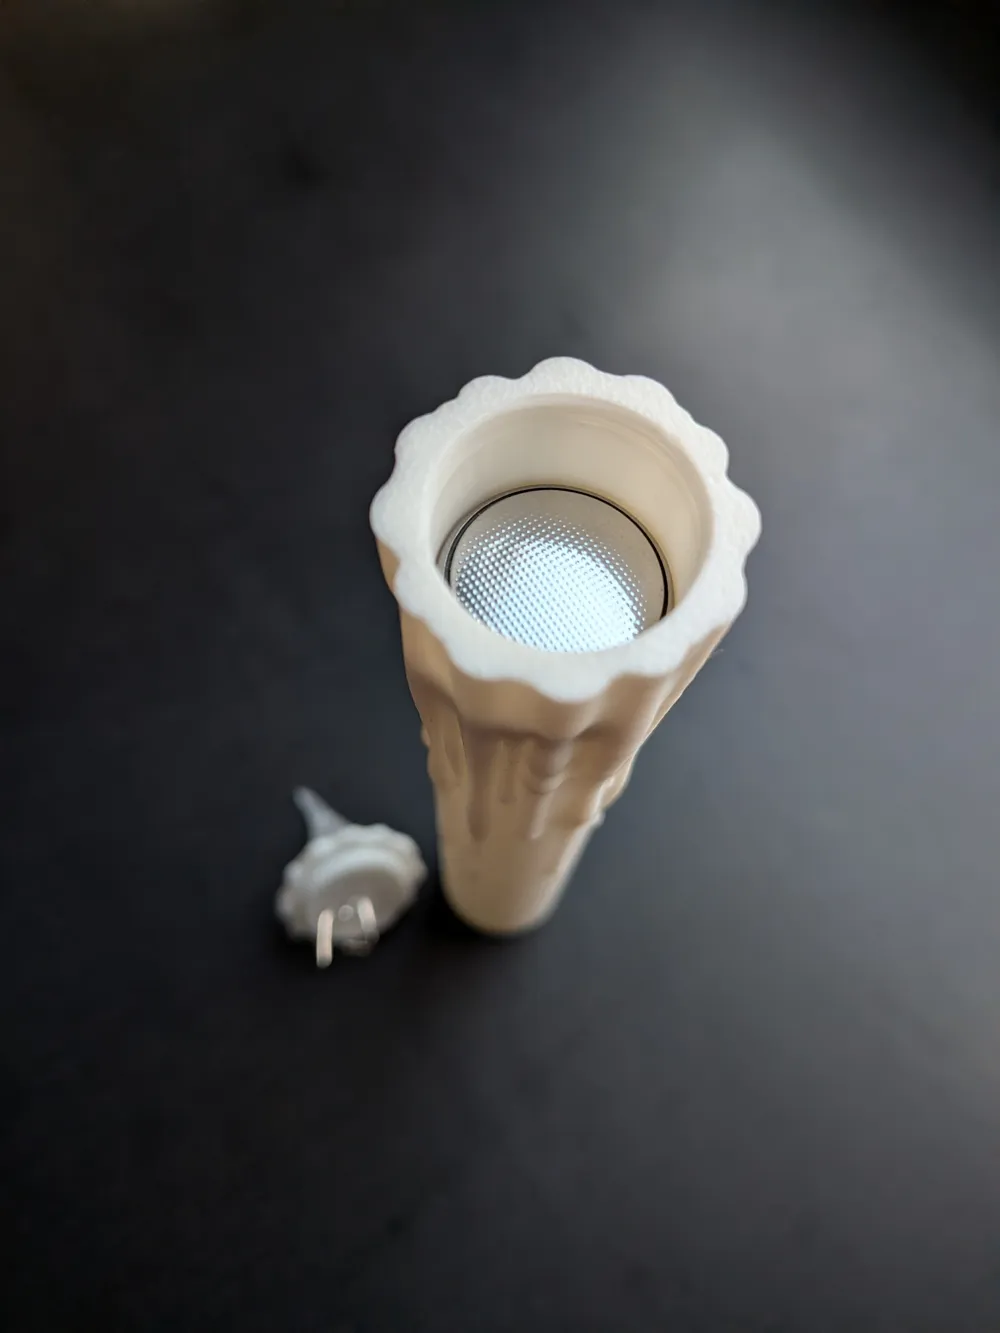
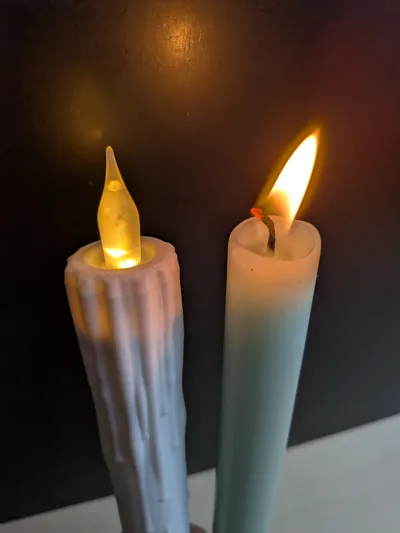
Even without the LED light, you have a pretty decoration.
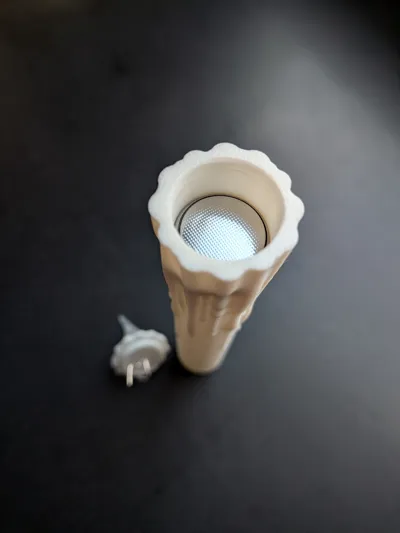
The LED light is activated by the thread when the screw cap is turned further. This allows you to hang the candle and turn it on and off by turning it.
All you need to assemble and operate the floating candle is a simple LED tea light. If you like to tinker, the next steps are for you!
If you have a single LED light with two contacts and a matching battery, you can skip the disassembly part and skip to No. 9 and bend the contacts the correct way.
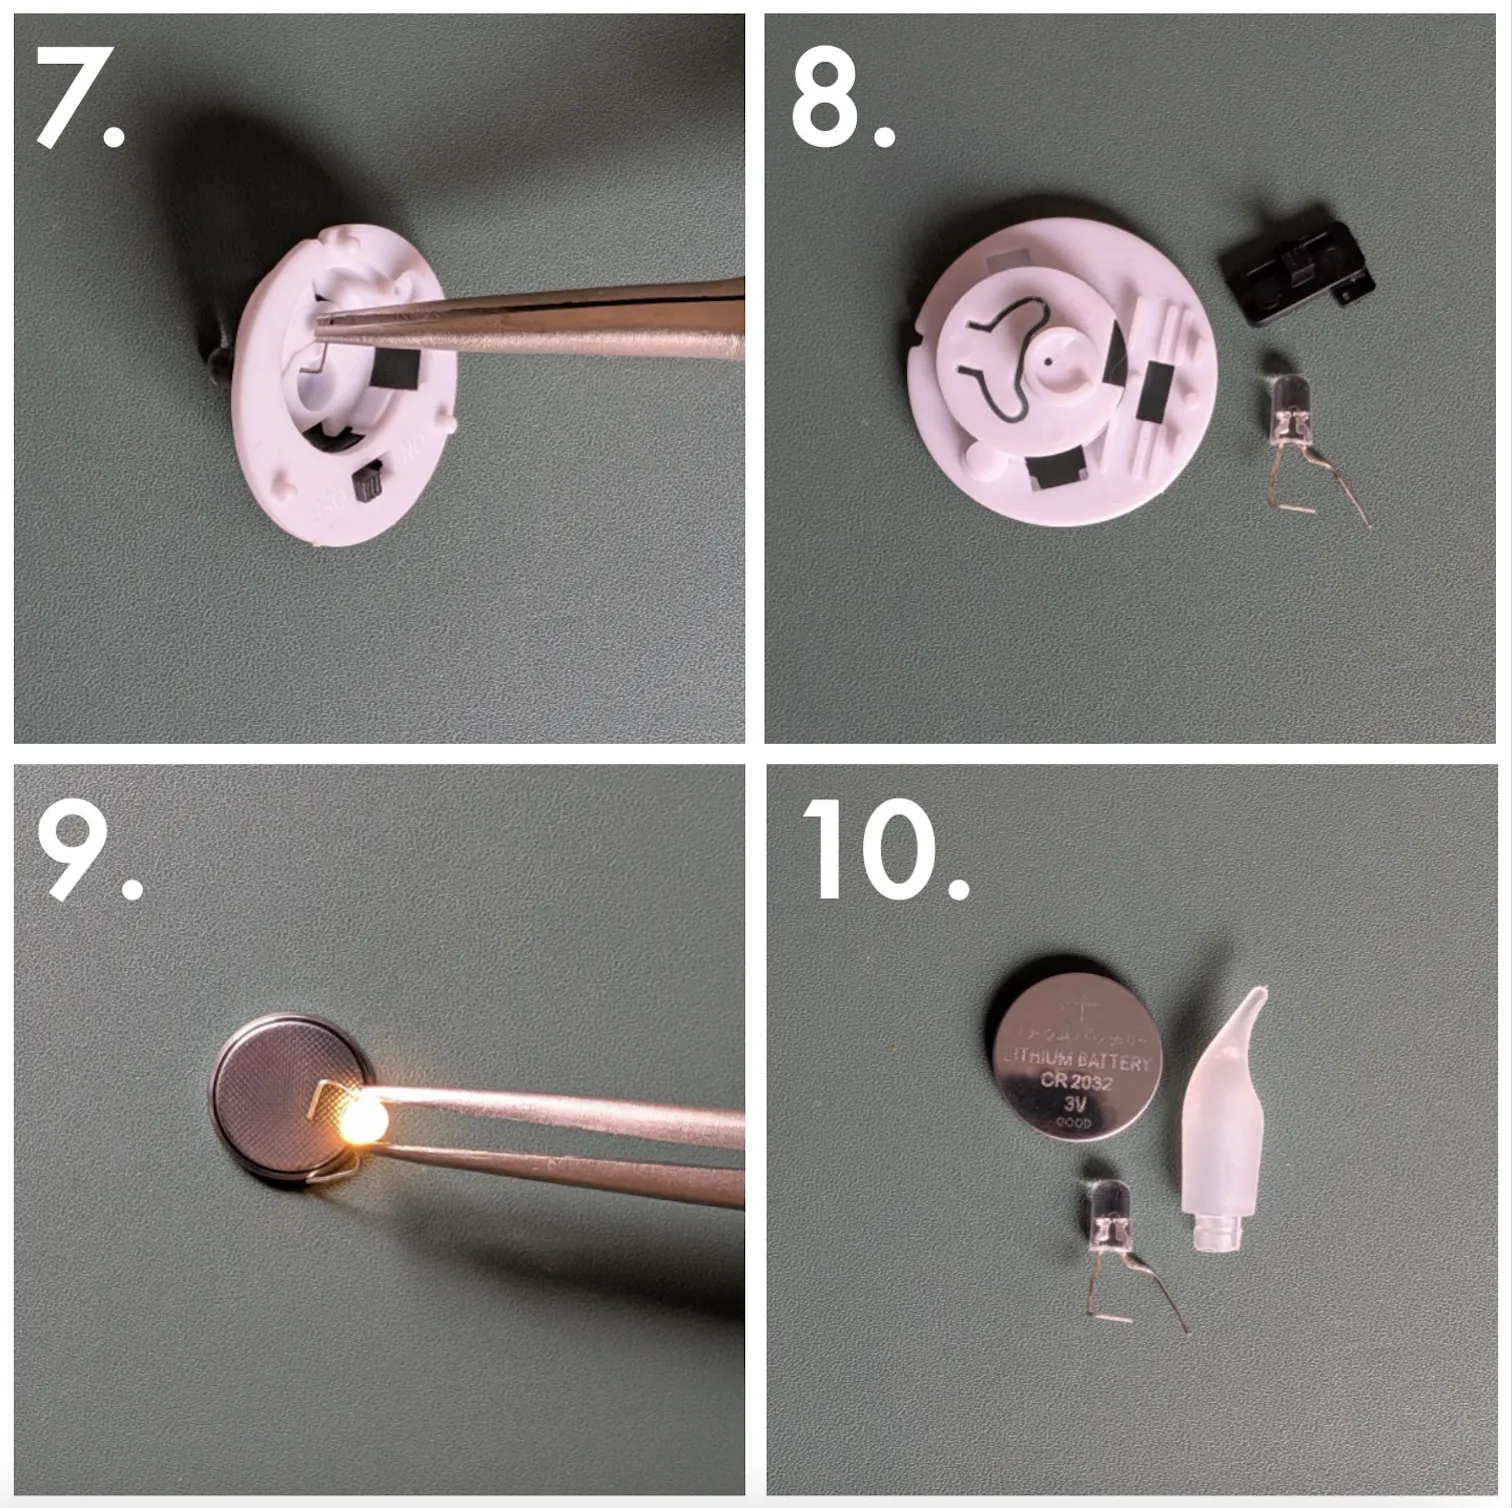
Step-by-step disassembly of an LED tea light (description below images).
Required tools: narrow screwdriver and narrow pliers.
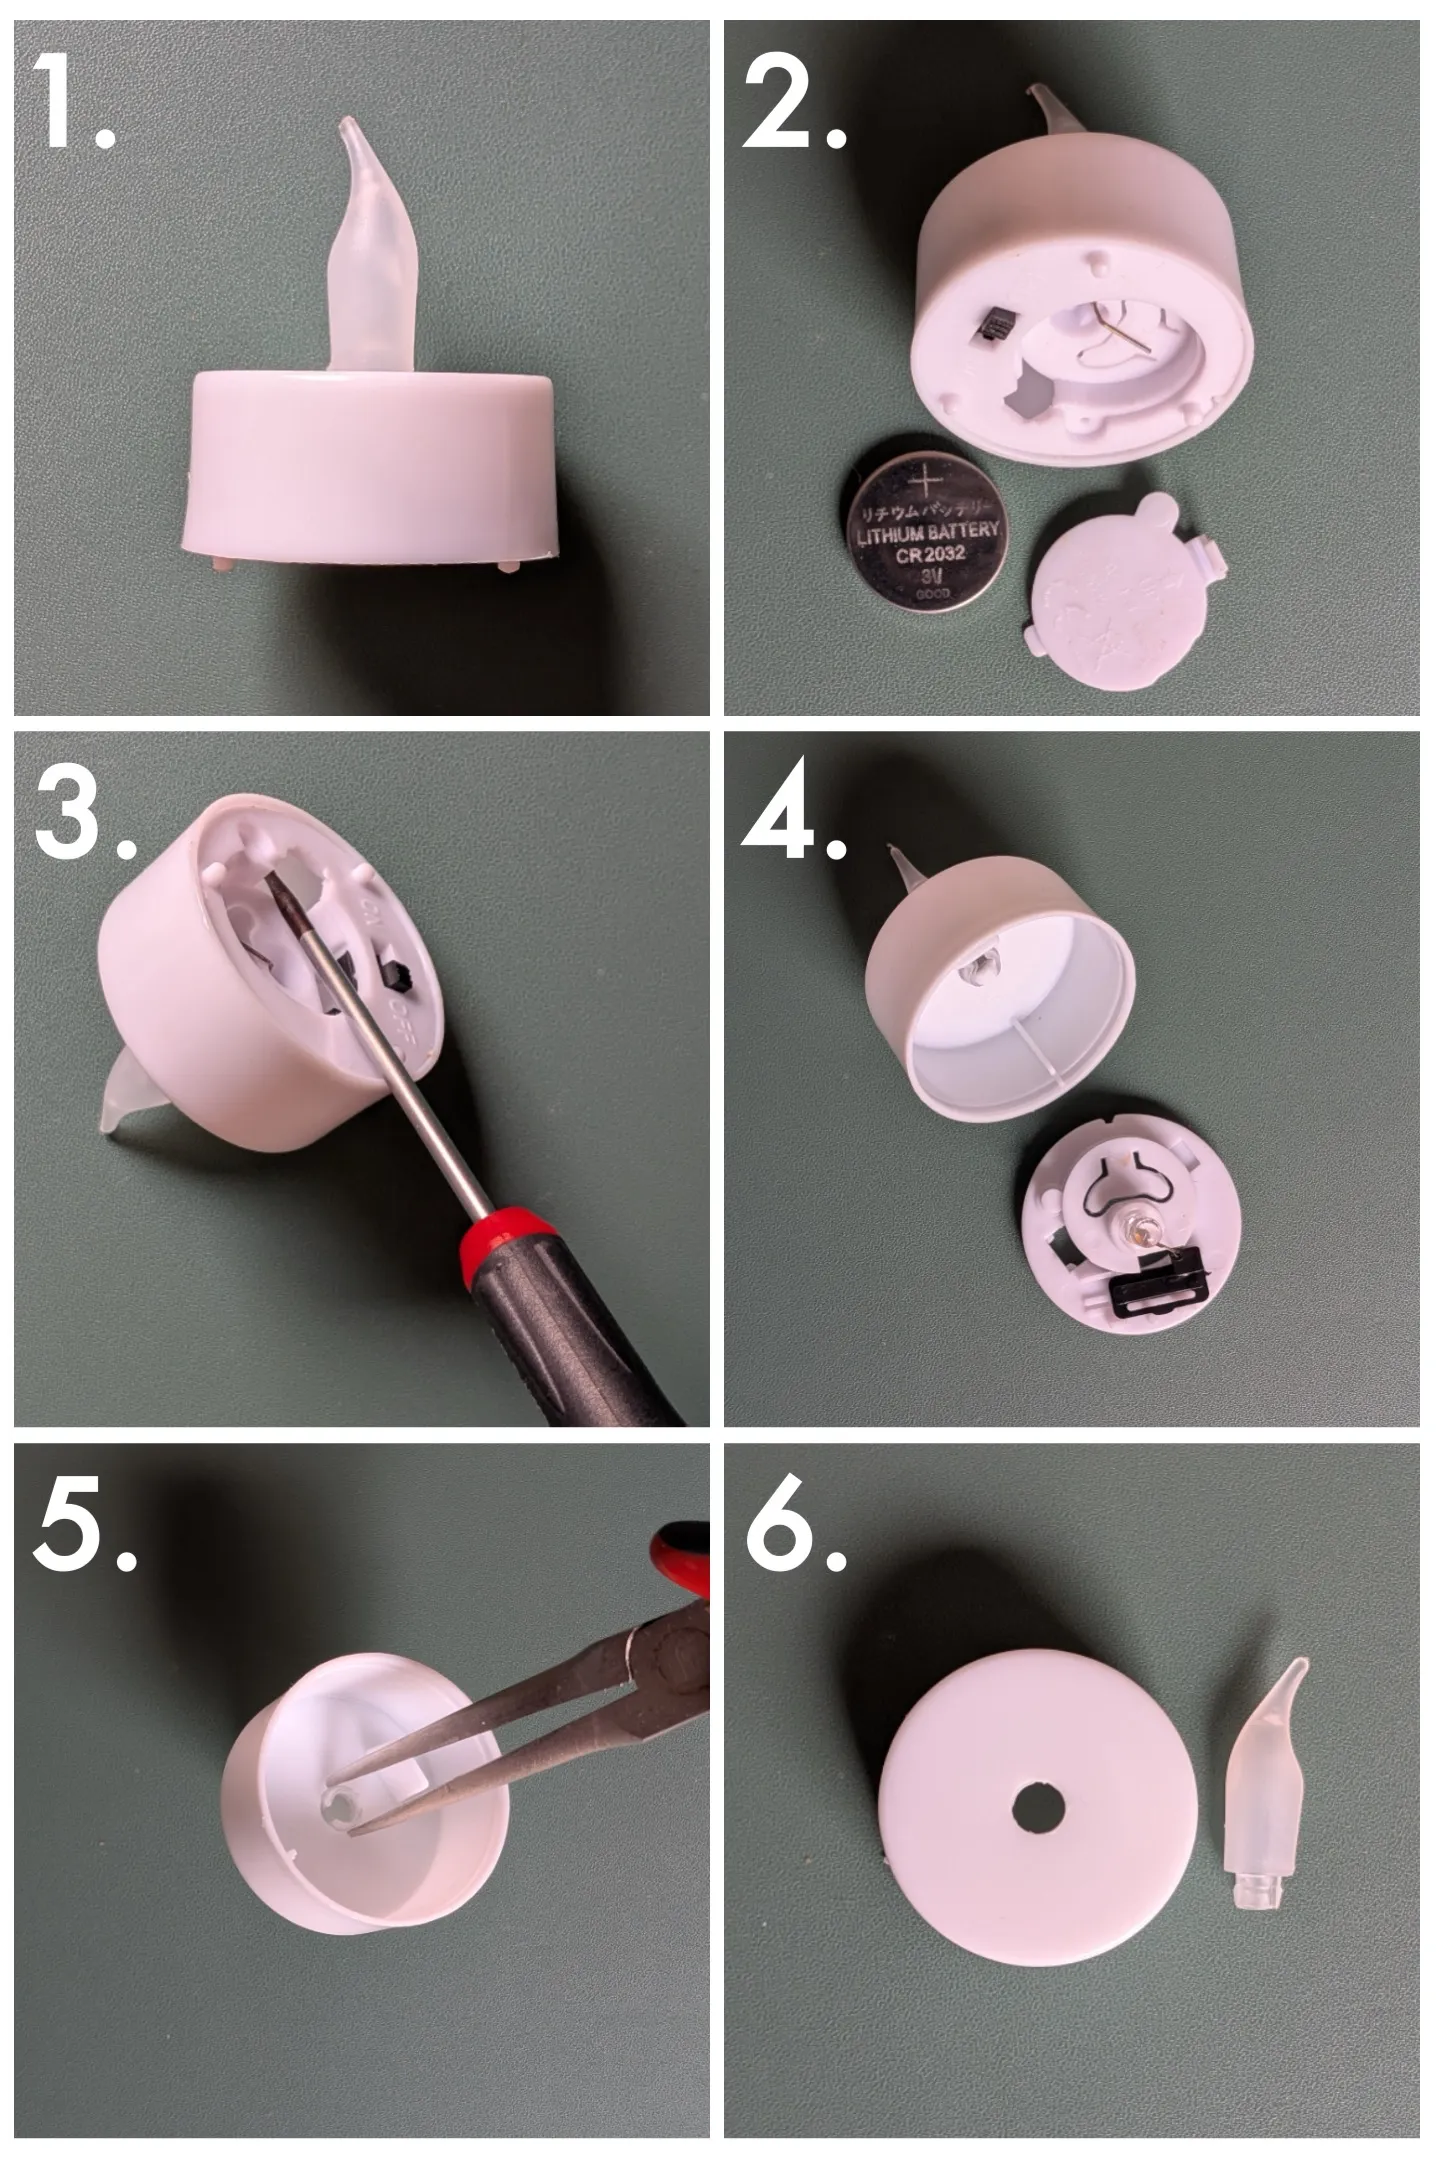
1. Standard LED tea light
2. Remove the battery cover and battery
3. Using a screwdriver or similar tool, we remove the electronic component from the housing
4. We obtain the housing with the flame and the electronic component.
5. Using pliers, we remove the flame.
6. We obtain the housing and the flame.
7. We need to straighten the wire of the LED light slightly so that we can carefully remove the LED light.
8. We obtain the LED light, the slider, and the electronic housing.
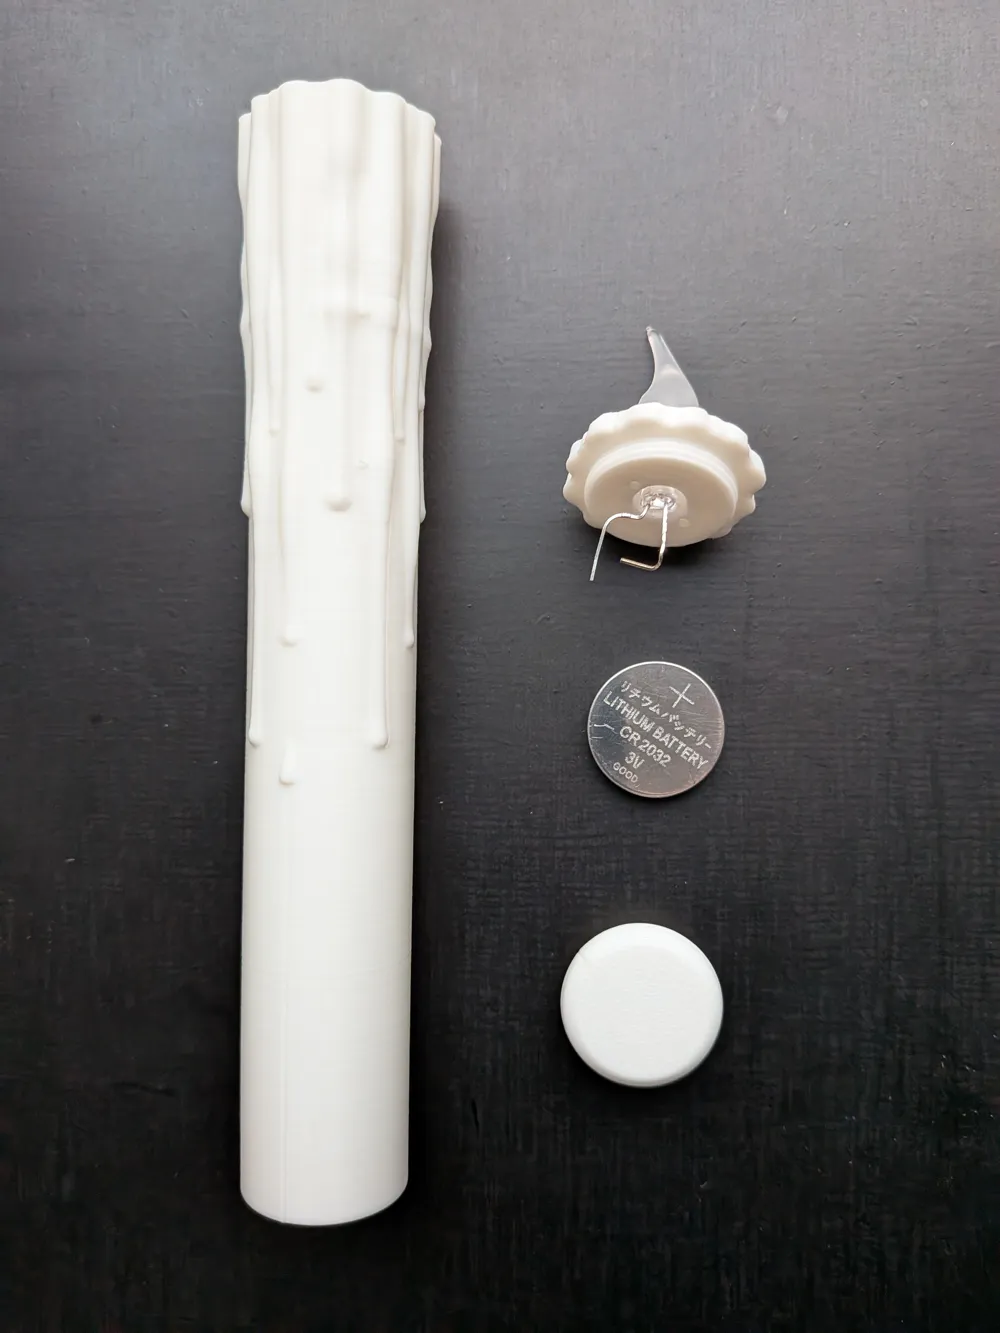
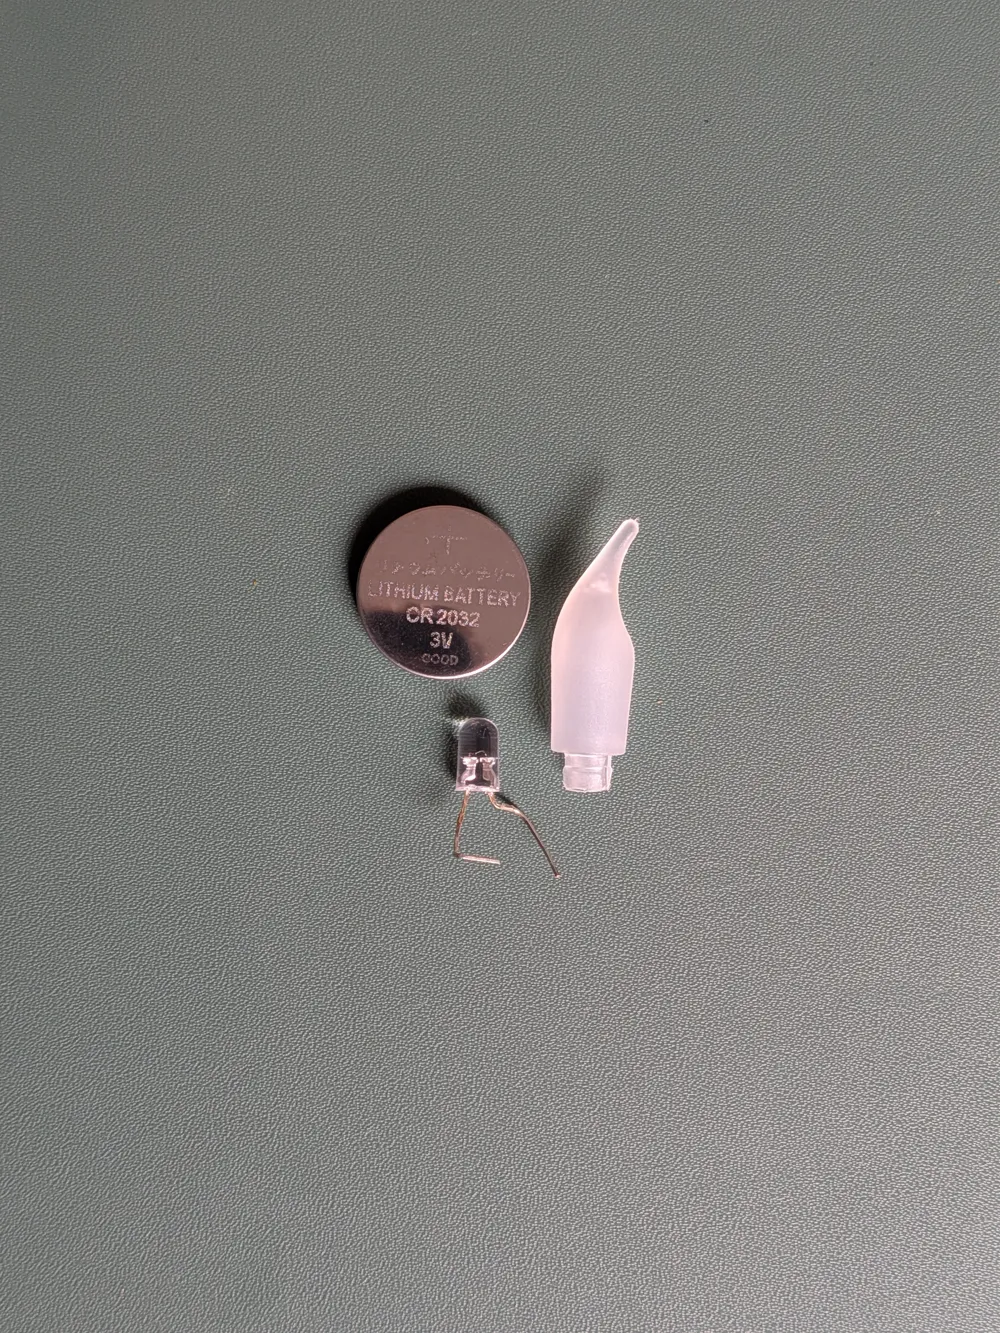
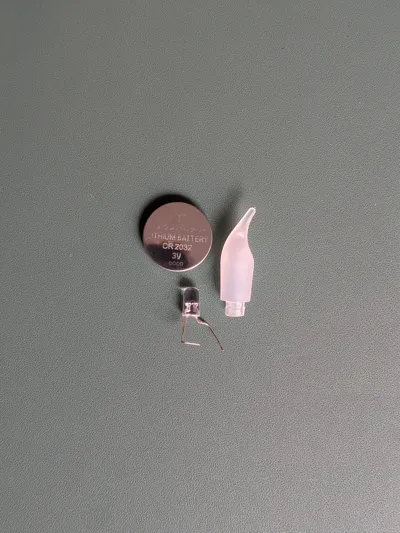
9. The LED light has two contacts. One must touch the center of the bottom of the battery, the other the outer edge. Test this in advance and carefully bend the contacts with pliers as shown.
10. The battery (CR 2032 3V), the LED light and the flame are needed for further use. The remaining parts are no longer needed and can be put away.
The tea light can be reassembled by reversing the process.
The battery is not dangerous as long as it is not swallowed.
License

You shall not share, sub-license, sell, rent, host, transfer, or distribute in any way the digital or 3D printed versions of this object, nor any other derivative work of this object in its digital or physical format (including - but not limited to - remixes of this object, and hosting on other digital platforms). The objects may not be used without permission in any way whatsoever in which you charge money, or collect fees.


Comment & Rating (9)