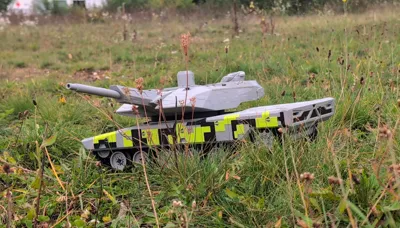
Cyberbrick Kf51 Panther Uncolored Version


Print Profile(12)


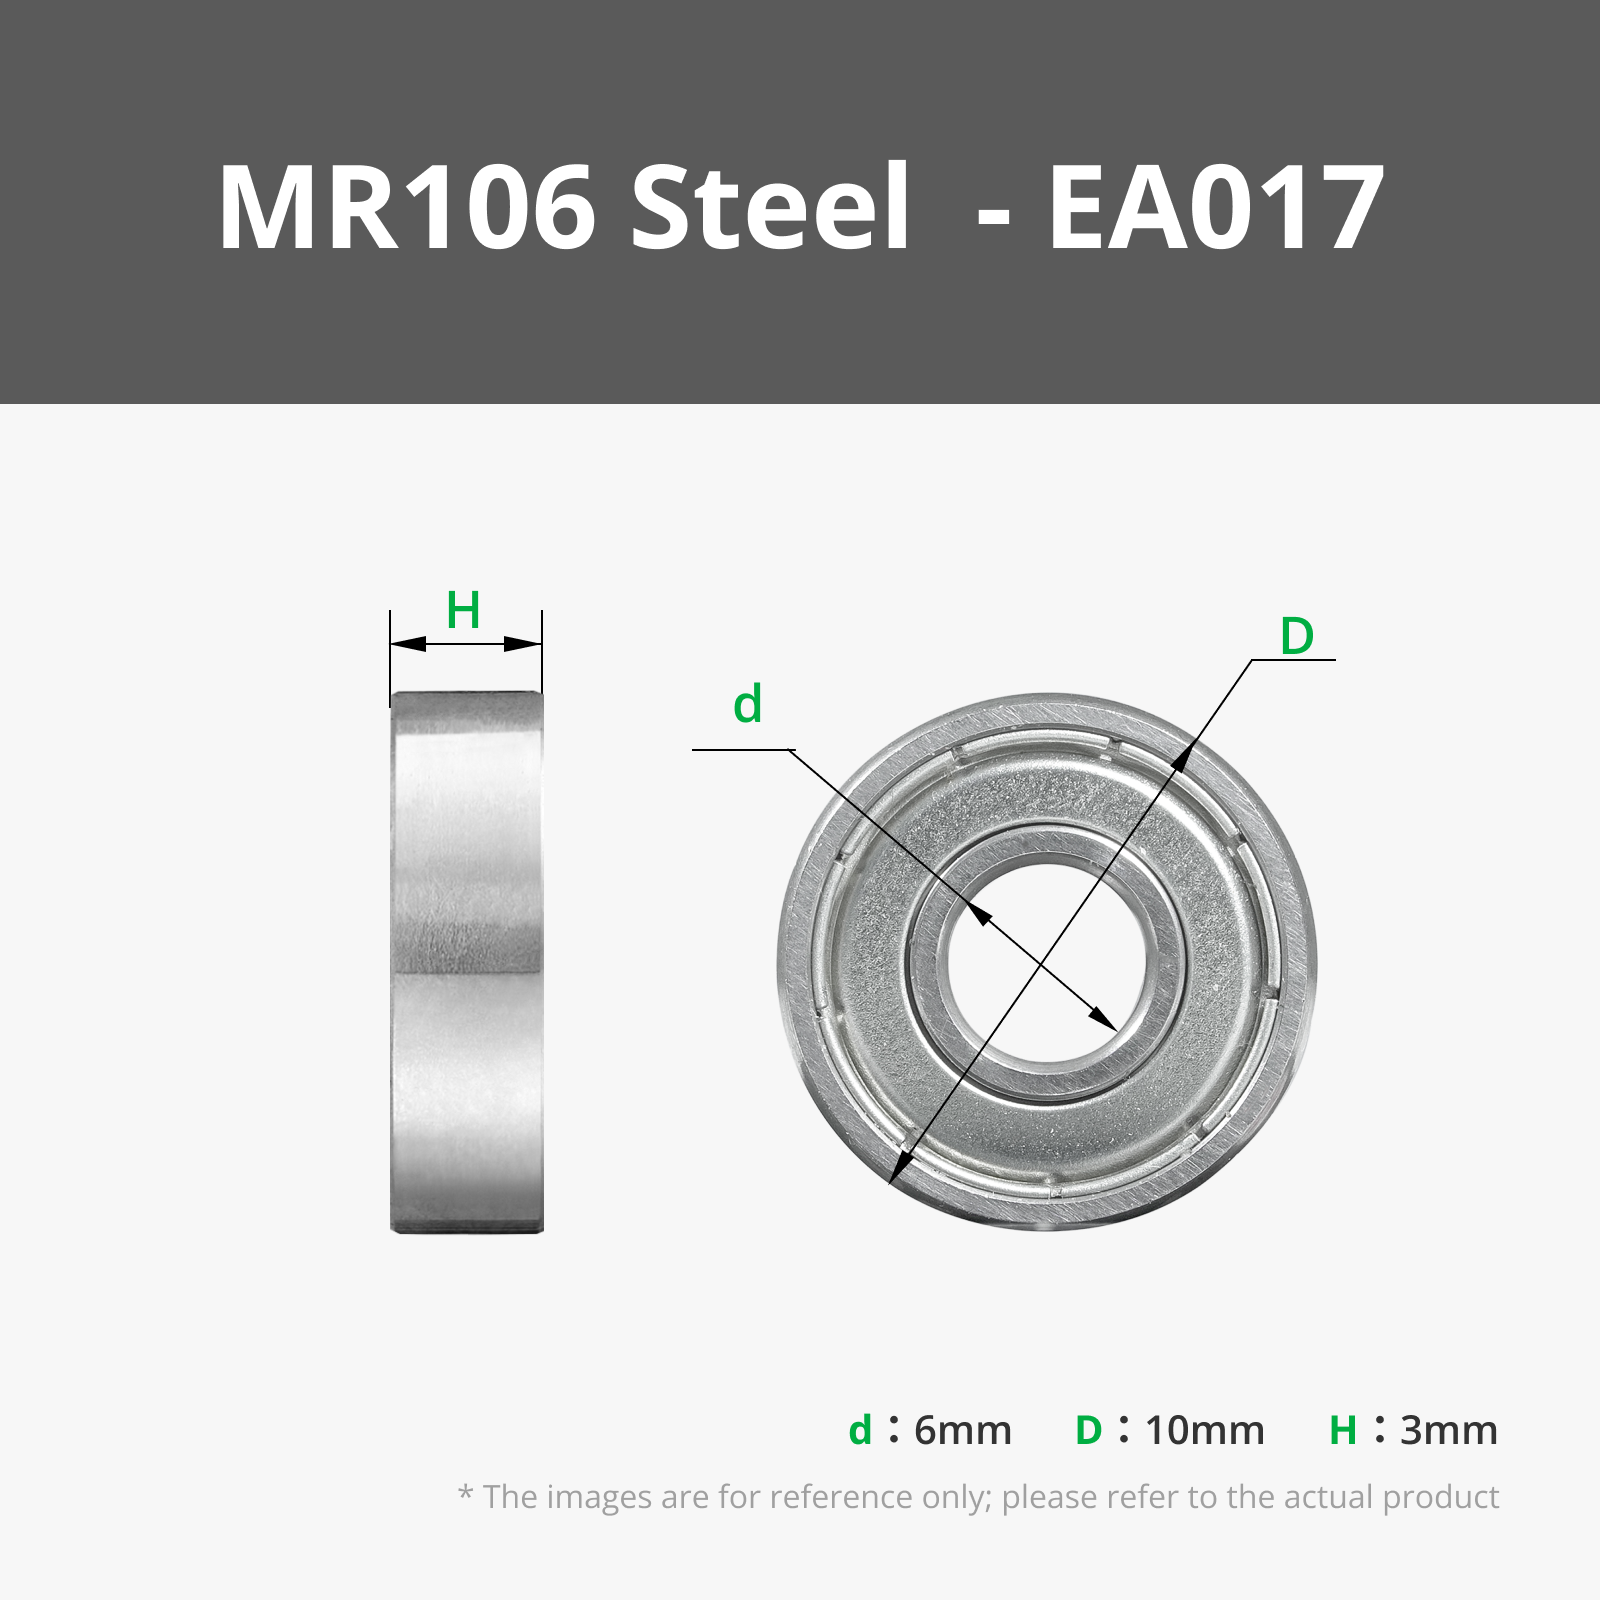
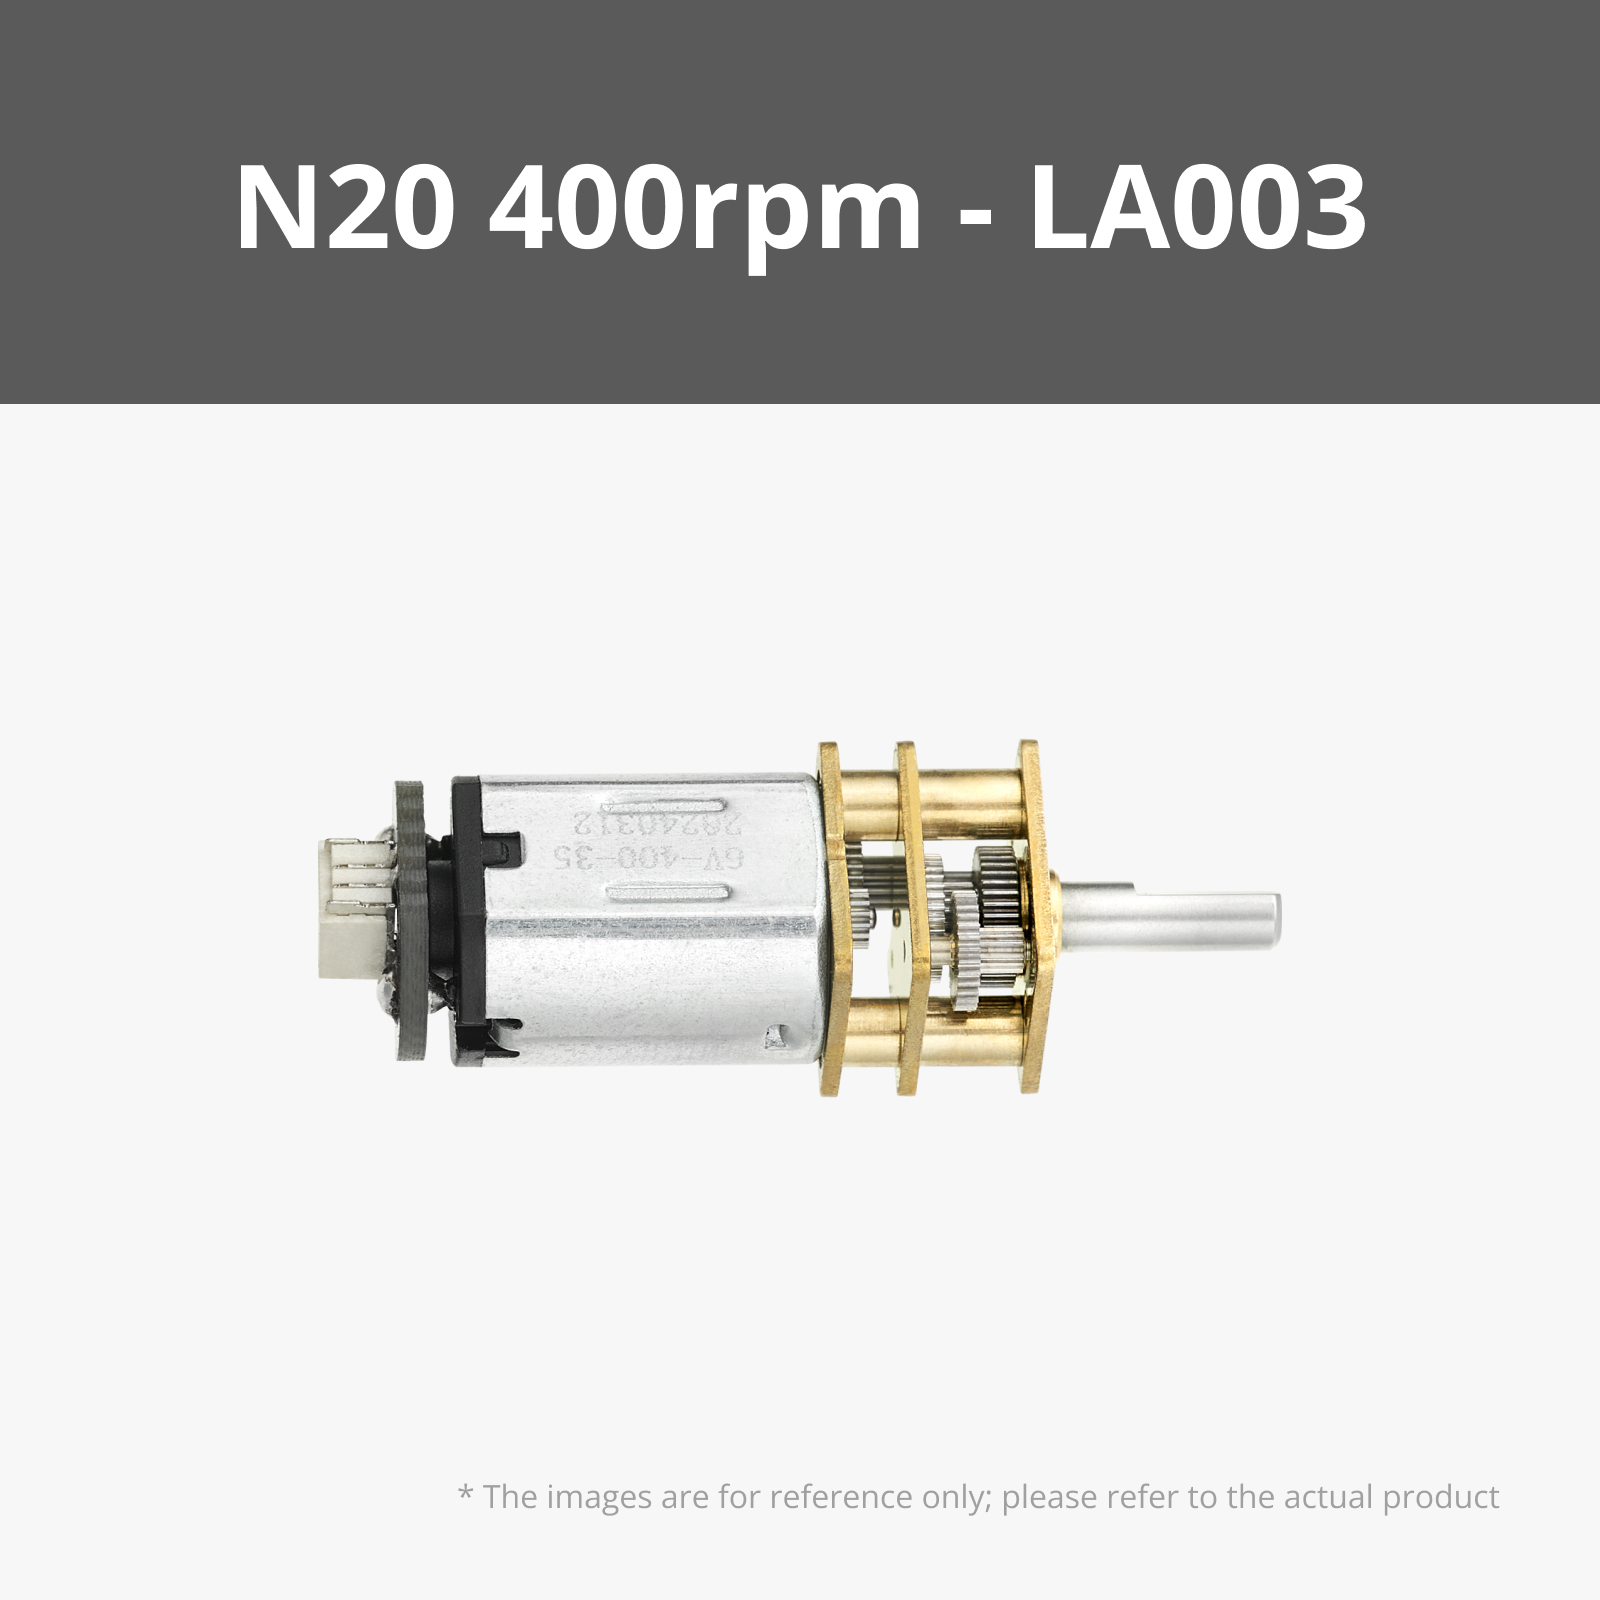
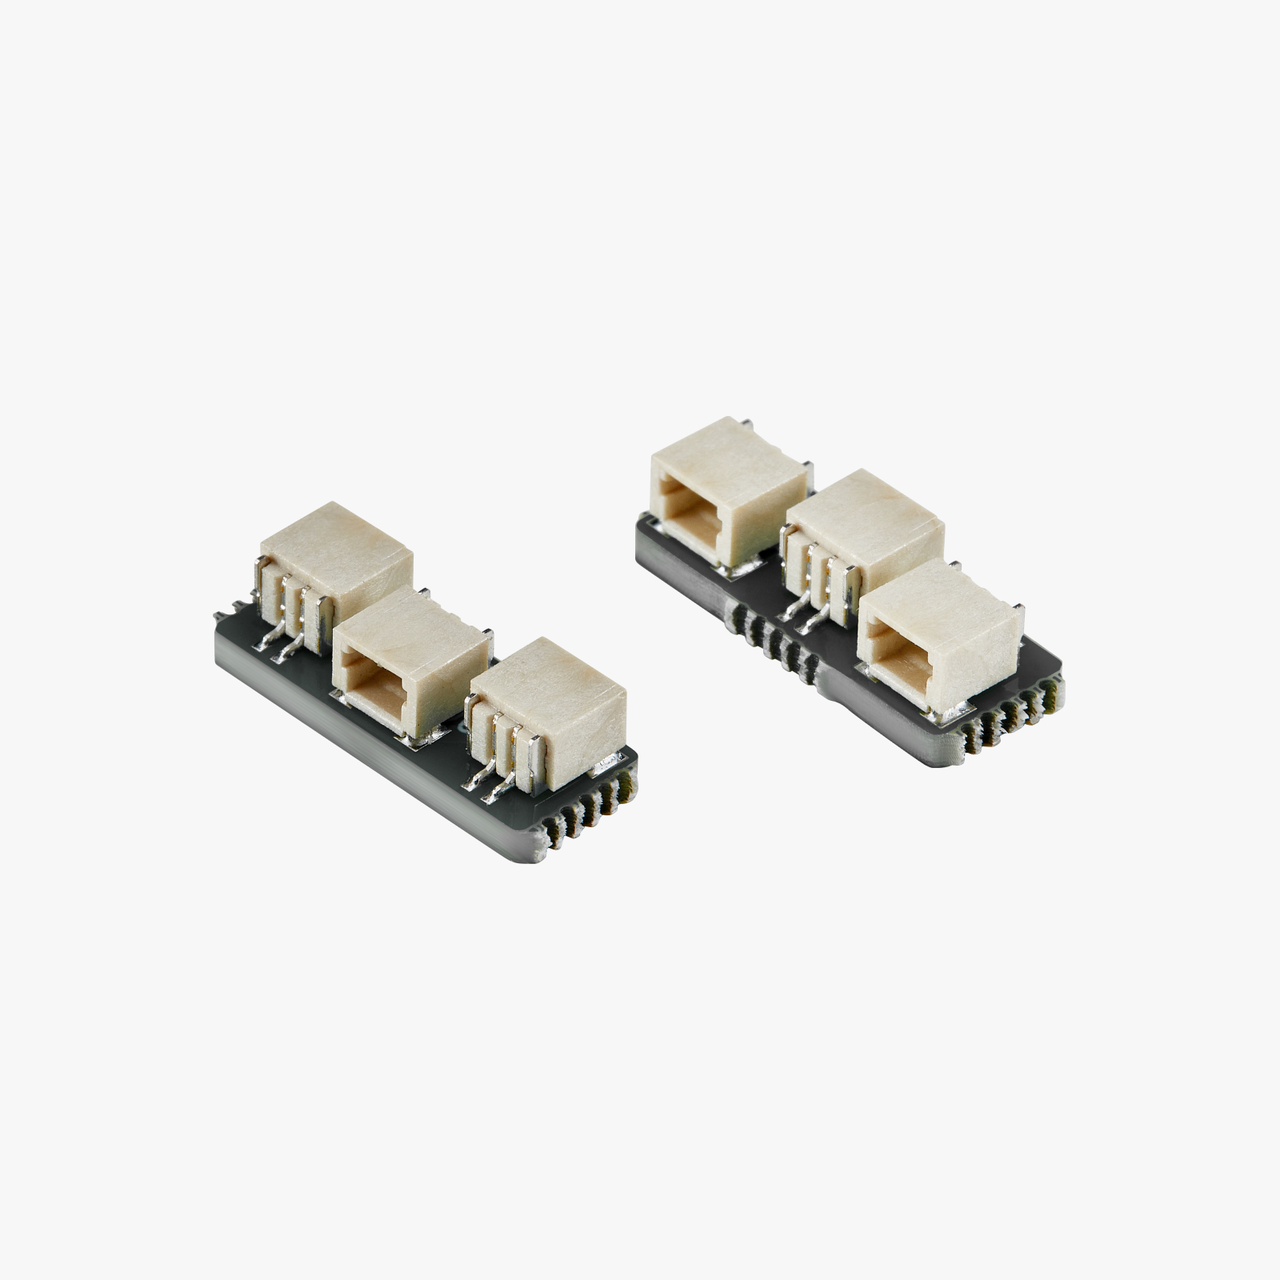
Bill of Materials


Description
Implementation
The model is designed to work with two CyberBrick sets:

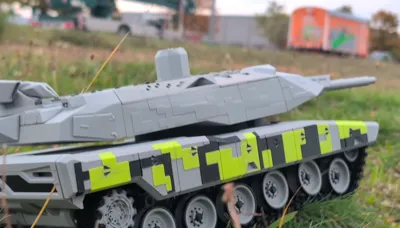
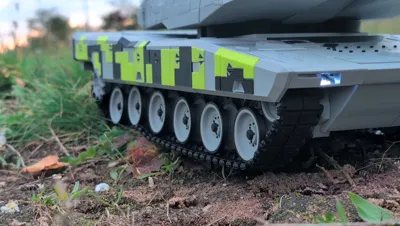
- Hull section: Powered by 4 motors, one servo for turret rotation, a gearbox for powerful or fast driving mode, plus front and rear lights.
- Turret section: Includes a controllable rocket launcher, a rotating .50 cal, a movable radar, and a firing simulation with recoil barrel movement.
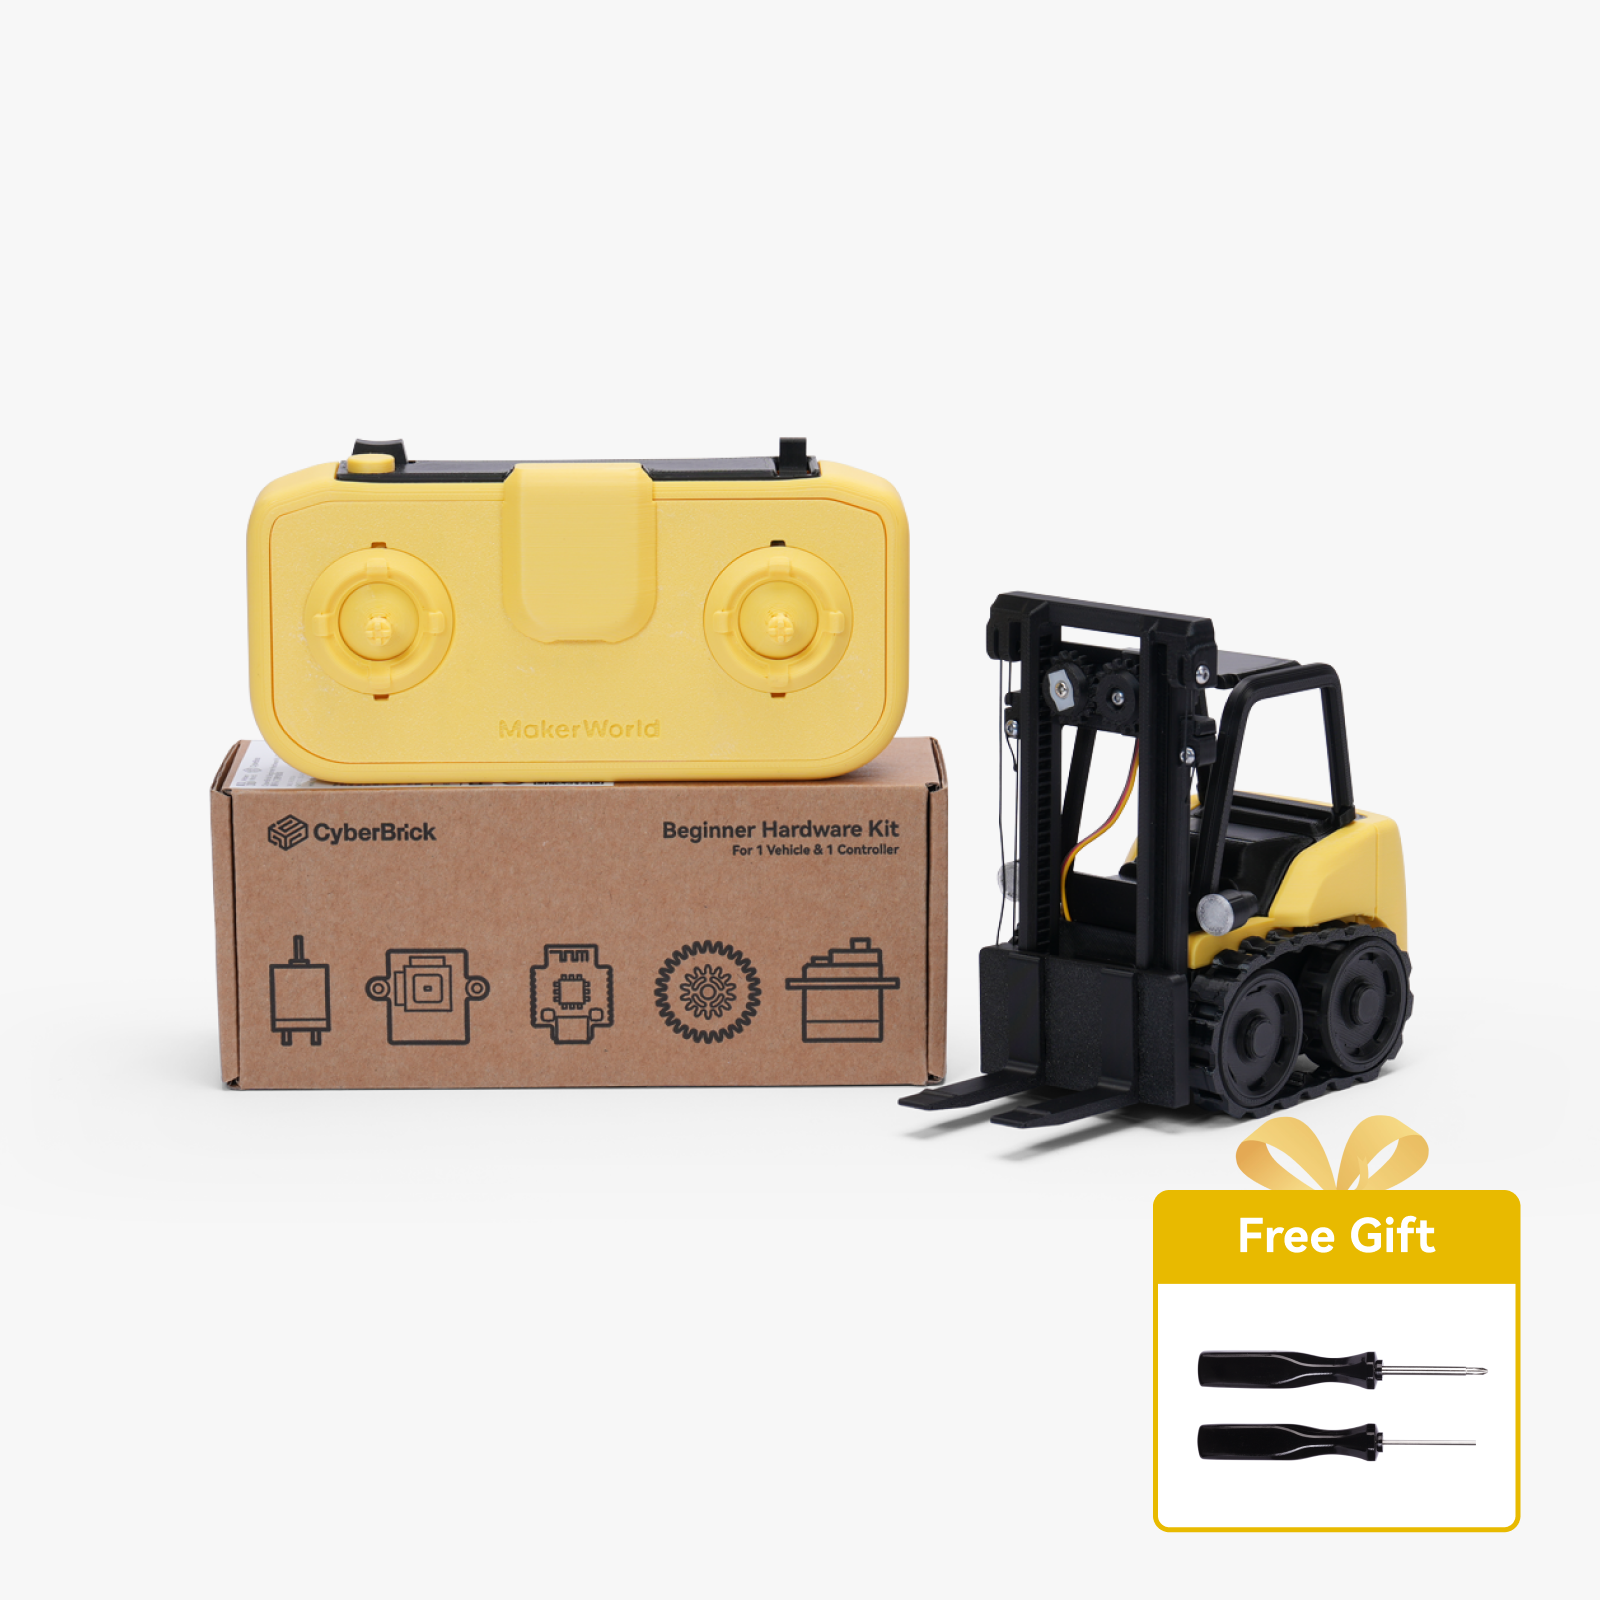
Additionally, there will be a custom remote control, specially tailored for this model.
As a bonus, I am also planning a variant where the turret can be replaced with a smartphone holder. This way, you can stream your phone’s camera to your TV and drive the tank through your home.
Features Overview

| Individually spring-suspended wheels for realistic suspension movement | Switchable gearbox for high-torque or high-speed mode |
|---|---|
 |

|
| Front and rear LED lights | 4-motor drive system for powerful movement |
 |  |

| Firing simulation with recoil barrel movement | swiveling 120 mm cannon |
|---|---|
 |  |
| Turret rotation via servo | controllable drone launcher |
 |  |
| Rotating .50 cal machine gun | Movable radar system |
 |  |
Control System:
- Custom-built remote control with dedicated switches for all tank functions
- Easy-to-use layout designed for immersive control


Bonus Function:
- Replaceable turret with smartphone holder
- Drive the tank using your phone’s camera stream (e.g. stream to your TV and explore your home)


 |  |
|---|---|
 |  |
 |  |
- You can choose between two motorization options:
- DC030 motors from the CyberBrick kit, or
- 4× N20 motors (optional purchase).
- If you decide not to use the N20 motors, make sure to remove them from the parts list before ordering.
- The same applies to the suspension springs — if you prefer a softer suspension, you can replace them with shorter ones (e.g. BB010).
Otherwise, remove them from your list as well.
Documentation (1)

License
You shall not share, sub-license, sell, rent, host, transfer, or distribute in any way the digital or 3D printed versions of this object, nor any other derivative work of this object in its digital or physical format (including - but not limited to - remixes of this object, and hosting on other digital platforms). The objects may not be used without permission in any way whatsoever in which you charge money, or collect fees.
Comment & Rating (30)