
Owlbox - RFID tag speaker for kids - Phoniebox
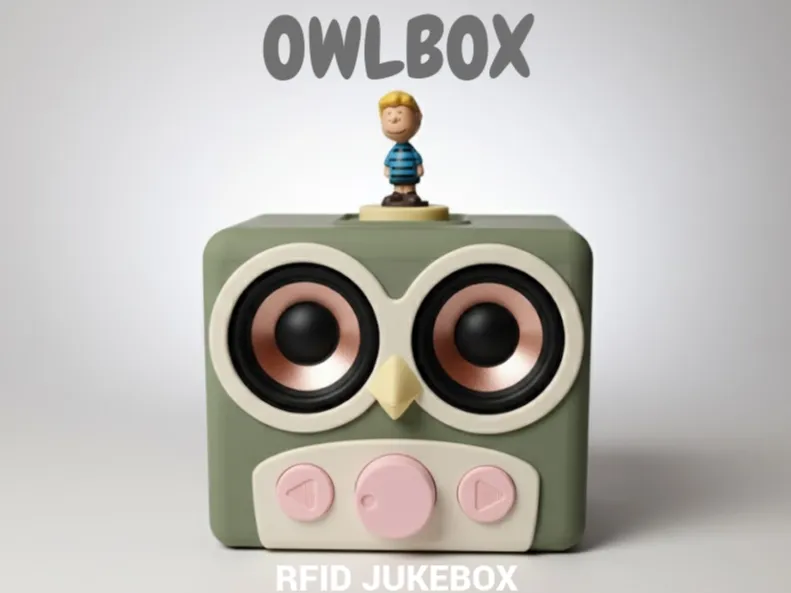
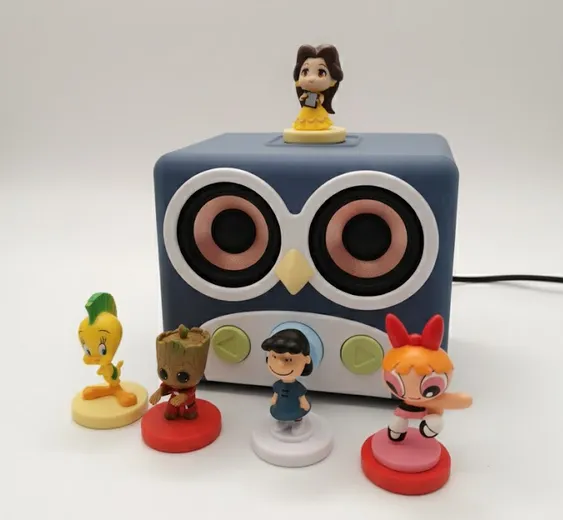
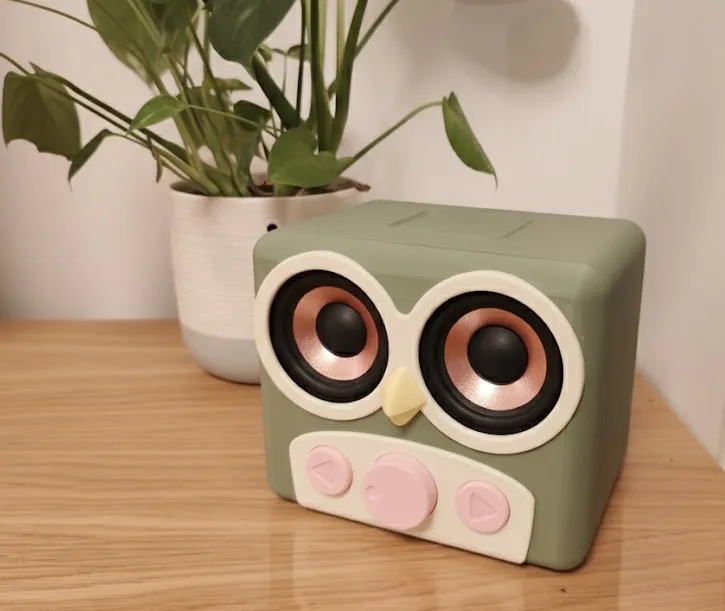
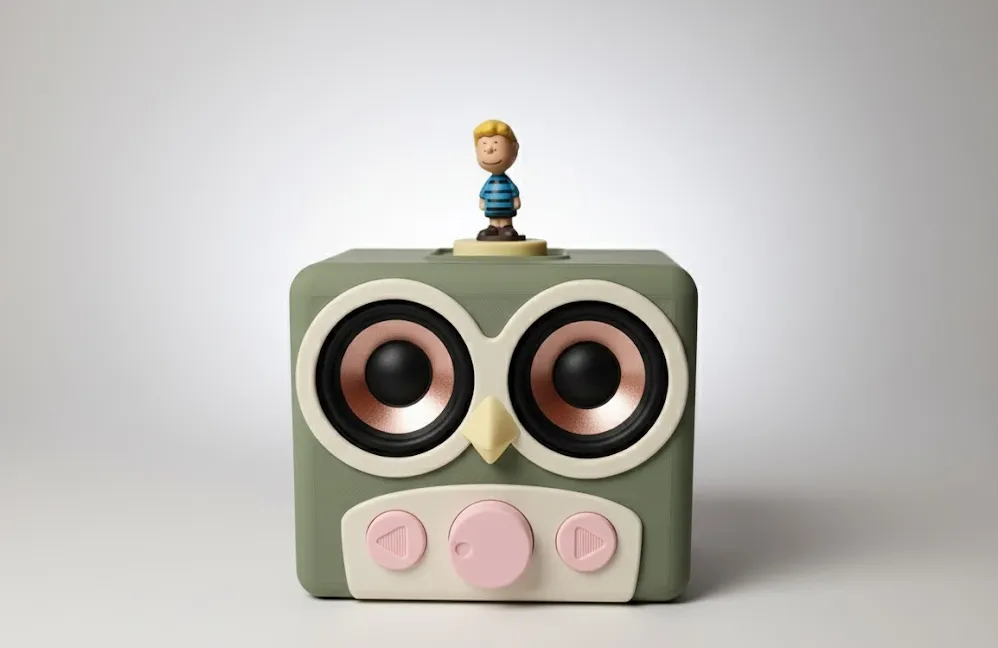
Print Profile(1)

Description
Owlbox: A Robust, Smart RFID Music Player for Kids (Phoniebox)
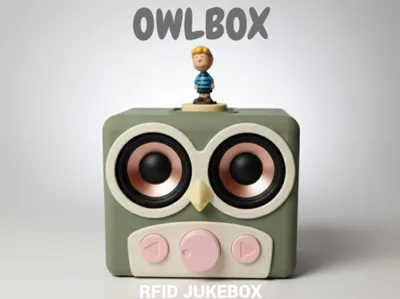
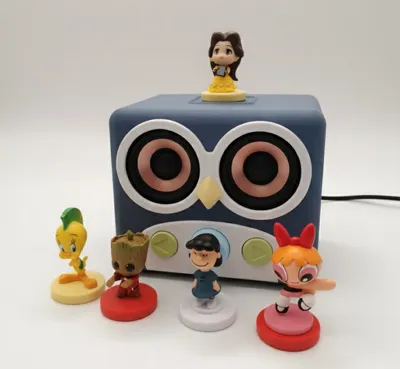
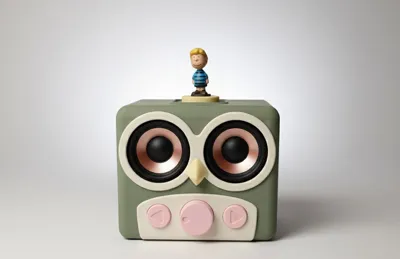
Tired of screens? The Owlbox is a DIY, screen-free jukebox that's tough enough for toddlers and smart enough for your connected home. Designed as an adorable owl, this speaker lets your kids take control of their music and stories. Just place a character on top, and the music plays!
Note: AMS required for the faceplate. I think it is possible to design it in different parts, if there is interest, I might work on it.
Key Features
- Truly Toddler-Proof: The main body is reinforced with two internal braces, allowing it to withstand serious force.
- Clean, Professional Look: The entire enclosure is assembled with four long screws from the back. This leaves the front and sides completely clean and seamless, with no visible screws.
- Tactile Controls: No mushy buttons here. The Owlbox uses satisfying, clicky MX-style mechanical keyboard switches and a KY-040 rotary encoder for a high-quality feel.
- Magnetic Tag System: The printable RFID Tag Bases are designed to have a 12x3mm magnet embedded inside. A corresponding magnet inside the enclosure top means the figurines "snap" satisfyingly into place and won't fall off.
- Sort of “Stereo” Sound: The enclosure is built for two 2.5-inch AIYIMA full-range speakers, which provide excellent, rich audio that's perfect for a kid's room.
- Quite Compact: The outer dimensions are W160xH135xD120mm.
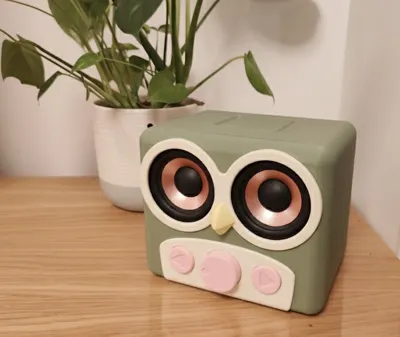
- Looks like an owl: cute, right?
The "Brains": Flexible & Home Assistant Ready
This is where the Owlbox enclosure truly shines. You have two main build paths:
- Raspberry Pi (Phoniebox): Use a Raspberry Pi (Zero, 4, or 5) to run the famous Phoniebox software. This is a powerful, well-documented, all-in-one solution.
- Louder ESP32 with Home assistant integration: Use the cost-effective Sonocotta LOUDER ESP32 board. This is a simpler, more dedicated build path.
The Home Assistant Advantage:
If you already use Home Assistant, the ESP32 build is highly recommended! My included rfid_jukebox home assistant integration is designed to use what you already run as the backbone for your kid's jukebox. Instead of managing audio files on an SD card, the Louder ESP32 running ESPHome simply reports the RFID tag ID to Home Assistant. The integration lets you map RFID tags to playlists or folders directly, so the next time you present it Music Assistant will start playing your choice in the speaker! You can also then use HA's powerful automations to control the speaker, dim the lights, or play a specific Spotify playlist. It's incredibly straightforward and powerful.
All the code and documentation for the ESP32 build are available at my GitHub repo:
https://github.com/XtracT/rfid_jukebox
Summary Hardware BOM
Here's a quick overview of what you'll need. (See the full Manual for exact counts and specs.)
- 3D Printed Parts: Main Enclosure, Faceplate, Back Panel, 2x Speaker Brackets, 2x Internal Braces, and your RFID Tag Bases.
- Core Electronics (Choose one):
- Path A: 1x Sonocotta LOUDER ESP32
- Path B: 1x Raspberry Pi (Zero/4/5) + 1x Audio DAC/Amp HAT
- Common Electronics:
- 2x 2.5-inch AIYIMA Speakers (4 Ohm recommended, Aliexpress: 1005003690882286)
- 1x PN532 RFID Reader
- 1x KY-040 Rotary Encoder
- 2x MX Mechanical Switches
- 1x USB-C Panel Mount (Aliexpress: 1005009758437594)
- Hardware & Fasteners:
- ~22x M3x4mm & 2x M2.5x3mm Brass Heat-Set Inserts
- 4x M3x100mm screws (for main assembly, Aliexpress: 1005005879037174)
- Assorted M3 & M2.5 screws for components (see manual)
- Magnets (12x3mm for tags, plus an enclosure magnet)
- 30mm Round RFID Tags (Aliexpress: 1005008672575582, 32861932088) (13,56 MHz, 125 kHz not tested)
- Power:
5V 3A+ USB-C Power Supply
Here you have the hardware assembly manual: https://github.com/XtracT/rfid_jukebox/blob/main/docs/manual.md
The location of the magnets together with the NFC field required a bit of back and forth testing in order to find the optimal solution. I figured out that the 30mm diameter RFID tags are the best, as the 12mm diameter magnet in the center does not impact range considerably, and it works for this use case. Therefore, my recommendation is to stick the the provided base for the figures (which can also be 3D printed!)
Surprise me with your color combinations and figurines. Happy building!
License

You shall not share, sub-license, sell, rent, host, transfer, or distribute in any way the digital or 3D printed versions of this object, nor any other derivative work of this object in its digital or physical format (including - but not limited to - remixes of this object, and hosting on other digital platforms). The objects may not be used without permission in any way whatsoever in which you charge money, or collect fees.


Comment & Rating (25)