
1:1 Porsche Steering Wheel with SIMRACING
Print Profile(15)


Description
My new project on Crowdfunding (LINK)
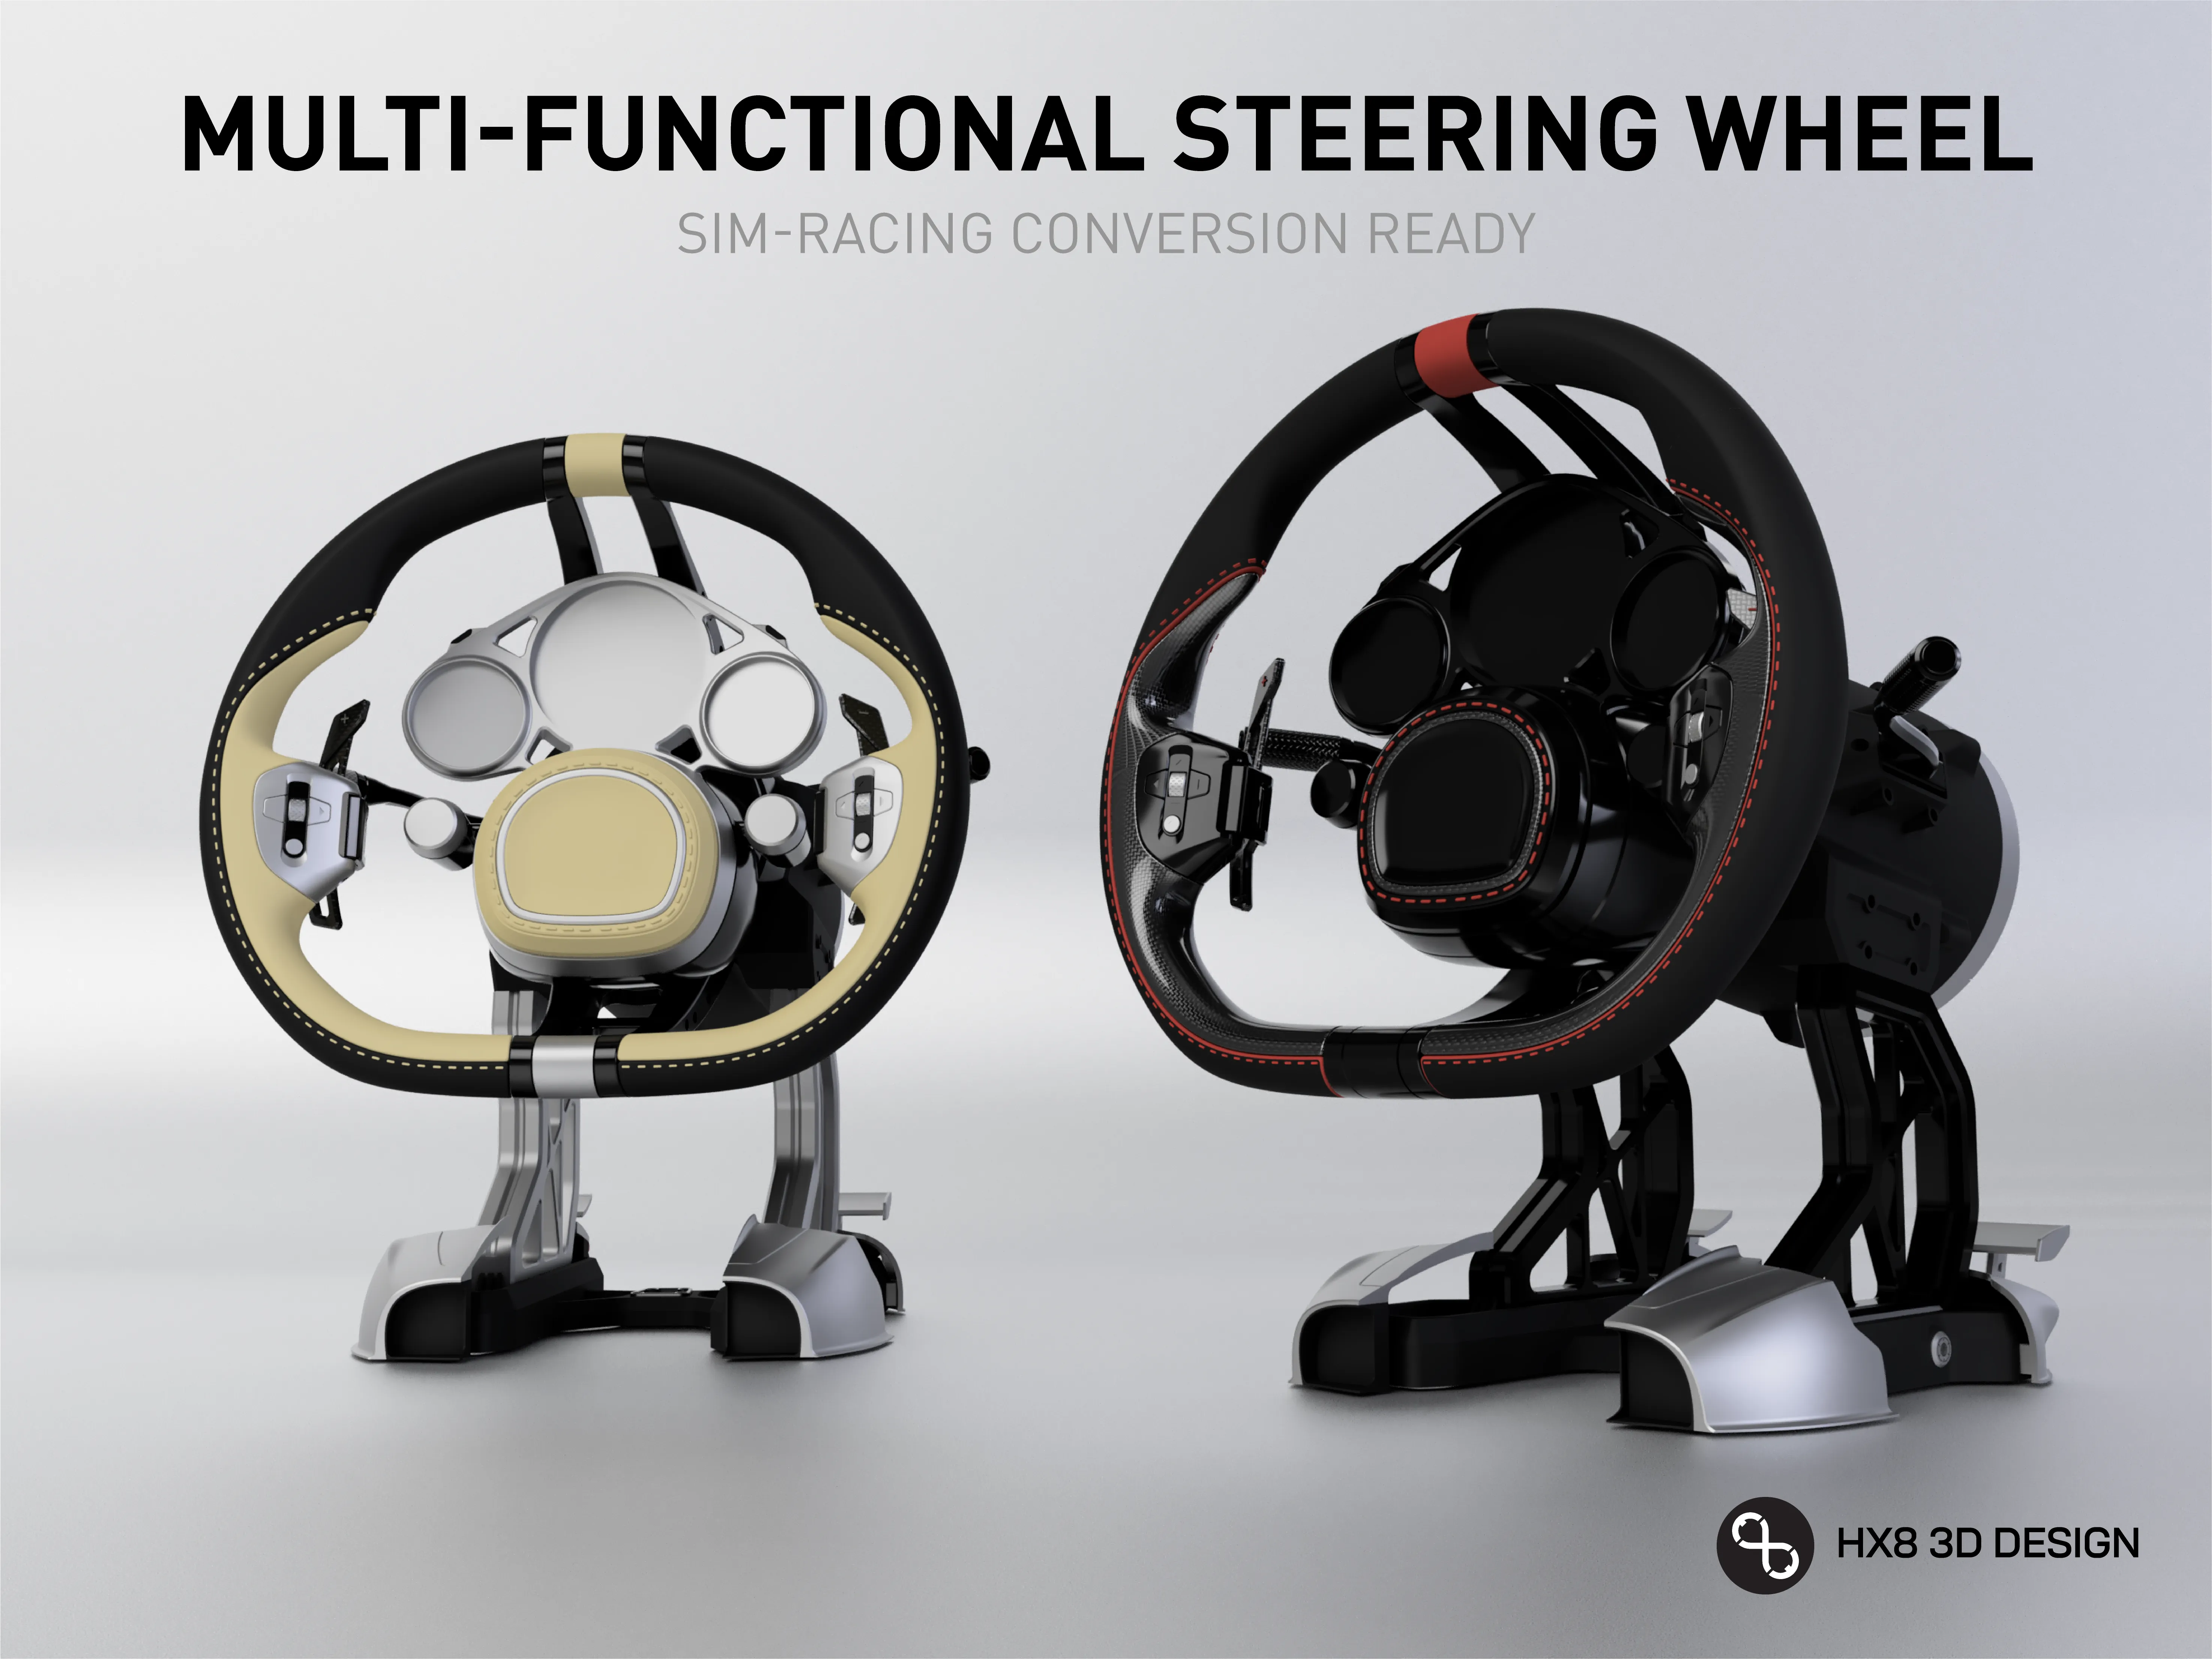
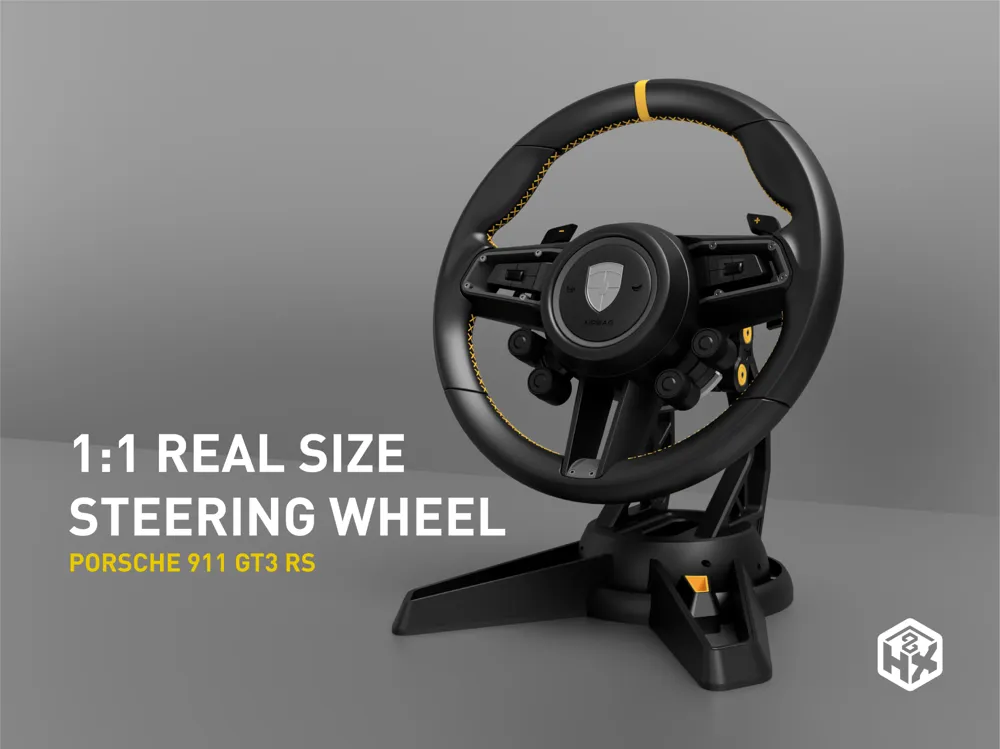
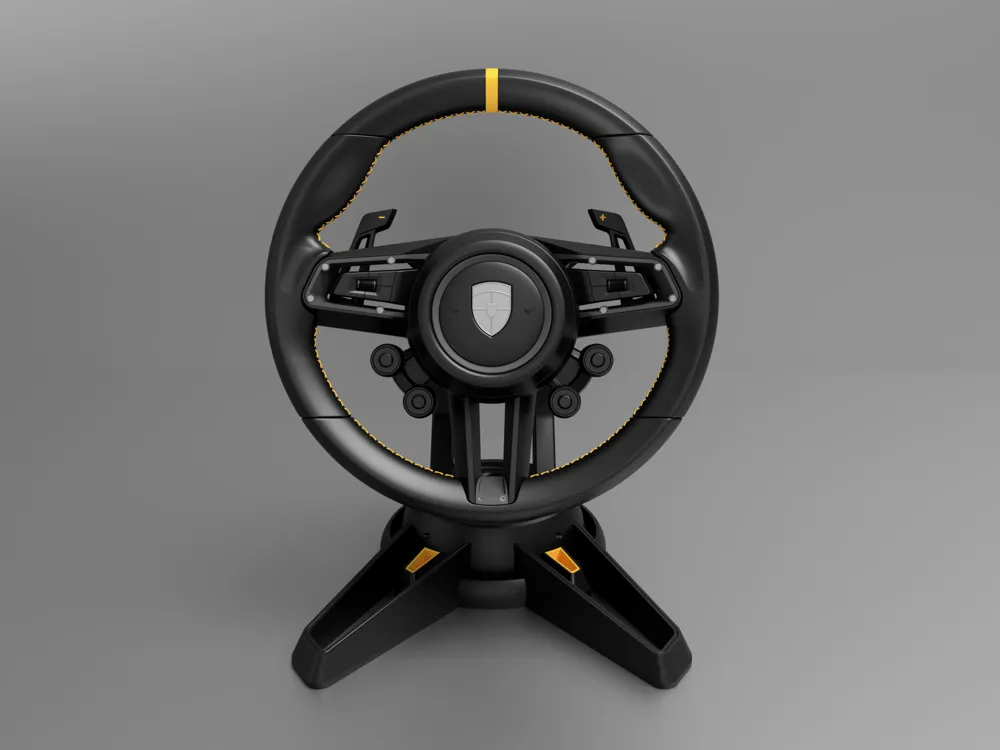
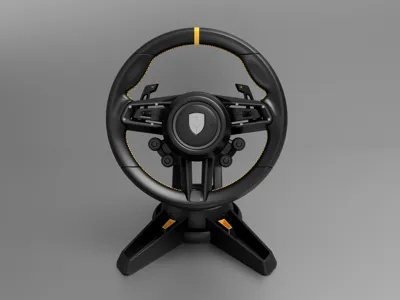
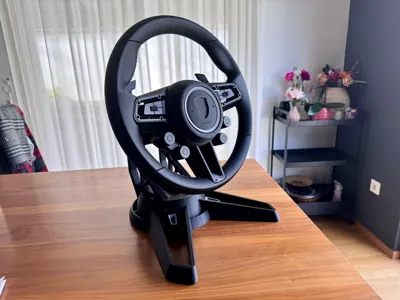
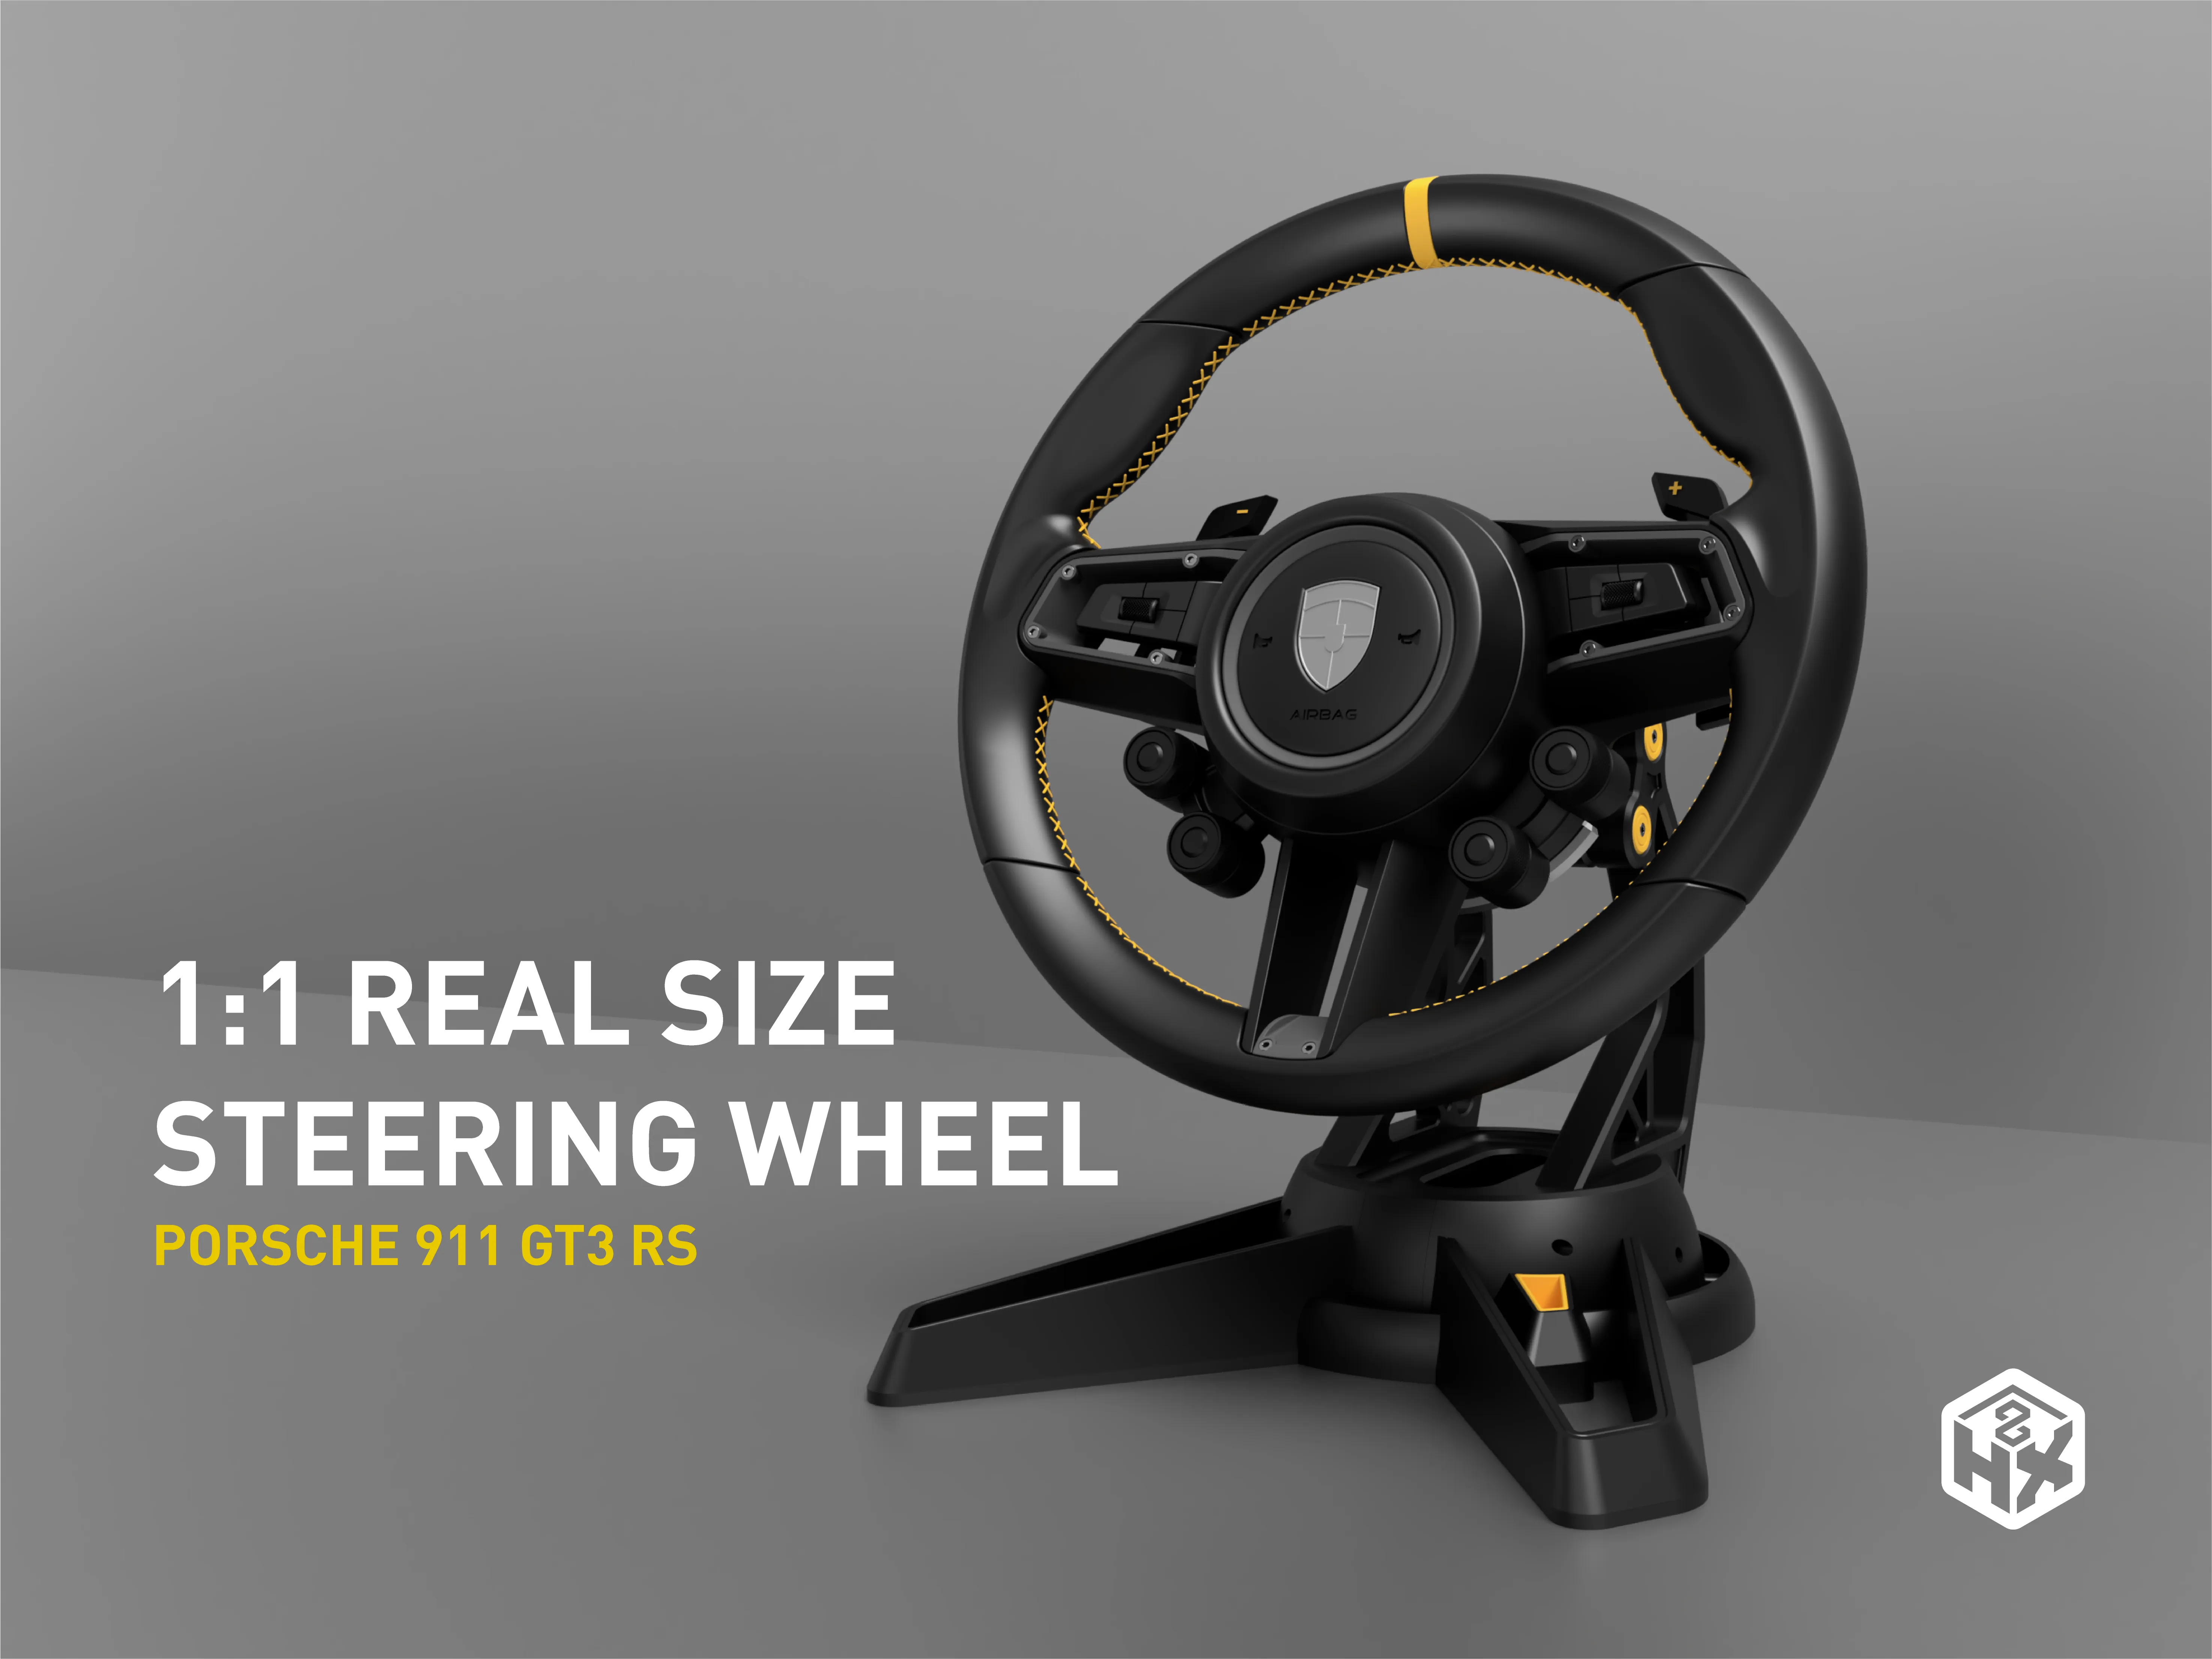
1:1 Articulated Steering Wheel in Porsche Style
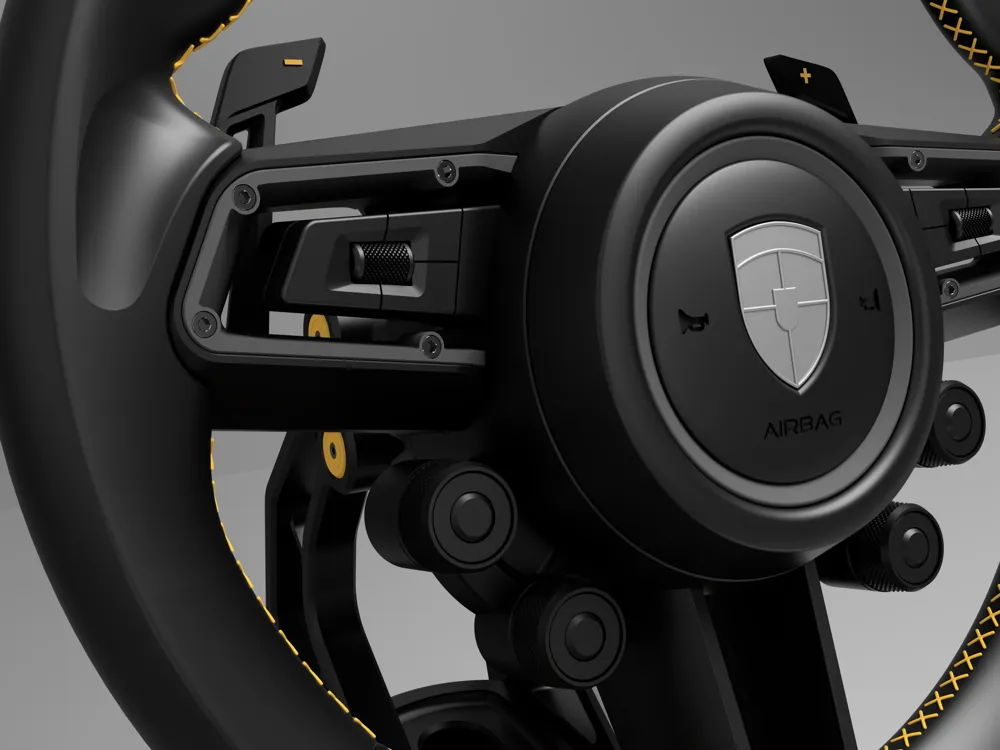
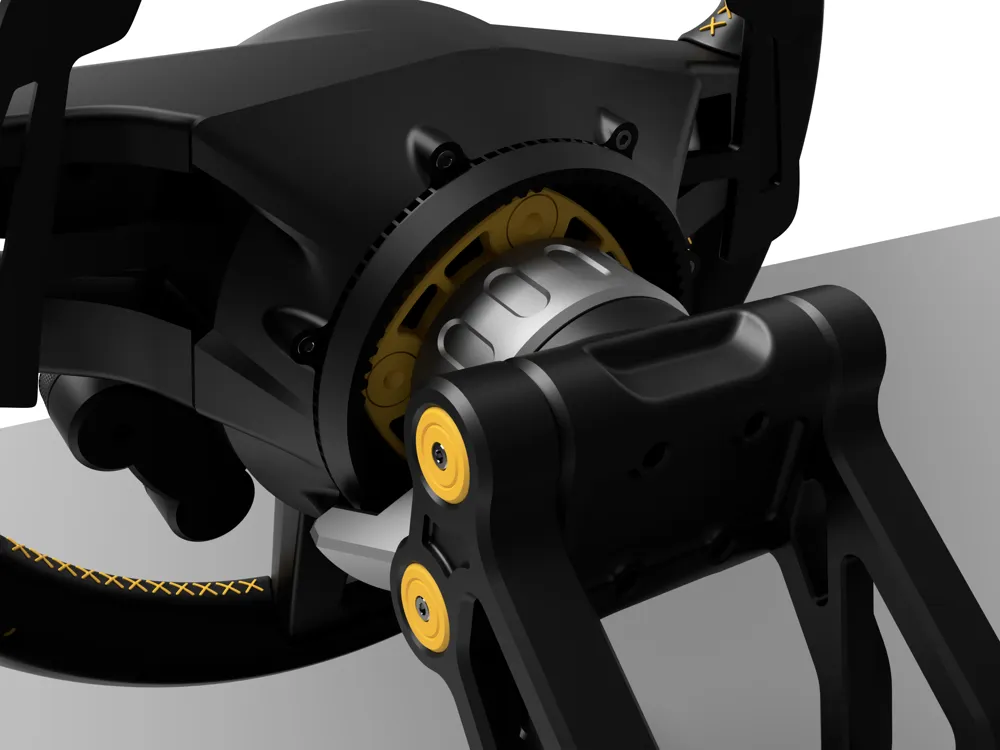
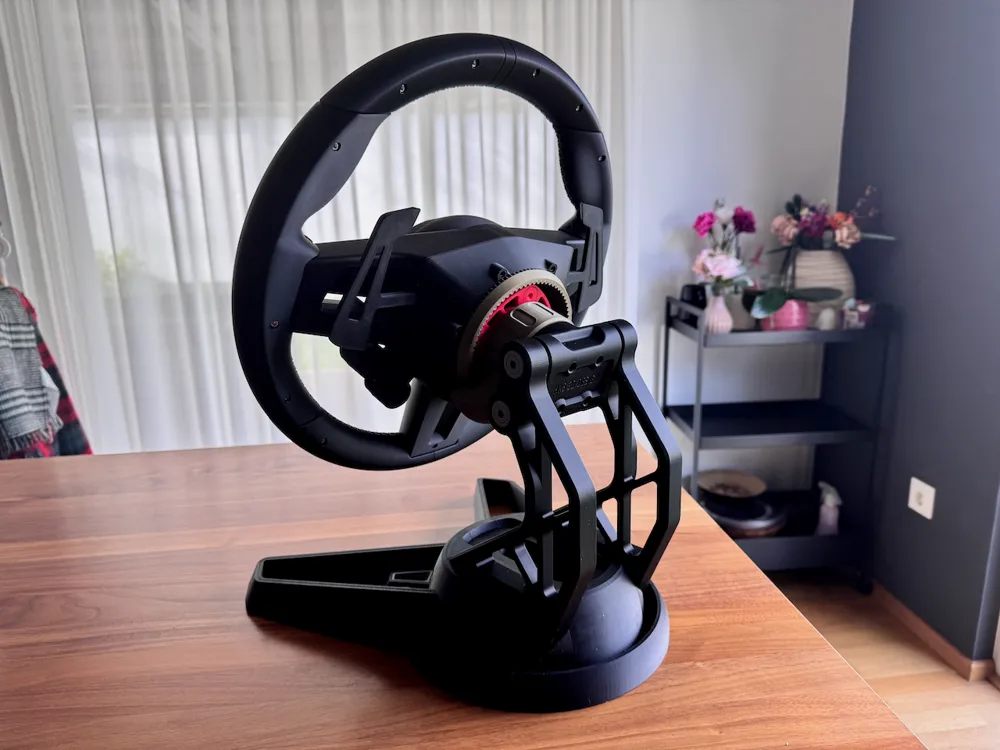
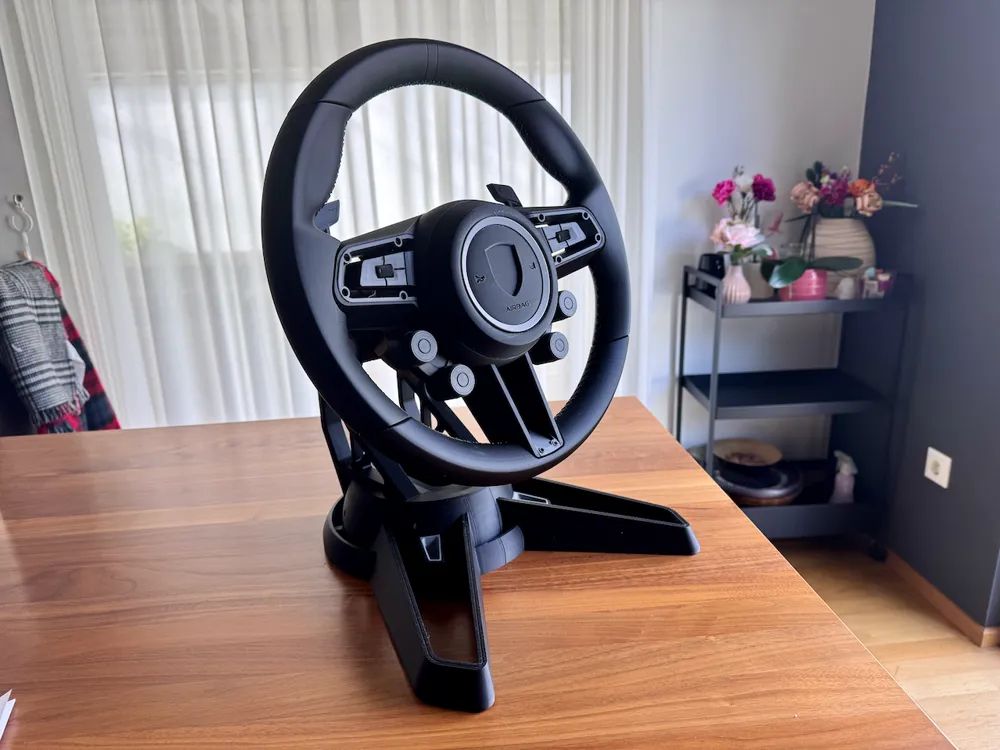
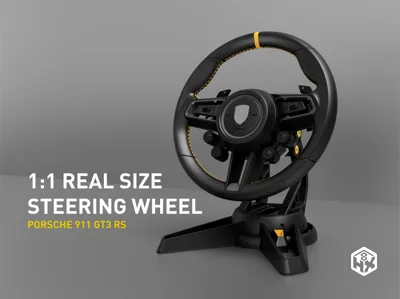
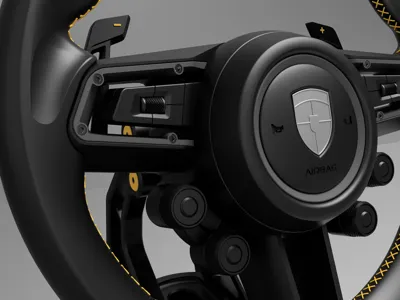
This is my last modelling practice, base on the Porsche Steering Wheel style, I mixed the details from 911 GT3 RS and the Cayenne, the wheel size is 390mm for Cayenne and the classic bolts design are remained, the all new GT3 RS removed the classic bolts around the buttons and the wheel dimension is a bit smaller than my model, I kept the highlight color in yellow from GT3 RS, and the 4 functional dial knopf, as well as GT3 shift paddels.
Features:
- Loads of details
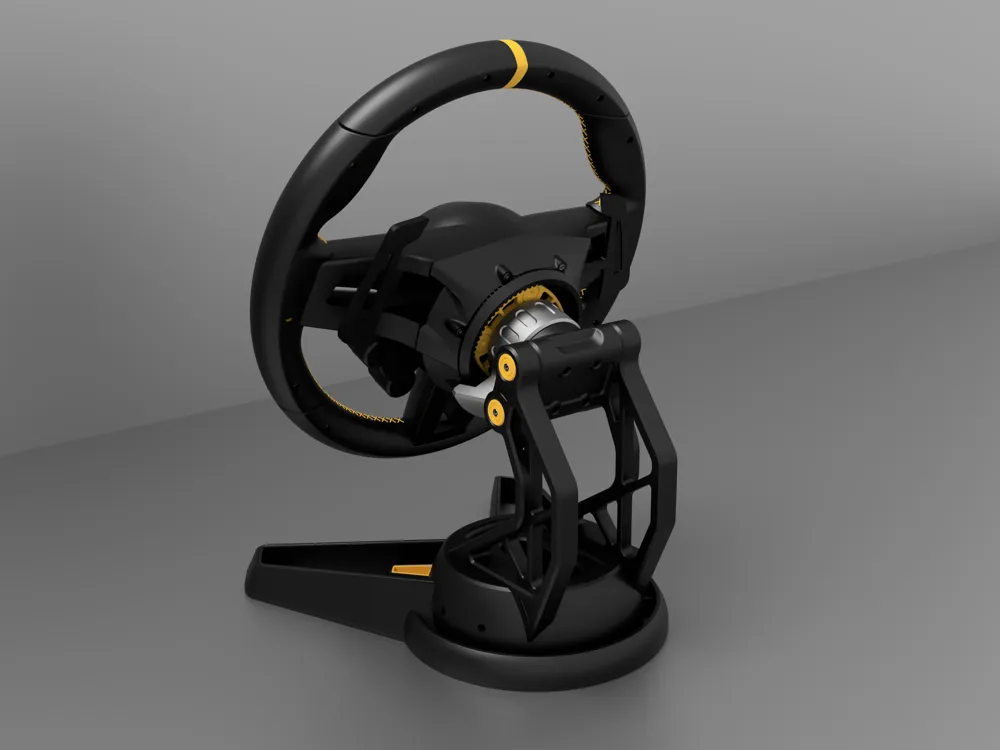
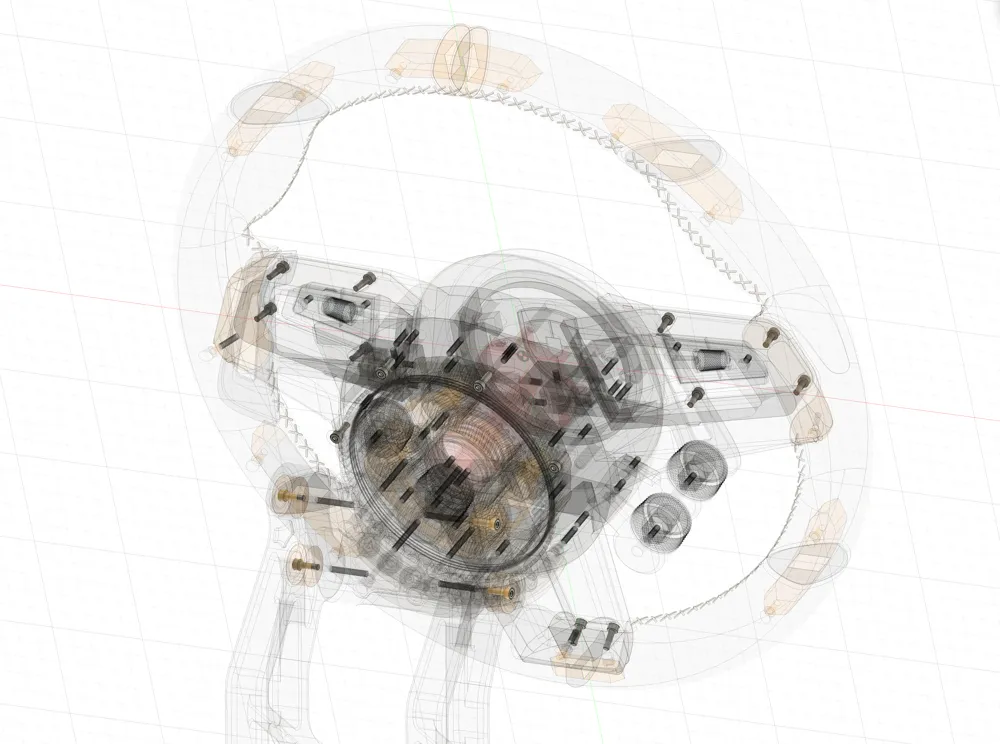
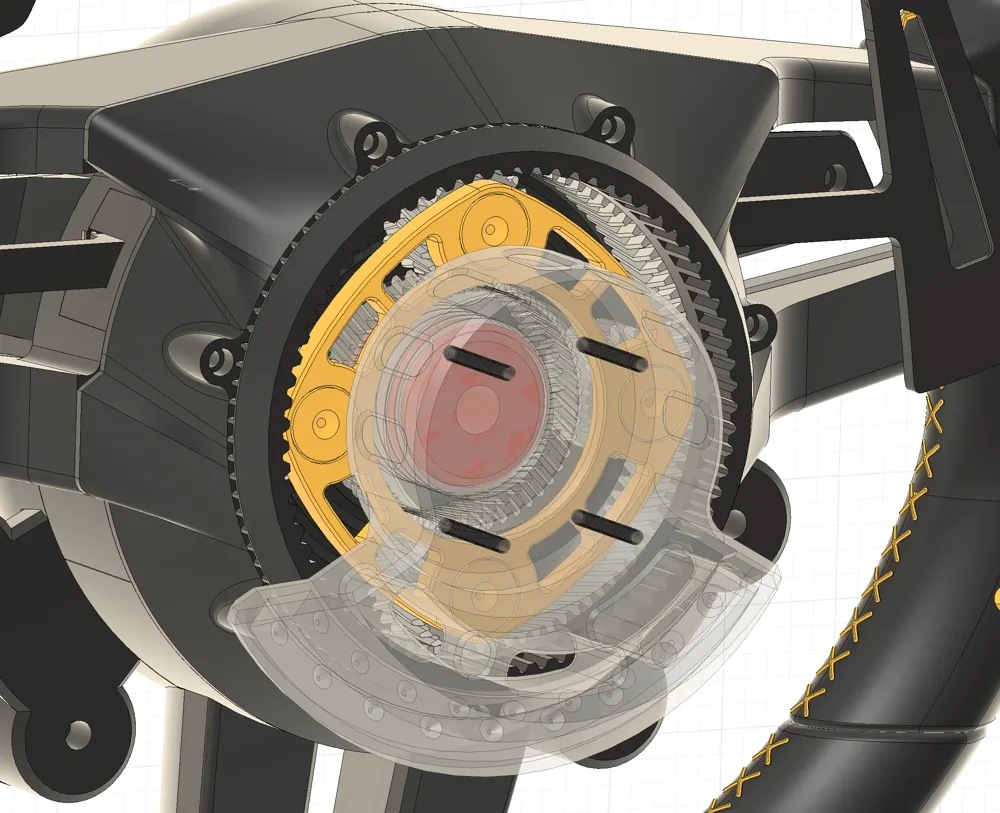
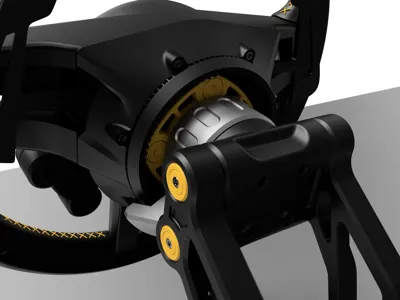
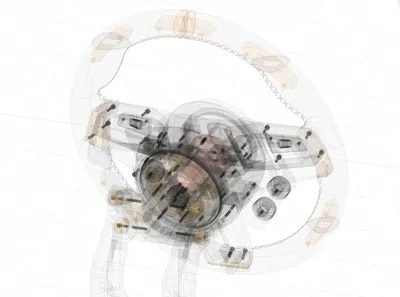
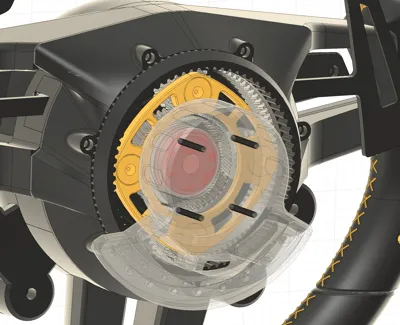
- Plantary Gear system for the steering.
- Some functional parts are articulated, include steering, paddel shifting, volume button scrollable, functional dial twistable.
- M3 bolts are needed to assemble.
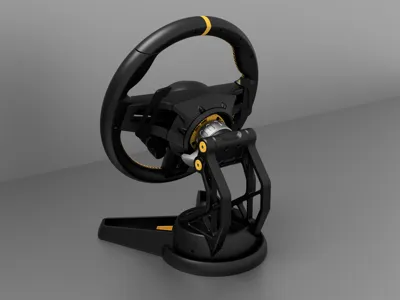
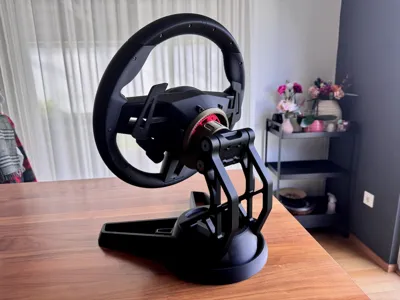
- Desktop stand included, I put it in my living room which looks quite unique.
- Easily convert to SIMRACING stage 1. (no hard wiring, no functional buttons.)
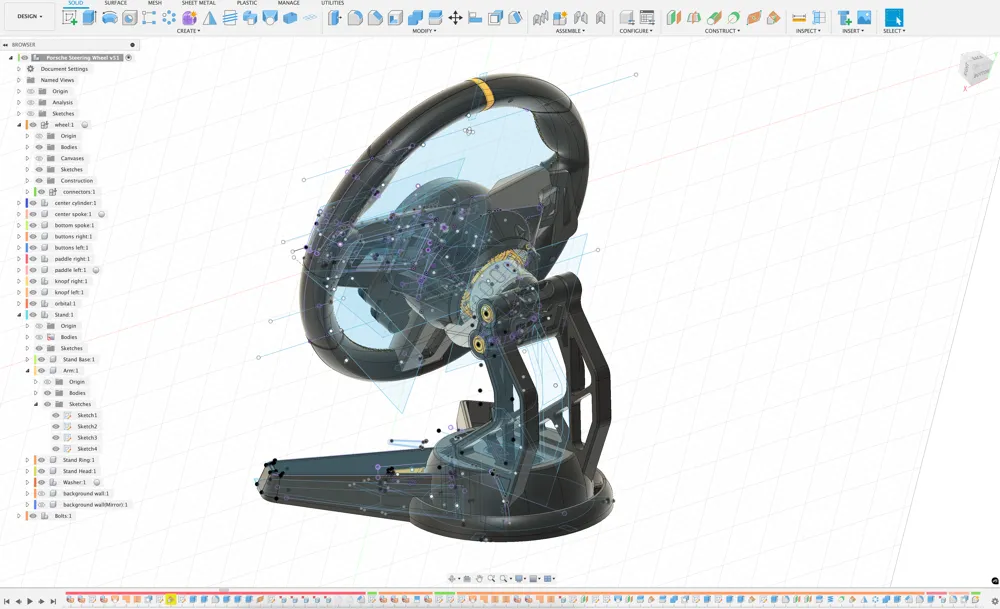
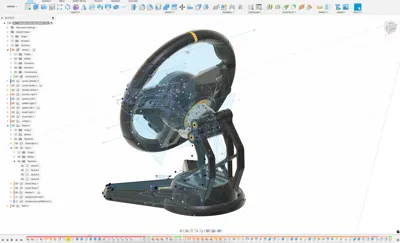
I designed from blank sheet based on some real photos online, I am not a Porsche owner.
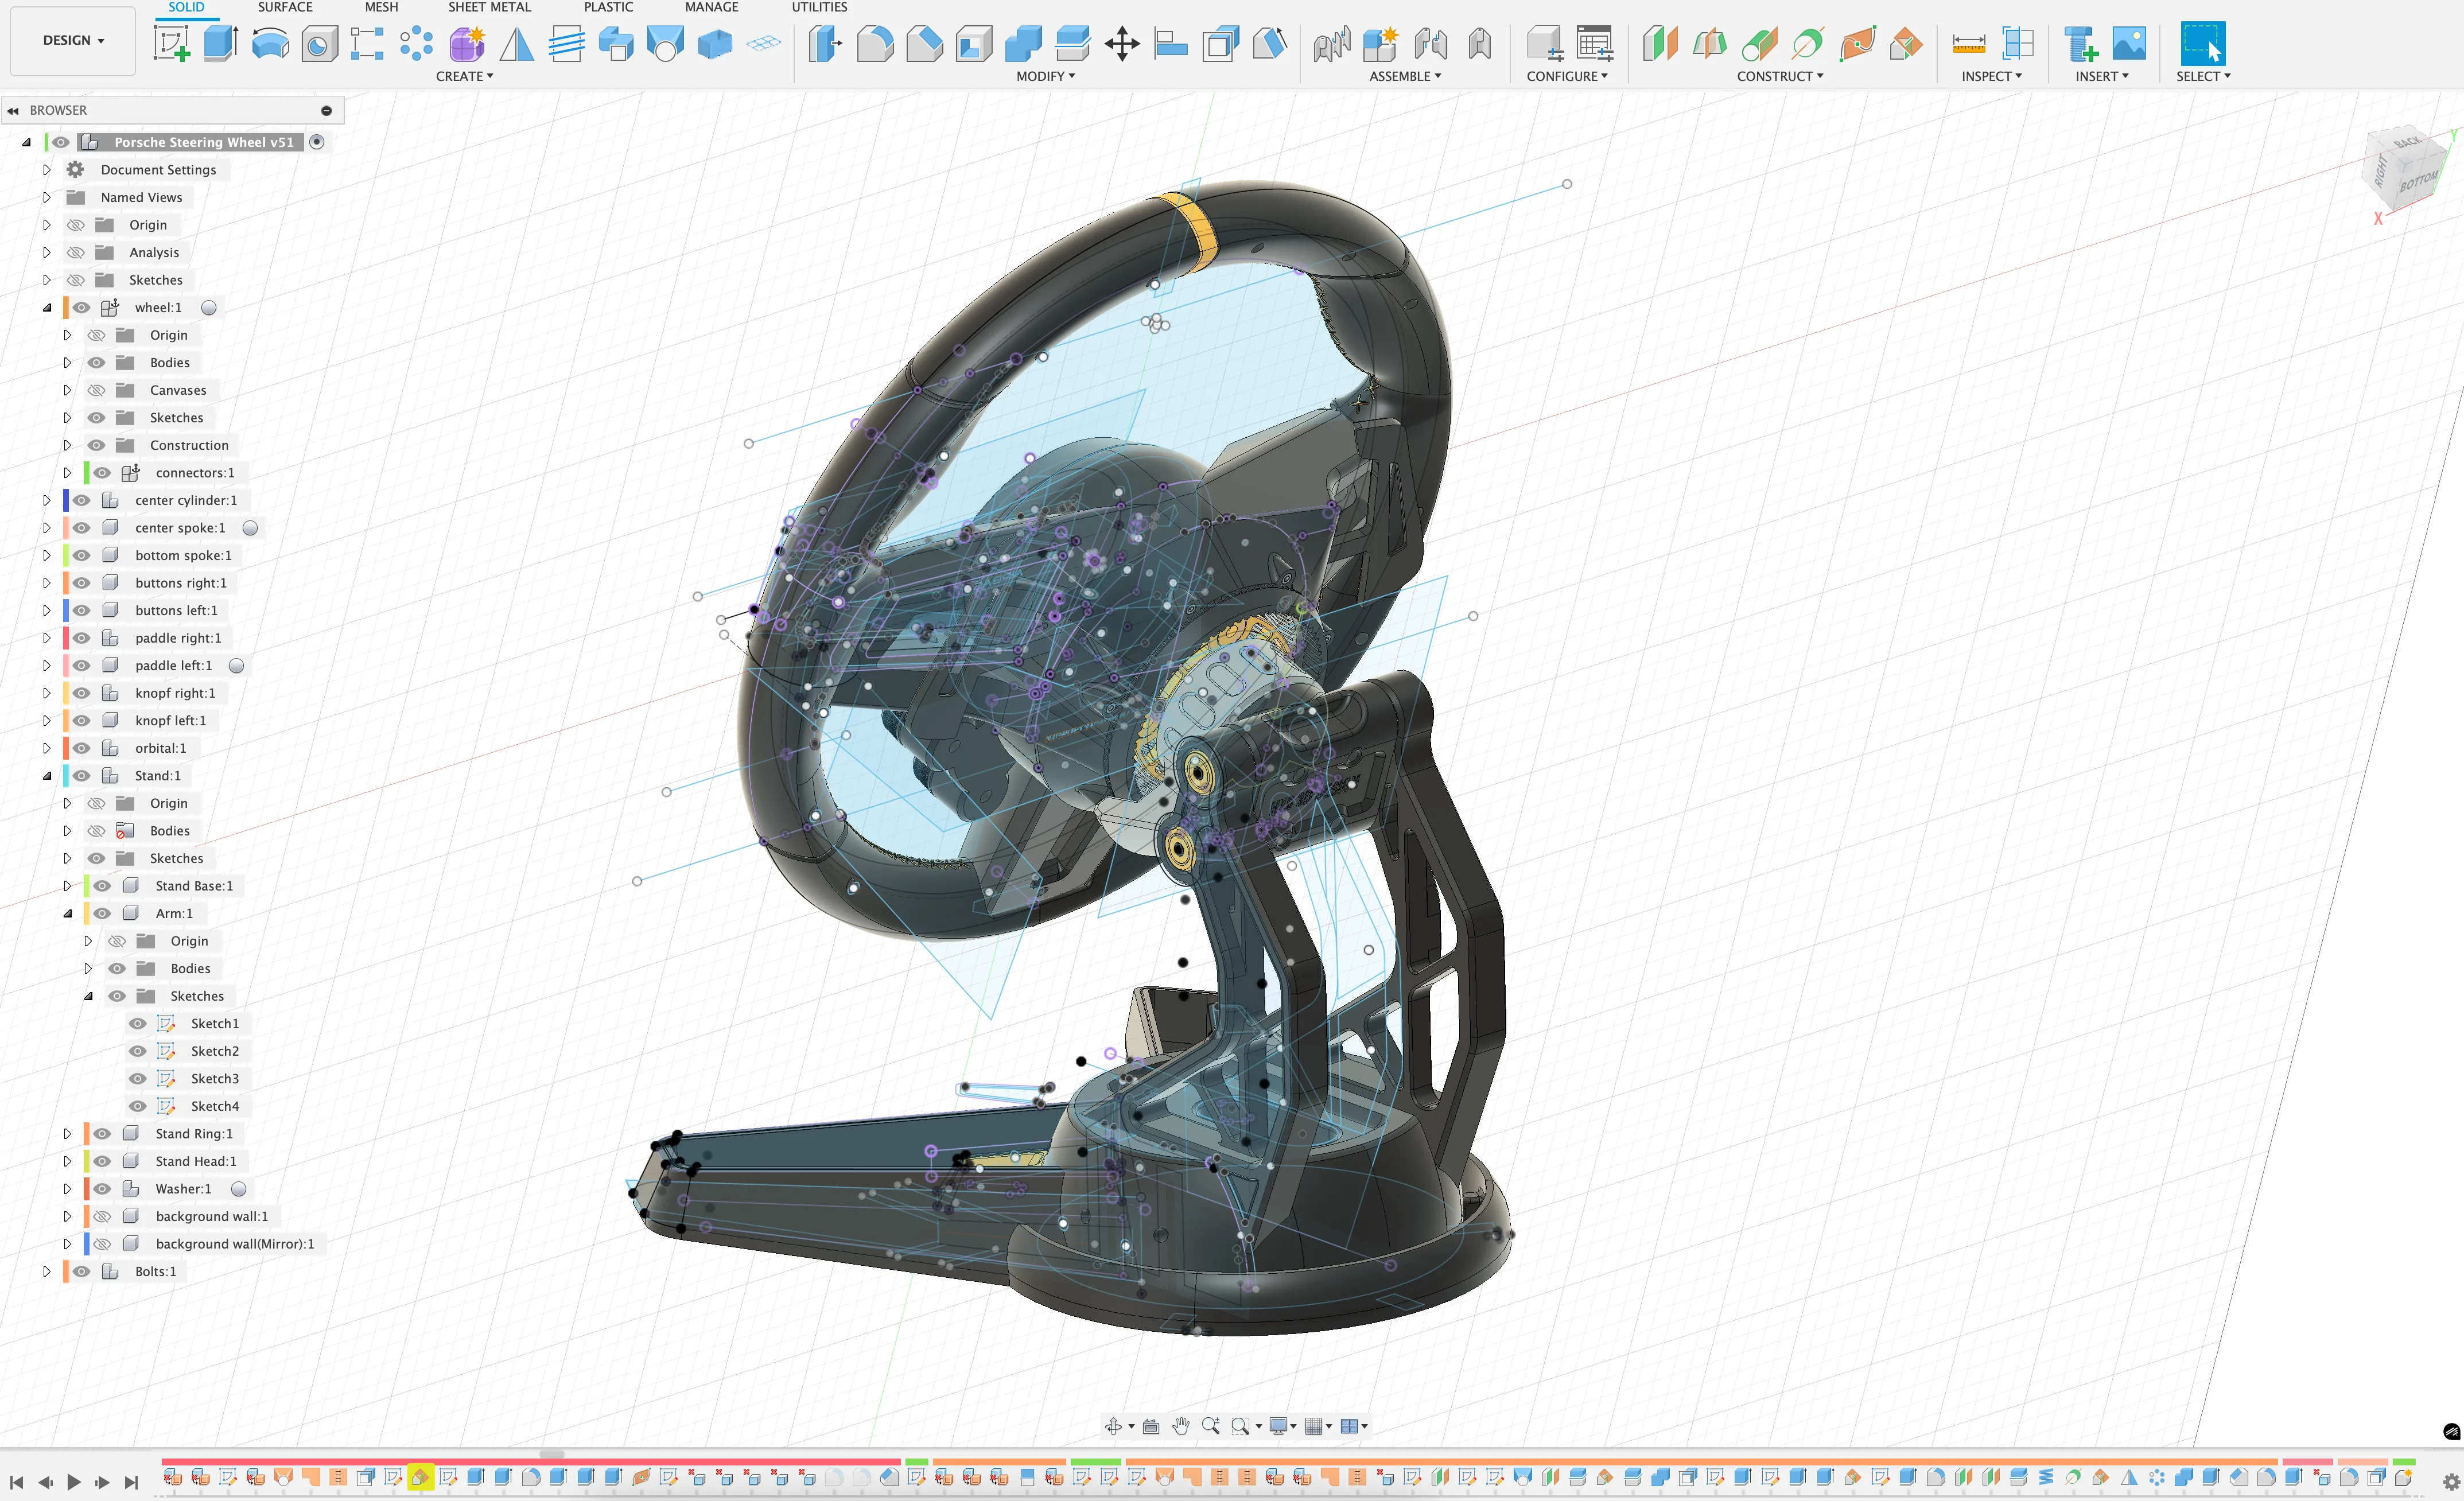
This is a high skill level required print, please use the provided print profiles straight away and avoid to change the parameters if not mandatory, use dry filaments for the precise tolerances, last but least, if you are not sure your plate is clean enough, try to wash them before print or use 3DLac, the Brims are not needed for mostly of the parts.
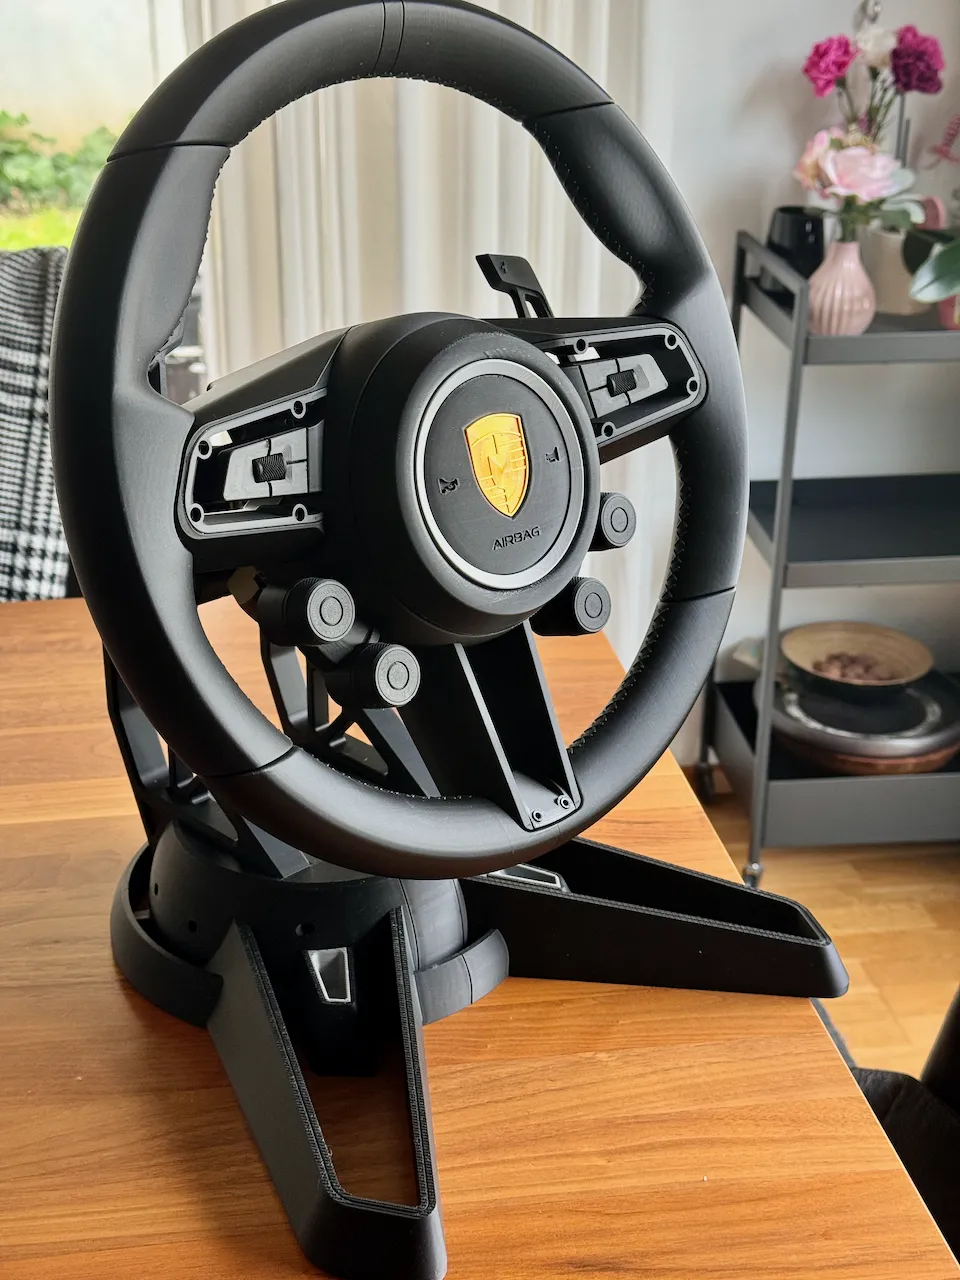
*EXTRA as optional: 2 stainsteel springs (Size 0.7x7x15mm or 0.7x7x20mm) are needed for the smooth shifting feeling close to real car, I can not replicate the feeling by 3d printed springs, if you do not have stainsteel springs, please print the fake spring holder in the profile, to void the shifting function.
Use this wheel with your SIMRACING device
How to convert?
1, Print the conversion kit print profile.
2, Replace the printed 3 replacement parts (left spoke, right spoke, center pie in ⅓ pie shape). Tip: skip to print the corresponding original parts at the the beginning to save filaments.
3, Insert 6x 5mm hot inserts in those replacement parts. (I am using this one)
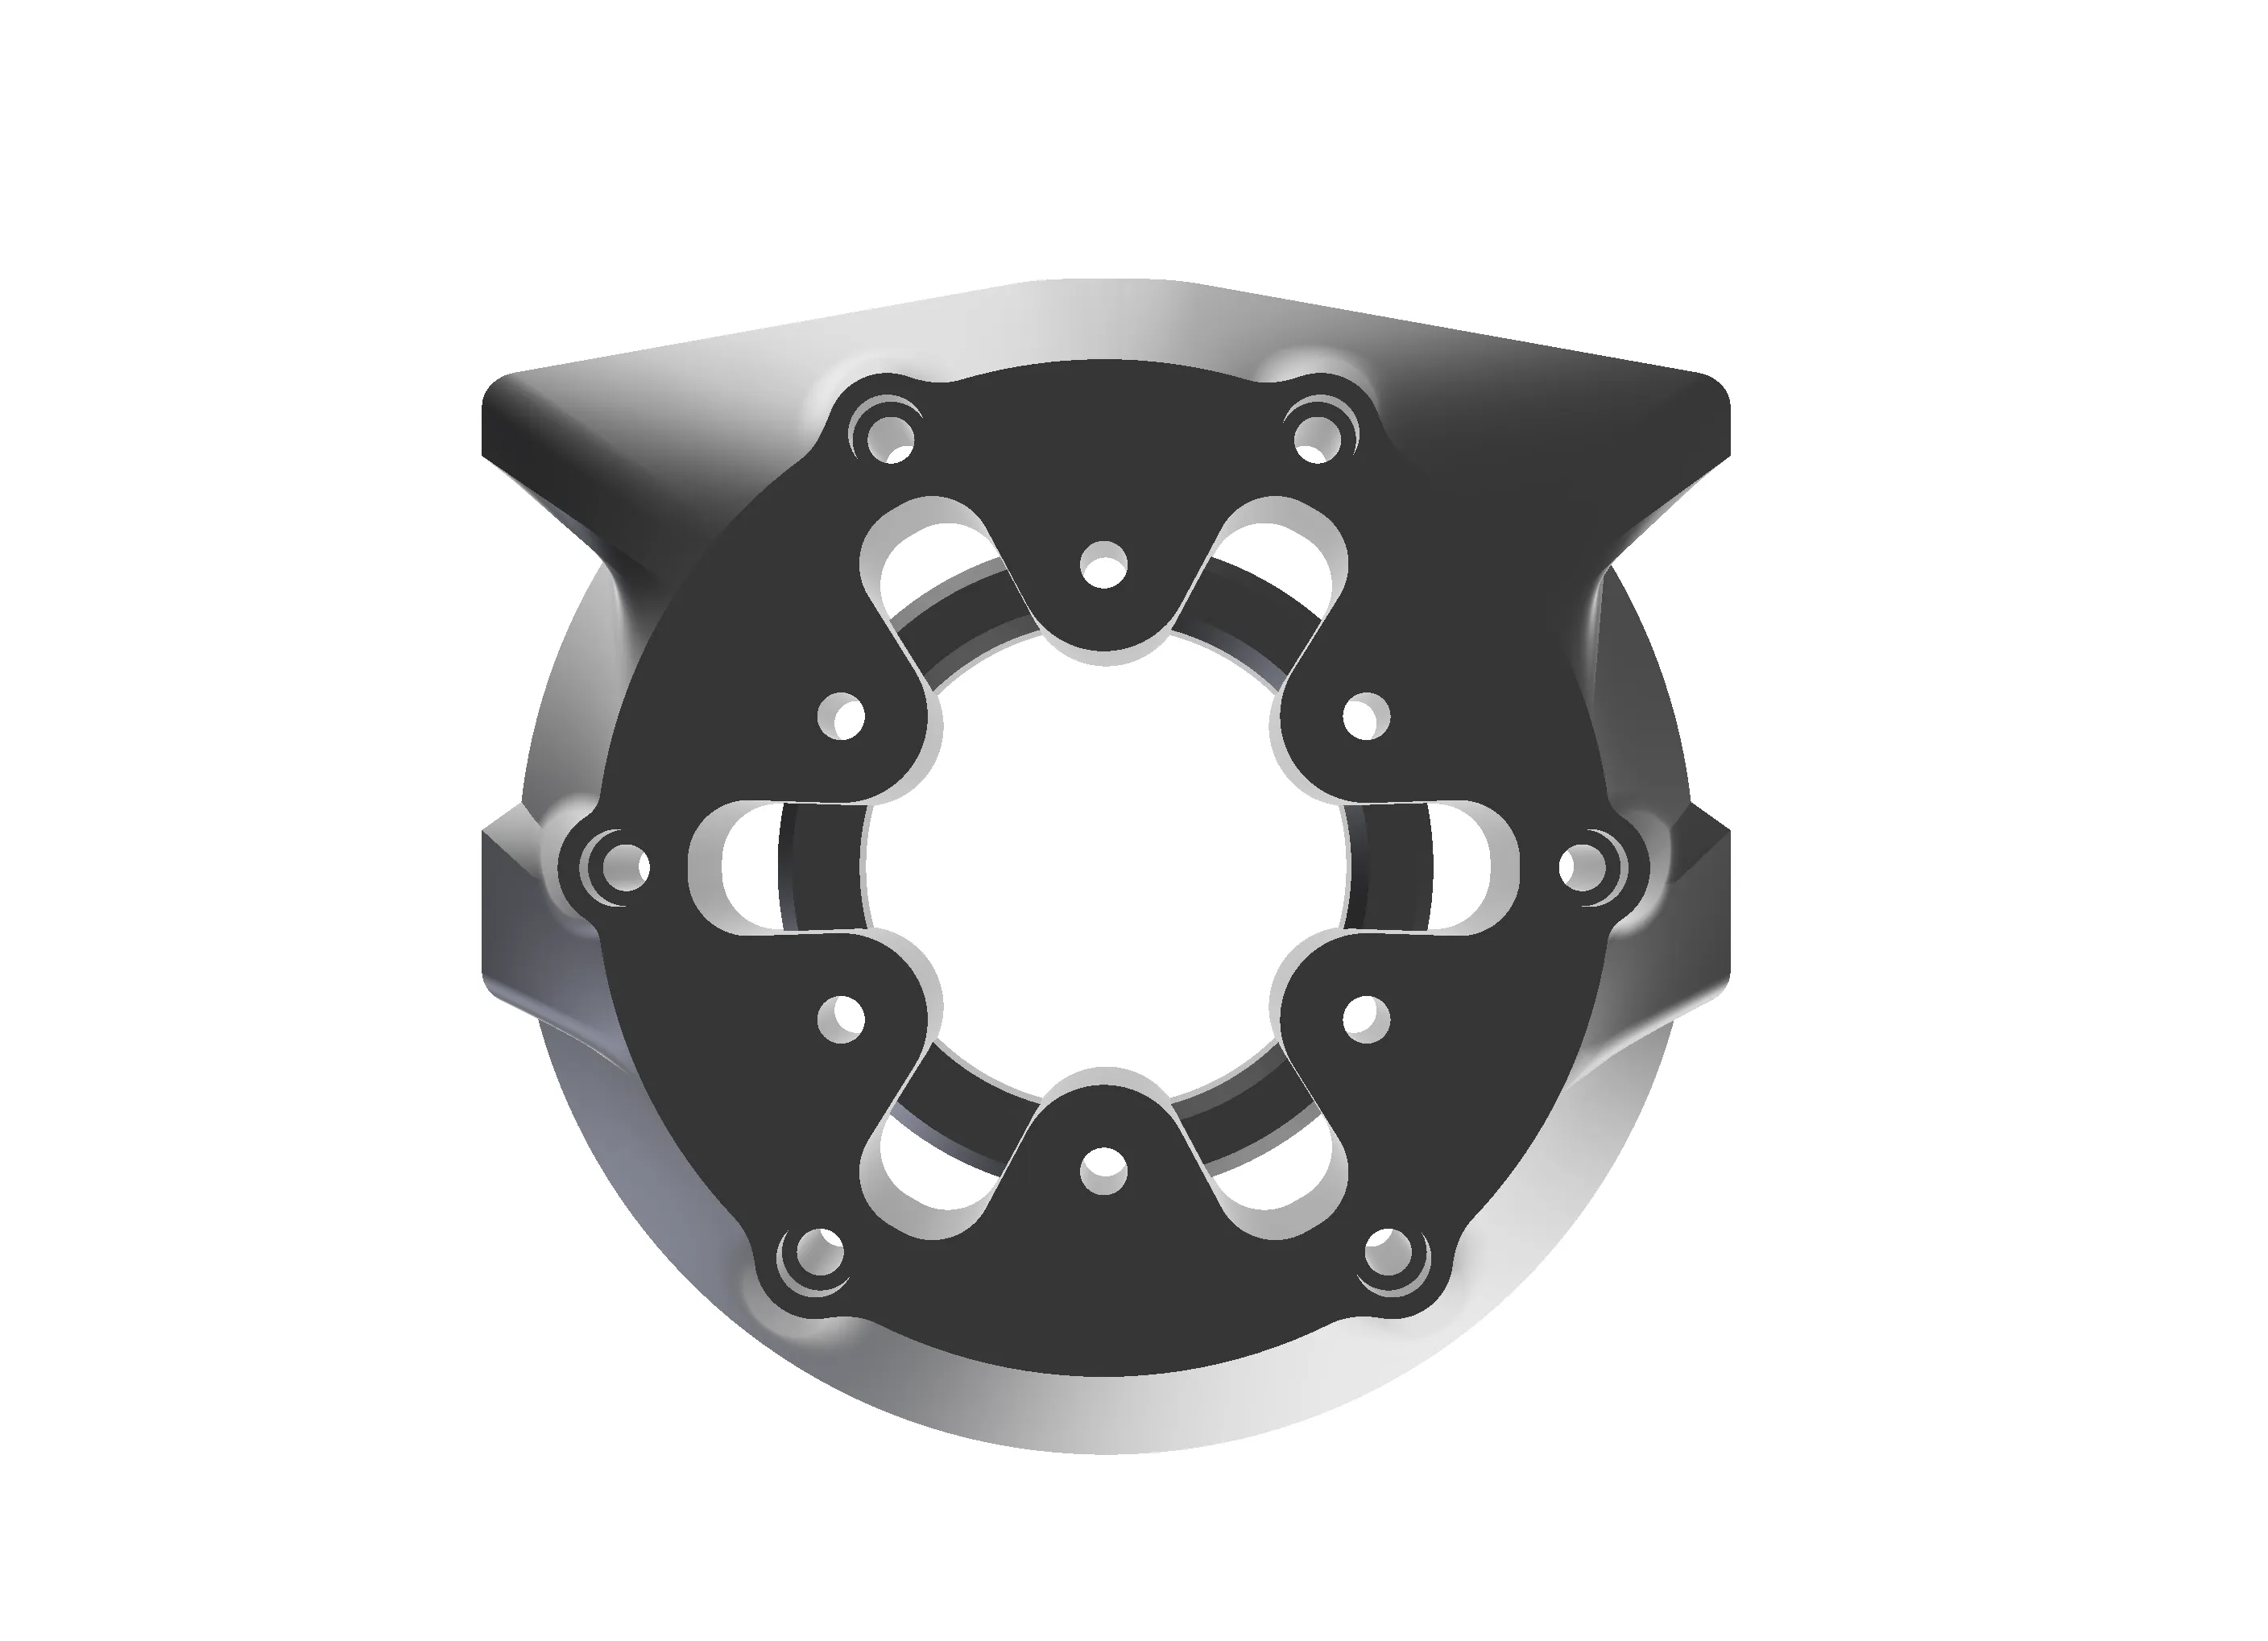
4, Use 6x M5 bolts to secure the 70mm adapter with your quick release FIRST!
5, Use 6x M5x30 bolts to secure the wheel with the 70mm adapter.
(more details with images could be found in the assembly instructions)
This is the Stage 1 conversion, which means no electric wiring, no functional buttons, no functional shifting on the wheel, only to use this dummy wheel.
The 70mm adapter looks like this, more sizes are coming soon.
Assembly instructions follows soon.
Enjoy!
Boost Me (for free)
Thanks for your support!
Check out my latest design:
License

You shall not share, sub-license, sell, rent, host, transfer, or distribute in any way the digital or 3D printed versions of this object, nor any other derivative work of this object in its digital or physical format (including - but not limited to - remixes of this object, and hosting on other digital platforms). The objects may not be used without permission in any way whatsoever in which you charge money, or collect fees.


Comment & Rating (226)