
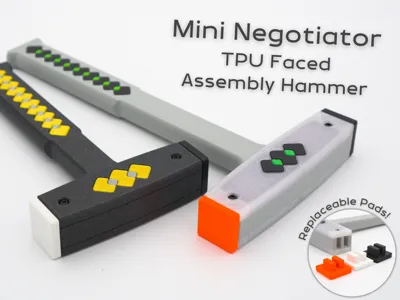
Mini Negotiator: TPU Faced Assembly Hammer
Print Profile(10)


Bill of Materials

Description
Introduction
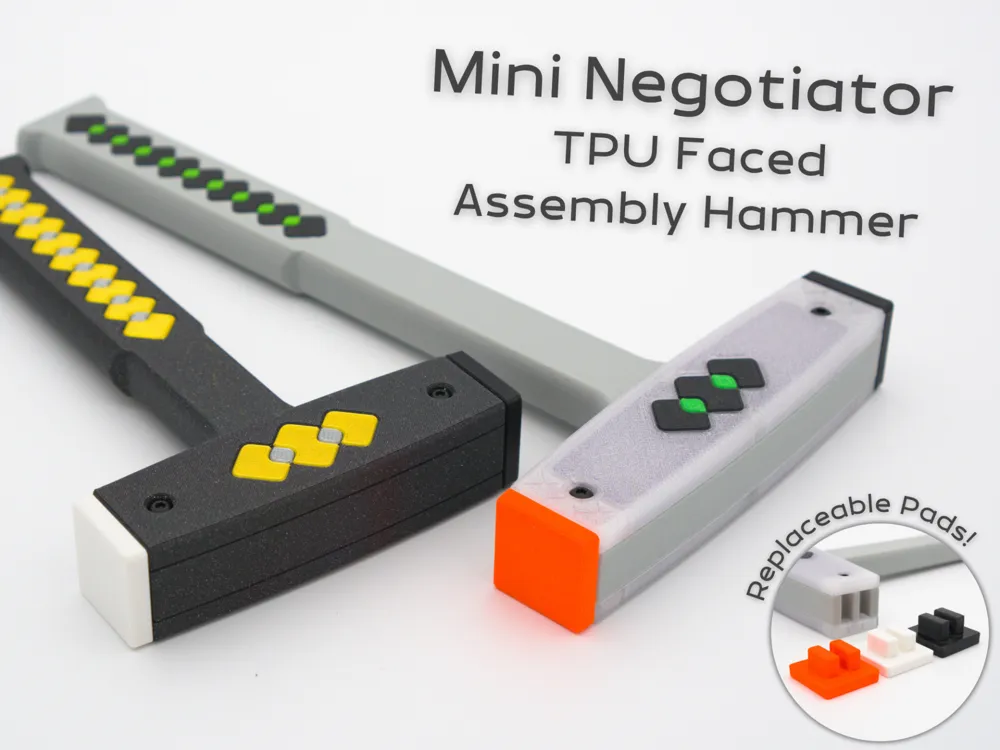
Sometimes you just need some gentle negotiation to get parts to fit together. Other times, you need a beautiful thinking hammer in your hand while working to get the ideas flowing. Maybe you need to do some percussive maintenance? Maybe you want to crack those walnuts with a little bit of theatrics. Regardless, all of my family and friends are getting customised variable pressure application technology for their birthdays for the next year! Because these are REAL tools to keep around, not (just) cheap amusement.
Here is a short video demo:
Options
Size
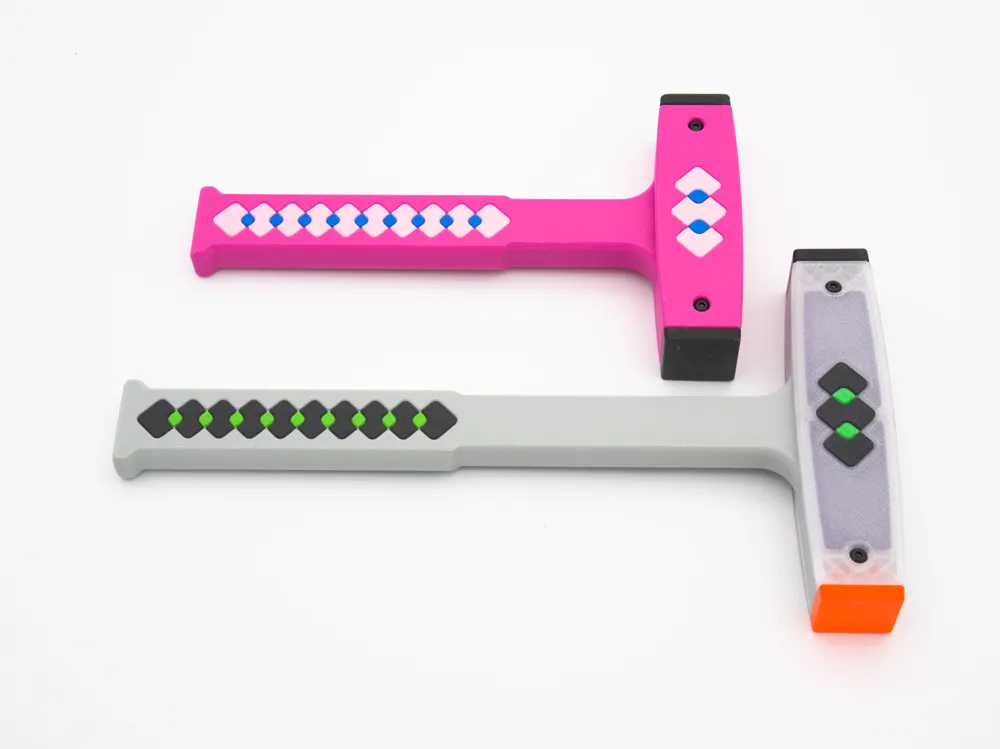
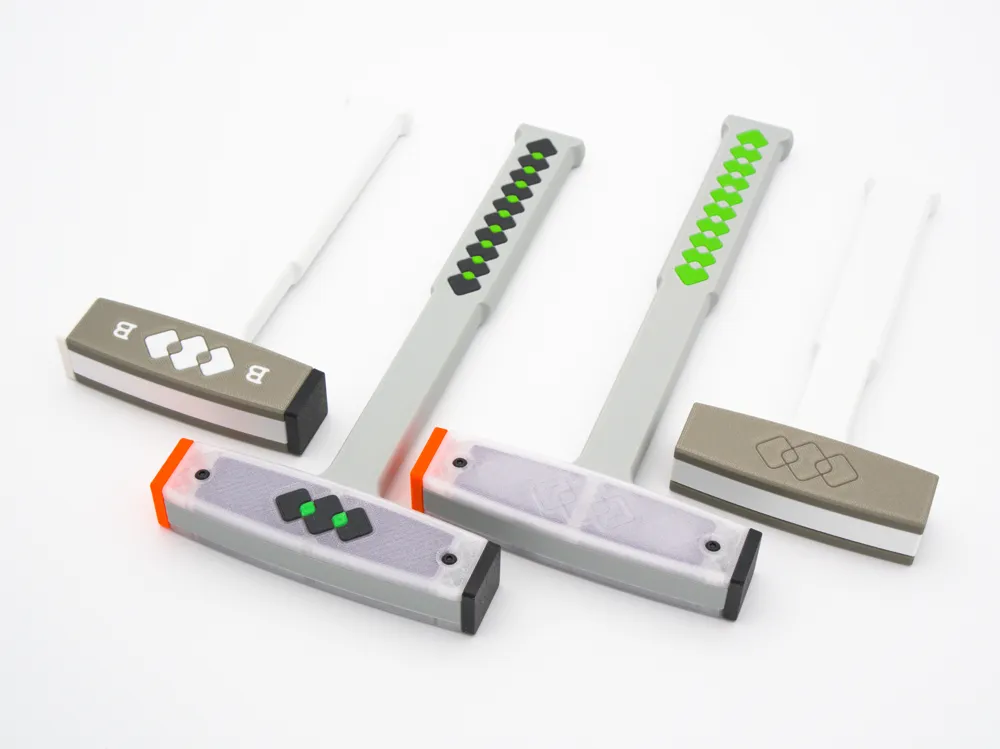
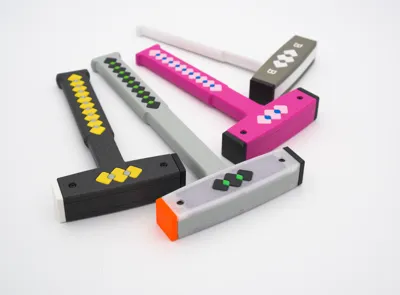
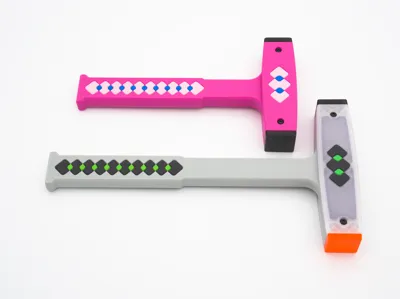
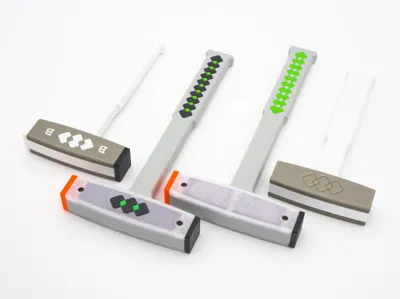
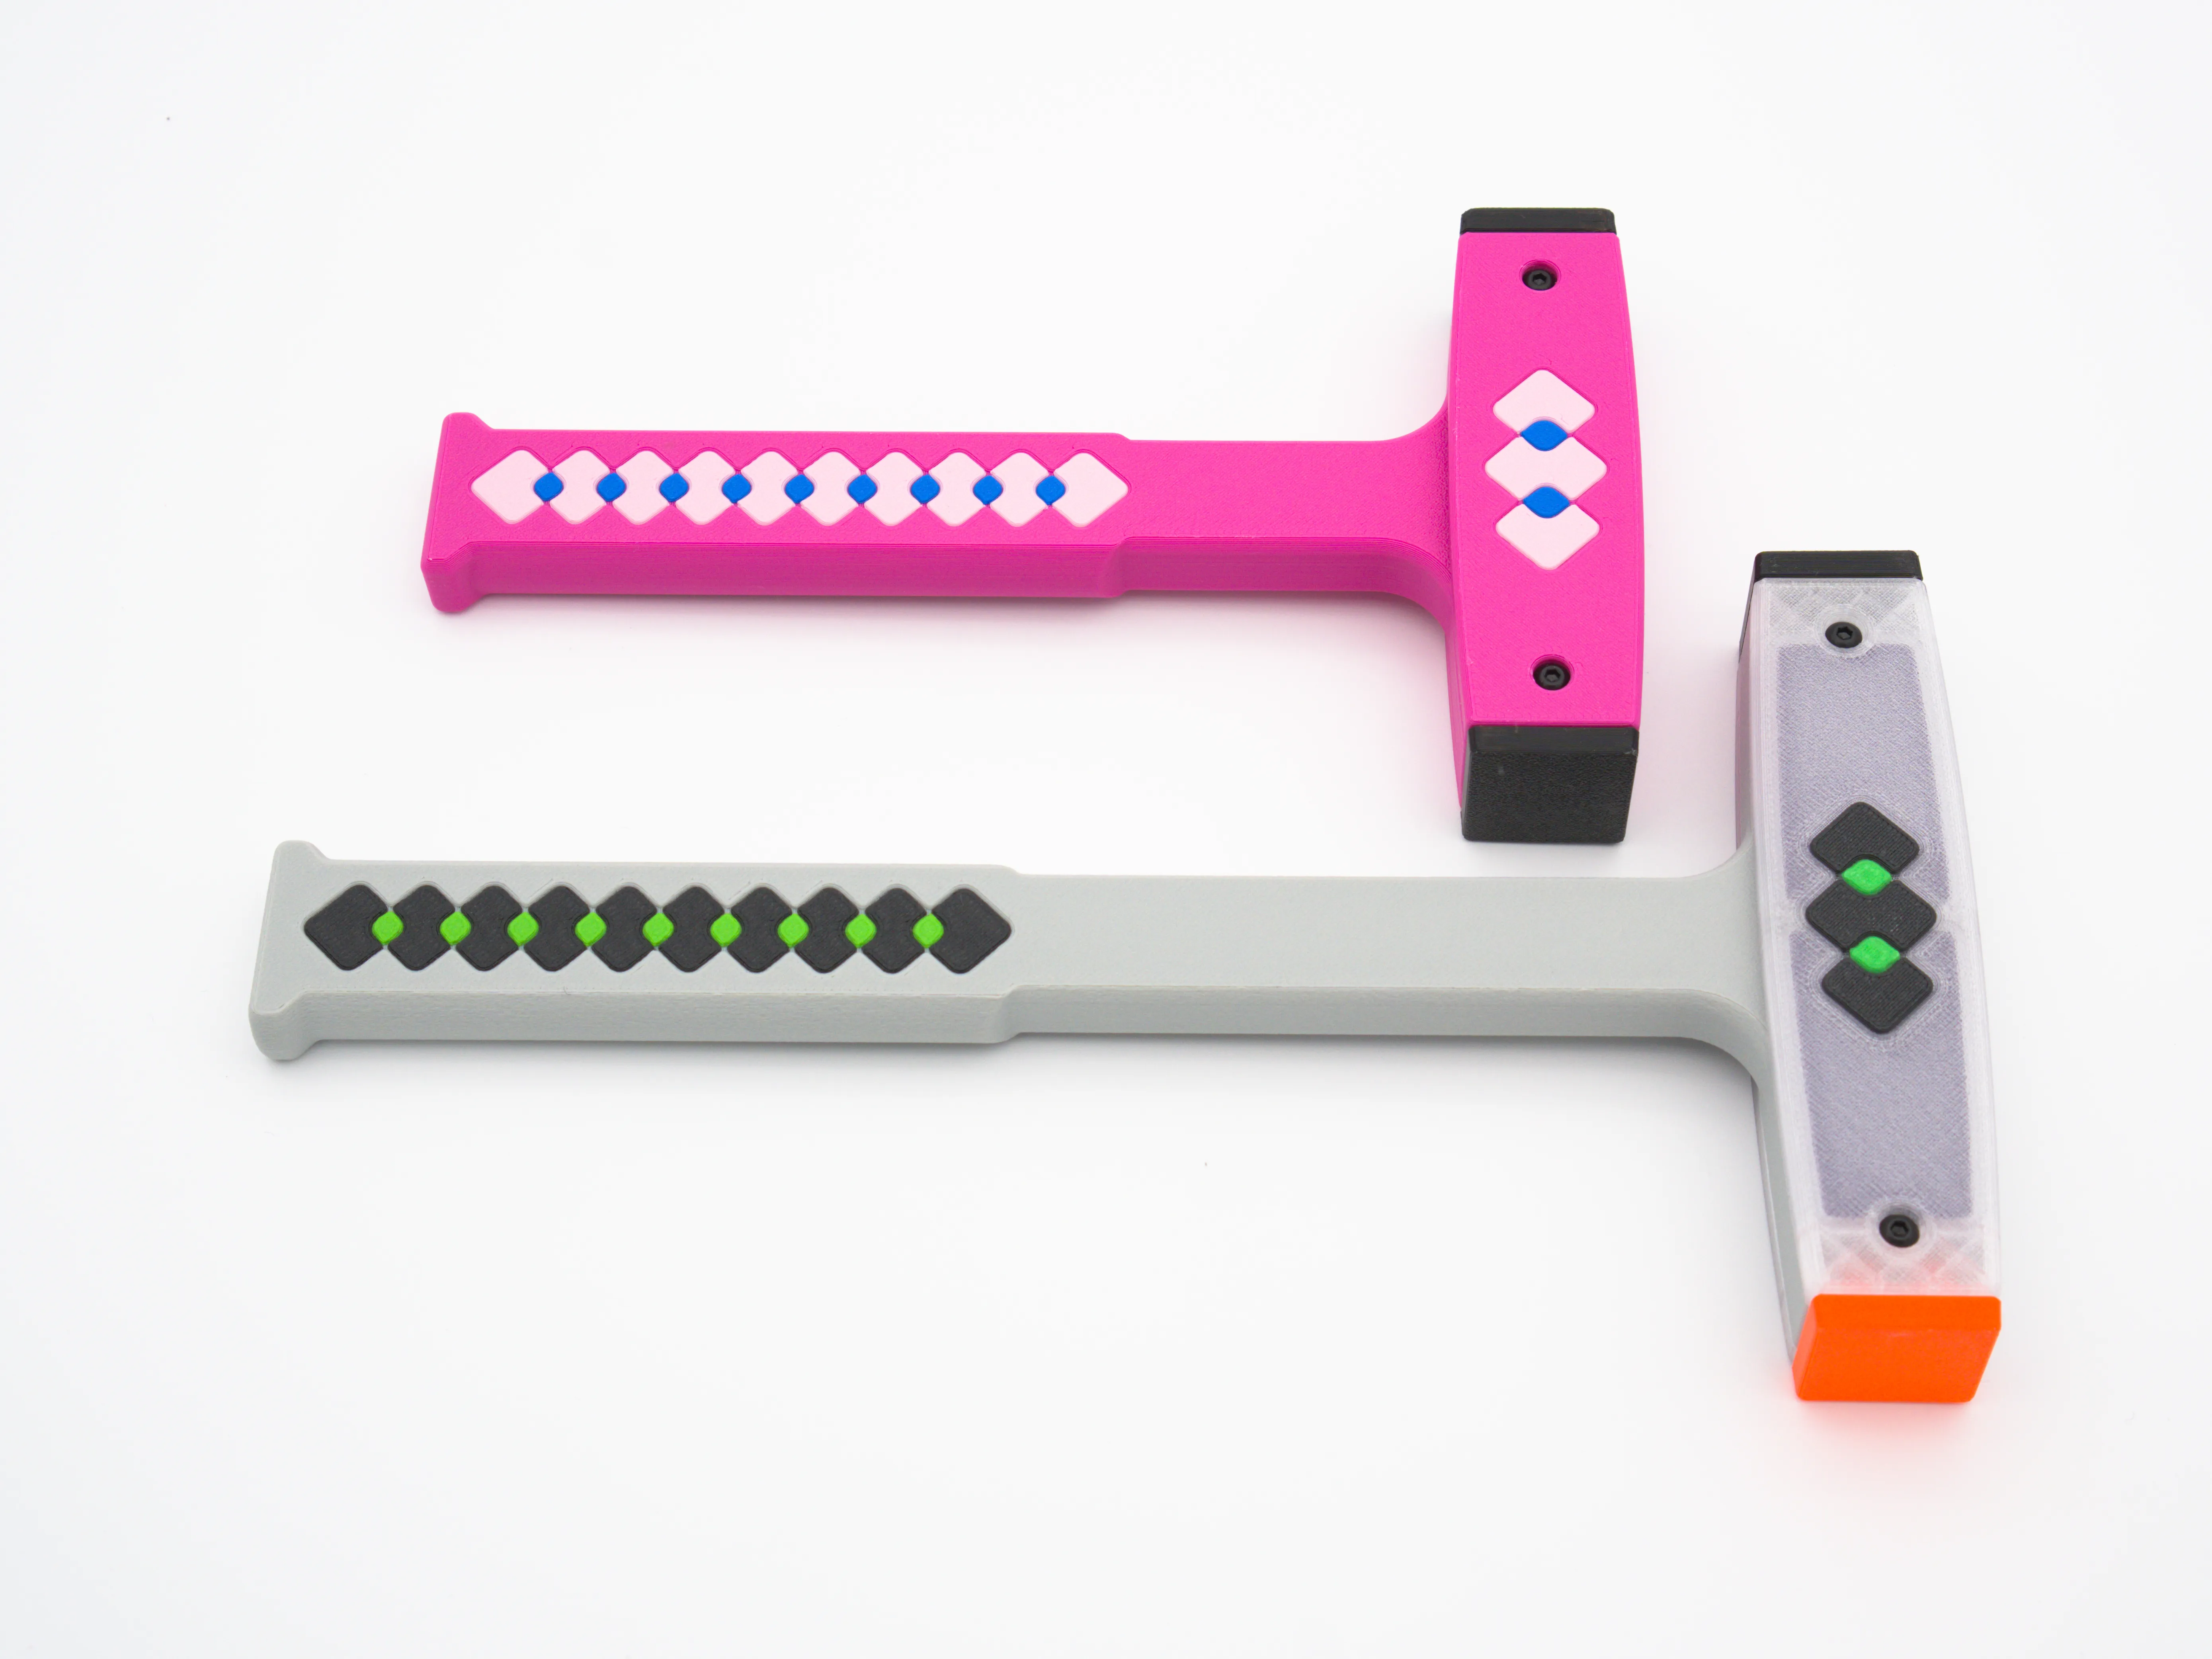
There are two sizes: a cute 190mm one for light work (printable on an A1 Mini) and a 250mm one for more persuasion power. I would print the smaller one first - despite its size, it still packs a surprising amount of punch!
Side covers
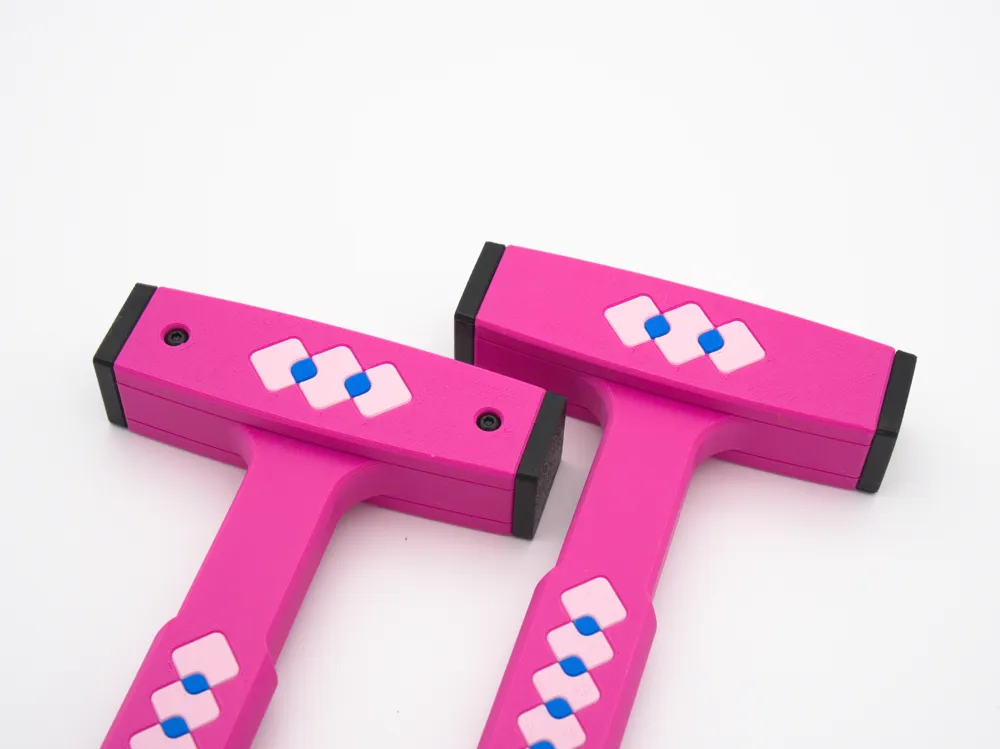
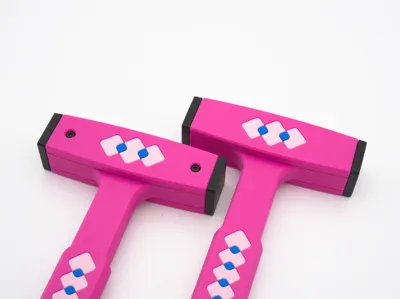
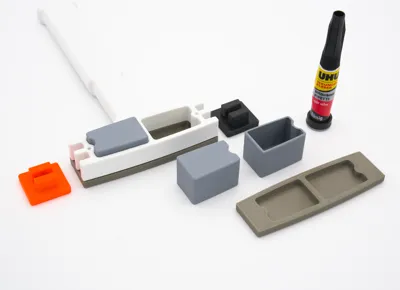
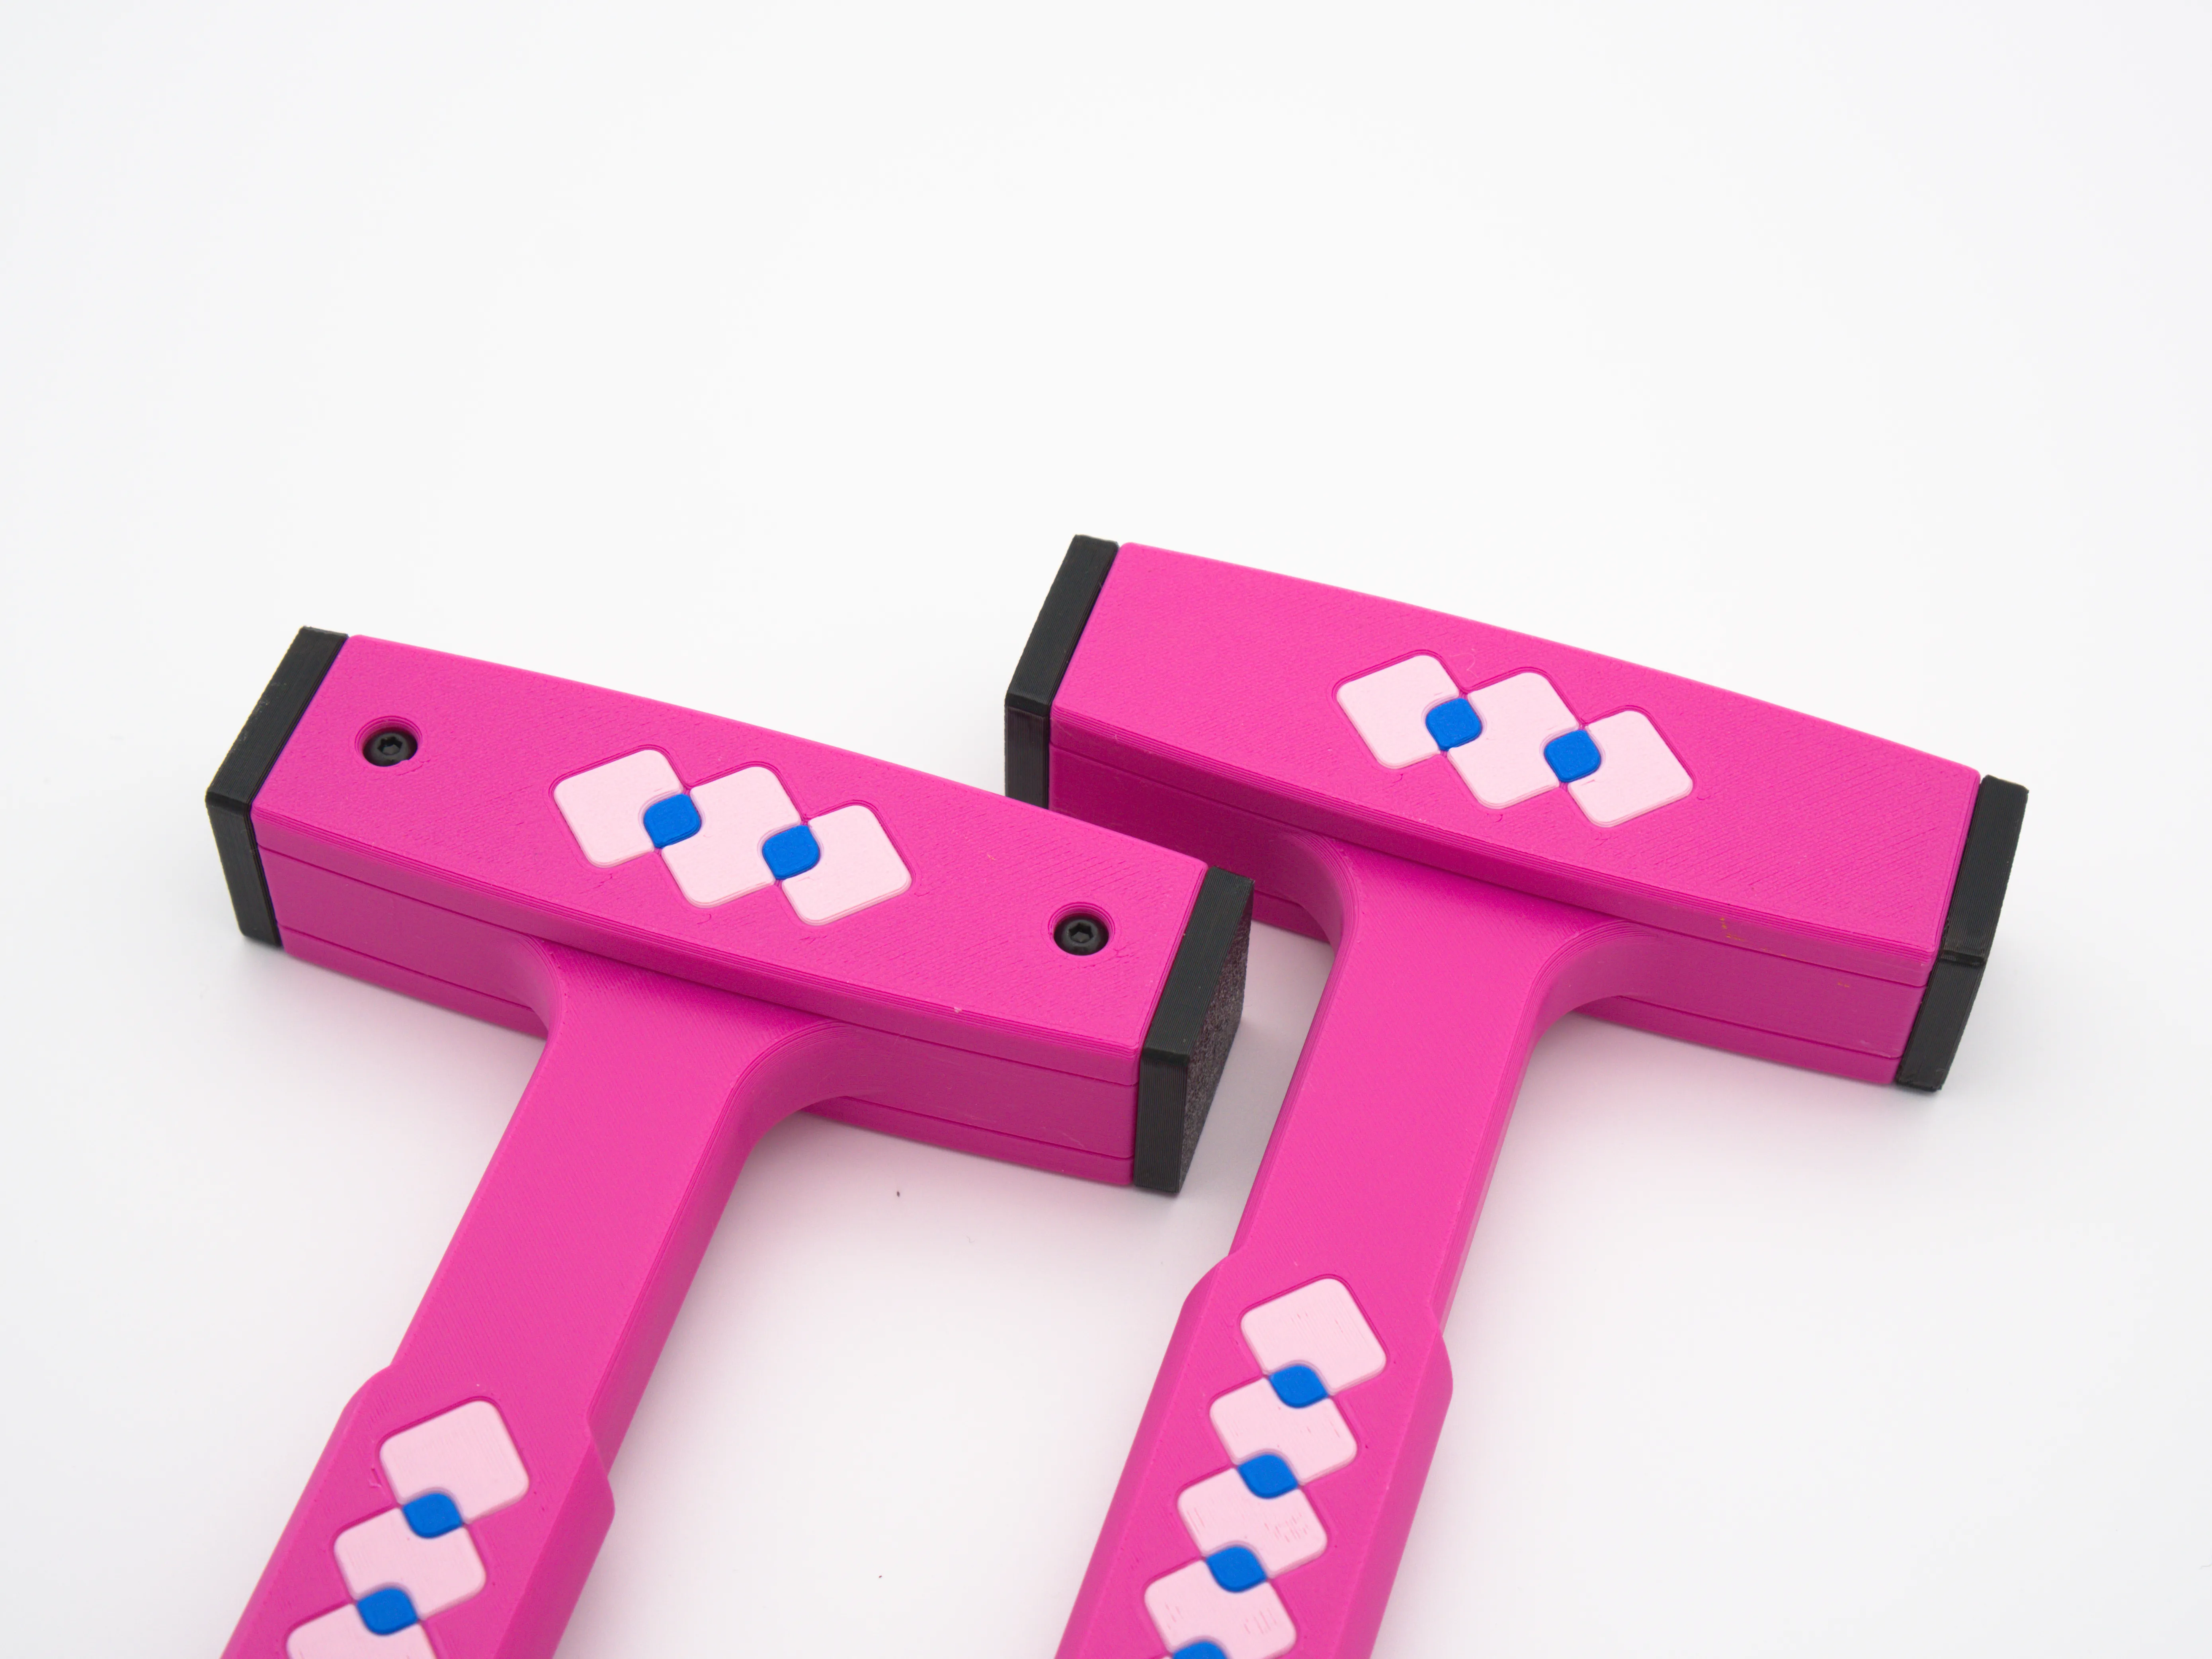
There are two versions of the side covers - one designed to be permanently glued on and one designed to be assembled with 3x8mm self-tapping plastic screws. The screw-on version is mainly for if you like the look of exposed screw heads but allows you to “upgrade” your hammer later with heavier inserts.
Inserts
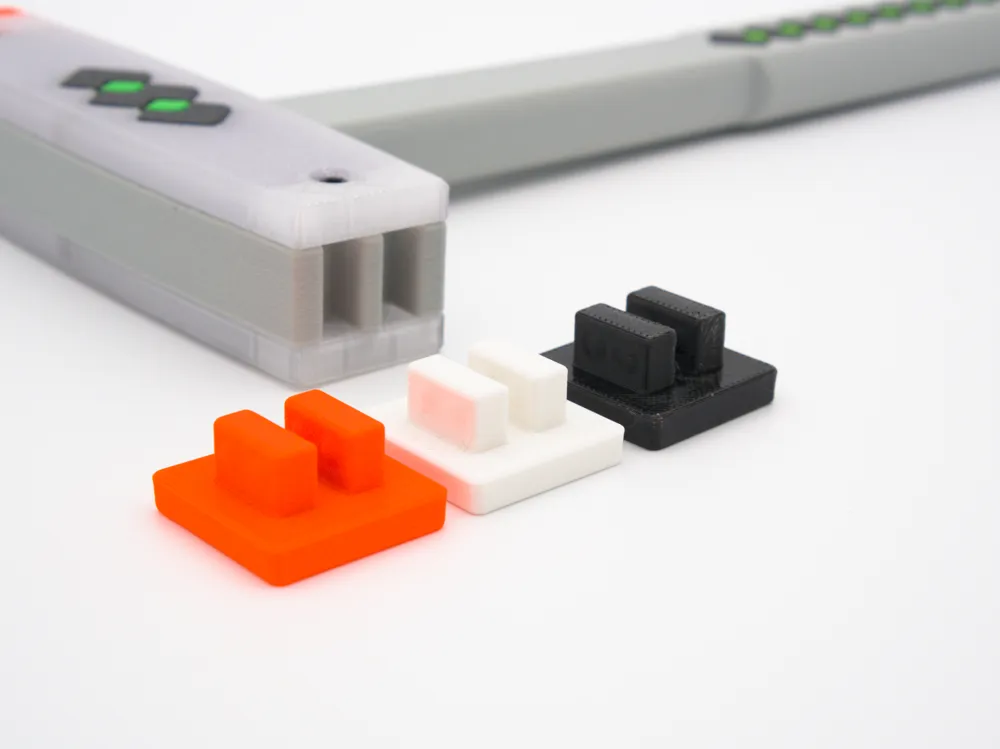
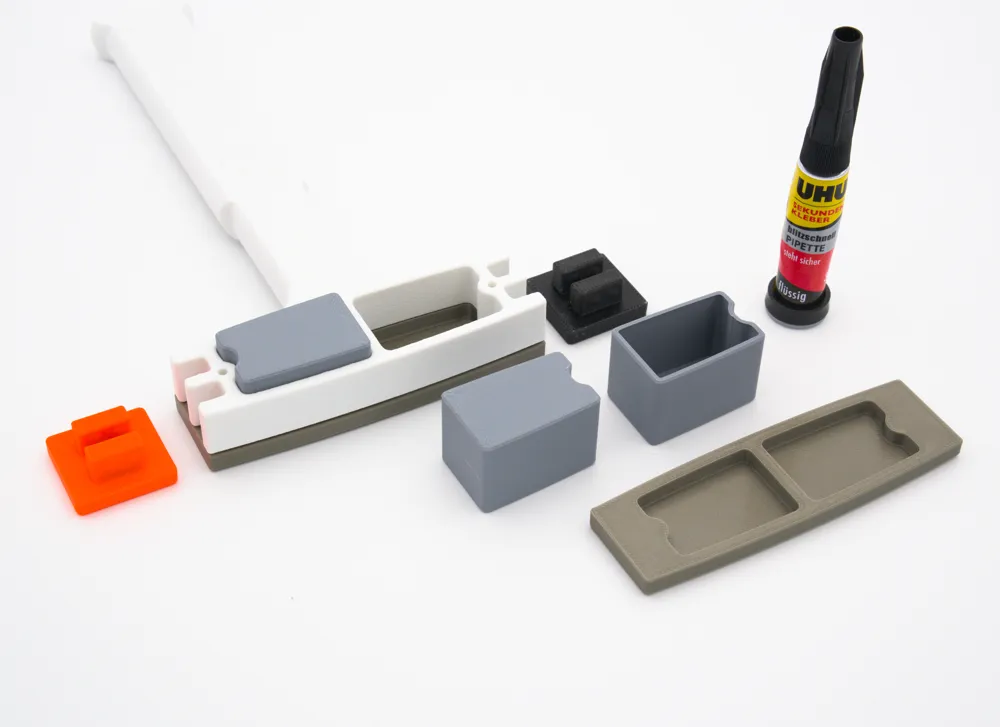
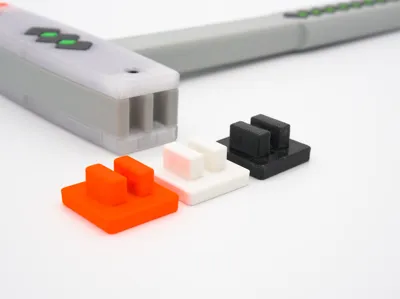
The inserts can be printed hollow and filled with whatever you have on hand - sand, fasteners, lead, printer poop (to make maracas), pennies, etc. If you have left-over filament you want to use up, you can just print solid plastic inserts.
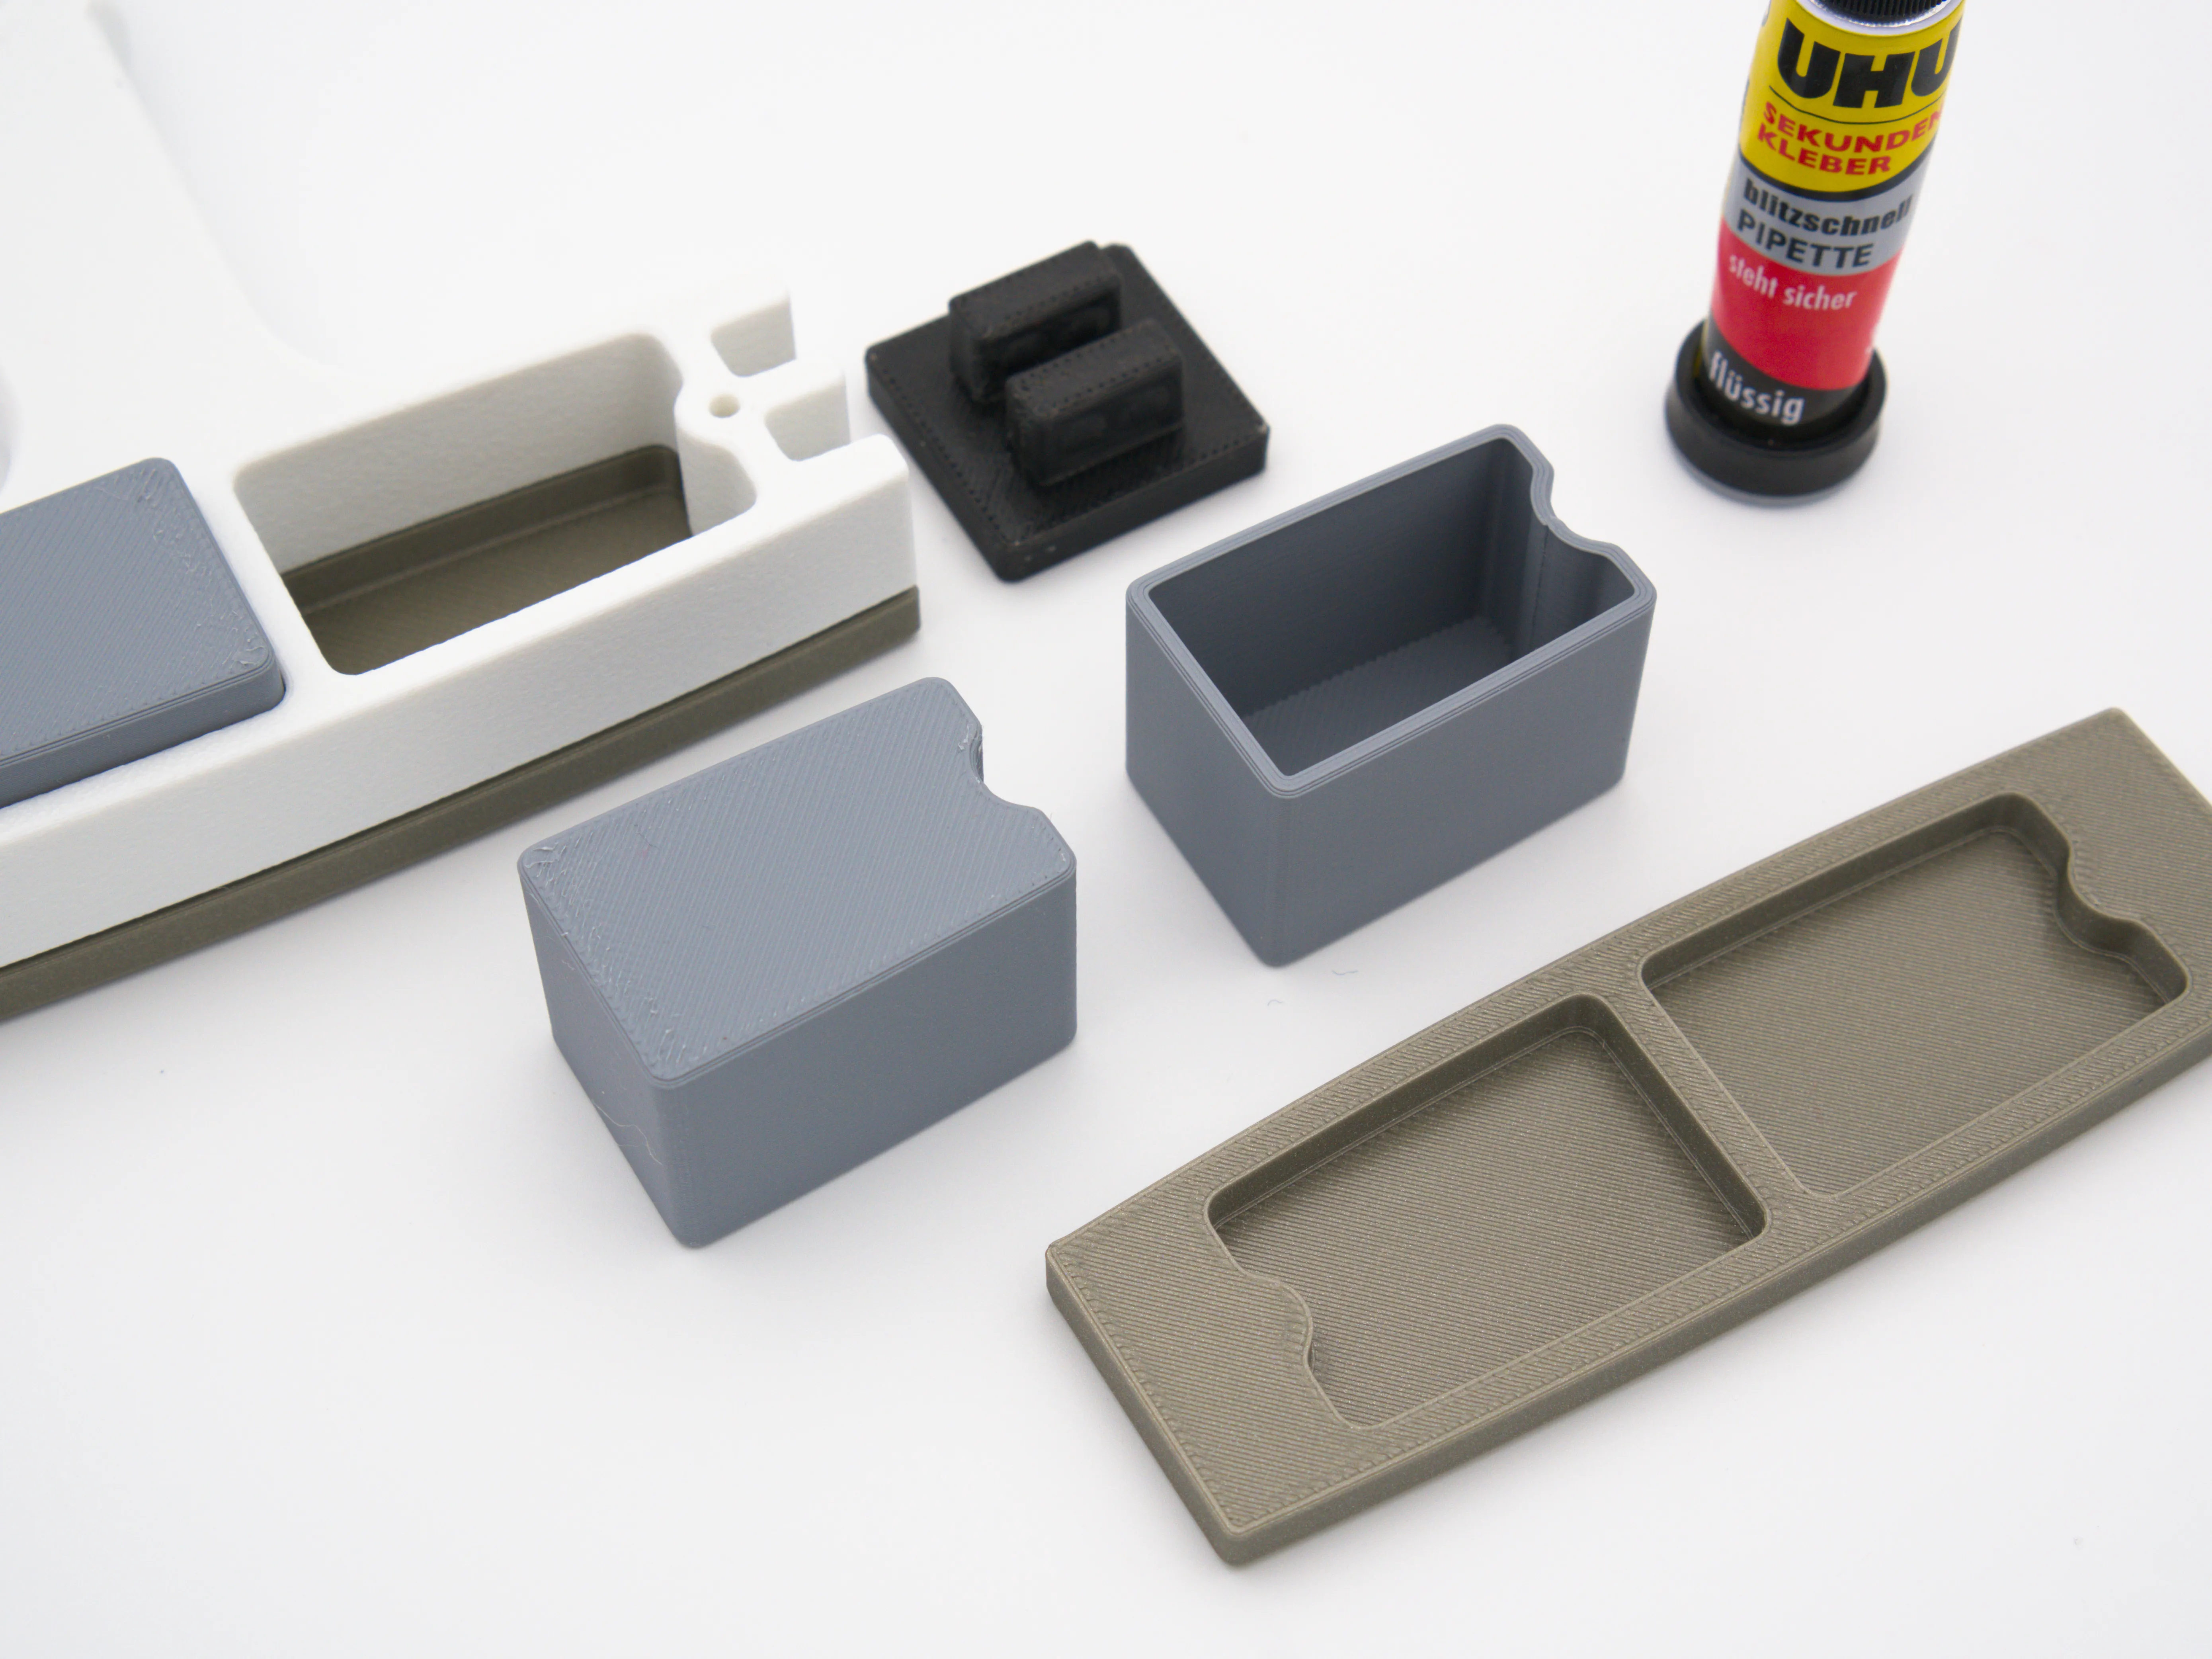
Note that the inserts form part of the hammer structure and should not be skipped, especially for the glue-on side cover versions.
Pads
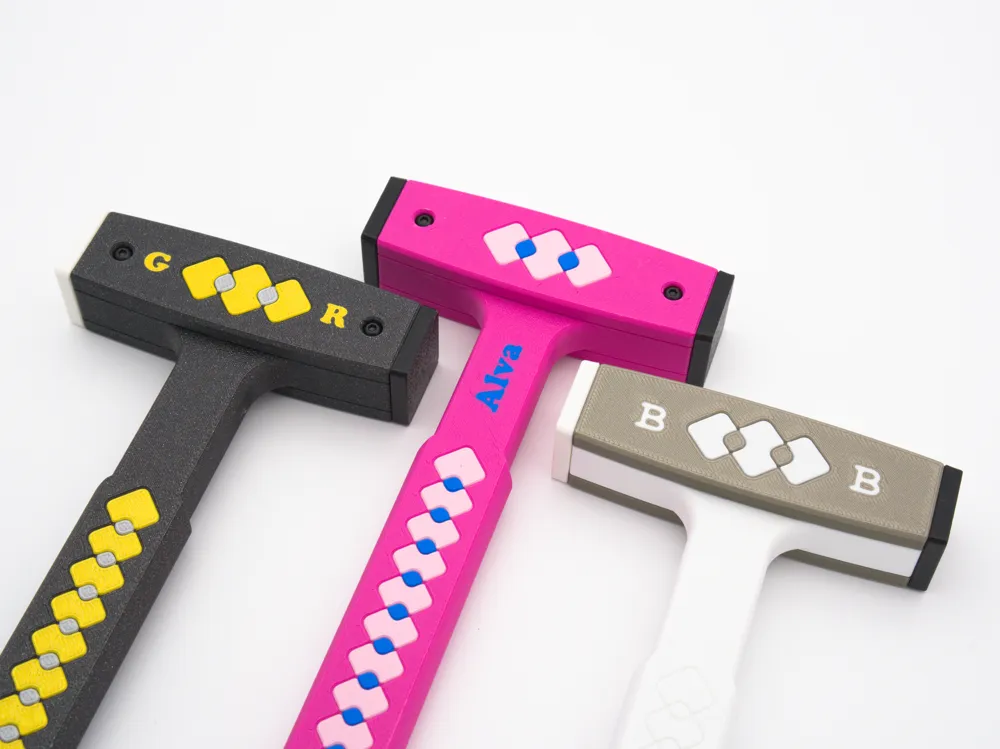
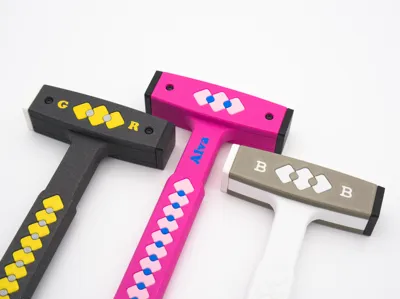
The hammer faces can be made from TPU or other soft plastic for general assembly use, or a hard plastic like PLA or PETG for when you lose your patience. I suggest using different faces for each side. Remember to colour-code them!
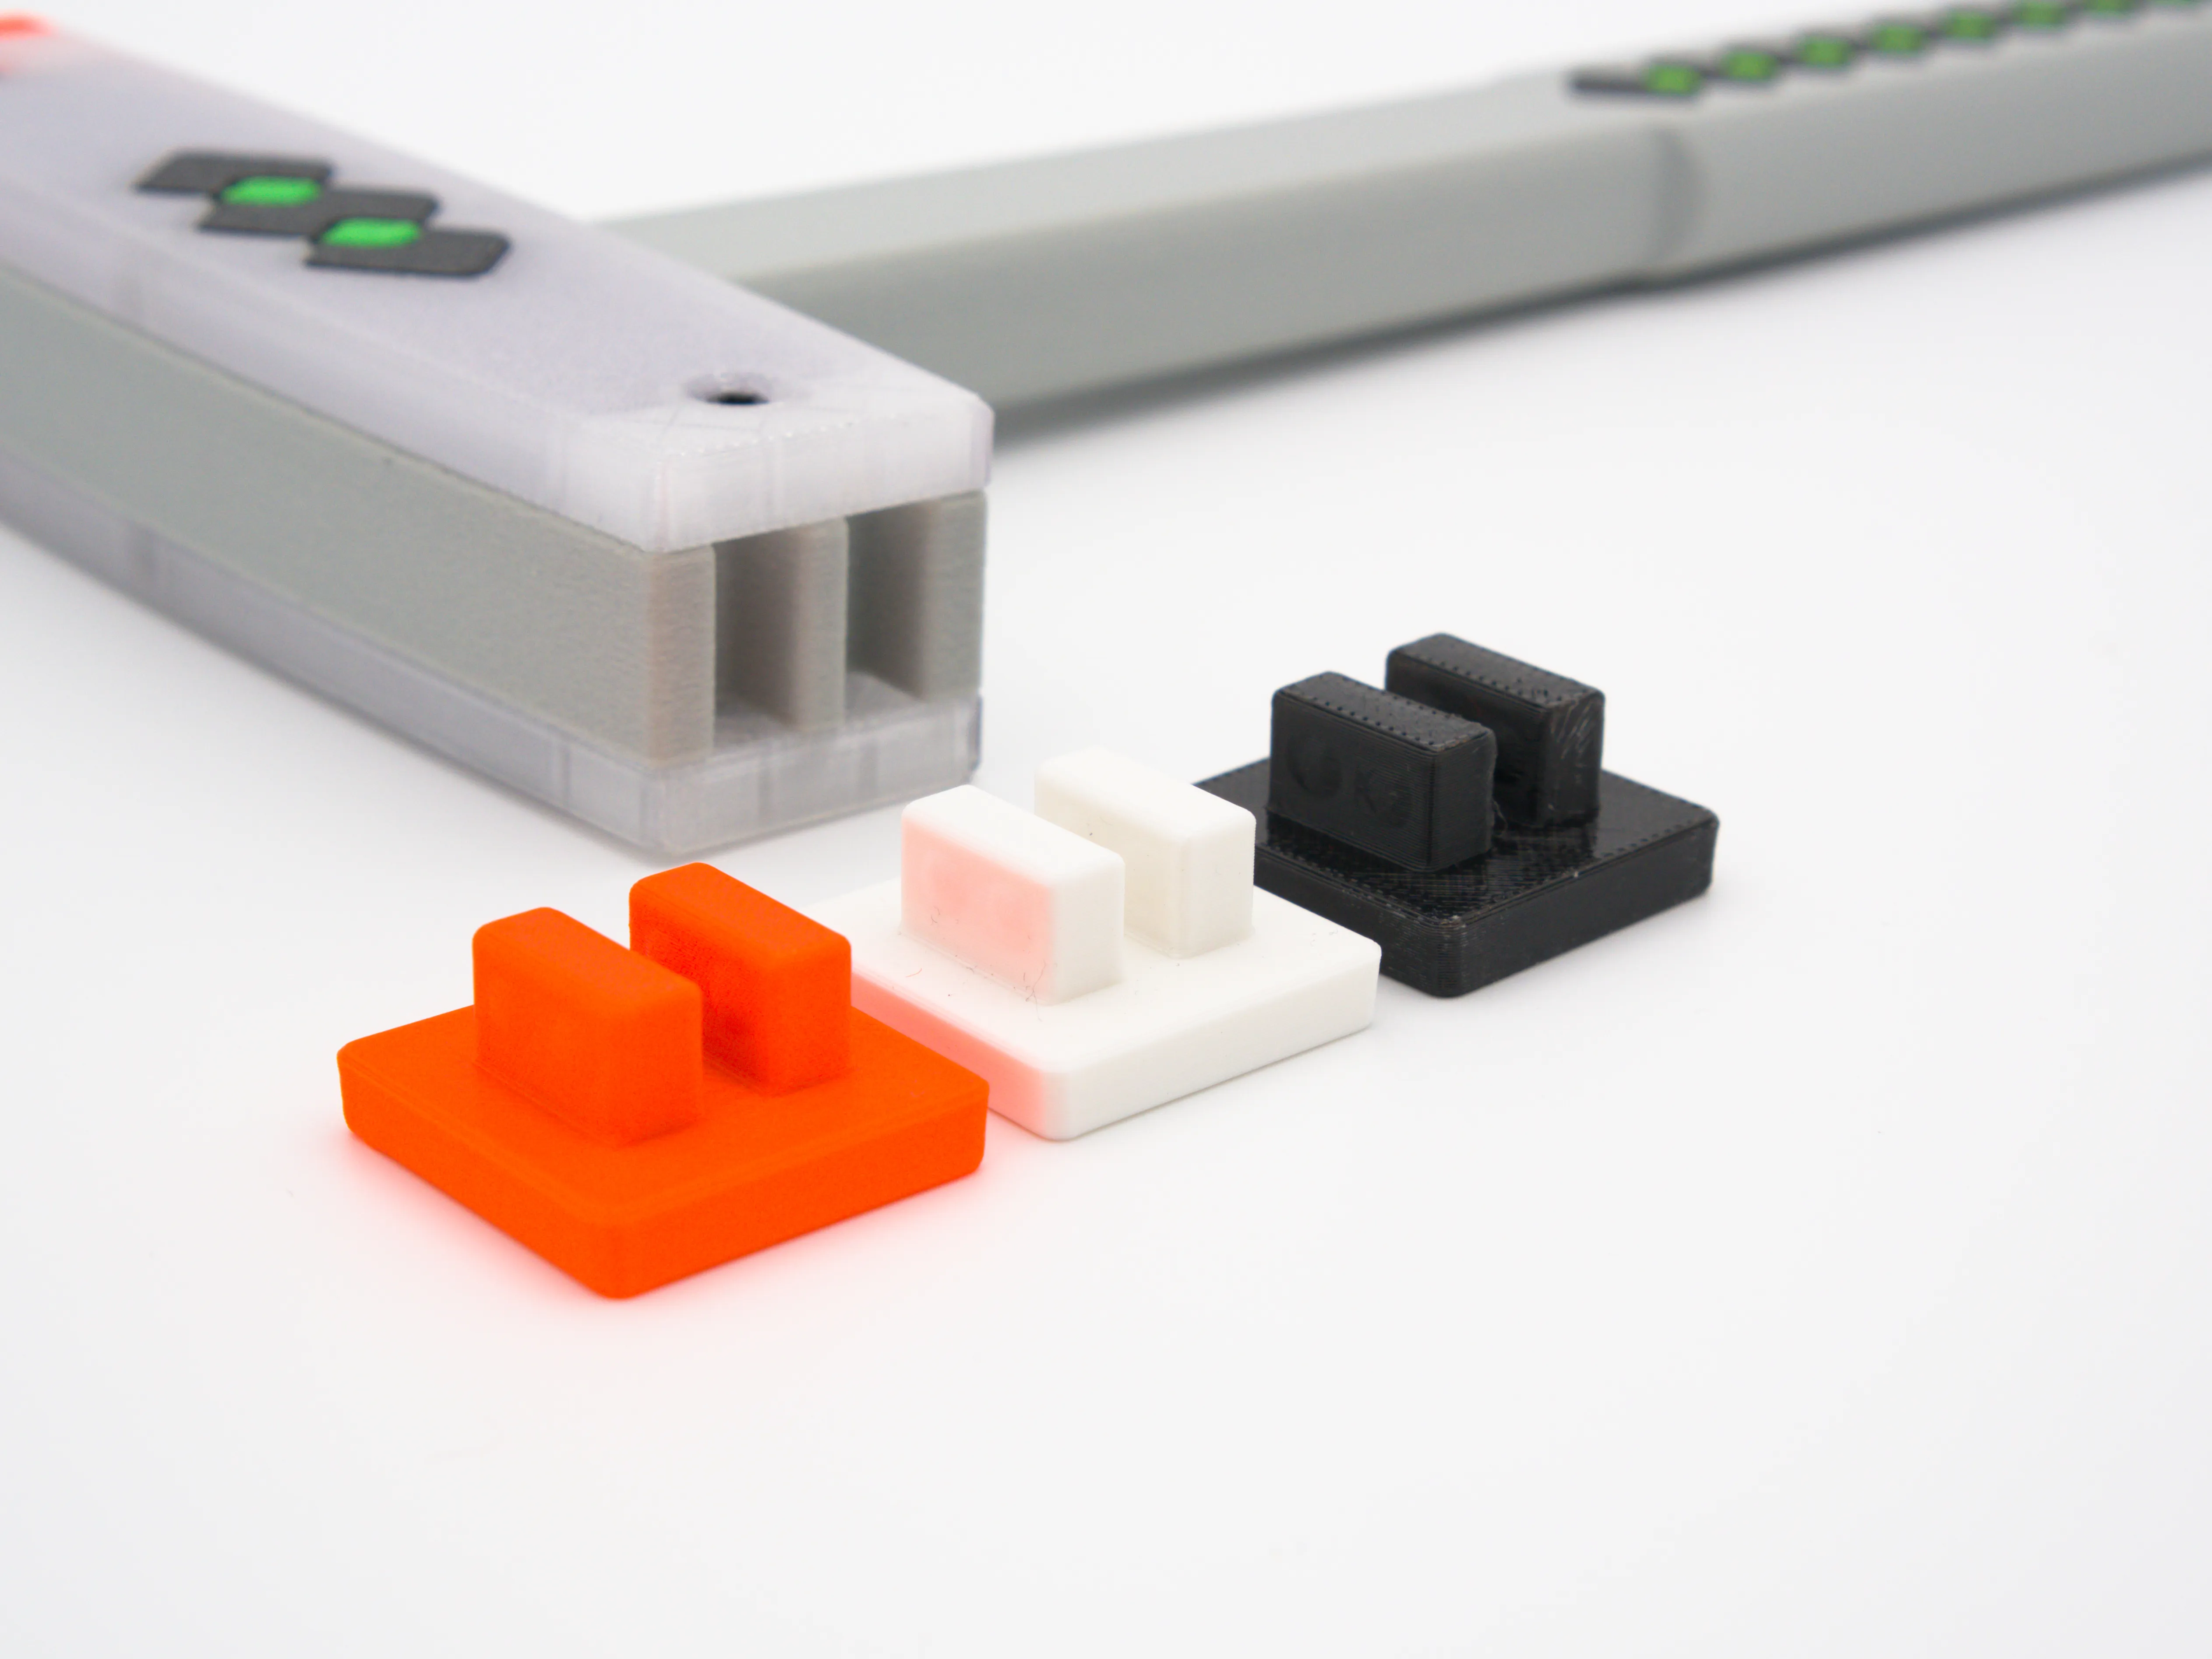
Note that the 3D model for the soft pad version is different to the hard pad version as the friction bumps are compliant and need different sizes.
Customisation
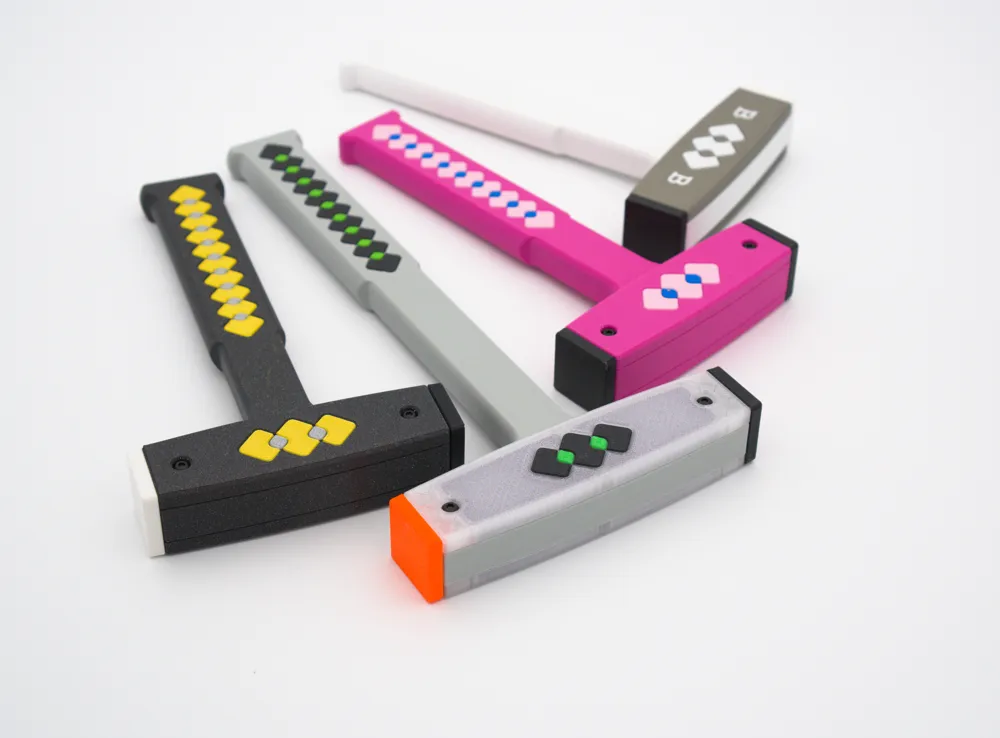
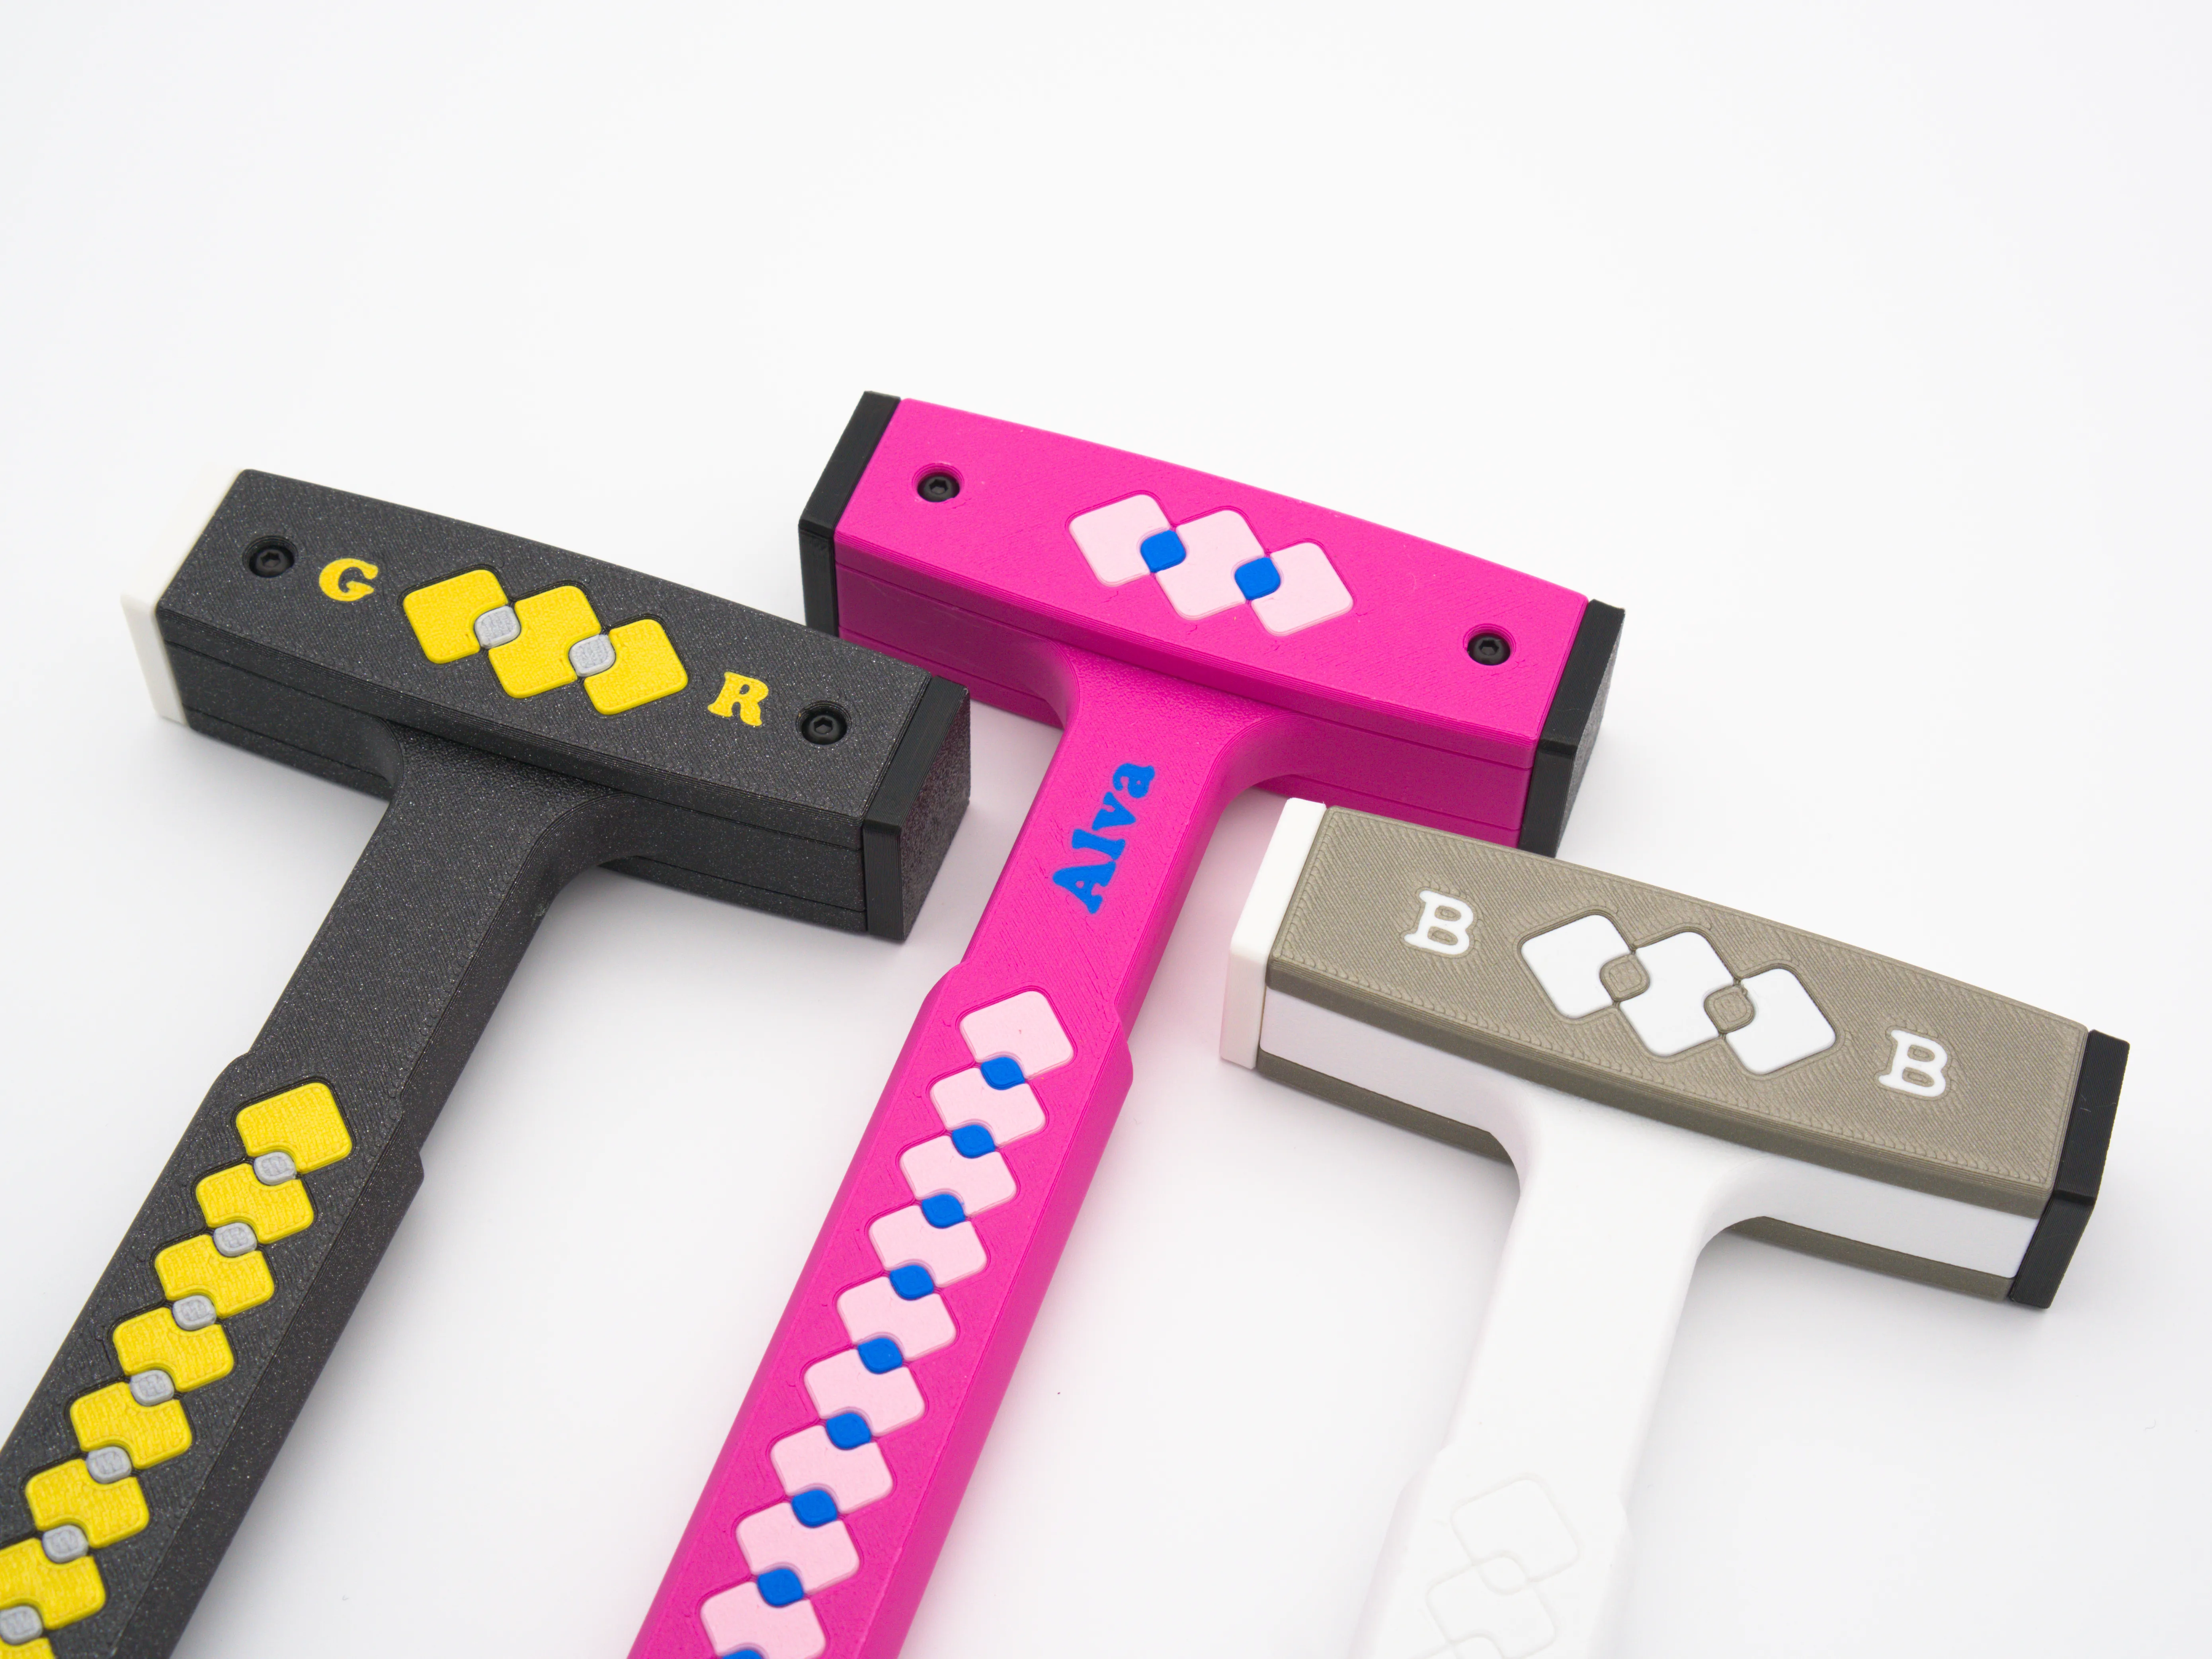
You don't need an AMS - a two-tone hammer in muted colours look super classy! However, if you do have an AMS, you can really customise it with only a dozen filament changes by painting the patterns on the handle and side covers and even add lettering in the slicer for that perfect gift.
Materials
- PLA works great for all parts except for the soft pad. If you want to carry it in a hot car, consider ABS-GF for the handle. (I know you need an excuse to order that PPS-CF… This might be your chance!)
- The soft pad could be made with TPU 95A, TPU 90A, TPE or similar.
- For a glue-together version, you will need… glue. I used CA glue ("super glue") for fast assembly.
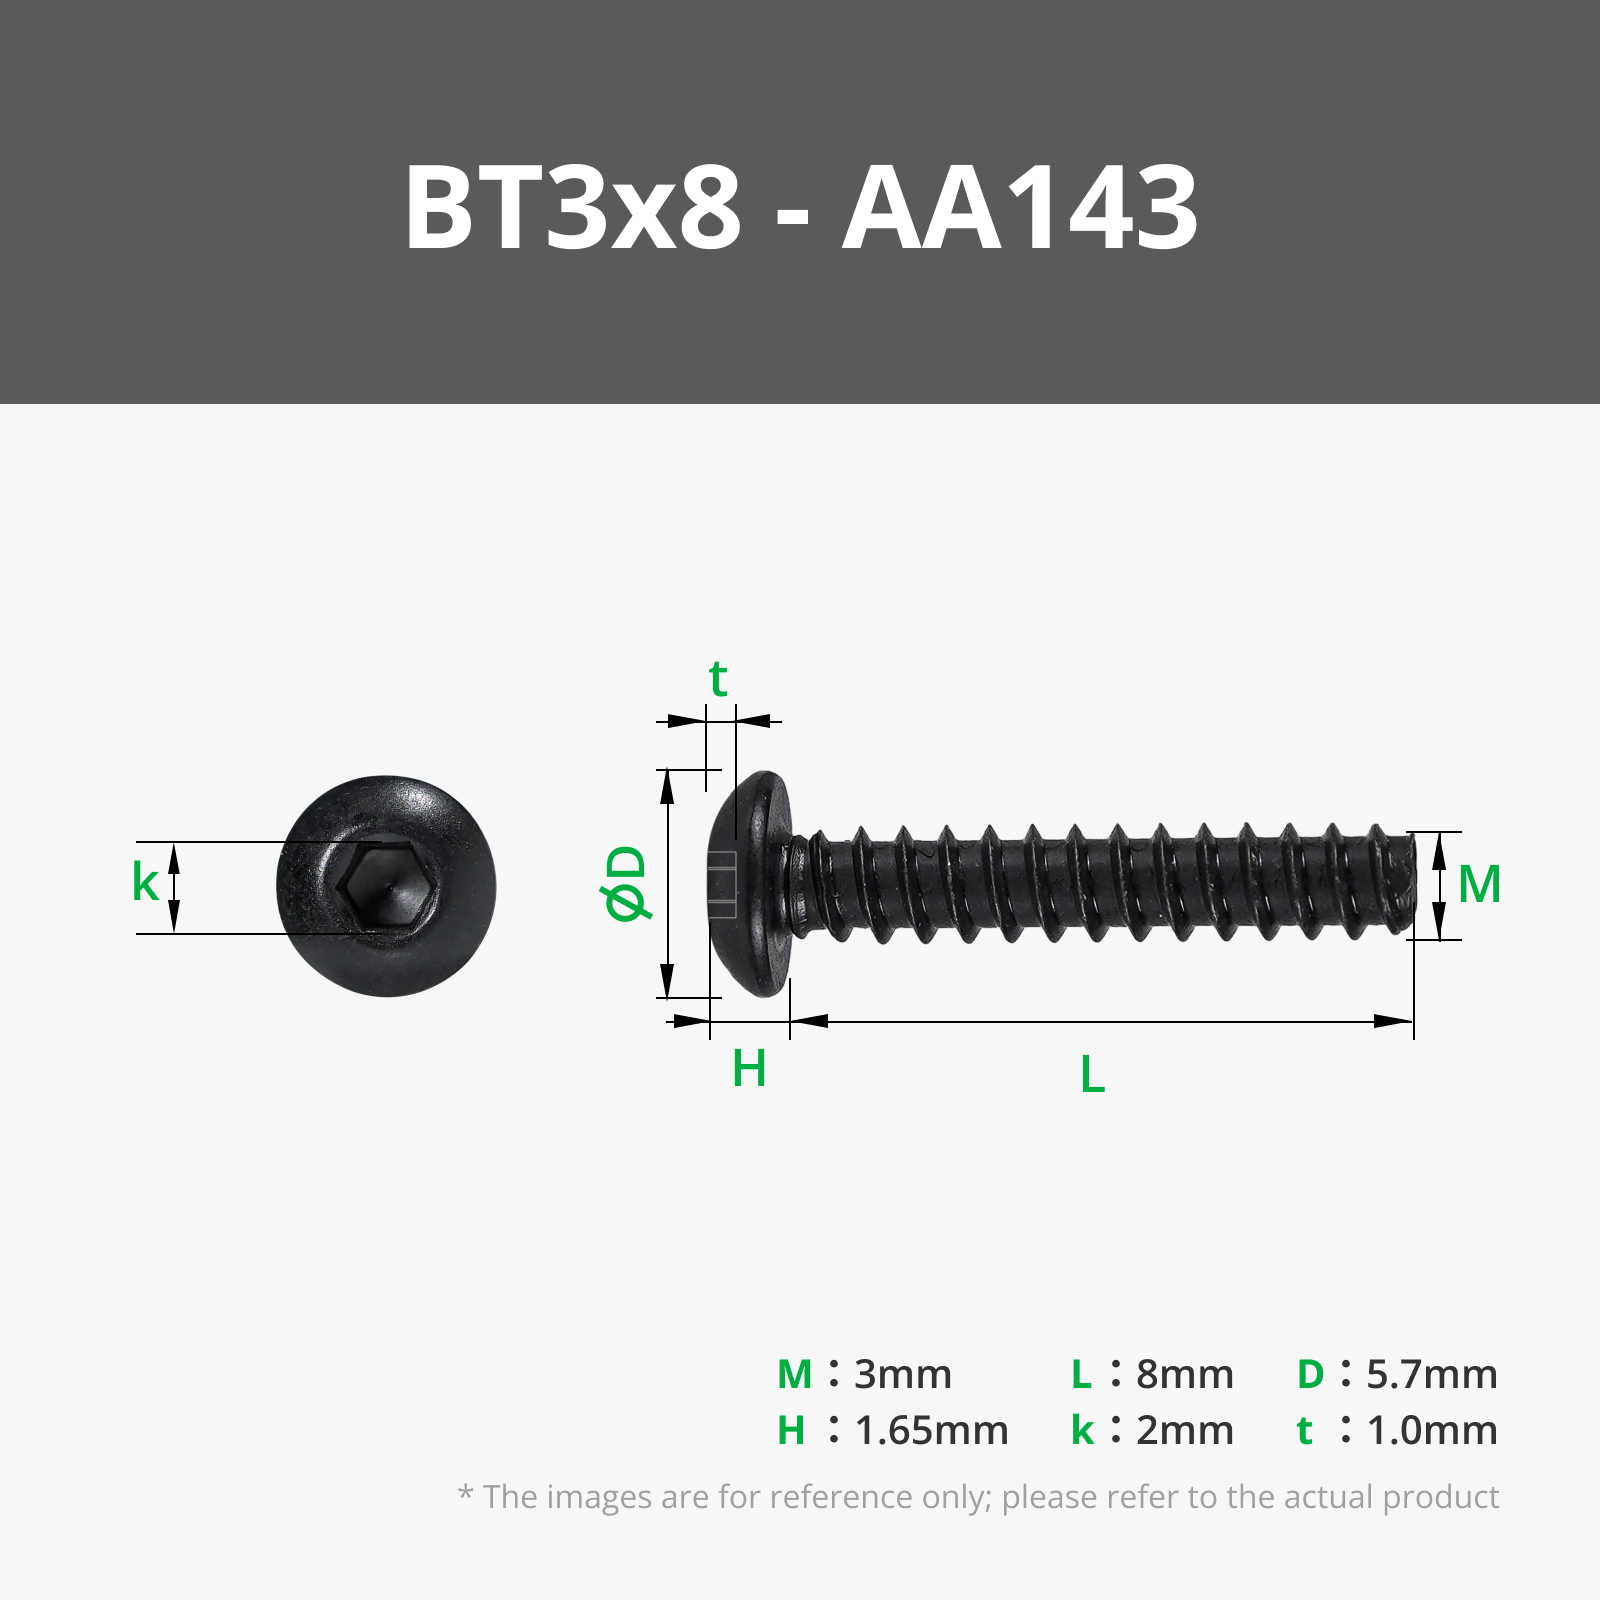
- For the screw-together version, you will need 4 BT3x8mm self-tapping plastic screws. Both button head and socket head styles will work. These types of screws work really great with 3D printed parts by the way!
Print Tips
As usual - all parts print easily without supports, have easy overhangs and easy bridging. However, there are still a few considerations to make a nice part:
- As a general precaution, tune your flow rate before starting to ensure the parts fit together well. Alternatively, you can measure your filament with some calipers to ensure it's not too out-of-spec. (I had one roll of ABS-GF with filament being 1.78-1.79mm in diameter, and when printed with a standard filament profile, the fit required a lot of negotiation).
- Adjust print parameters such as infill to change how soft the soft pads are.
- Take your time and print it nice!
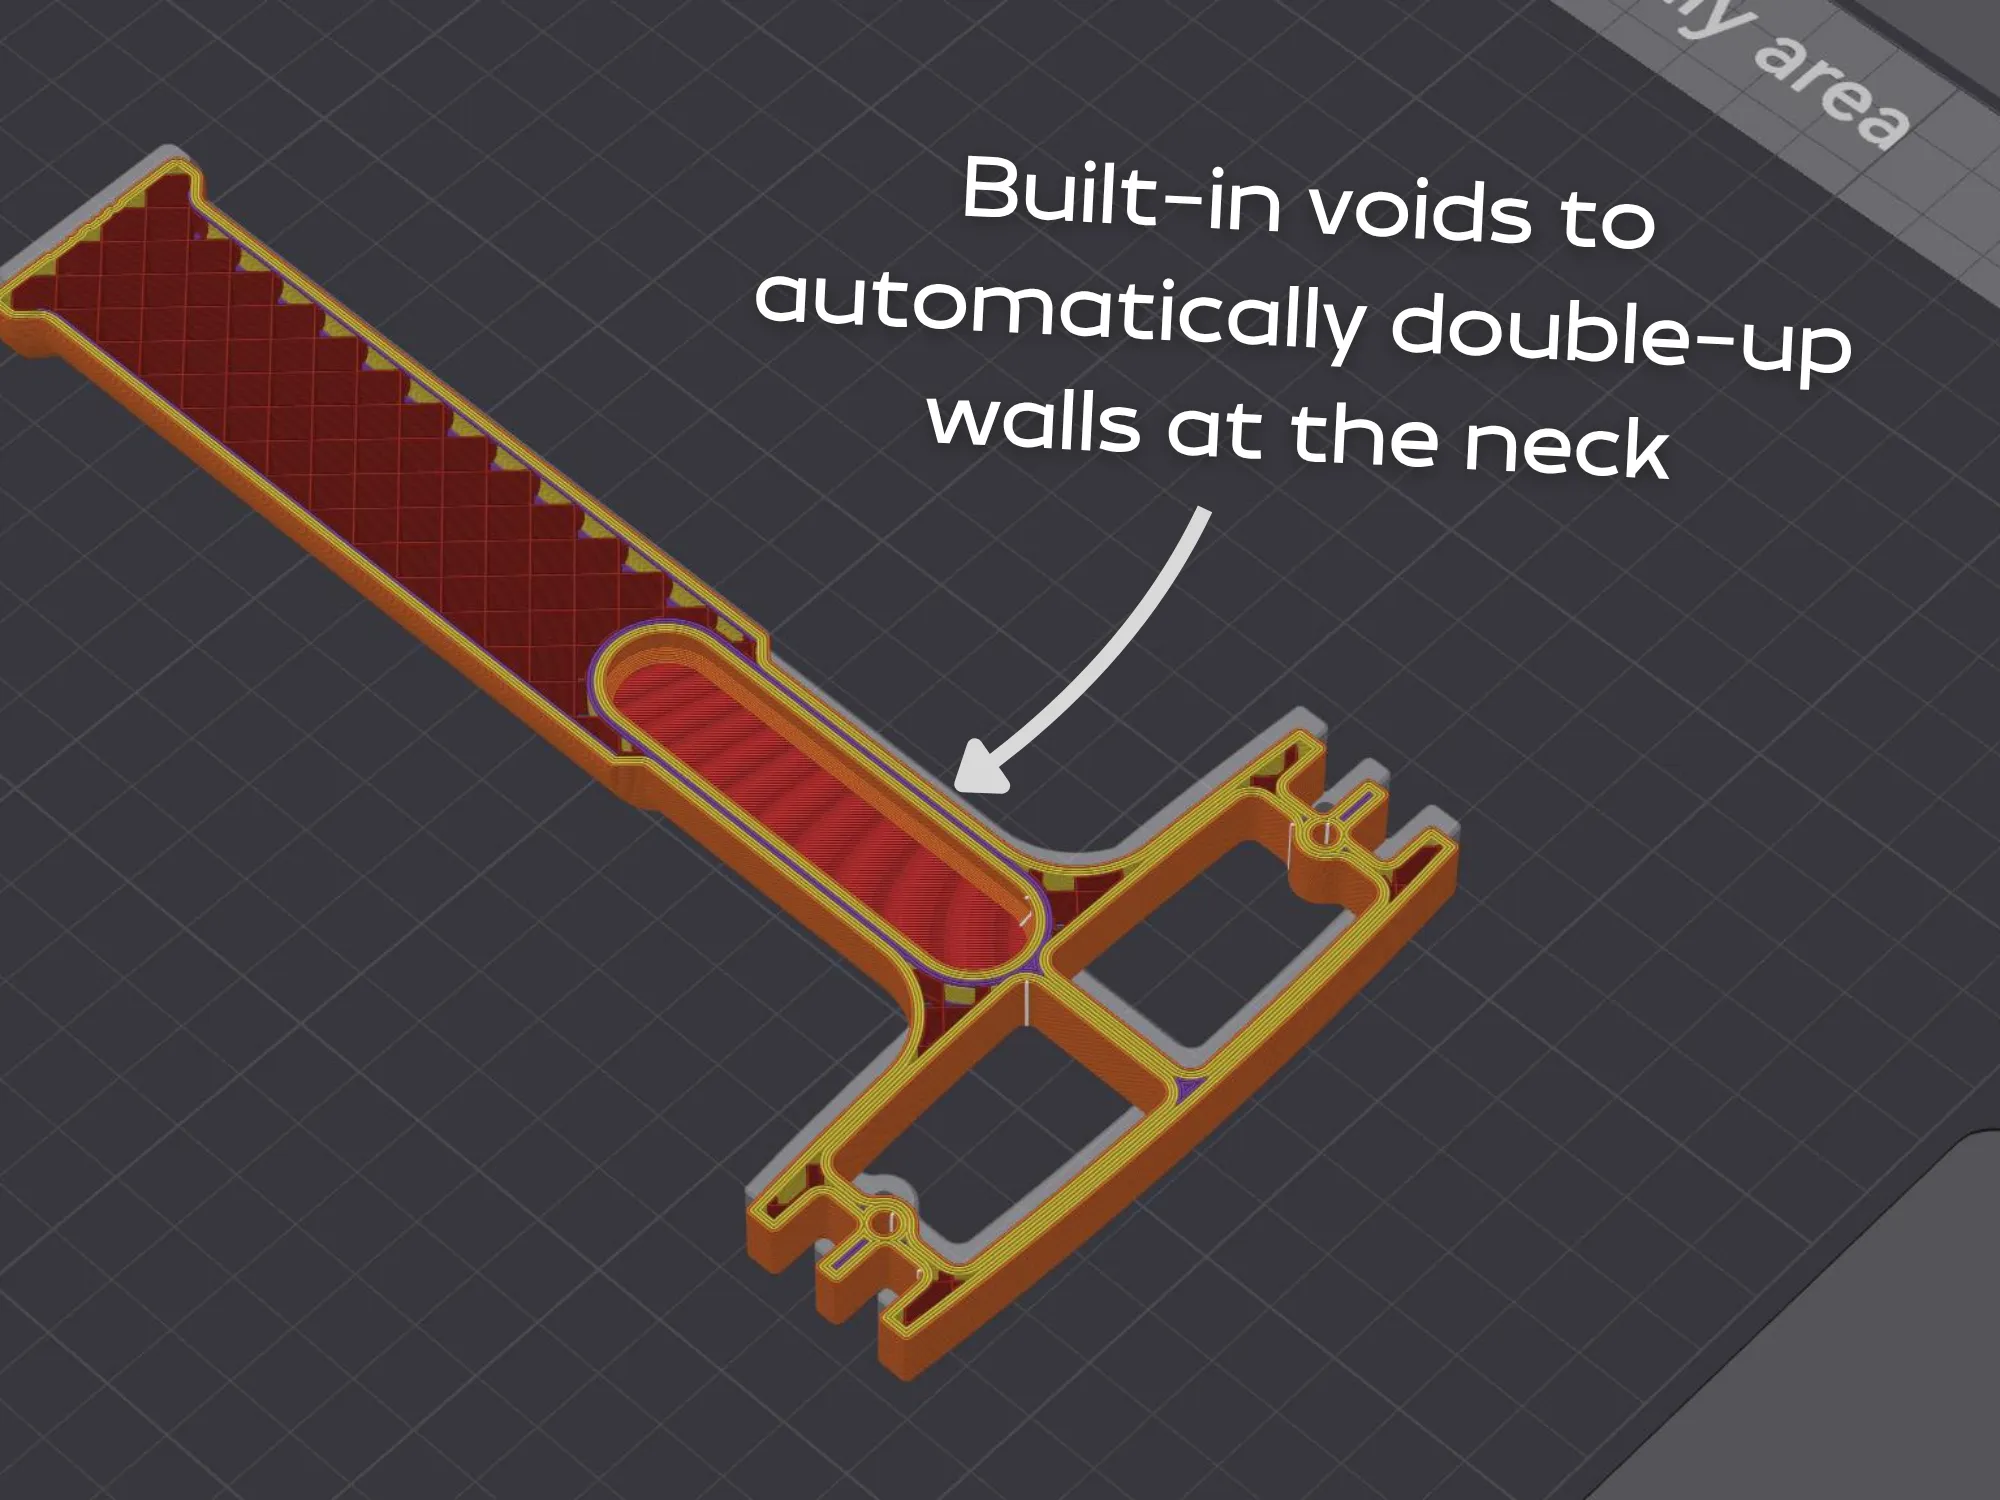
The handle model has an internal void so that the number of walls are doubled up automatically at the neck. This is optimised for 4 walls with a 0.4mm nozzle and produces a very stiff part without needing to add extra material at the grip.
Wall Mount
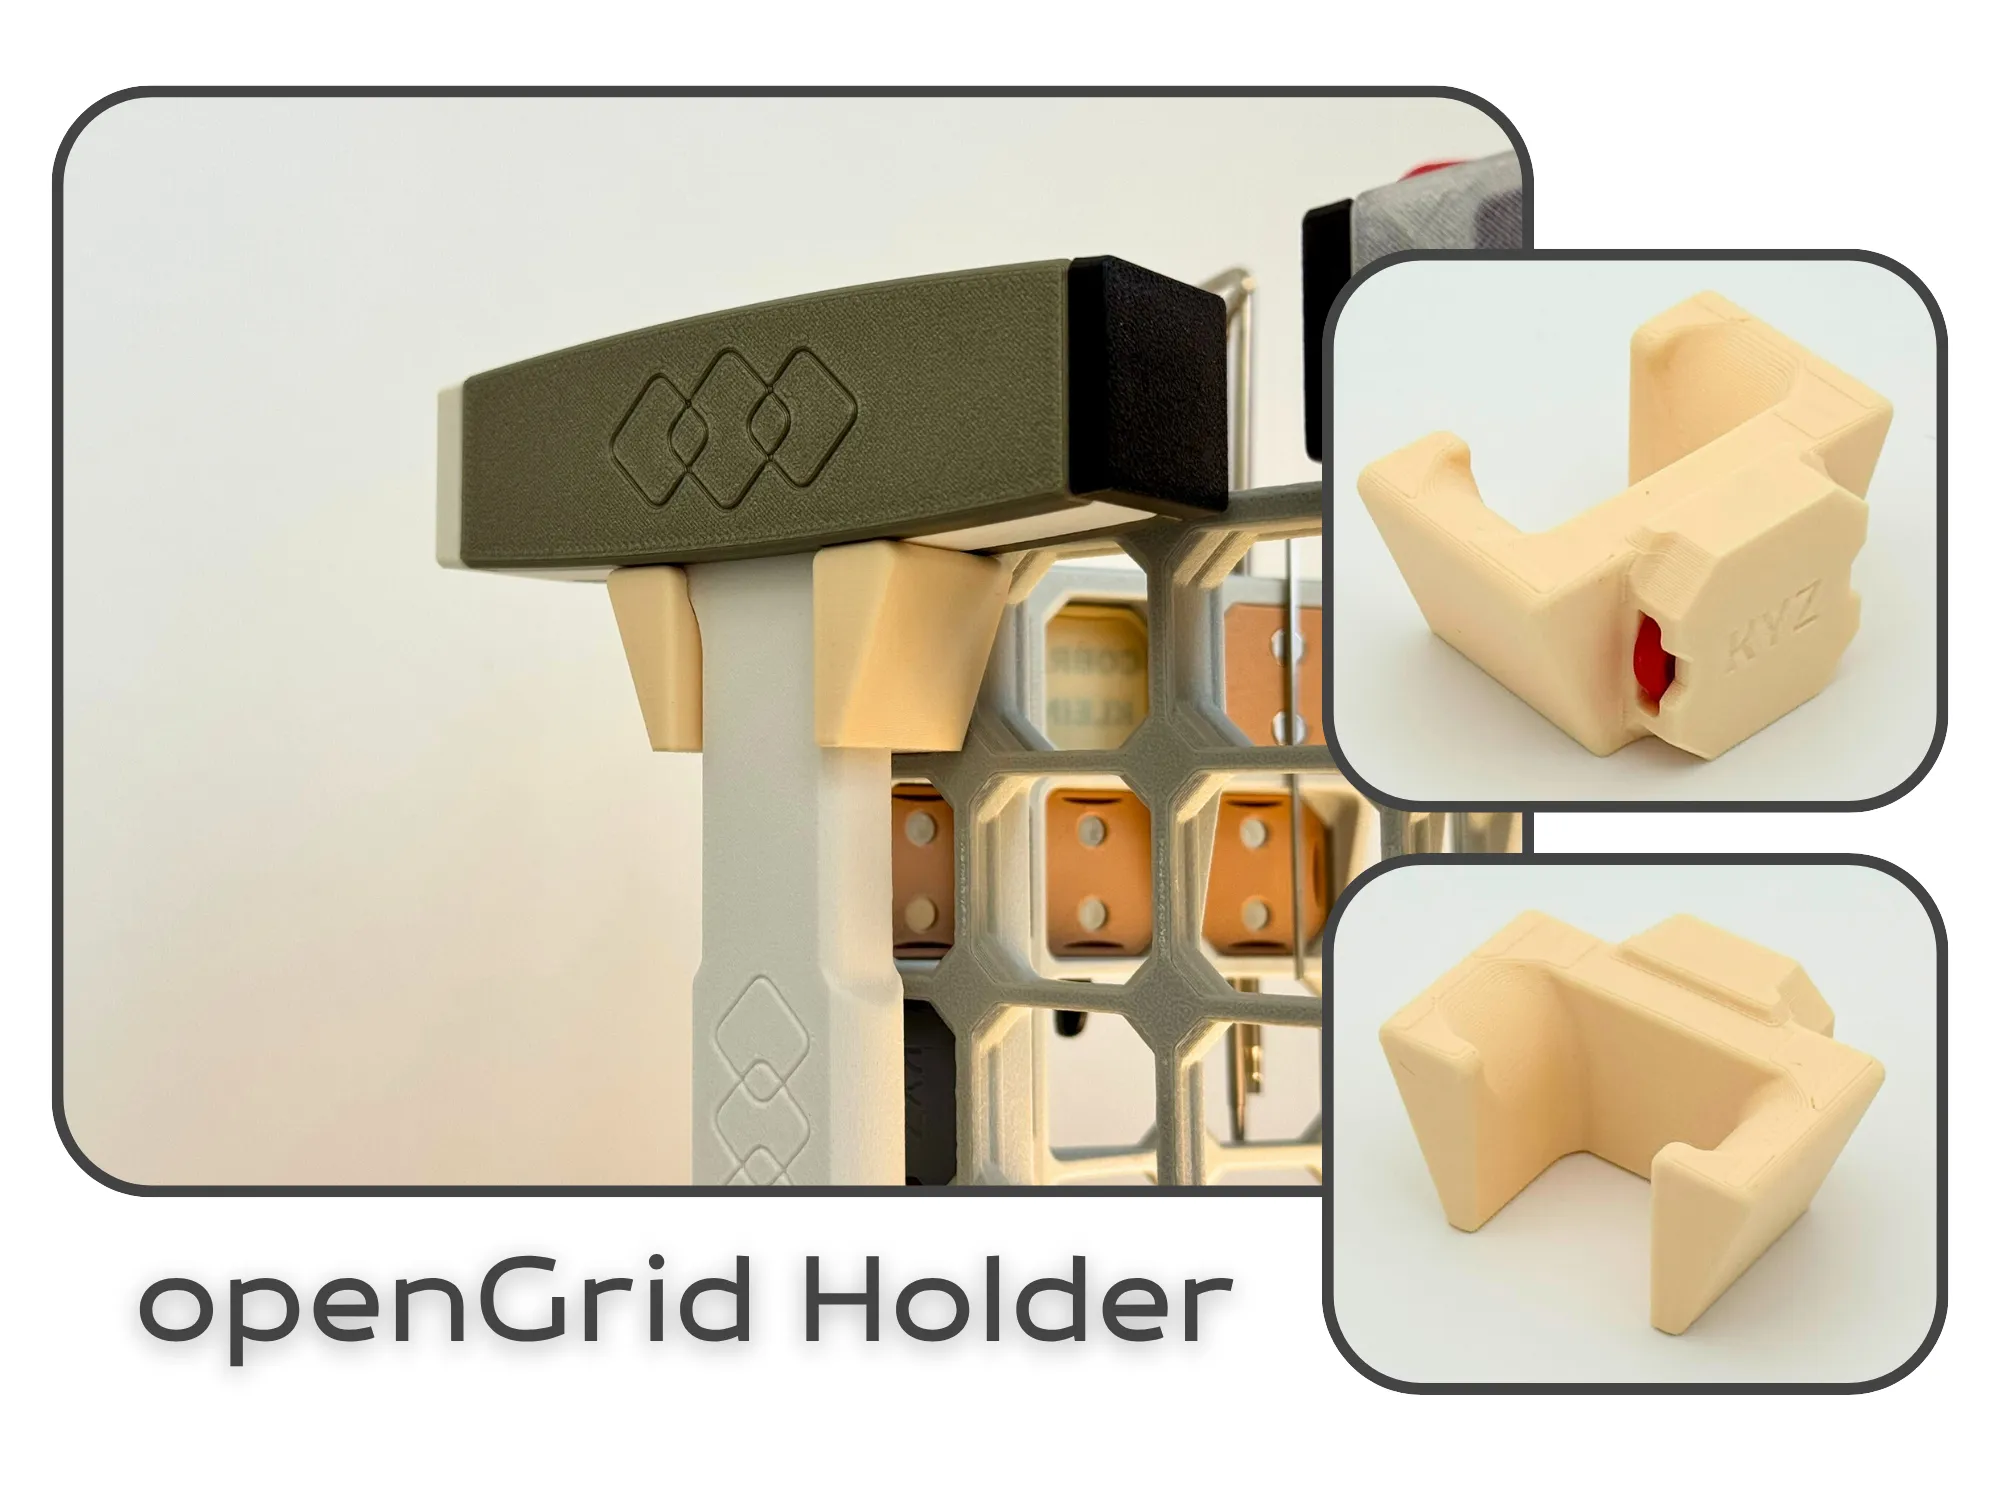
There is a print profile for an openGrid mount. For those of you who use a different system, I've uploaded the STEP file for the mount so you can adapt it to whatever mounting method you prefer - whether it be Skadis, HSW, Multiboard, screw or just VHB tape. If you want to share your changes to the holder, you can upload it as a print profile or as a new model, as you wish.
Can you really print hammers though?
This project was heavily inspired by a video by The Swedish Maker, it's quite interesting, have a watch!
Boost Me (for free)
If you leave a boost, I may be able to buy different coloured photo box backdrops so I'm not photographing white objects on a white background like a total amateur!
License

You shall not share, sub-license, sell, rent, host, transfer, or distribute in any way the digital or 3D printed versions of this object, nor any other derivative work of this object in its digital or physical format (including - but not limited to - remixes of this object, and hosting on other digital platforms). The objects may not be used without permission in any way whatsoever in which you charge money, or collect fees.


Comment & Rating (186)