Smart LED Name Tag Mini-Billboard ESP8266 D1


Print Profile(1)

Description
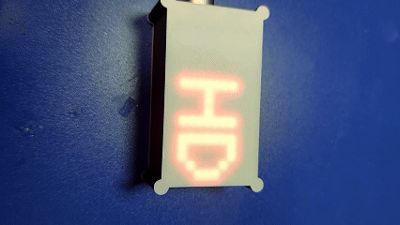
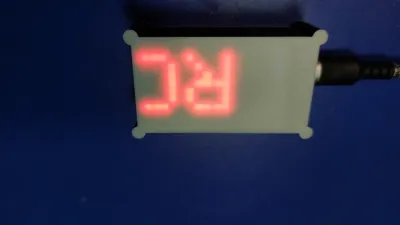
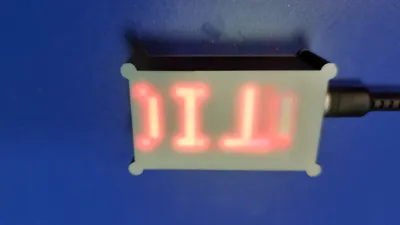
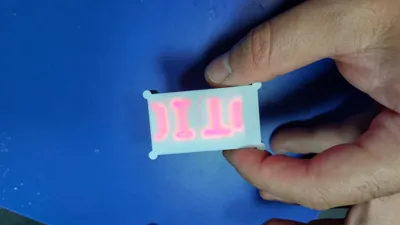
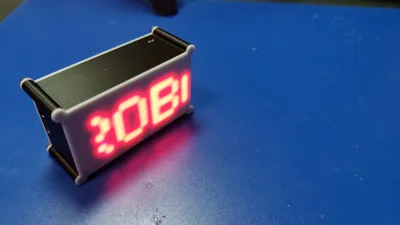
This project is a smart, Wi-Fi-enabled LED name tag that works with a D1 Mini (ESP8266) and two 8x8 WS2812B LED matrix panels.
Via the integrated web interface, you can set text, colors, effects, speed, scroll direction, as well as time and date directly in the browser – completely without additional software.
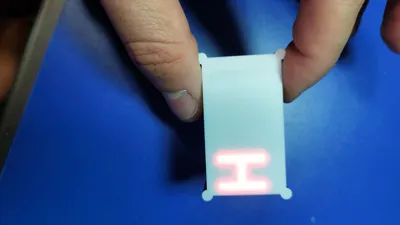
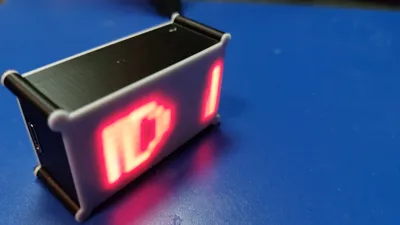
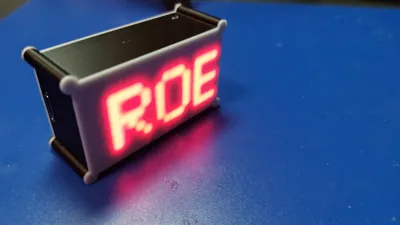
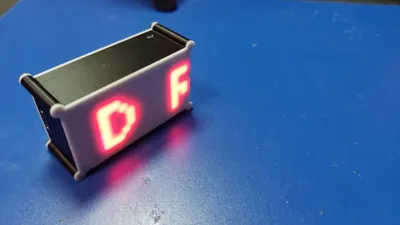
The casing was specially developed for the D1 Mini, the battery shield, and two LED panels and offers a compact, clean solution for a portable or stationary name tag.
🧩 Features
- Wi-Fi configuration directly via access point
- Web interface for control (usable offline & online)
- Real-time color and text settings
- Time and date display
- Demo and animation modes
- Compact design for 2x 8x8 WS2812B panels
- Perfectly suited for makers, events, name tags, or mini-billboards
⚙️ Used Components
- D1 Mini (Lolin ESP8266)
- 2x 8x8 WS2812B LED Matrix Shield
- Battery Shield TP4056
- 3.7 V Li-Ion Battery 501240 3.7 V
On/Off Switch
🧵 3D Print Settings
- Nozzle: 0.2 mm
- Layer height: 0.12 – 0.16 mm
- Material: PLA or PETG recommended
- Infill: 20 %
- Supports: not required
- Print time: approx. 2–3 hours (depending on printer)
The model consists of precisely adapted parts for the D1 Mini, battery, switch, and LED panels. The 0.2 mm nozzle creates a particularly clean and detailed finish – ideal for small lettering and exact fits.
🔌 Wiring
- DIN (first panel) → D4 (ESP8266)
- DOUT (first panel) → DIN (second panel)
- VCC → OUT+ from battery shield
- GND → OUT- from battery shield
Further connections are not necessary, as the software already has all smart features integrated.
💾 Software & Setup
- Download the code from my GitHub: [👉 Insert GitHub link here]
- Flash it onto the D1 Mini.
- After switching on, a Wi-Fi network named "Name Tag Config" appears.
- Password: 12345678
- After that, you can connect the device to your Wi-Fi and control it via the displayed IP address in the browser.
📦 Downloads & Links
- 💻 Code (GitHub): 👉 To the GitHub project
- 🌐 Website: 👉 Visit project page
- Youtube Tutorial :
❤️ Note
This design is optimized for printing with a 0.2 mm nozzle to achieve the best possible fit and surface finish.
If you rebuild or improve the project, feel free to share your make – I look forward to your versions!
License
You shall not share, sub-license, sell, rent, host, transfer, or distribute in any way the digital or 3D printed versions of this object, nor any other derivative work of this object in its digital or physical format (including - but not limited to - remixes of this object, and hosting on other digital platforms). The objects may not be used without permission in any way whatsoever in which you charge money, or collect fees.
Comment & Rating (0)