Big Brick Holiday R2-D2 500%


Print Profile(1)

Bill of Materials


Description
Boost Me (for free)
If you like my models, please consider dropping me a boost, comment and rate the profile! Any of these things keeps me motivated to Keep going! Thank you!
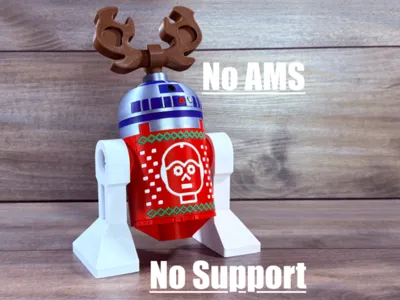
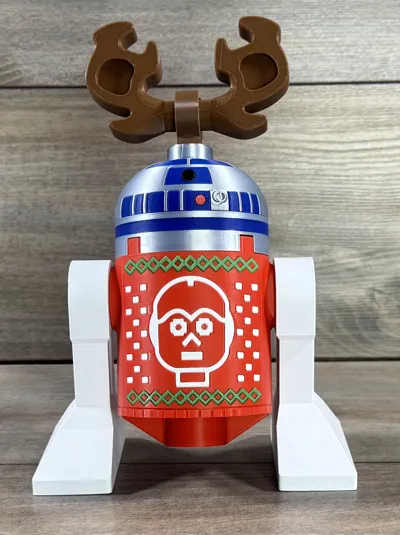
Celebrate the holidays in brick style with R2 and his ugly sweater!
Based on the popular brick company minifig, this model prints with no supports or ams and is fun to assemble
UPDATE 10-22-25: changed green inserts to be easier to assemble
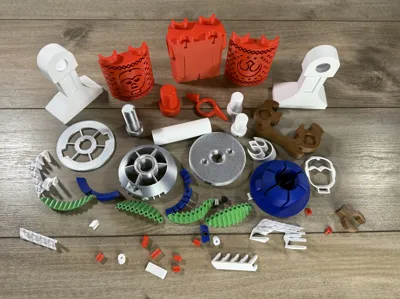
To assemble

Start with the spiked sweater dots and slide them into the back of the parts as shown. Make sure to go at an angle and line them all up as you go.

Then place the front and back onto the middle of the torso. Then use the short pins at the top and long pins at the bottom to lock it together. The top pins are a little hard to get to, i recommend tweezers to put them in. Ive also included some in the “optional tools” plate.

Insert all the torso details at a downward angle, sliding the pupil into the back of the eye before inserting them.

Insert the cross plate into the bottom and use the socket bolt to hold it on.

Slide the leg tube through the torso and use the bolts and the “droid leg tool” or screwdriver to bolt the legs to each side.

Next grab the dome and insert the two blue trim parts into the slots in the bottom.


Next place the parts together as shown, inserting the locator pins into the lower part, and use the stud bolt to hold it all together.

Insert the eyes and eye surround into the dome and snap the assembly onto the torso.

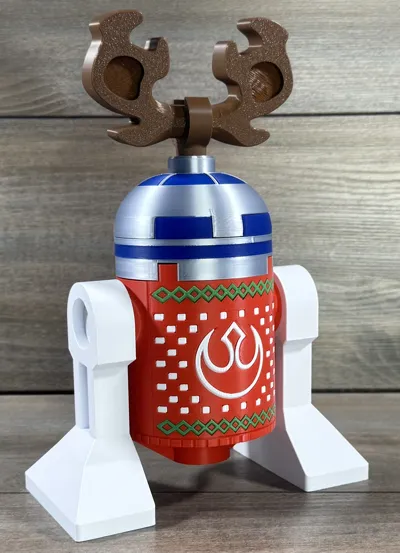
Finally clip the antlers onto the clip and finish by pressing the assembly into the top stud.
Membership
Thank you for checking out my models. If you enjoy them or want to sell prints, please consider joining. Everything helps to continue to create new models!
License
You shall not share, sub-license, sell, rent, host, transfer, or distribute in any way the digital or 3D printed versions of this object, nor any other derivative work of this object in its digital or physical format (including - but not limited to - remixes of this object, and hosting on other digital platforms). The objects may not be used without permission in any way whatsoever in which you charge money, or collect fees.
Comment & Rating (27)