
Luke Skywalker & Darth Vader Lightsabers (Lighted)
Print Profile(5)


Description
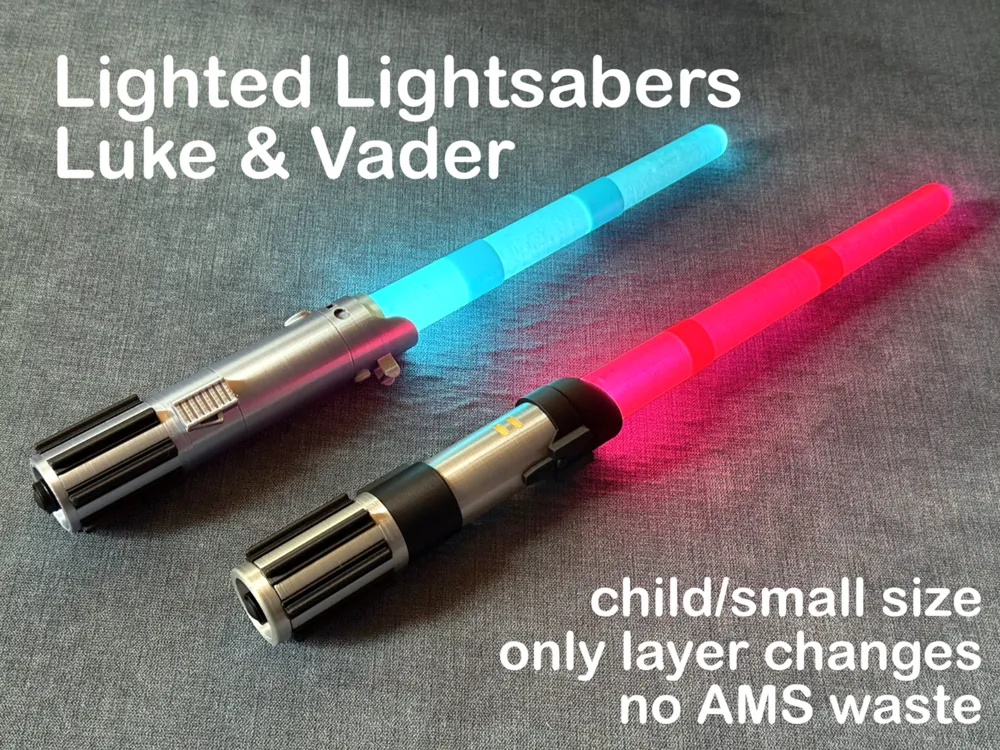
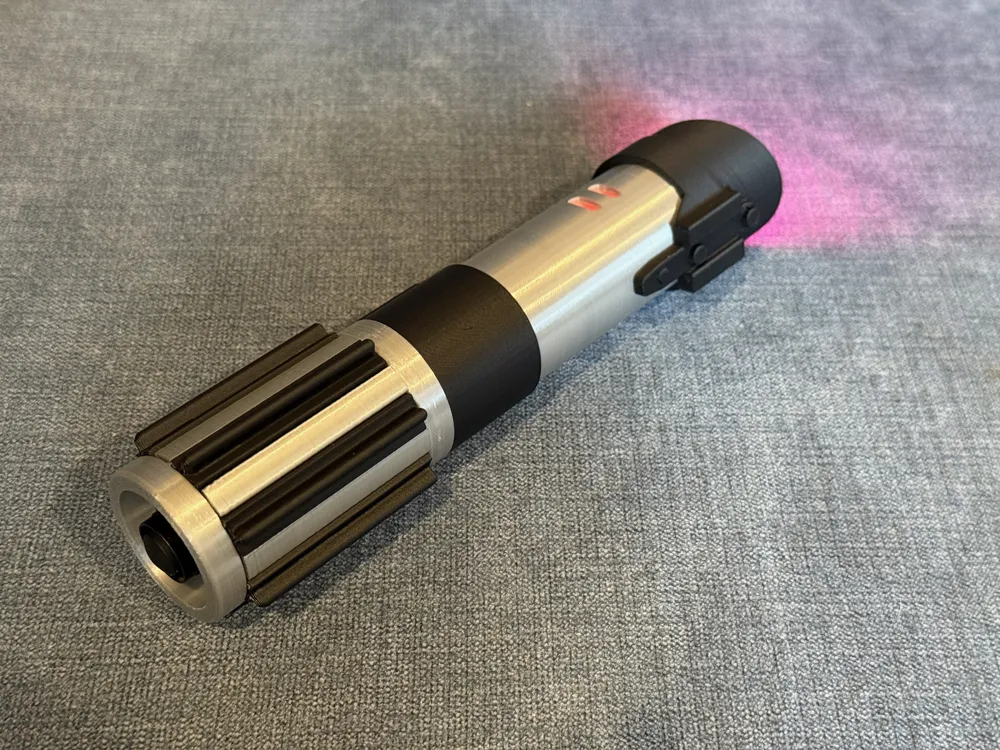
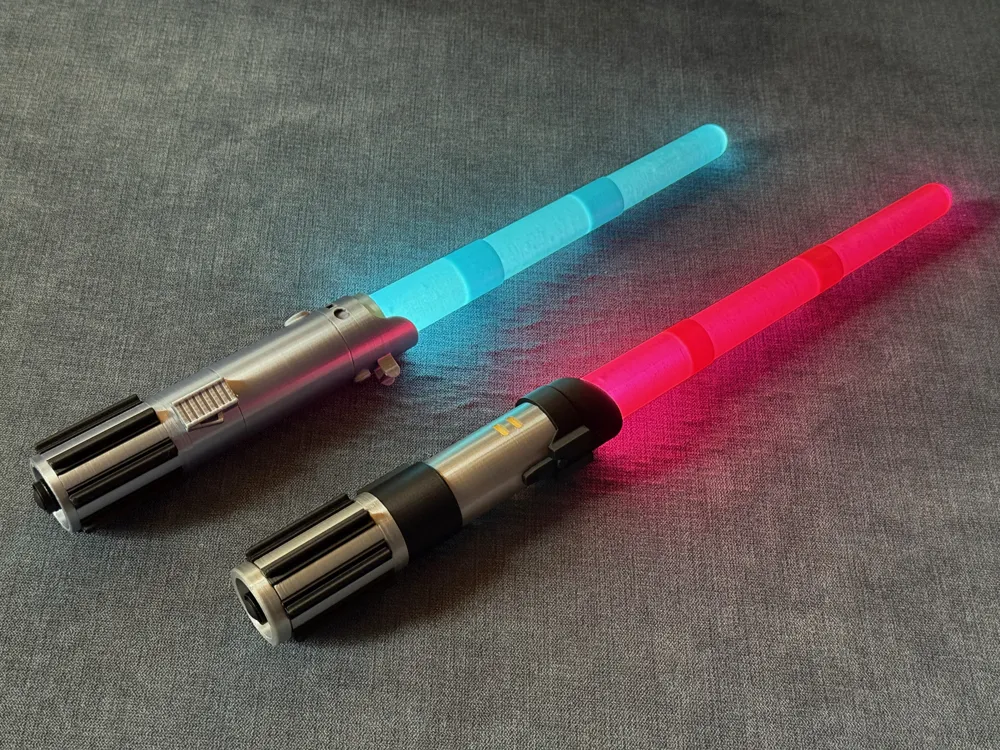
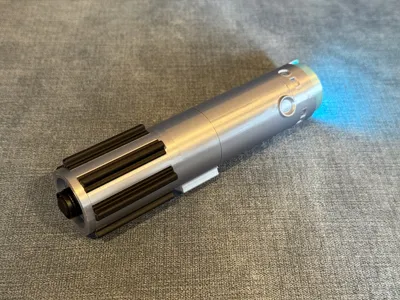
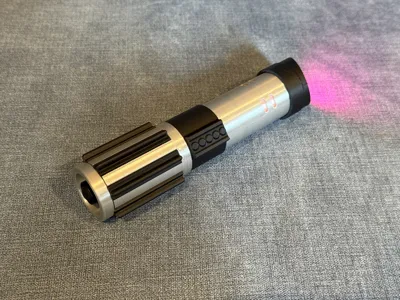
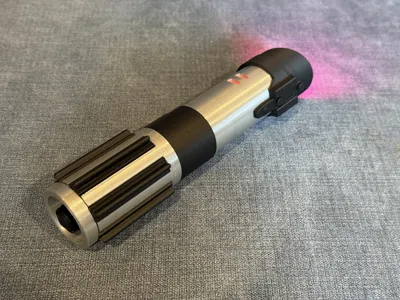
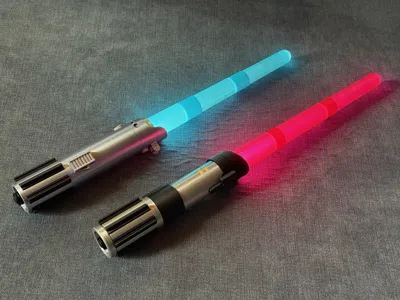
Replica Luke Skywalker (Original) and Darth Vader Lighted Lightsabers
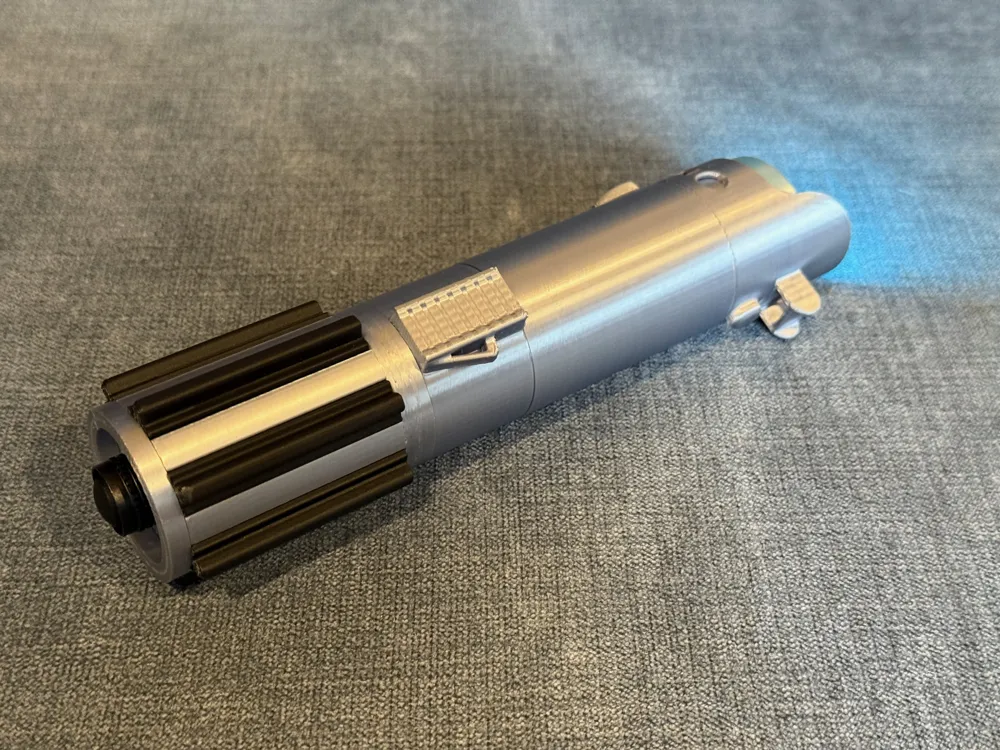
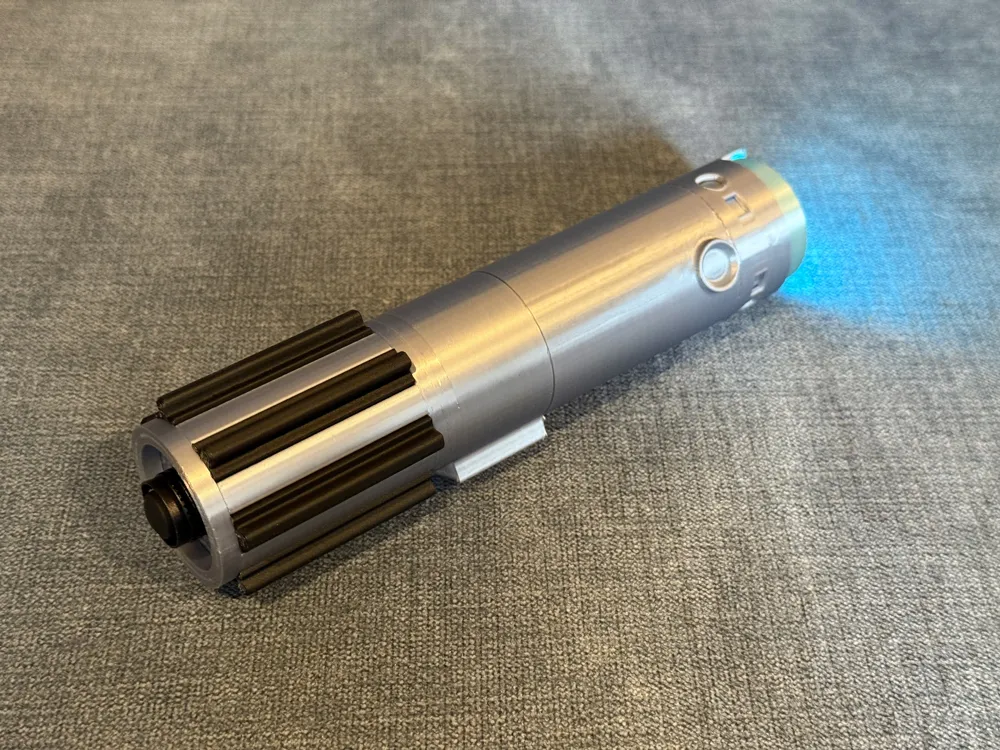
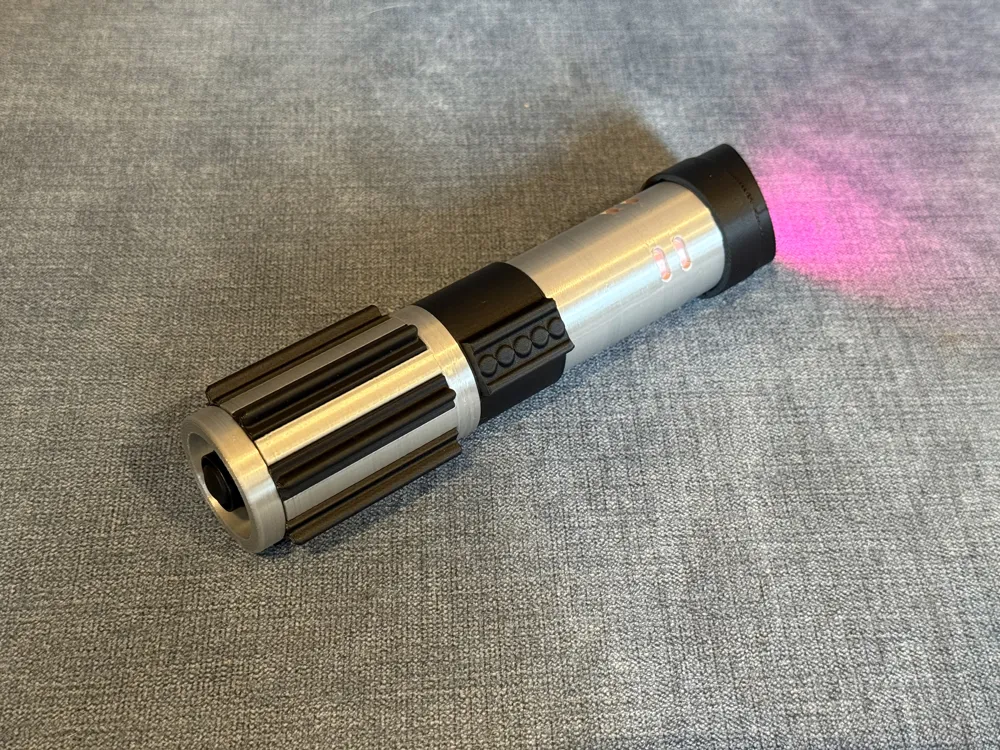
These lightsabers were built to very closely replicate Luke and Vader's lightsabers from the original trilogy. Small details on the sabers change from film to film, so these represent a blending of the films' common features. The lightsabers are 6.5-7 inches long, and the standard blades are about 9 inches long, which (to me) is an ideal size for children (shorter sabers means fewer household items inadvertently knocked over). However, I am also including an XL blade in the print profiles for a version that is approximately 12 inches long. The sabers are illuminated with 3.5 inch pen lights that slide in through the bottom of the saber.
The design was built and tested with the following 3.5 inch pen lights (nonaffiliate links):
- https://www.amazon.com/dp/B0DFQFNFW2 (Note: at this moment, January 2026, it appears that only 5.2 inch pen lights are available from this link. As long as that remains the case, use one of the other links for 3.5 inch lights instead.)
- https://www.amazon.com/dp/B0919M4V2F
- https://www.amazon.com/dp/B0DDXJ95JH
- https://www.amazon.com/dp/B0CC2BKNRT
Other pen lights up to about 16mm diameter may work but have not been tested.
Update 11/6/25: I heard from a user who was having occasional adhesion issues with the blades when printing in translucent PLA. I have added a new print profile with the blade parts separated, external brims, and a slower, consistent speed.
Printing Guidance
I have tested most parts in both PLA and PETG. I highly recommend glow PLA for the blades, but they will illuminate fine with any light or translucent filament. The main print profile uses a small brim for the blades just in case, but my prints have been fine without it. Please make sure your print surface is clean, and please do not blame the print profile for adhesion issues.
I recommend hybrid tree supports with "support critical regions only" activated. I have also added a couple custom painted supports, which I recommend for quality, but the prints work fine without them.
I recommend 3 walls, 0.2 layer height, and 15% gyroid infill. Scarf seams (at least on the blades) help the saber deploy and retract smoothly.
The sabers as they appear in the model pictures are printed with just a few layer filament changes. This allows users who do not have an AMS to print these sabers with programmed pauses and manual filament changes. These pauses are already programmed into the non-AMS print profiles. If you are slicing on your own and using a 0.2 mm layer height, the pauses should be inserted at the following points:
- Layer 33 on the Skywalker End Cap
- Layer 34 on the Vader End Cap
- Layer 527 on Vader's Hilt
Multicolor Prints Without AMS
Before using the non-AMS print profiles, please read the following instructions. The non-AMS print profiles have pauses programmed where a color change should occur. You can get the same effect has an AMS print by manually changing the filament from silver to black at these points.
On an A1 series, when the printer pauses, you can select unload, change the silver filament, and reload with black filament. Then resume the print. This YouTube video is helpful.
On P1 and X1 series, you have to do the following:
- Gently squeeze the filament cutter to cut the filament.
- Manually set nozzle temp.
- Run extruder in reverse to release filament.
- Pull out old filament and load in new filament.
- Extrude out filament until new color is coming out from nozzle.
- Resume print.
This YouTube video (starting at 6:49) may be helpful.
You may also choose to ignore the pause and press continue in order to print them as a single color and then paint details on.
Assembly Instructions
Assembly is straightforward: blades are placed inside the hilt, the top and bottom of the hilts are screwed together, and the end cap and emitter snap on with some force. Please by very cautious removing and handling the end caps before assembly; the ribs snap easily until they are assembled onto the hilt. It is best to hold this piece from the circle on the bottom (the silver part in a multicolor print) After assembly, the ribs are held tightly and are no longer fragile.
There are grooves to assist the emitter and the end cap in snapping together, but it still takes a fair amount of force to get them fully into place. I found this was preferable to having pieces that assembled more easily but loosened too much over time.
These sabers are also largely compatible with my other Modular Lighted Lightsaber design:
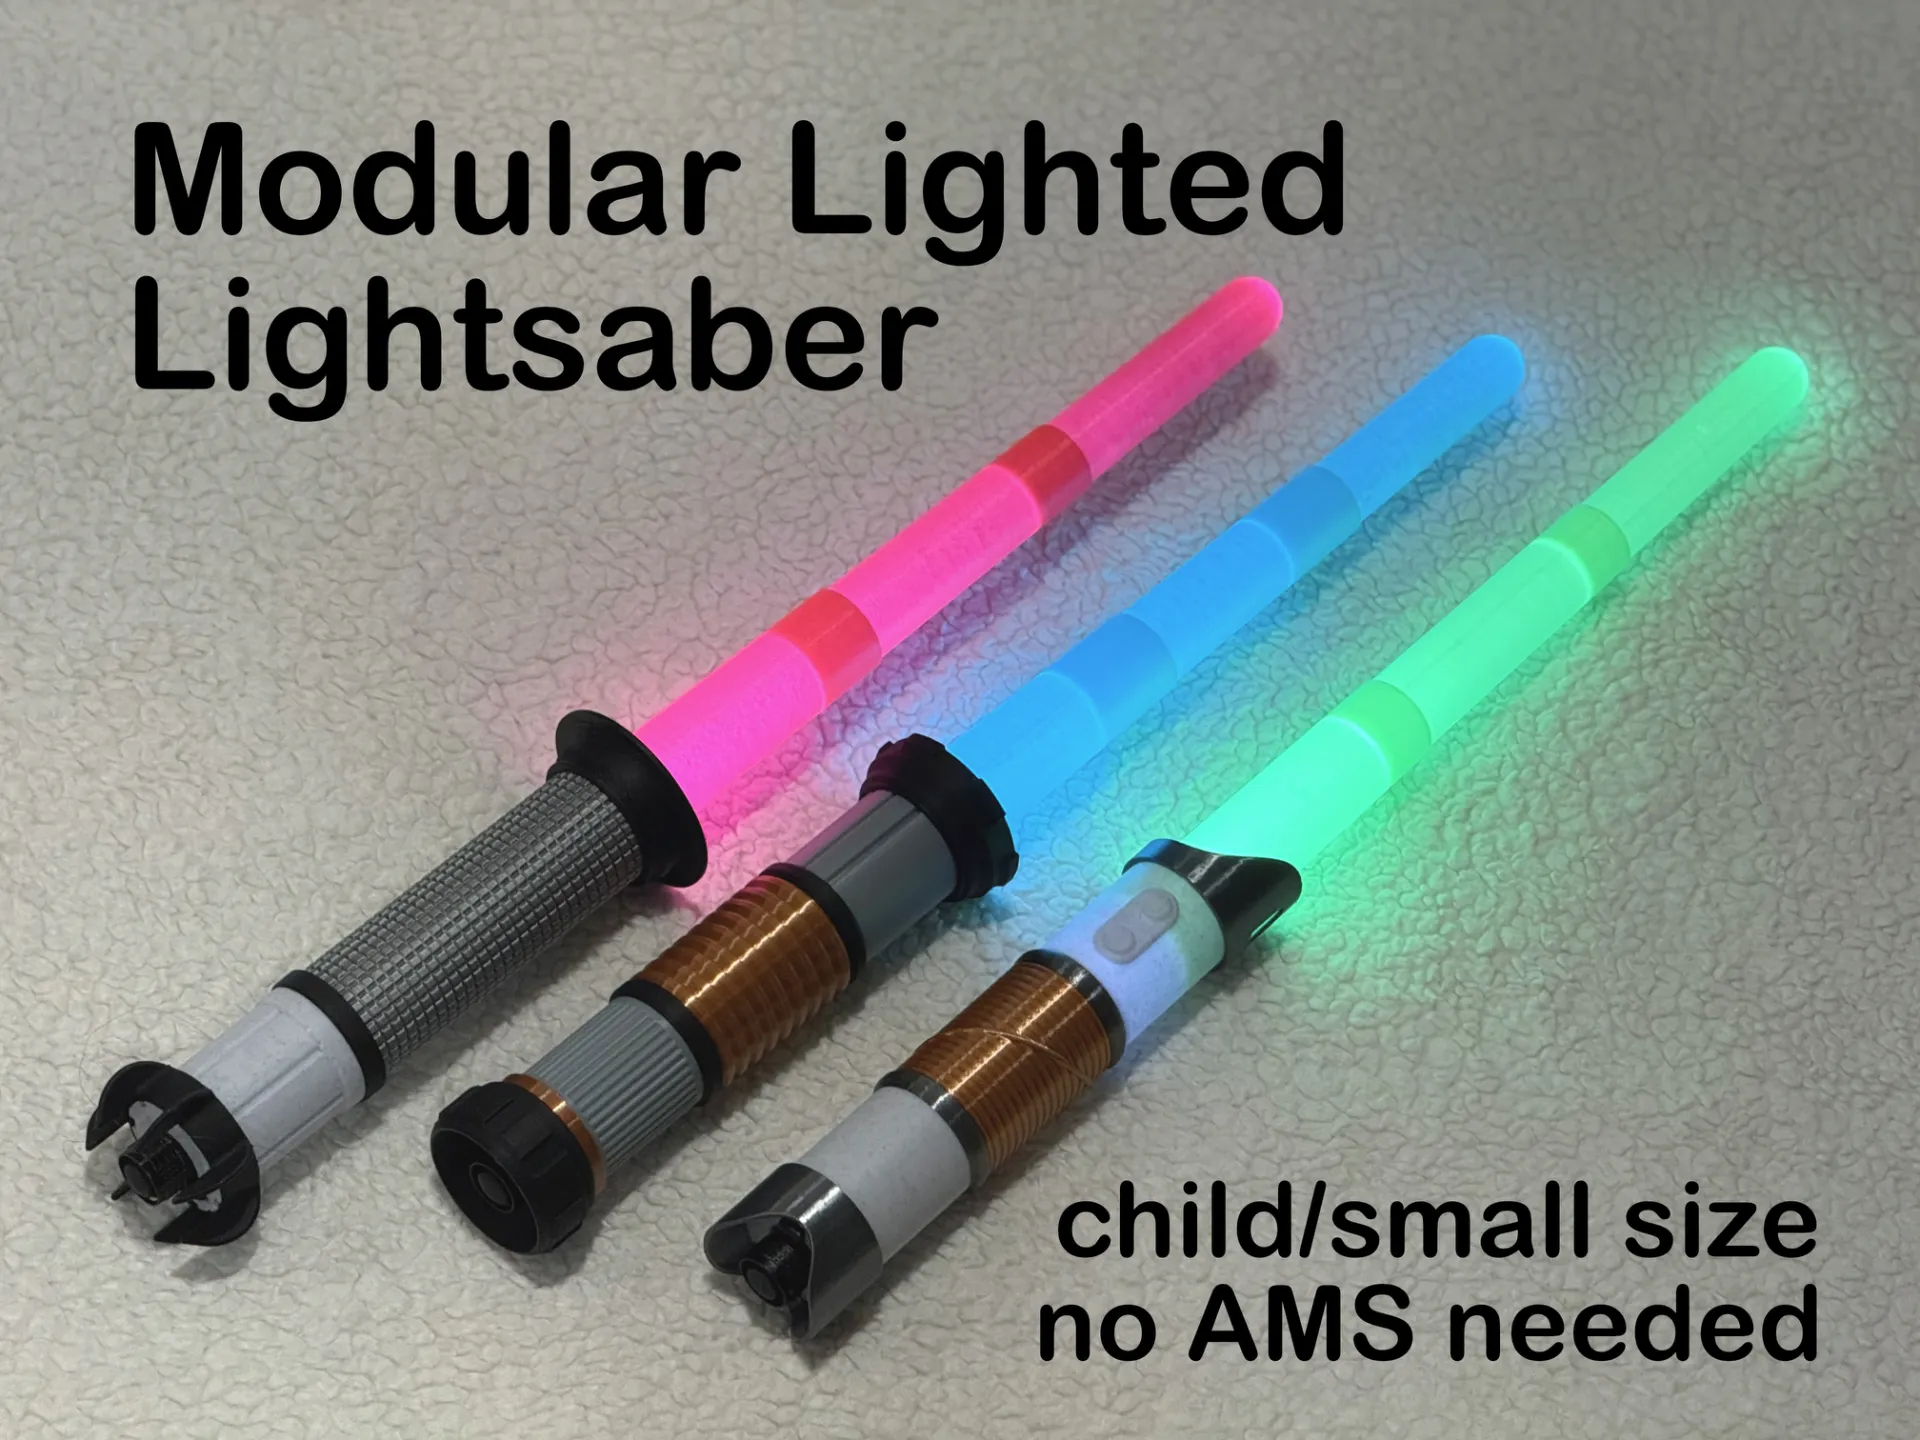
The end caps on the Luke and Vader Sabers are unique to the Luke and Vader bottom hilts, but many of the other pieces should be interchangeable.
Please rate, share photos, like, and boost!
Boost Me (for free)
Boosts mean more test filament for more designs! I greatly appreciate your generosity.
License

You shall not share, sub-license, sell, rent, host, transfer, or distribute in any way the digital or 3D printed versions of this object, nor any other derivative work of this object in its digital or physical format (including - but not limited to - remixes of this object, and hosting on other digital platforms). The objects may not be used without permission in any way whatsoever in which you charge money, or collect fees.


Comment & Rating (29)