
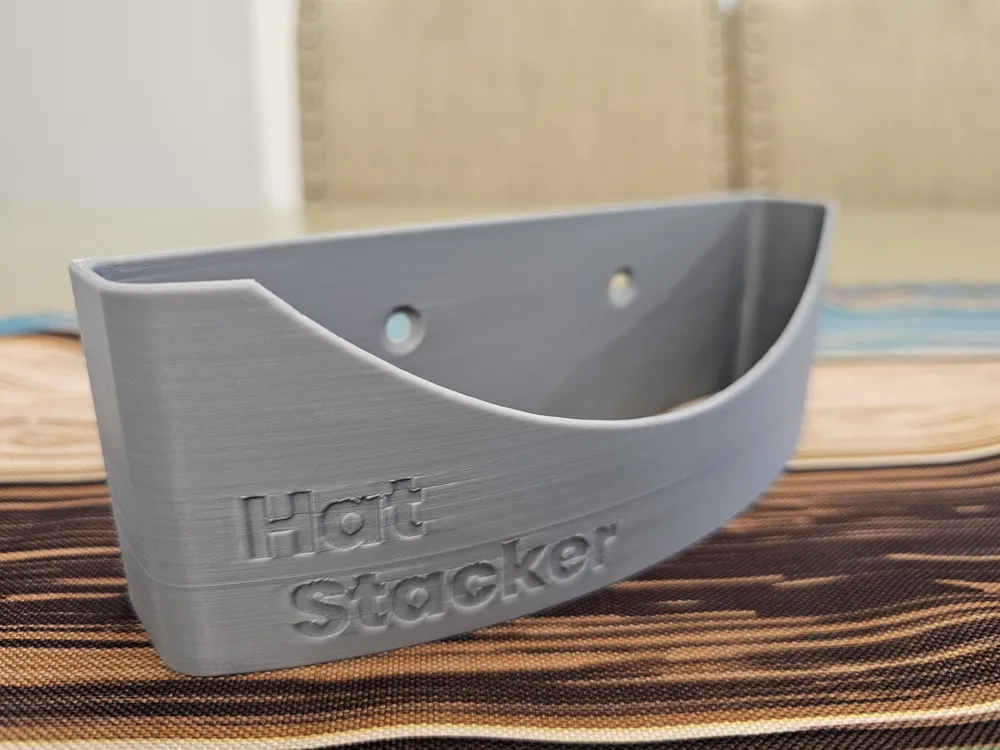
Hat Stacker - Baseball Cap Organizer
Print Profile(6)


Bill of Materials
.jpg)

Description
Boost Me (for free)
If you like it, why not? Free to you, helpful for me!
Overview
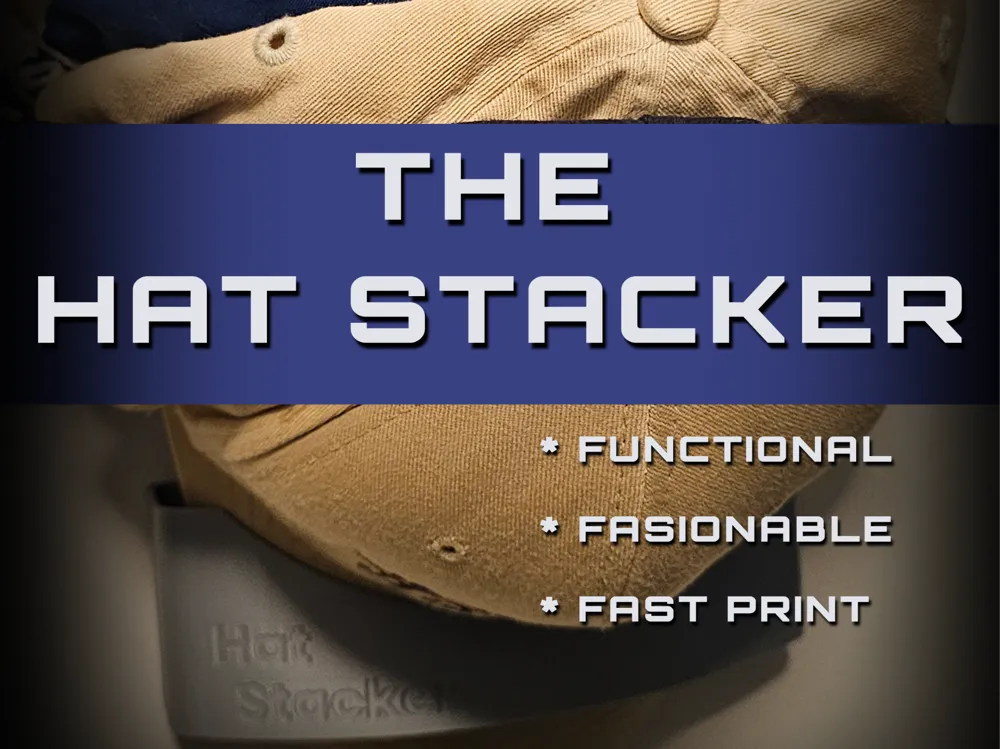
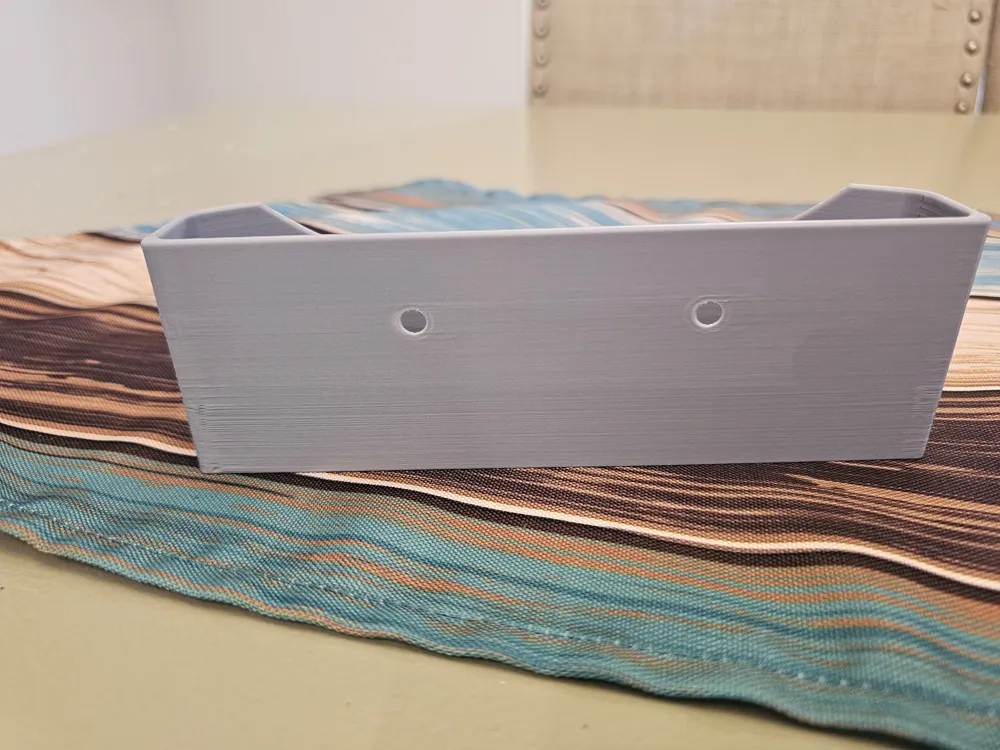
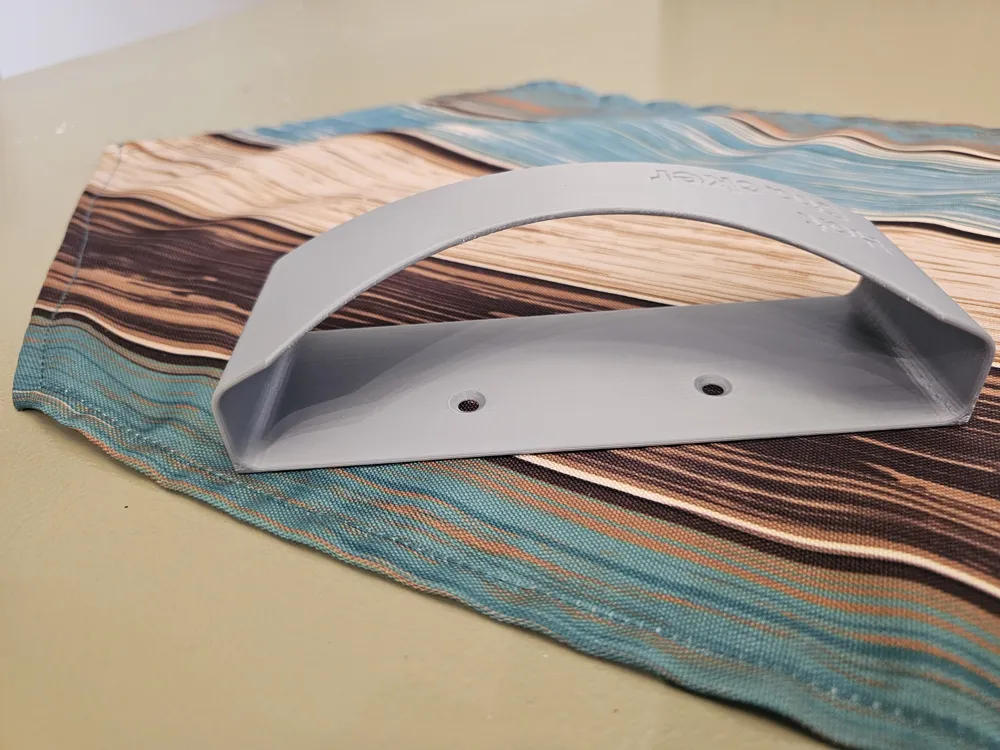
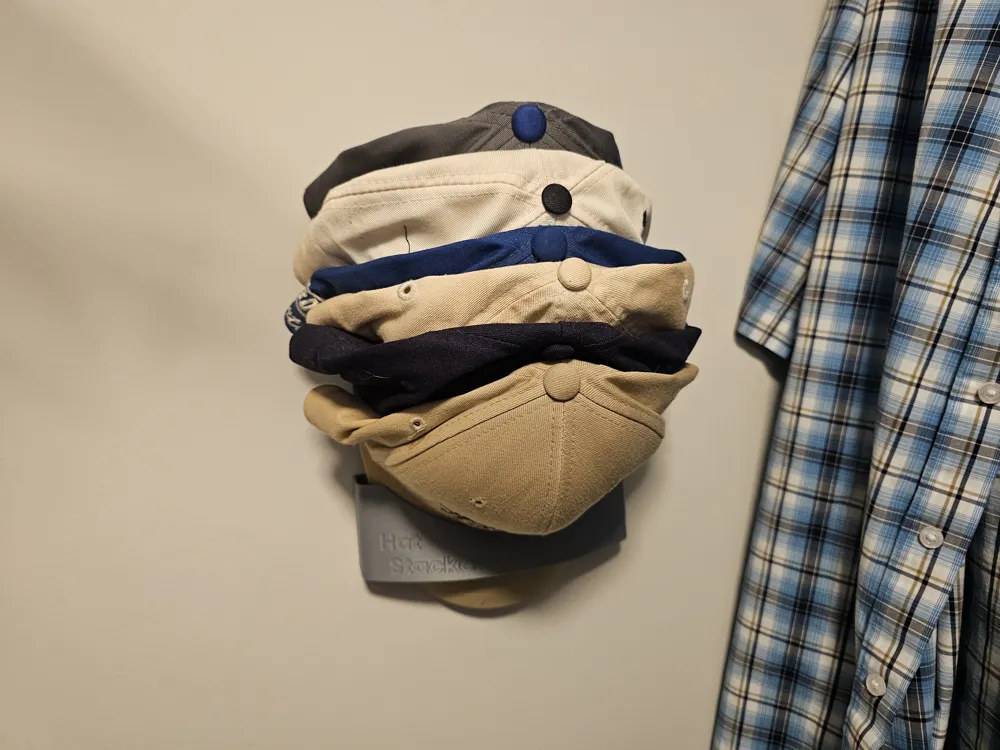
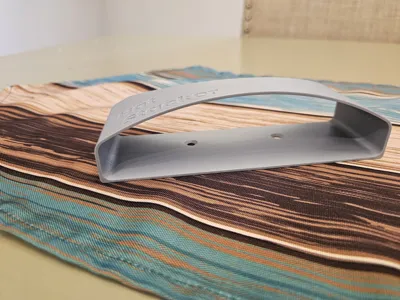
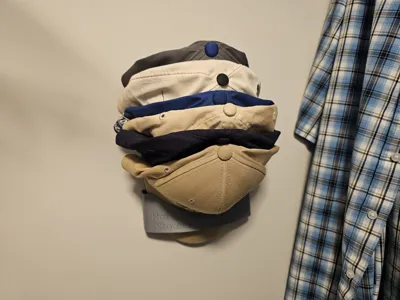
Tired of crushed bills and messy stacks of caps? This Baseball Cap Hat Stacker Organizer is a sleek, space-efficient solution designed to store and protect your collection. Built for real-world use and tested with up to 25 hats, it keeps your caps organized while preserving their shape, structure, and front design.
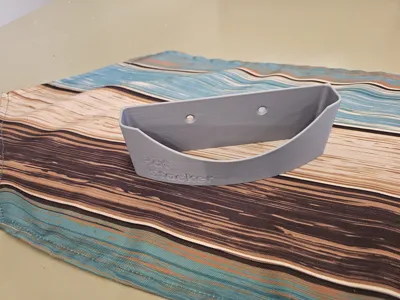
This model is optimized for fast, reliable printing and integrates cleanly into closets, shelves, or display setups. Whether you're a collector or just want a cleaner space, this delivers both function and presentation.
Features
- High Capacity (User-Tested) – Holds up to 25 hats without deformation
- Shape Preservation Design – Maintains the curve of the bill and protects front logos
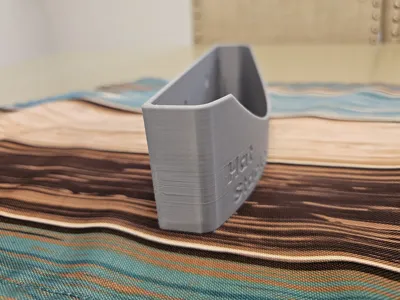
- Fast & Efficient Print – Designed for quick production with minimal material
- Clean, Minimal Aesthetic – Blends into modern spaces and display setups
- Stable Stacking Geometry – Keeps hats aligned and prevents tipping
- Multiple Print Profiles Available – Options with and without brim for different needs
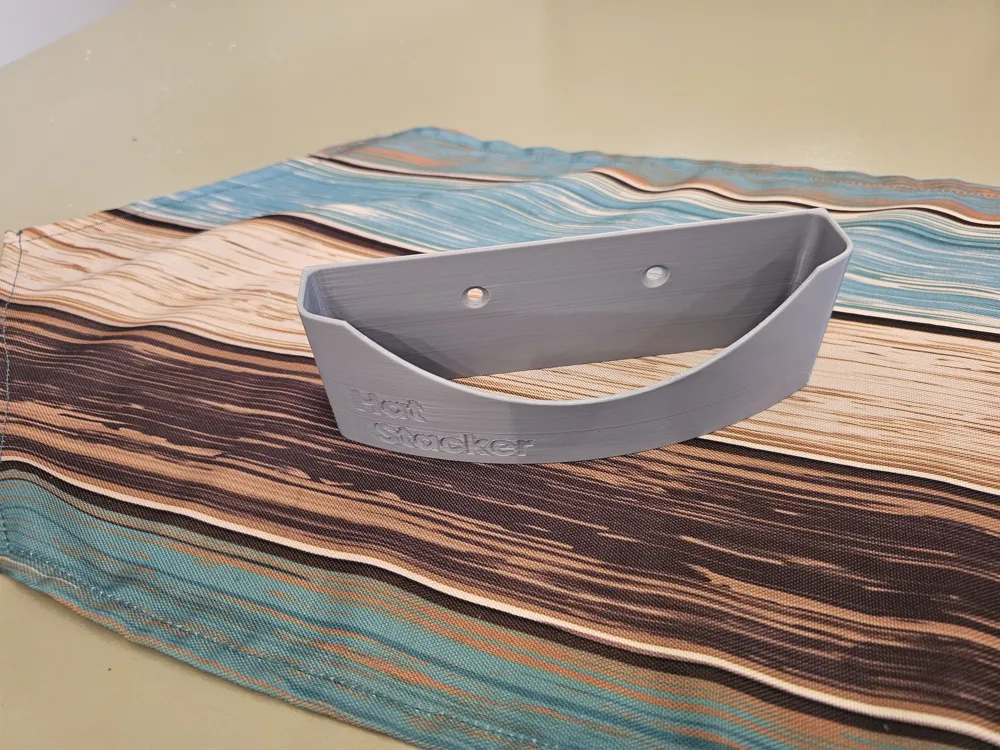
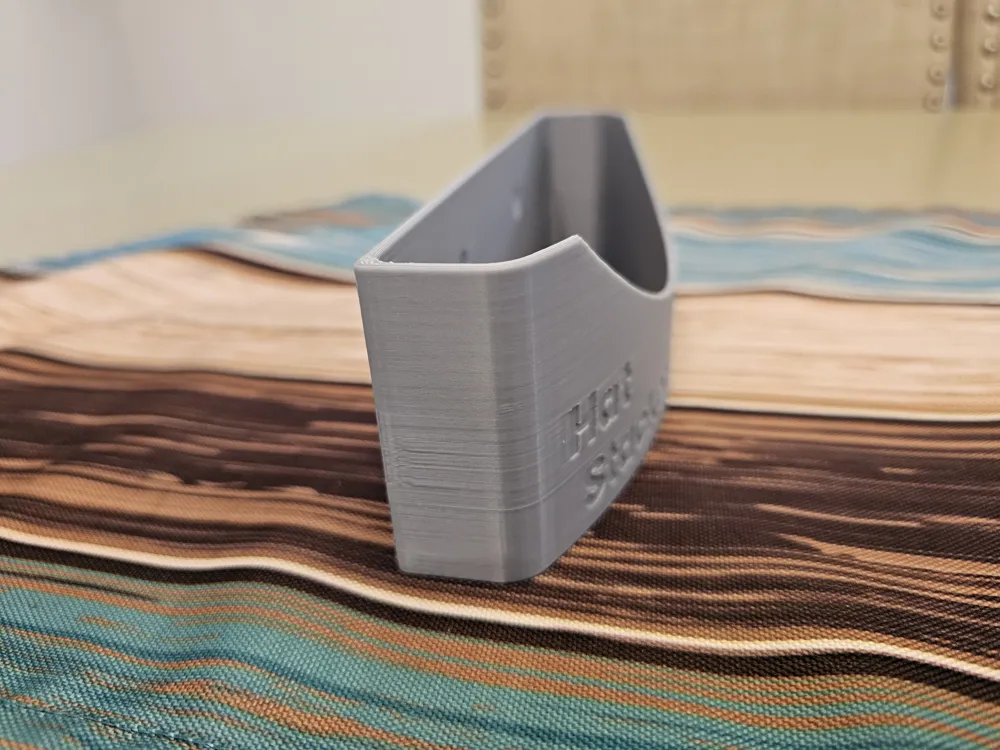
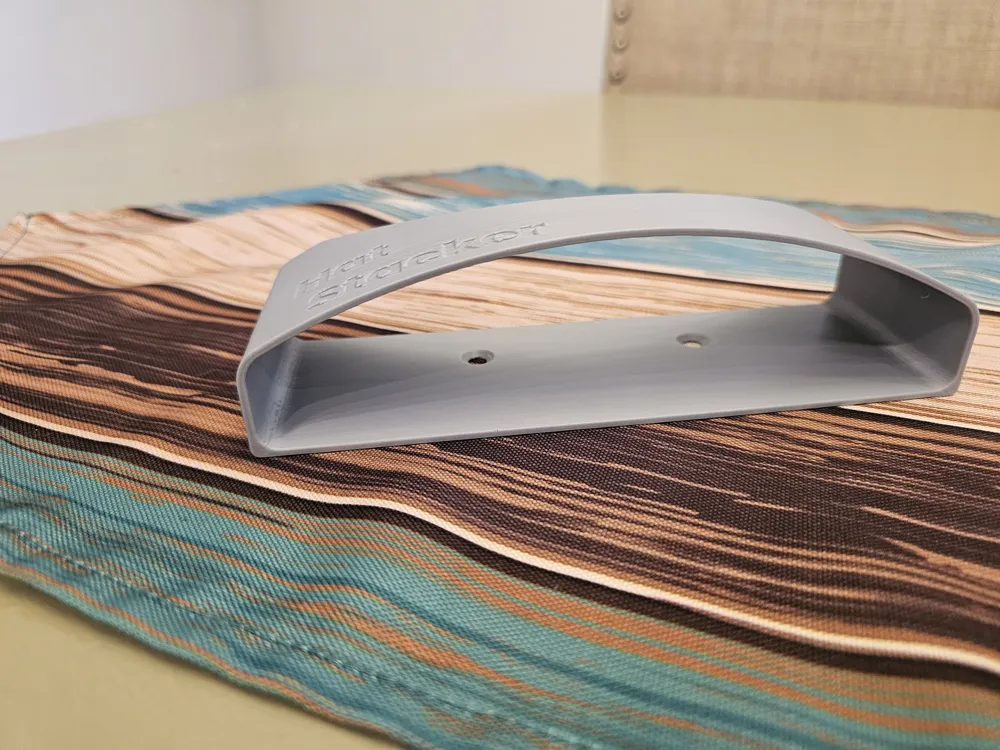
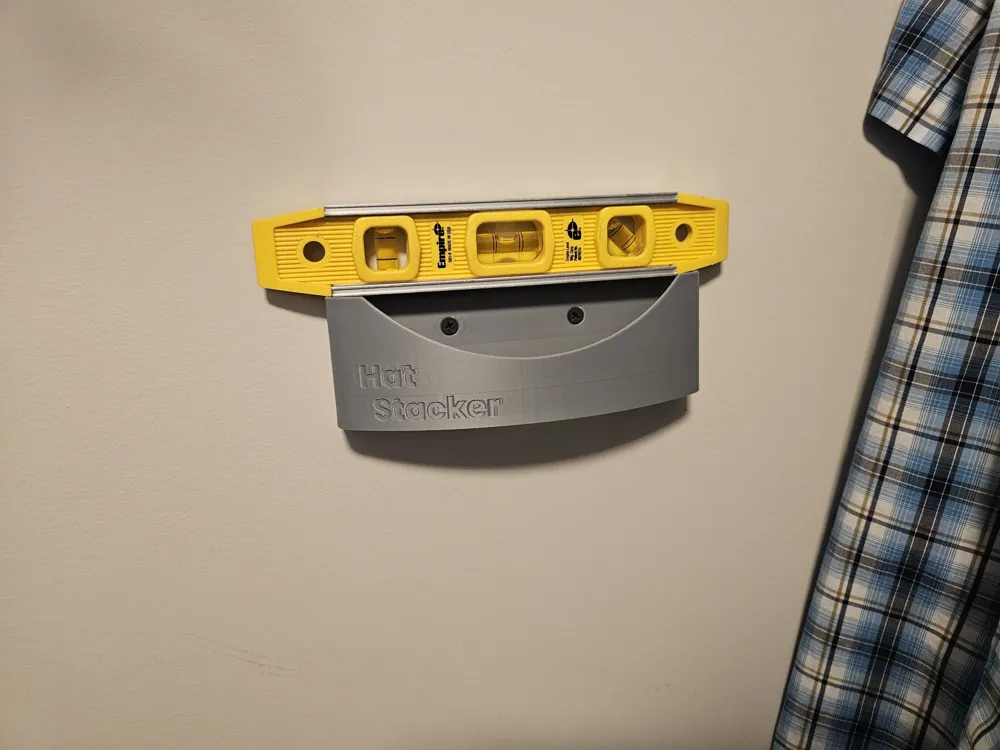
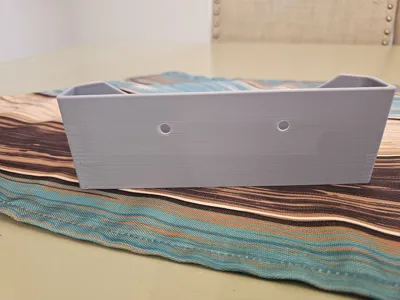
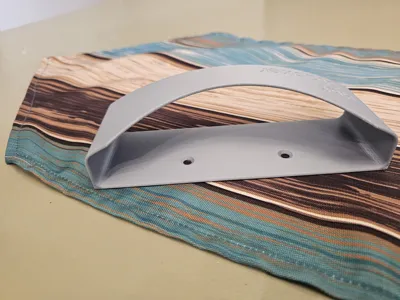
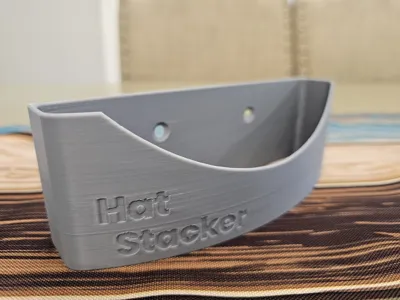
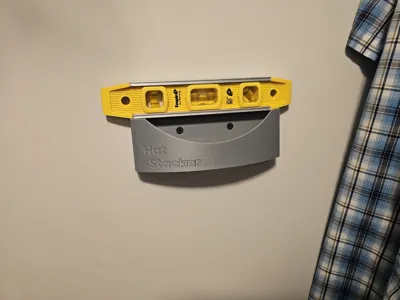
- Proven Print Success – Model shown printed and in use (see photos)
Assembly Guide
No assembly required.
- Print the model using your preferred profile
- Allow the print to fully cool for structural integrity
- Place on a flat surface, level it, screw into
- Stack hats sequentially, ensuring bills align with the contour
Bill of Materials (BOM)
Screws used in photo:
- Suggest using screw anchors if not fixing the hat stacker to studs. https://amzn.to/4twhF3b
Technical Print Settings
Recommended (Validated Profile):
- Layer Height: 0.2 mm
- Wall Loops: 3
- Infill: 15% (Triangle)
- Supports: None
- Brim: Optional (recommended for bed adhesion)
Notes:
- Brim improves first-layer stability, especially on smooth plates
- PLA+ and PETG both perform well
- Ensure good first-layer adhesion for best results
License

You shall not share, sub-license, sell, rent, host, transfer, or distribute in any way the digital or 3D printed versions of this object, nor any other derivative work of this object in its digital or physical format (including - but not limited to - remixes of this object, and hosting on other digital platforms). The objects may not be used without permission in any way whatsoever in which you charge money, or collect fees.


Comment & Rating (113)