Crazyflie Charging Funnel


Print Profile(1)

Description
German – Makerworld Description (Charging Funnel for Crazyflie Qi Pad)
Crazyflie CAD by https://github.com/rshum19/Crazyflie-CAD
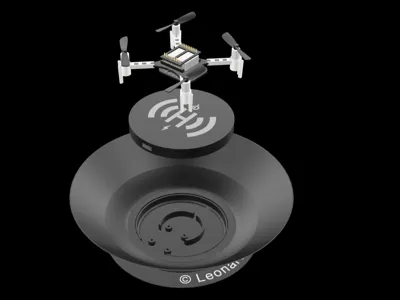
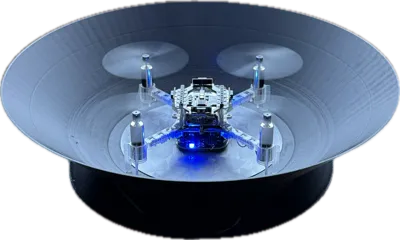
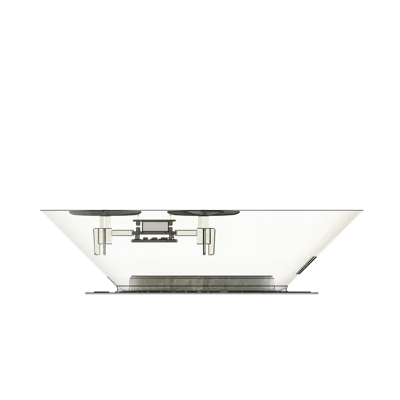
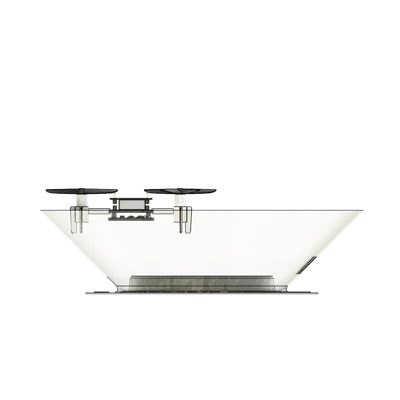
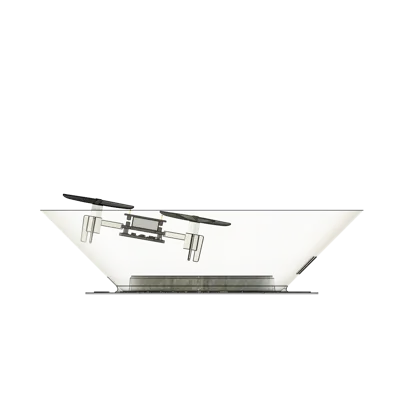
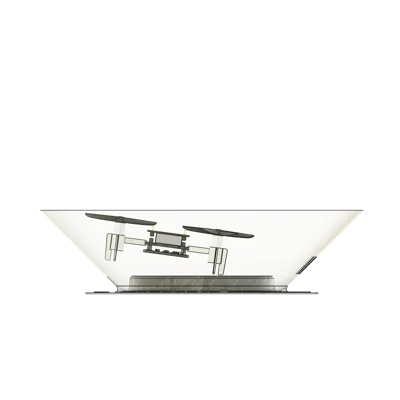
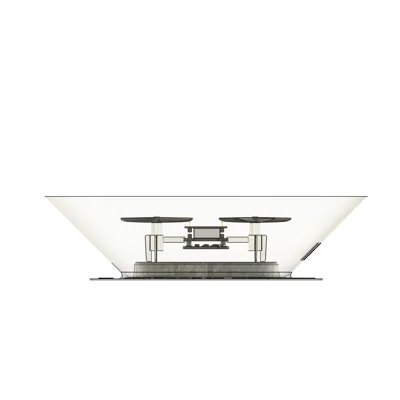
Purpose. The charging funnel serves as a passive centering and guiding element for the Crazyflie platform (2.x) when docking onto a Qi charging pad. The geometry facilitates self-alignment and minimizes lateral slipping. An integrated ventilation shaft supports convection in the coil area.
Boost Me (for free)
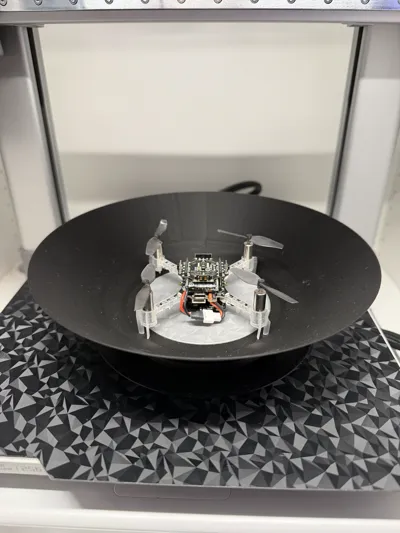
Mechanical landing support for autonomous flight phases with the Crazyflie and Qi charging
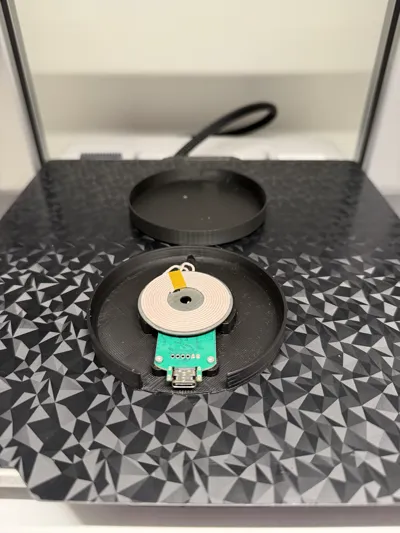
Used Qi Transmitter. The design is intended for a flat, commercially available Qi transmitter. The following transmitter was used in the tests:
https://de.aliexpress.com/item/1005007750862678.html
Fasteners. M1.6 melt-in nuts (Heat-Set Inserts) are provided for the screw points. Assembly is done with M1.6 screws of suitable length (depending on the chosen embedding depth of the inserts). If necessary, adapt the hole diameter to your own inserts.
Demo (Animation). A short animation demo of the docking process is available here:
https://lschmied622.github.io/bachelorarbeit
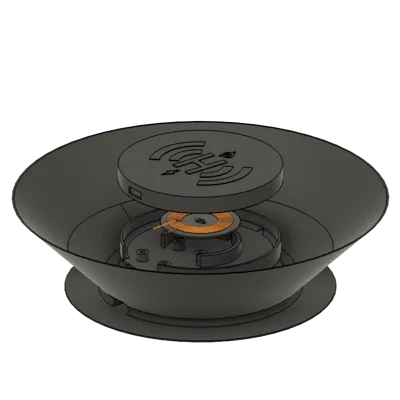
Printed Parts (3mf)
- Crazyflie Qi Ladetrichter.3mf (Funnel)
- Crazyflie Qi Pad_Boden.3mf (base)
Crazyflie Qi Pad_Deckel.3mf (lid)
Note: Tolerances are optimized for FDM printing with a 0.4 mm nozzle and may vary slightly depending on the printer.
Recommended Print Settings
- Material: PETG (recommended for moderately elevated temperatures around the Qi coil), alternatively PLA for prototypes.
- Nozzle / Layer: 0.4 mm / 0.20 mm layer height.
- Infill: 20–30 % (Grid/Gyroid).
- Orientation:
- Funnel: Opening facing upwards; edge/mounting surface on the bed.
- Pad parts: Flat side down.
- Support structures: Only where necessary (especially for potential overhangs at the funnel mouth or cable passages).
- Post-processing: Lightly ream holes if necessary before inserts are installed.
Installation of Heat-Set Inserts
- Select nozzle/tip temperature according to the insert manufacturer.
- Align insert flat, press down with even pressure, supporting the component.
- After cooling, check the fit; if necessary, readjust minimally.
Assembly & Integration
- Position the Qi transmitter in the Pad_Base (note cable routing), cover with Pad_Lid.
- Install inserts, then tighten M1.6 screws (do not overtighten).
- Align and fix the charging funnel on the pad.
- Function test: Connect the charging pad to the power supply, carefully place the Crazyflie, and check for centered coupling.
Notes
- Check thermal environment (Qi systems can heat up). PETG/ABS are robust against moderately elevated temperatures.
- Calibrate print tolerances according to device/filament (fit funnel ↔ pad and inserts).
- This model is a prototype for research/development purposes; use at your own risk.
English – Makerworld Description (Charging Funnel for Crazyflie Qi Pad)
Purpose. The charging funnel is a passive centering aid for the Crazyflie (2.x) platform during docking on a Qi charging pad. The geometry promotes self-alignment and reduces lateral slip. An integrated ventilation duct improves convection around the coil.
Qi transmitter used. The design targets a flat, off-the-shelf Qi sender. In our tests we used:
https://de.aliexpress.com/item/1005007750862678.html
Fasteners. Mounting points are designed for M1.6 heat-set inserts, assembled with M1.6 screws of suitable length. Adapt hole diameter to your specific inserts if needed.
Animation demo. A short animation of the docking sequence is available here:
https://lschmied622.github.io/bachelorarbeit
Printables (STL)
- Crazyflie Qi Ladetrichter.3mf (funnel)
- Crazyflie Qi Pad_Boden.3mf (base)
Crazyflie Qi Pad_Deckel.3mf (lid)
Note: Clearances are tuned for FDM printing with a 0.4 mm nozzle; minor printer-specific variation is expected.
Recommended print settings
- Material: PETG recommended (better heat resistance near Qi coil); PLA fine for quick prototypes.
- Nozzle / Layer height: 0.4 mm / 0.20 mm.
- Infill: 20–30 % (grid/gyroid).
- Orientation:
- Funnel: mouth facing up; mounting face on the bed.
- Pad parts: flat side down.
- Supports: Only where required (e.g., local overhangs or cable channels).
- Post-processing: Light reaming of holes before inserting heat-sets.
Heat-set insert installation
- Use insert manufacturer’s tip temperature; keep parts well supported.
- Press inserts squarely; let cool and verify seating before applying screw torque.
Assembly & Integration
- Place the Qi transmitter in Pad_Boden (observe cable routing) and cover with Pad_Deckel.
- Install heat-sets and fasten with M1.6 screws (avoid over-tightening).
- Align and mount the funnel to the pad.
- Power the pad, gently place the Crazyflie, and verify centered coupling/charging.
Notes
- Check thermal behavior during charging; PETG/ABS tolerate moderate warmth better than PLA.
- Calibrate fit to your printer/filament (funnel-to-pad interface and insert pockets).
- Prototype for research/development; use at your own risk.
Comment & Rating (0)