Alarm box for Switchbot Bot for Home Care Service alarm


Print Profile(2)


Bill of Materials
- M3 Nut x 2:
- M3 Bolt x 2: Längden beror på Larmknappens tjocklek. Lägg till 10 mm
- Switchbot Bot x 1:
Description
Description
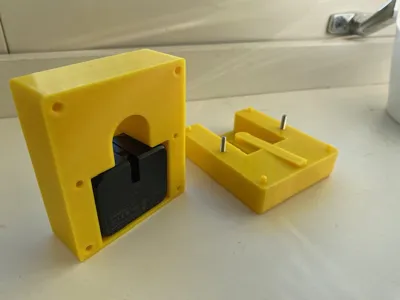
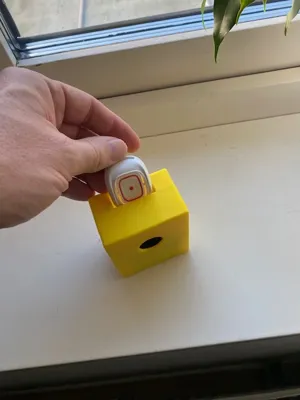
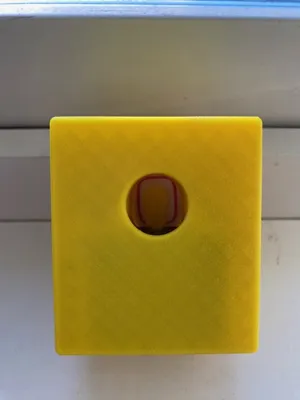
This model allows you to build a holder for a SwitchBot Bot that can press an alarm button (or any other button) placed under the SwitchBot device
By connecting SwitchBot to Google Assistant or Alexa, you can control the alarm with voice commands
I created this solution for my mother who, due to impaired hand function, cannot press her personal alarm. The alarm button is placed in the box, and the SwitchBot device is connected via a SwitchBot hub to Google Assistant. With voice commands such as "Hey Google, alarm" or "Hey Google, help!", the SwitchBot is activated, which in turn presses the button for her
The default values in the model work for the alarm used by Home Care in Halmstad Municipality (Novo IP/4G, neat)
Printing Instructions
- The bottom part should be printed with supports
- The top part should be printed no supports
- Use four walls in all directions for best strength
- Set three top layers and three bottom layers
The print should be paused to insert two M3 nuts that are printed into the model.
If you are not using the pre-prepared print file, you will need to add a pause yourself in Bambu Lab when the space for the nuts has finished printing
Assembly
- 2 M3 screws, the length depends on your alarm button's height (add approximately 10 mm). For default values, M3x25mm is needed
- 1 SwitchBot Bot
Customizations
The model can be adjusted to fit different types of buttons by changing:
- The alarm button's width, depth, and height
- Length and width of the arm that presses the button
- Thickness of the knob at the end of the arm
If you do not want to use the printed arm (lever arm), set the distance to 0 mm. The SwitchBot device will then be placed directly above the center of the button, which works if the SwitchBot's own arm reaches the button
Note that the SwitchBot device and screws are not printed
Other
The box can be used for more purposes than a personal alarm – you can place any button in the box that you want the SwitchBot device to be able to press
Comment & Rating (0)