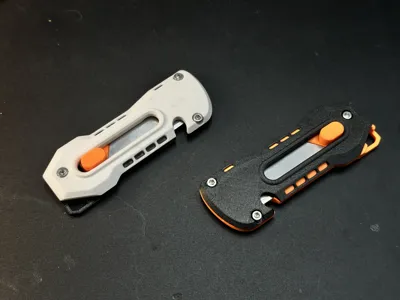
EDC-Friendly Utility Knife - Enhanced Edition


Print Profile(3)


Bill of Materials

Description
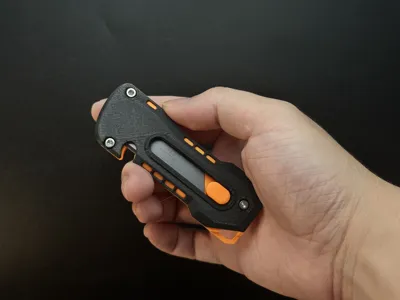
This model features an intricate geometric structure that provides the blade with just the right amount of resistance and delivers a clear, satisfying audible "click" feedback when deploying the blade.
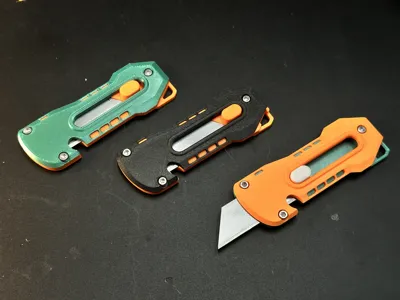
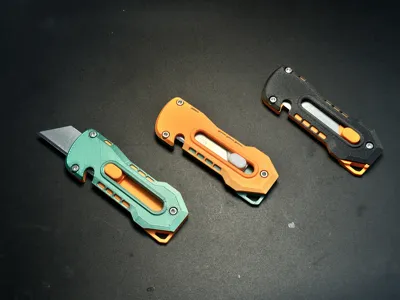
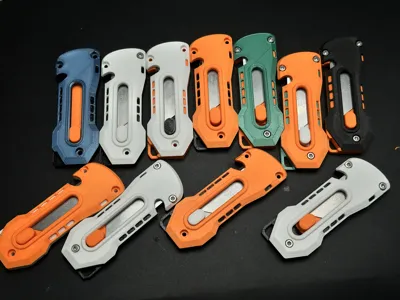
Its appearance is quite stylish (in my personal opinion) and is particularly well-suited for multi-color printing. Using different colors for various components can achieve excellent visual results.
The knife is designed for Stanley-style utility blades with a length of 62mm. Using a larger blade may prevent installation, while a smaller blade could cause wobble.
This is a complete redesign of one of my older projects(link). The primary design goal was to significantly reinforce the structure. Key improvements over the previous version include:
- Significantly enhanced structural strength.
- Enlarged button for easier operation, even while wearing gloves.
- Slightly enlarged lanyard/rope hole.
- More distinct tactile feedback when deploying the blade.
- Added a hang hole for attaching to a keychain.
- Improved structural stability to prevent loosening.
Trade-offs / Considerations:
- Requires a longer print time (approximately 1 hour).
- Assembly requires additional hardware: 3x M3-6mm screws and 3x M3 nuts.
- Slightly increased overall size, with a length of 94mm.
- Blade replacement requires a screwdriver (Though, I usually end up losing my everyday carry knife before the blade gets dull!).
Printing & Assembly
- Printing: The process is straightforward, requiring only minimal supports within the screw holes, which are easy to remove during assembly.
- Assembly: The assembly is simple but requires a screwdriver to tighten the screws.
After extensive testing, we found that due to the varying shrinkage rates of different materials, the resistance when deploying the blade may become excessive under certain conditions.Therefore, I have provided an additional blade holder that slightly reduces resistance. You can choose to use it based on your specific needs.

Assembly Tutorial
1.Display all components.

2.Place the white internal part into the green shell, then insert the blade.

3.Cover the assembly with the orange shell part, ensuring all clips snap firmly into place.

4.Use the 3x M3-6mm screws and 3x M3 nuts to secure the two shell halves together. Completion.

The strength of 3D-printed knives cannot be guaranteed and they are suitable only for light-duty tasks, such as cutting paper or opening Amazon packages. Unless otherwise specified, all of my knife designs are intended for light-duty use only.
My similar projects, click on the picture

Membership
License
You shall not share, sub-license, sell, rent, host, transfer, or distribute in any way the digital or 3D printed versions of this object, nor any other derivative work of this object in its digital or physical format (including - but not limited to - remixes of this object, and hosting on other digital platforms). The objects may not be used without permission in any way whatsoever in which you charge money, or collect fees.
Comment & Rating (125)