ZSA Navigator Moonlander Shells


Print Profile(1)

Description
A collection of ZSA Navigator shells to use with your Moonlander!
The 3MF file contains several different plates, each with a different configuration you can choose depending on what hand you would like the Navigator on and whether you would like it below the thumb cluster, above the thumb cluster, or with the Platform. You only need to print 1 plate. You can also refer to the STL files directly.
All non-Platform configurations also come with a “wedge” to give the other half of your Moonlander the same tenting angle (20 degrees or so).
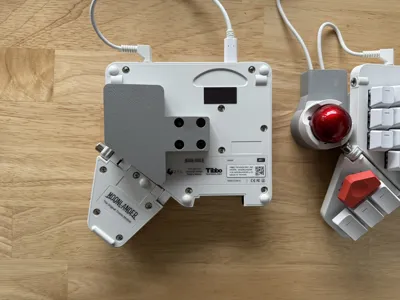
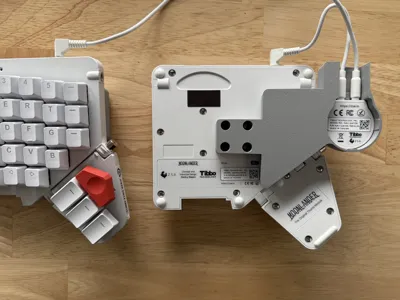
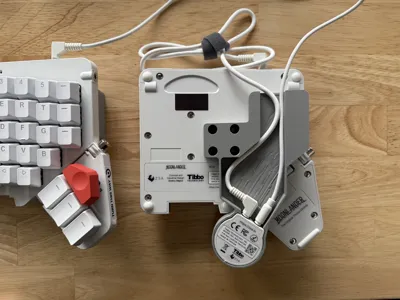
All pieces can be mounted to the back of the Moonlander with 4 M2.5x5 screws per side.
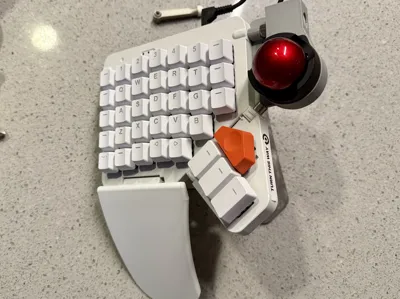
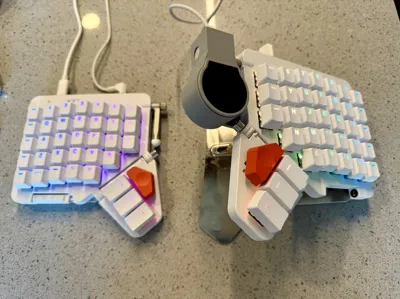
Moonlander Navigator Thumb Shell

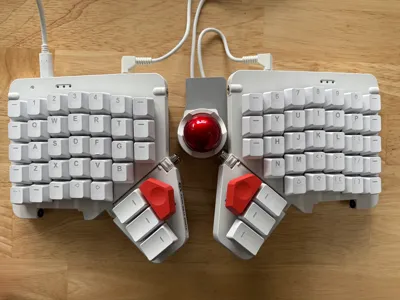
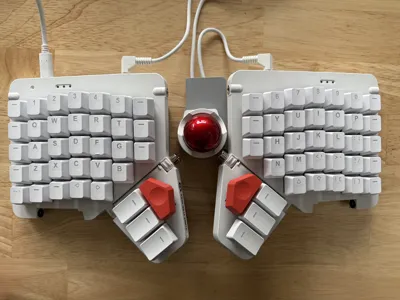
This design puts the trackball underneath the thumb cluster, more in reach of your thumb. You can also use your palm, but this may be less precise.
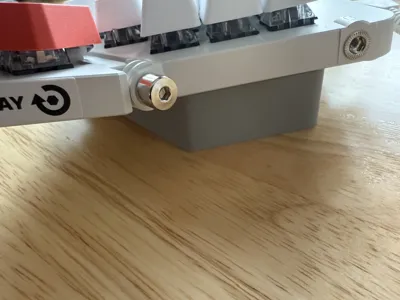
Note that the default short TRRS cable that comes with the Navigator is slightly too short to reach the Navigator all the way down here from the Moonlander's TRRS port. So, the print instead accommodates a right-angle TRRS connector so you can use your default Moonlander TRRS cable. You could also use a longer third-party TRRS cable with a straight connector if you'd prefer.
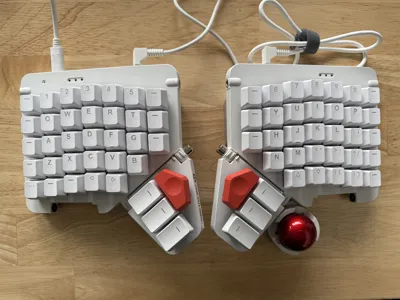
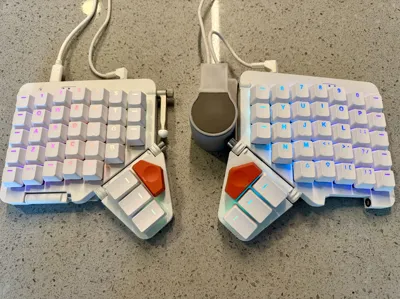
Moonlander Navigator Side Shell

This design puts the trackball to the side, similar to the default Navigator mount for the Voyager. It also lowers the trackball relative to the tops of the keys (so they are about the same height), so shifting your hand from typing to mousing feels nice and natural.
There is now a raised verion for the Trackpad as well. You can use the either version with the Trackpad, but the raised may feel more comfortable because the Trackpad naturally sits lower.

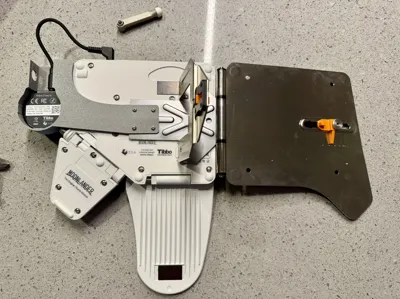
Moonlander Navigator Platform Shell

This shell is a thinner version of the side shell meant to work with the Platform. It repurposes the tenting leg screw for extra stability. There is a specific order of operations for installing it:
- Tighten your thumb cluster at your desired angle.
- Remove the default side tenting leg. This design only uses that screw, so store the leg and the spring somewhere safe.
- Lay the Platform mount on the back of the board, then position the shell mount over it. The shell mount has a small shorter area to accommodate the Platform arm. Screw in both mounts using the default Platform screws.
- Screw the tenting leg screw back in using a hex wrench. There are cutouts in the shell to make this easier.
- Plug in the Navigator cables.
There is now a raised version for the Trackpad as well. As above, you can use either version, but the raised version may feel a little more comfortable because the Trackpad naturally sits lower.

Enjoy!
— Robin, ZSA
Comment & Rating (17)