Search models, users, collections, and posts

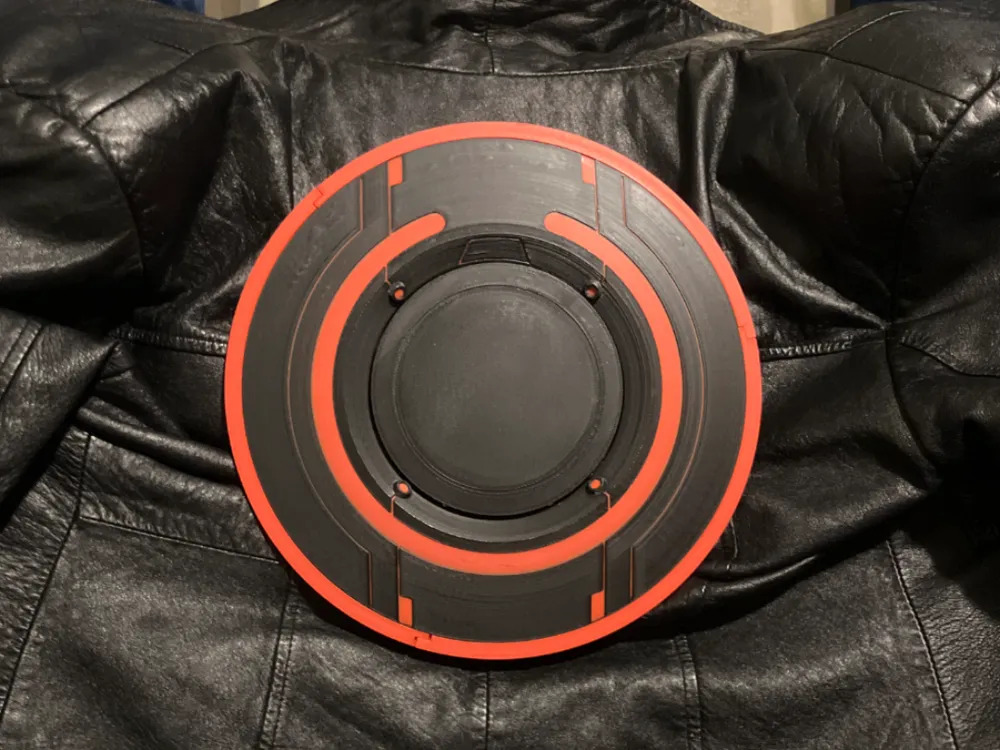
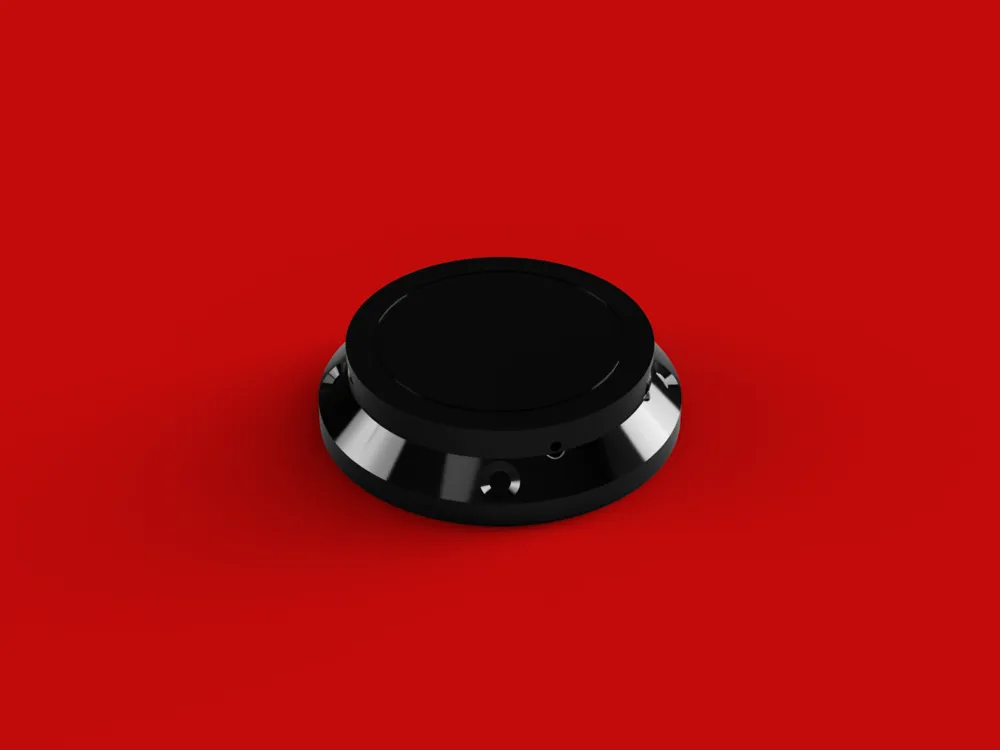
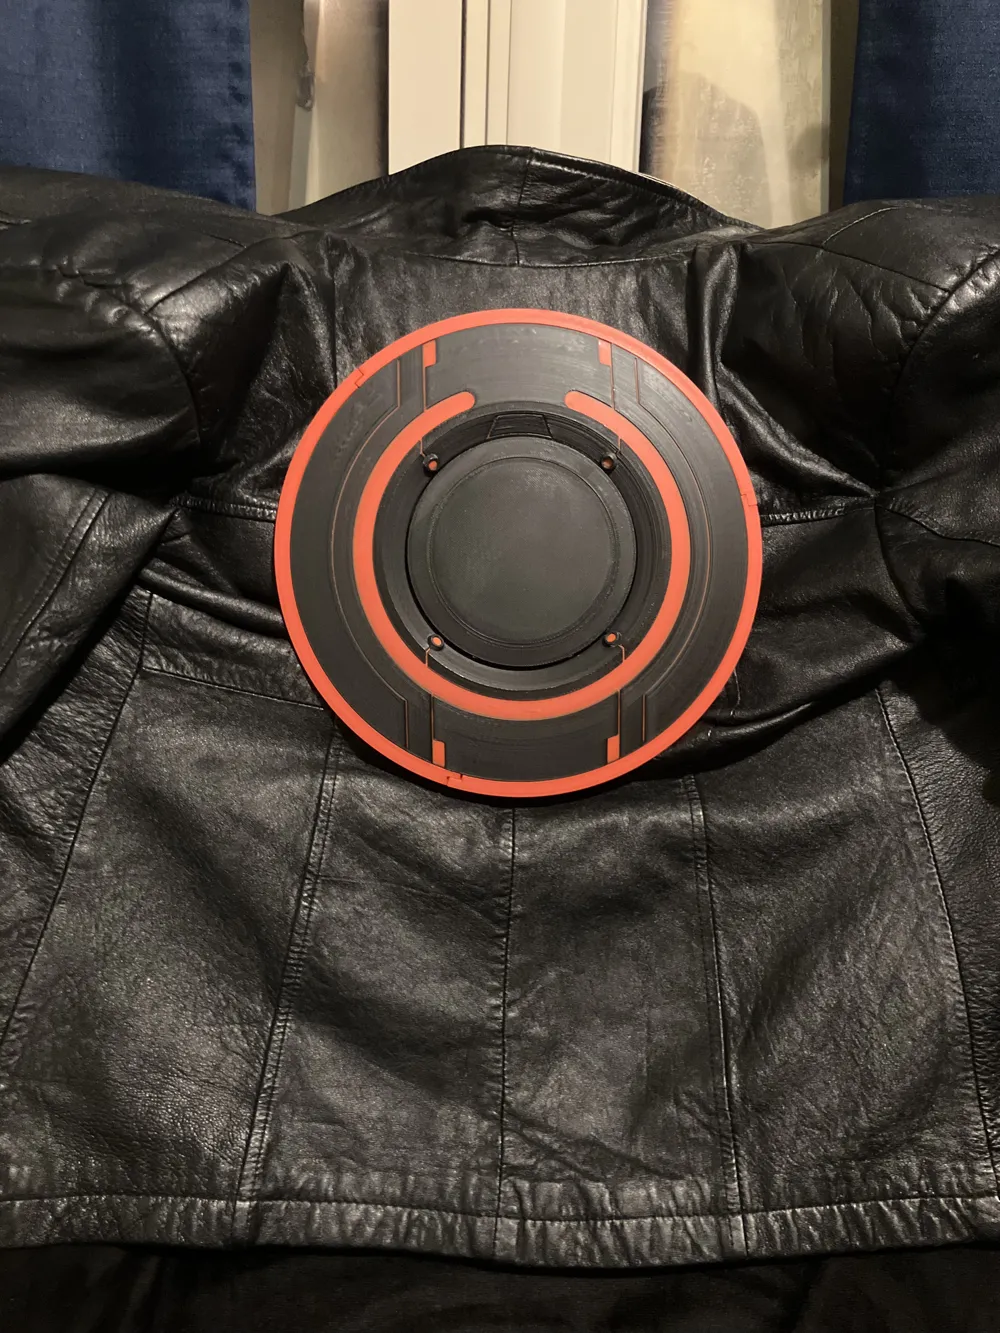
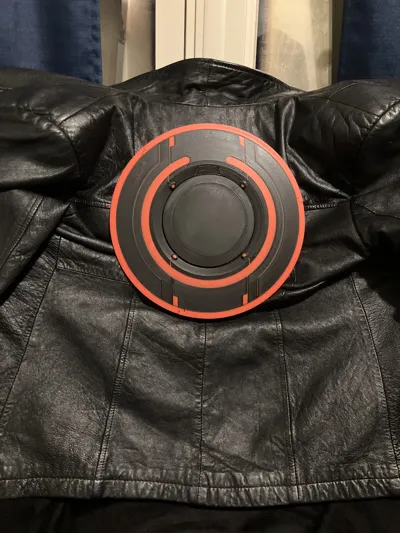
Identity Disc BACK MOUNT - TRON: Legacy
IP Report

Print Profile(1)

Multicolor: 0.2mm nozzle, 0.1mm layer, 4 walls, 20% infill
Designer
6.6 h
2 plates
Open in Bambu Studio
Boost
228
672
26
8
242
100
Released
Bill of Materials
List other parts
- 4mm x 5mm Ball Plunger x 4: https://www.amazon.com/20Pcs-Plunger-Stainless-Positioning-Spring/dp/B0F2SW95N3?sr=8-1
Description
The long awaited BACK MOUNT for my Identity Disc (Normal, Monofilament)!
Please Note: This back mount will only work with a full-scale printed version of the newest model of the disc. The previous (outdated) version does not include a spacer, and will not work. I am unable to test the full scale version because my print bed is too small, so sizing issues are a possibility to begin with. PLEASE LET ME KNOW IF CHANGES NEED TO BE MADE! If anyone needs to mess with scale, STEP files are available in the downloads.
ASSEMBLY:
- Print one “Back Mount”, and one “Spacer With Notches”.
- Insert the “Spacer With Notches” between the two halves of the Disc's Main Body.
- Insert 4*5mm spring plungers (linked below) into each of the 4 holes on the Back Mount. Some drilling may be necessary--if there is a recurring issue of the holes being too small, I will update the model.
- Make sure the disc locks securely into place when pressed into the Back Mount. Give it a shake test to make sure nothing is too loose.
- If the spring plungers are loose, use a small amount of hot glue in each hole to keep them firmly in place.
- Measure and draw guiding lines on whatever article of clothing you are attaching the Back Mount to. The base of the Back Mount has eight guiding notches, it is recommended to use only 4, and preferably the top, bottom, left, and right ones.
- Drill 4 (or more, if you want) short (~.5") screws through whatever article of clothing you wish to attach the back mount to, into the guiding holes of the Back Mount. Medium-sized washers are recommended on each side. BE SURE THE BACK MOUNT IS NOT TILTED BEFORE SCREWING IT IN!!!!
- Fight for the Users.
License

This user content is licensed under a
Creative Commons Attribution-Noncommercial-Share Alike


Comment & Rating (26)