Synology DS920+ front dust cover/USB/network port


Print Profile(3)


Description
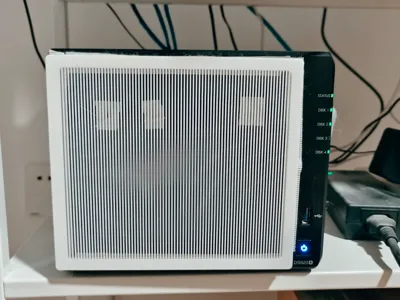
There are too many cats at home, so I made a front cover for the Synology NAS 920+. The frame thickness is 8mm, so you can buy 8mm double-sided tape to stick it on. Alternatively, you can use double-sided hook-and-loop tape (choose 1cm width) and cut it in half. For areas with a lot of dust, you can place an electrostatic filter from an air purifier inside.
It also comes with 2 network ports and 2 USB ports. As for eSATA, if this version doesn't work well, let's not include it for now.
Considering that Synology hasn't released a major version for many years, theoretically models like 420/920 and 918/923 should all be compatible.
Everyone can measure it themselves. The dimensions of this item are 170*150mm, with an inner border of 8mm.
The front panel comes in two versions in total.
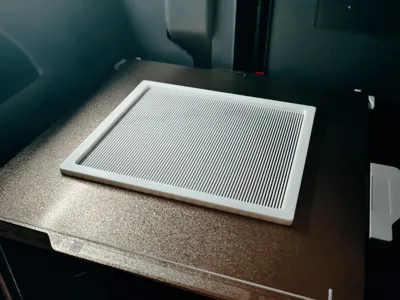
1. Vertical strips: Aligned with the gaps in the hard drive for better ventilation. The downside is they're a bit flexible and require some care when removing (vertical strips aren't very user-friendly; it's recommended to use the grid type instead).
2. Grid: Very sturdy, no drawbacks.

USB and Ethernet port

Auxiliary tools:
1. Double-sided tape within 8mm
2. Hook and loop tape within 1cm
3. Electrostatic cotton for air purifiers
Currently, I am using vertical strips + hook-and-loop fasteners + electrostatic cotton.
1. First, combine the hook-and-loop fasteners A and B and stick them onto the model. Do not press too hard; ensure that one side can be peeled off.
2. Then, attach it to the machine, peel off the other adhesive strip, and stick it onto the machine. The effect is as shown in the image below.
3. After that, it can be separated, making it easier to clean the mesh later.


Comment & Rating (0)