
CoinCore NEXT - Minimalist Wallet Collection
Print Profile(3)


Bill of Materials



Description
Boost Me (for free)
If you like the model or if it helped you with your project, please leave a boost! It helps us continue to invest time in high-quality designs and optimizations. Happy printing! 🛠️
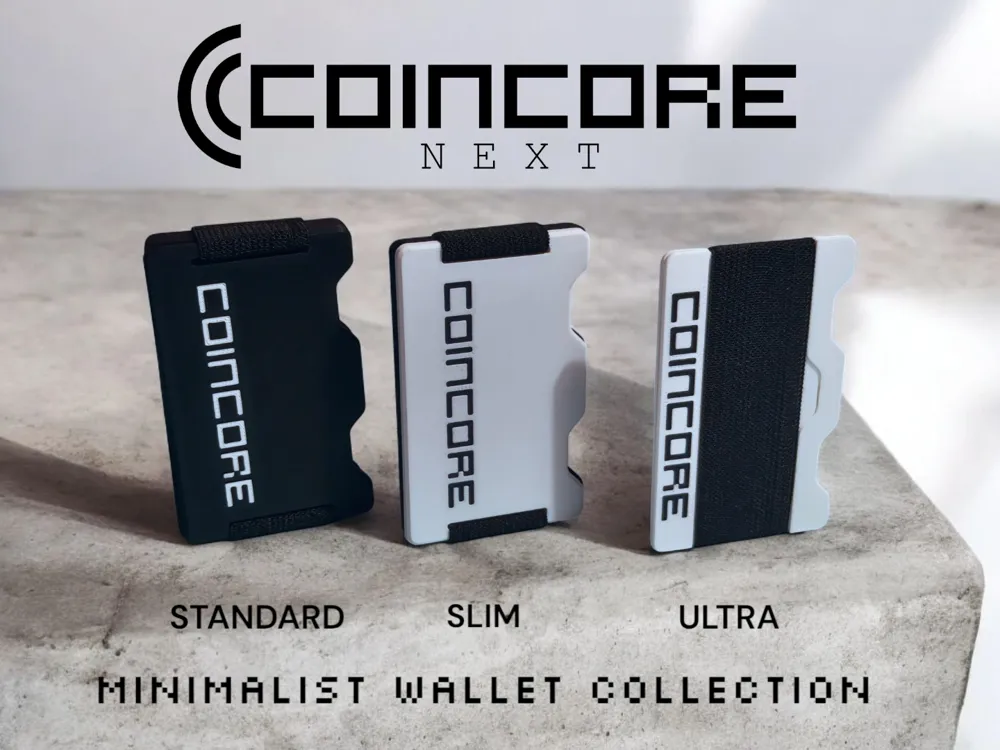
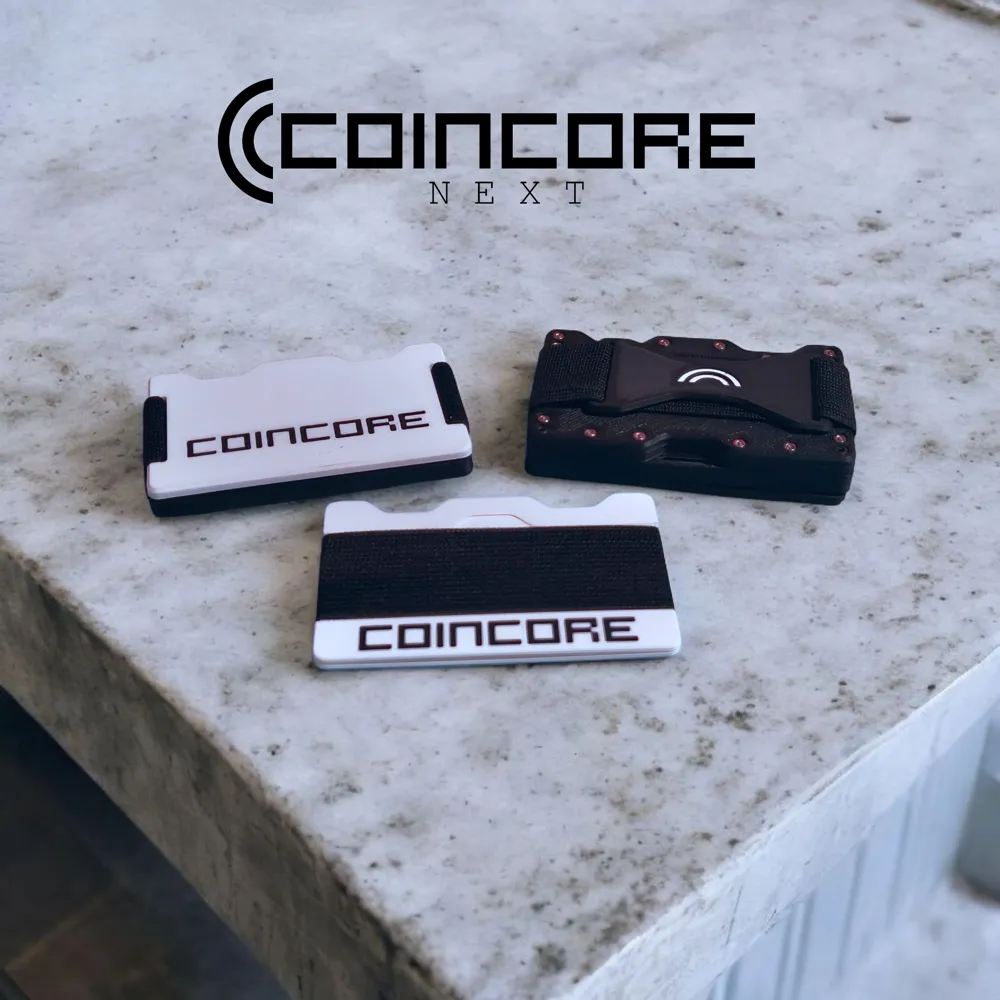
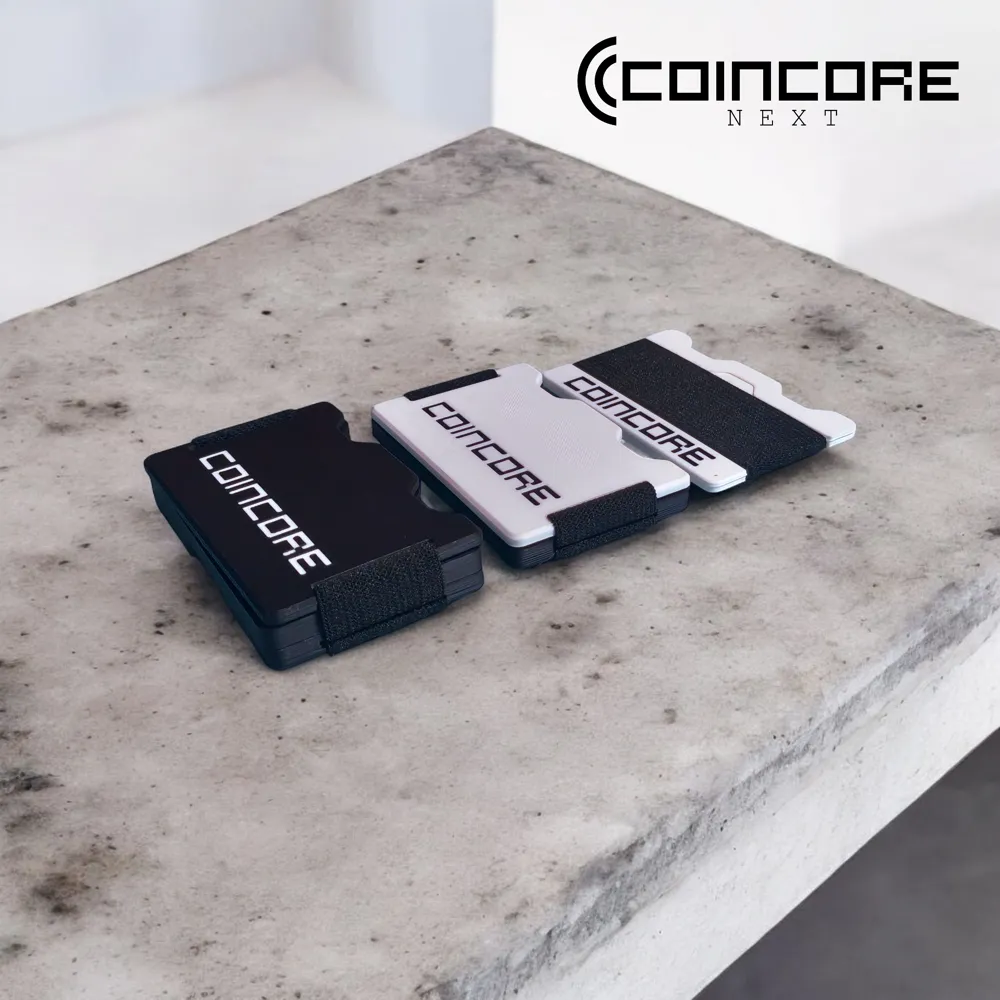
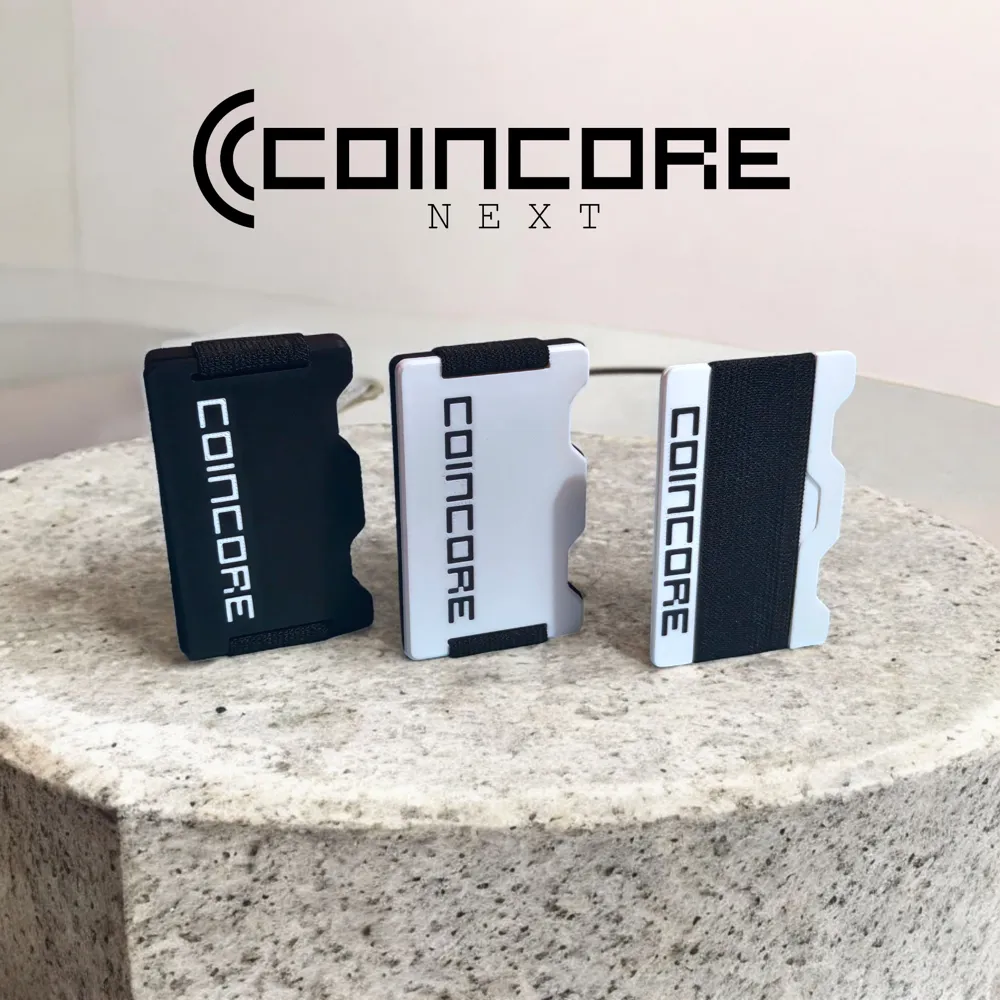
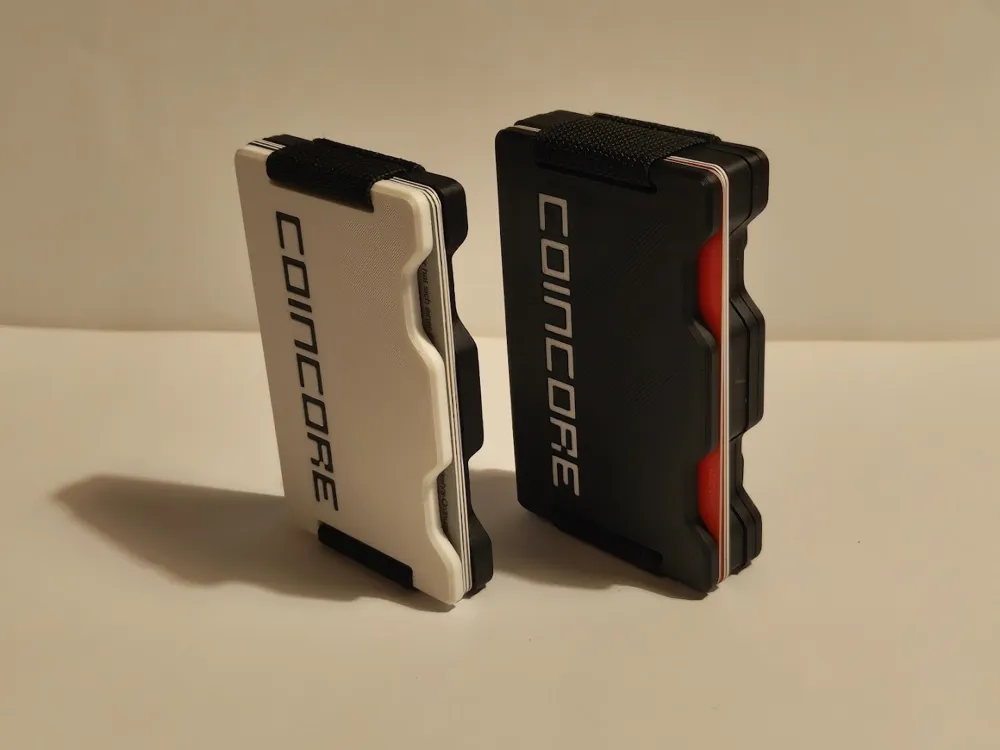
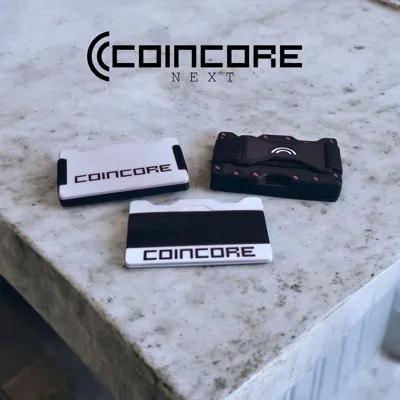
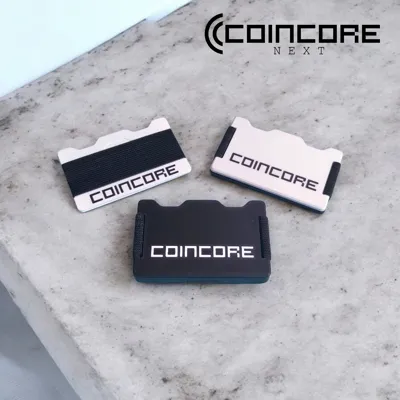
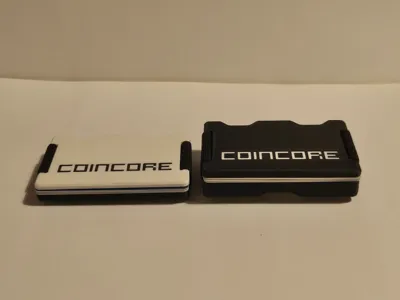
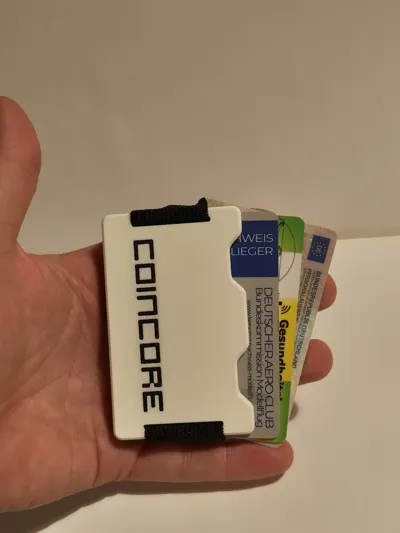
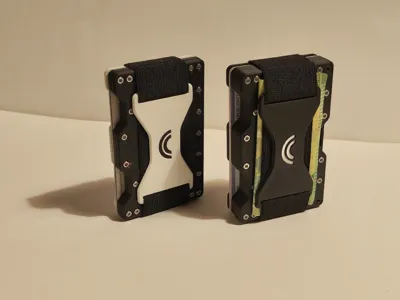
The CoinCore Next is no ordinary wallet – it's a statement for anyone who values clean lines, thoughtful design, and smart functionality. Completely 3D printable, pleasantly minimalist, and surprisingly practical. No wobbling, no rummaging, no unnecessary bulk – simply a wallet that makes your everyday life easier without being bulky.
Developed and designed in Germany – for makers, minimalists, and people with style.
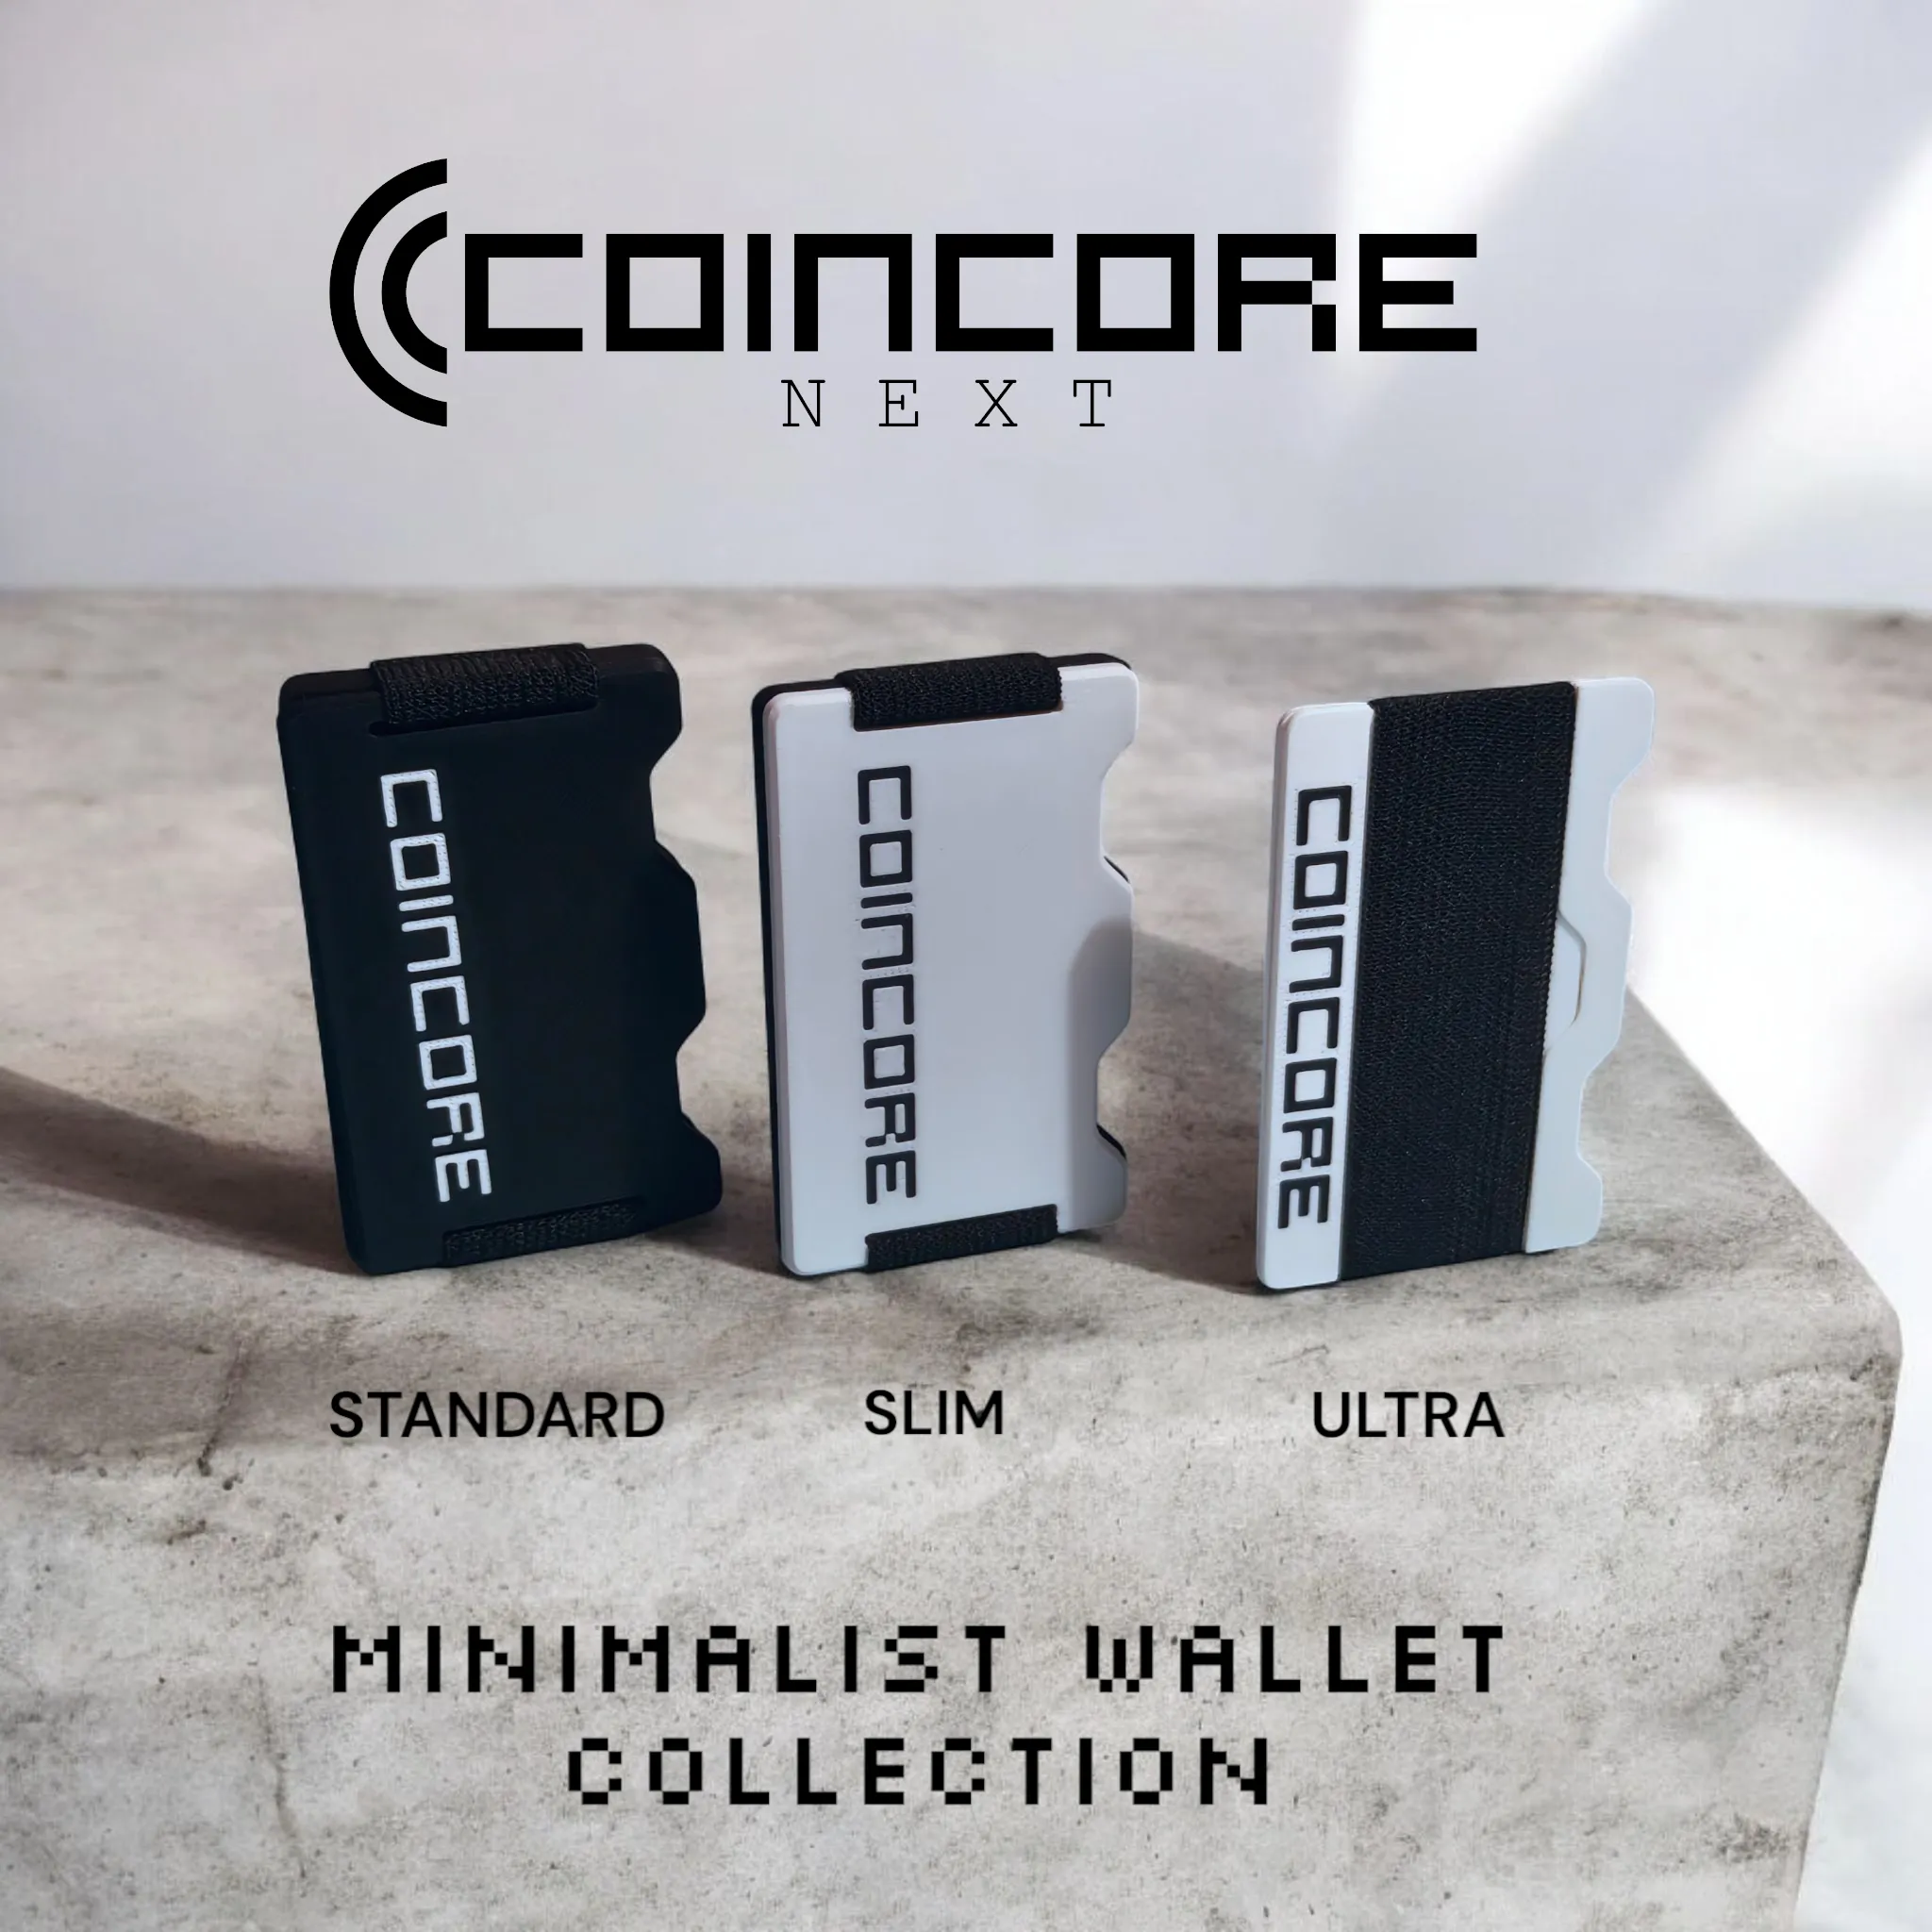
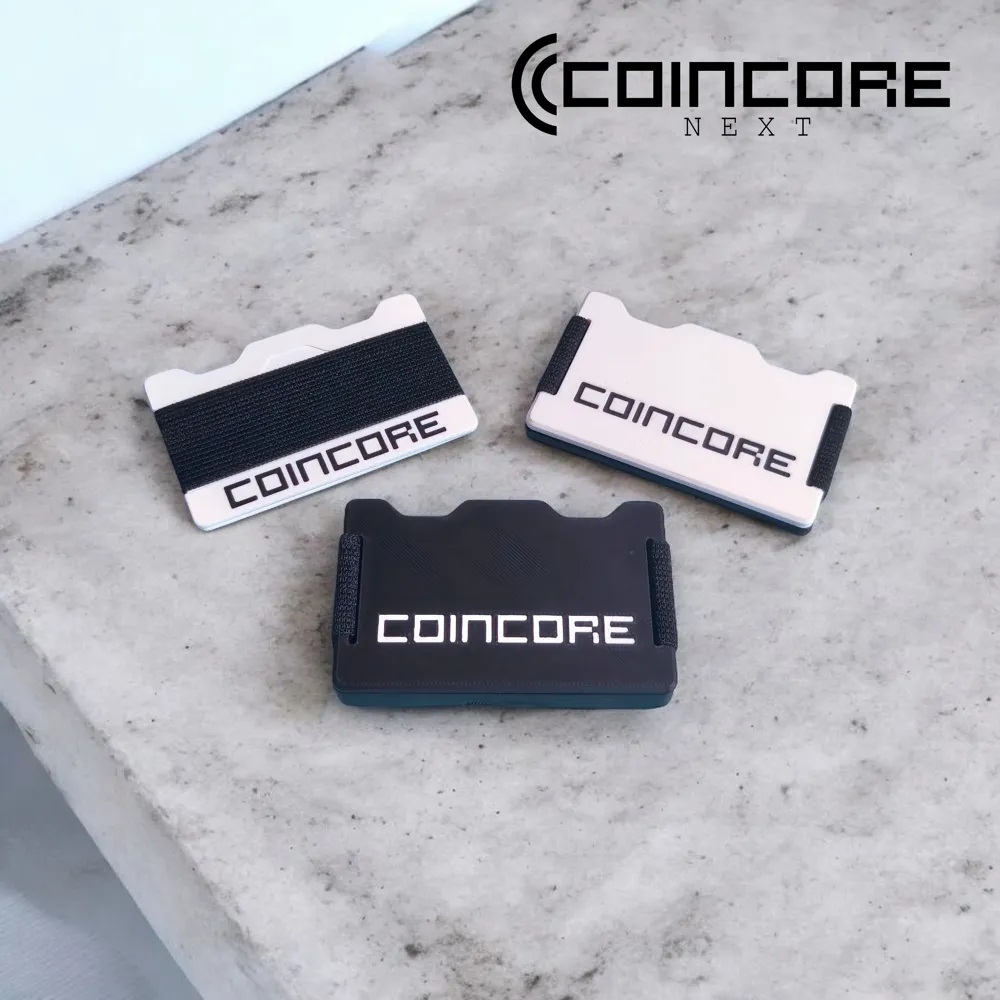
Three Versions – Your Wallet, Your Style
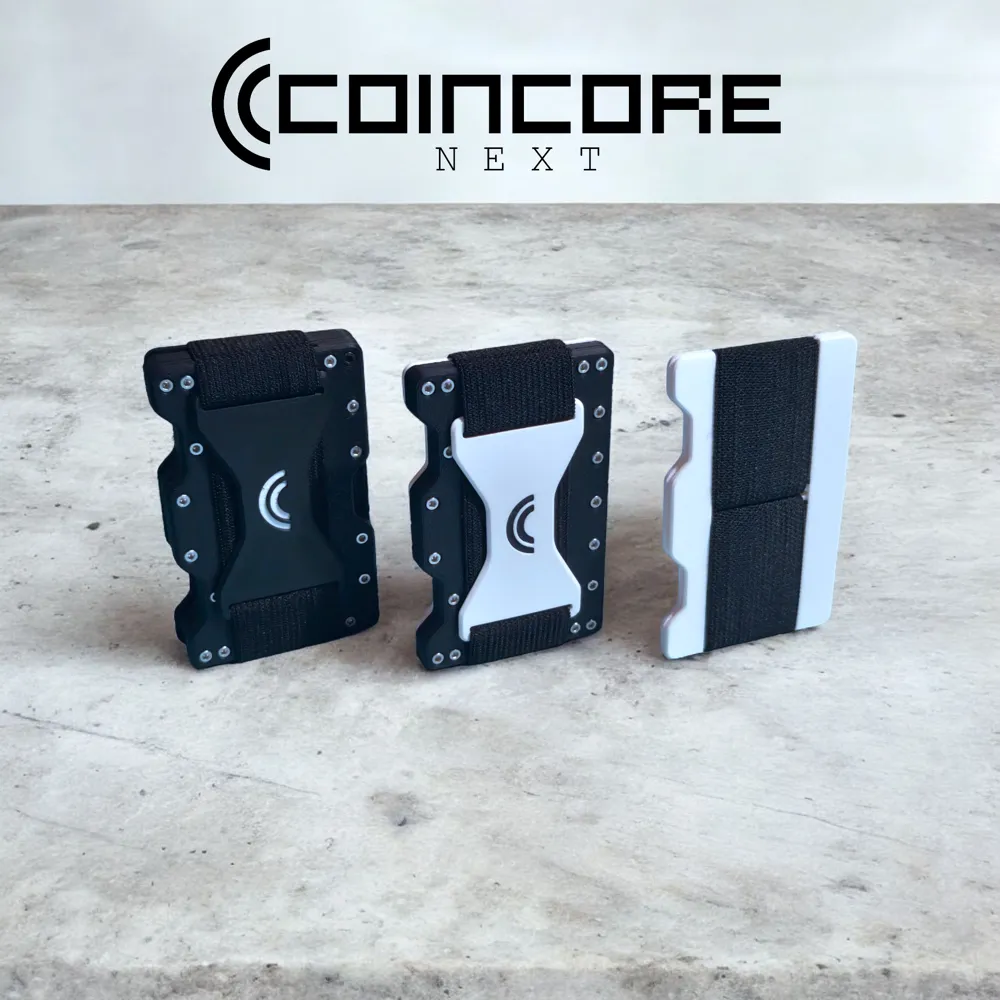
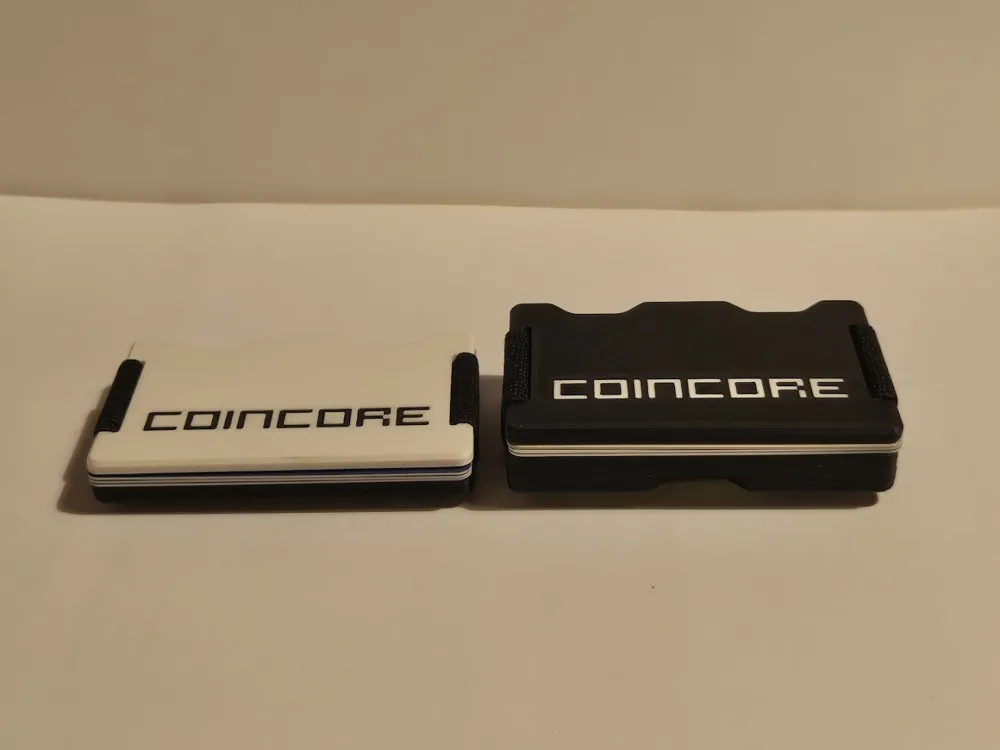
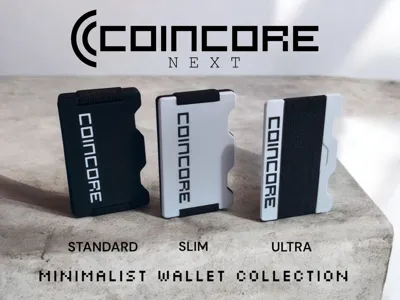
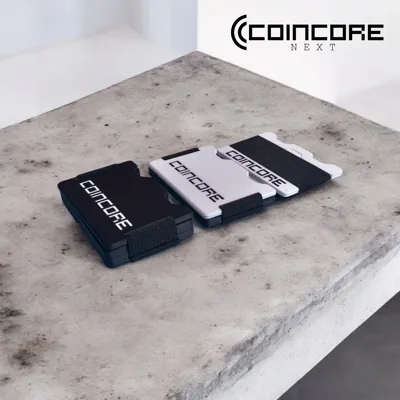
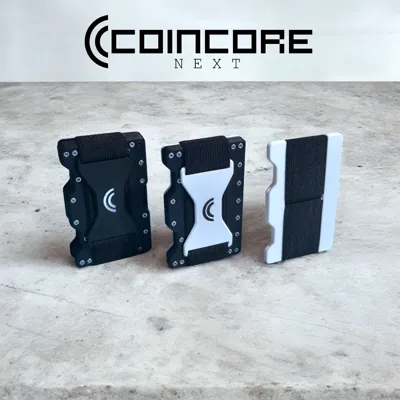
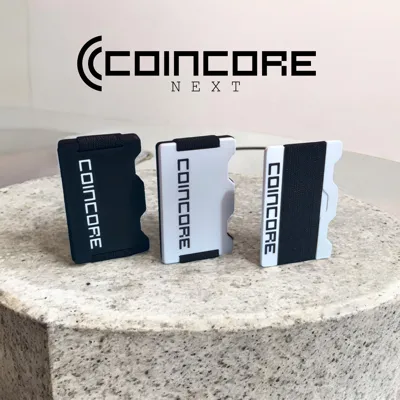
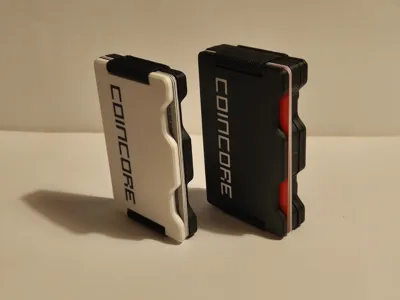
Whether you're completely digital, still need coins, or simply seek maximum compactness – the CoinCore Next comes in three variants that adapt to your life.
Standard Version – Minimalist with Coin Compartment
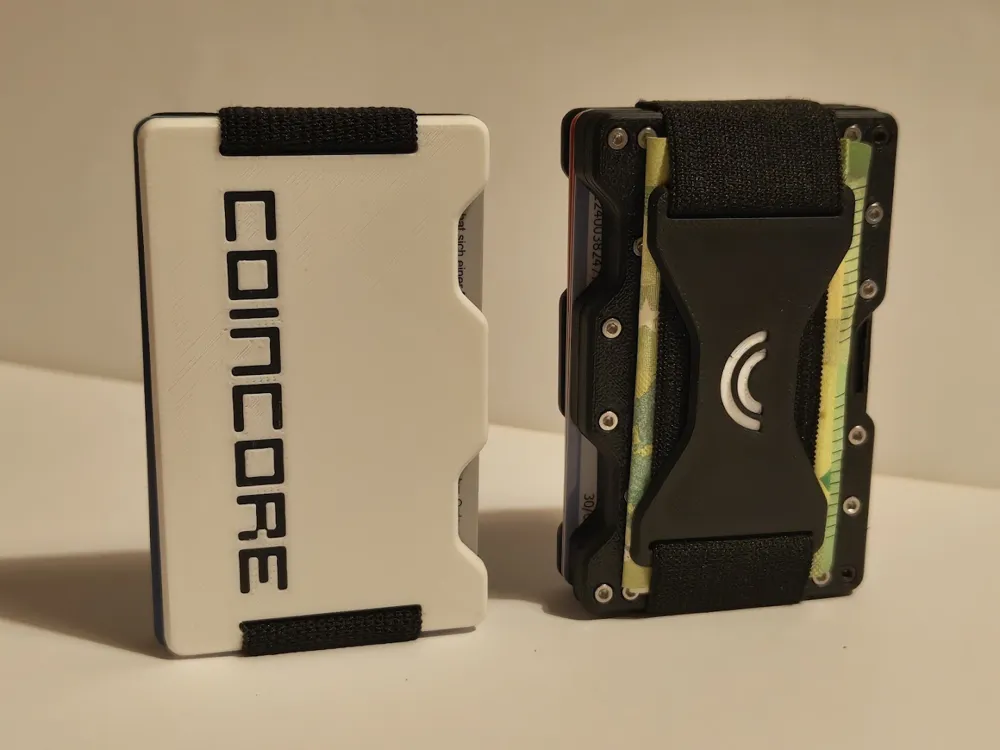
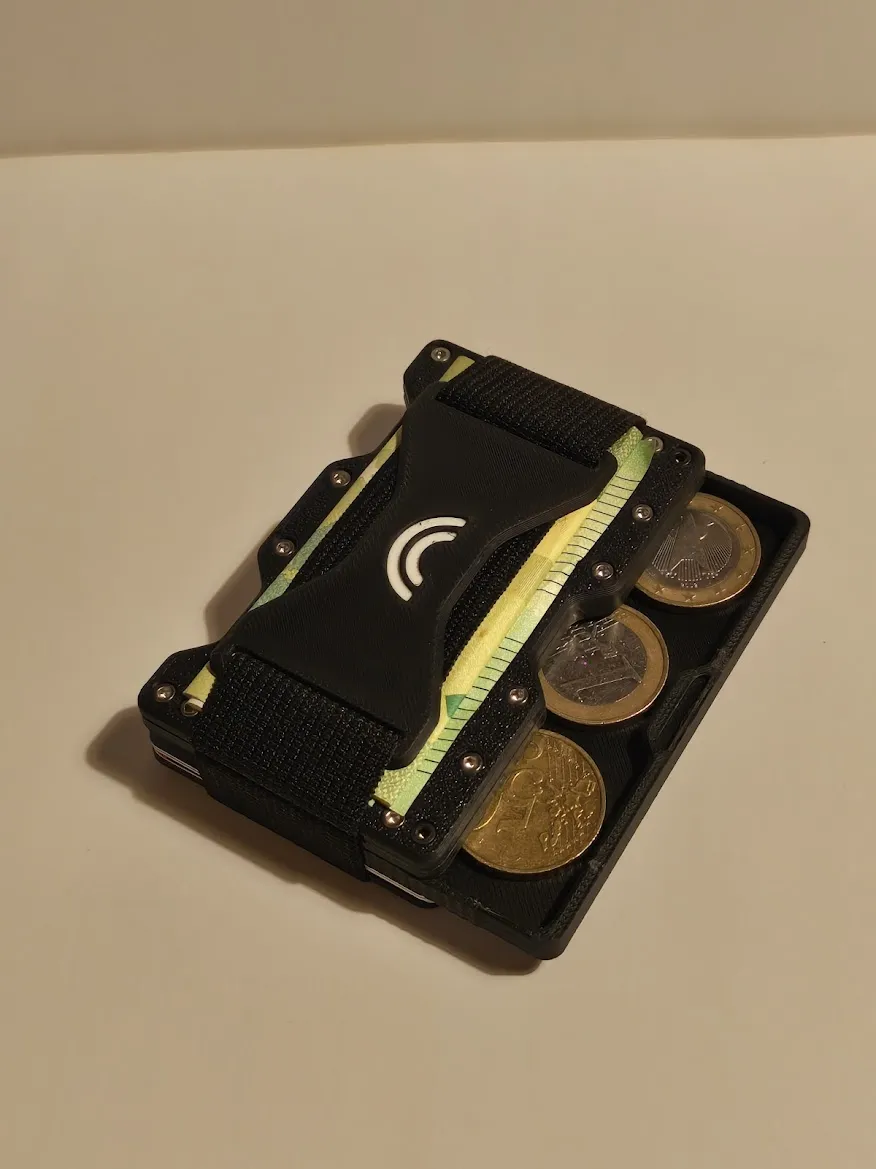
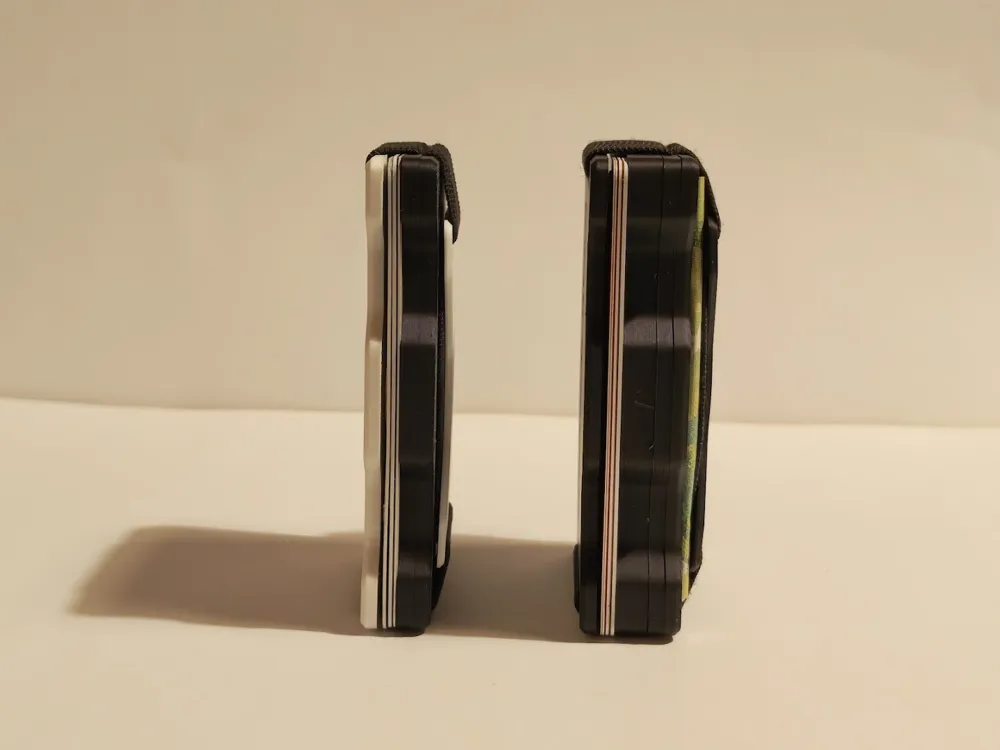
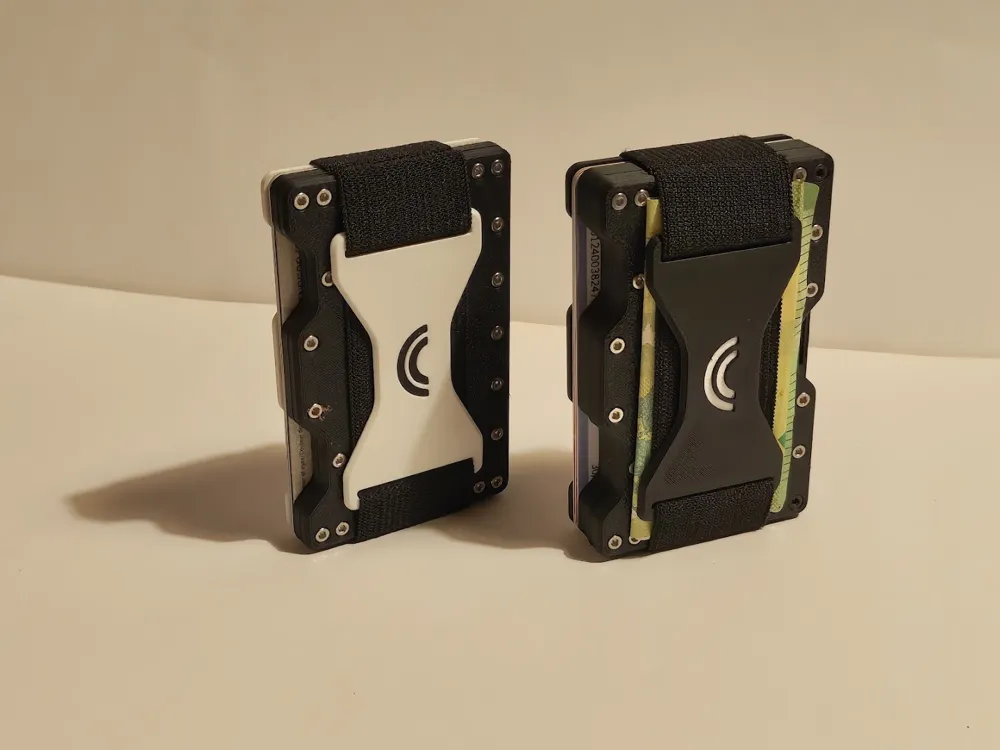
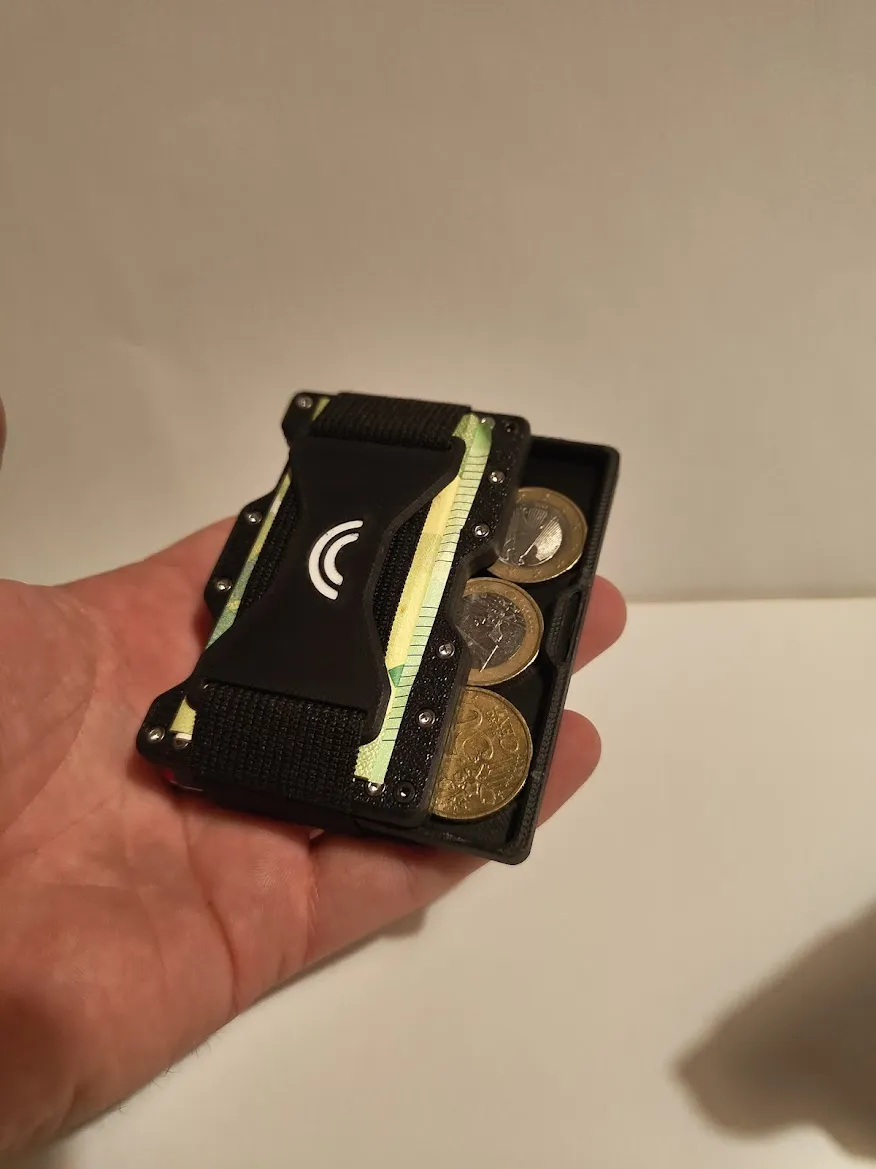
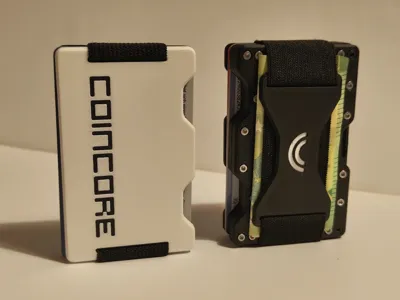
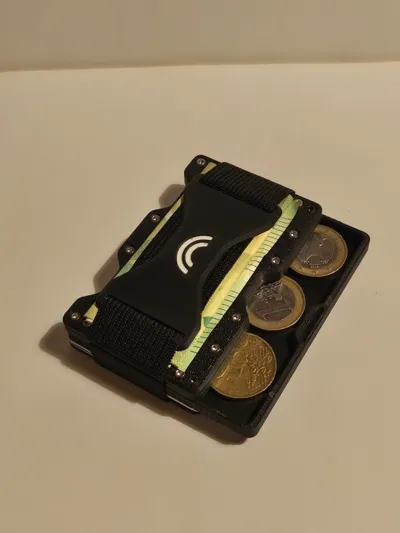
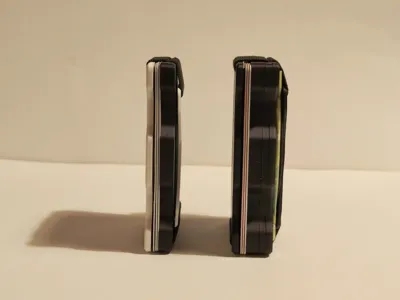
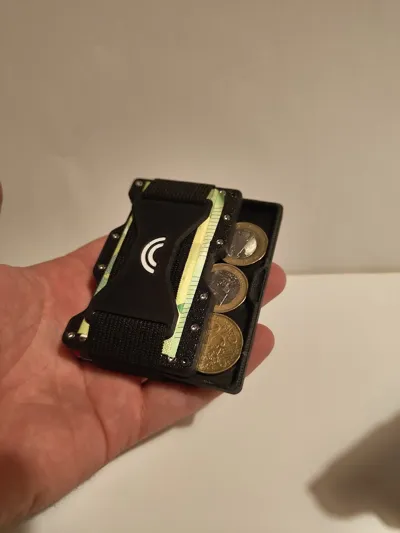
For those who don't want to completely forego small change despite the digital world, the Standard Version offers the perfect balance of function and form. It features an integrated coin compartment that provides space for the essentials – whether for parking meters, bakeries, or spontaneous tipping moments. With a height of 14.8 mm (without the money clip), it remains compact and comfortable to carry. Cards and banknotes are quickly accessible, everything sits securely and thoughtfully. The coin compartment slides smoothly and is easily accessible without disturbing the clean design. A wallet for everyone who wants to combine minimalism with a touch of extra.
Slim Version – Reduced to the Essentials
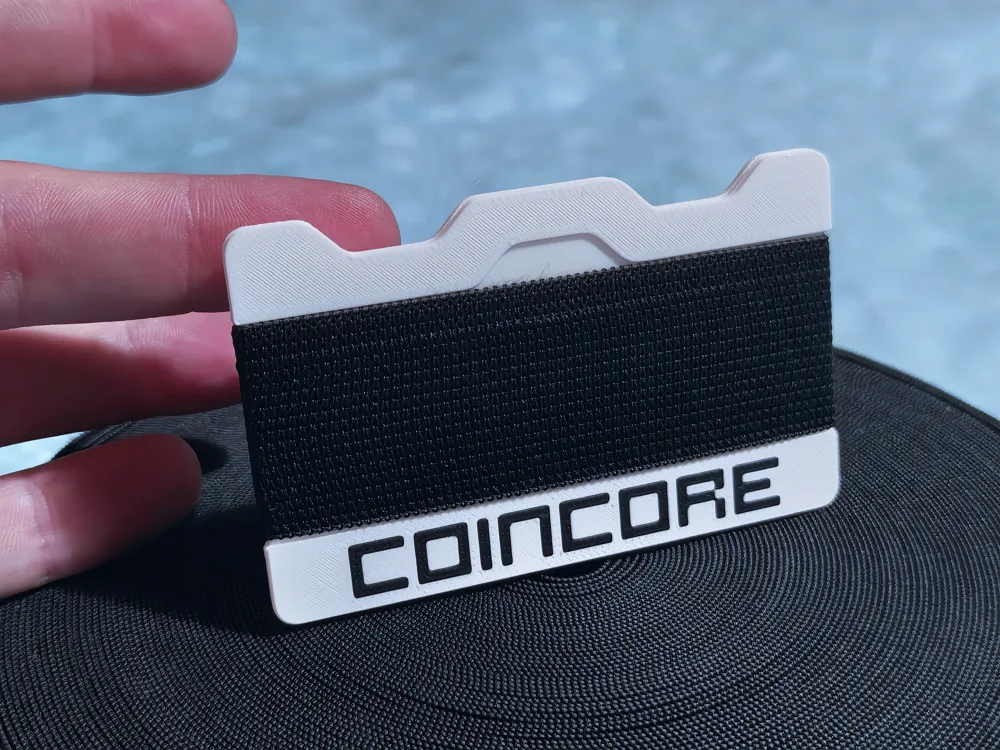
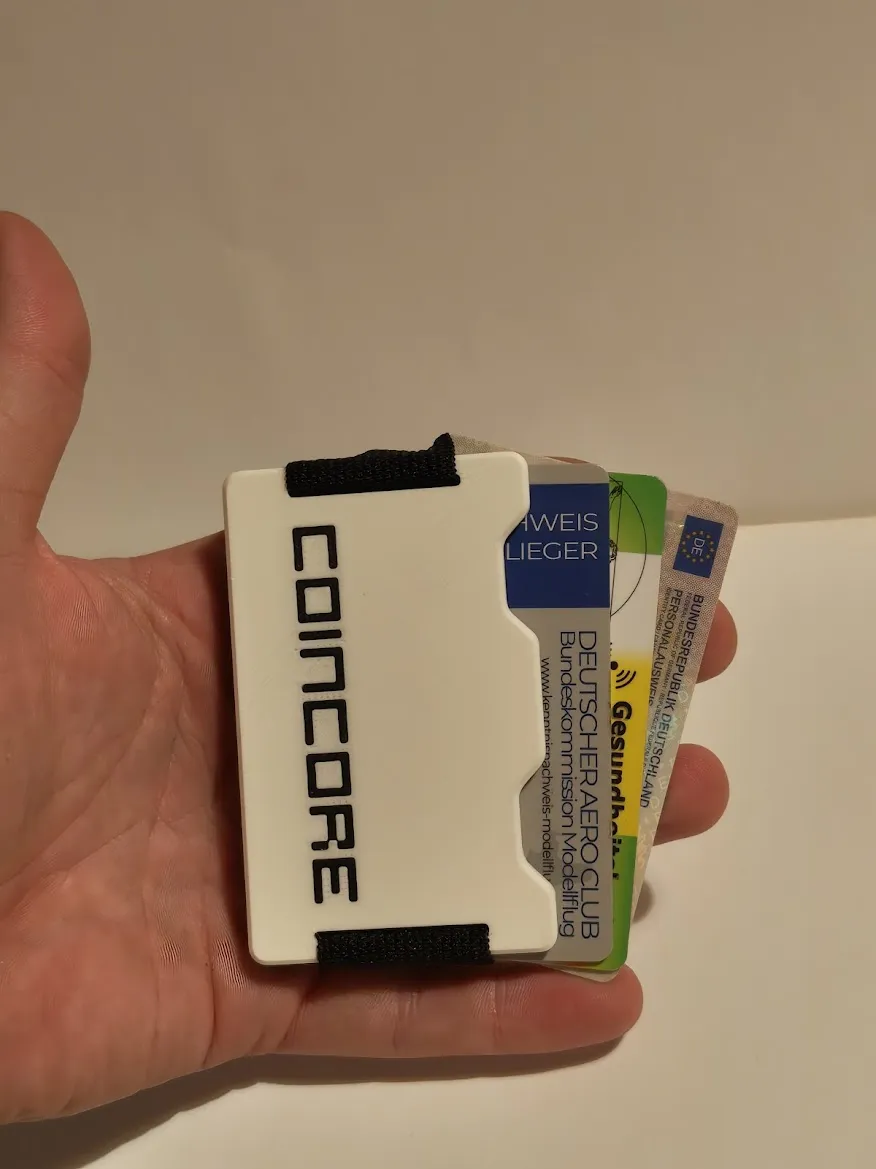
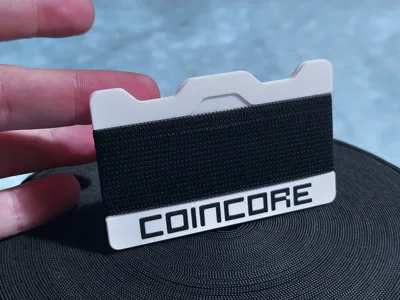
The Slim Version is designed for those who prefer to live their lives completely digitally. It deliberately omits a coin compartment and remains exceptionally flat with a height of only 9 mm (without the optional money clip). Cards and banknotes are securely held by two elastic bands, the robust construction ensures durability, and banknotes easily fit under the front band. Everything sits firmly, is quickly accessible, and fits even into tight pockets – without adding bulk. If you don't need coins and value maximum slimness, the Slim Version is your perfect companion.
Ultra Version – Innovation at 3.4 Millimeters
The Ultra Version is the new star in the CoinCore universe. With a mere 3.4 mm thickness (without the elastic band), it is one of the thinnest 3D-printable wallets on Makerworld – and completely without screws, glue, or additional parts. The entire cohesion works via strategically placed barbs and the elastic itself. The result: an incredibly slim, lightweight, yet reliable wallet that demonstrates what is possible with clever design in 3D printing. Ideal for those who truly only carry the essentials and don't want to compromise on style. Those who love reduction will celebrate the Ultra Version.
🔧 What you need (Standard, Slim & Ultra Version)
Standard Version
2x elastic bands (16 cm long, 30 mm wide each)
17x M2 nuts
14x M2x4 mm cylinder head screws (M2x3 mm are better)
3x M2x8 mm screws for the coin compartment
Slim Version
2x elastic bands (16 cm long, 30 mm wide each)
17x M2 nuts
17x M2x4 mm cylinder head screws (M2x3 mm are better)
💡💡💡 Attention: If the 4mm screws are too long, simply file or snip them down slightly – then the coin compartment will slide even better. I opted for the M4x2 mm as they are more readily available. Ideally, however, M2x3 mm should be used. 💡💡💡
Ultra Version
No screws. No glue. Just a single 24 cm long elastic band (30 mm wide).
Assembly is completely tool-free – it couldn't be simpler.
Assembly Instructions Standard & Slim Version
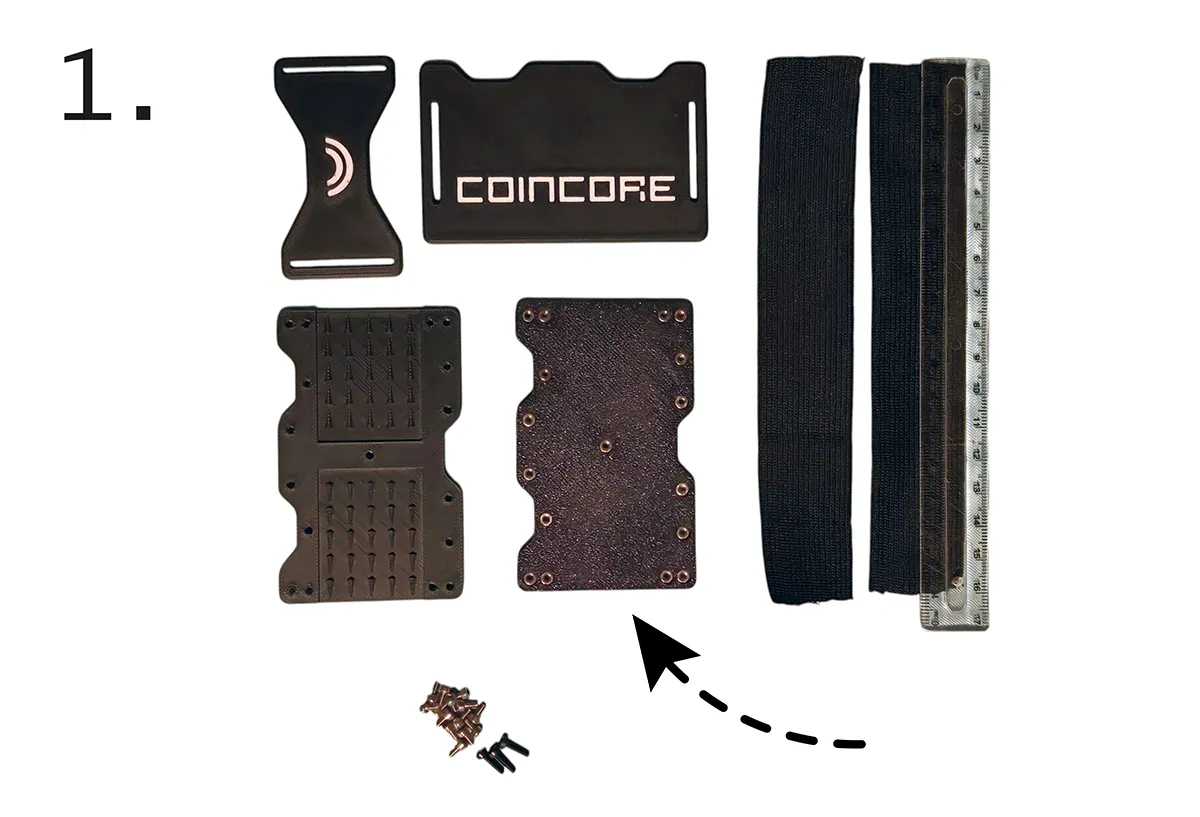
(1.) First, equip all holes of the back plate with nuts and press them in until they stop. You can recognize the back plate by the fact that the small hooks have only 4 instead of 5 rows.
|  |
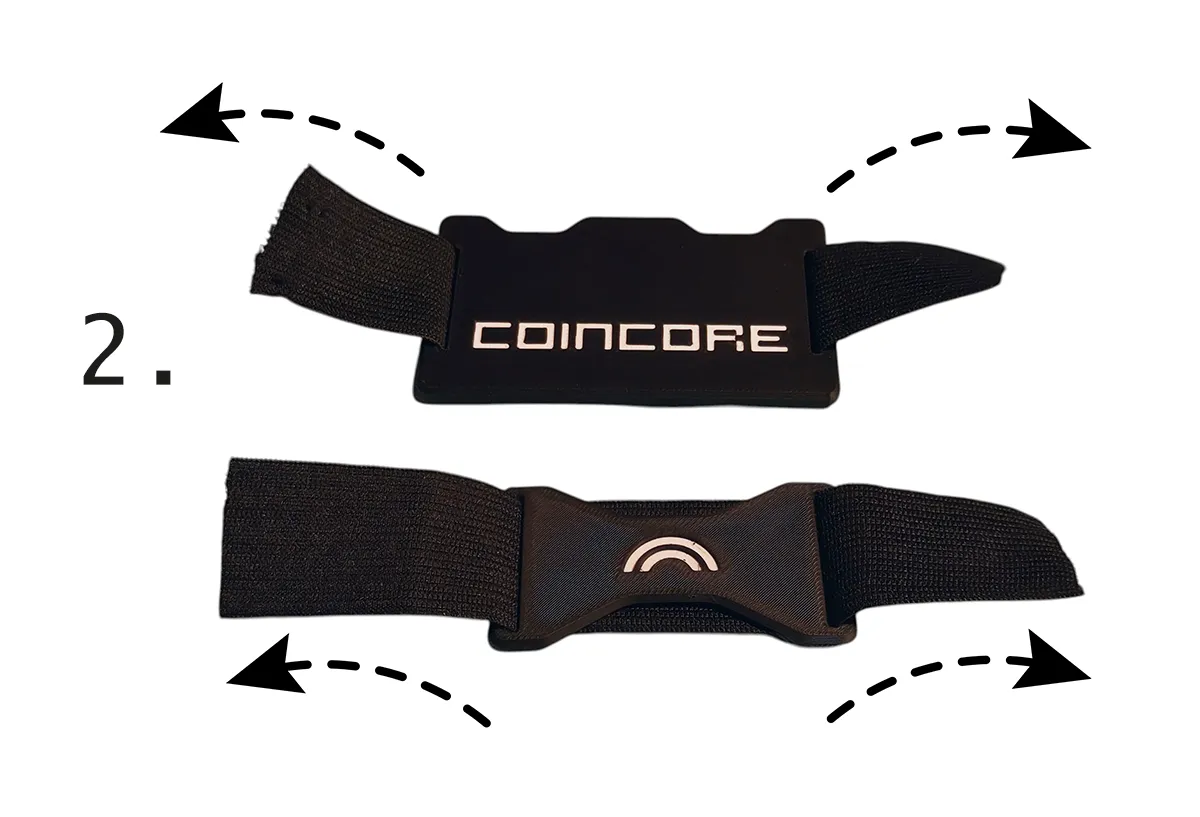
(2.) Now thread a 30 mm wide and 16 cm long elastic band, as shown in the photo, through the holding plate and the second 16 cm piece of elastic band through the money clip.
|  |
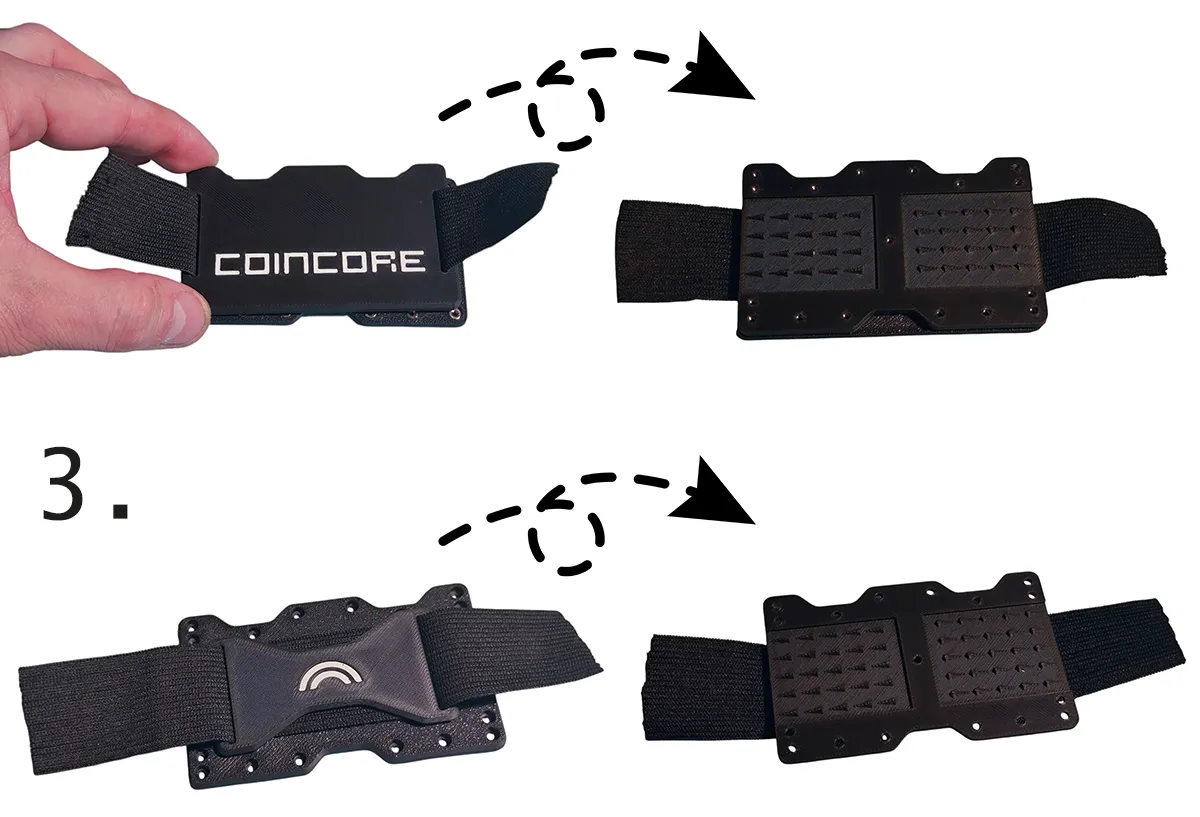
(3.) Now place the holding plate onto the back plate with the lettering facing up. The money clip is also placed on the top side of the front plate. Then carefully turn both plates over. When turning them over, make sure the nuts do not fall out. Press firmly together!
|  |
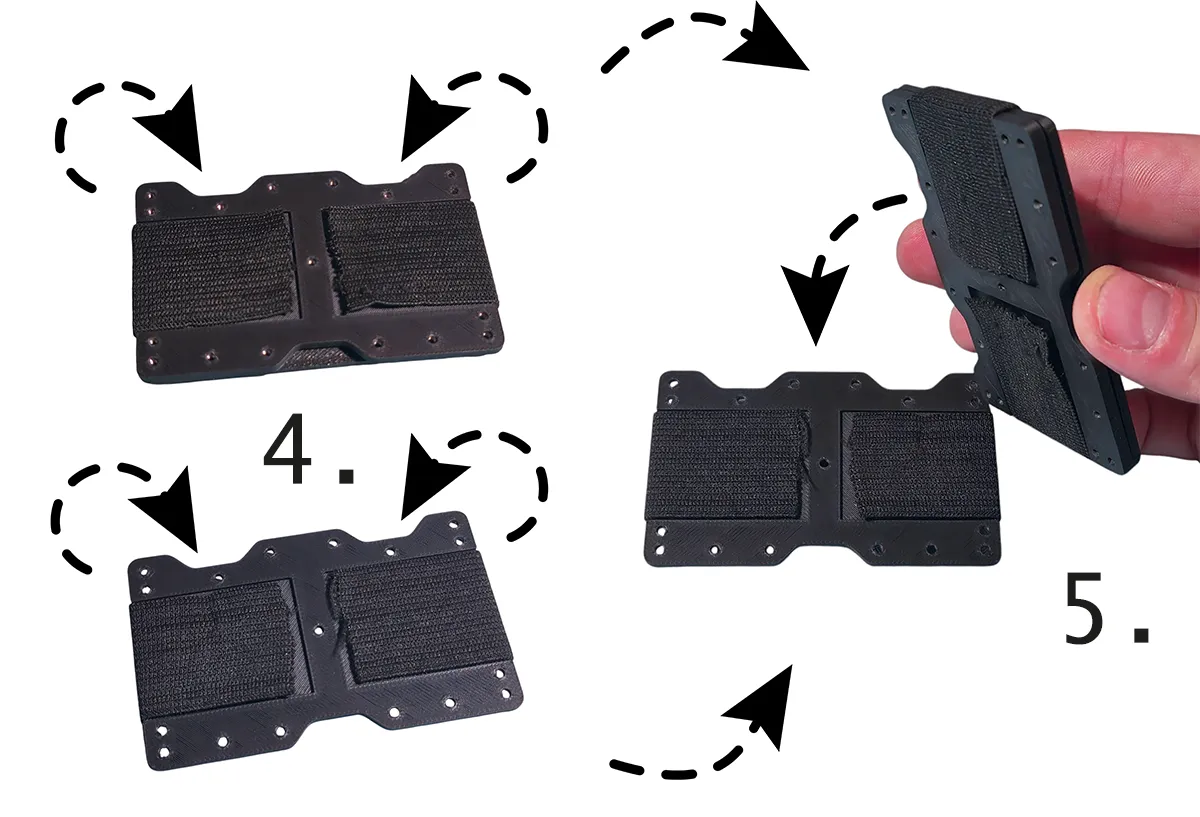
(4.) Now press the elastic band on both parts with your fingers as shown in the pictures. The elastic band should rest against the stop at the front (where the middle hole is). (5.) Then press both plates together.
|  |
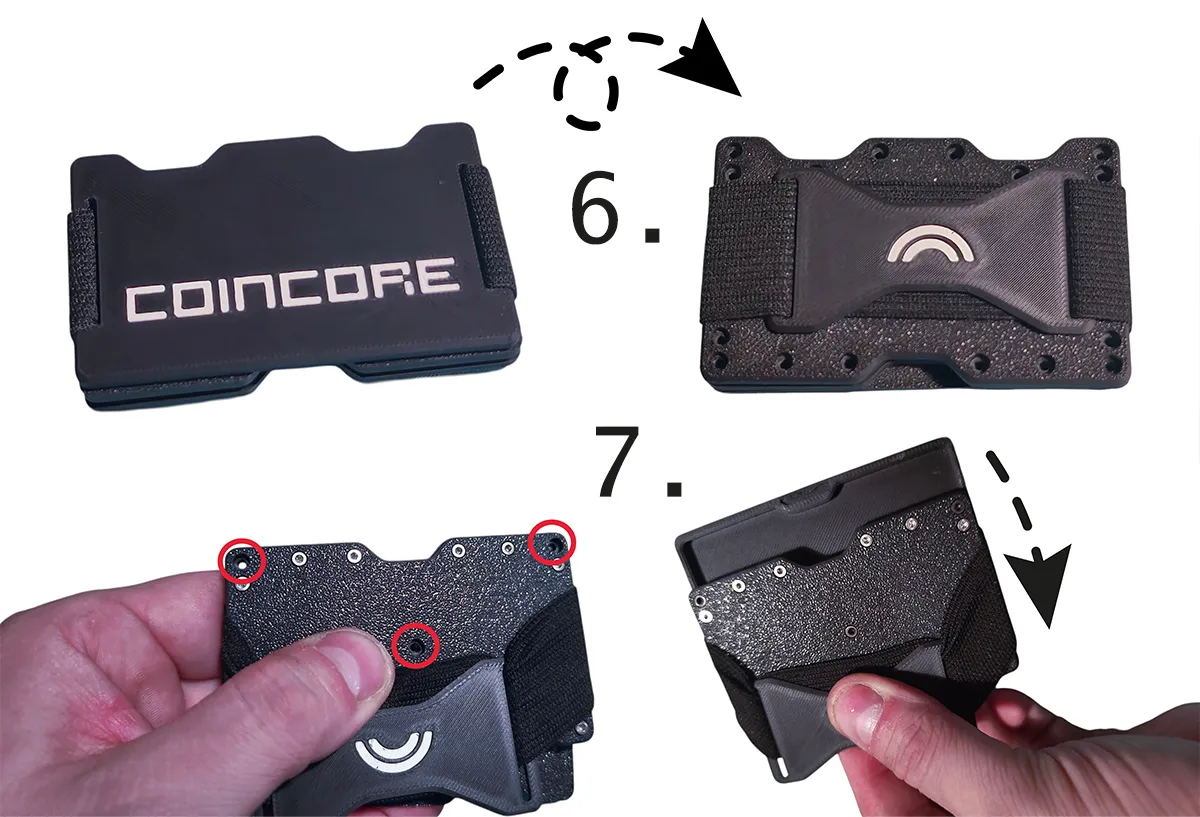
(6.) Now turn the wallet to the other side and screw the plates (7.) with the M2x4 mm cylinder head screws - except for the RED marked ones. The M2x8 mm screws are screwed into the red marked holes (except for the Slim Version).
|
 |
Assembly Instructions Ultra Version
(1.) Lay out the required parts, including a 24 cm elastic band with a width of 30 mm.
| 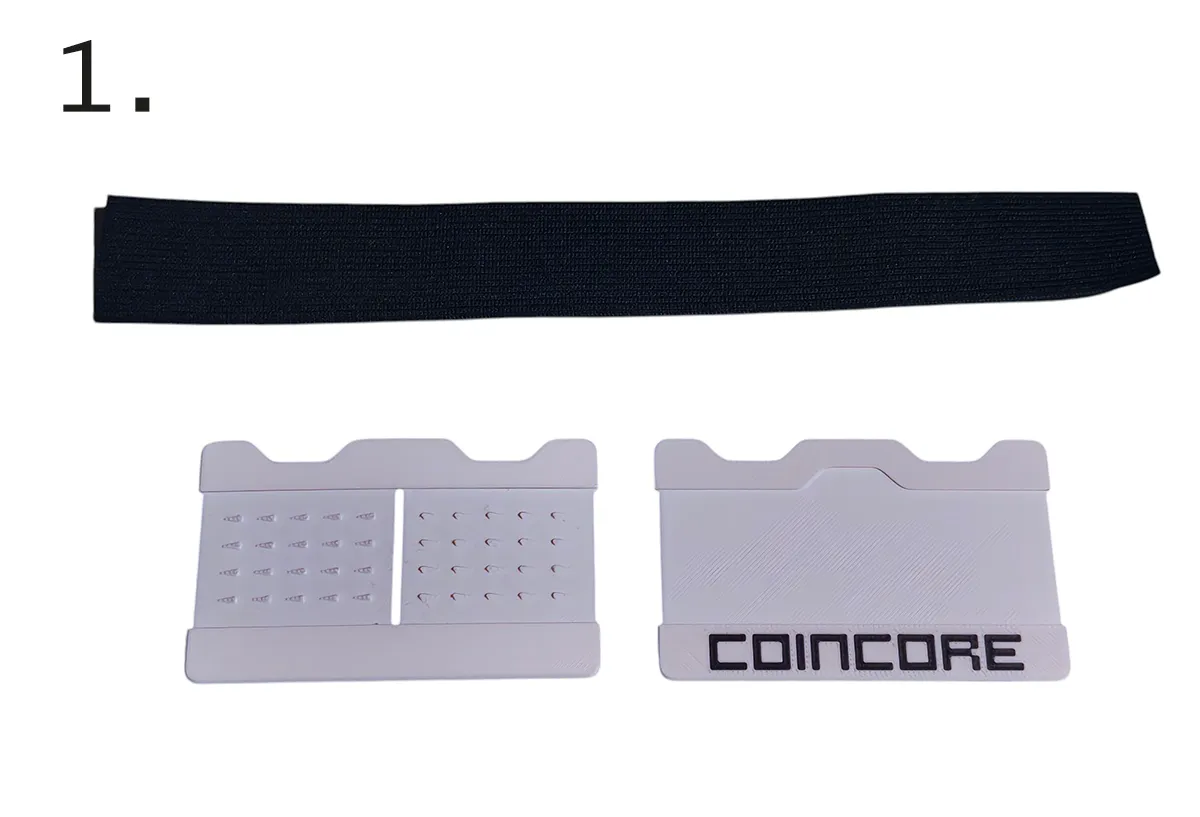 |
(2.) The elastic band is folded exactly in the middle and then pulled halfway up through the slot. Make sure that the small hooks are on the top side.
| 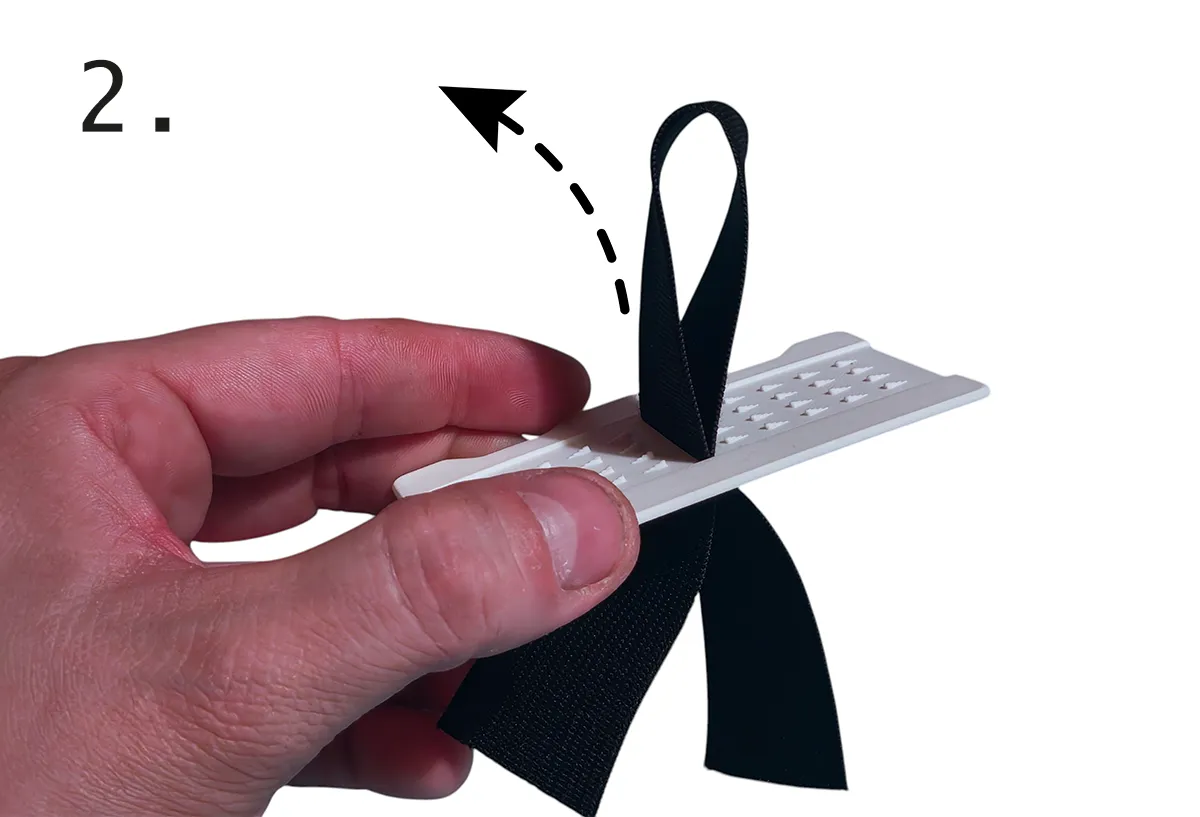 |
(3.) The two ends of the elastic band are now folded over and pressed down.
| 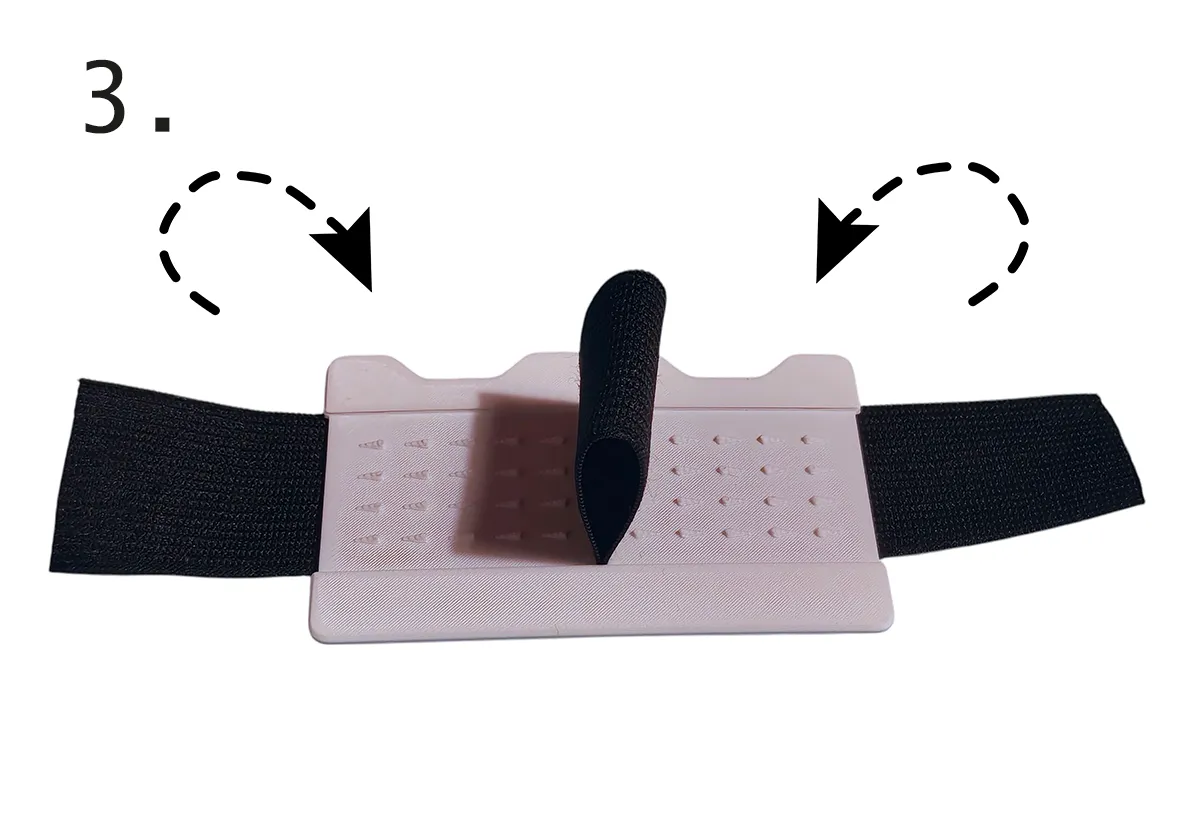 |
(4.) Now firmly press the elastic band with both fingers and stretch the tab in the middle slightly by pulling on it.
| 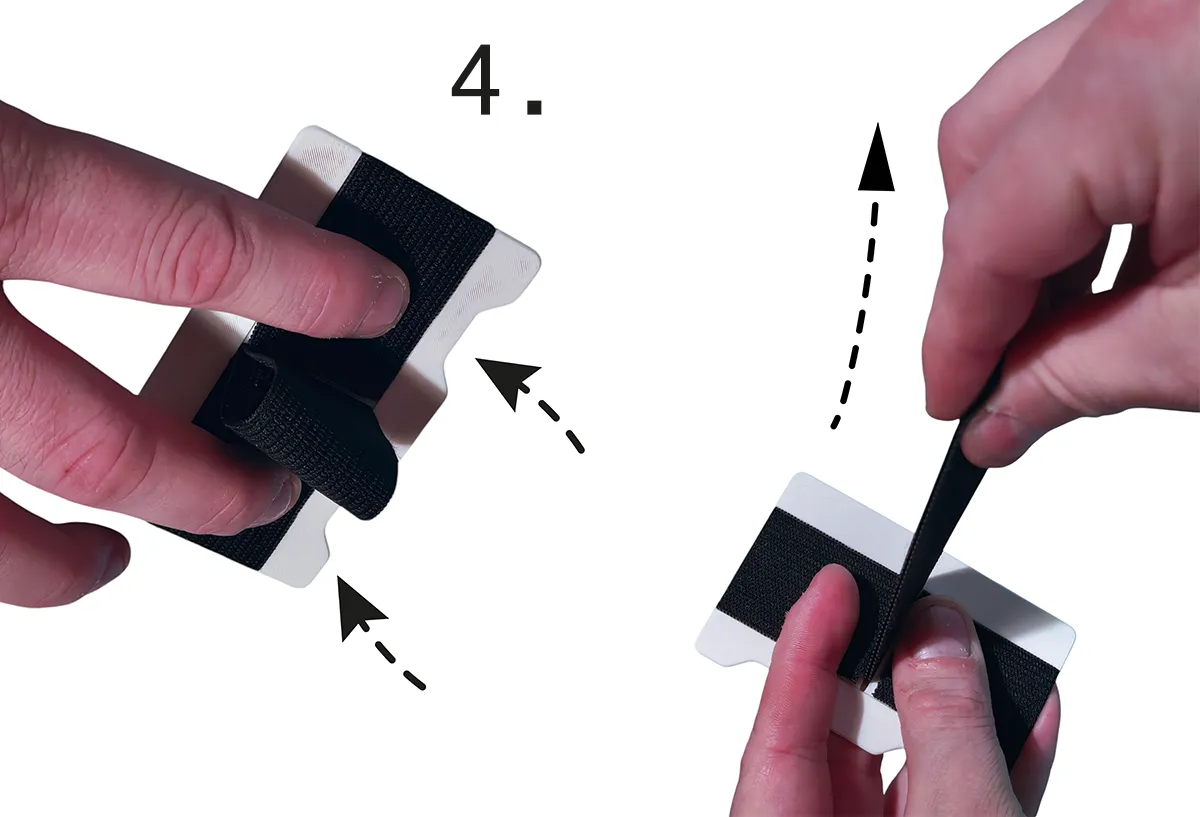 |
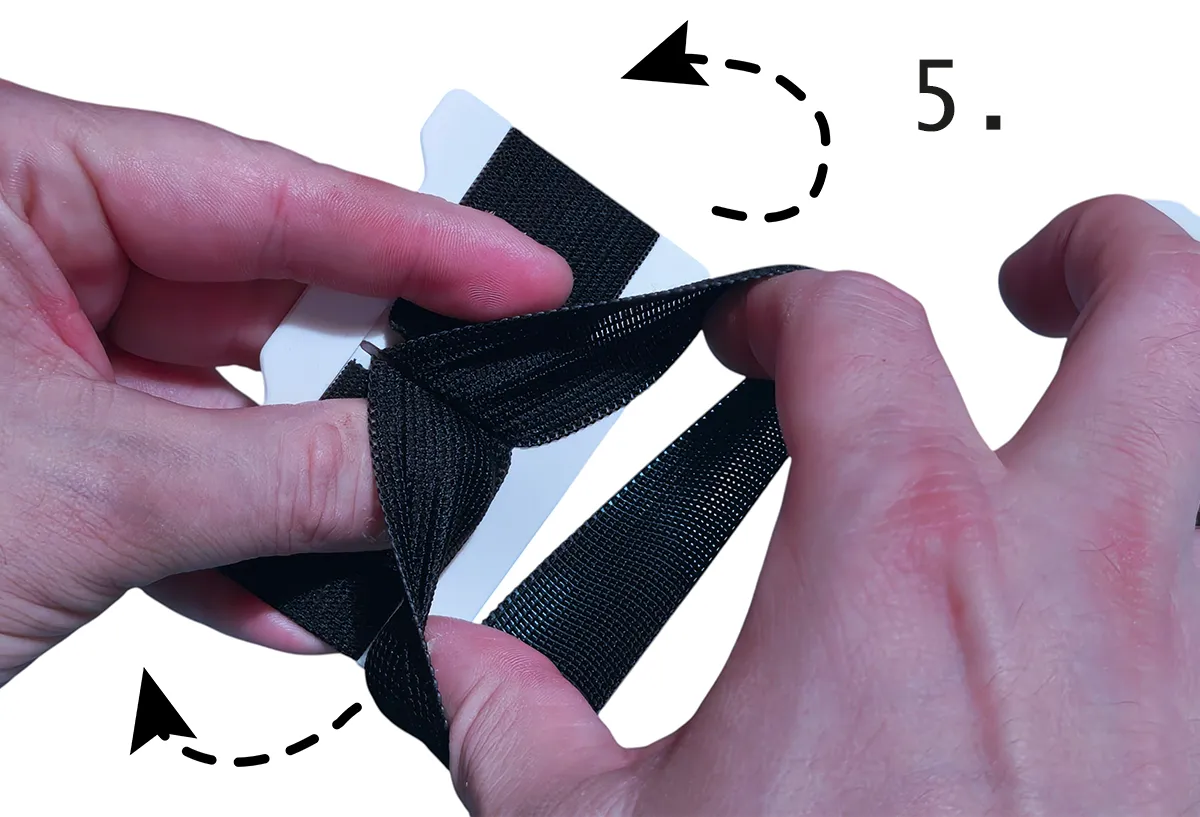
(5.) The stretched elastic band is now slipped over the card. Then adjust it slightly so that everything sits nicely straight and doesn't wrinkle.
|  |
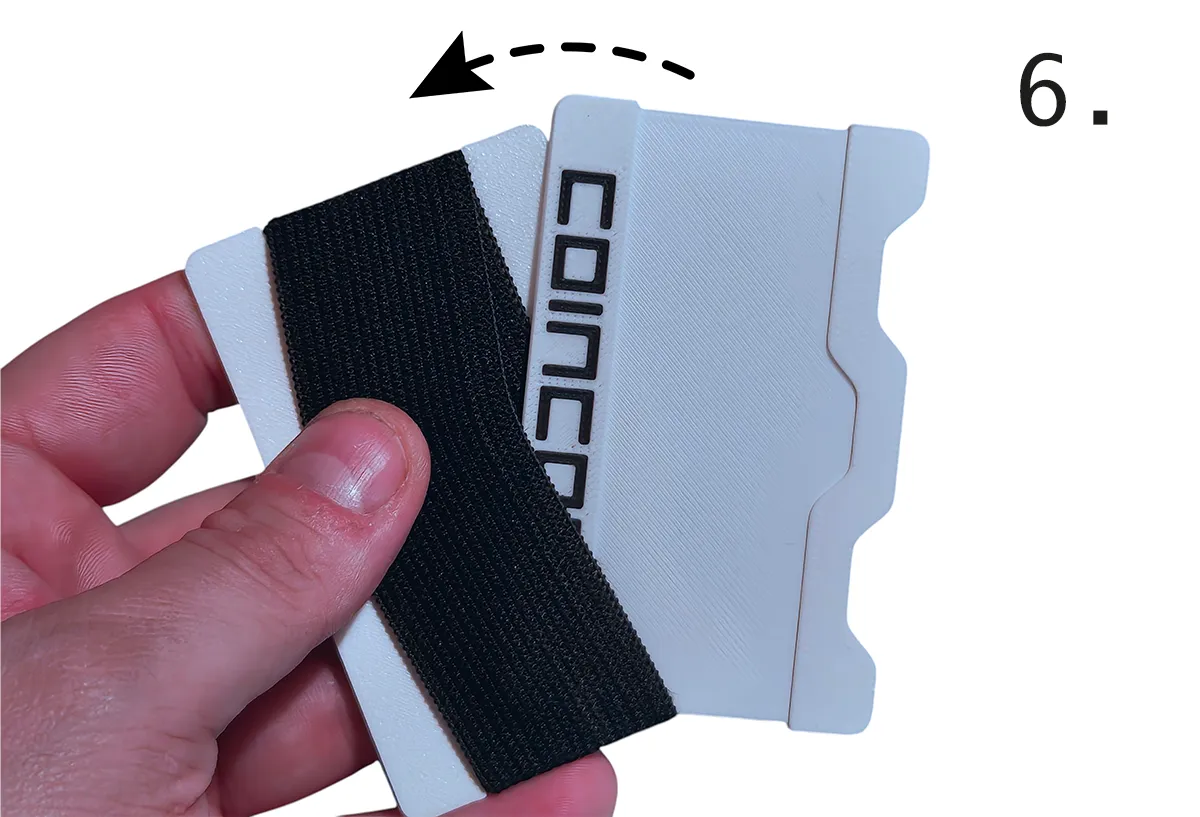
(6.) Then slide the front plate under the elastic until it sits perfectly in the middle.
|  |
👍 Free support: A like and a place in your collection show us that the CAD hours were worth it. ☺️
License

You shall not share, sub-license, sell, rent, host, transfer, or distribute in any way the digital or 3D printed versions of this object, nor any other derivative work of this object in its digital or physical format (including - but not limited to - remixes of this object, and hosting on other digital platforms). The objects may not be used without permission in any way whatsoever in which you charge money, or collect fees.


Comment & Rating (10)