
Star Wars Slave 1 VOID-7 Seismic Charge
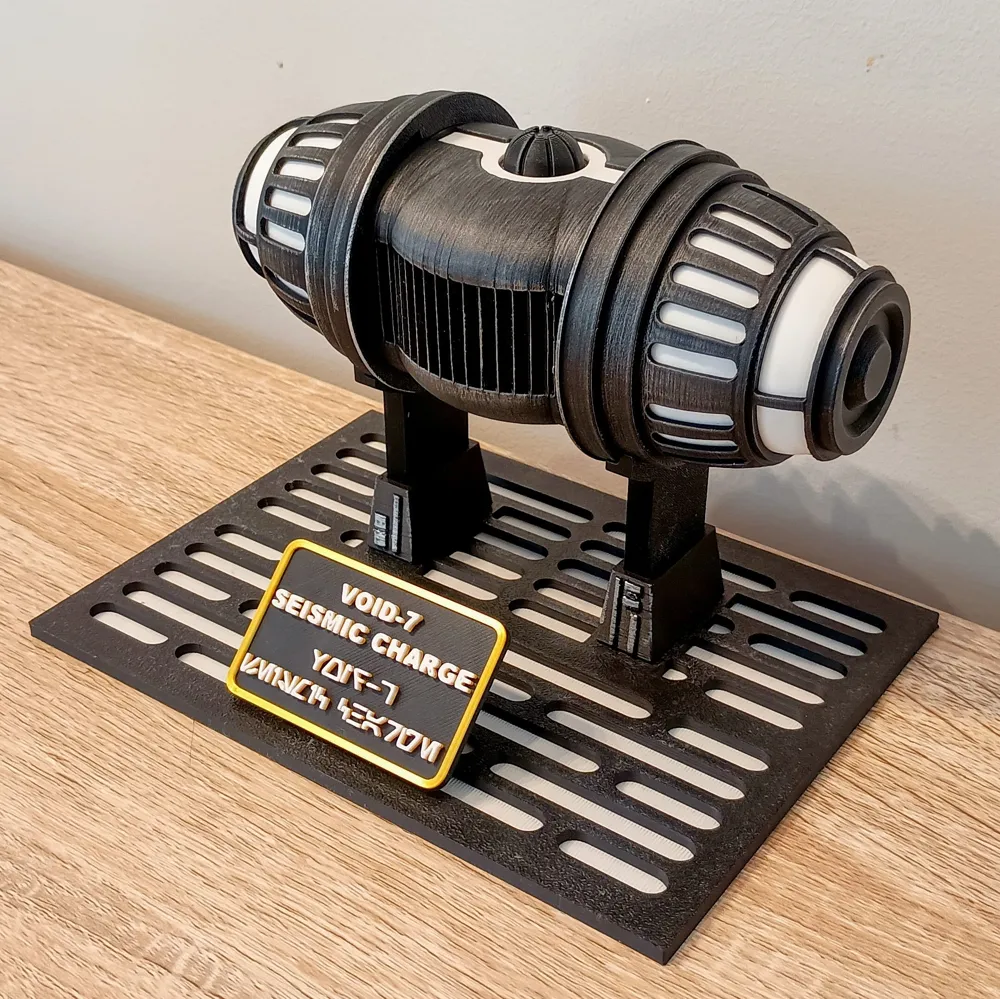
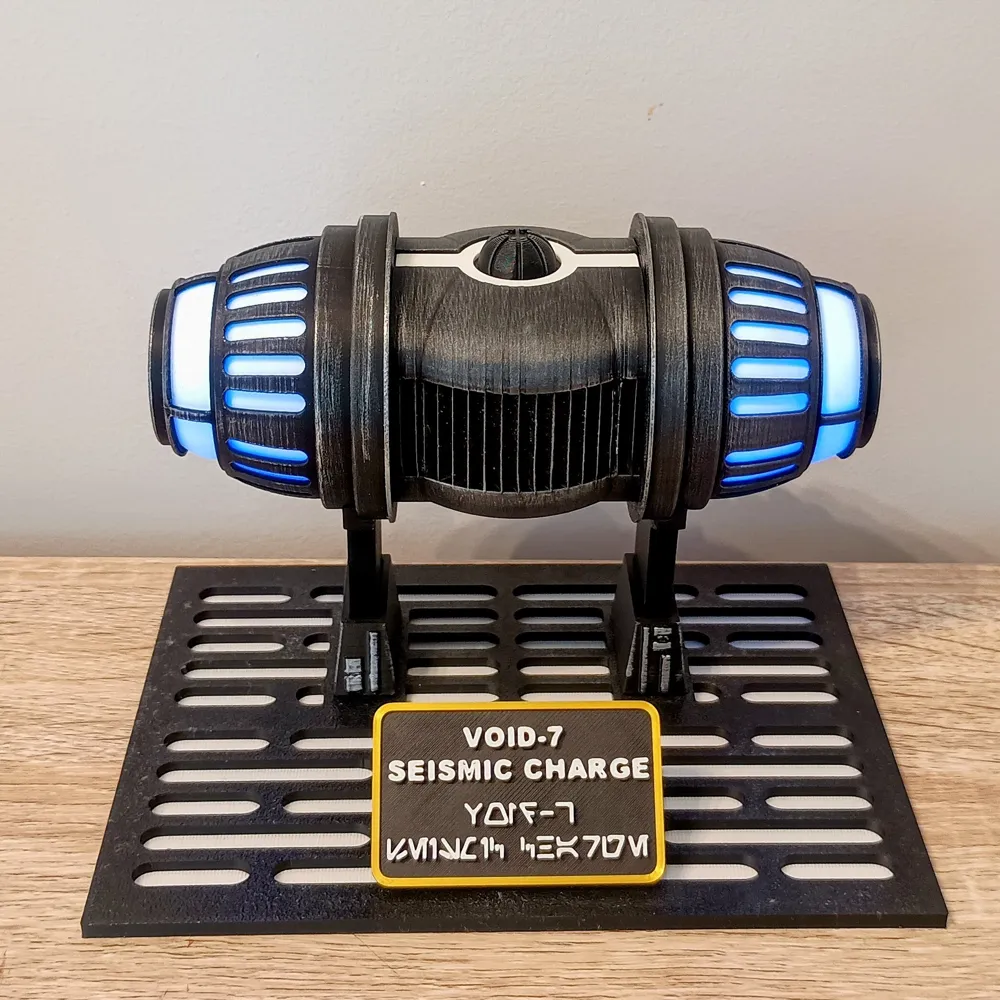
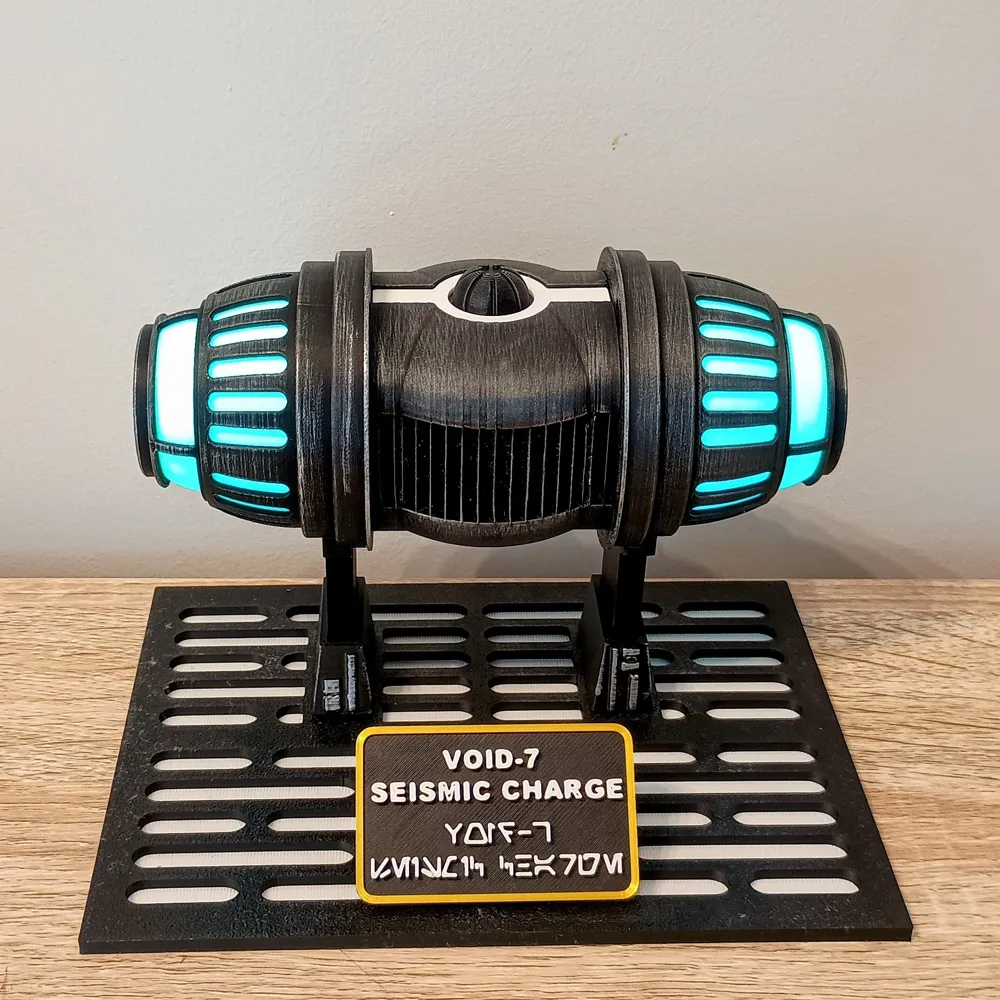
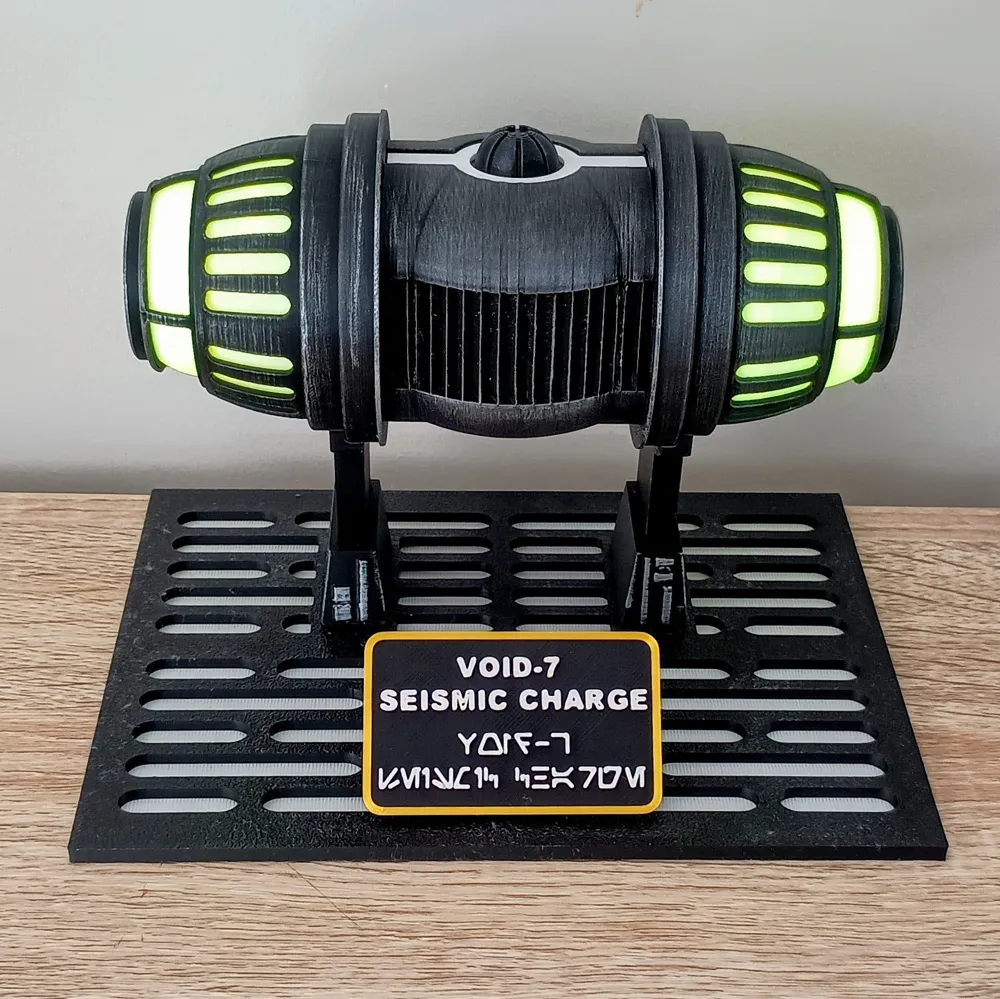
Print Profile(1)

Bill of Materials



- Red Copper Silk PLA x 1: From Sunlu, my roll is quite old so I am not sure if they still make it
Description
Thanks for checking out my model! Interested in supporting my work or selling prints?
Support Crew – Show some love and help keep the projects flowing
Galactic Maker Foundry – Sell physical prints of my original designs
Foundry License+ – Sell prints and use my photos for listings
🎉 Supporter-only Discord coming soon – get early access, tips, and sneak peeks!
Membership
Join here to support or get a license
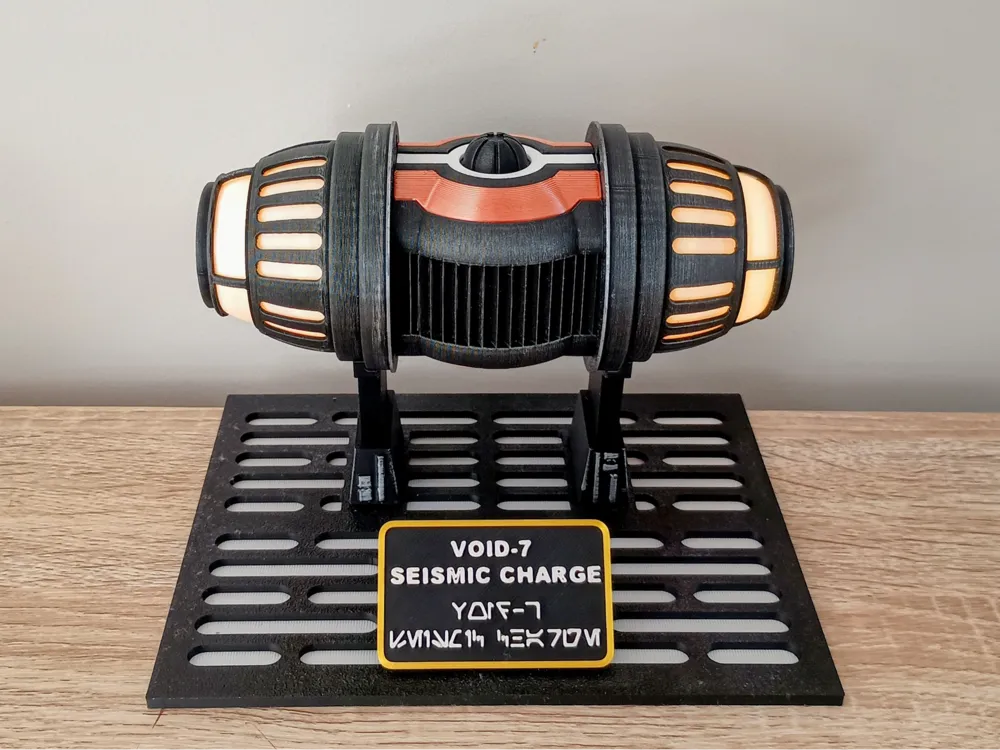
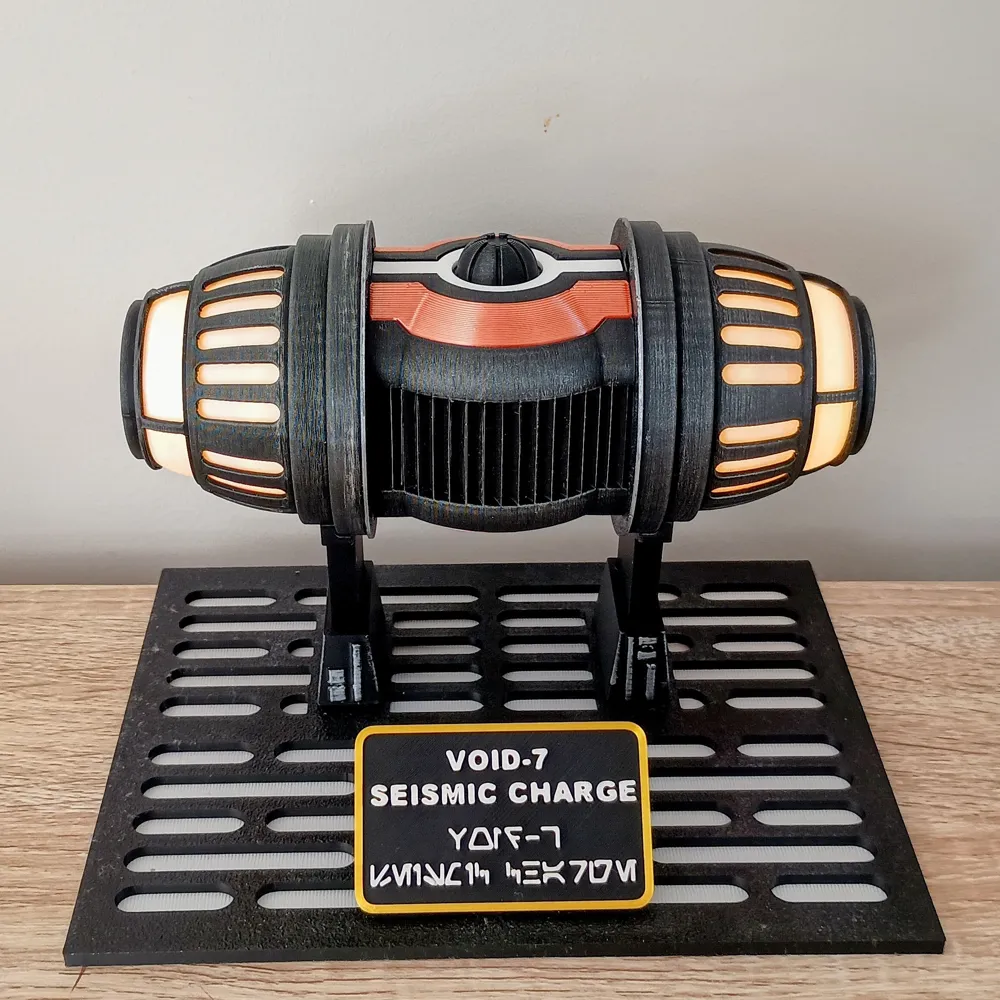
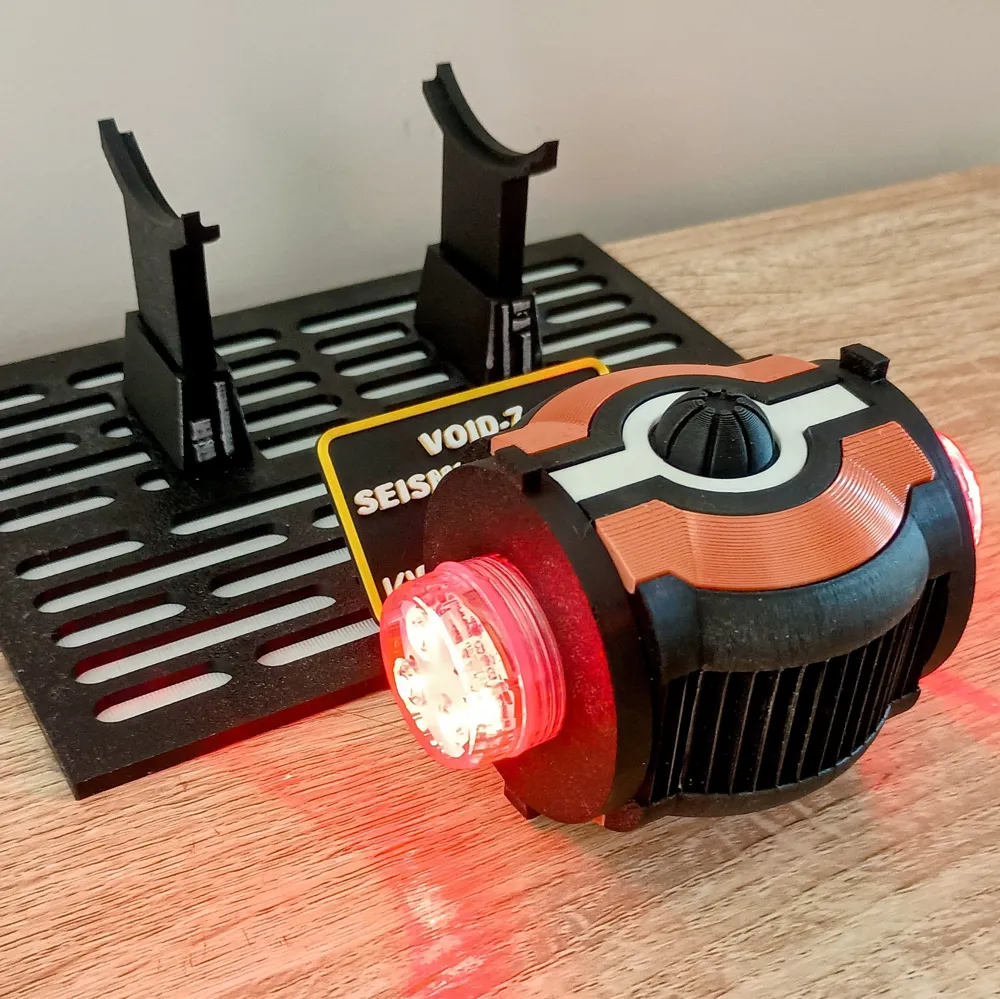
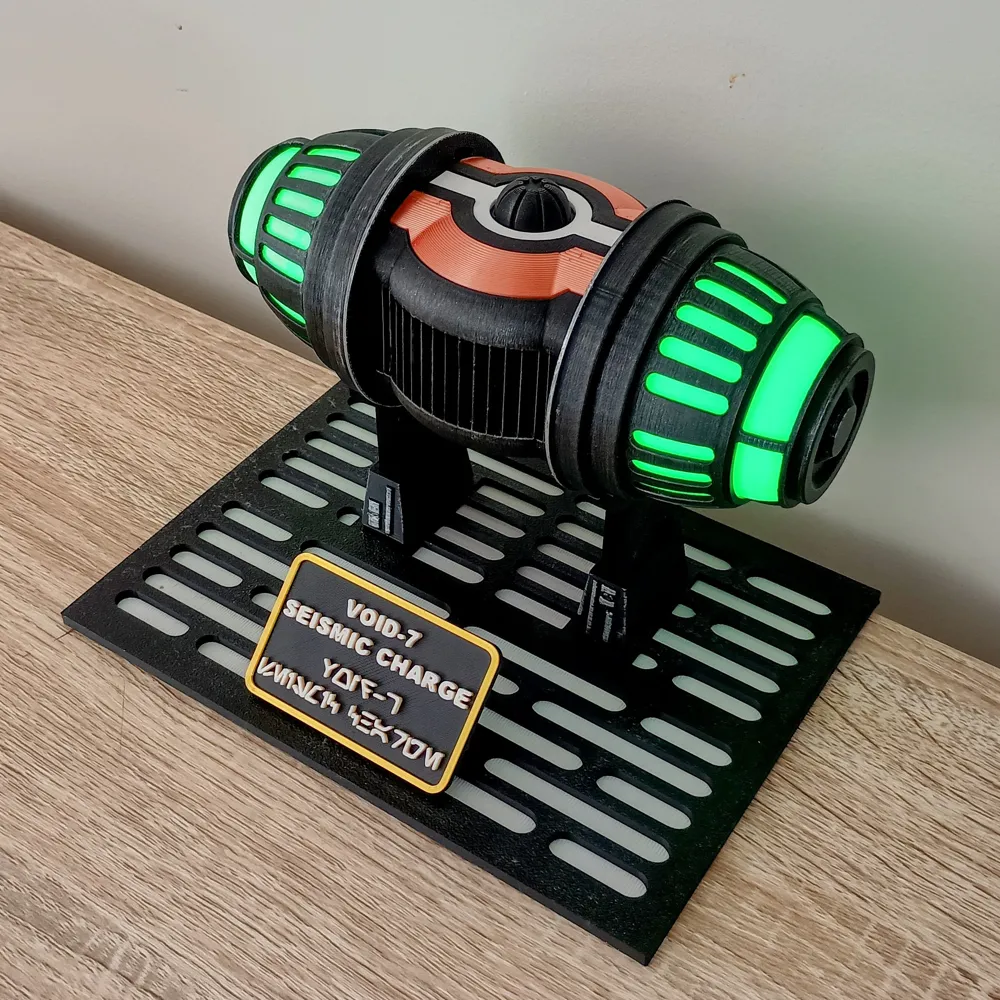
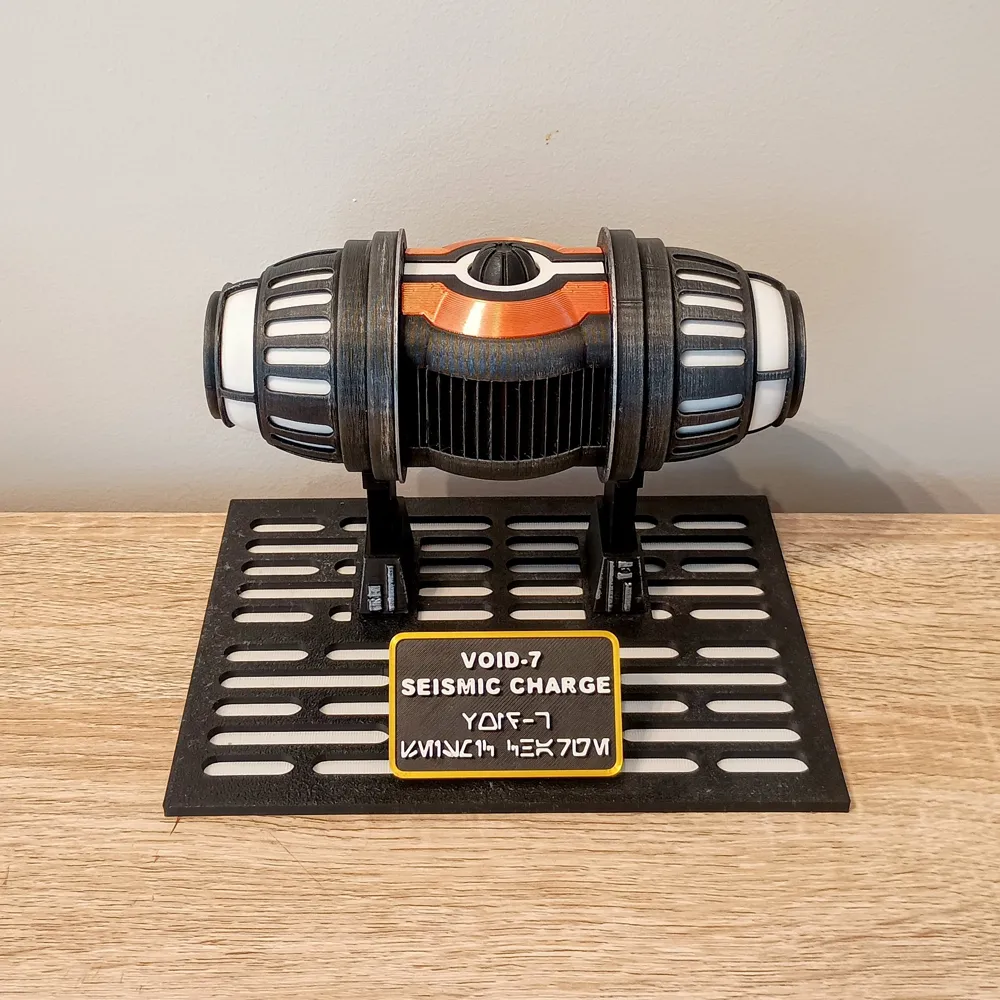
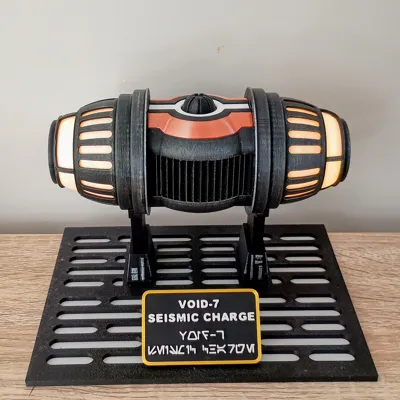
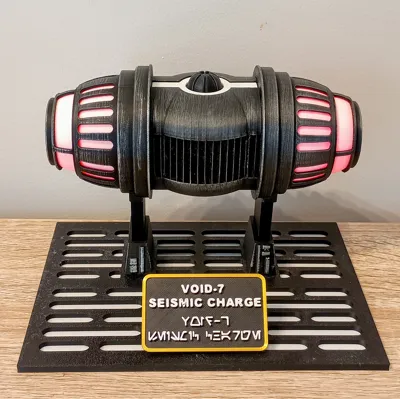
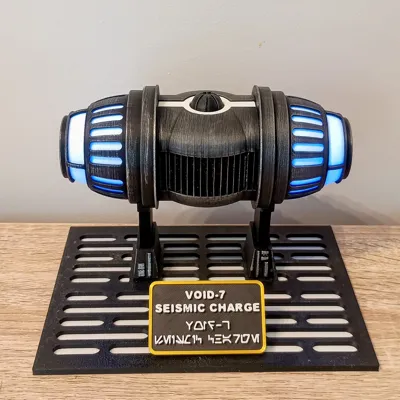
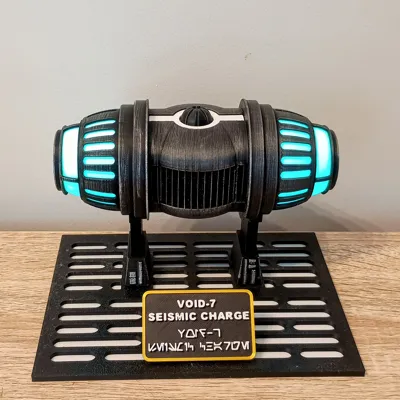
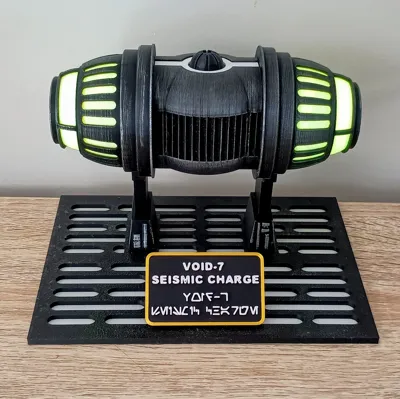
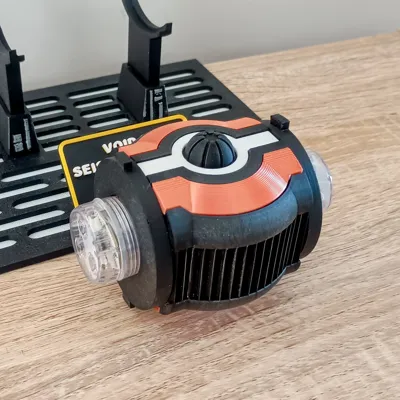
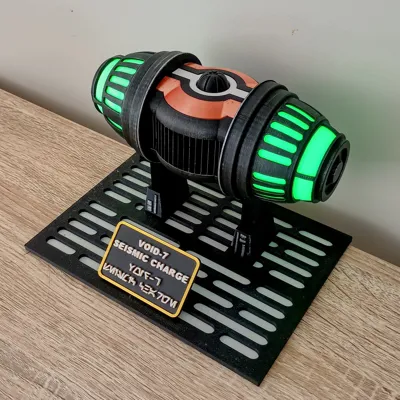
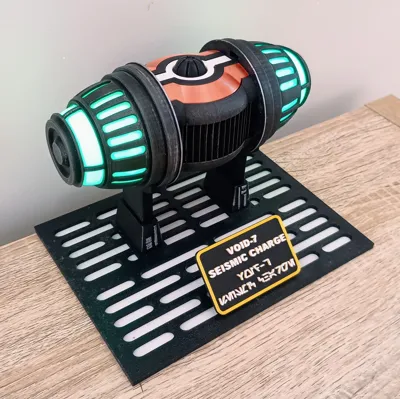
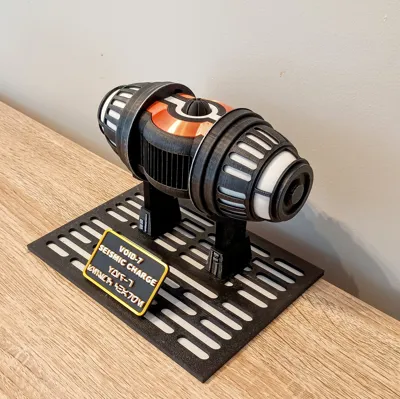
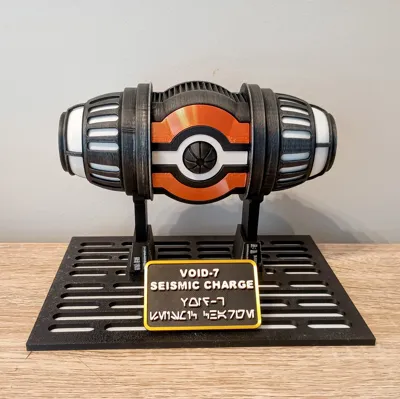
I was re-watching the Star Wars prequels (again 😅) and remembered how ridiculously cool the seismic charge is in Attack Of The Clones —the cut-silence then whomp…. is just so satisfying. Jango and a young Boba, sling a few at Obi-Wan on the approach to Geonosis, and Boba drops one in The Mandalorian too. I wanted a quick, easy print that nails the look without any soldering, so this model uses the Maker Supply battery LED pucks for the glow.
What’s Included
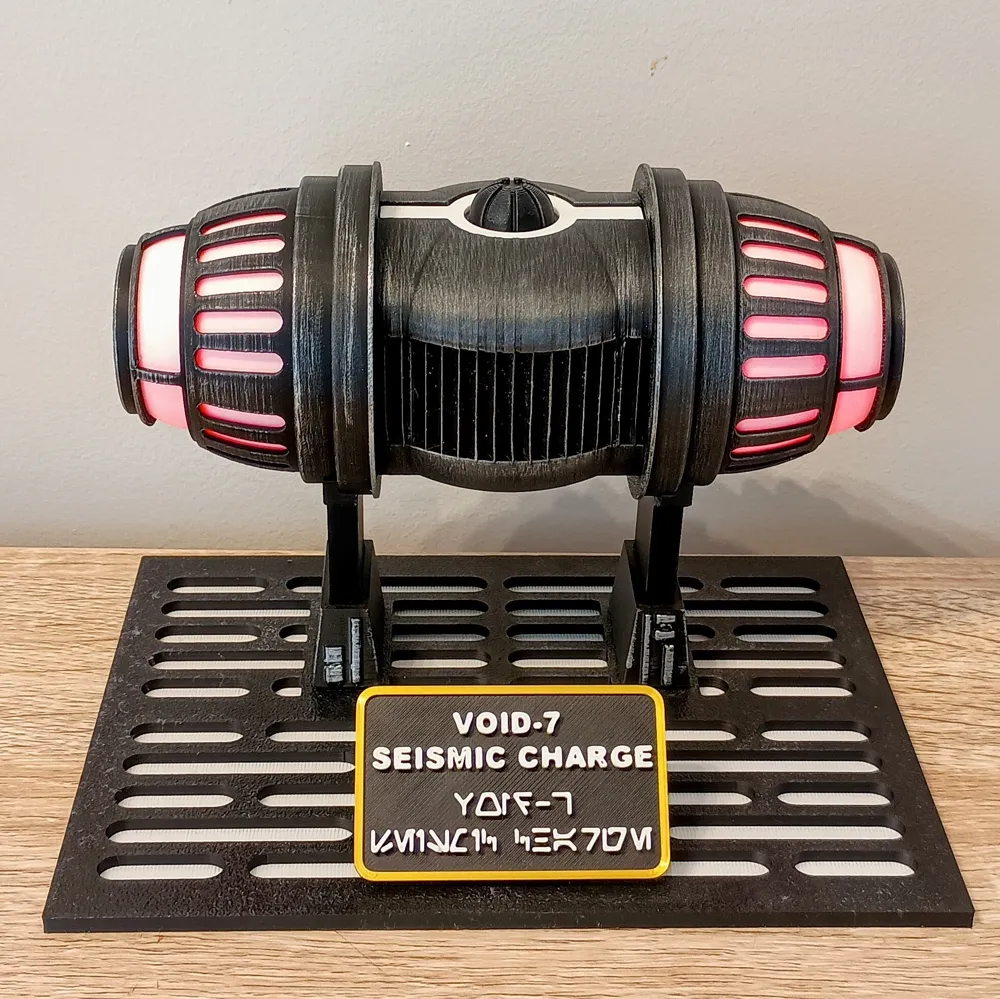
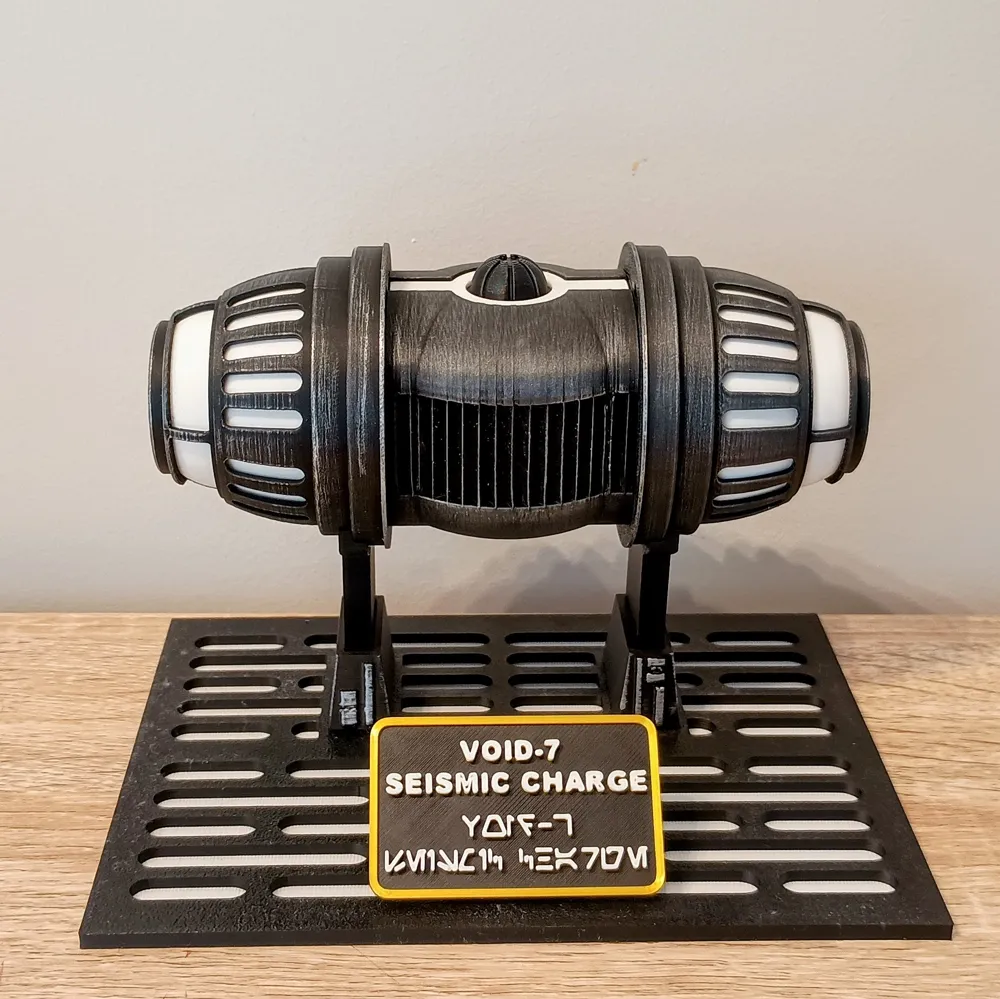
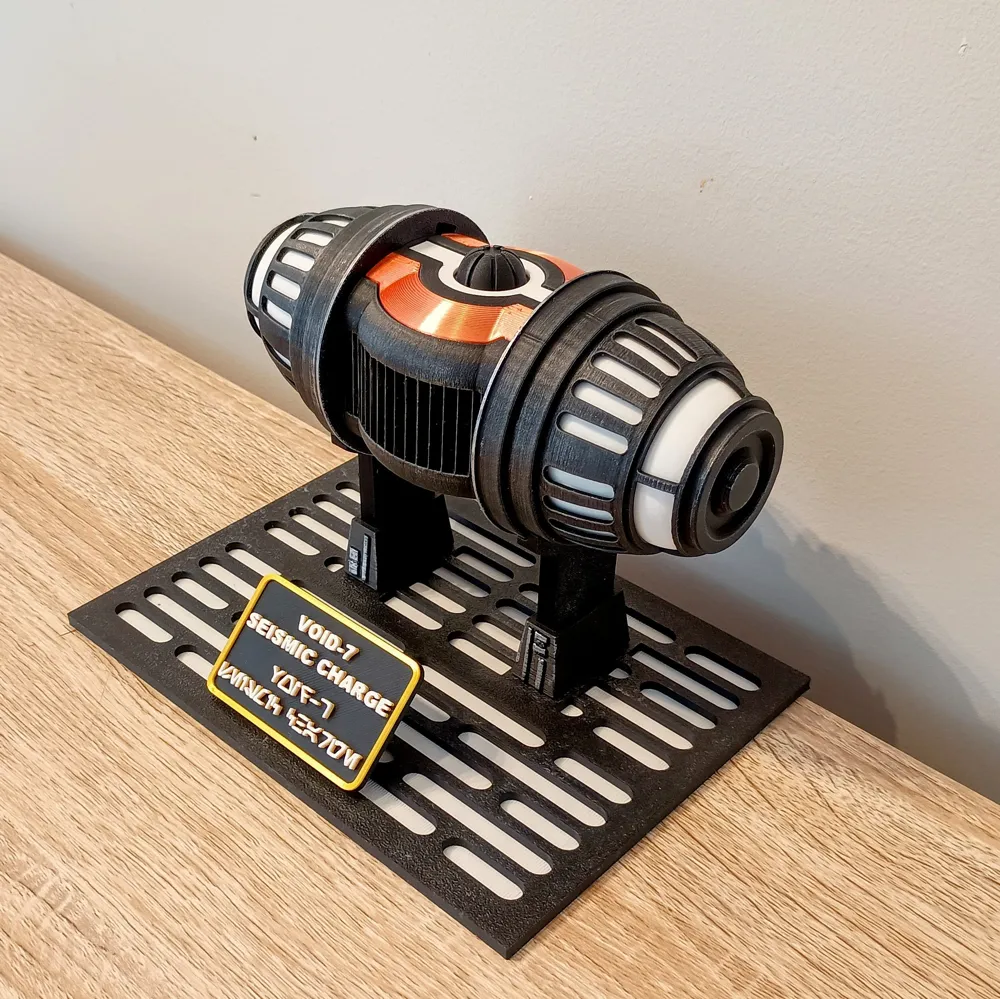
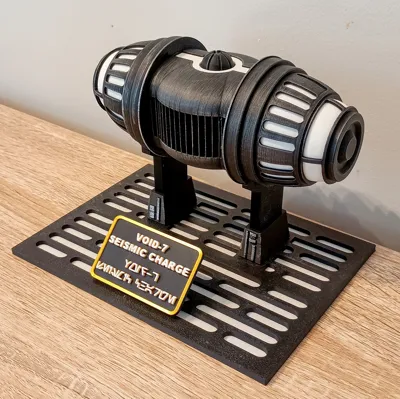
- Mid-body with cutouts and clean (no cutouts)
- Left/Right end caps + internal diffuser parts
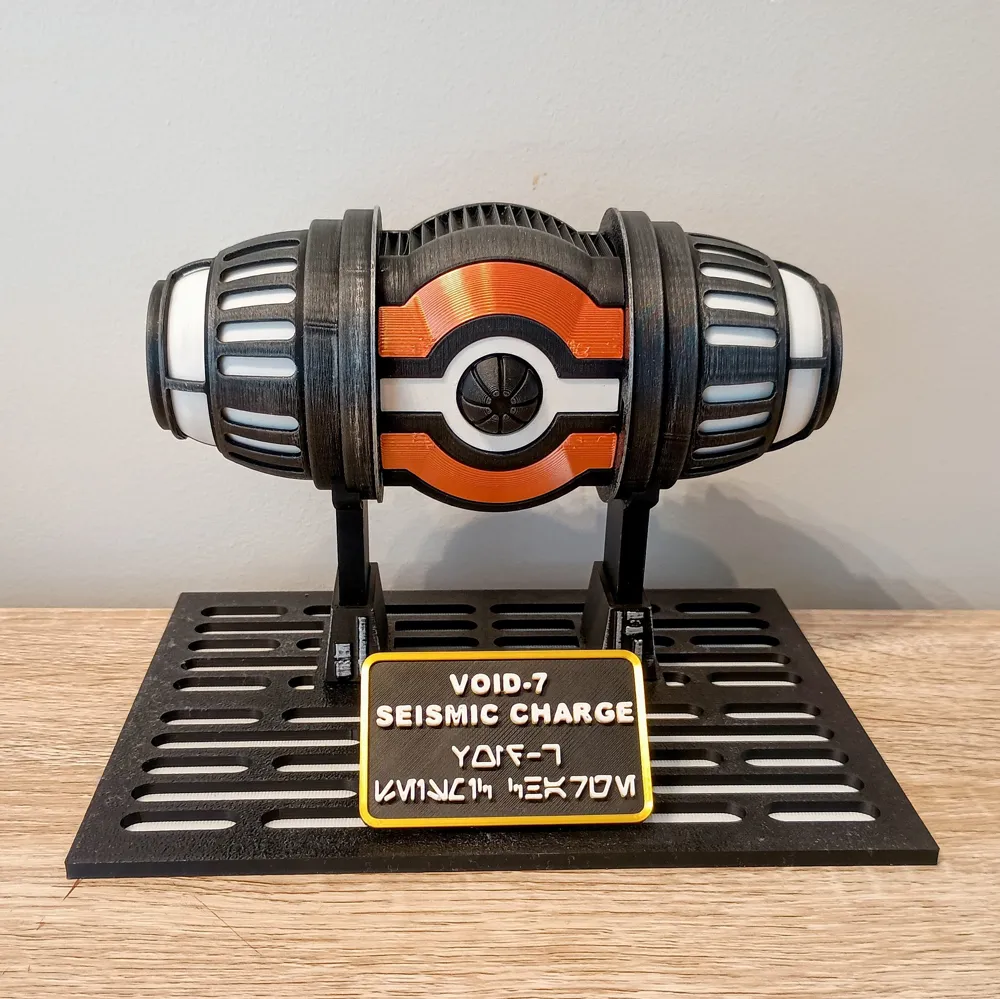
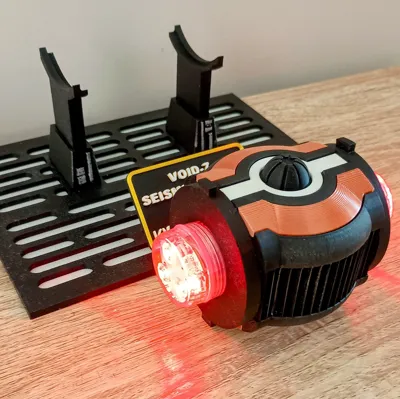
- Copper accent shells (separate pieces) (I used Red Copper Silk PLA from Sunlu)
- Centre grill/fin parts + top greeblie
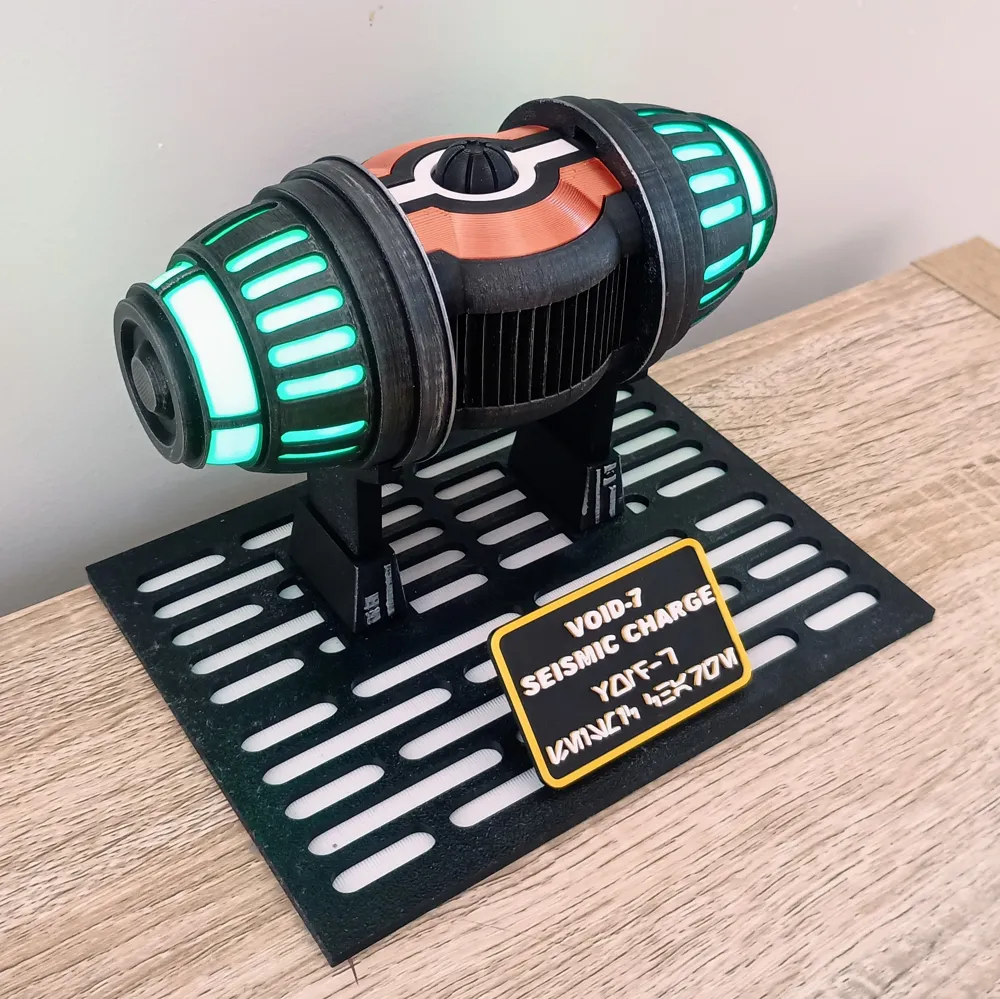
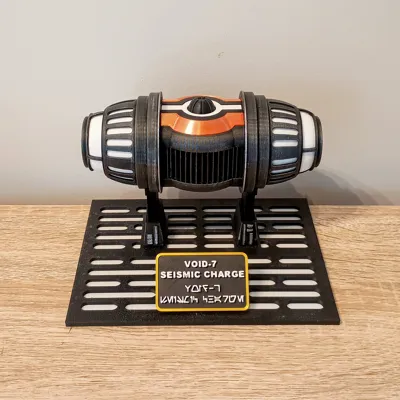
- Stand base (Death Star-style slots) + two support mounts/uprights
- Plaque face + plaque frame + plaque mount
Print Choices
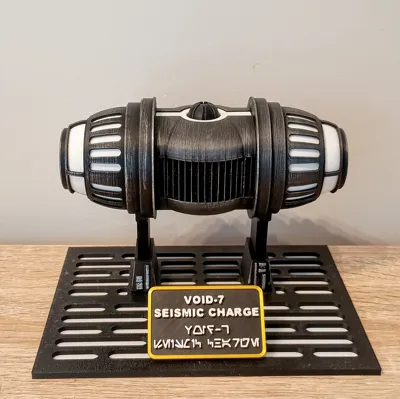
- Diffusers: white or clear looks best for the glow. If you’re not lighting it, try yellow or any colour you like.
- Stand: two options
- AMS version (single piece with colour swaps)
- Two-colour version (black and white plates printed separately, then glued)
- Copper accents: Silk copper PLA or paint—your call.
Lighting (no soldering)
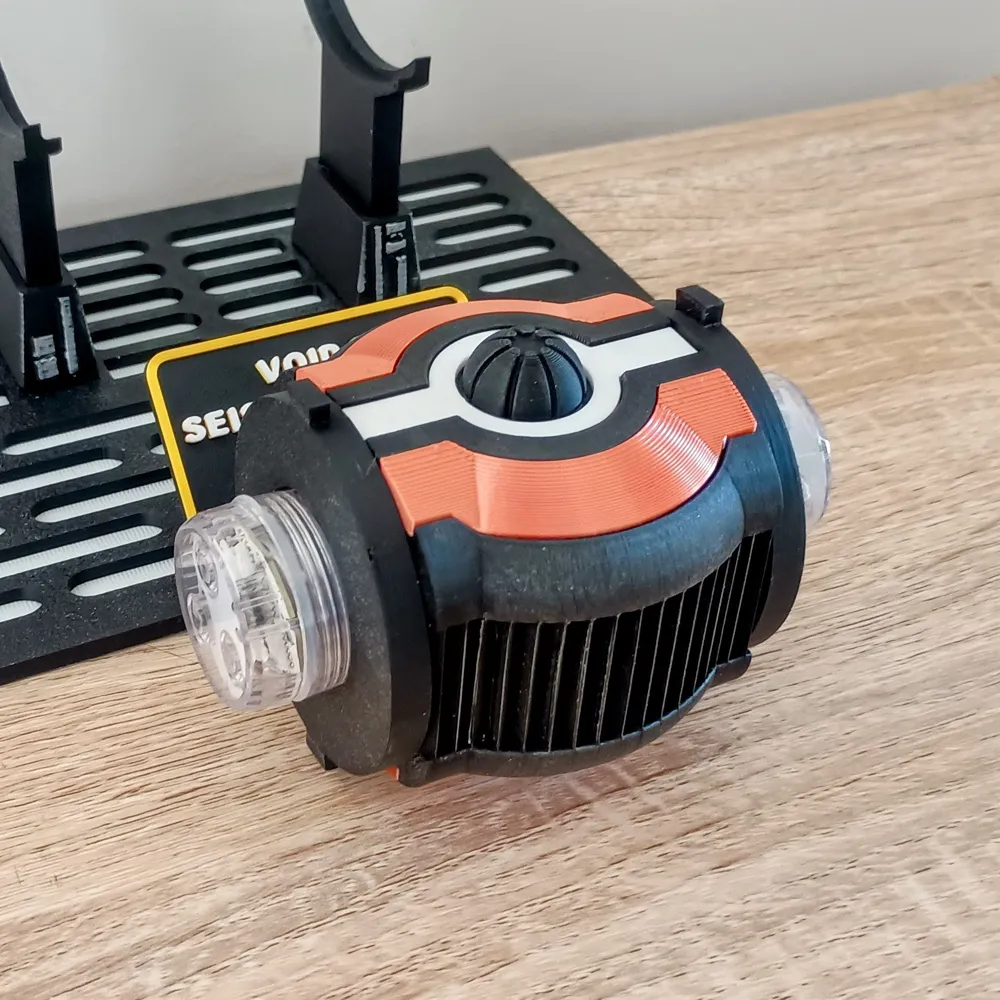
- Designed for small Maker Supply battery LED pucks.
- The puck slot diameter is 30 mm. There’s a bit of manufacturer variance: some pucks will be snug, some loose.
- If loose, wrap a little tape around the bottom of the puck or use a tiny ring of Blu-Tack.
- Avoid permanent glue so you can swap batteries later.
- IR remotes still work through white/transparent PLA.
Quick Assembly
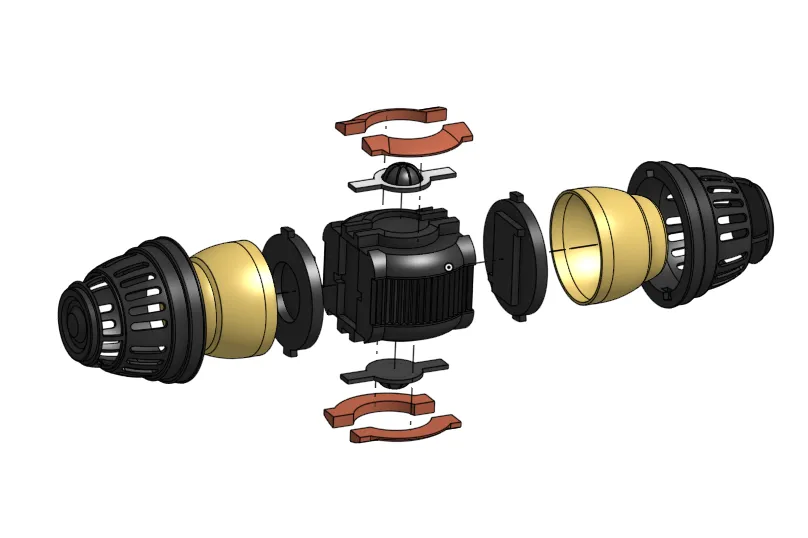
- Print parts and pick your mid-body (cutouts or clean) and stand style (AMS or two-piece).
- Glue diffusers into the end caps (a tiny bead of CA around the inner lip).
- Glue the LED-puck mounts inside the mid-body (they’re keyed—only fit one way/side). Drop pucks into the 30 mm slots.
- Attach end caps: line up the slots in the cap with the prongs on the LED holder, slide on and twist—they lock in snug.
- Add the mid-detail parts (copper shells, greeblies) to the body.
- Stand: glue the support mounts to the base, then the uprights. I orient it so the textured build-plate face points outwards.
- Plaque: glue the nameplate into its frame if you want; the plaque mount friction-fits into the slotted base so you can leave it unglued.
Optional finish: a whisper of silver metallic wax paint AKA Silver Rub n Buff (or dry-brushed silver) on the black parts gives a nice worked-metal look.
I hope you enjoy this model as much as I enjoy re-watching the prequels. Don’t forget to Boost and post photos of your build—it really helps with engagement, keeps the filament flowing for more models, and I love seeing what everyone makes!
License

You shall not share, sub-license, sell, rent, host, transfer, or distribute in any way the digital or 3D printed versions of this object, nor any other derivative work of this object in its digital or physical format (including - but not limited to - remixes of this object, and hosting on other digital platforms). The objects may not be used without permission in any way whatsoever in which you charge money, or collect fees.


Comment & Rating (27)