
Working "Stealth" Webshooters
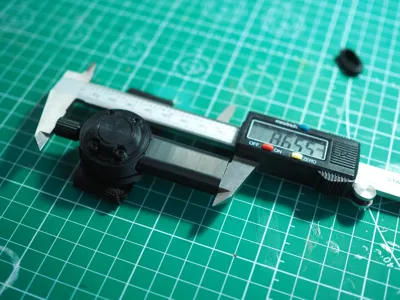
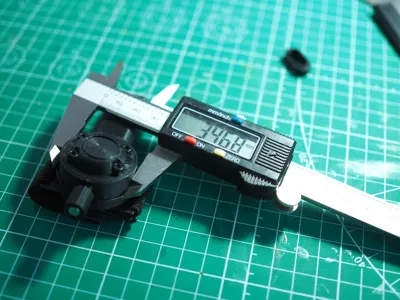
Print Profile(2)


Bill of Materials


Description
Introduction
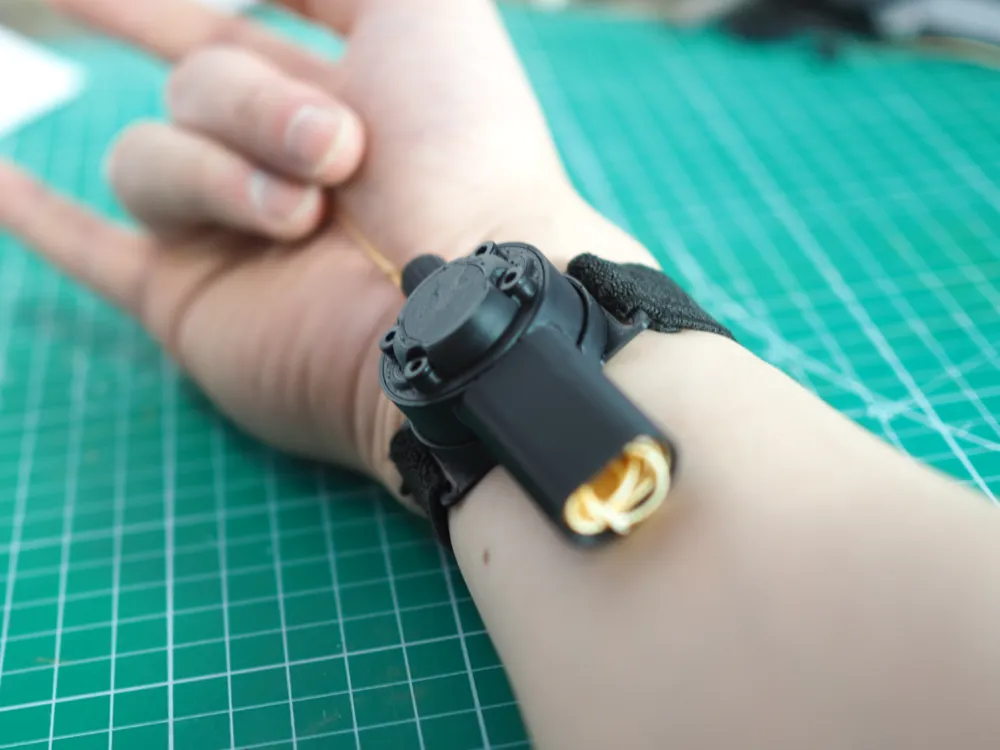
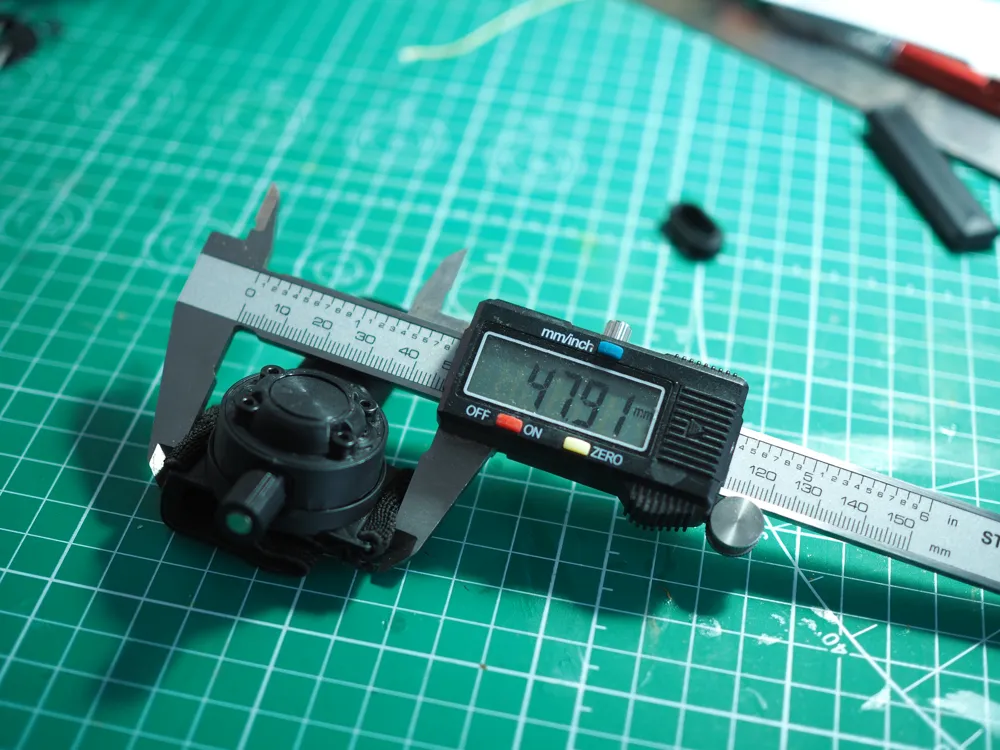
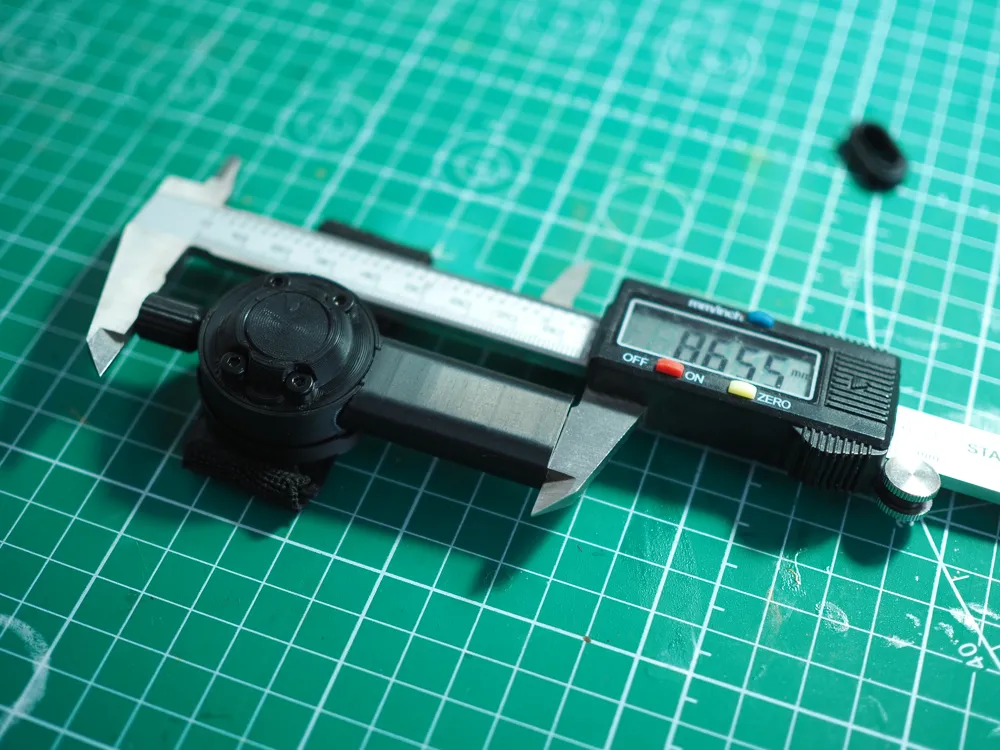
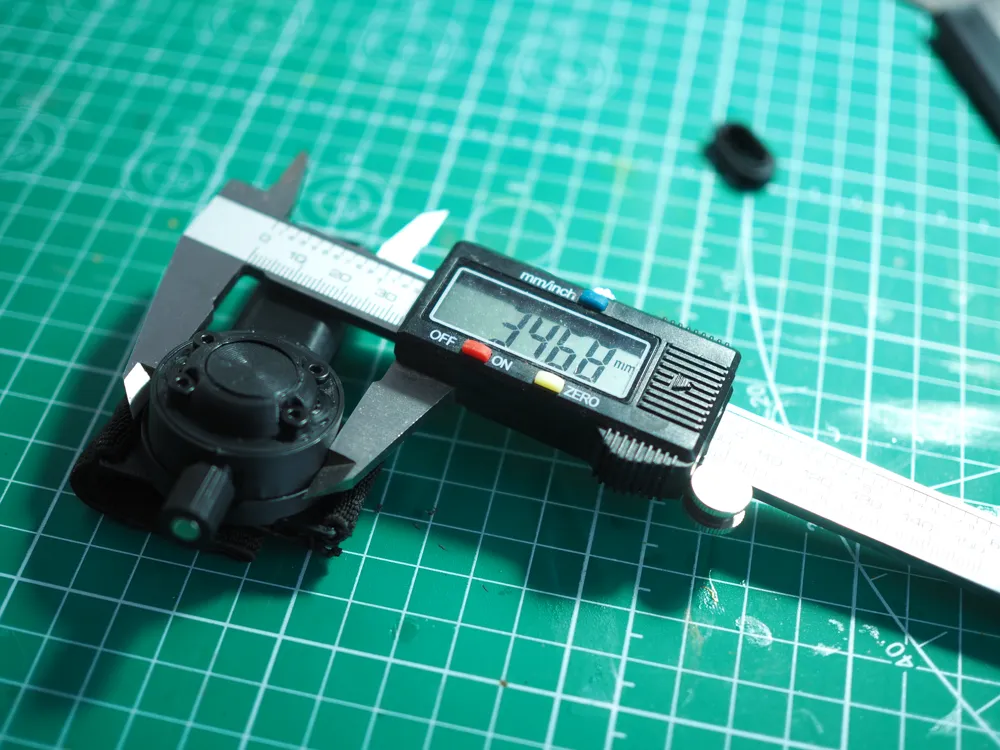
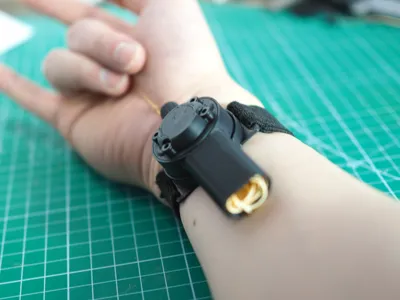
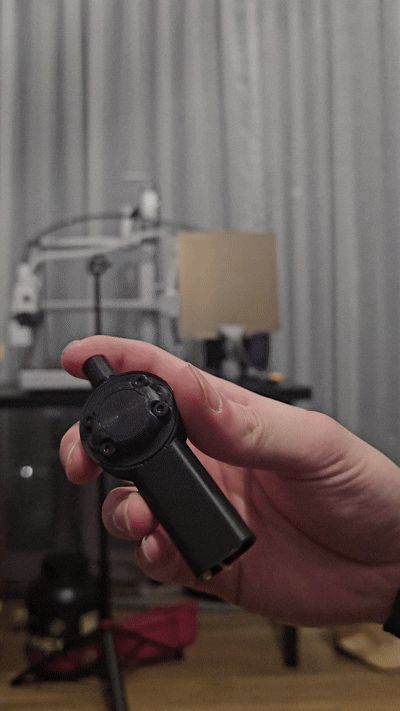
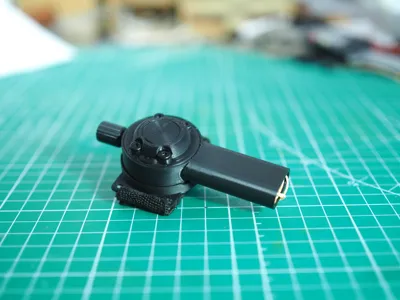
- One of my Instagram followers suggested I become Spiderman as a joke, so I designed these webshooters!
- This version was loosely based off the webshooters in Andrew Garfield's version of The Amazing Spiderman:
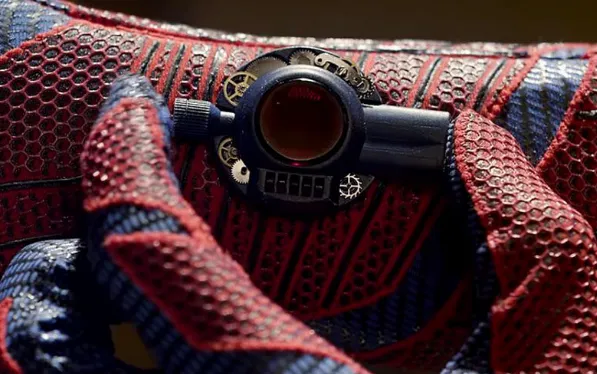

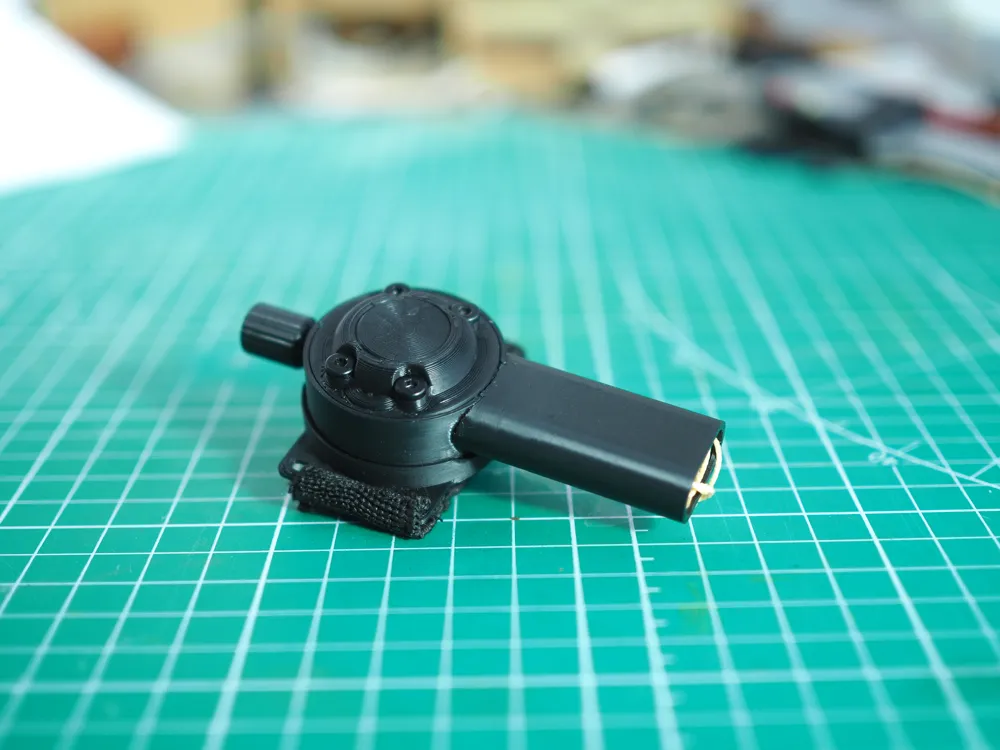
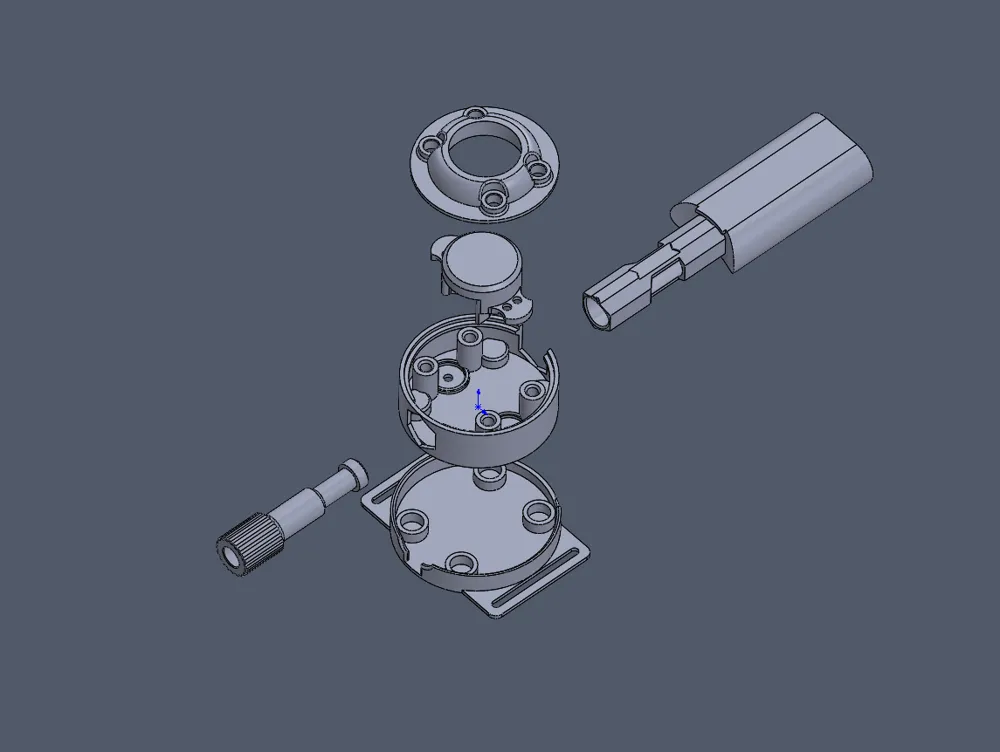
- The crown is pressable and turns too!!!
Features
- 2 ways to shoot the web
- by pressing the button or tying a “trigger loop” to activate the button (as shown in gif)
- Shoots about 1m away (2 if you flick your wrist as you shoot)
- Includes a “Winder” tool to help you neatly wind the cord back after shooting
- If you find winding the coil too tedious, it will still work without the cord attached to the “Crown Dial”
- Basically just shoots the projectile without the cord
Required Tools
- Wire cutters (for trimming spring lengths)
- Not needed if you buy 50mm springs from the start
- Super glue (cyanoacrylate)
- Lighter (optional for sealing knots as you can use glue instead)
- Sewing kit (for sewing elastics for wrist mount)
- Tweezers (recommended to make tying knots easier)
Hardware Required (Per cartridge & Wristband)
| Maker's Supply Version | Notes | Third Party Equivalent (my local online store - Shopee) | |
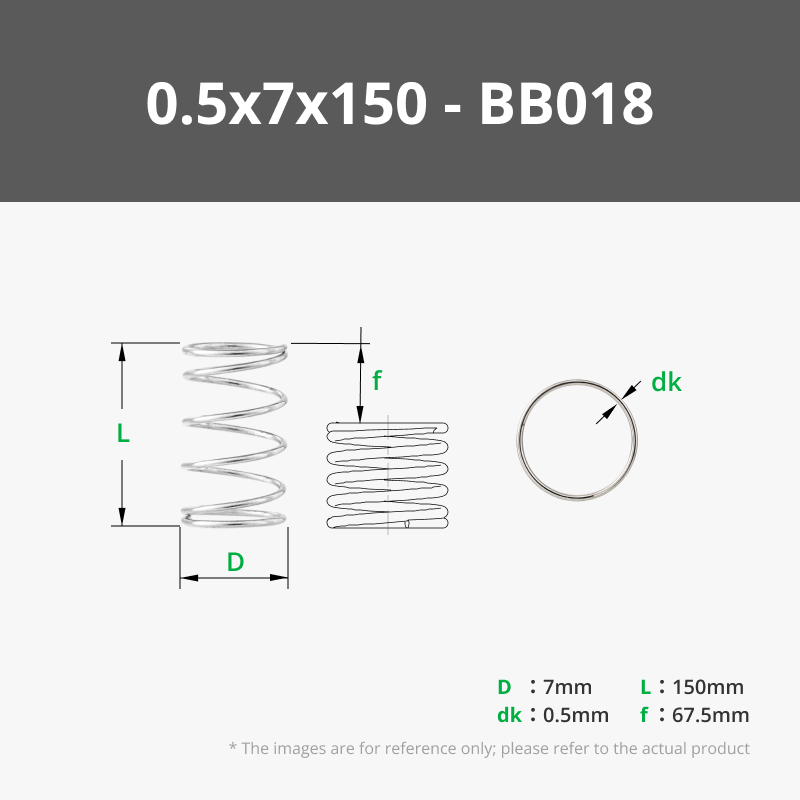
1x BB018 Spring (7x150)mm
| You'll need to trim the springs to 50mm | 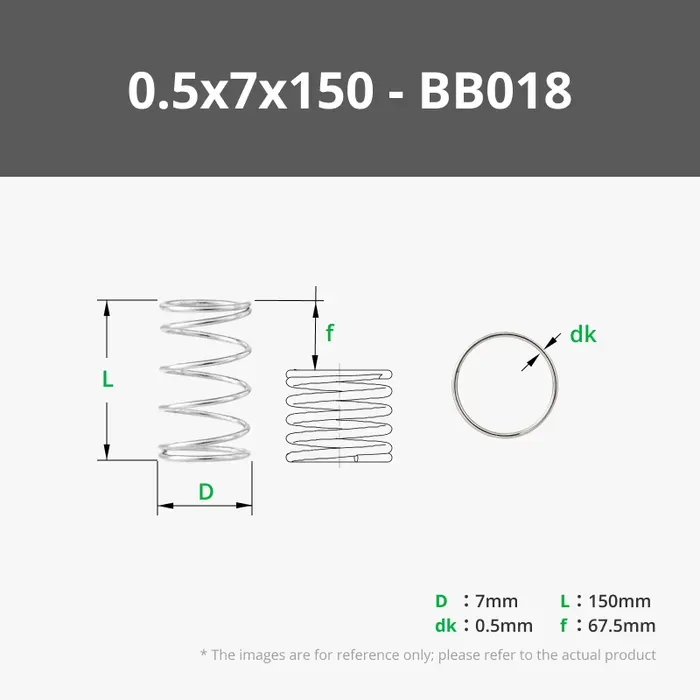 | 7x50mm Springs |
| 2x BB005 Spring (7x12)mm | 7x10mm length springs will work as well | 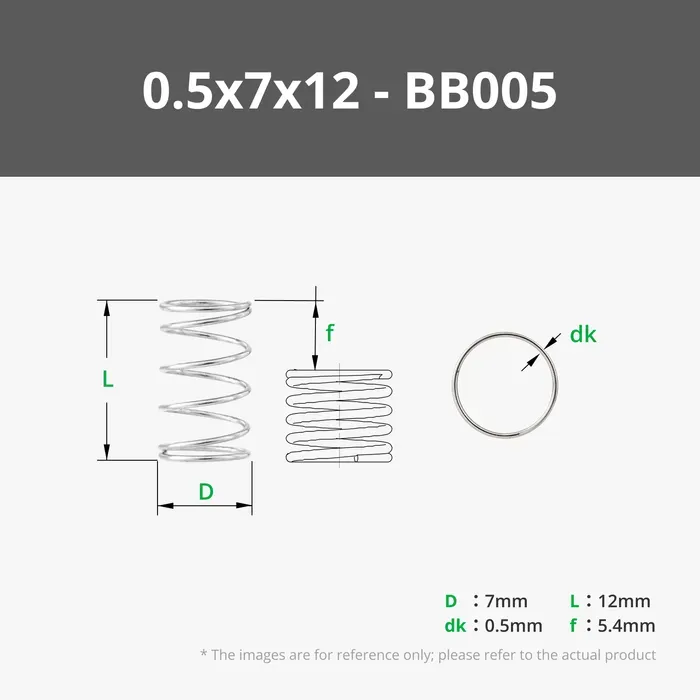 | 7x12mm Springs |
4x AA108 Screws (3x8)mm
| Screw length between 5mm to 12mm will work) | 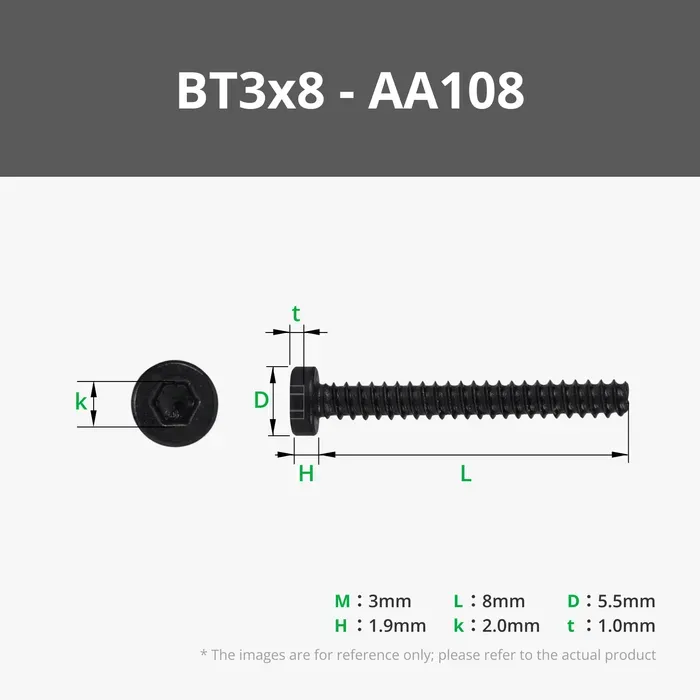 | 3x8 self tapping screws |
| 9x CA006 Magnet (5x3)mm | Bambu Store magnets are weaker but will work |
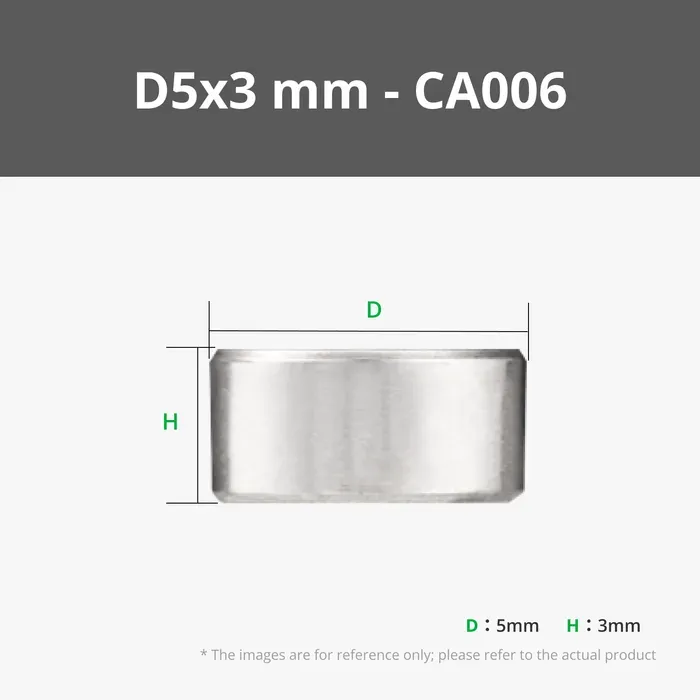 | 5x3mm N52 Magnets |
1x MF001 Nylon Cord (2m per cartridge) | Nylon cord reduces tangling but any ~0.5mm cord should work | 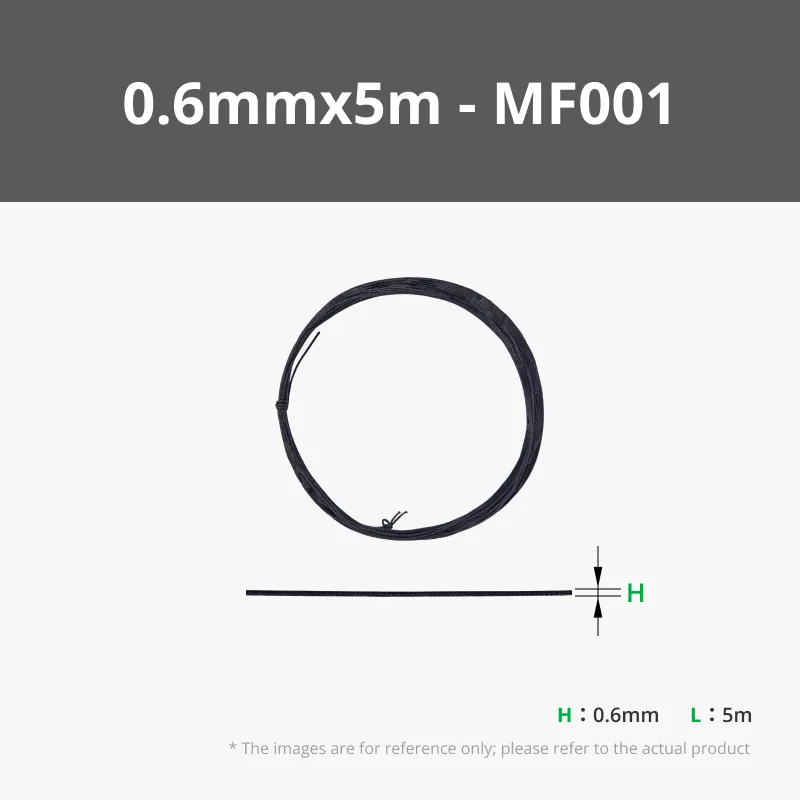
| Nylon Cord |
| 25mm Elastic Band (Unavailable in Maker's supply) | Sewing is reccommended | - N/A | 25mm Elastic Band |
Step-by-step guide + Video
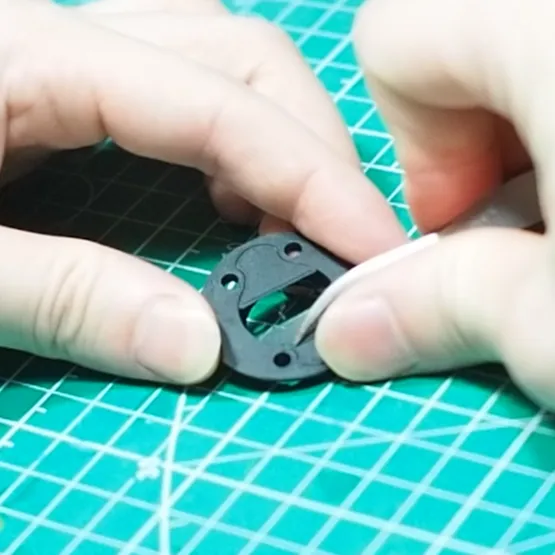 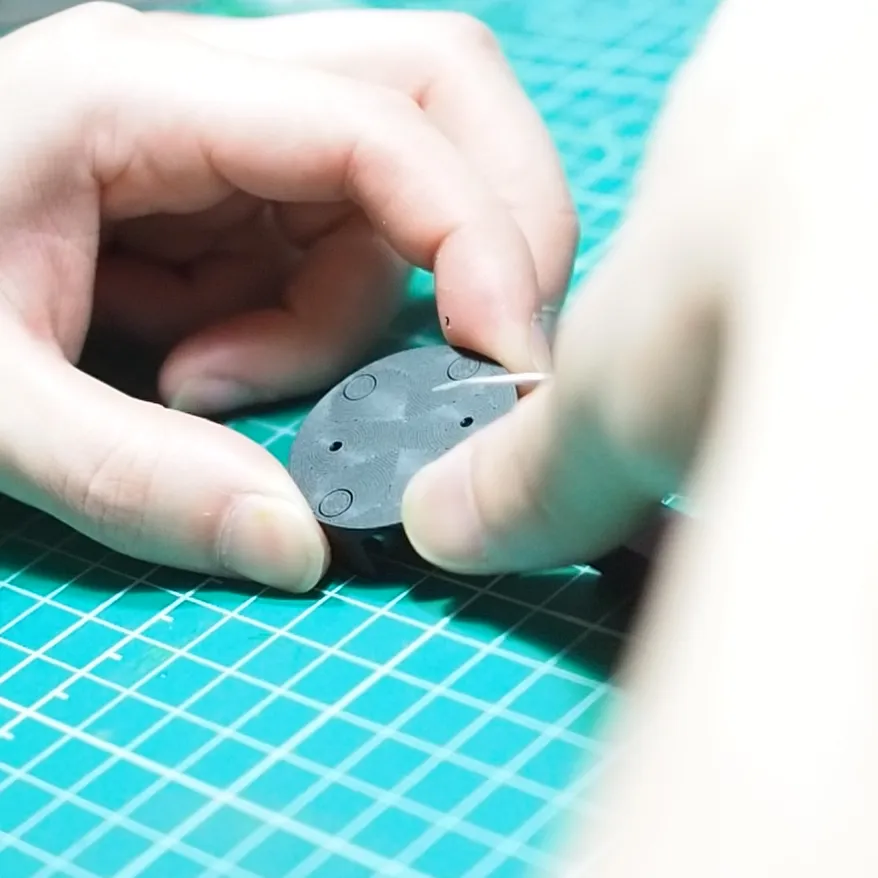 | Step 1: Support Removal
Parts with supports:
|
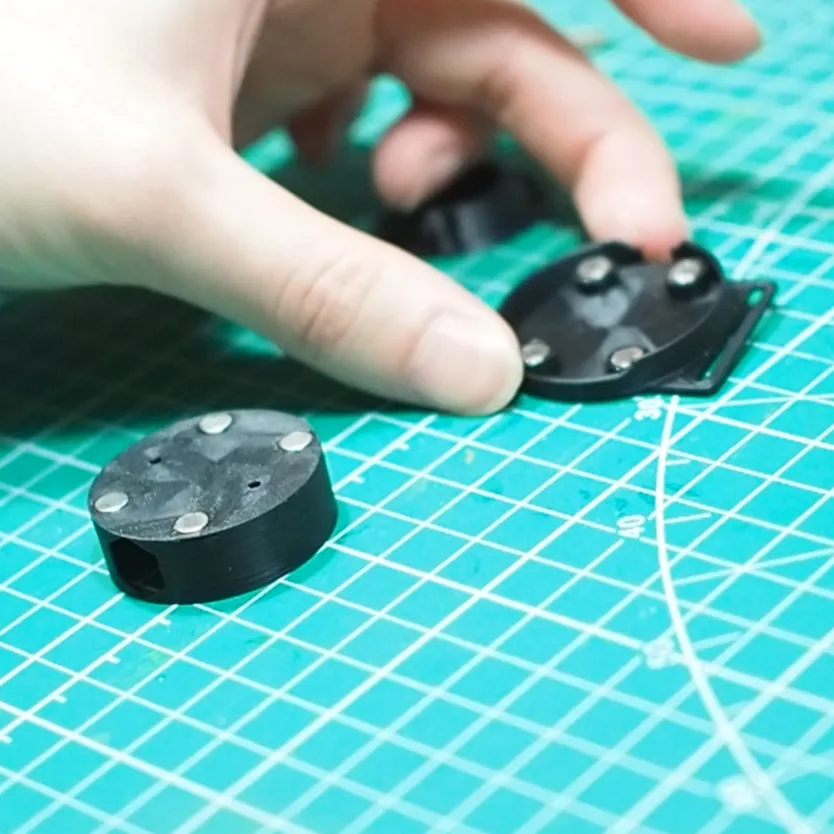 | Step 2: Glue magnets
|
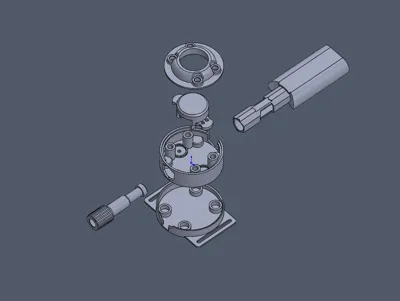
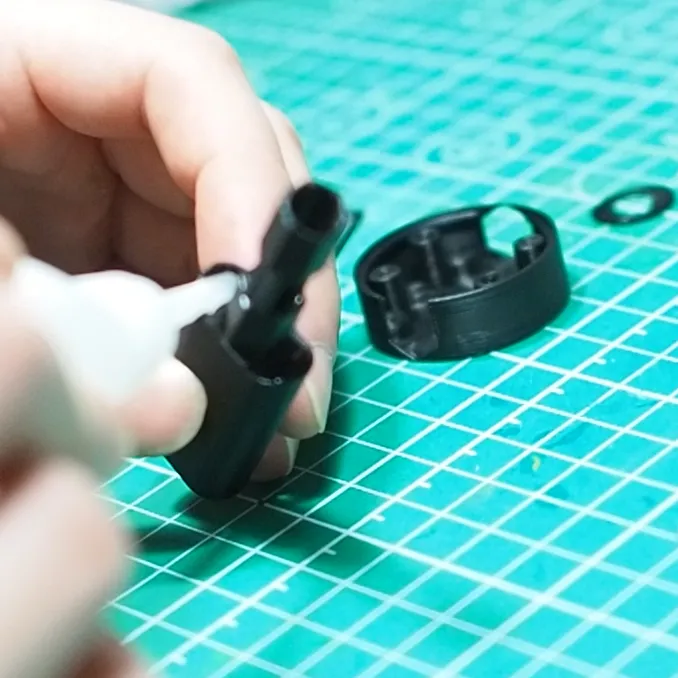 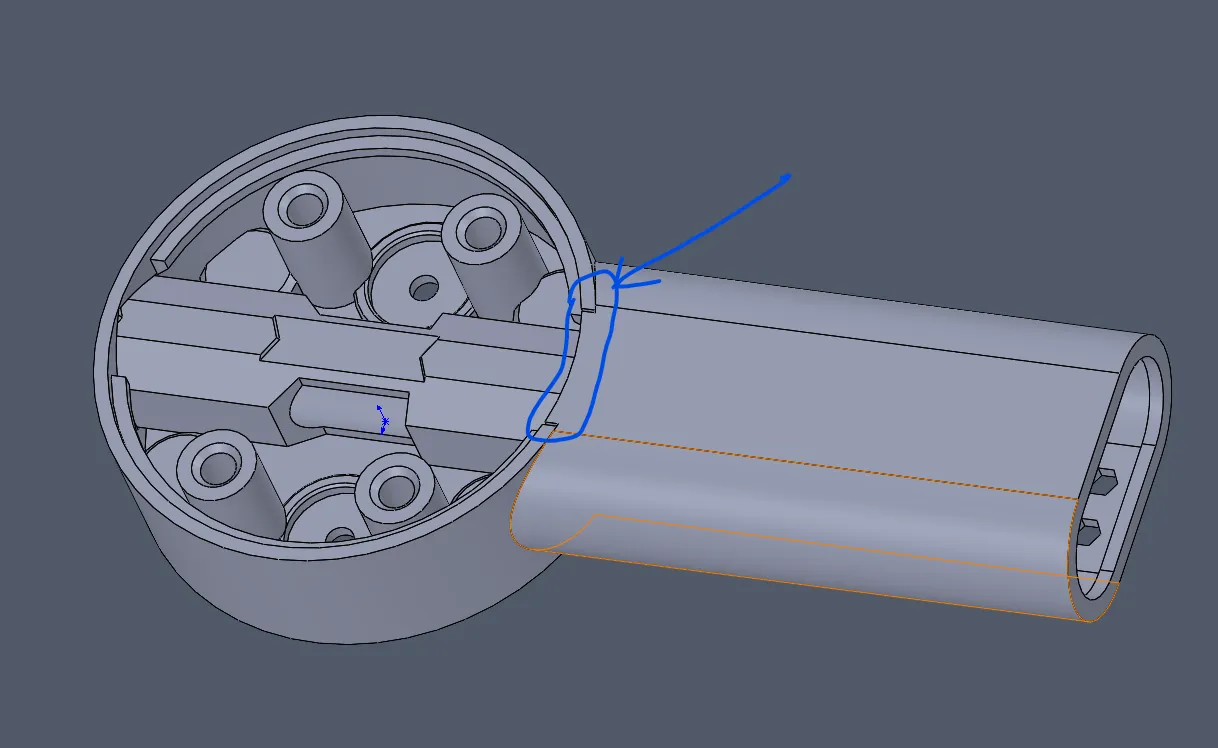 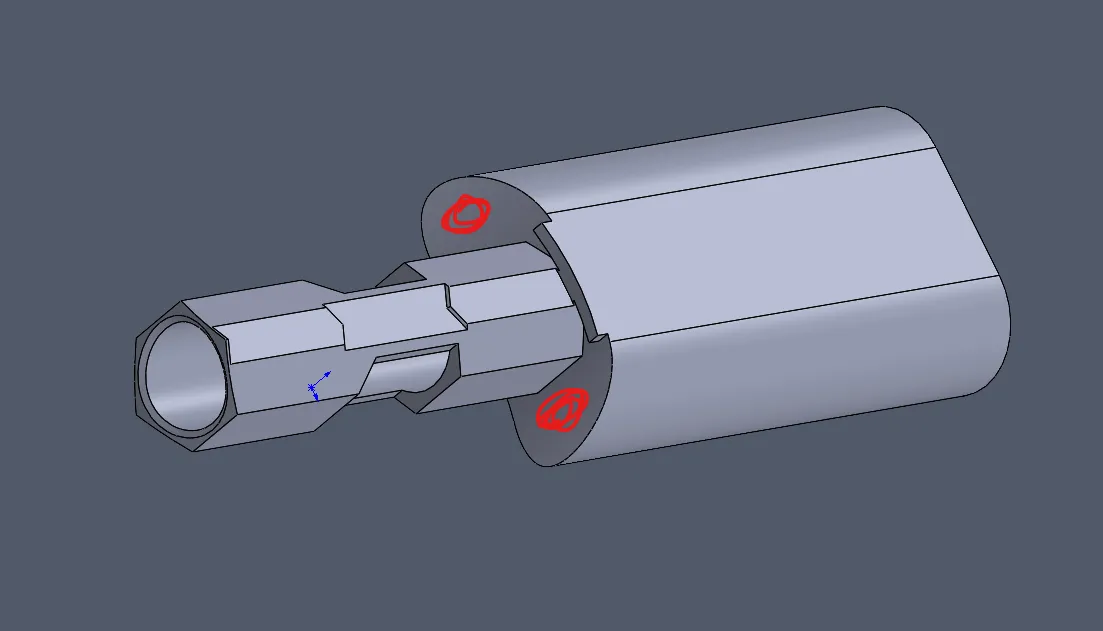 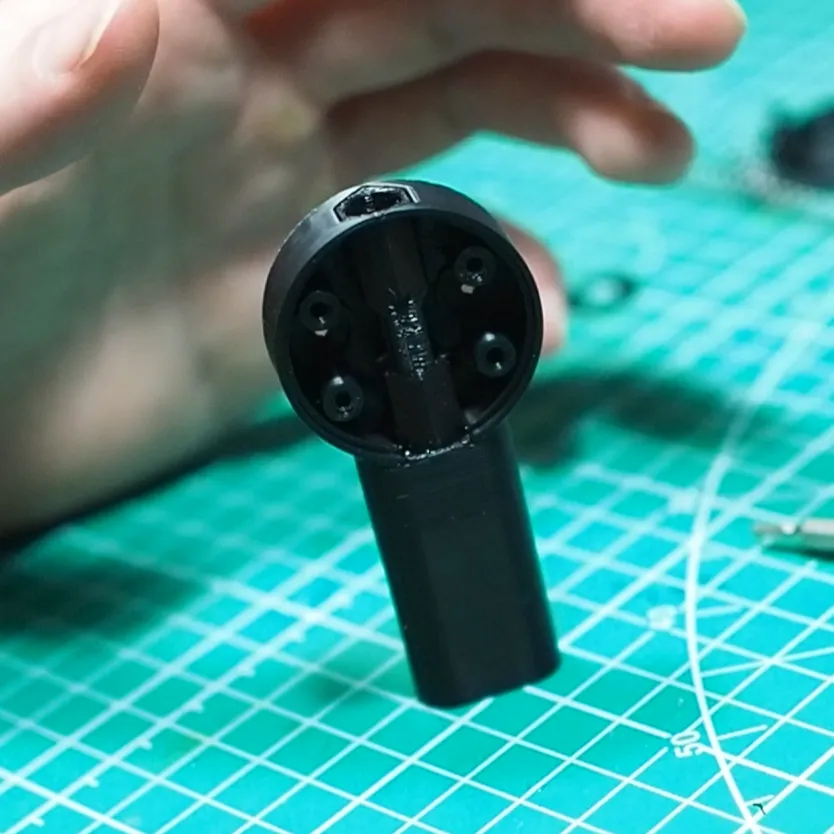 | Step 3: Glue “Tube” to "Body"
|
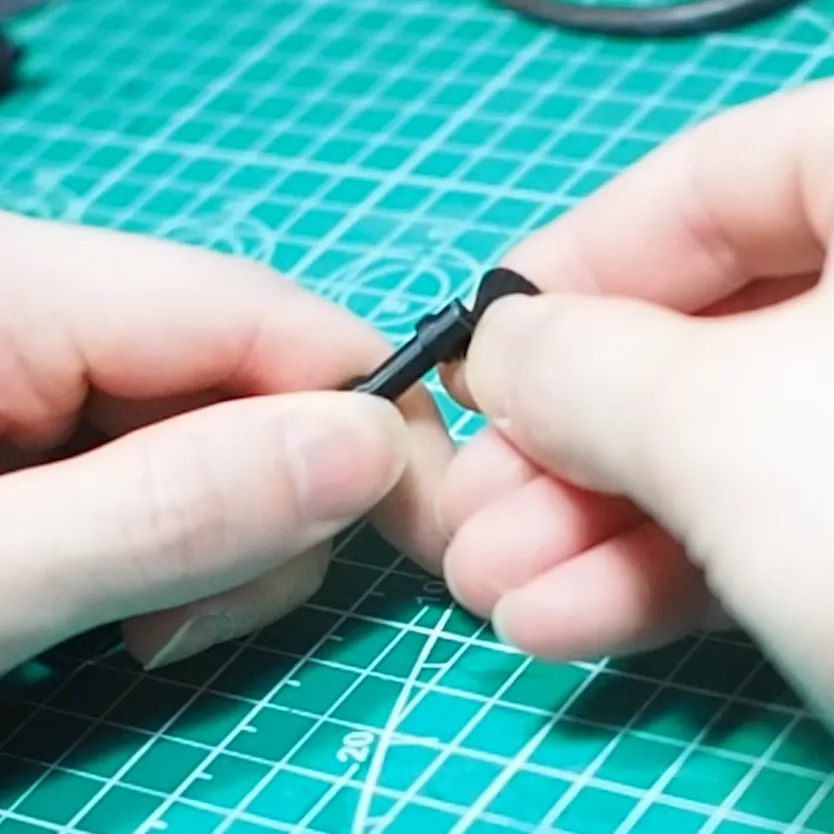 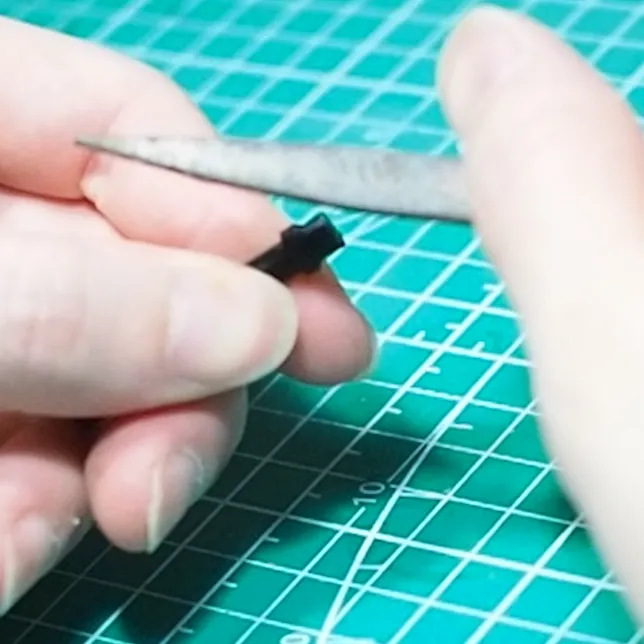 | Step 4: Remove brim and deburr “Crown Dial”. |
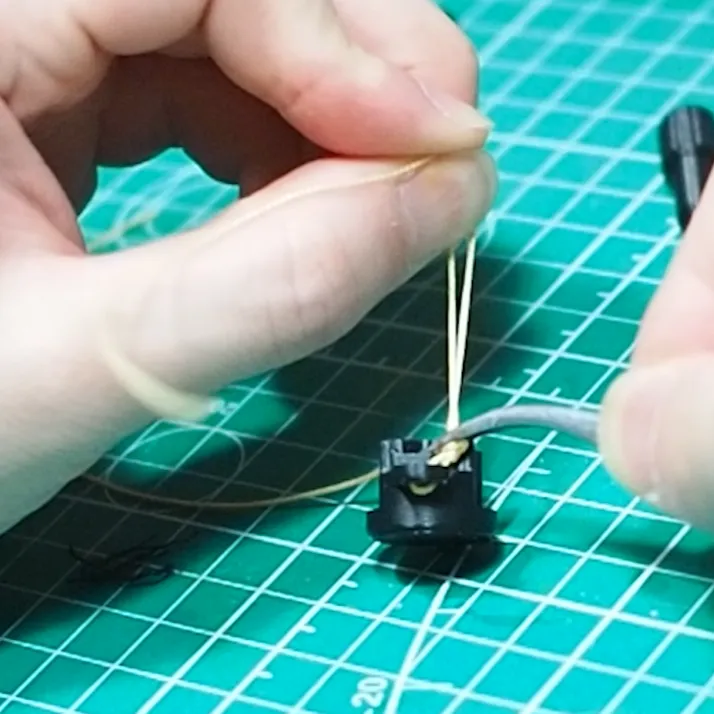 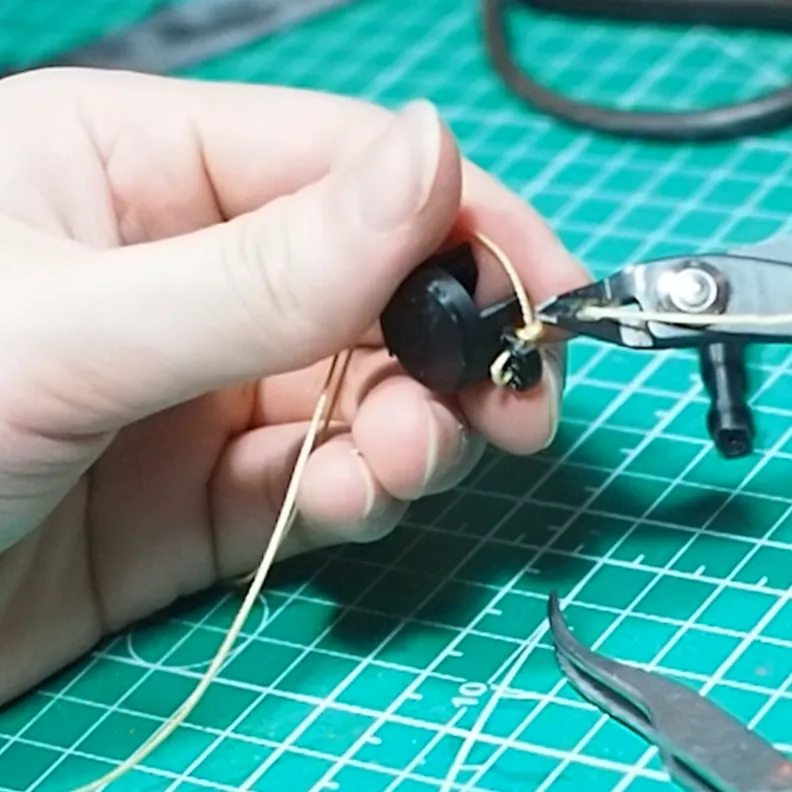 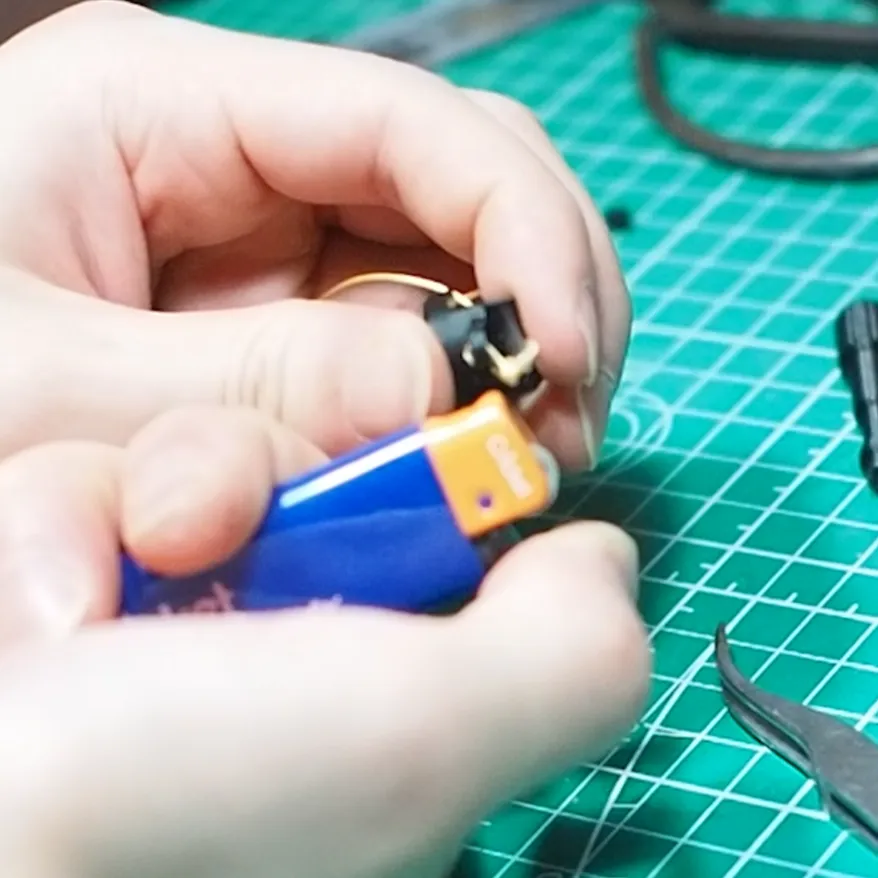 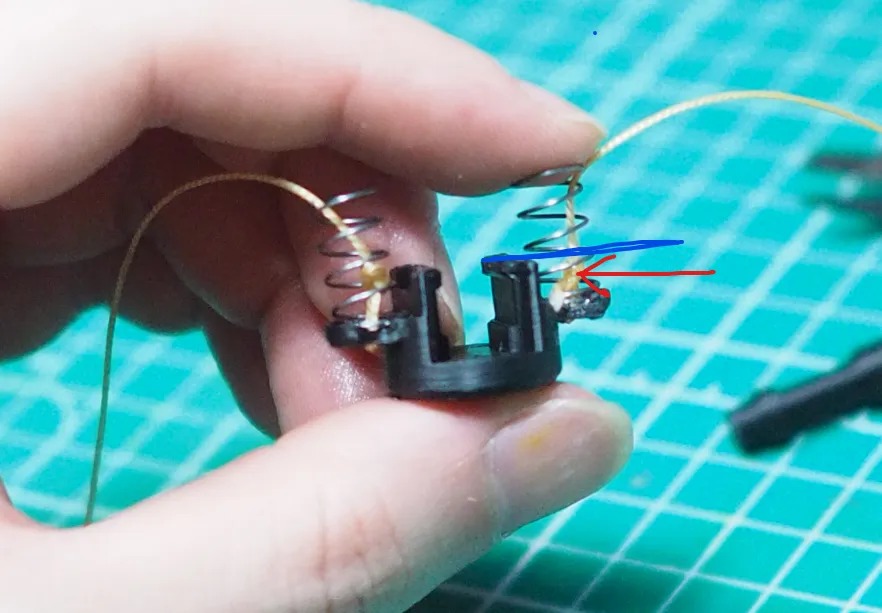 | Step 5: Tie string to the button
|
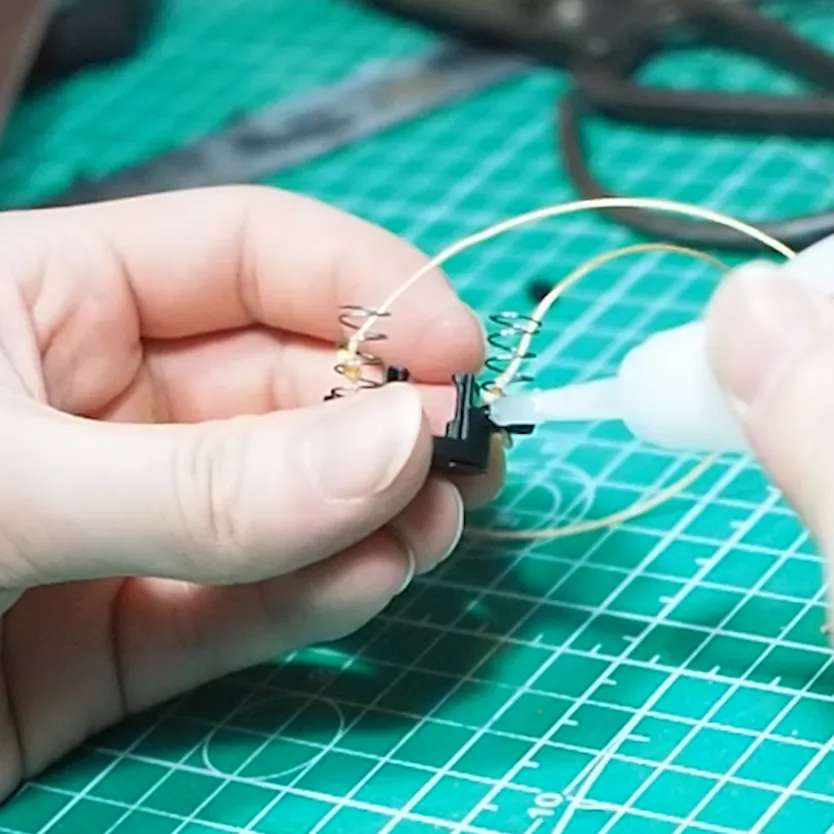
| Step 6: Glue Springs to button
|
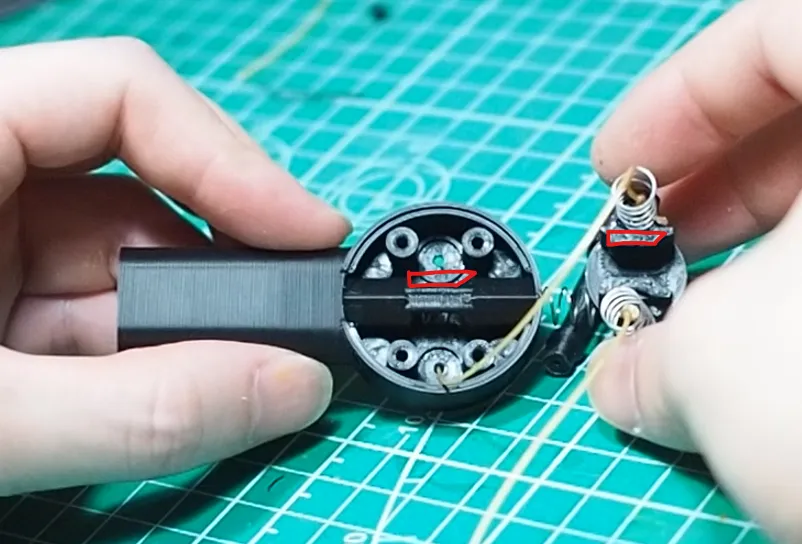 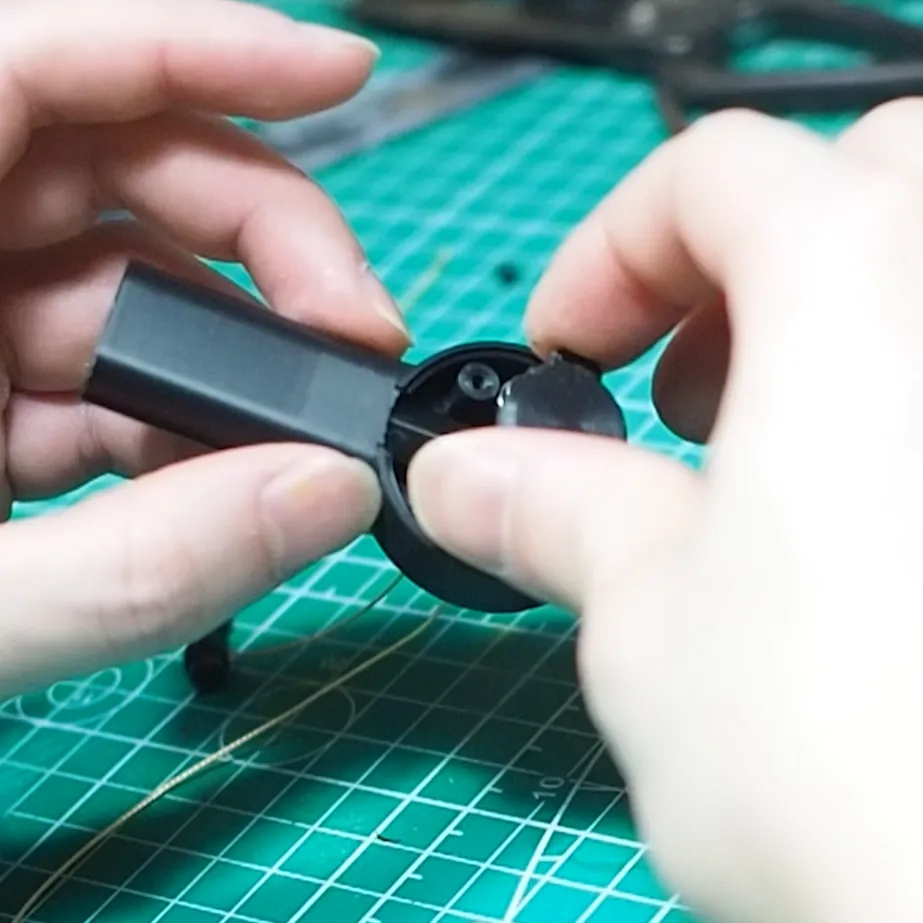 | Step 7: Insert Button
|
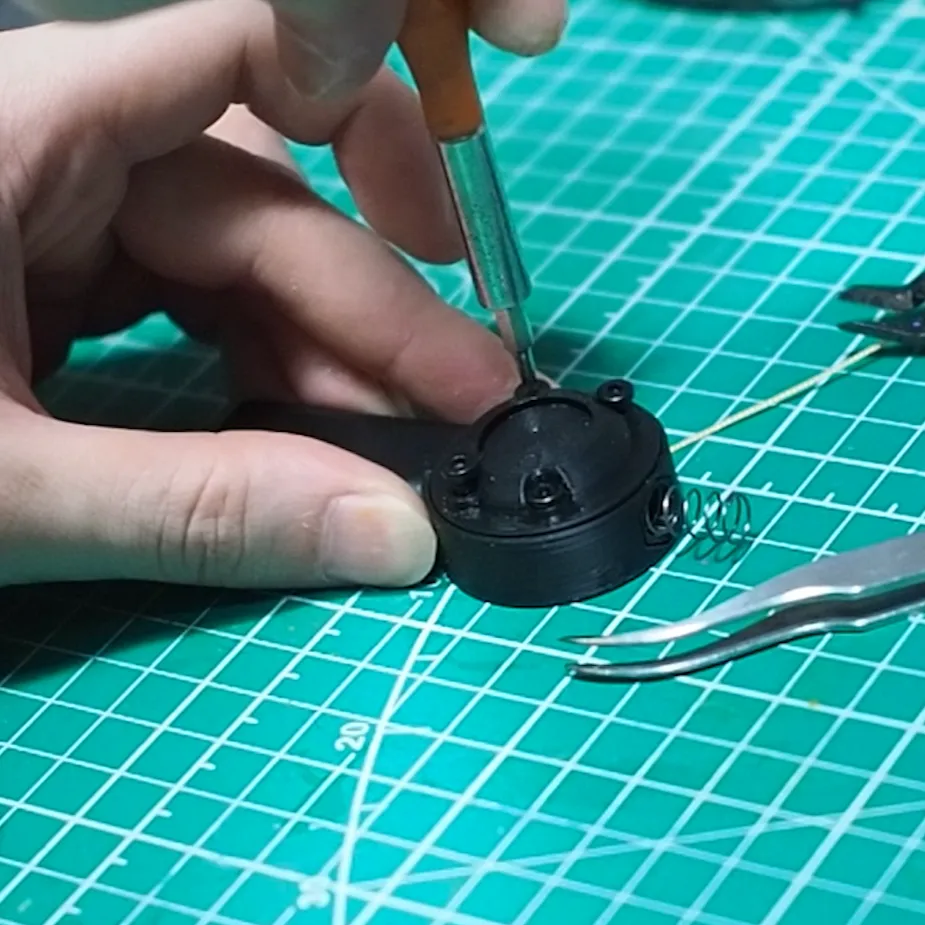 | Step 8: Insert screws
|
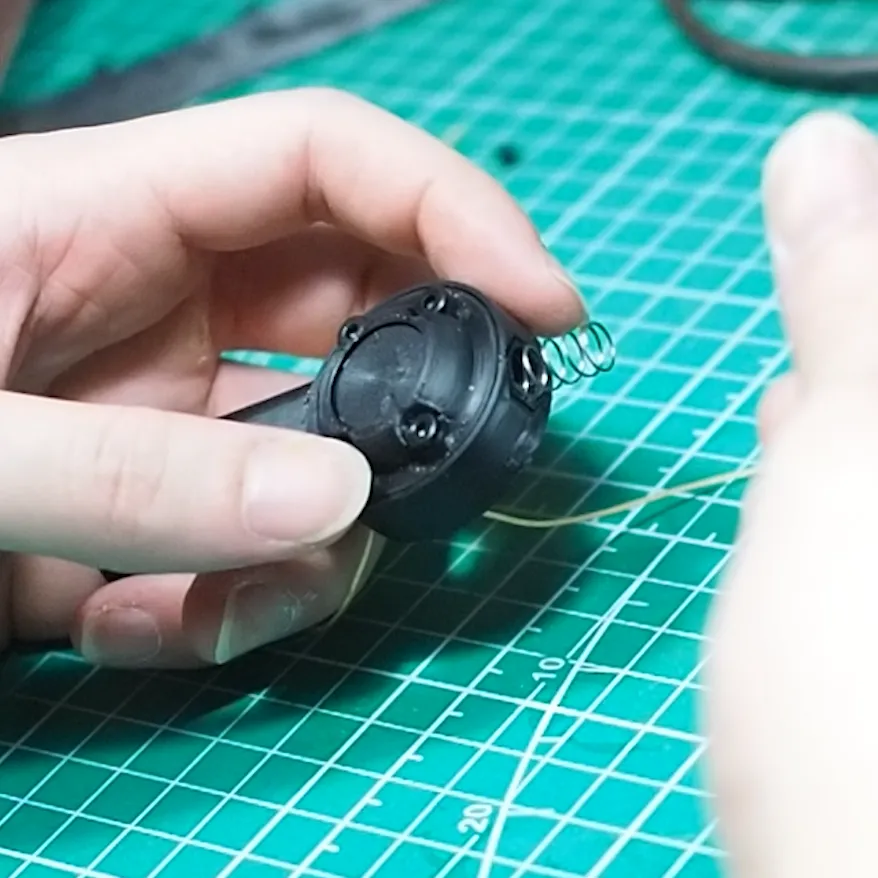 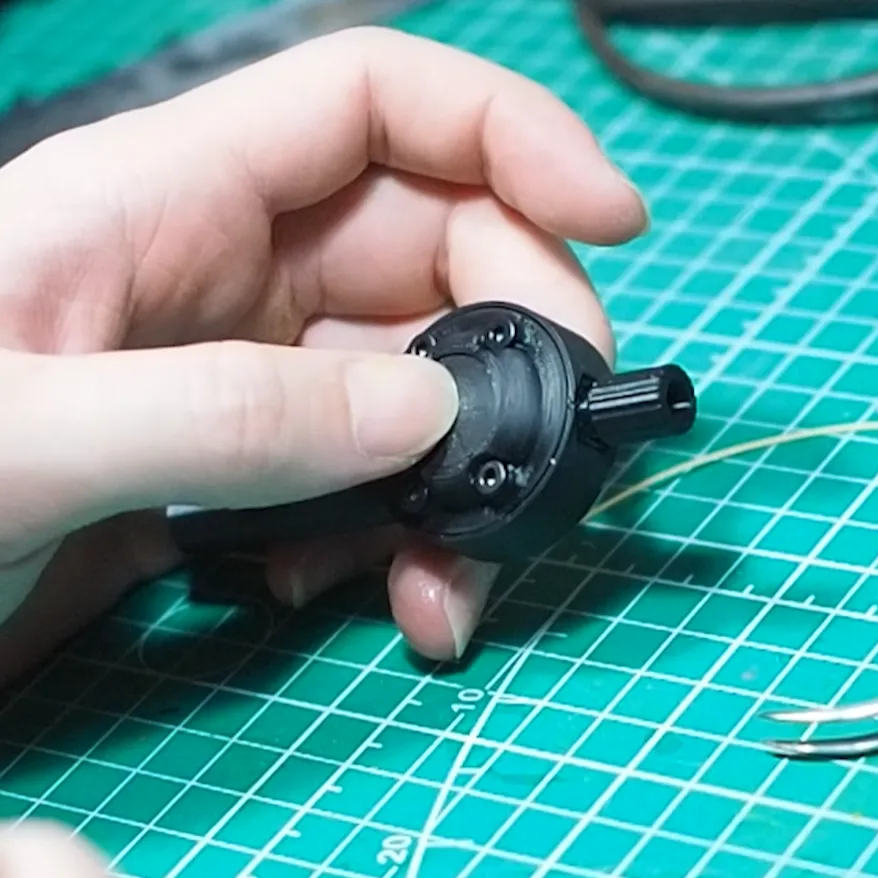 | Step 9: Insert Spring and Crown Dial to test action
|
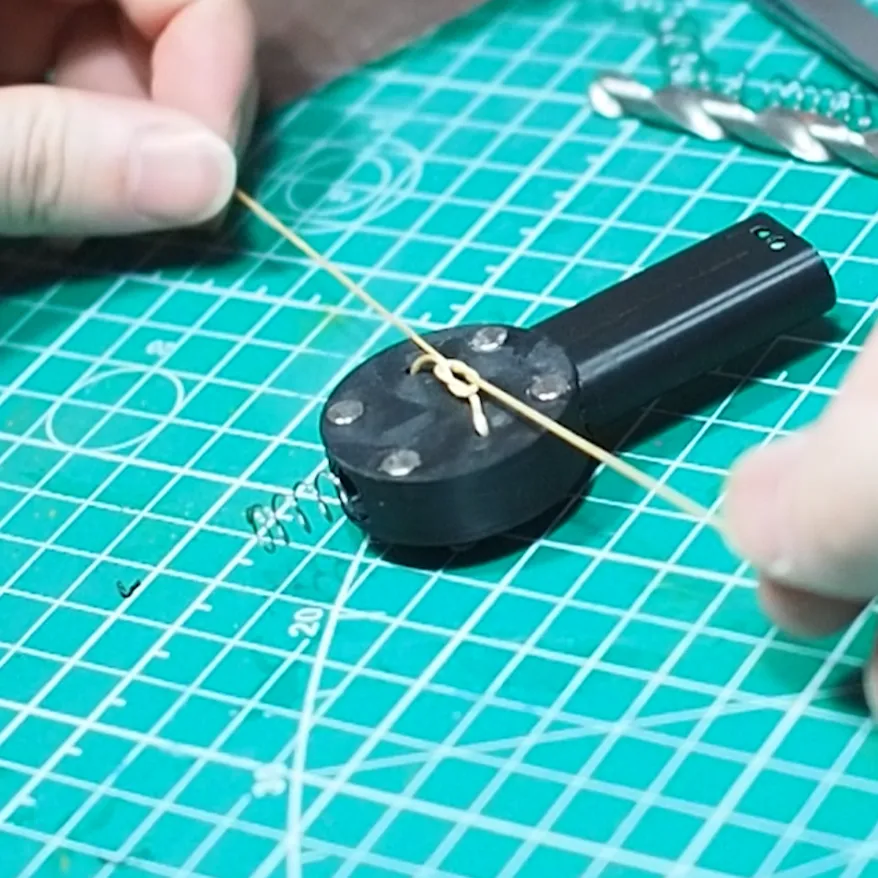 | Step 10: Loosely tie the 2 loose strings (you will attach the trigger loop onto this later.
|
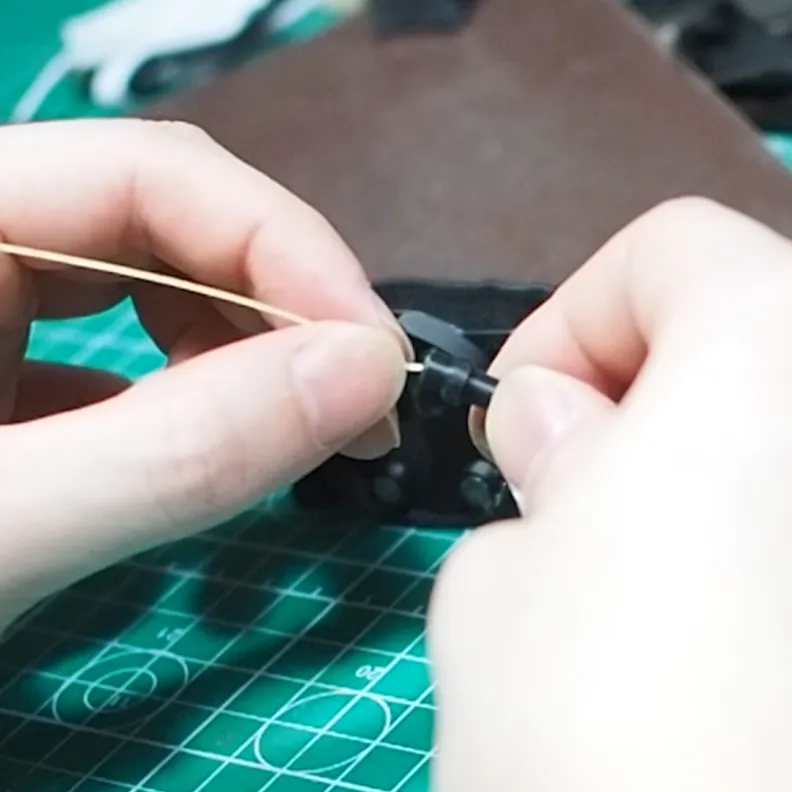 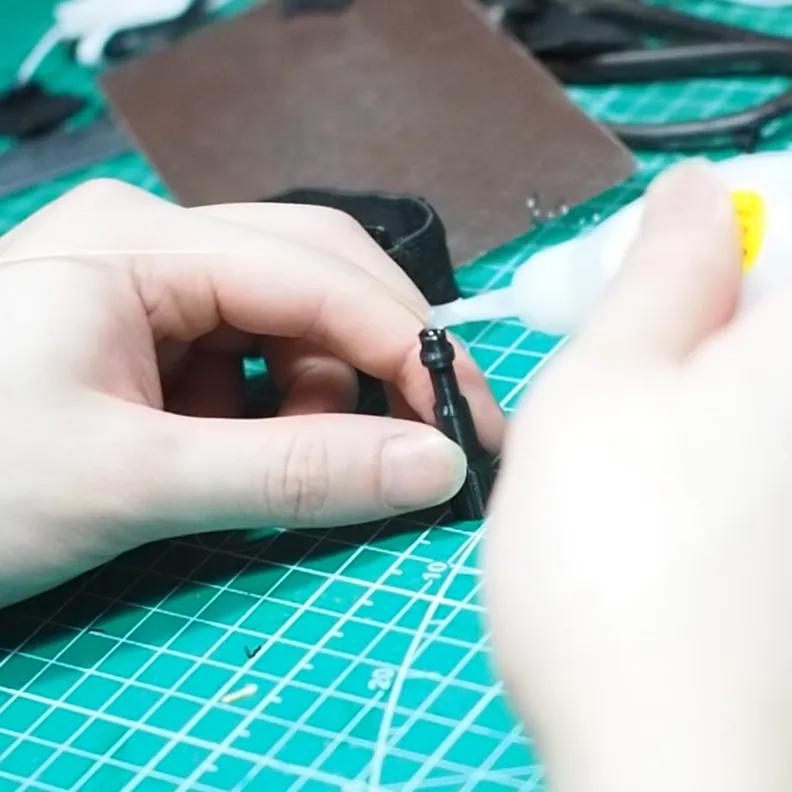 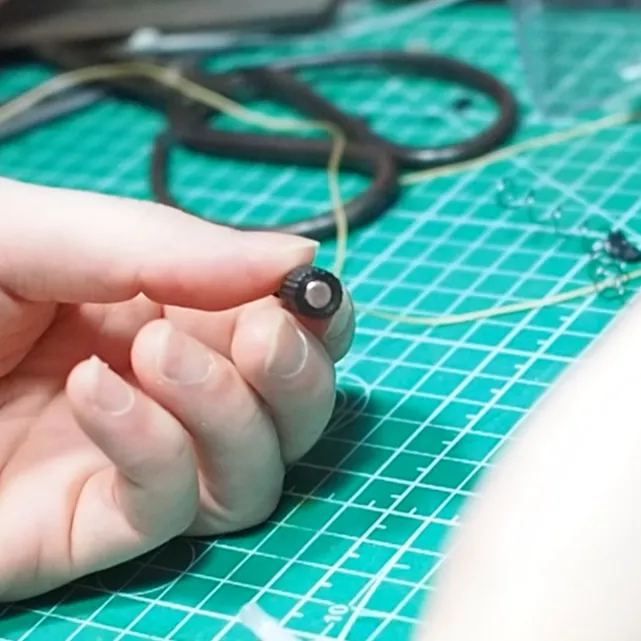 | Step 11: Glue 1.5m of Nylon cord and magnet to crown dial.
|
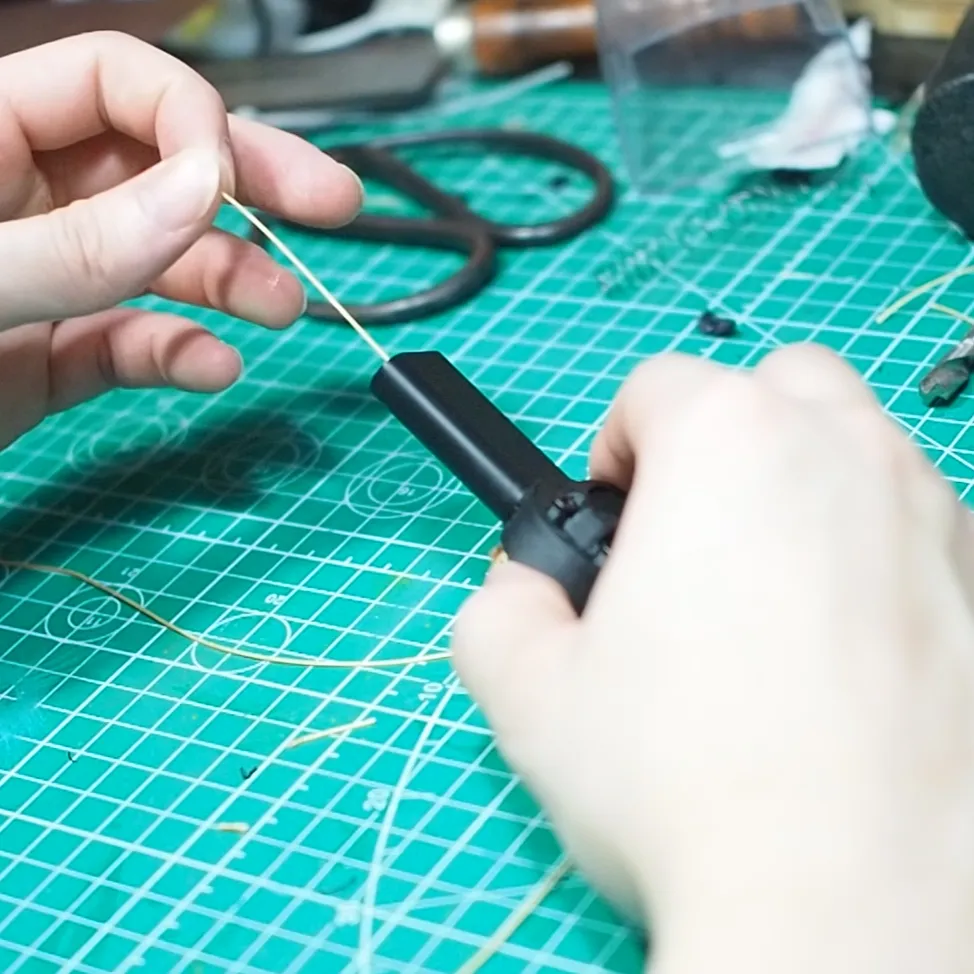 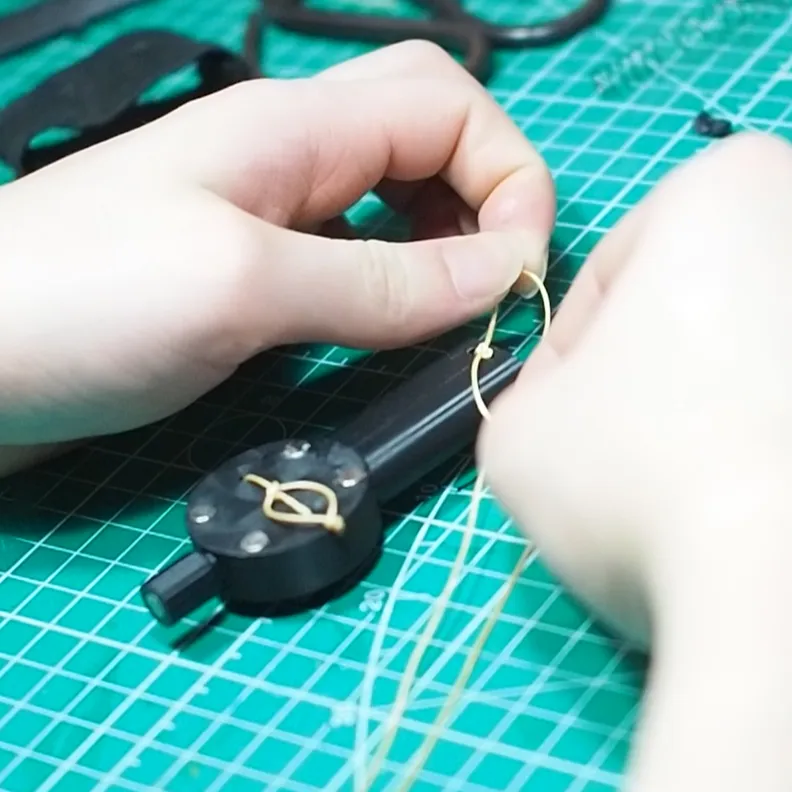 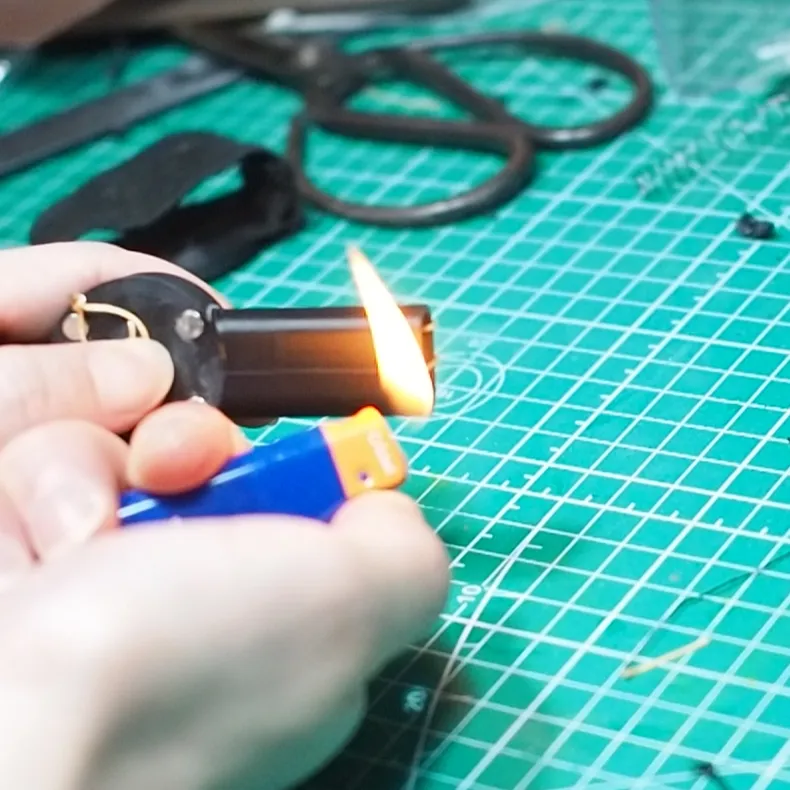 | Step 12: Thread 1.5m Nylon cord attached to the “Crown Dial” through the body and tie the end.
|
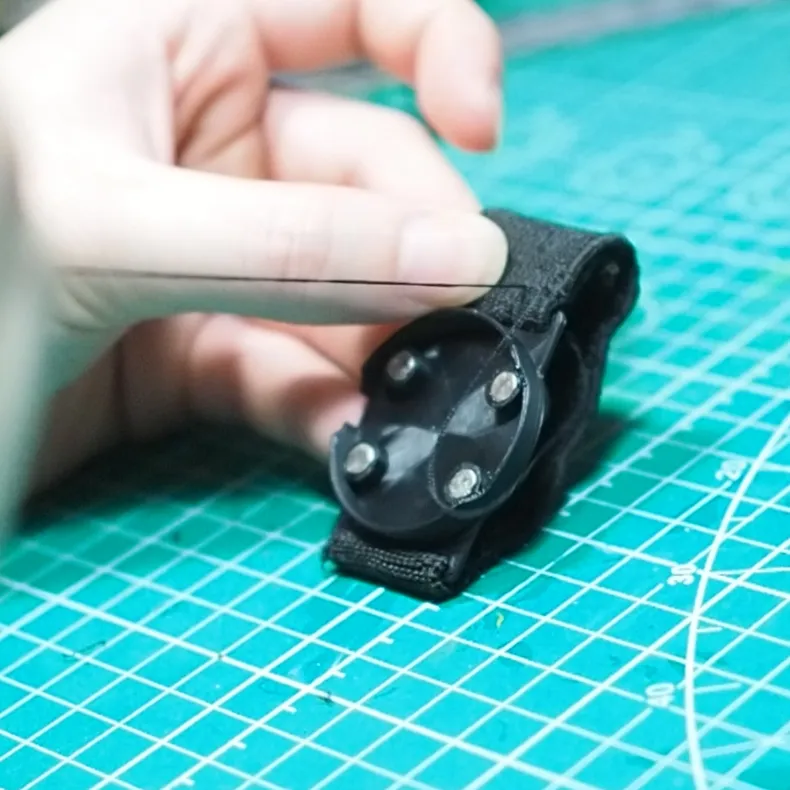 | Step 13: Sew the elastic bands onto the “Wrist mount”.
|
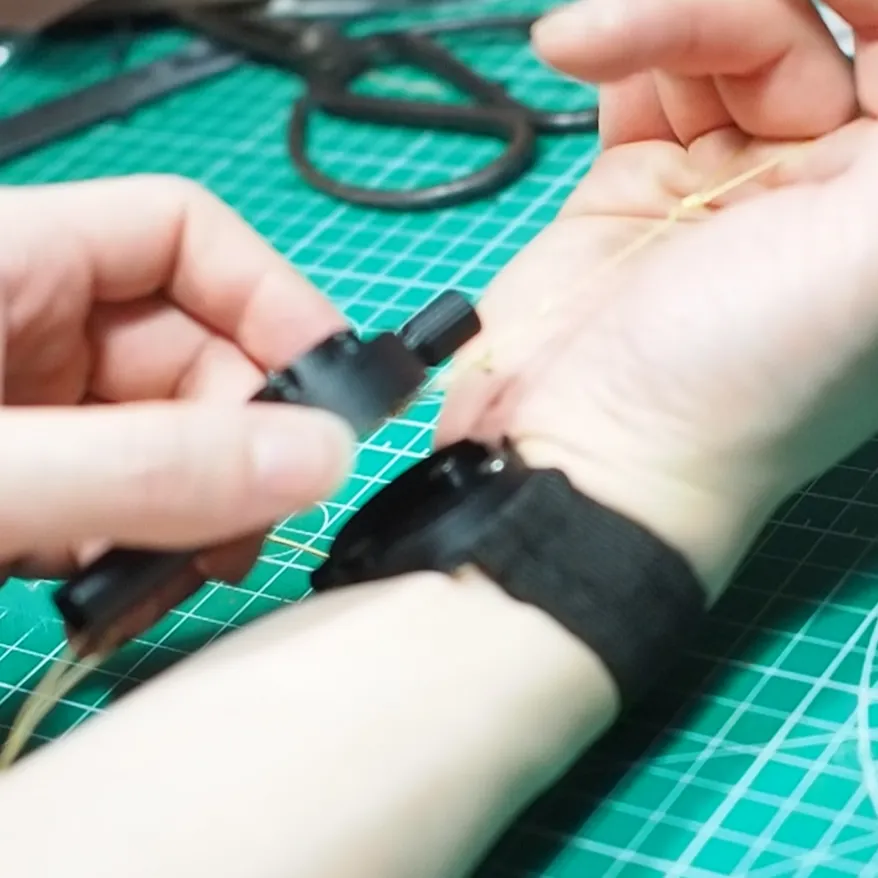 | Step 14: Measure and tie a trigger loop for your middle finger.
|
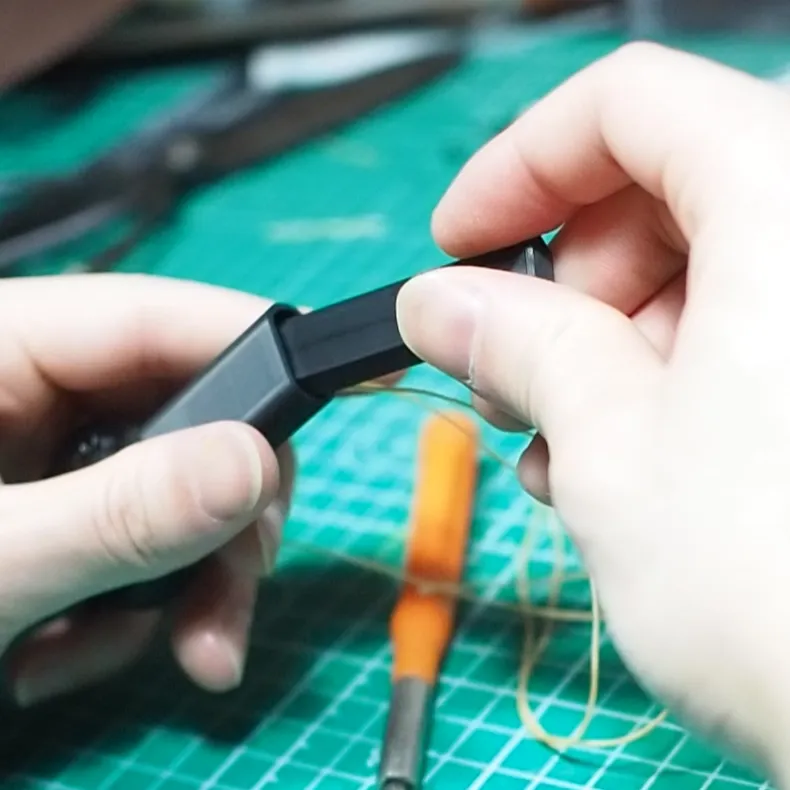 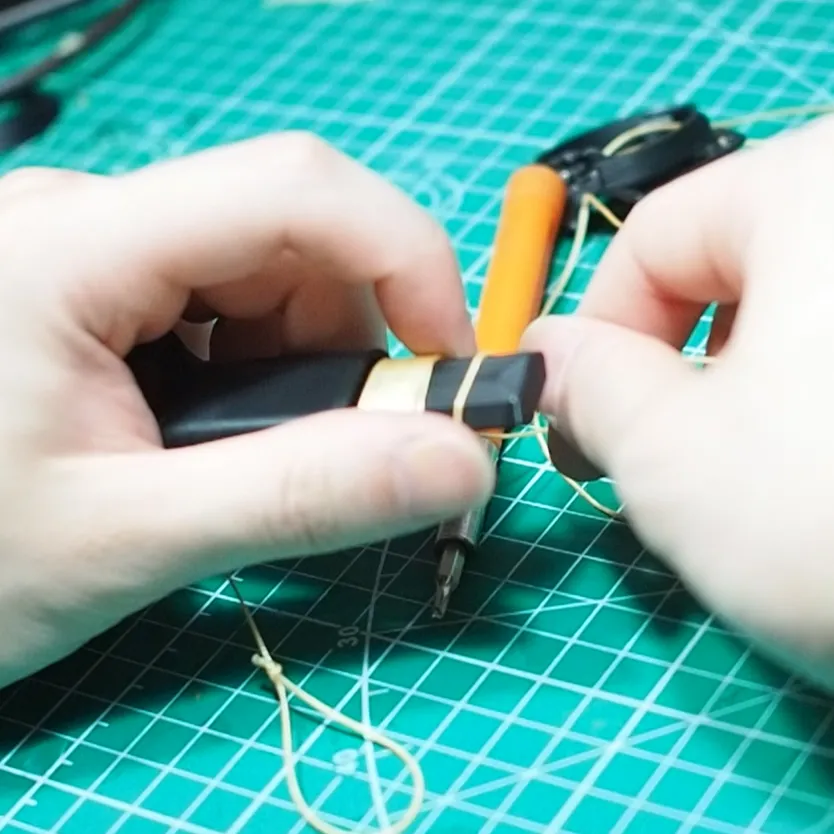 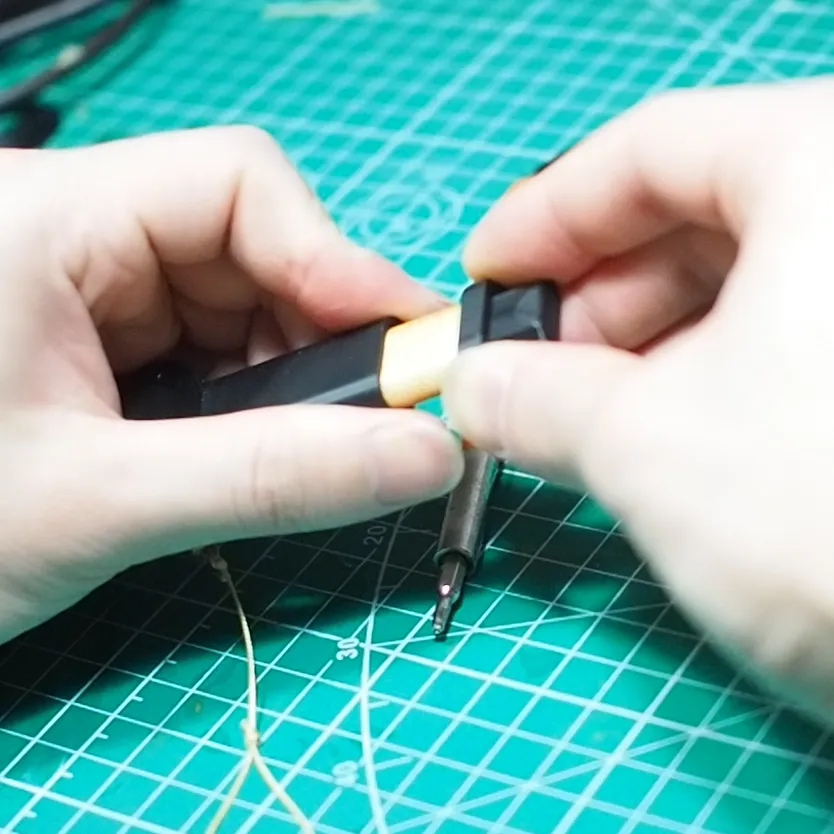 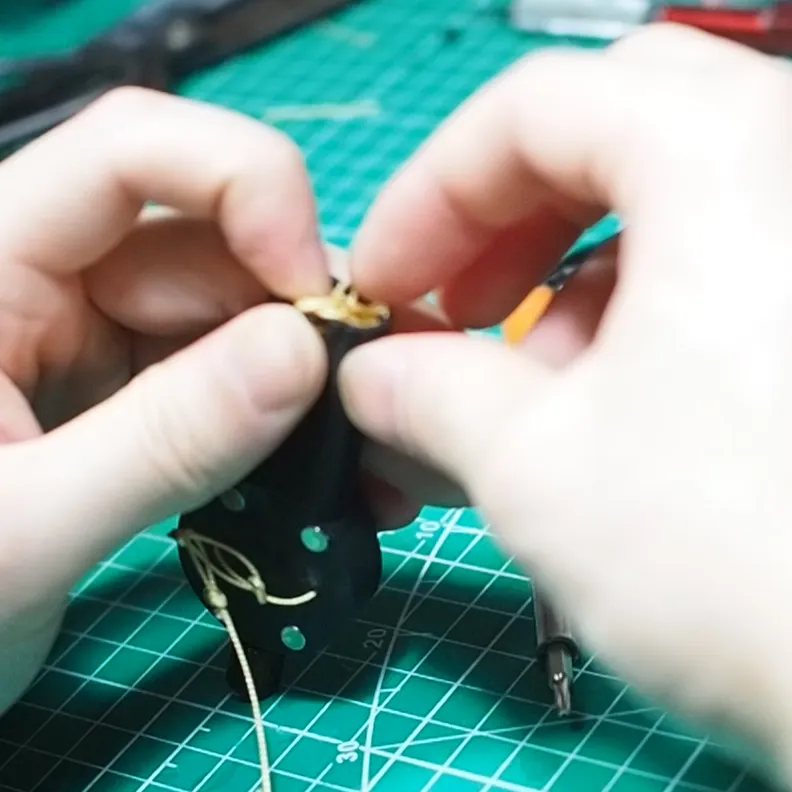 | FINAL STEP: Winding the string.
NOTE:
|
Boost Me (for free)
Boosts are free and help a lot!
Membership
Commercial Licenses Available
License

You shall not share, sub-license, sell, rent, host, transfer, or distribute in any way the digital or 3D printed versions of this object, nor any other derivative work of this object in its digital or physical format (including - but not limited to - remixes of this object, and hosting on other digital platforms). The objects may not be used without permission in any way whatsoever in which you charge money, or collect fees.


Comment & Rating (170)