
Pelican Air 1535 miniature Glasses Case
Print Profile(1)

Bill of Materials
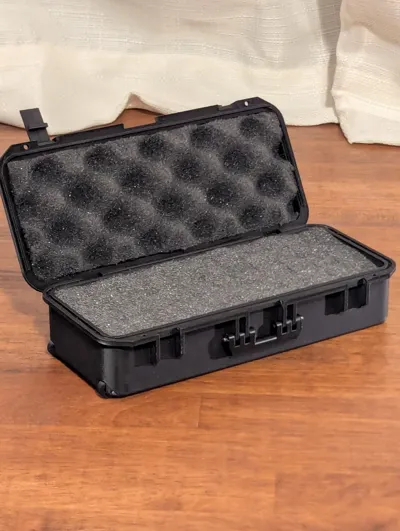
- Pelican foam insert x 1: this gets cut to size if you want an insert for your case.
- #19 Wire brad Finish nails x 5: thin wire nail used for all the hinge pins and axles. These are the kind of nails that usually come in picture frame hanging kits. Very small.
Description
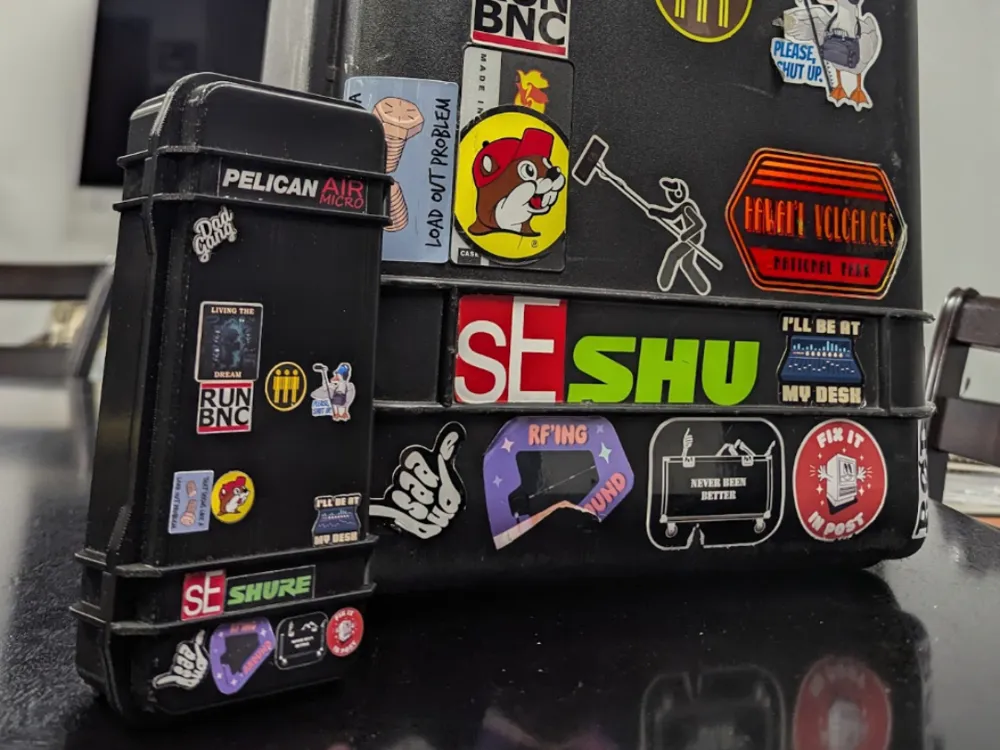
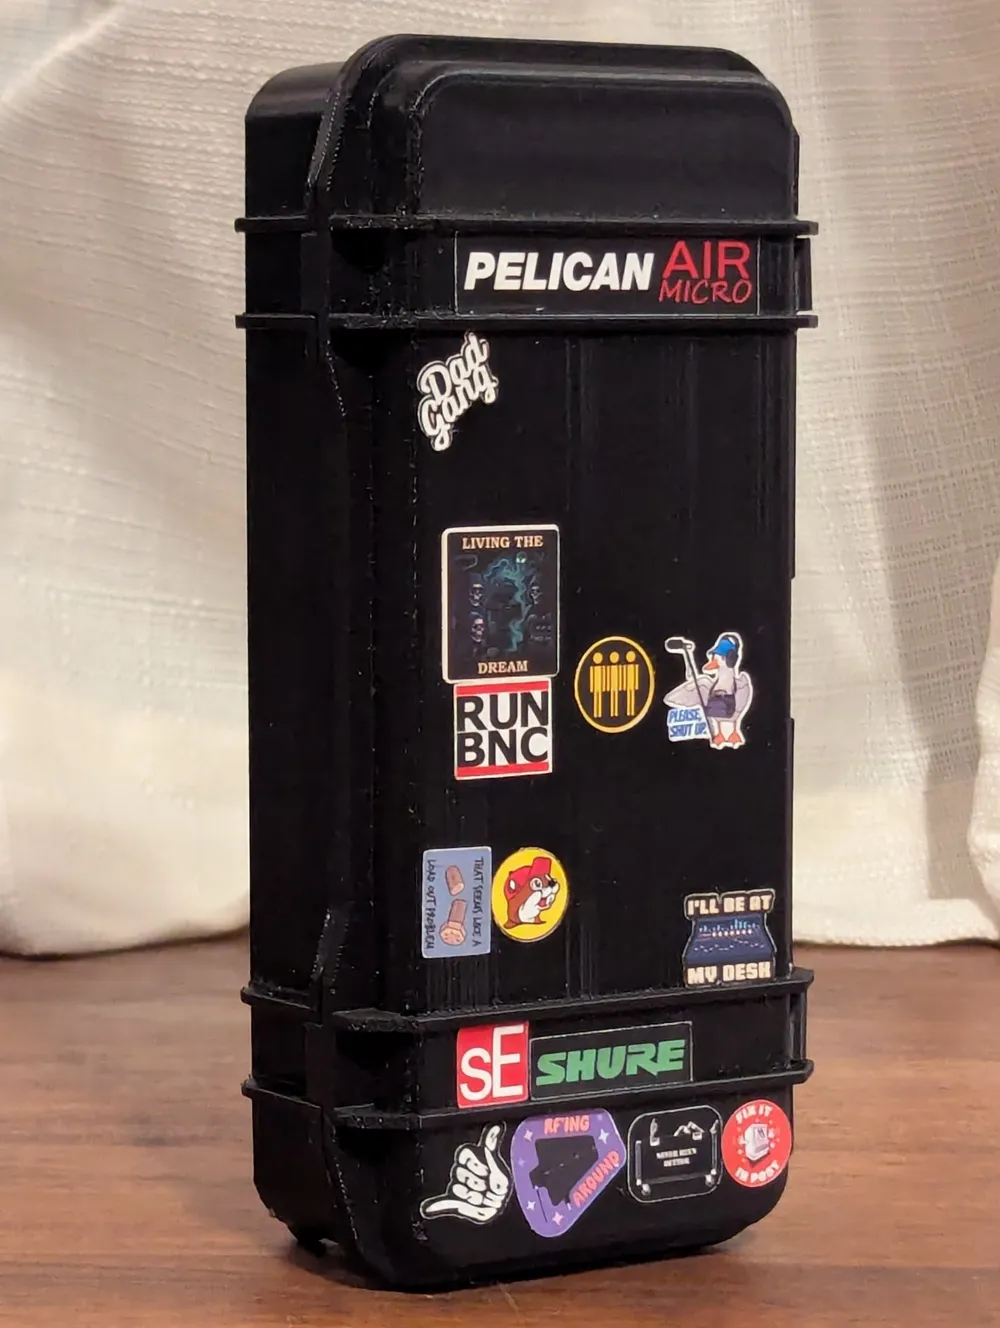
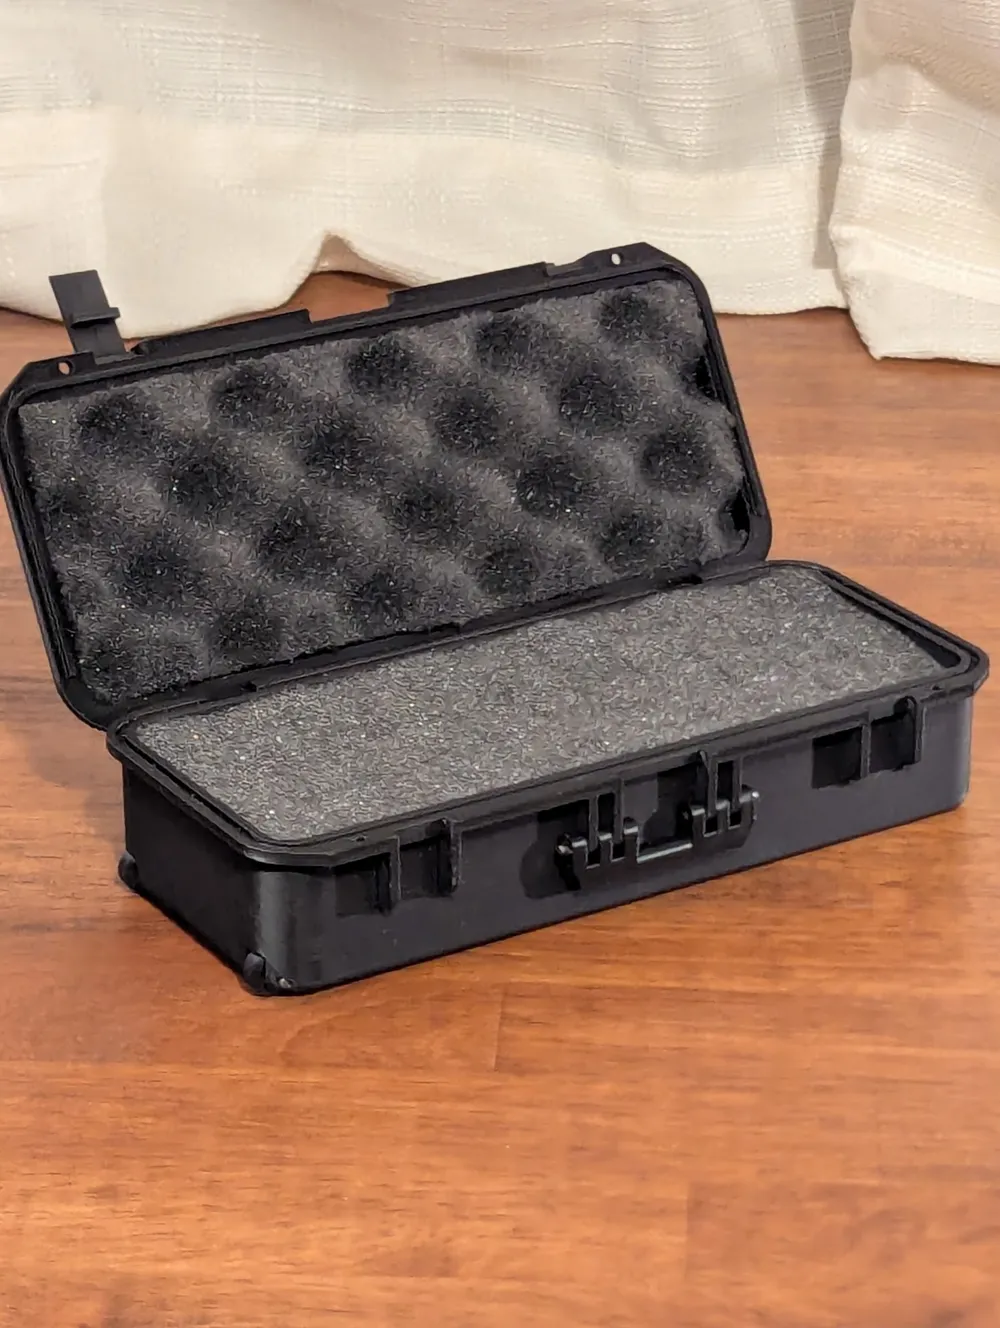
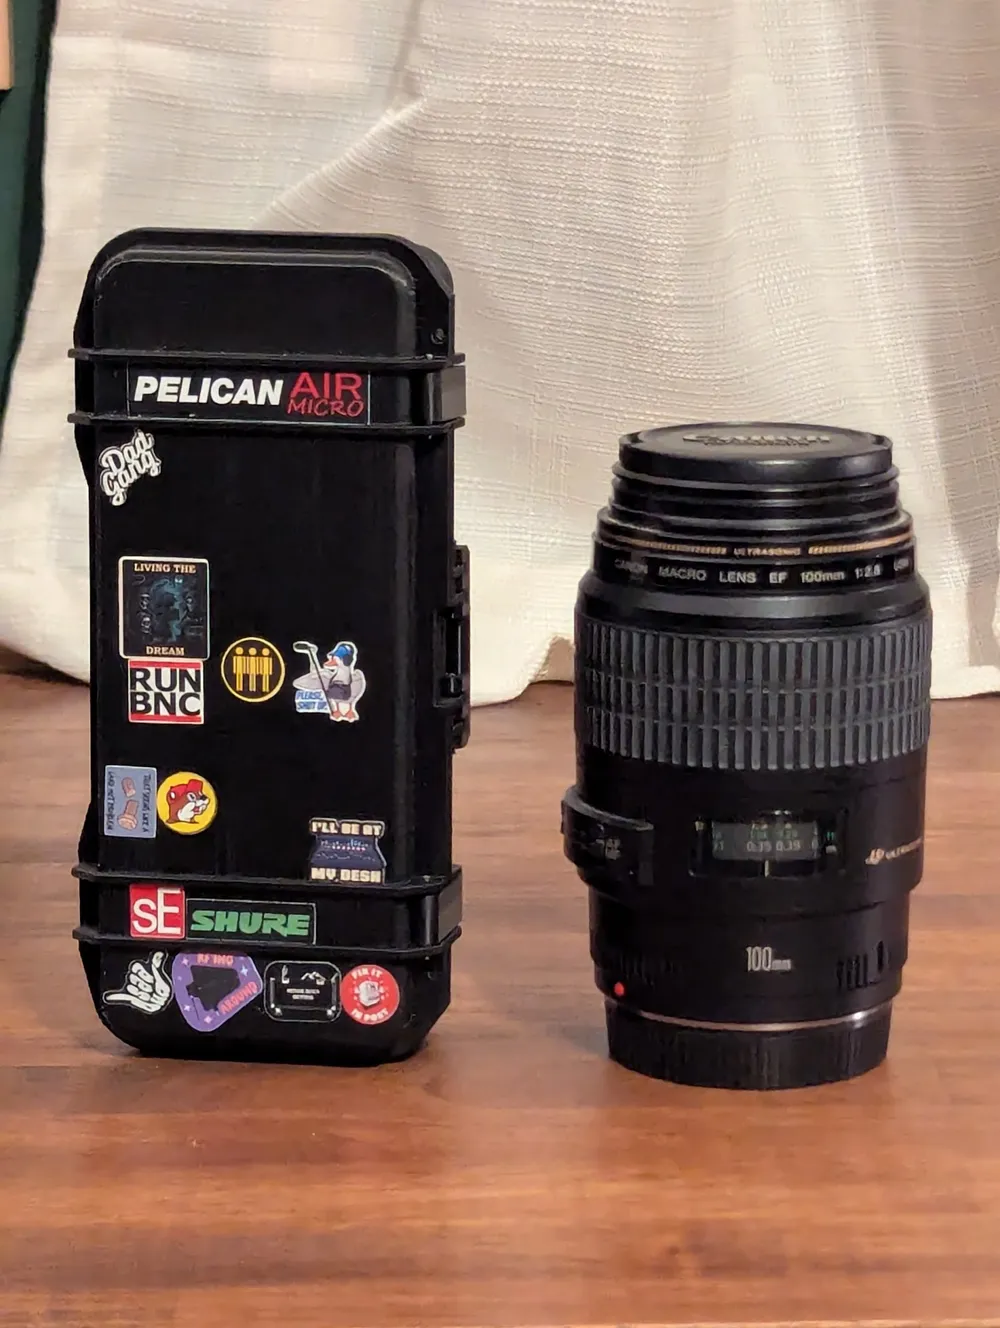
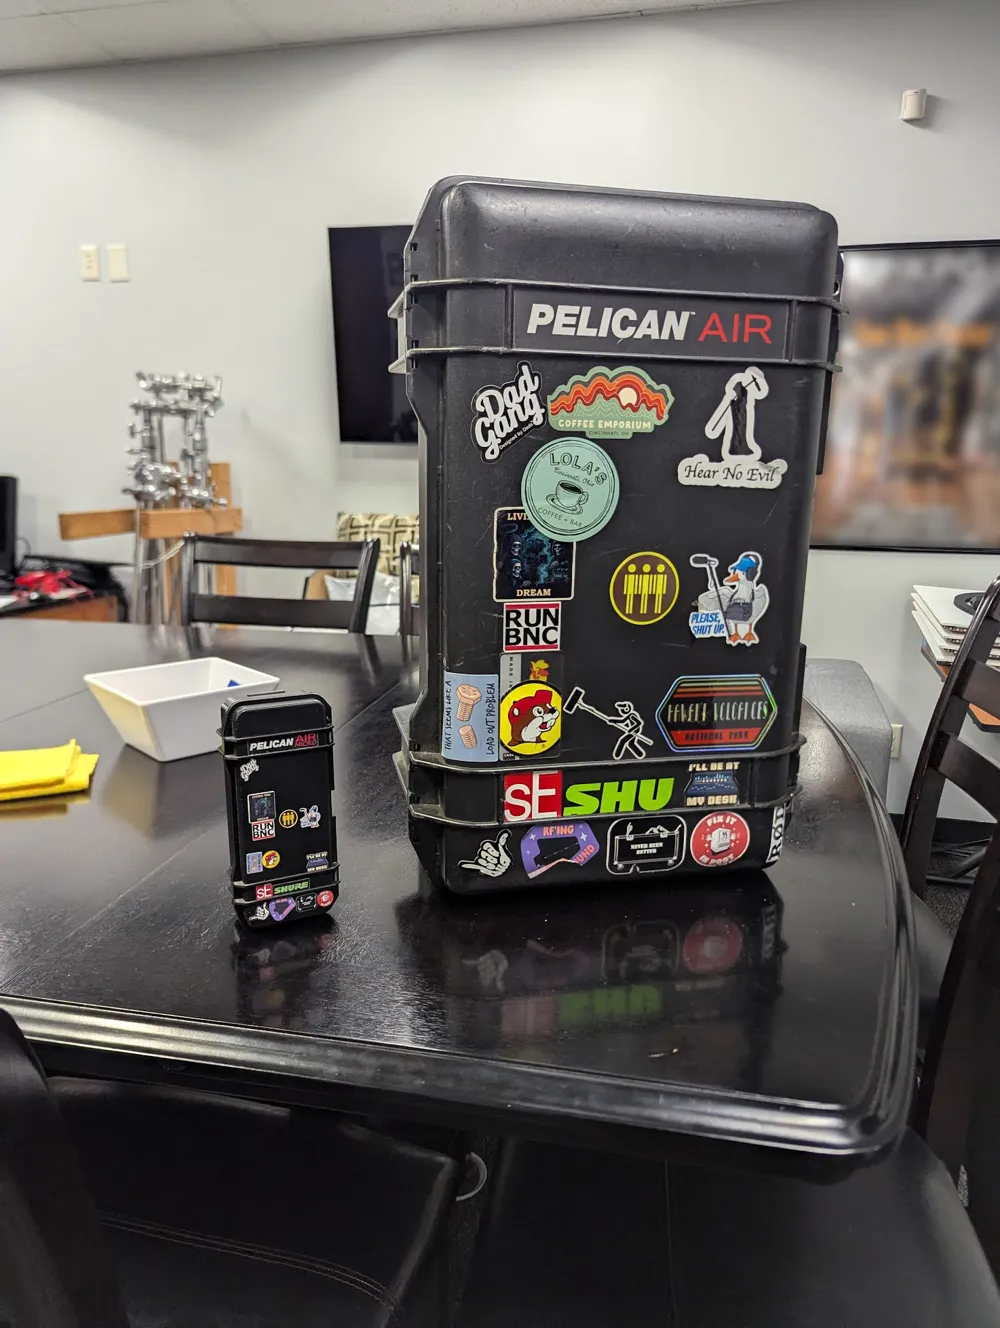
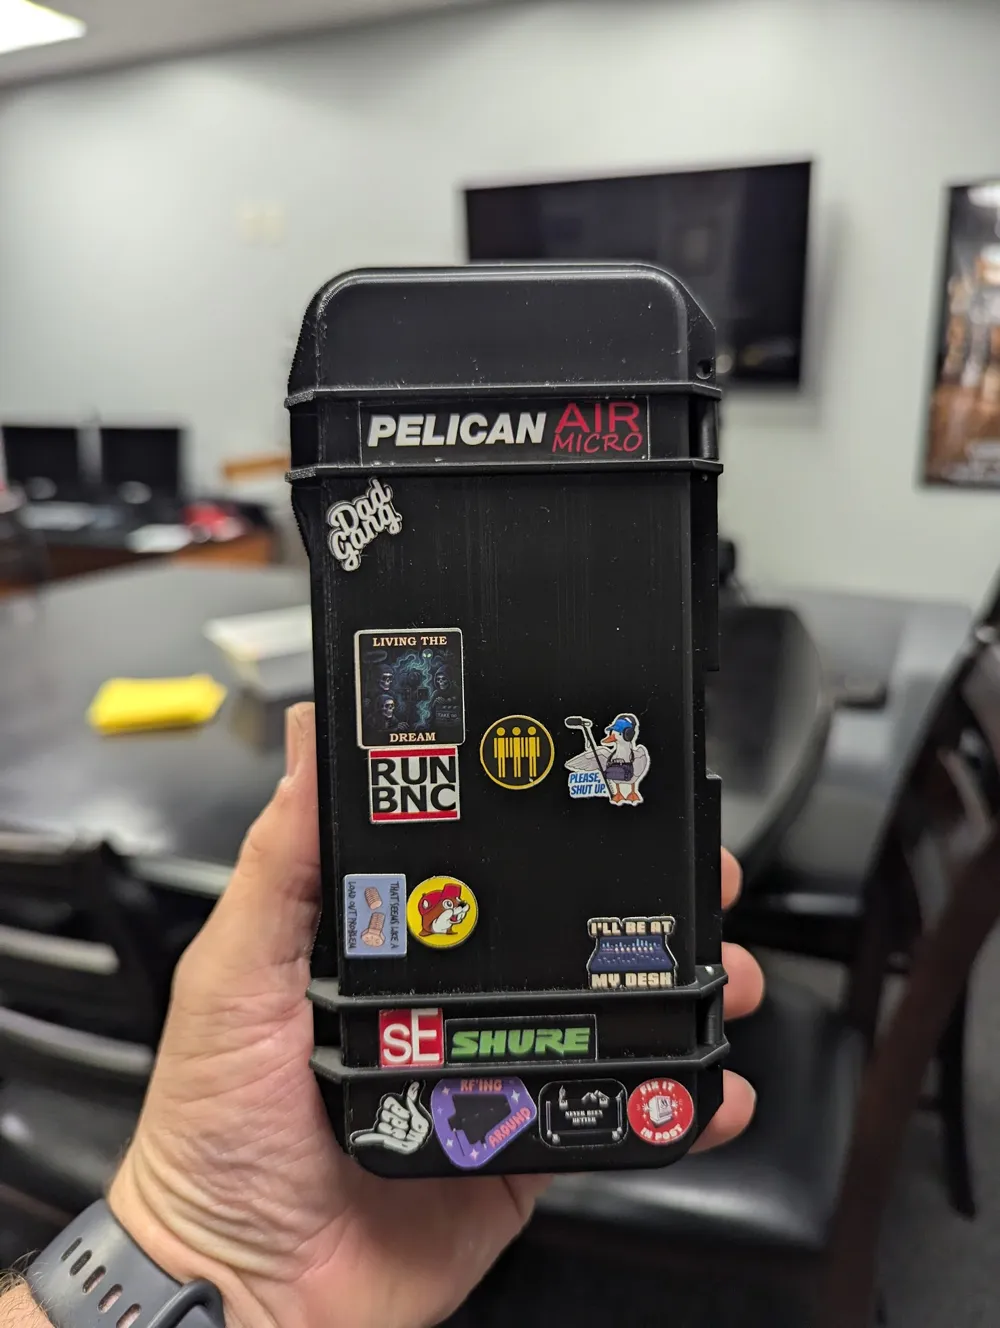
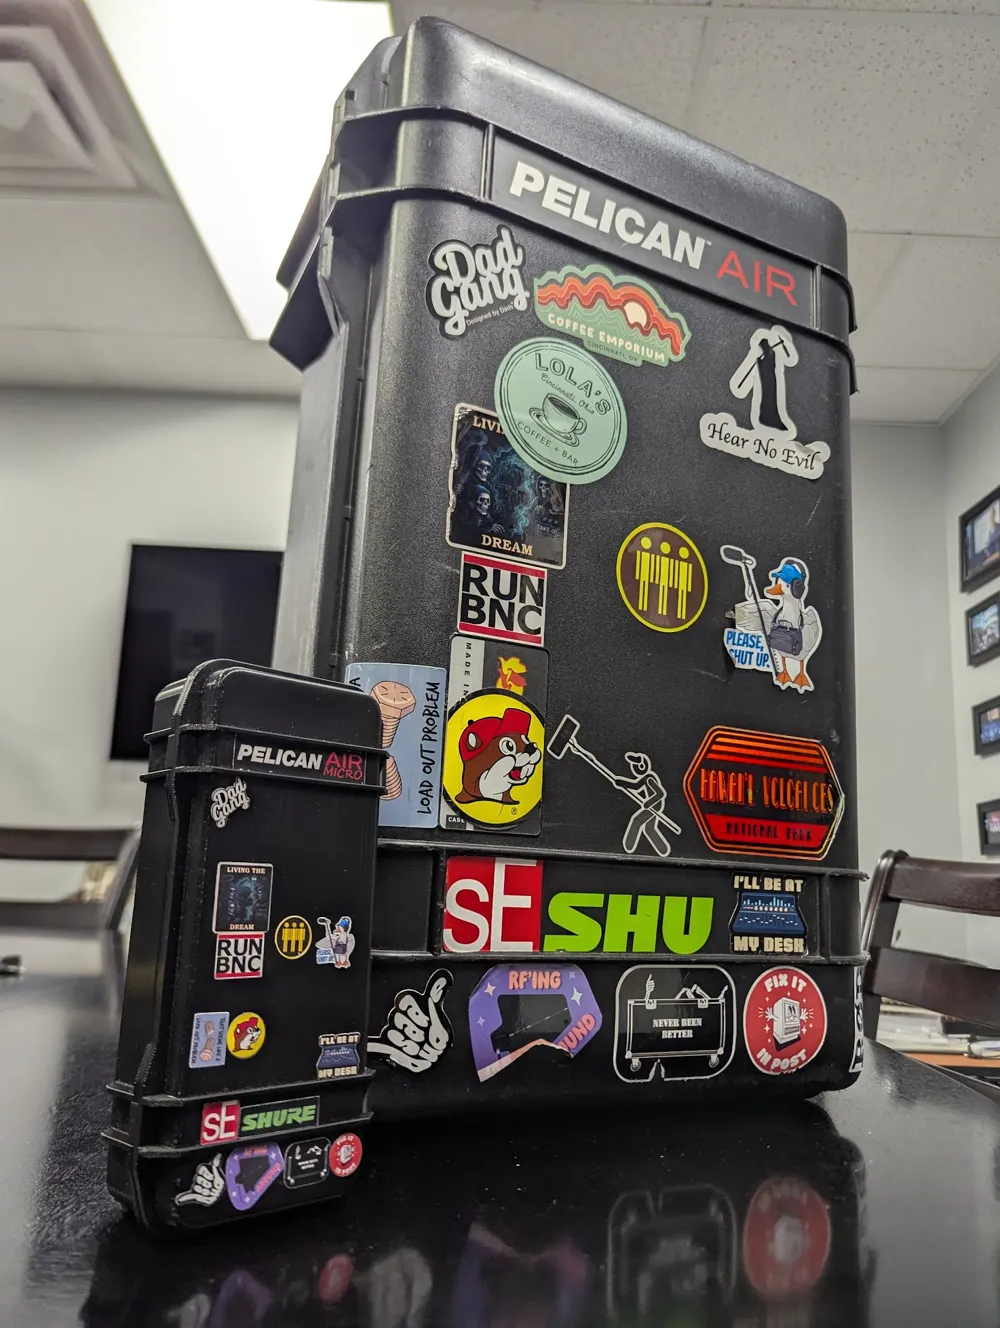
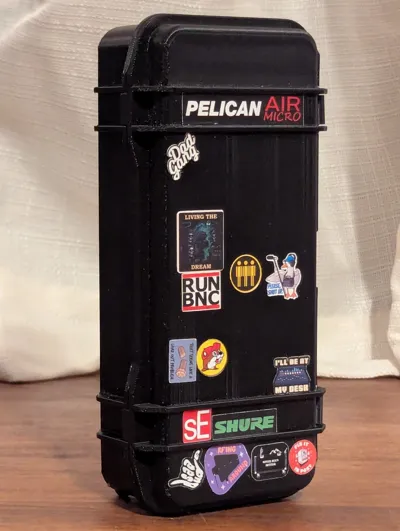
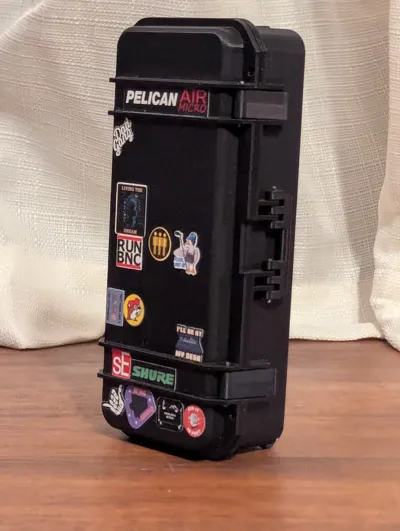
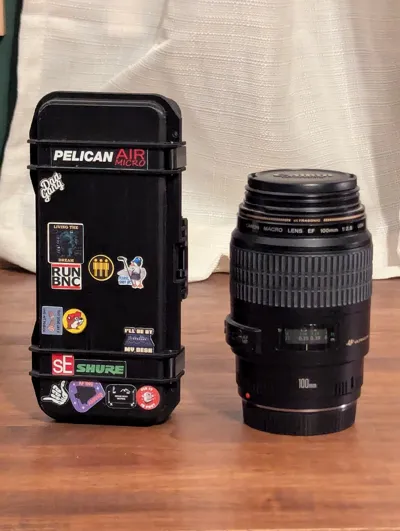
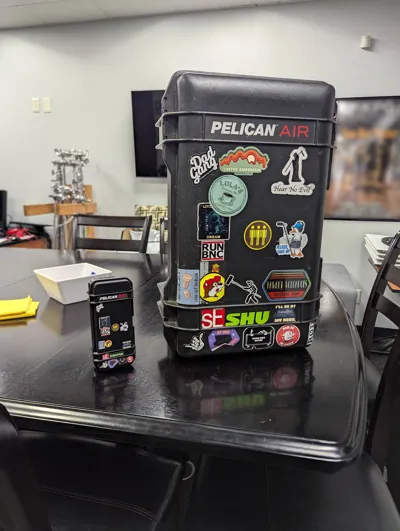
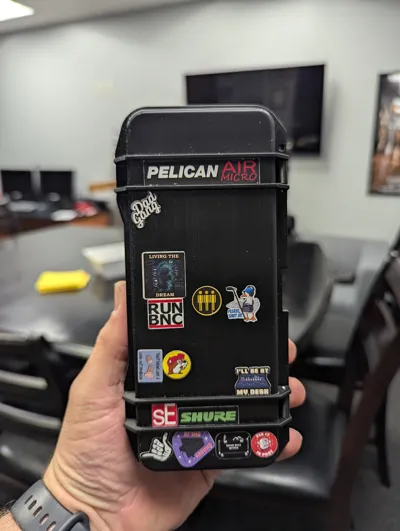
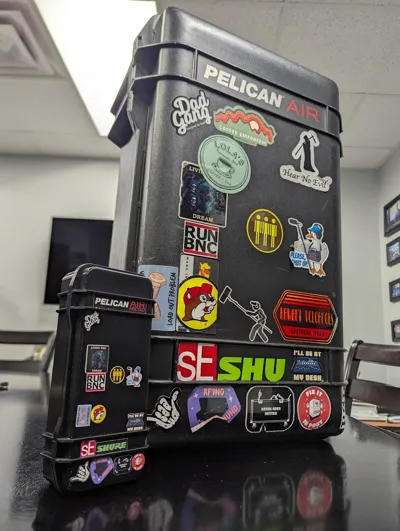
I was challenged by a coworker and A1 to design a miniature version of a Pelican case for glasses storage and travel on shows. After many hours of designing, printing, tweaking, and reprinting. I finally have a Pelican Air Micro glasses case. Theres nothing better than pulling out your workbox, opening it, and pulling out a miniature version of your workbox.
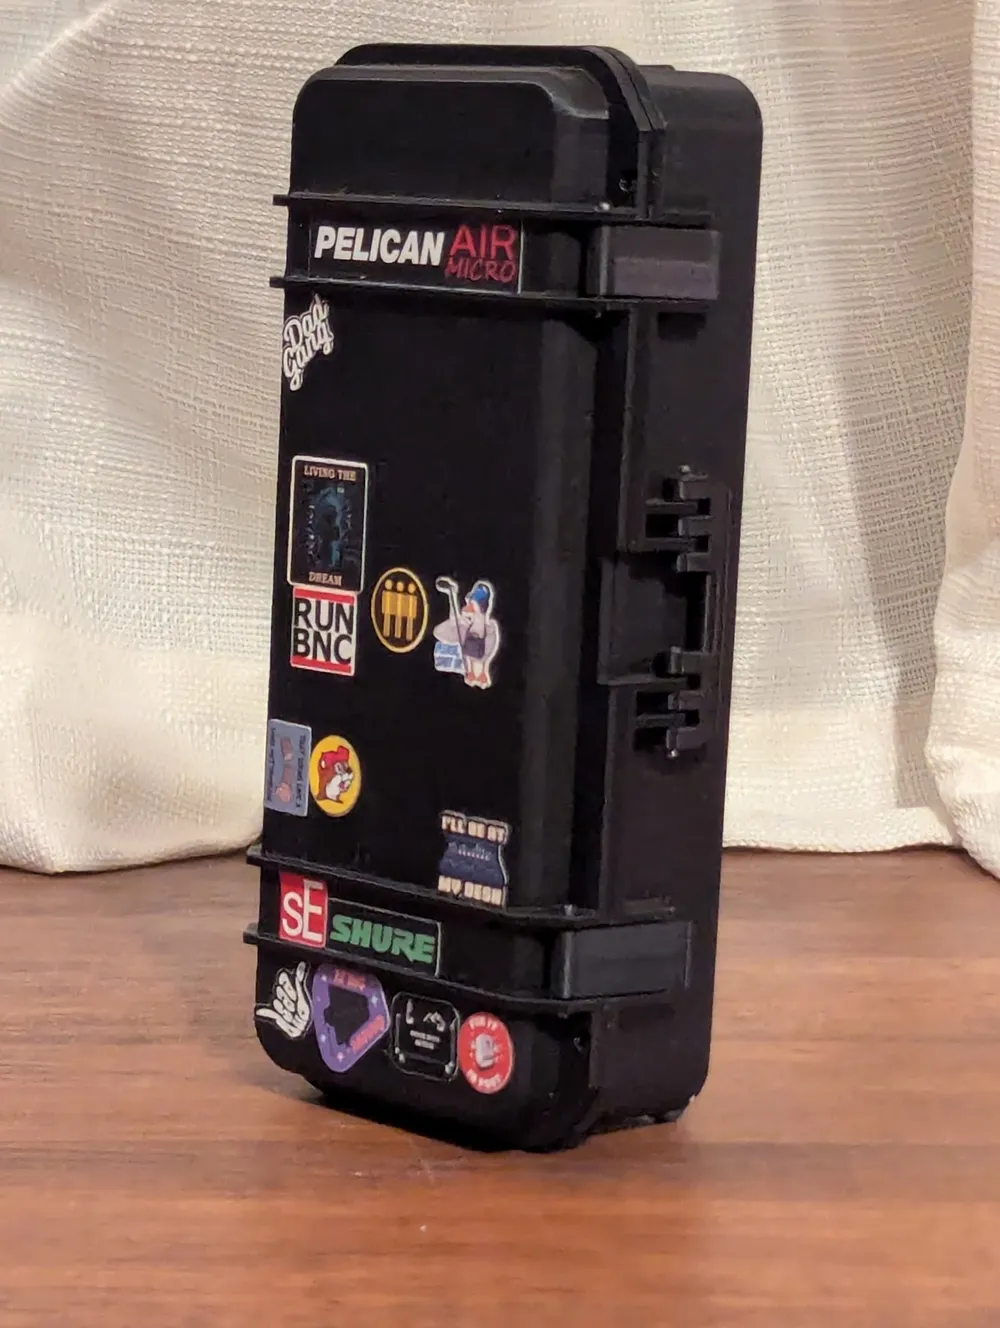
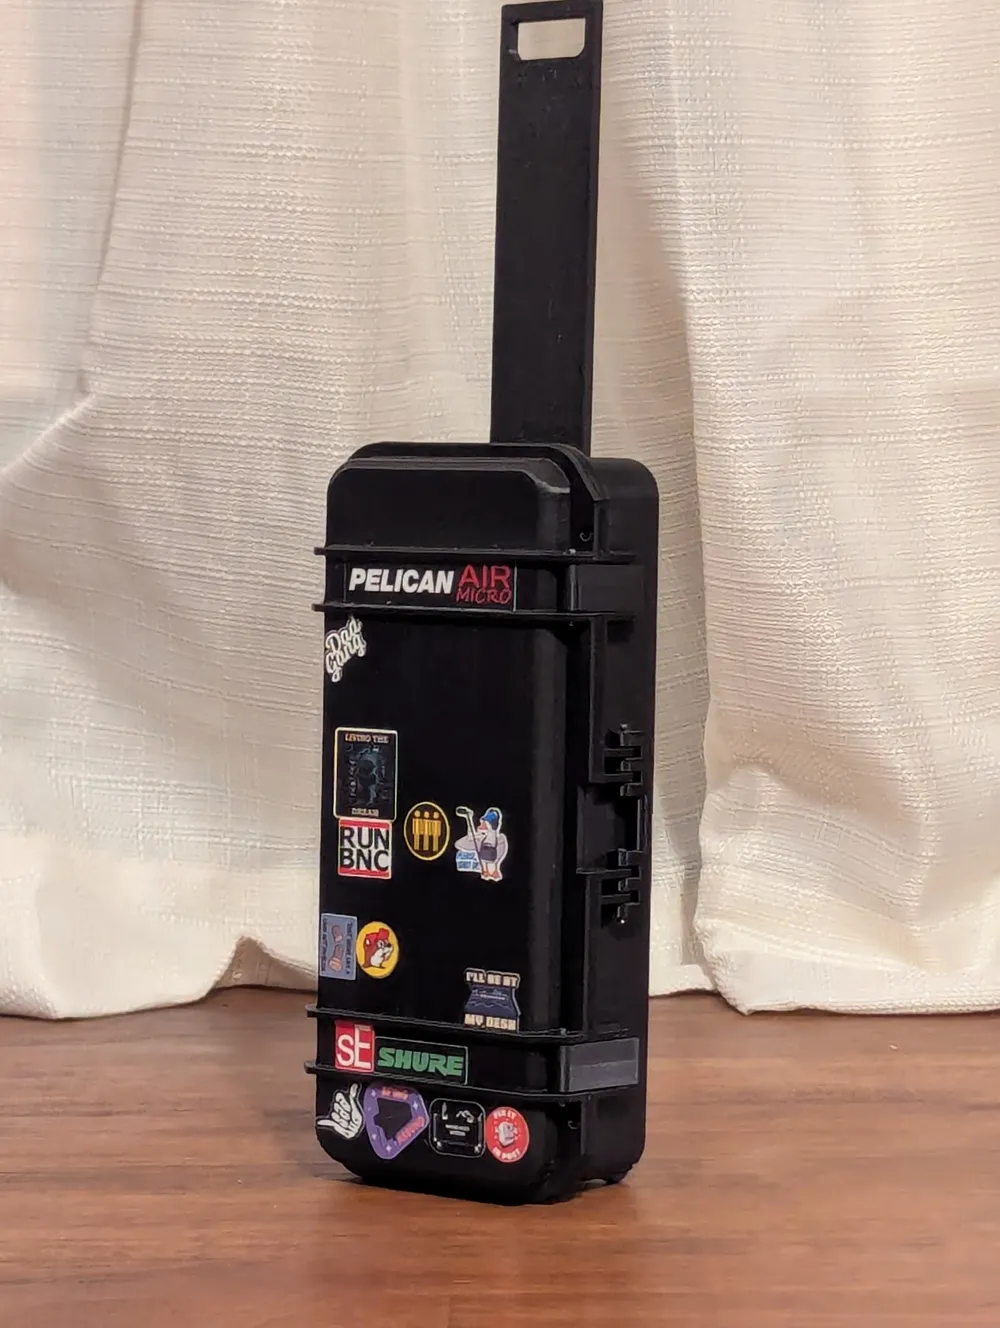
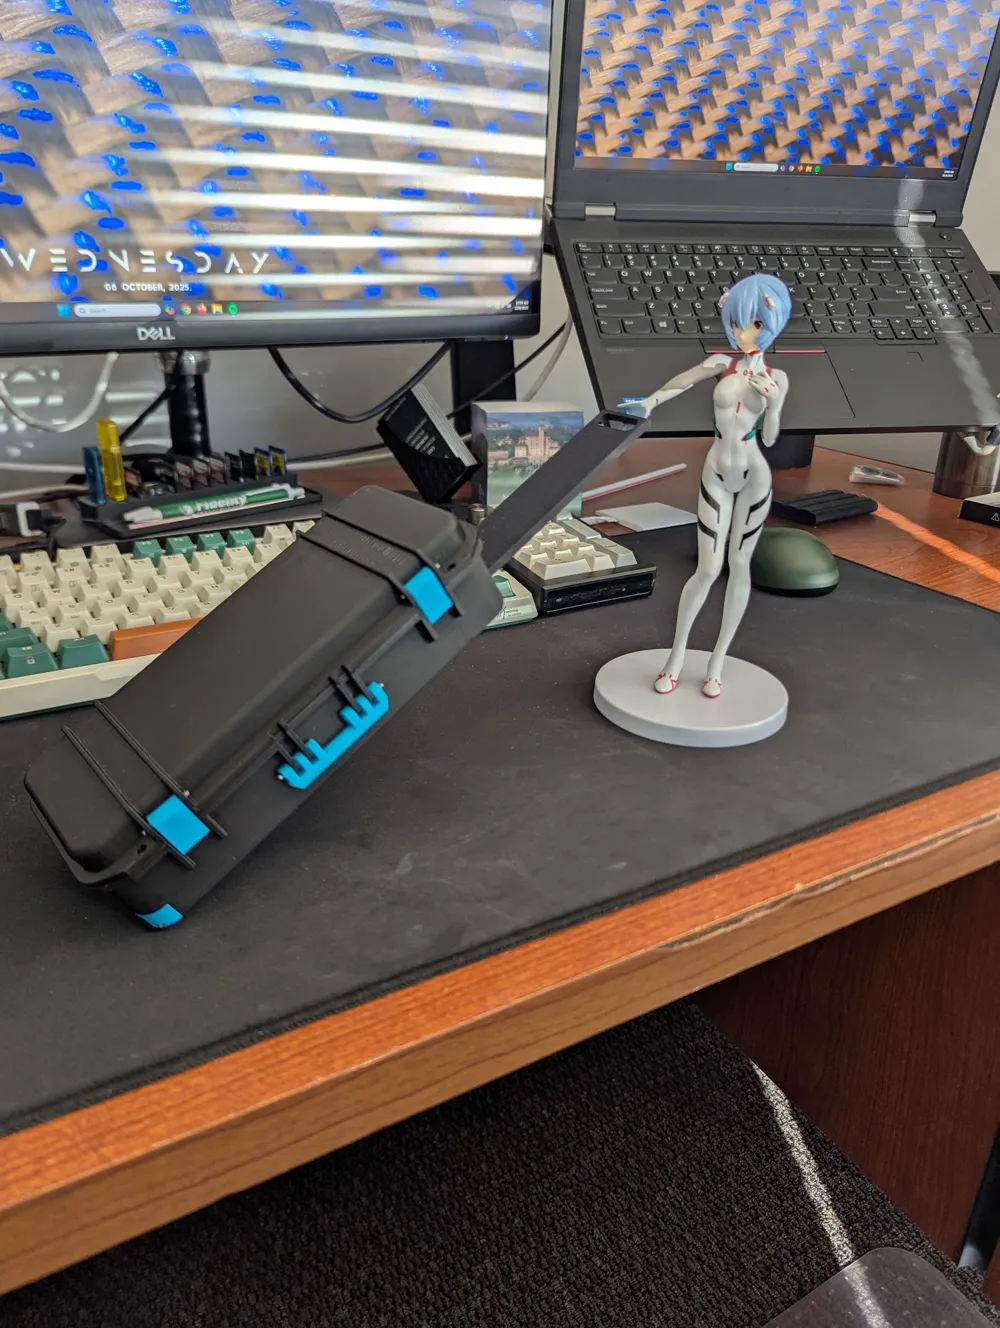
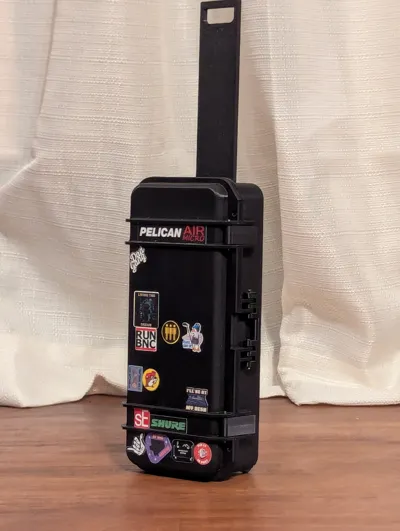
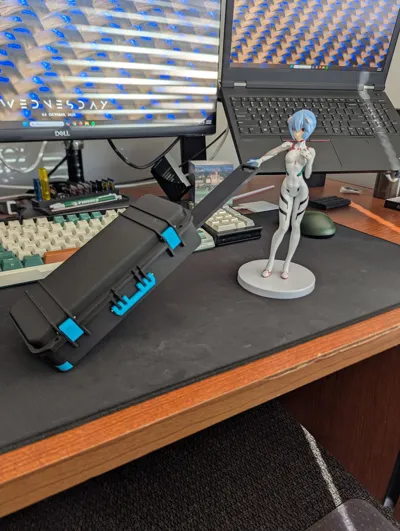
This is a fully functional miniature model of a Pelican Air style case for use with glasses or other small equipment. It is not a scale model, non of the dimensions come from an actual Pelican. Its more of an homage to the venerable Pelican 1535 Air. The handle on the side is articulating, the trolley slide out handle slides into both a closed and open locking position, and the wheels are free spinning.
The base bin and trolley are a single piece print but I've modeled them as separate objects so you can mimic your favorite color case combinations.
I recommend you print the base and the lid on separate plates at 45 degrees for the best finish with the least amount of supports.
Assembly is straight forward, the trolley handle slides in, I recommend a very small finishing nail for all of the pins and the wheel axles. The holes are sized slightly smaller than the nails that I have on hand, by about 1/2mm, heating a nail up with a lighter can enlarge the holes without risking cracking the print using force. I do recommend using a small hammer and small punch or nail set to aid in setting the pins.
License

You shall not share, sub-license, sell, rent, host, transfer, or distribute in any way the digital or 3D printed versions of this object, nor any other derivative work of this object in its digital or physical format (including - but not limited to - remixes of this object, and hosting on other digital platforms). The objects may not be used without permission in any way whatsoever in which you charge money, or collect fees.


Comment & Rating (31)