Stun gun (from a lighter)


Print Profile(2)


Bill of Materials

Description
A simple stun gun that can be built from a lighter
I tested it with different lighters and it worked with all of them
Whether it works has nothing to do with whether the lighter is full or empty
Only 12 grams of filament (and an (empty) lighter)
To build the stun gun, you only need the piezoelectric igniter (flint) from the lighter, and in my cases, it was quite easy to remove. This piezoelectric igniter generates the voltage that ultimately creates the flame, and we need this voltage to produce the electric shock.
This is how it normally looks at the beginning

Afterwards, you can, for example, insert a spatula into the small gap

Then you can pry the cap to the side to open the lighter

After that, it should look like this

Now the cap, where you normally press, should be easy to remove

If everything worked, you can now remove the piezoelectric igniter from the lighter

In my experience, the round cylinder comes in two different sizes. One with a diameter of 5.4 mm and one with a diameter of 5.6 mm (or between these values). These were the sizes I had in my tests; I cannot guarantee that there are only these two sizes, but for this case, I have uploaded an additional STEP file so that you can edit everything as you wish.

If you have now removed the piezoelectric igniter, you only need to install it into the stun gun.
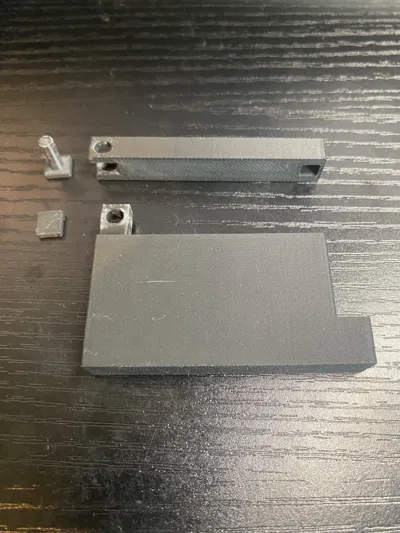
When the parts come out of the printer, they should look like this

First, please insert the piezoelectric igniter into the designated holder

After that, please place the bar as shown in the picture

Now place the bar onto the piezoelectric igniter

Now firmly connect the two parts by pushing the axle through them

In my case, it was already firm enough, but if you wish, you can put a small drop of adhesive (e.g., superglue) on the axle and press the rectangle onto it. Then it should be secure.
Caution: Do not use too much glue under any circumstances, as everything will stick together, and you won't be able to use it anymore.

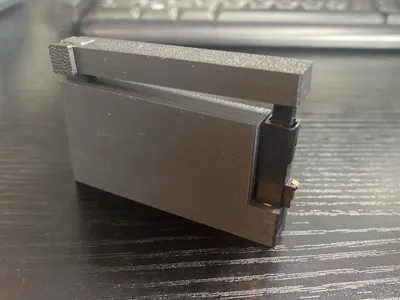
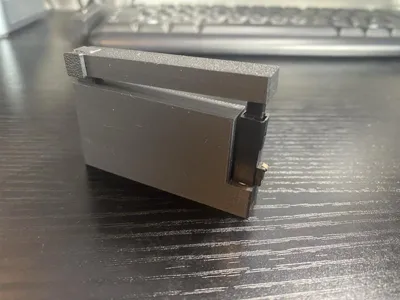
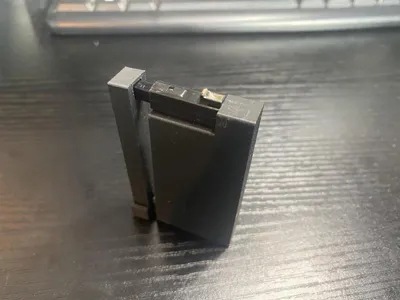
If it looks like this now, you've done everything correctly :-)

I want to point out again that you should only use it for fun; it is completely harmless, but I just wanted to say it once.
I want to emphasize again that this stun gun is completely harmless, as only a small electric shock is generated
It is suitable for scaring someone but not for causing serious harm to anyone.
I hope you like this model. I kept it very simple and didn't add any unnecessary things. This way, it uses little filament but still works.
If you want to modify it, feel free to do so, as I have uploaded the STEP file for it
You are also welcome to sell the model if you wish
Boost Me (for free)
If you like this model, don't hesitate to boost it. It would help me.
Thank you very much :-)
License
You shall not share, sub-license, sell, rent, host, transfer, or distribute in any way the digital or 3D printed versions of this object, nor any other derivative work of this object in its digital or physical format (including - but not limited to - remixes of this object, and hosting on other digital platforms). The objects may not be used without permission in any way whatsoever in which you charge money, or collect fees.
Comment & Rating (17)