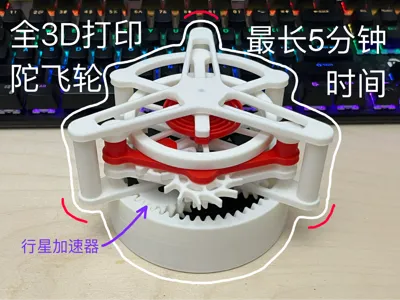
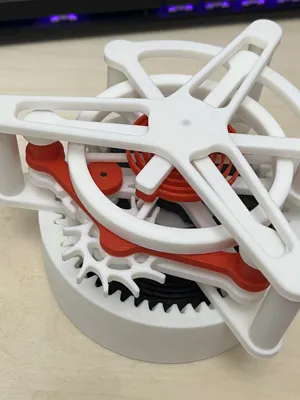
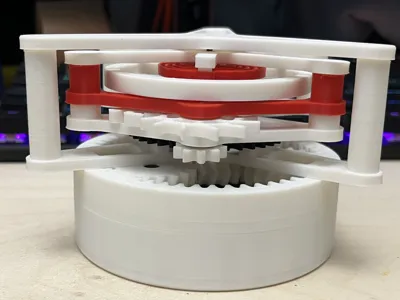
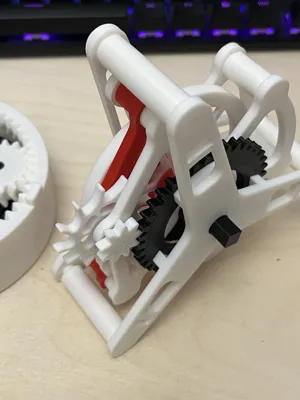
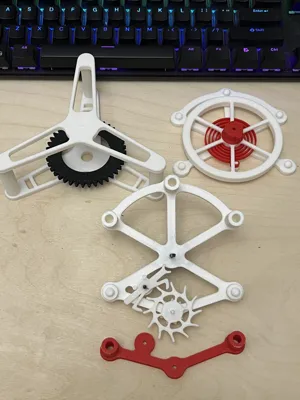
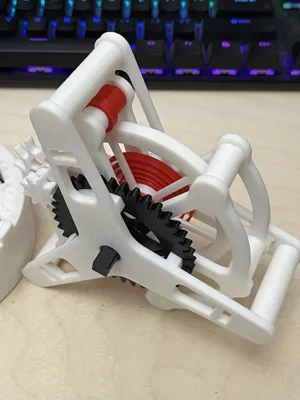
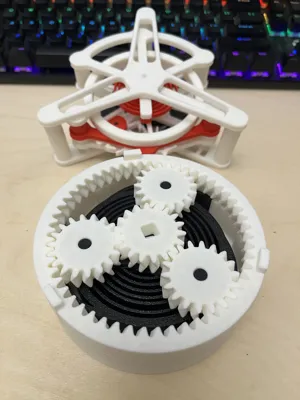
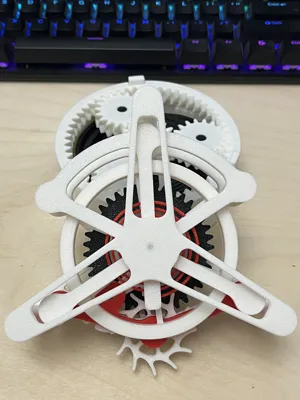
Full 3D Printed Tourbillon Escapement with Planetary Accelerator


Print Profile(2)


Description
Boost Me (for free)
This is the most complex model I have ever designed; from the initial version using hardware parts to the fully 3D printed iterative process, it took me a lot of time and effort to overcome resistance during operation to achieve the longest running time. If it's convenient for you, please support me to continue creating, thank you!
Attention, must read!!!
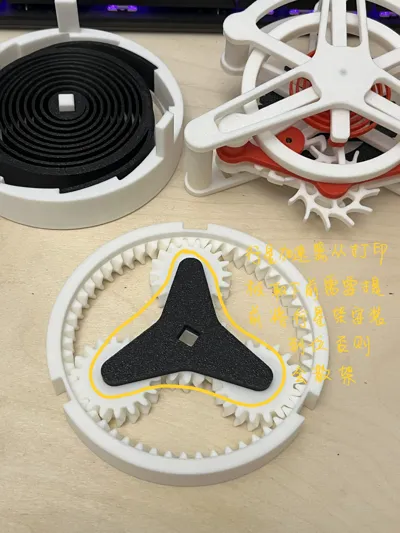
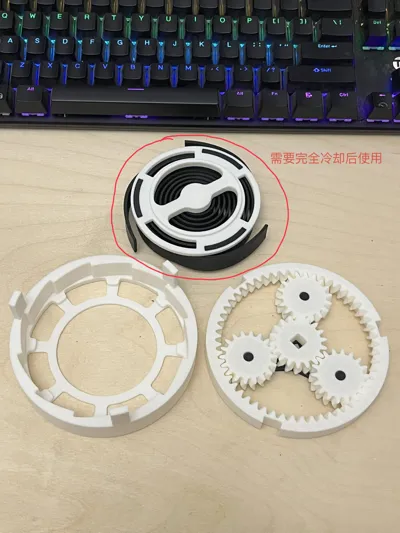
1 The spiral spring must be thoroughly cooled before use
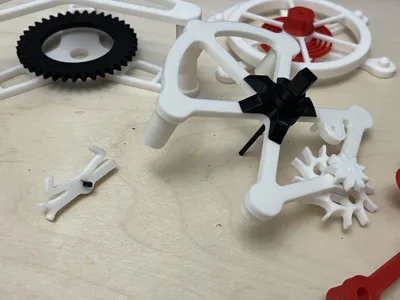
2 For all cube-shaped shafts, the assembly precision of each printer varies; if assembly is very difficult, please scale up or down appropriately and print again
3 After all shafts are assembled in place, please manually chamfer the cubes; chamfer multiple times in small amounts, not all at once, until all parts run smoothly; do not over-chamfer, as it will affect assembly precision; this step requires patience, be very careful when chamfering!!!
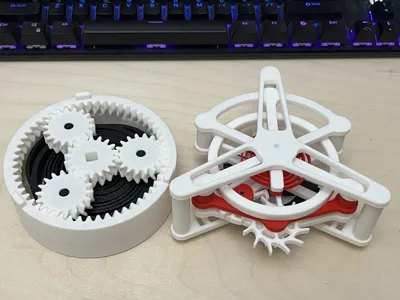
4 Do not rush to remove the planetary accelerator from the printing plate; first remove and attach the planetary carrier, then remove the planetary accelerator together
5 When not in use, the moving parts and the bottom circular power part should be separated, otherwise the spiral spring will undergo plastic deformation
6 Appropriate lubrication is required between the parts
The assembly relationship of the model parts is not complex; if you have any questions, please leave a message, thank you!
License
You shall not share, sub-license, sell, rent, host, transfer, or distribute in any way the digital or 3D printed versions of this object, nor any other derivative work of this object in its digital or physical format (including - but not limited to - remixes of this object, and hosting on other digital platforms). The objects may not be used without permission in any way whatsoever in which you charge money, or collect fees.
Comment & Rating (24)