TP-Link CPE210 CPE510 Mount Stand


Print Profile(1)

Description
Hello,
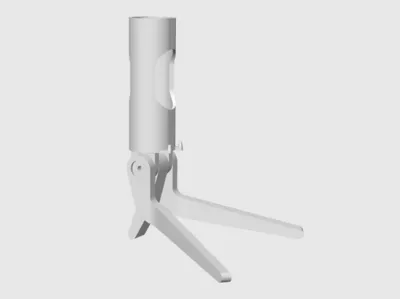
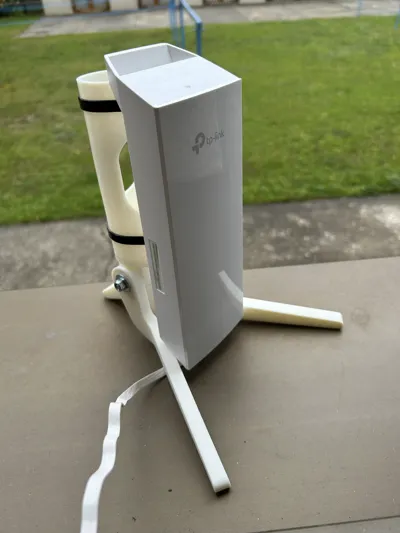
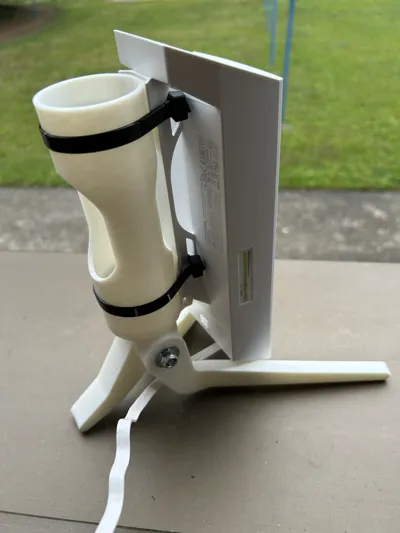
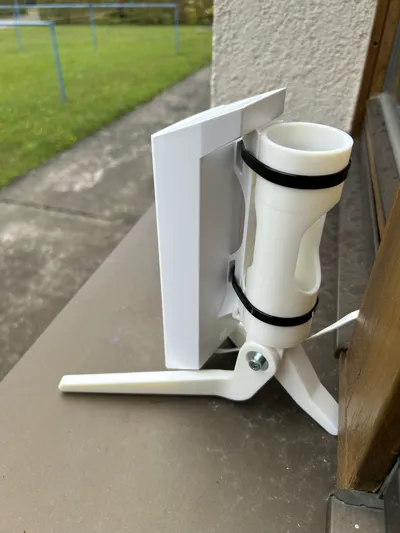
attached you will find instructions and a model for how to create a holder for a Wifi amplifier TP-Link CPE210 / CPE510 for placement on, for example, a windowsill
Assembly:
- Place the washer onto the screw and insert it through the first large foot
- Place the spring washer onto the screw after the foot (the spring washer presses into the material to transfer the rotational force of the foot into the receptacle)
- Insert the middle foot into the receptacle
- Insert the large foot with the screw through
- Mount the spring washer, the last large foot, the large washer, and the self-locking nut onto the pushed-through screw end
- Adjust the feet to the desired angle and tighten the screw firmly
- Place the TP-Link CPE210 device onto the holder and secure it with cable ties at the height of the predetermined grooves
The following additional materials are required:
1x self-locking hex nut ISO 10511/10512 (DIN 985) - M6
2x washer ISO 7093 (DIN9021) - M6
2x spring washer DIN127A - A6
1x socket head cap screw ISO 4762 (DIN 912) - M6 x 60 mm
Material and Print:
I chose ASA due to its weather resistance. Please pay attention to the correct positioning of the parts on the print bed and the arrangement of the layers. Otherwise, delamination or reduced strength may occur.
Have fun assembling!
License
You shall not share, sub-license, sell, rent, host, transfer, or distribute in any way the digital or 3D printed versions of this object, nor any other derivative work of this object in its digital or physical format (including - but not limited to - remixes of this object, and hosting on other digital platforms). The objects may not be used without permission in any way whatsoever in which you charge money, or collect fees.
Comment & Rating (0)