
Slim H2 Quicklock Exhaust System - UPDATED
Print Profile(15)


Bill of Materials






Description
Hello again!
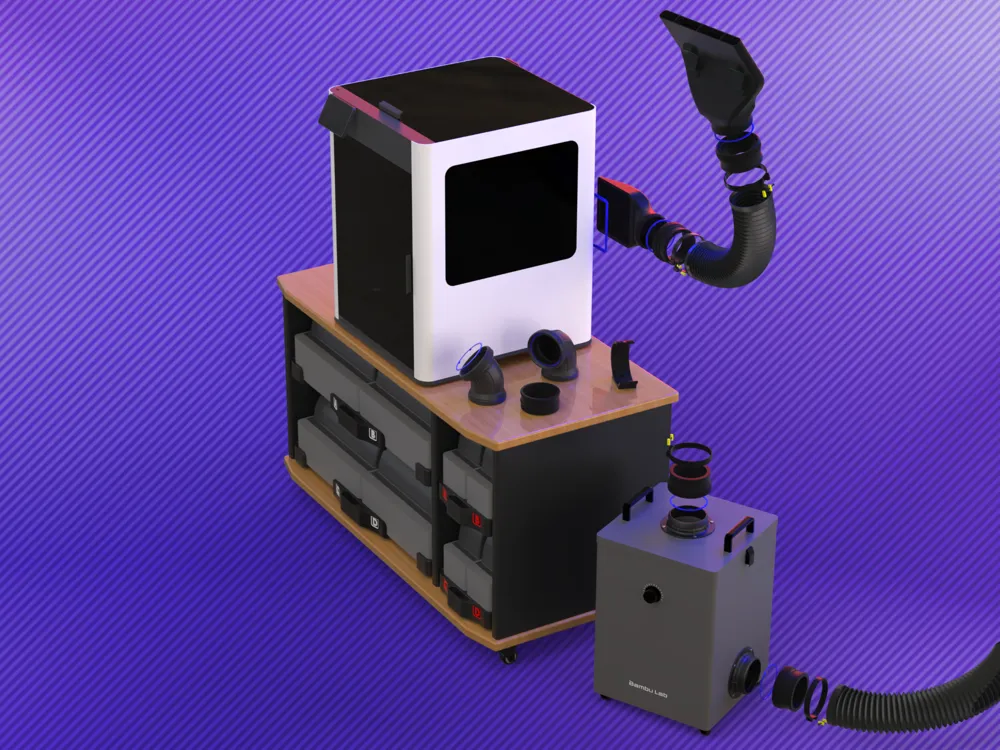
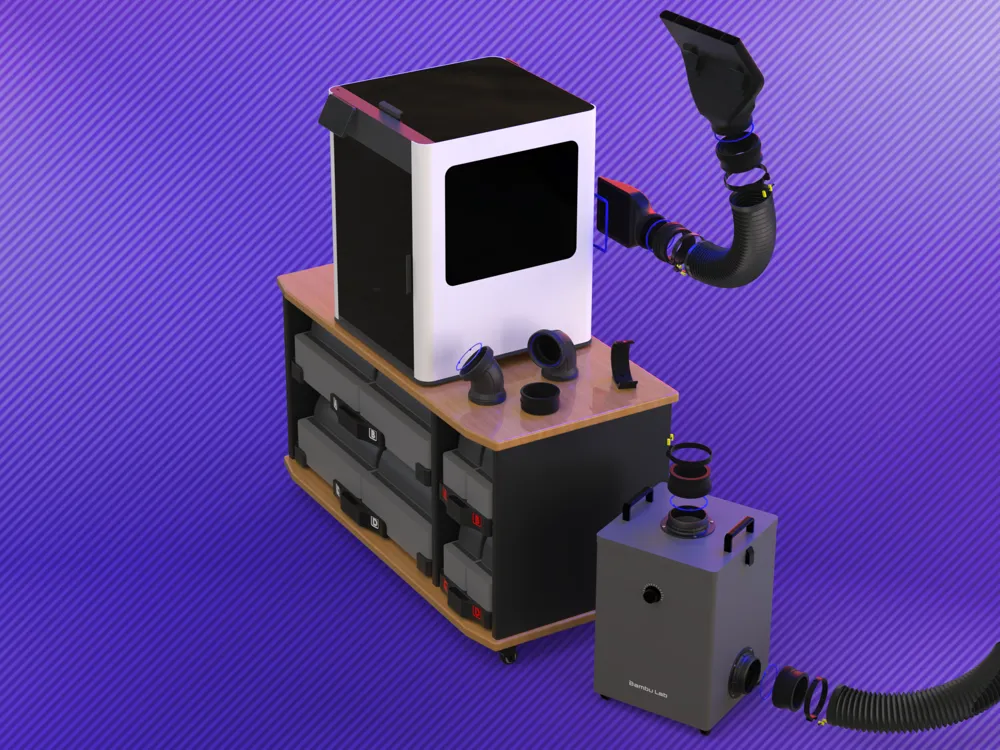
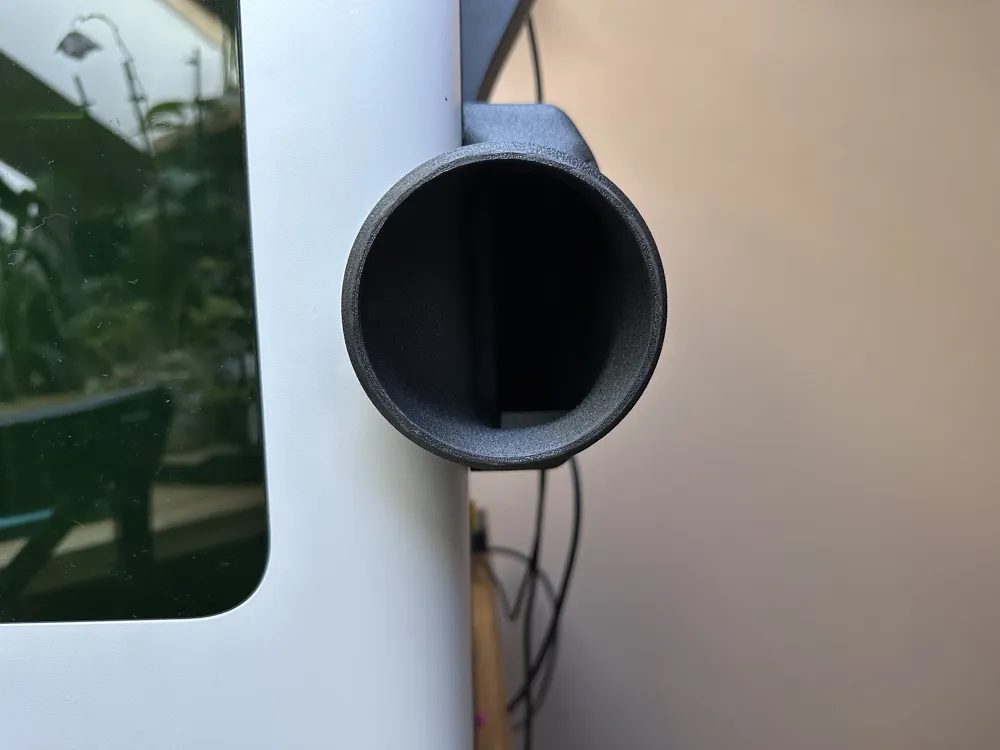
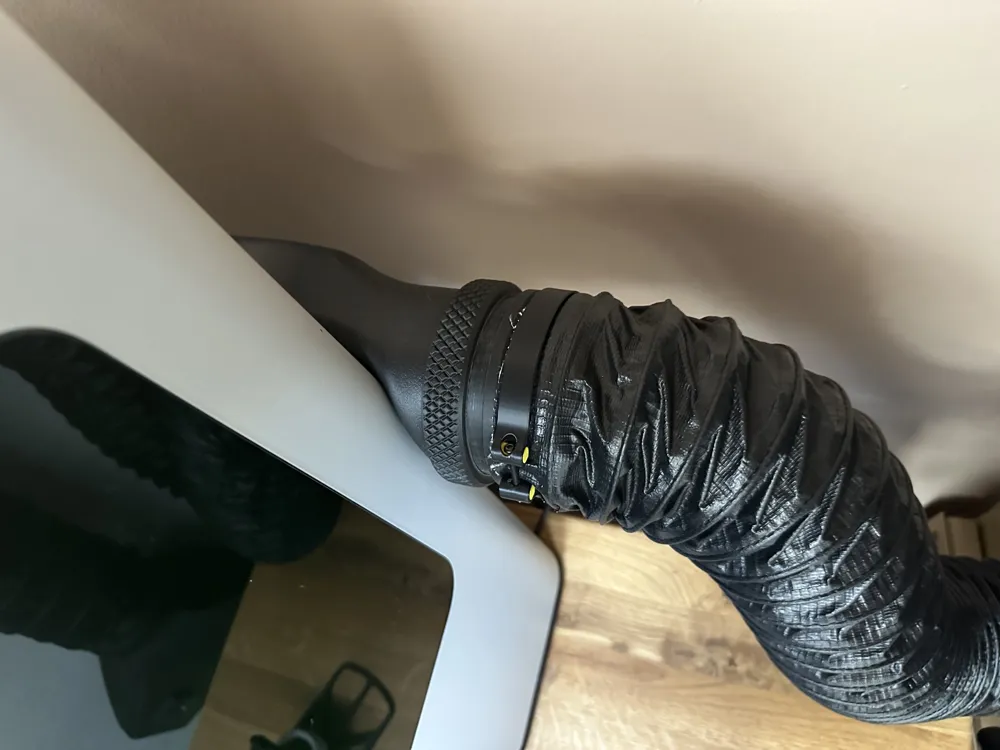
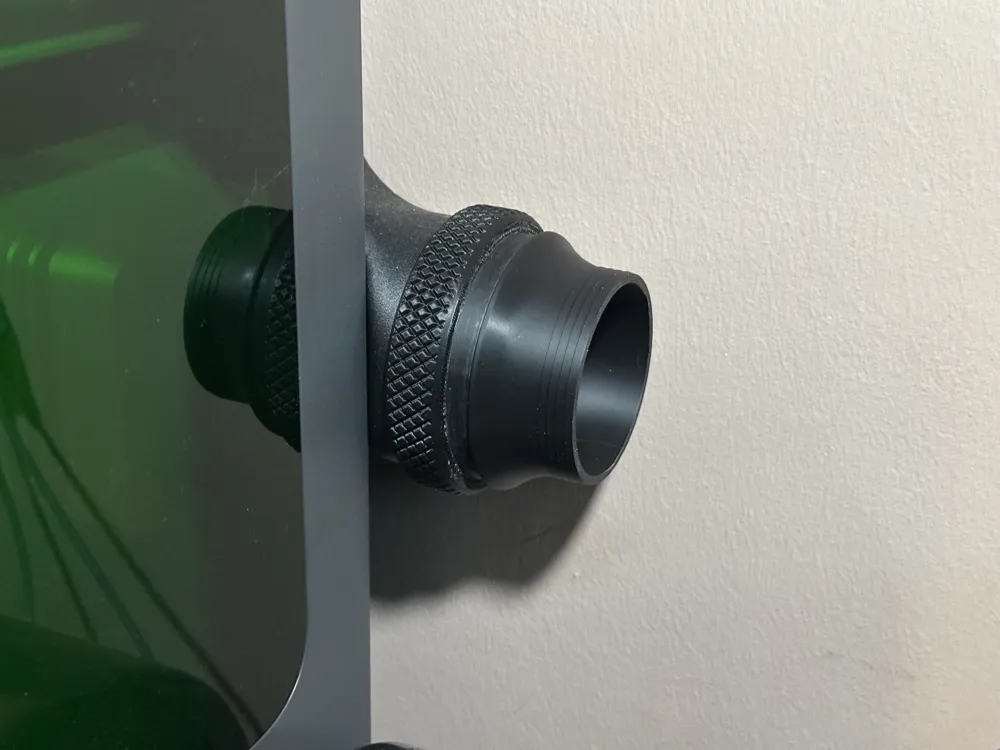
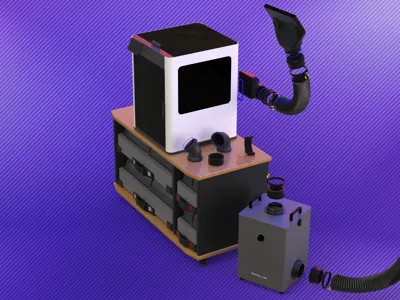
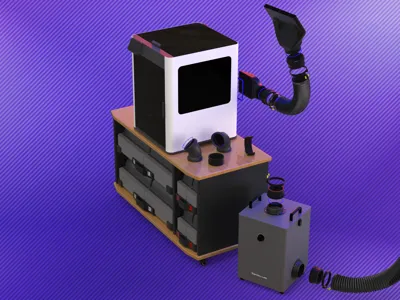
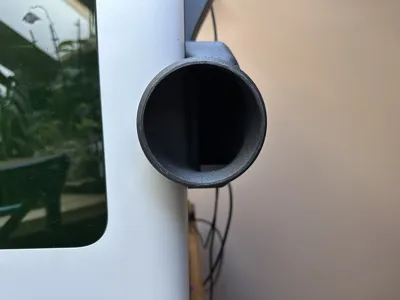
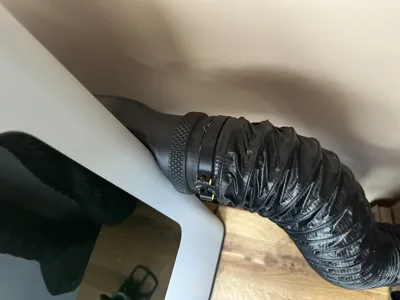
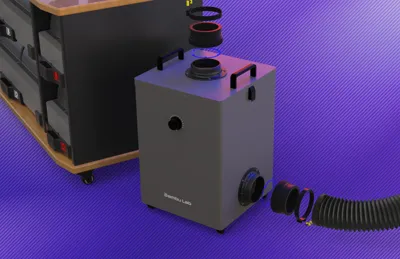
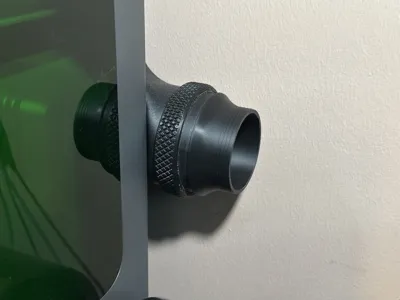
My H2D is set up with its rear panel very close to a wall, so the stock exhaust duct was not an option for me to use.
This exhaust system only adds about 60mm of depth to the setup.

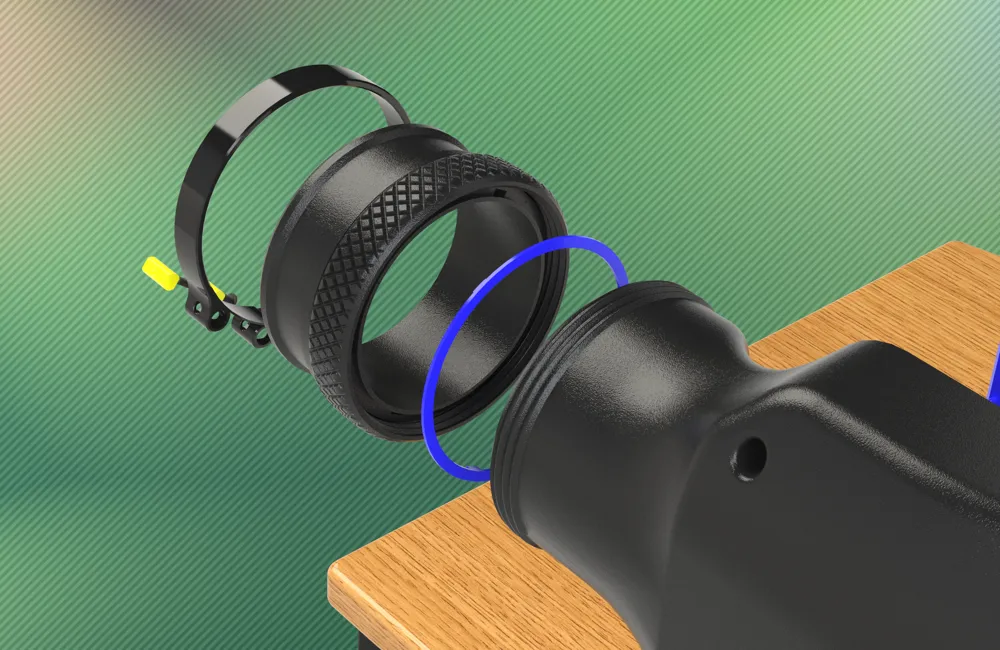
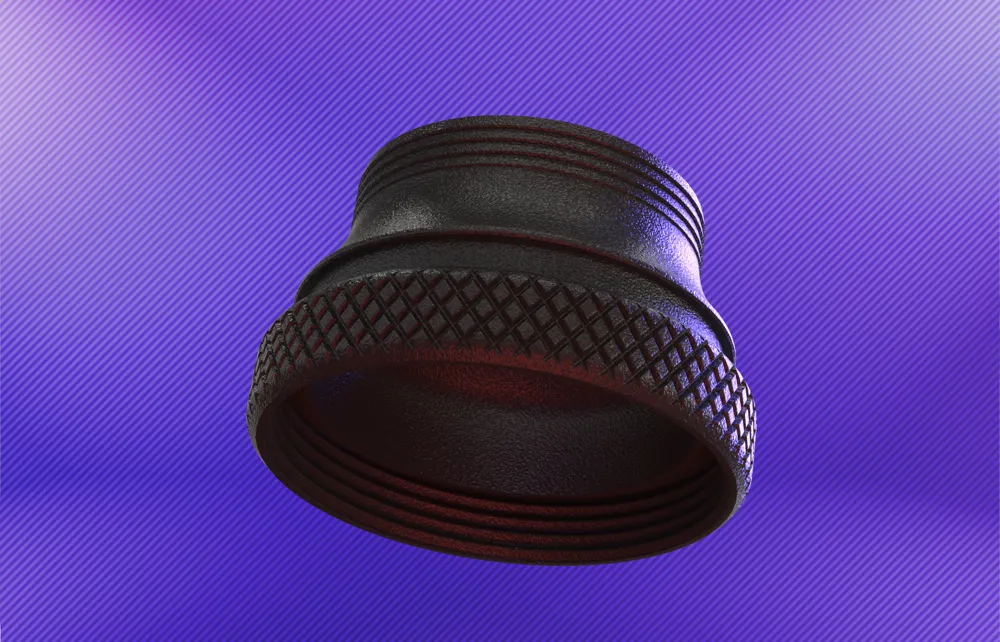
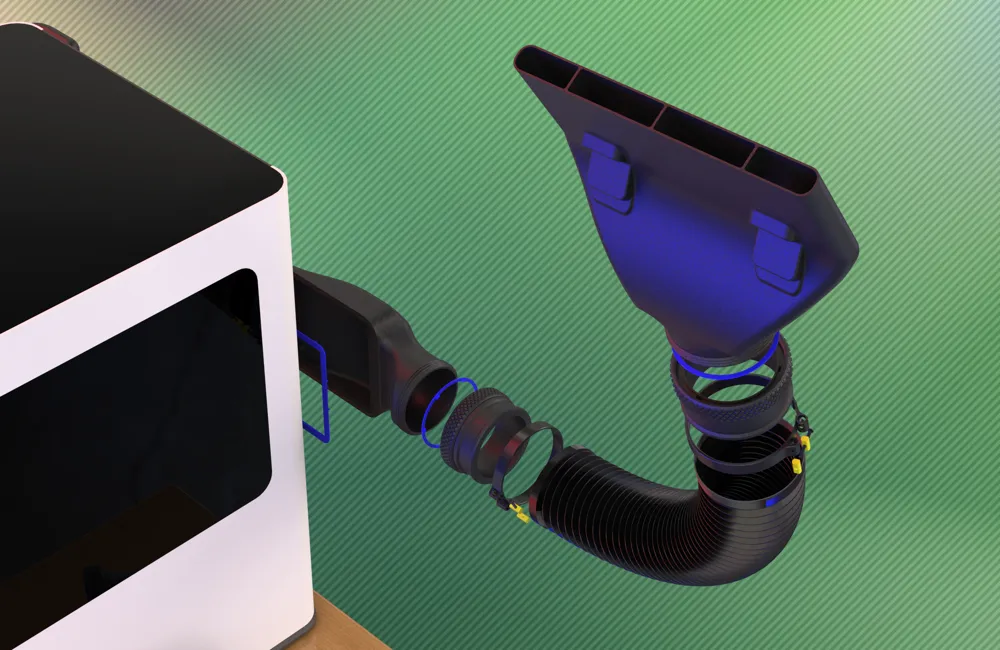
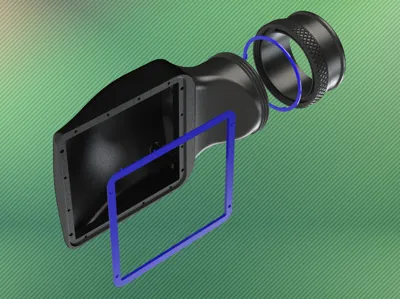
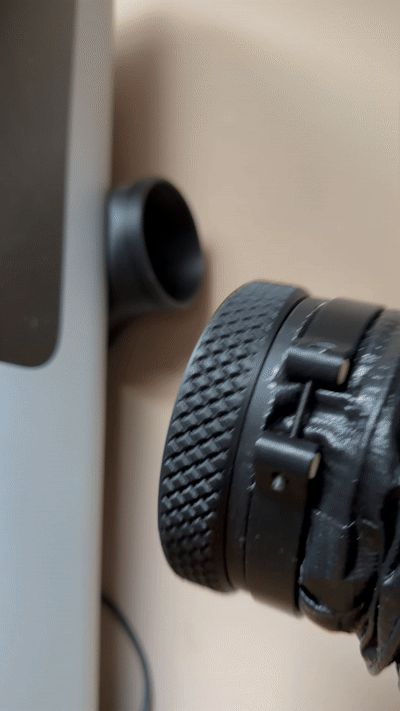
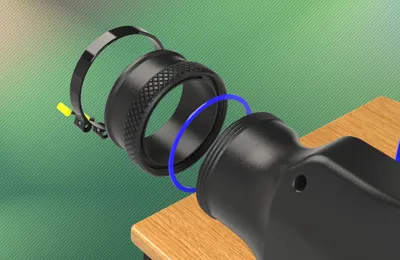
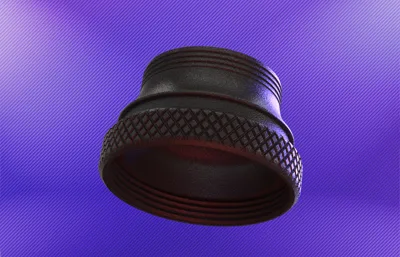
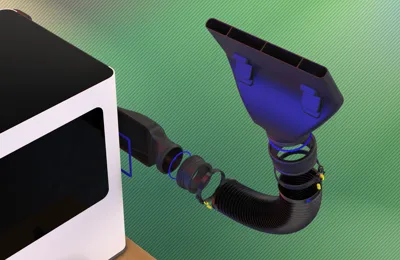
The second aspect that was very important to me was that the exhaust hose could be connected and disconnected very easily. Therefore, I decided to integrate hose adapters equipped with a freely rotating lock nut.

This part is best printed with a suitable support interface material (my profile uses "Support for ABS" from Bambu Lab).
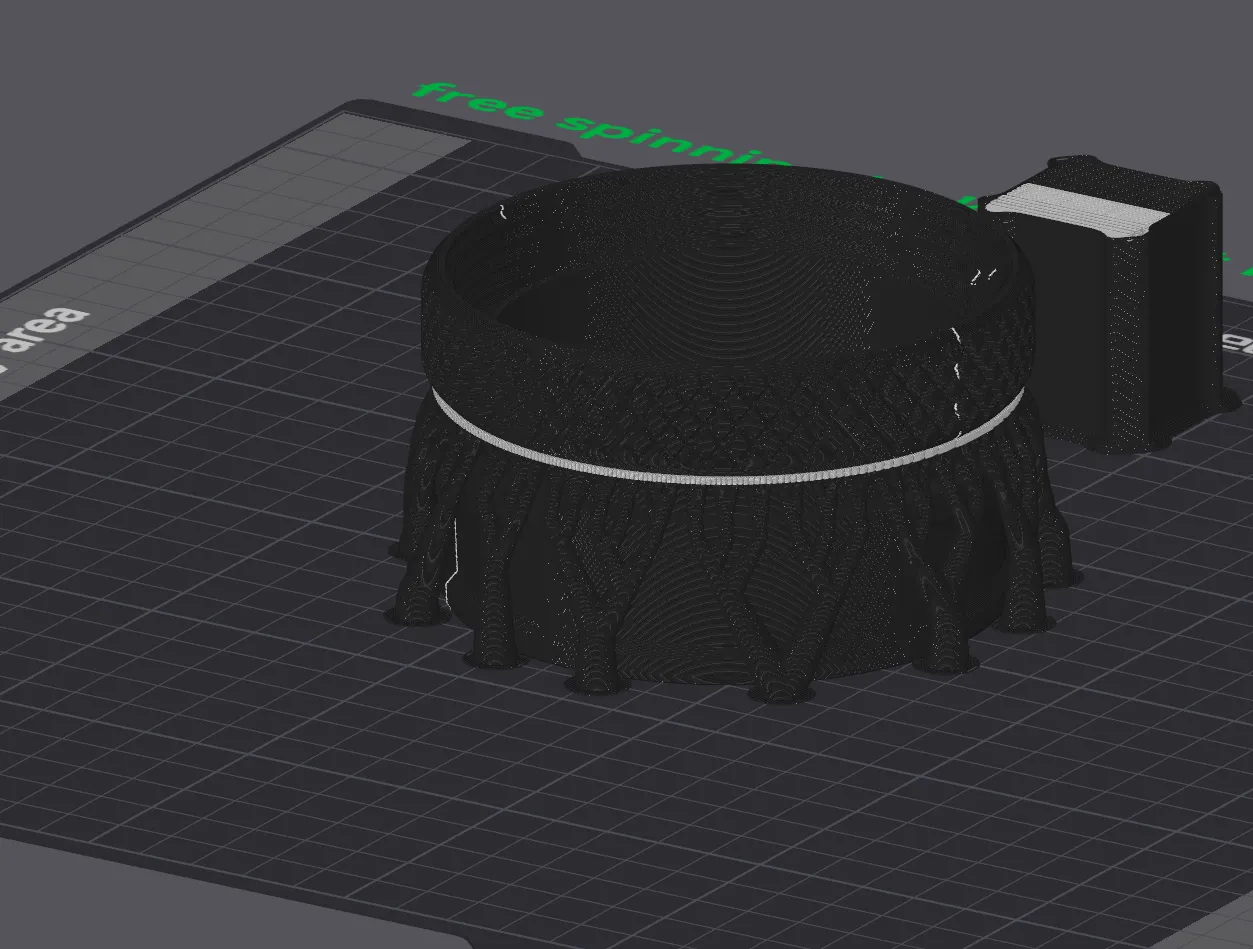
It can also be printed with regular supports, but this must be configured in the slicer on a desktop PC! Please do not attempt to replace the support interface material with model material in Bambu Handy, as this would result in support structures that are almost impossible to remove!
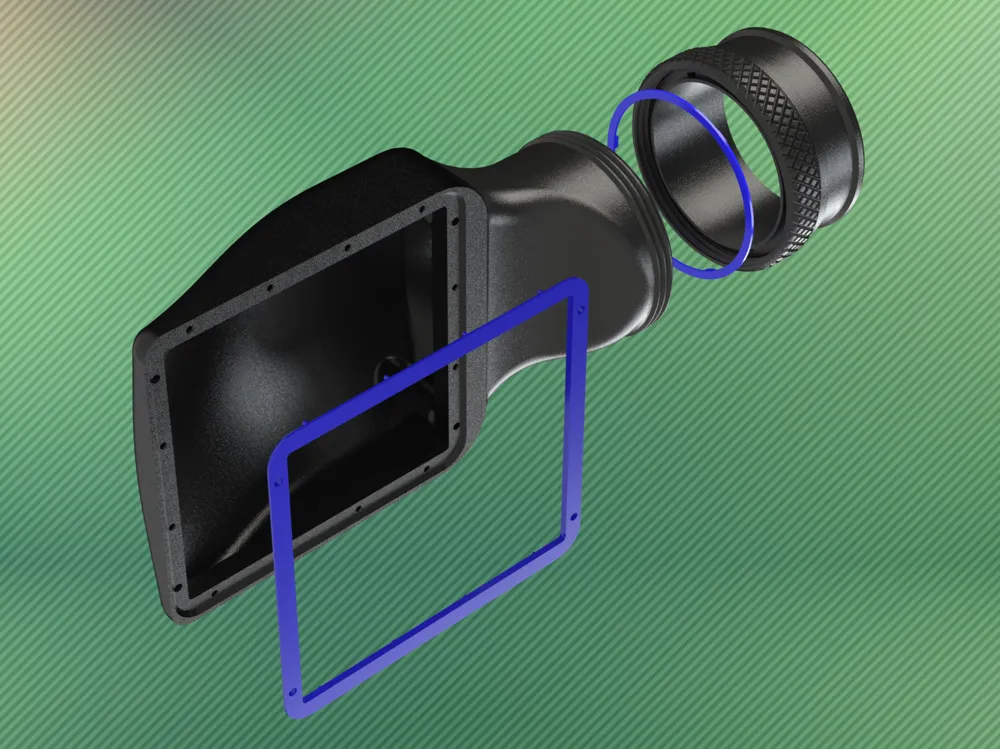
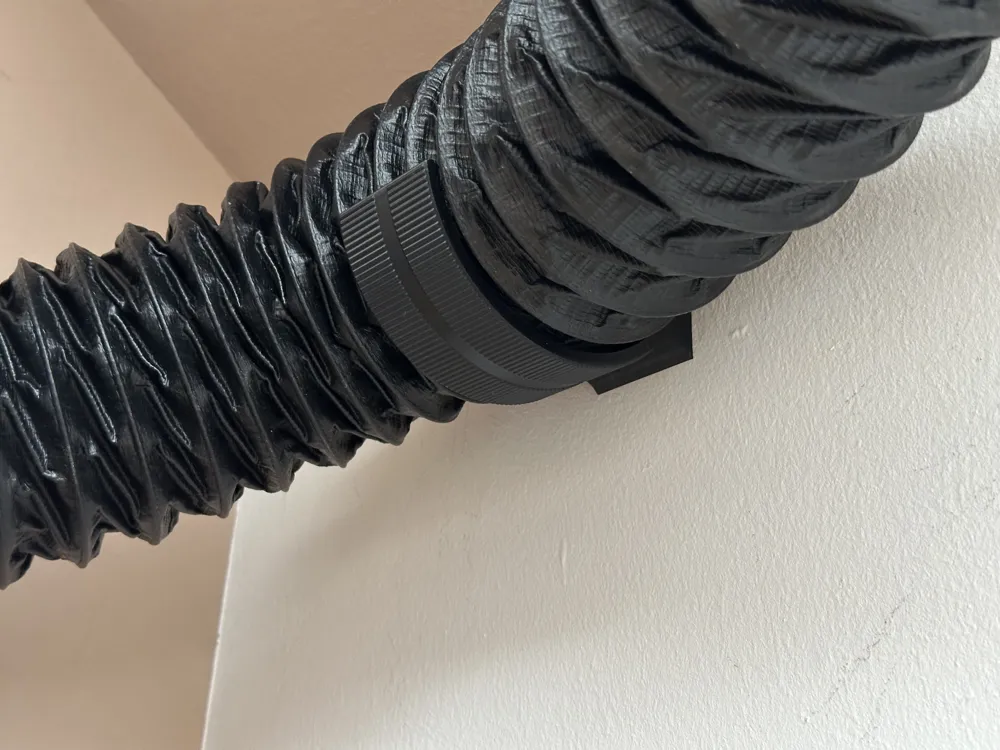
The connection between the exhaust duct and the printer, as well as the hose connection, are each equipped with TPU seals.
I also decided to use printed hose clamps. I needed more clamps than the one that came with the printer.

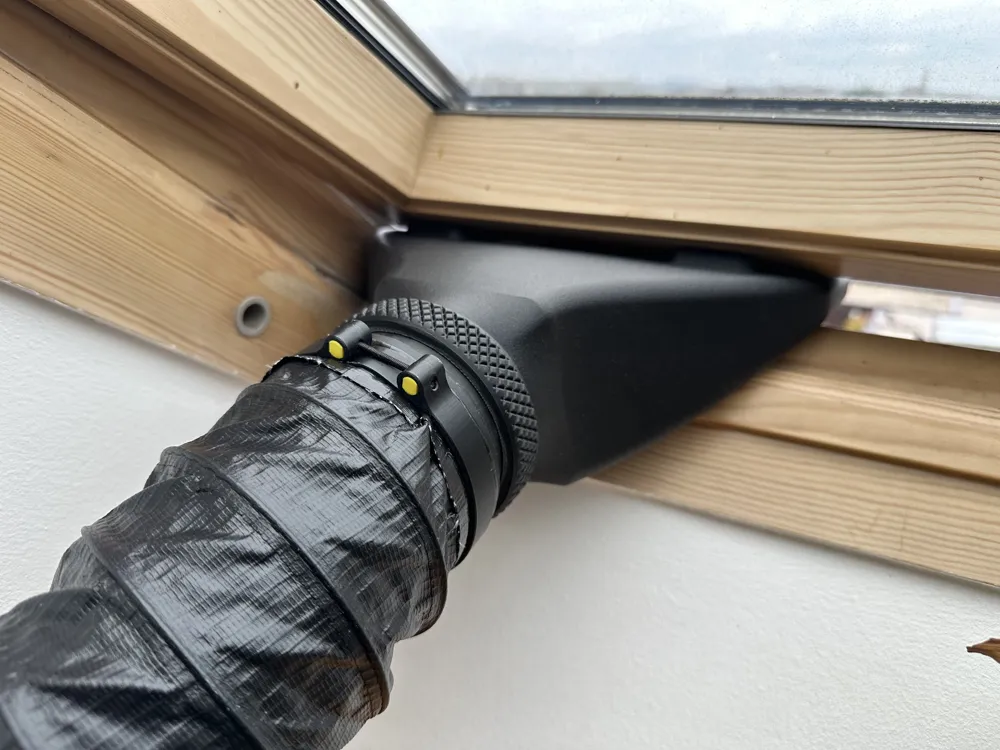
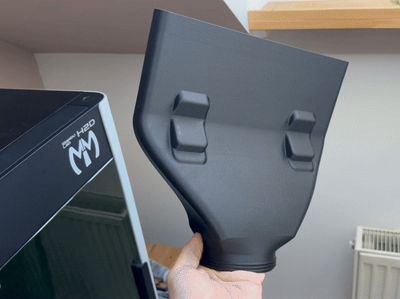
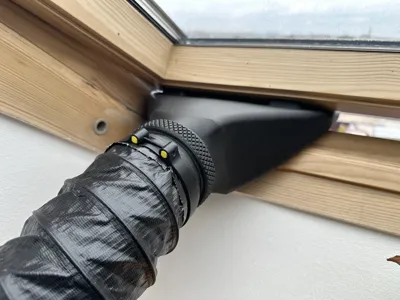
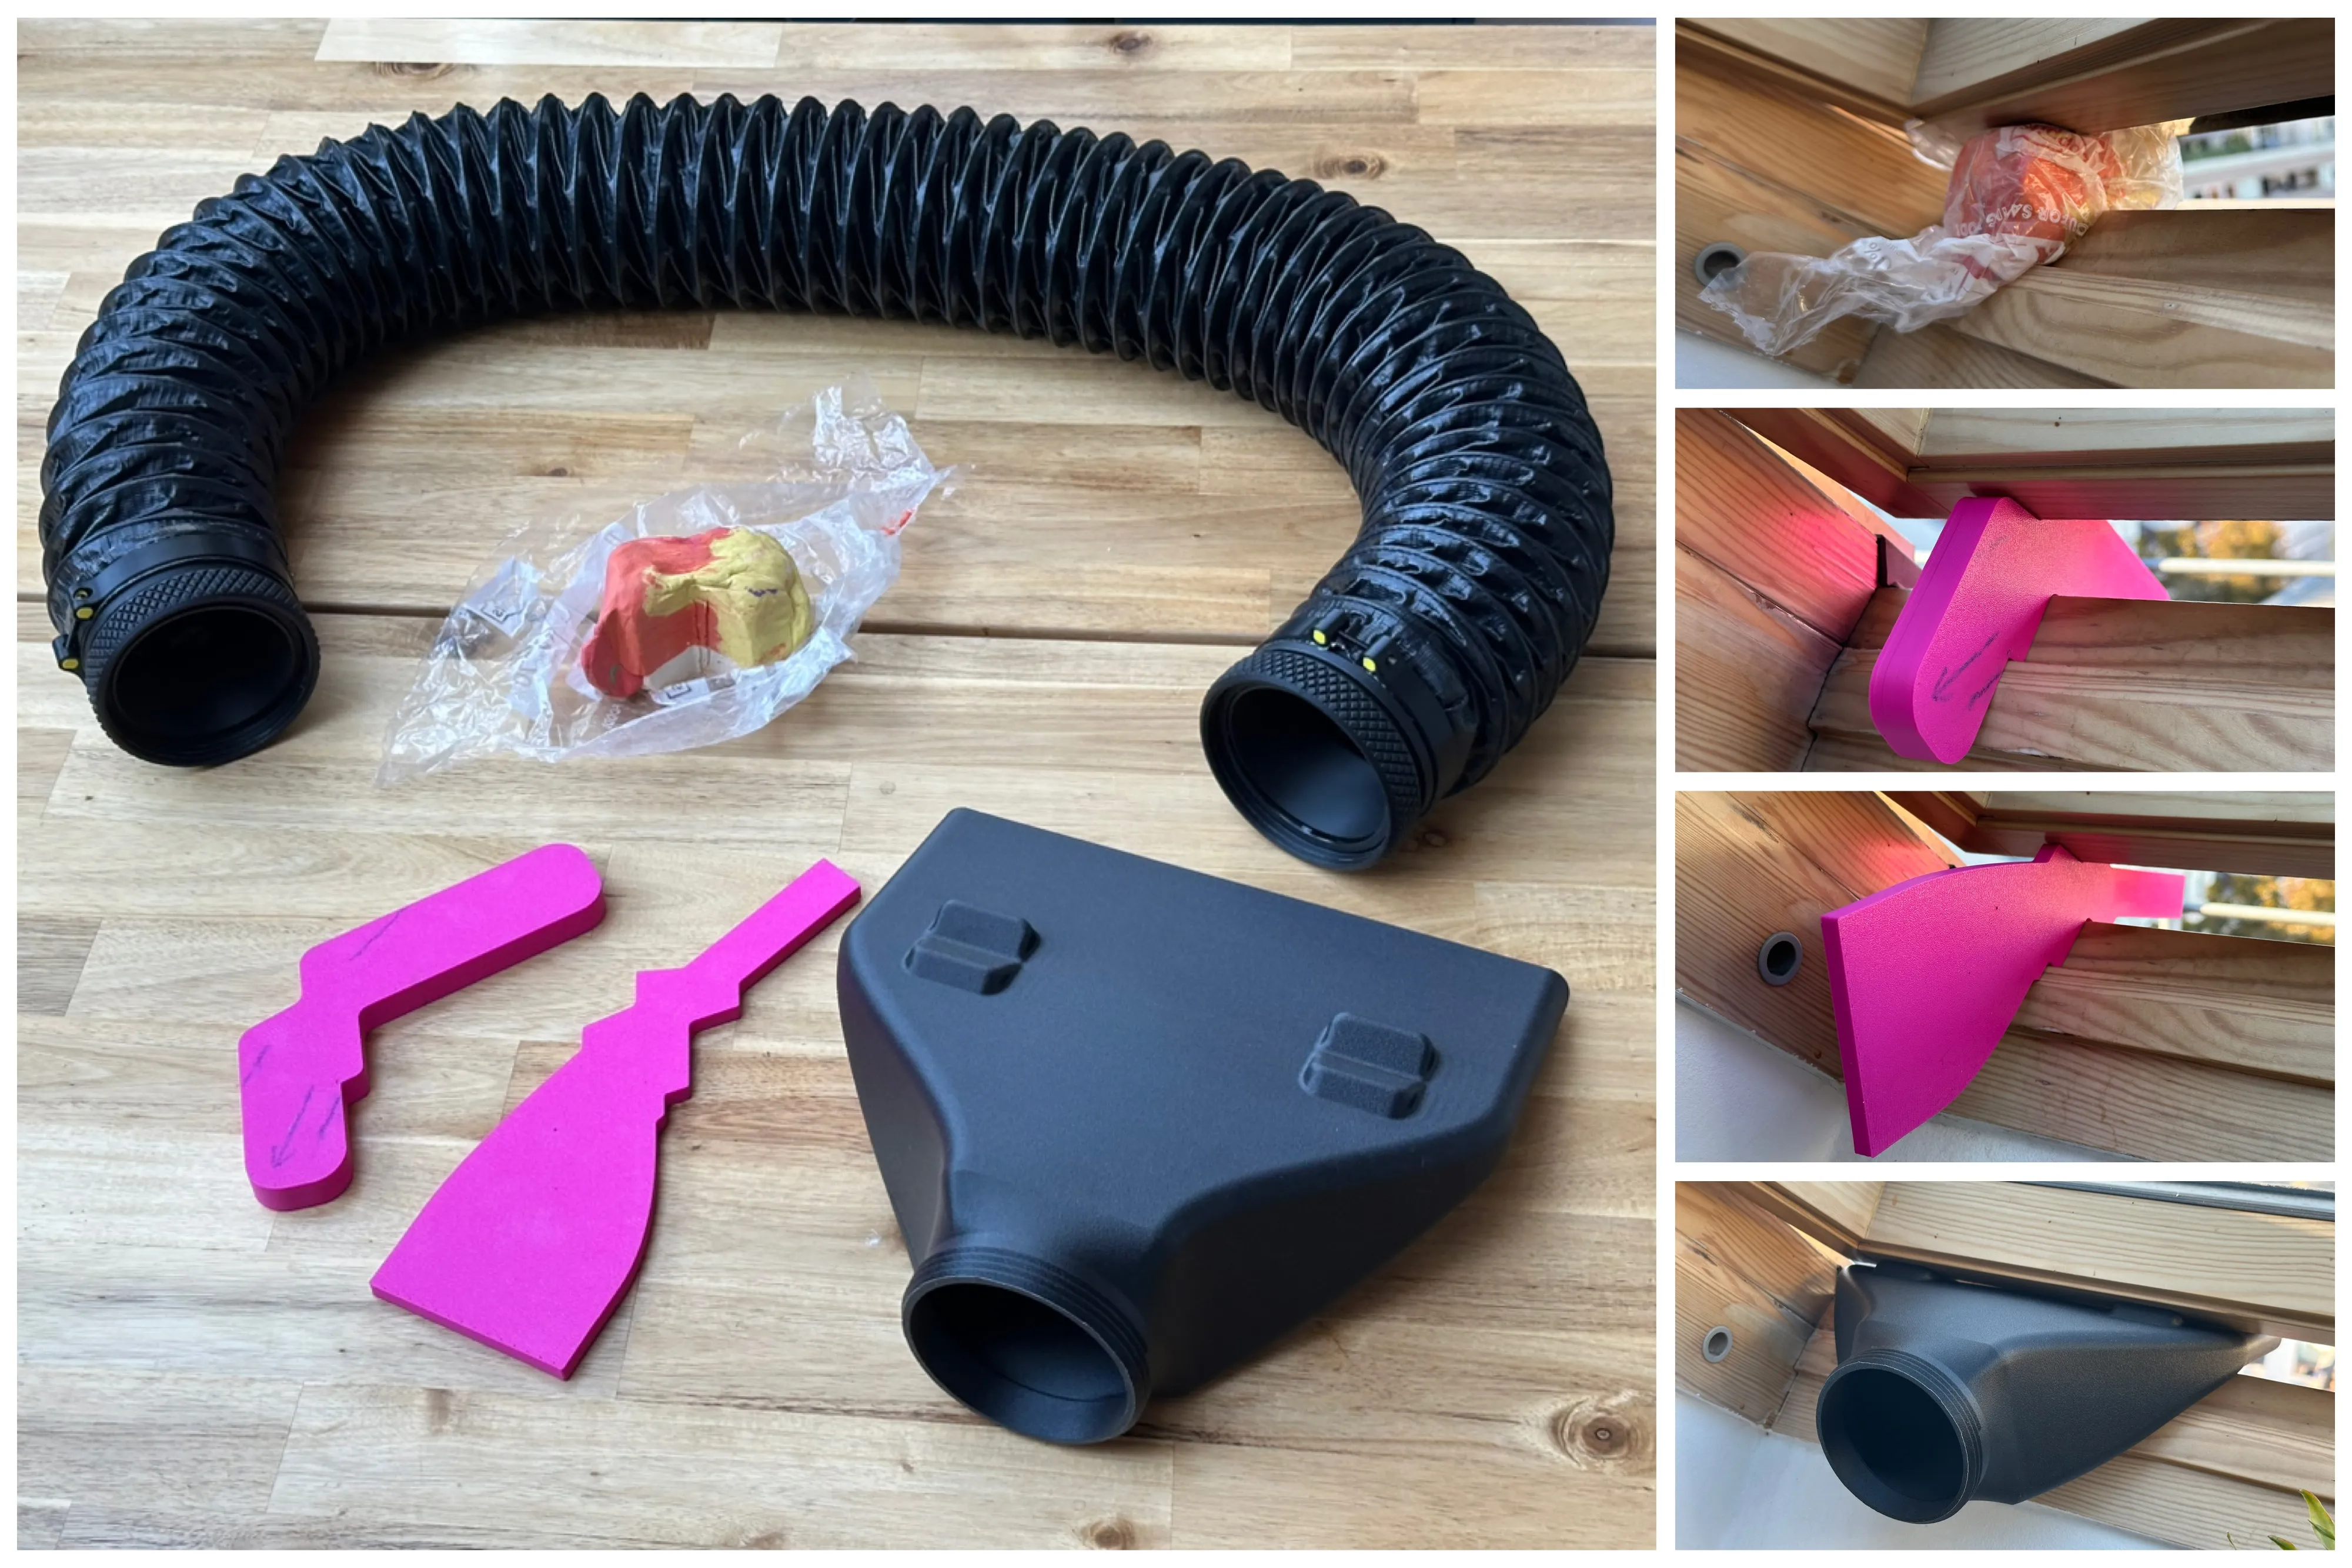
My exhaust system has an adapter for my VELUX roof window on the other end, for which I use the same quick connect.
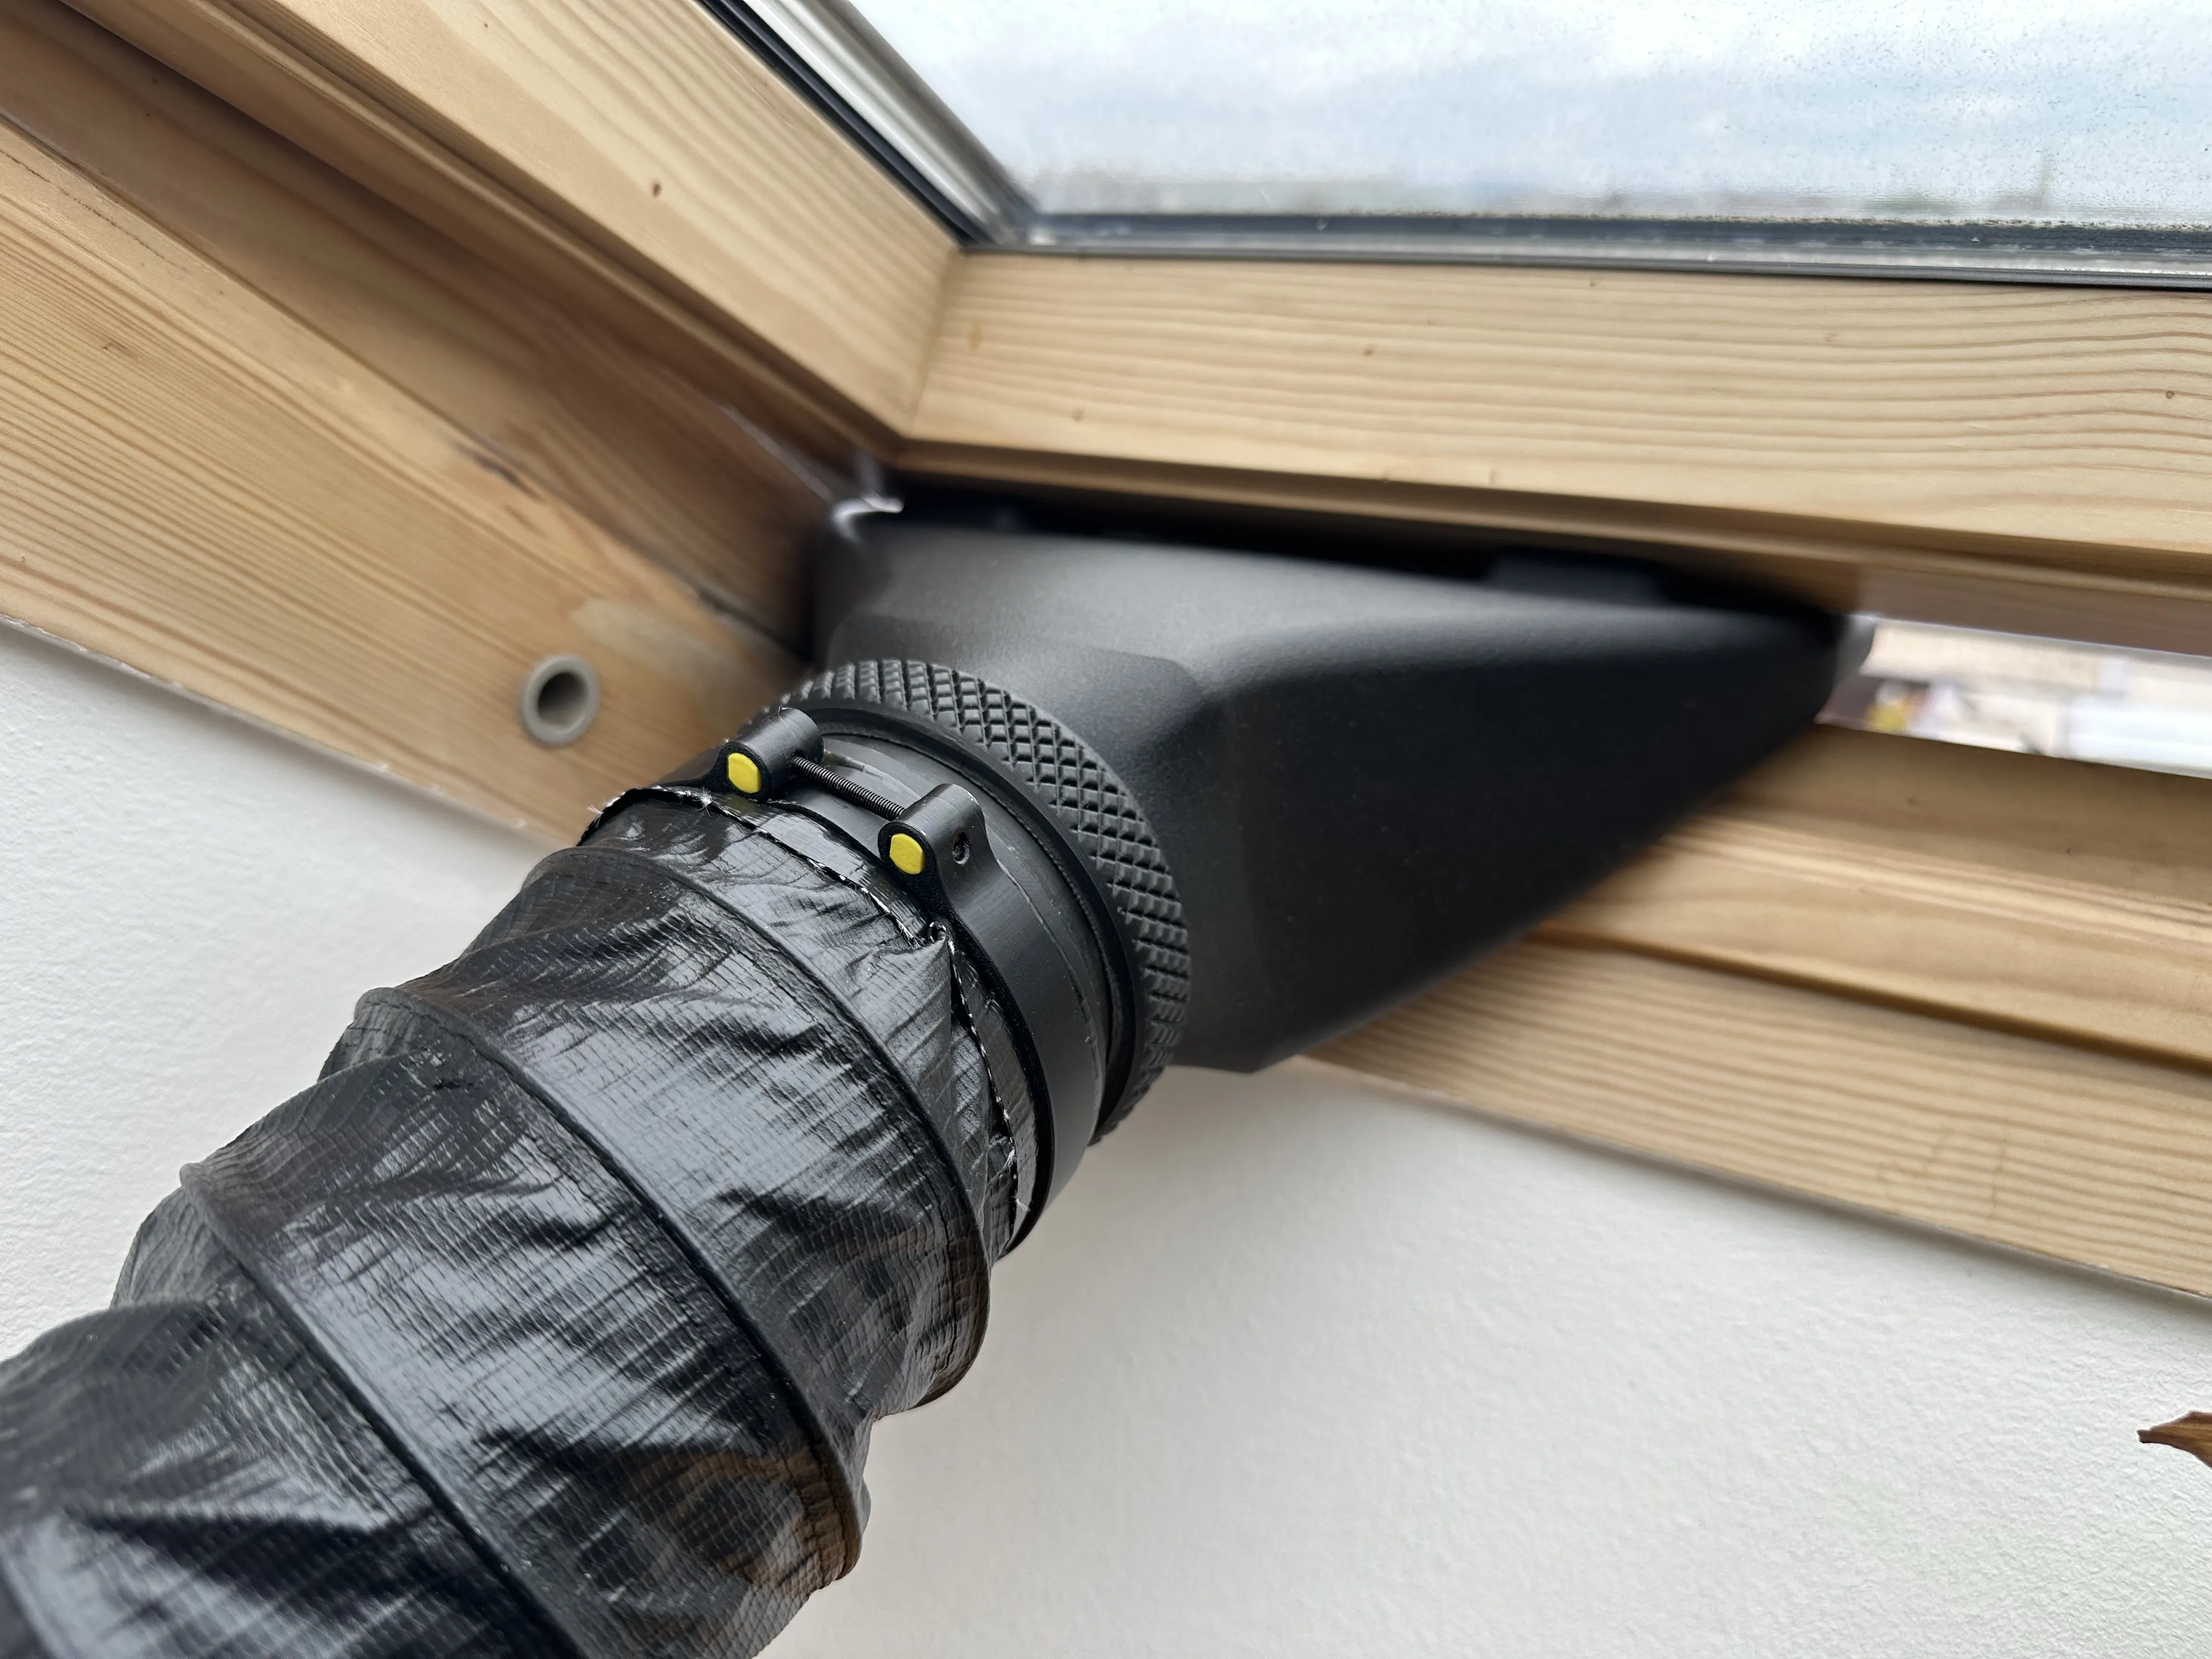
Even though there are probably fewer people who have both an H2 printer and Velux roof windows, I've provided a profile for this Velux exhaust duct for you. I'm sure it will fit other pitched roof windows reasonably well, though not as precisely as this brand.
Update February 14th, 2026:
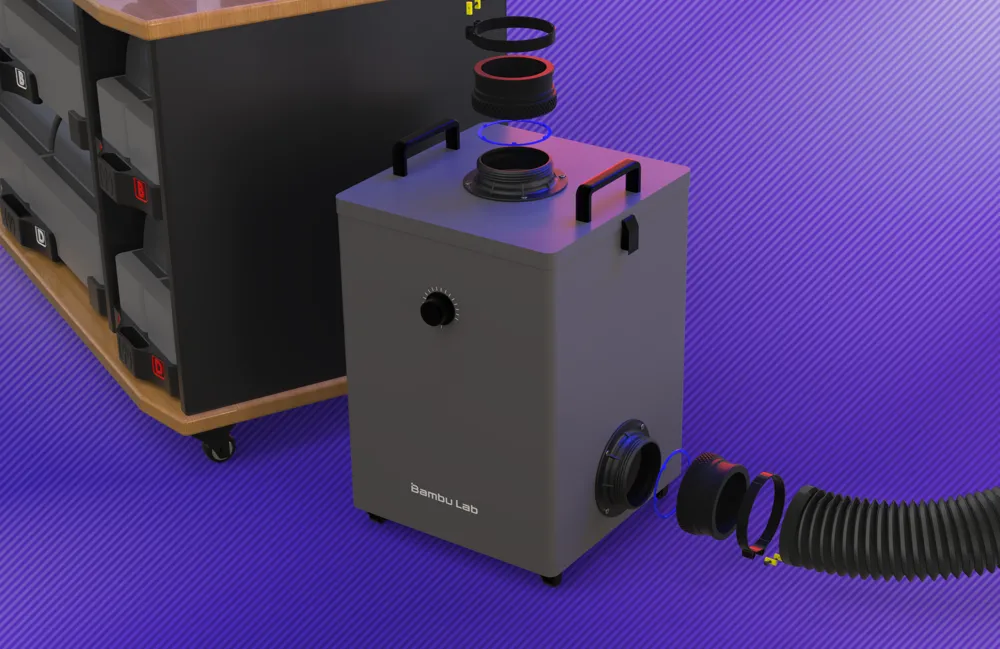
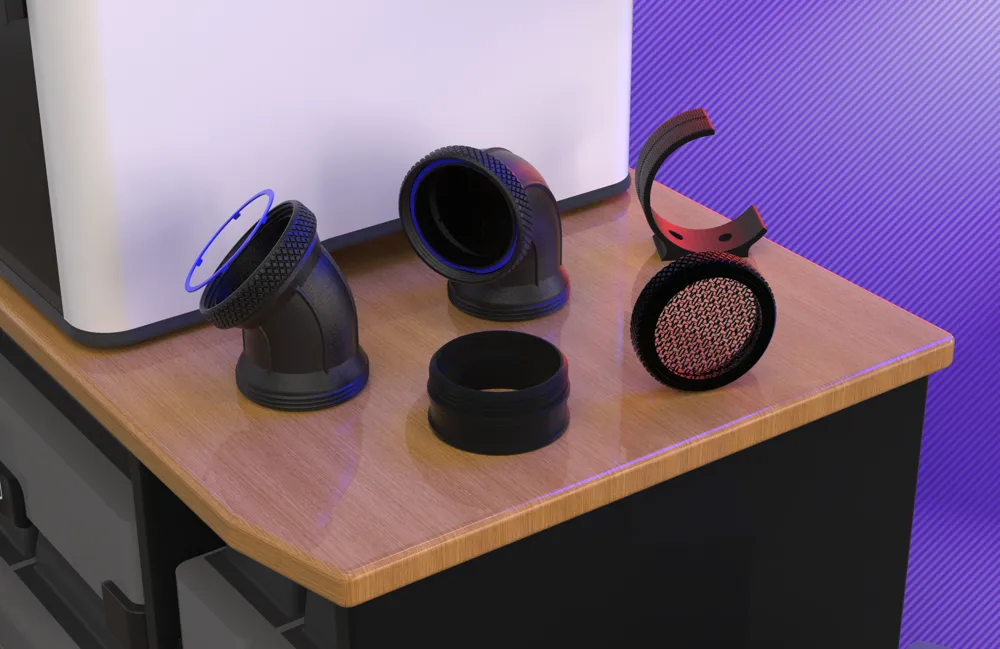
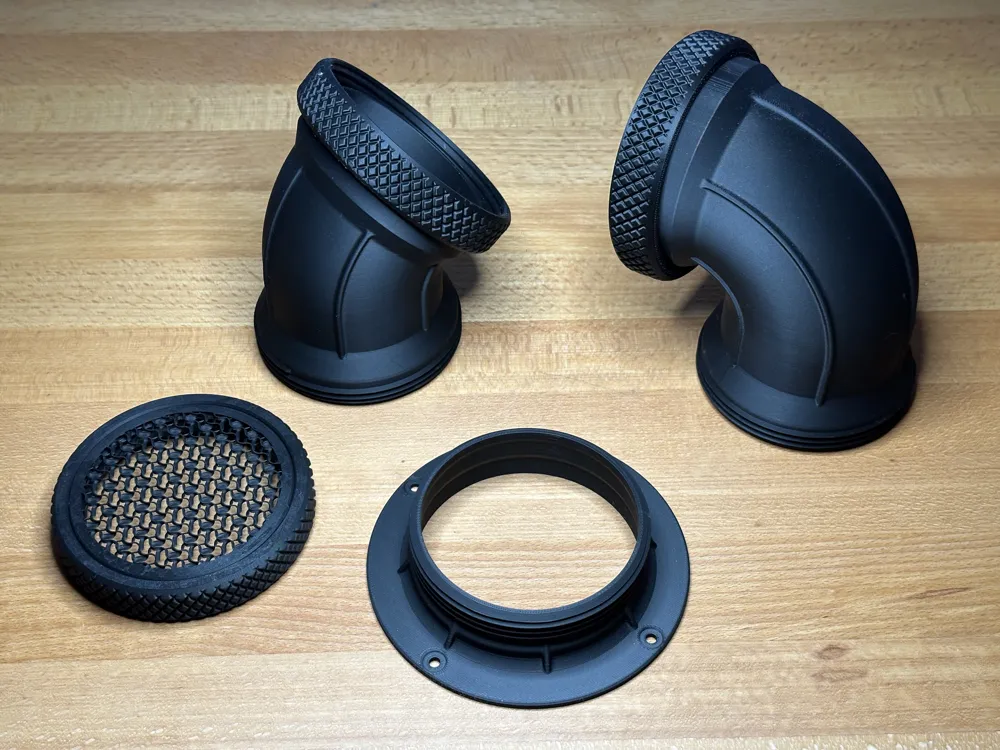
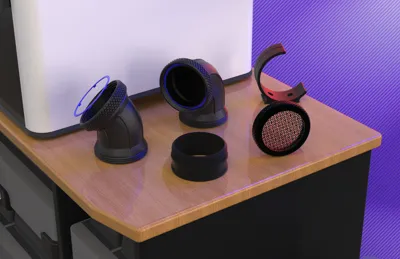
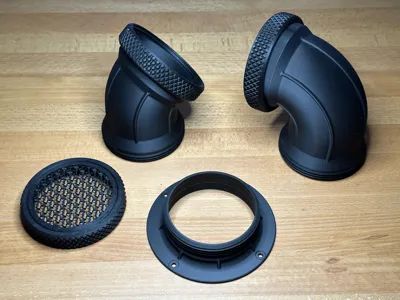
45° Elbow and Quicklock compatible Flange for the Bambu Lab Smoke Purifier are online!
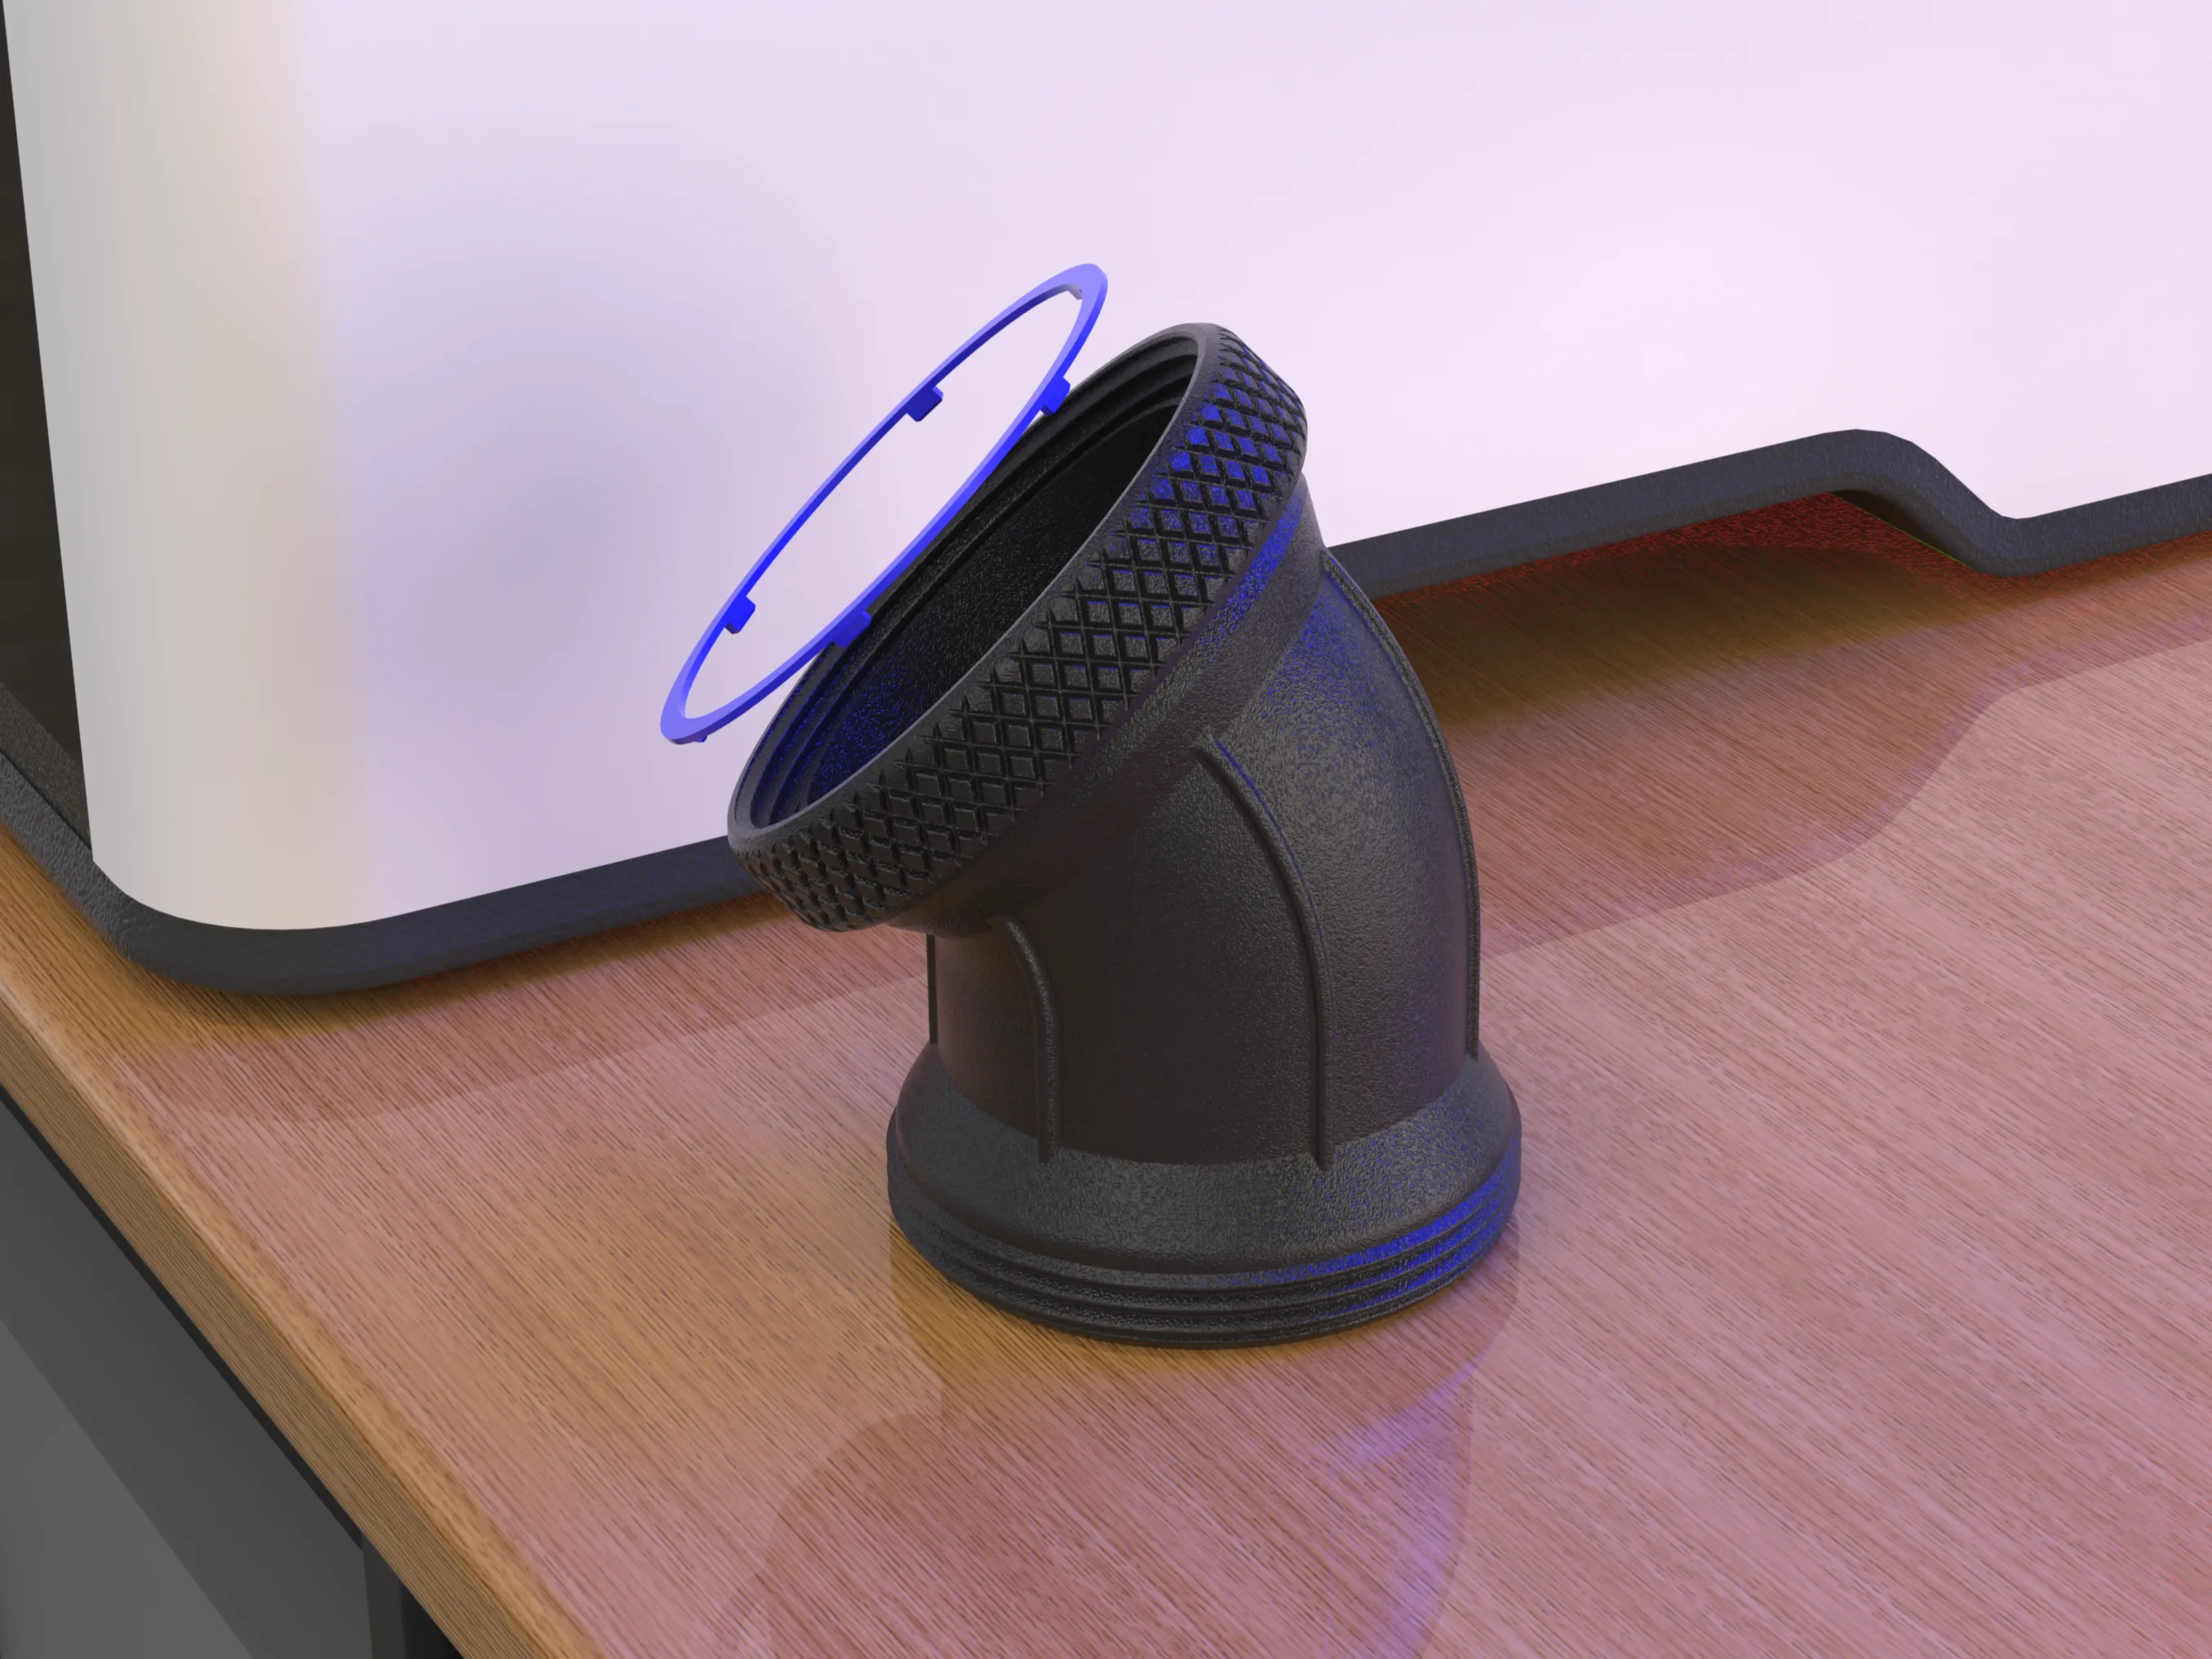
The new 45° corner is printed very similarly to the 90° corner.
I've included a plate with and one without support surface material in the profile.
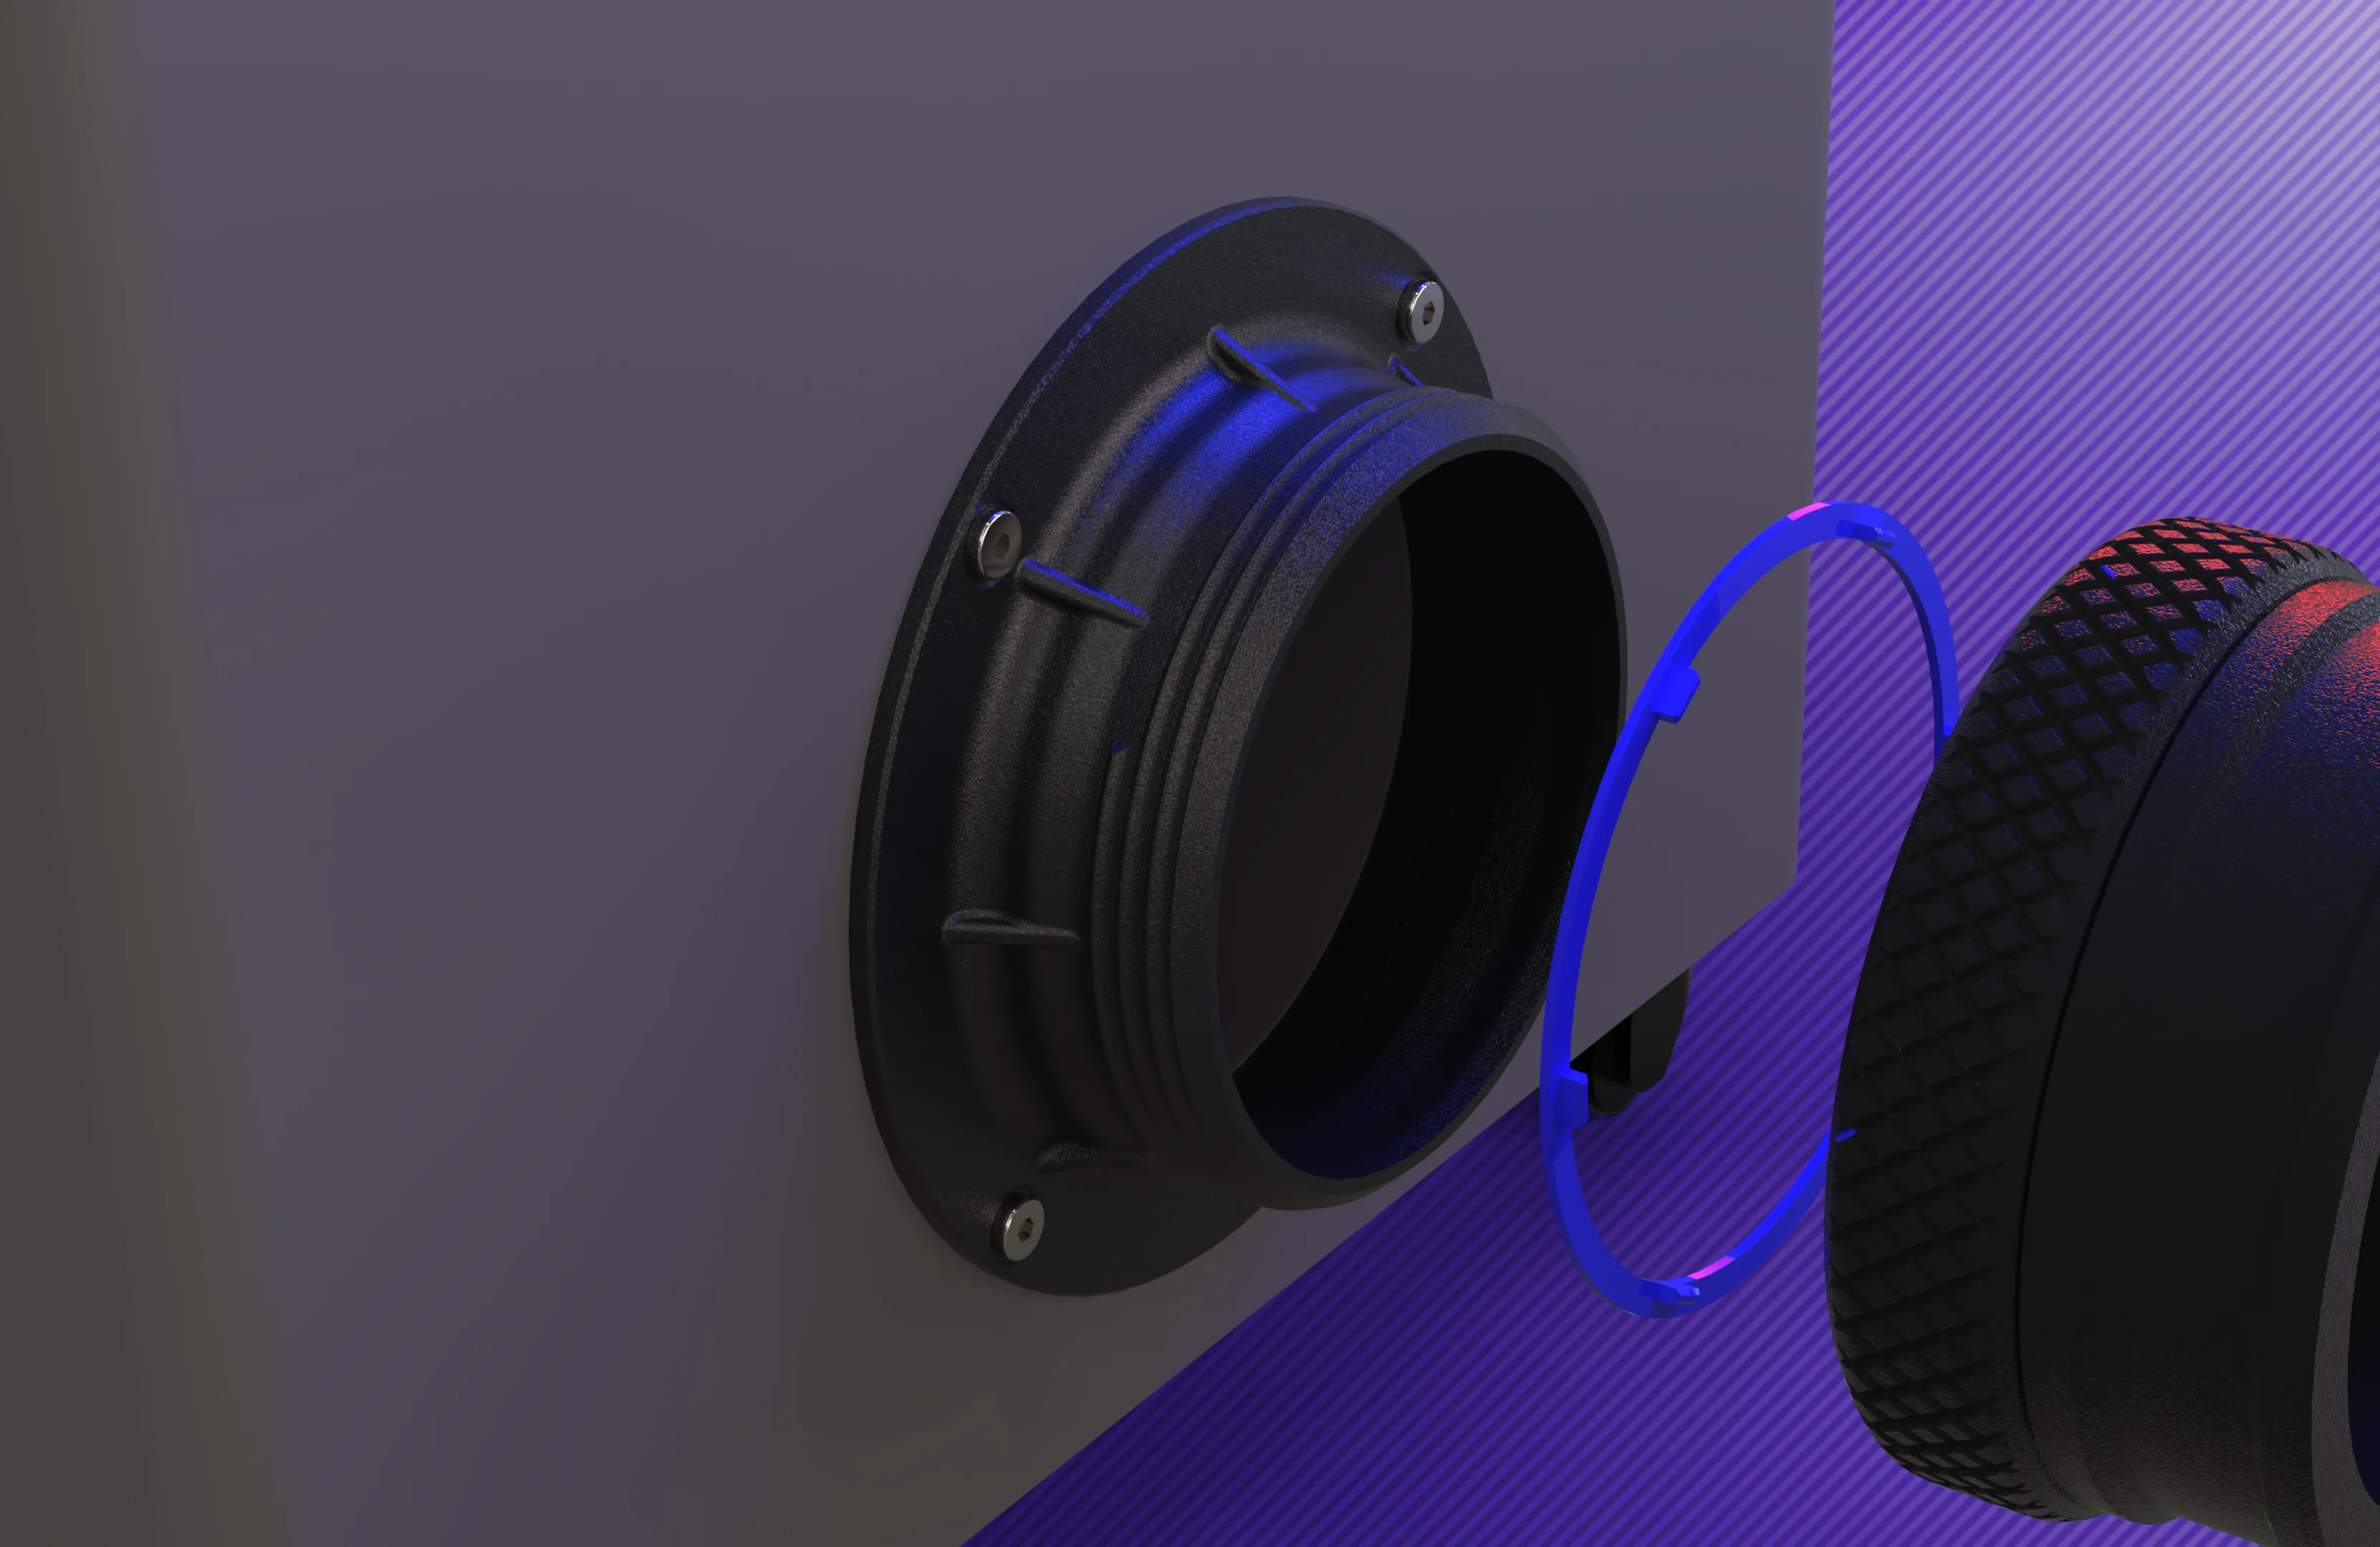
The Quicklock connector for the smoke purifier can be installed plug-and-play using the existing screws and gasket, which are also used to secure the stock connectors.
Update February 10th, 2026:
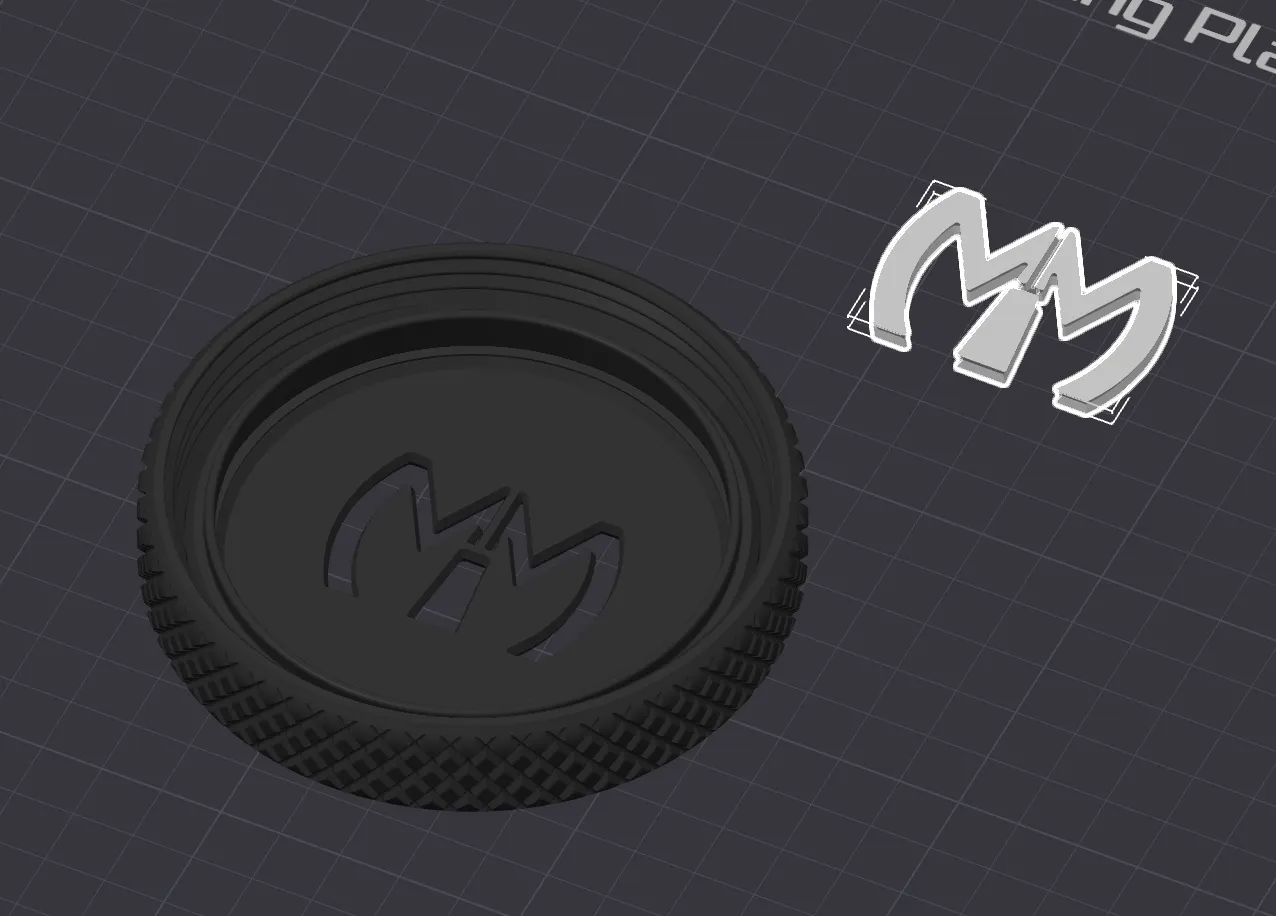
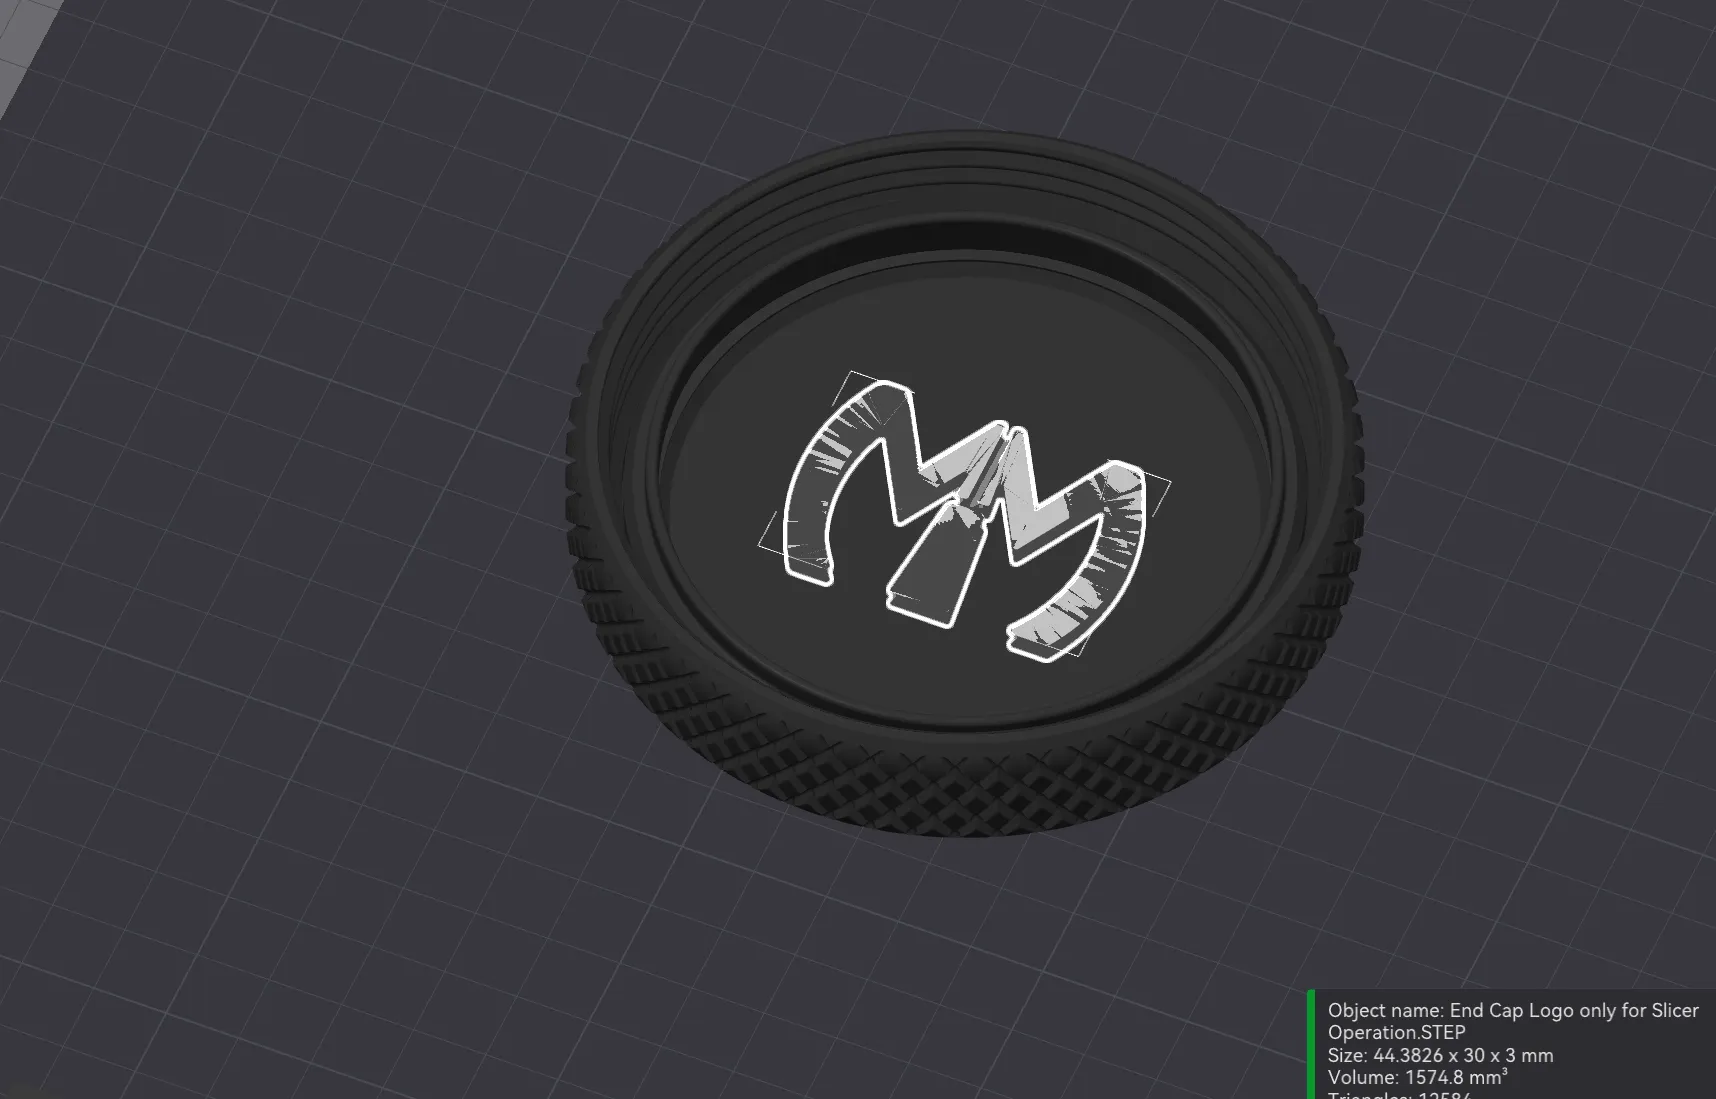
I added another new part - a meshed end cap that screws onto the slim exhaust duct when the exhaust hose is not being used.
This adds a cool look and keeps stuff like childrens hands, cats heads and so on from entering the duct :D
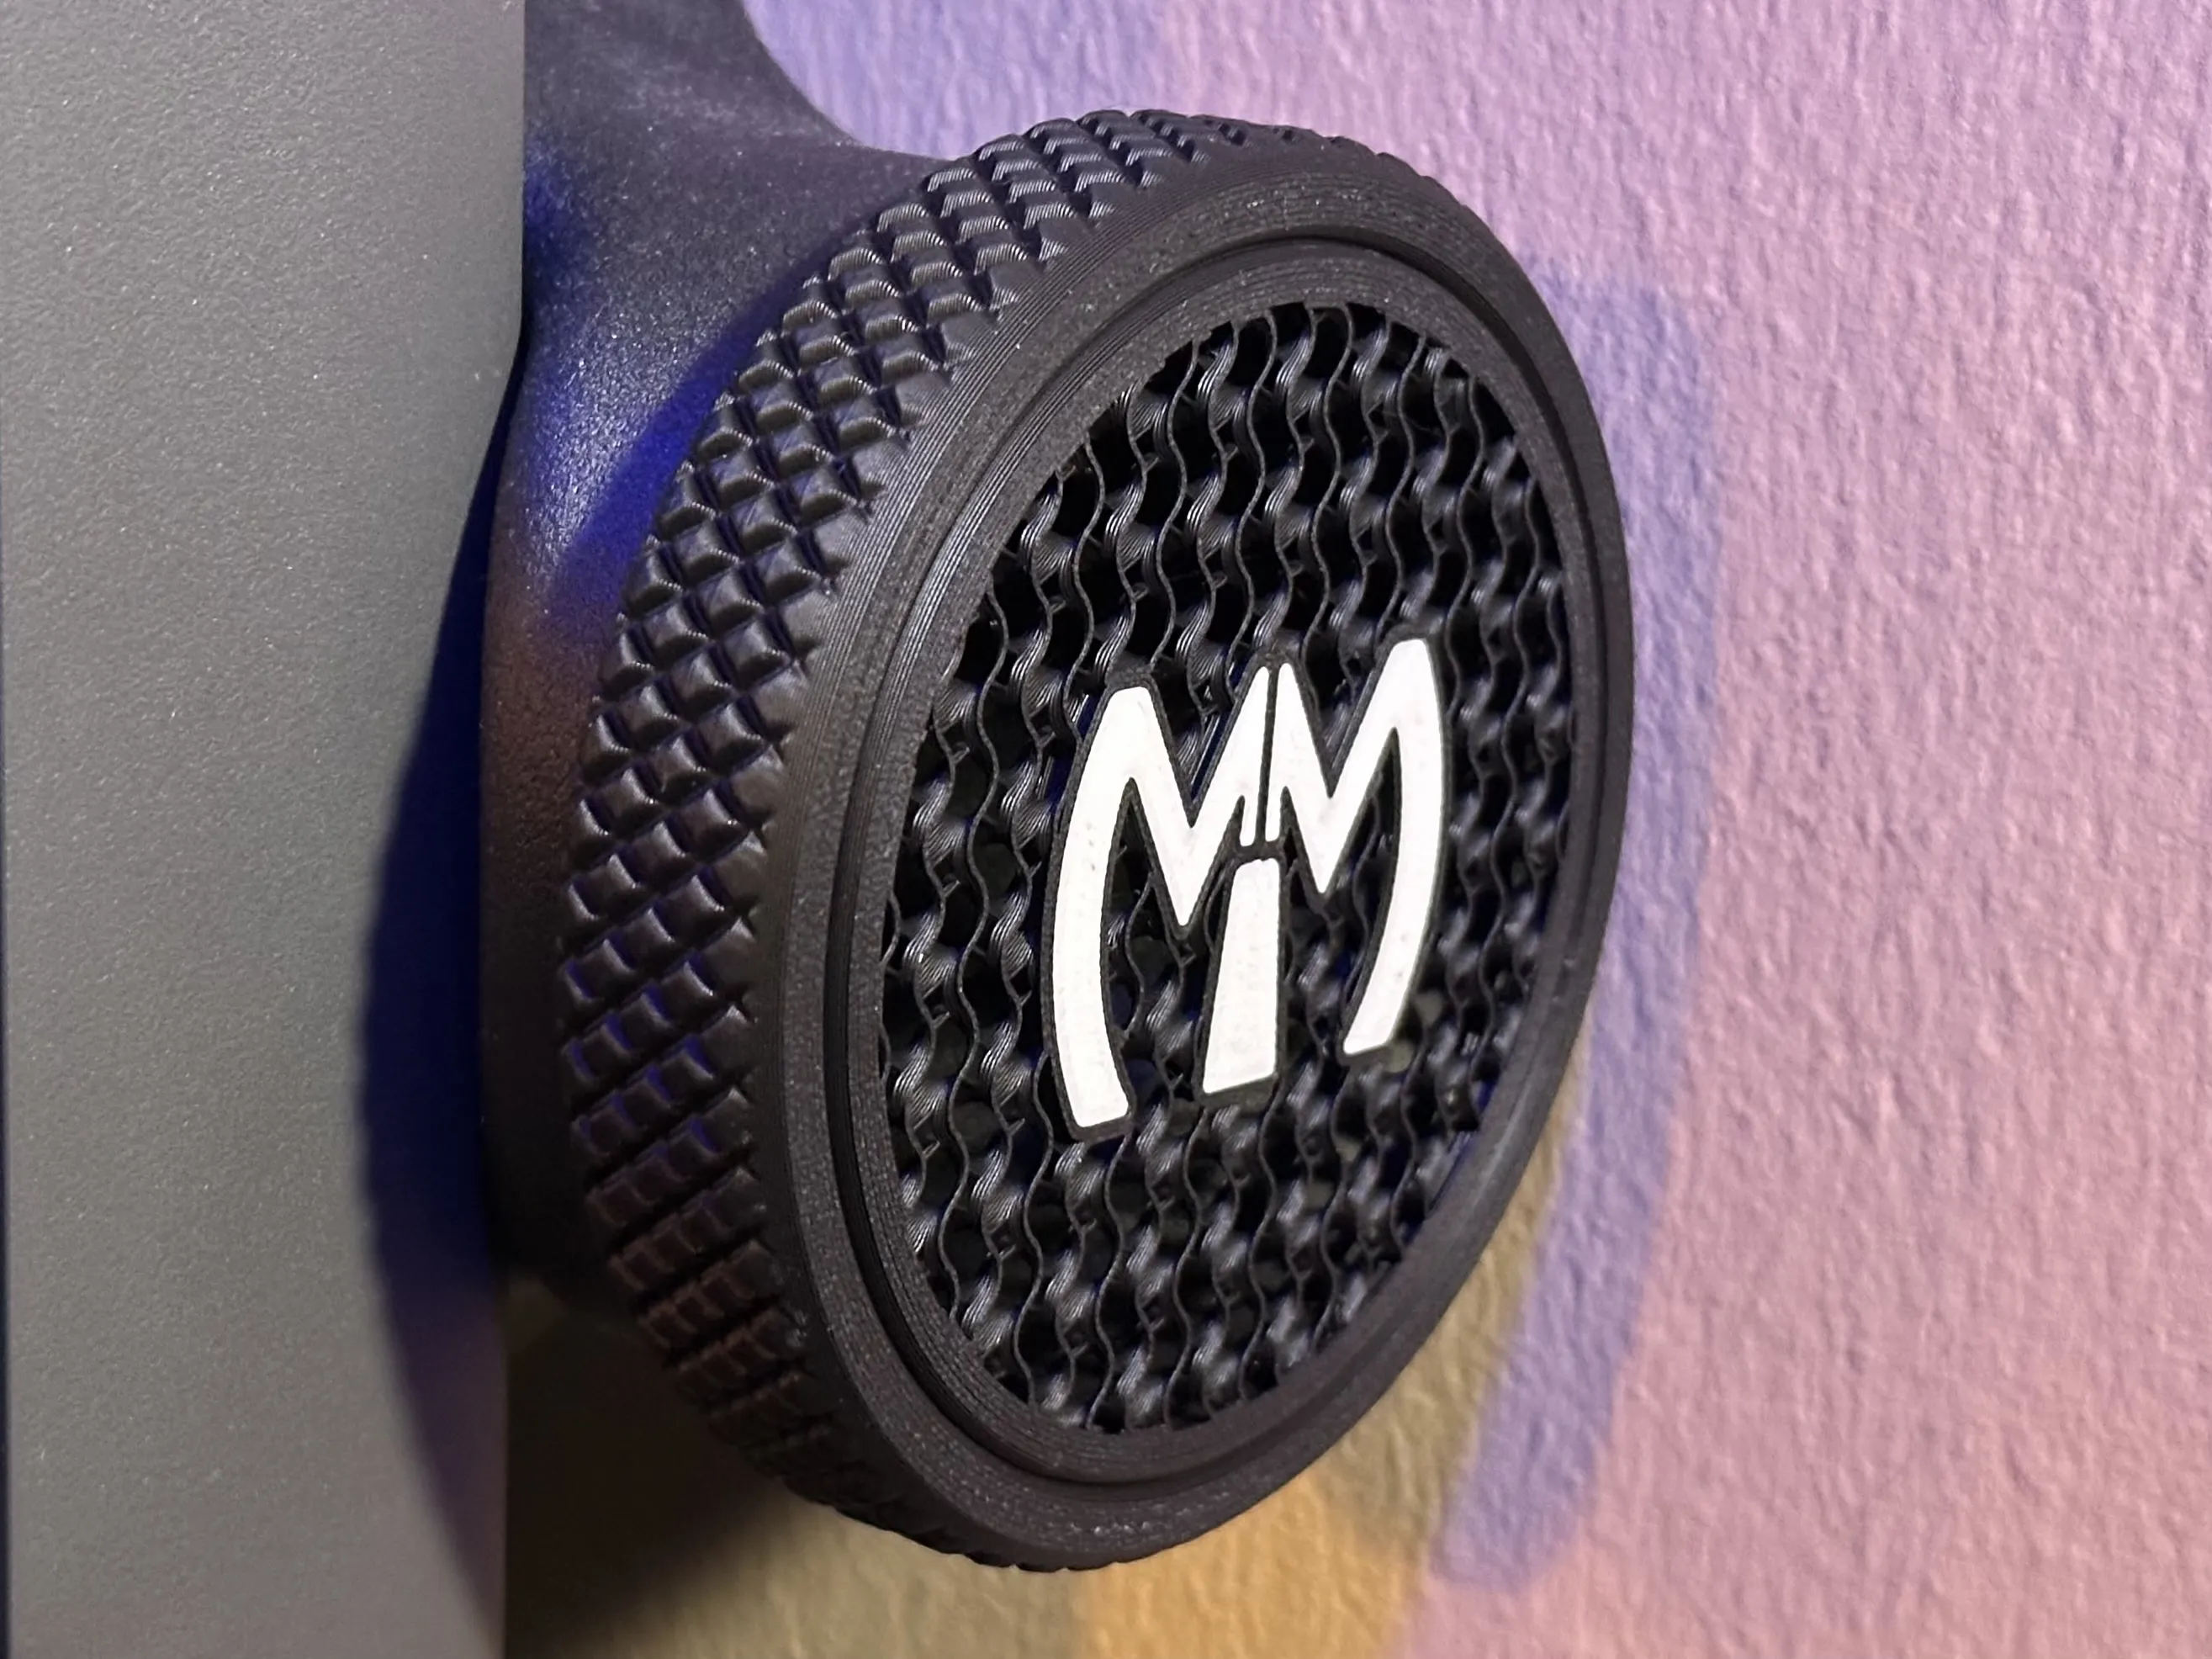
The Version that i uploaded has NO LOGO on it of course.
I will soon add a short how-to on how to add your own logo directly into Bambu Studio using Boolean operations.
Update January 11th, 2026:
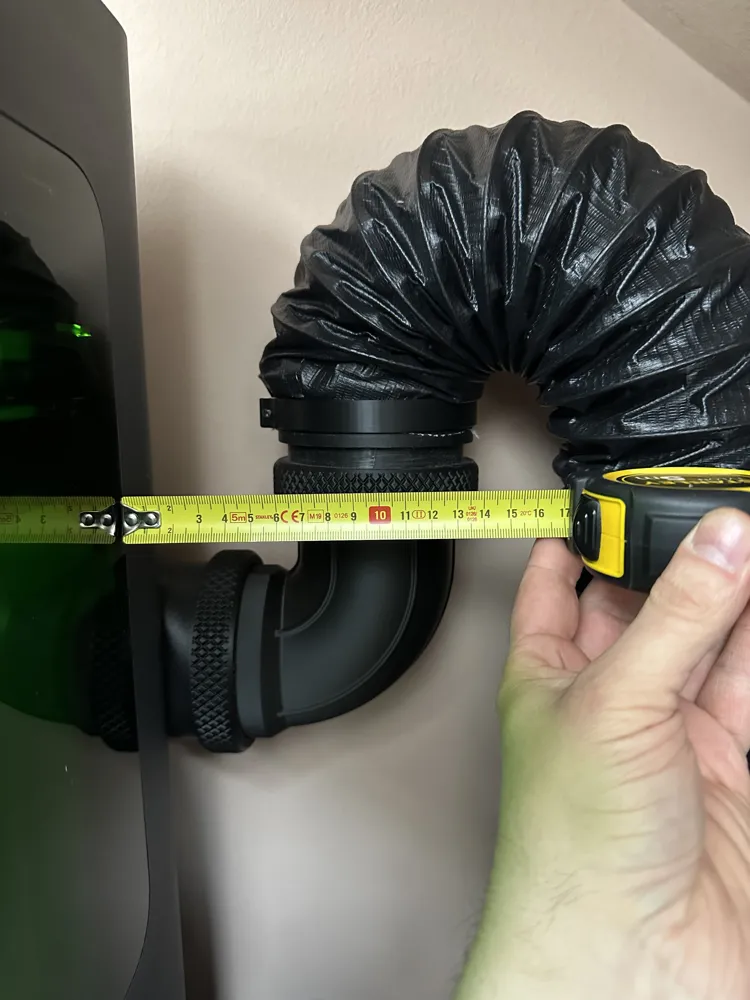
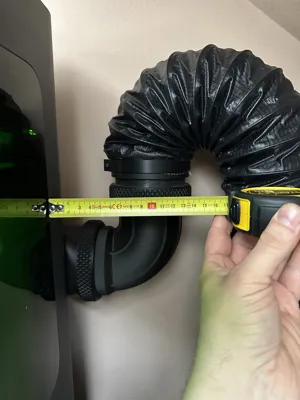
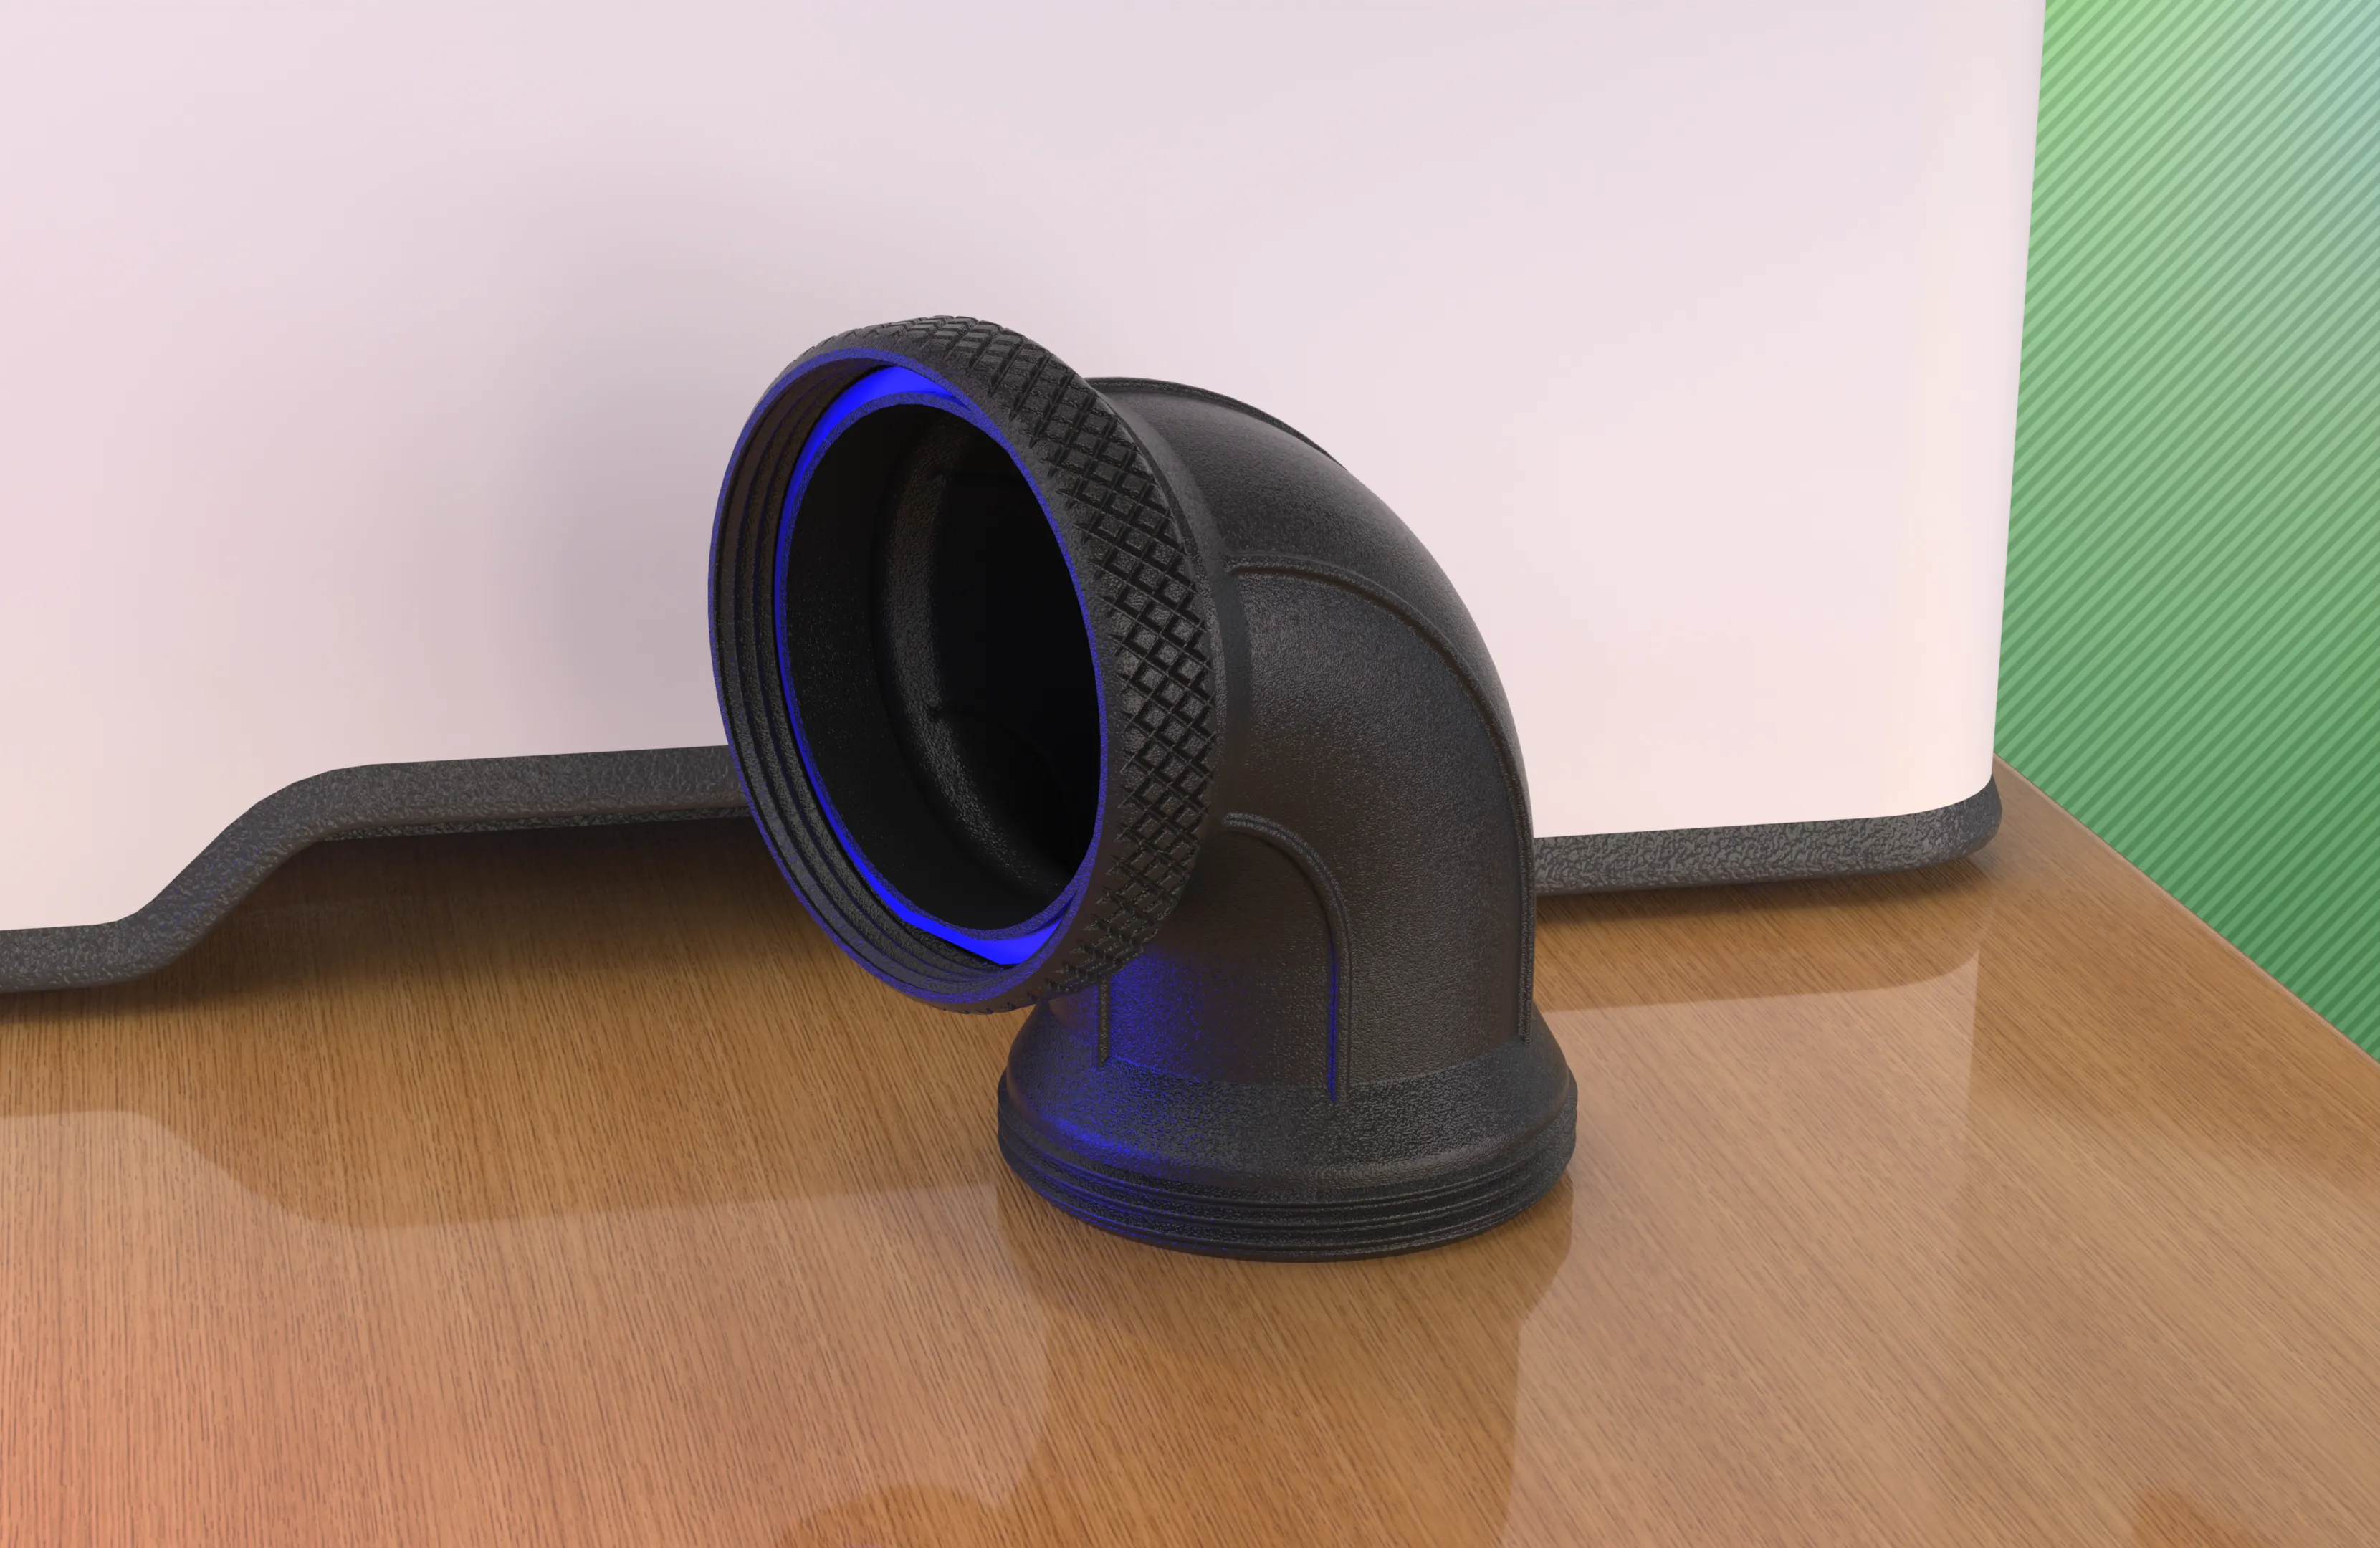
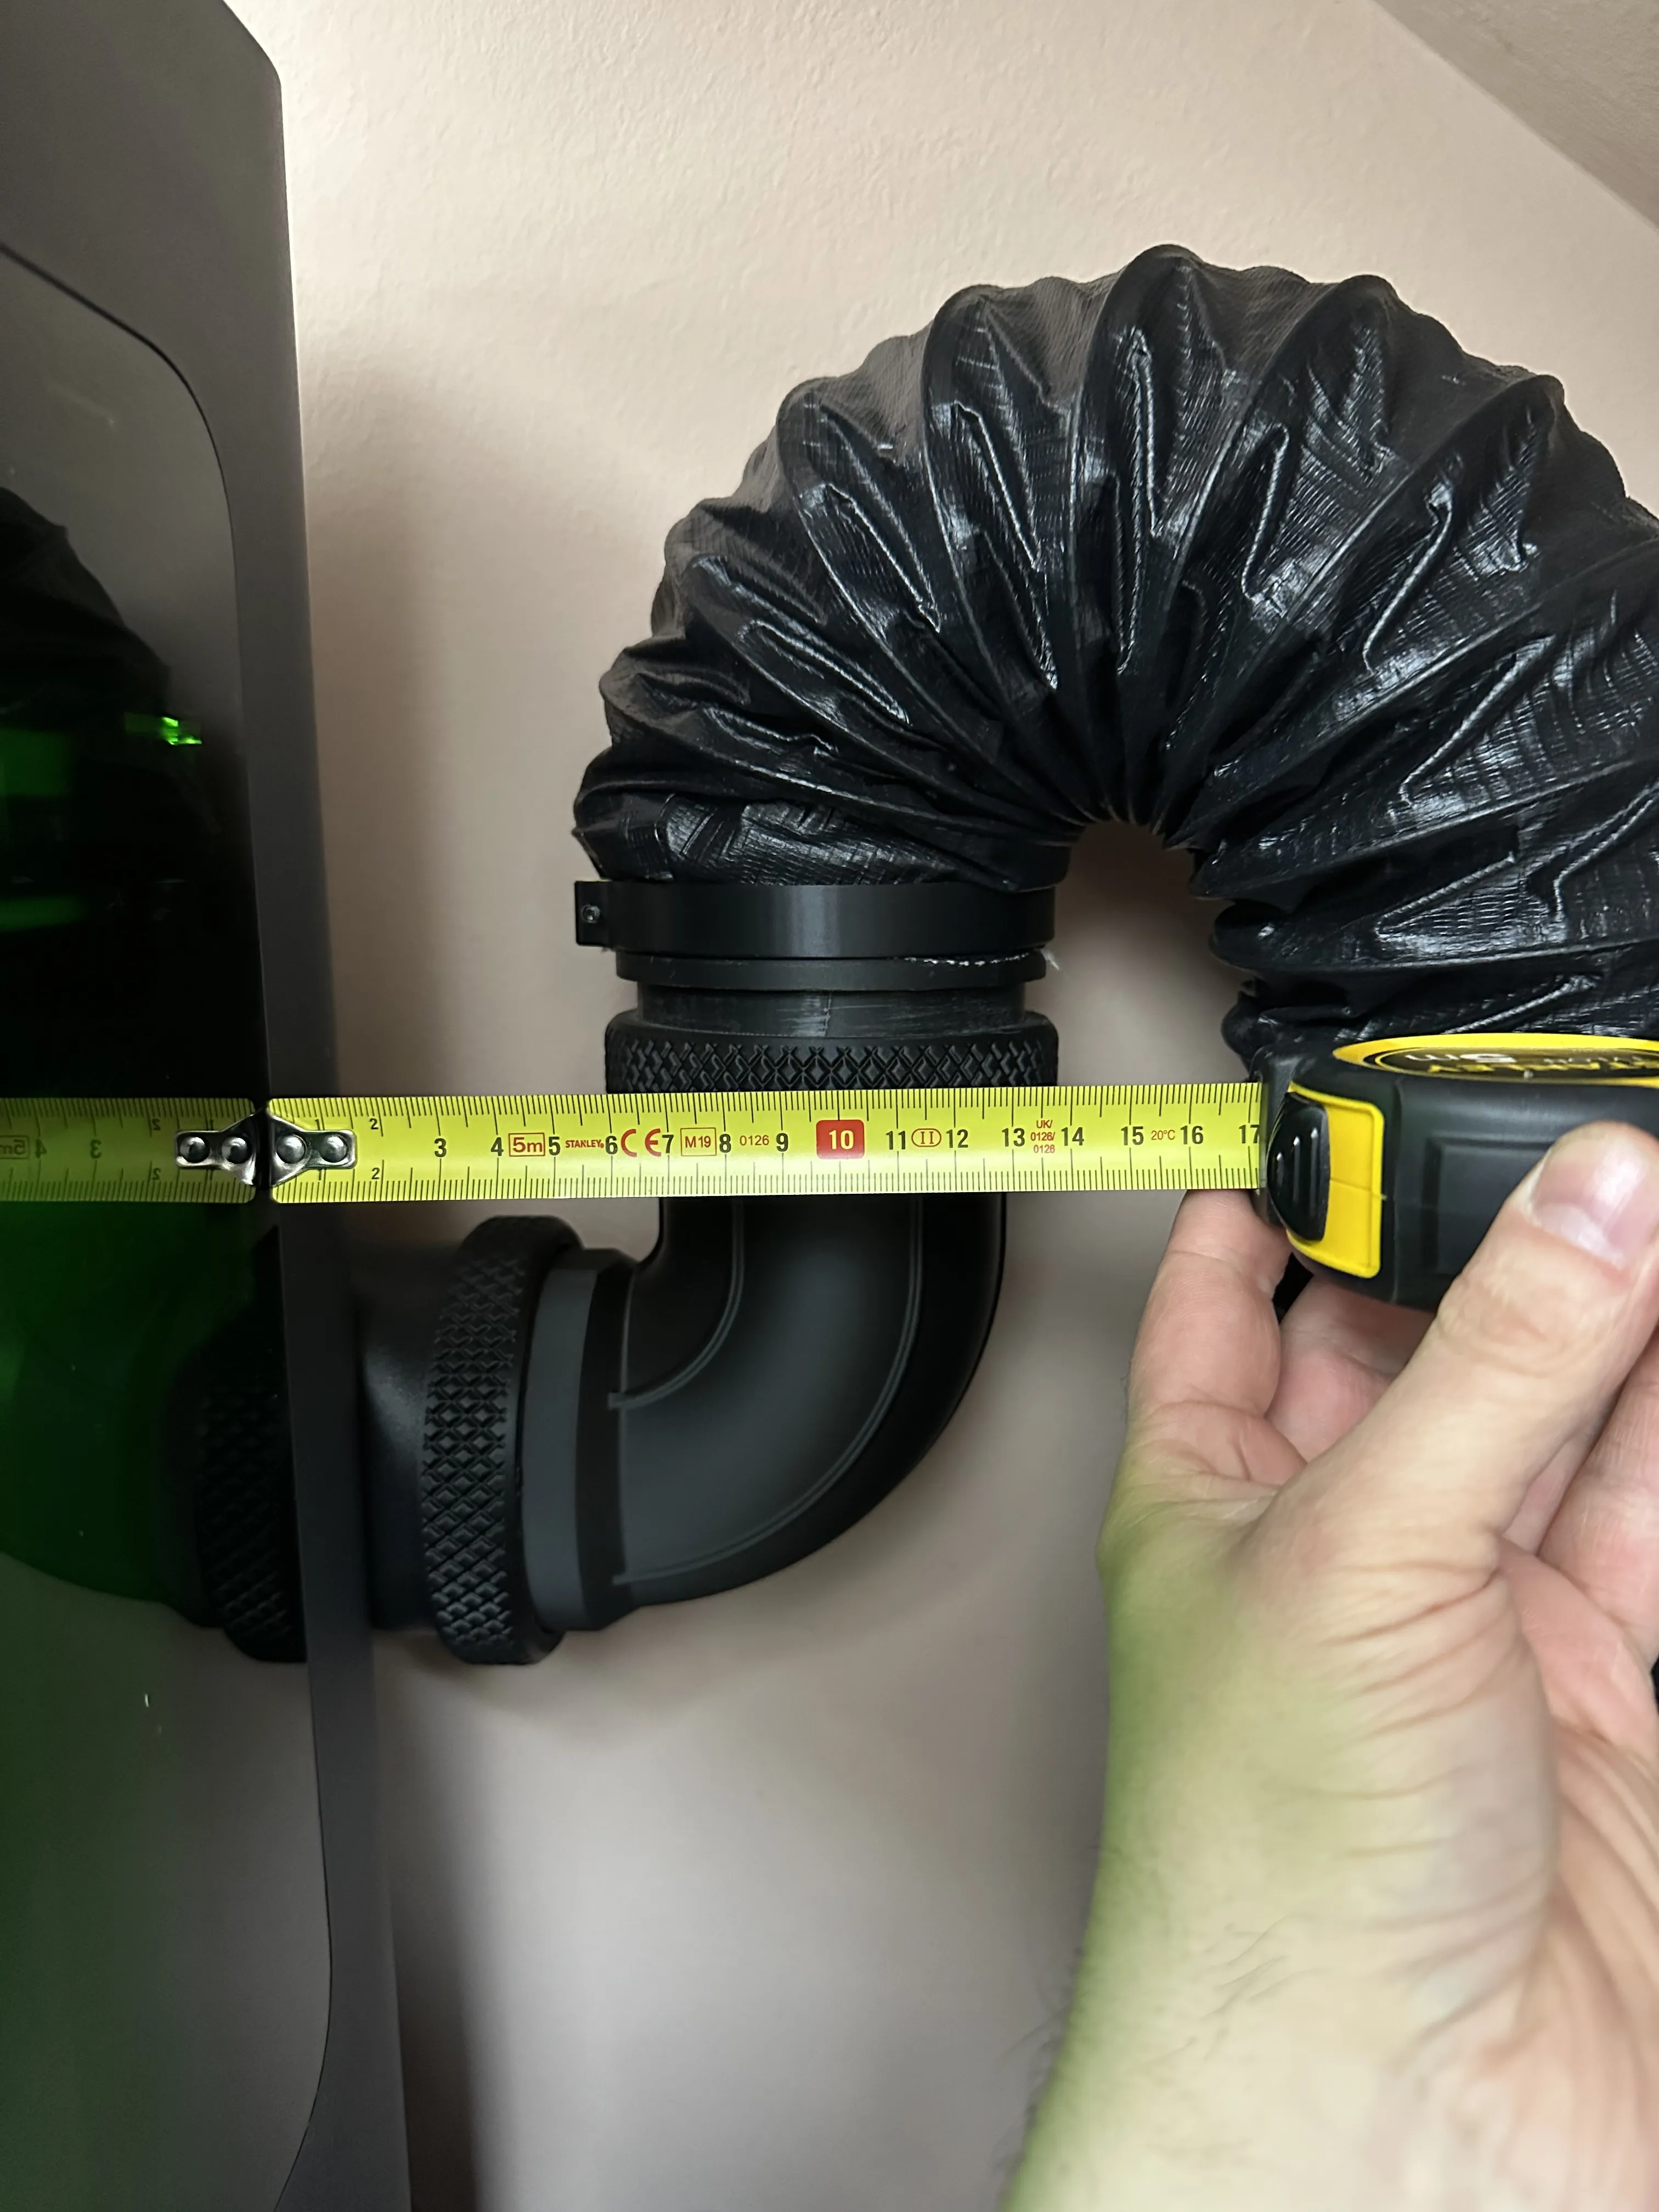
Due to several requests, I've decided to design a 90° elbow fitting for my system!
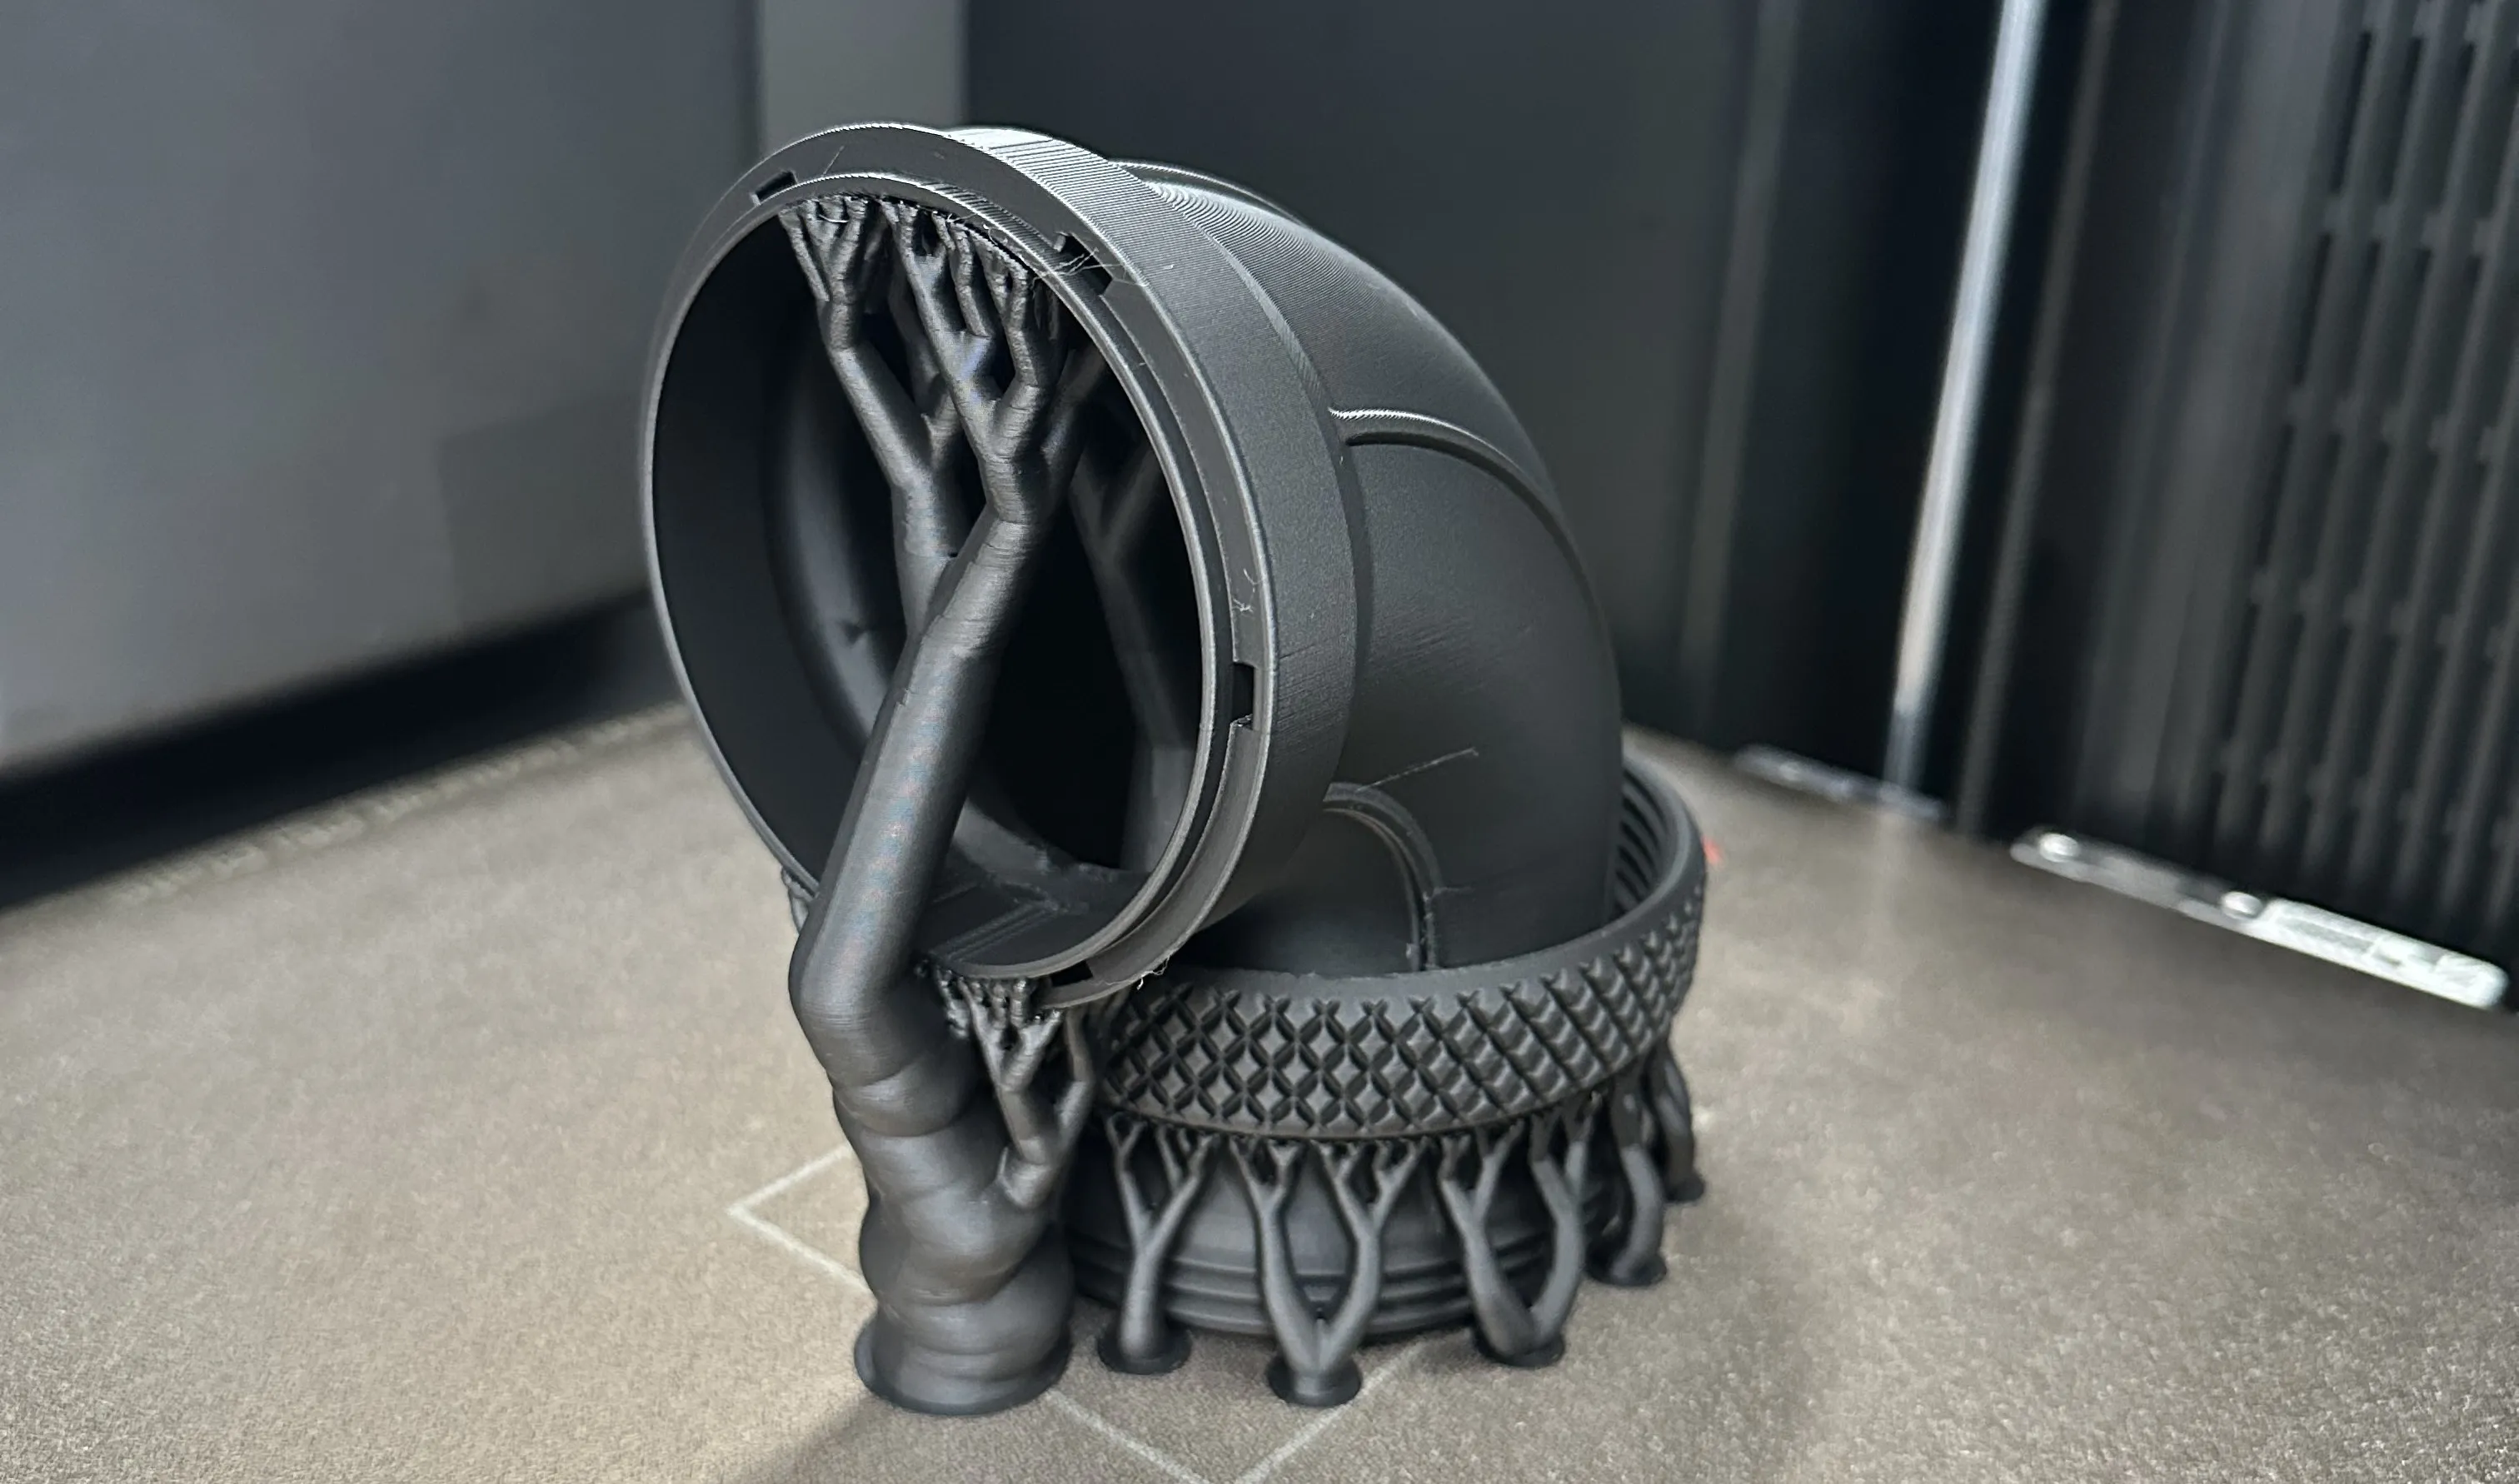
It's printed very similarly to the existing hose couplings, with a freely rotating nut that's printed around the rest of the assembly on supports.
Since this print requires many supports, I've provided two different slices in the profile: one with standard supports and one with a dedicated interface material for ABS. You can choose which option to print in the slicer or in bambu handy.
If the elbow is mounted directly on the slim exhaust duct, the setup requires a free width of approximately 14 centimeters.
Keep in mind, however, that the printer moves slightly when it's running. An extra centimeter certainly won't hurt!
Fun Fact:
I made a facebook post about the making of the velux duct a while ago and it got a lot of great feedback. I actually used a lump of playdoh to start my modeling process
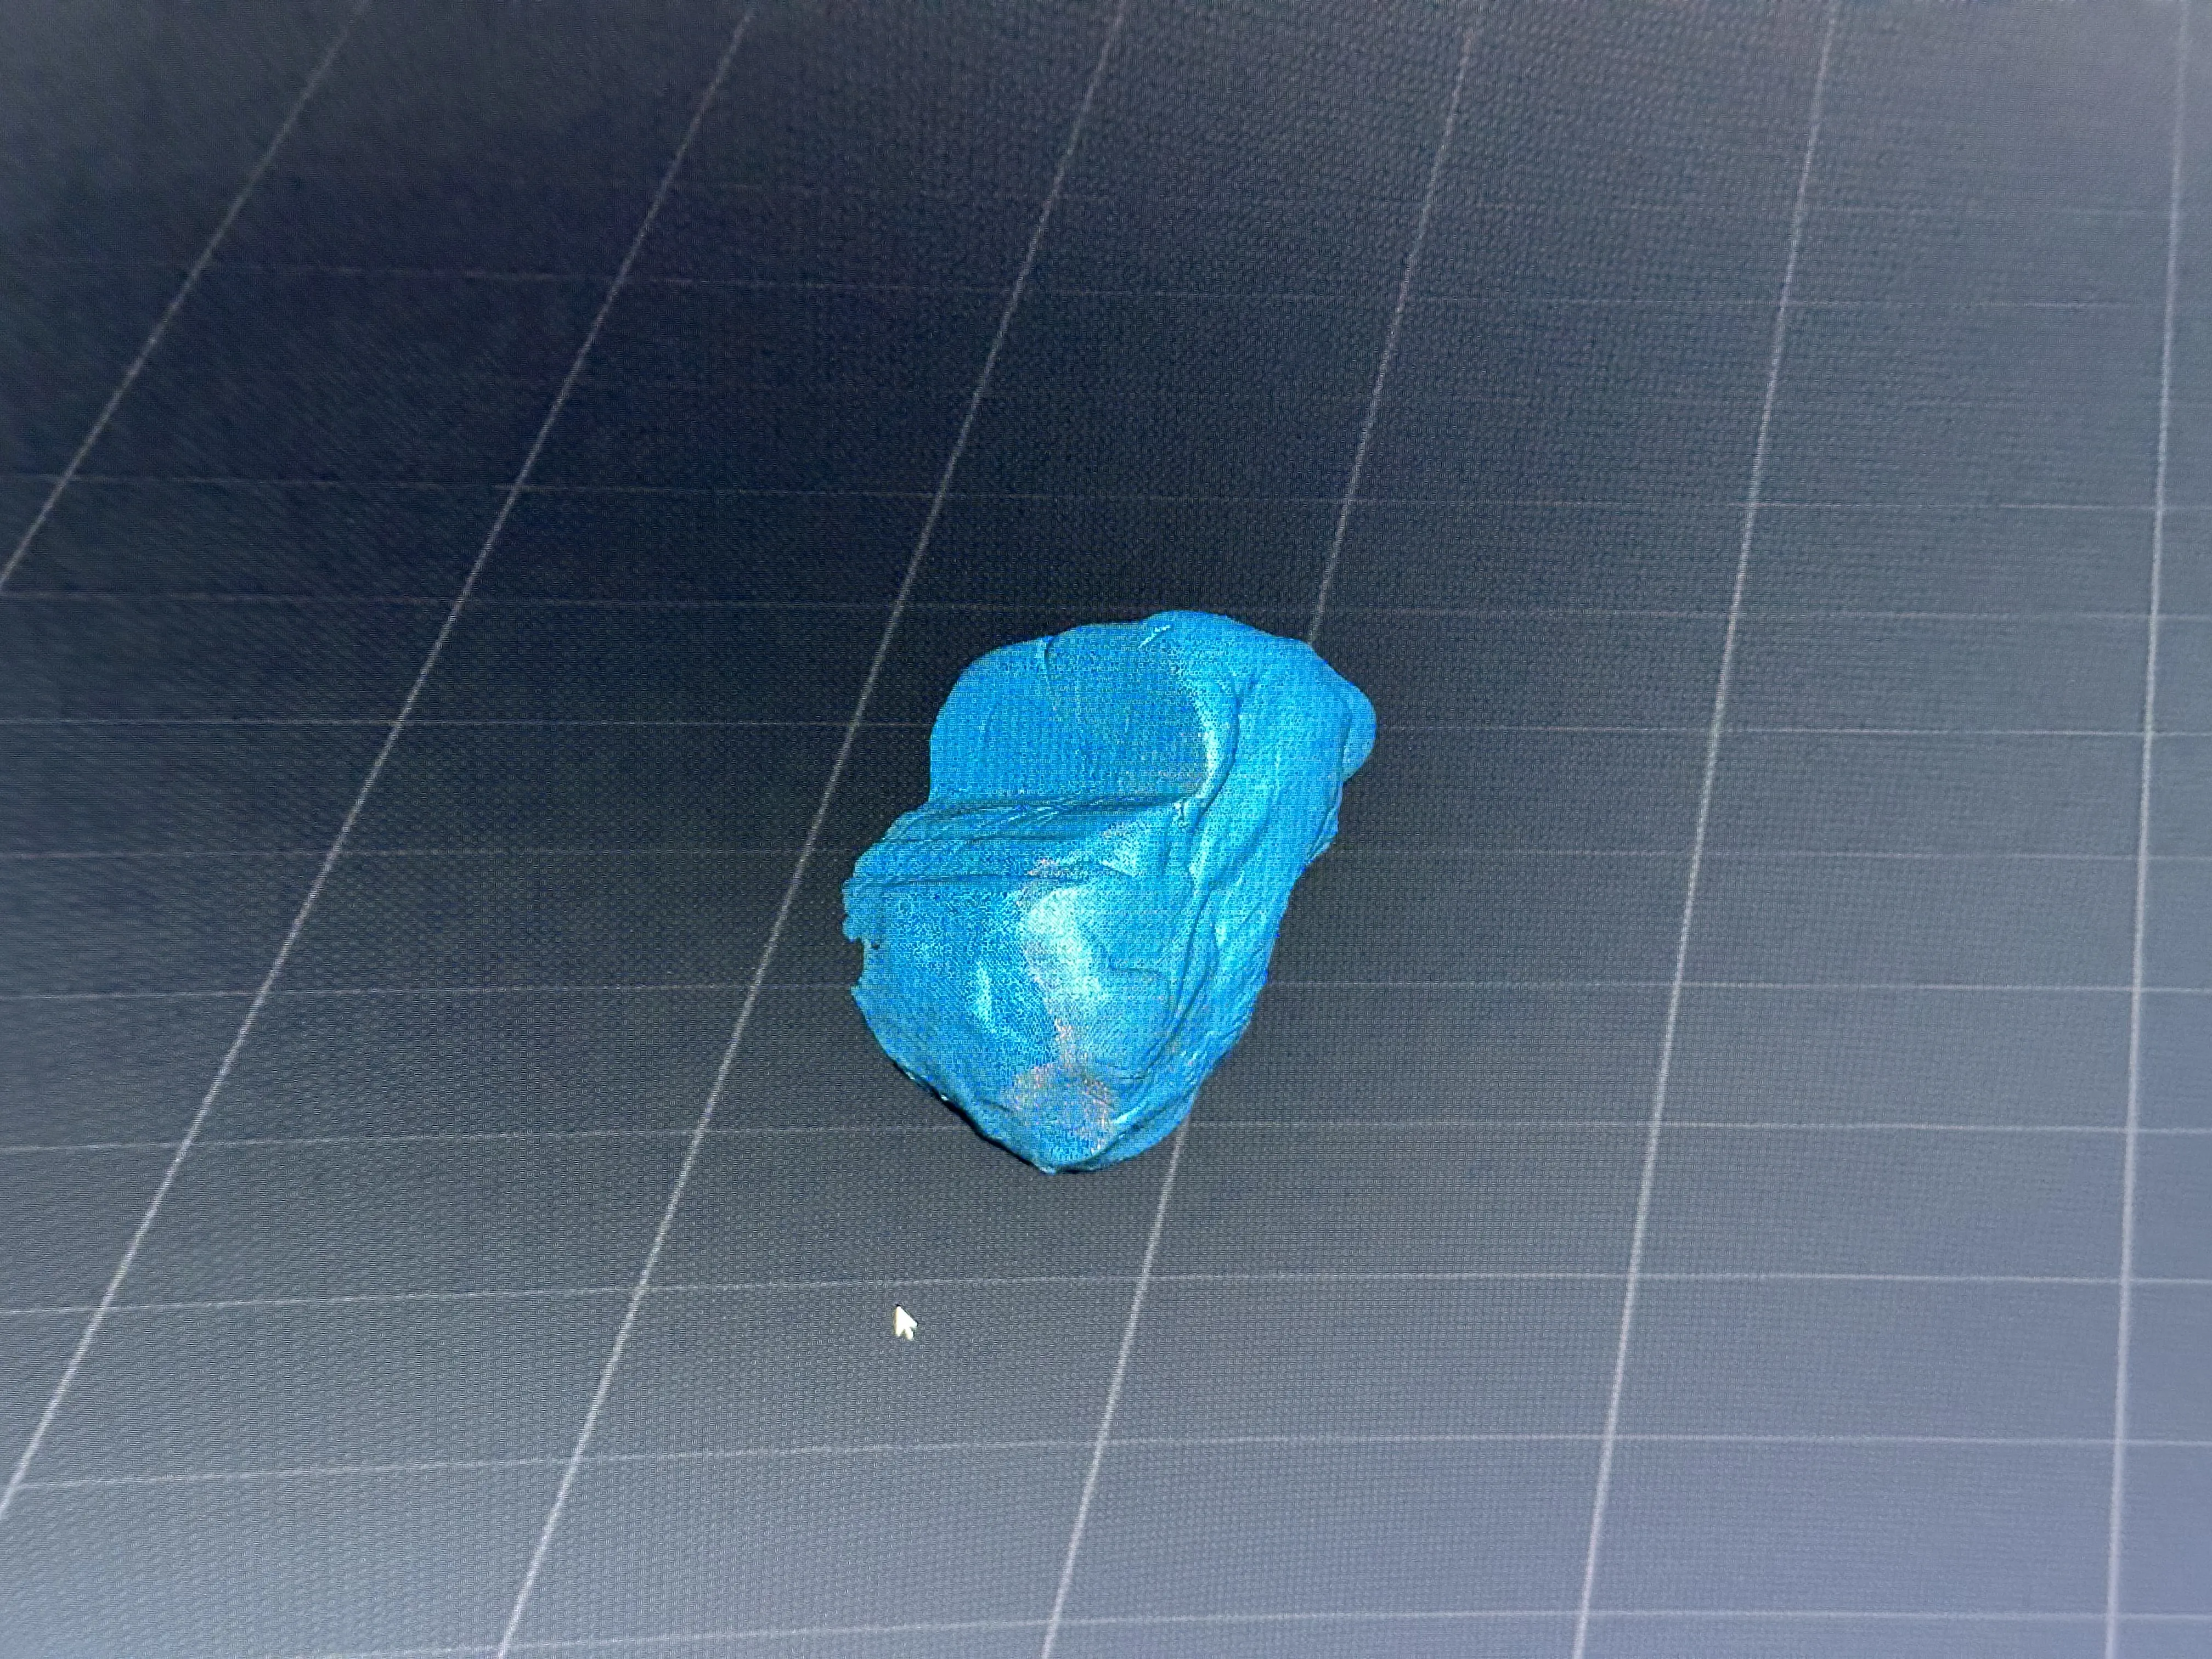
I used my trusty 3d scanner to capture the lump :D
As far as hardware goes,
you only need one M3x30mm screw per printed clamp.
To mount the duct to the printer you can use the stock duct mounting screws that come with the H2 Laser Edition printers.
If you want to mount it on a non laser machine, you need to get four BT3x20mm screws to install it on your machine (Maker Supply AA111)
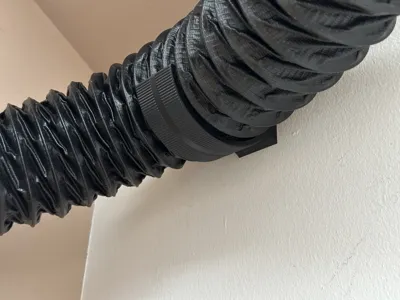
I am using the stock exhaust hose that came with my laser upgrade kit, but this system will of course fit any 100mm/4“ hose!
Have fun printing!
Best regards,
Simon, Made In Meidling
License

You shall not share, sub-license, sell, rent, host, transfer, or distribute in any way the digital or 3D printed versions of this object, nor any other derivative work of this object in its digital or physical format (including - but not limited to - remixes of this object, and hosting on other digital platforms). The objects may not be used without permission in any way whatsoever in which you charge money, or collect fees.


Comment & Rating (706)