
EXTRA NOZZLE SILICONE WIPER P1P P1S X1C X1E
Print Profile(2)


Bill of Materials


Description

🧼 Nozzle Wiper Upgrade for P1S — A1-Inspired Design
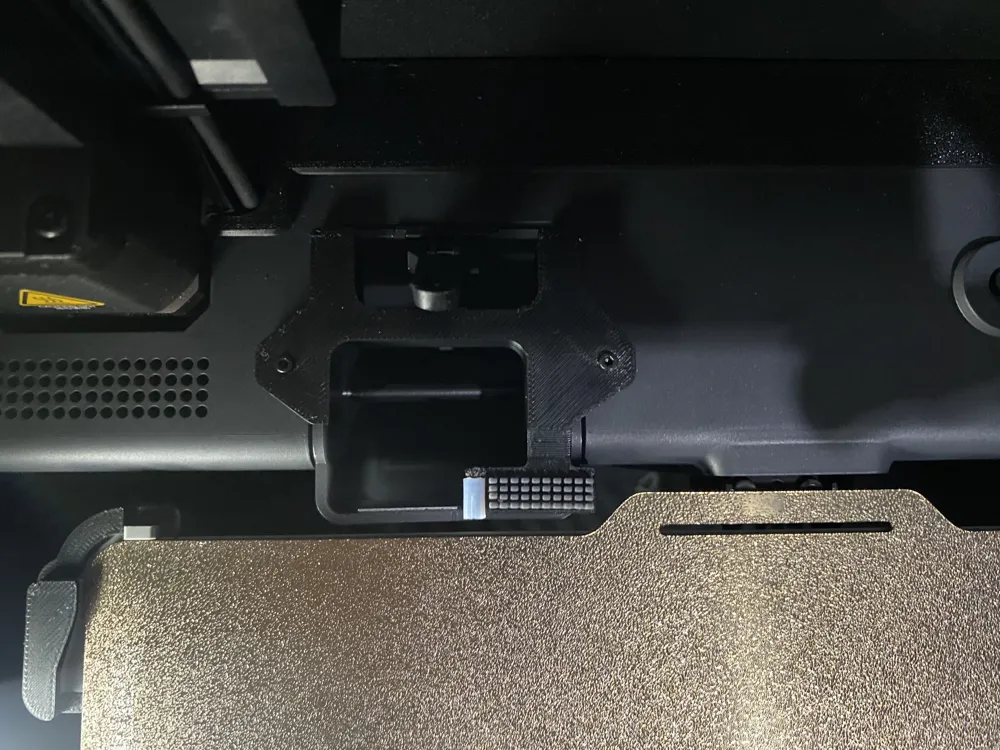
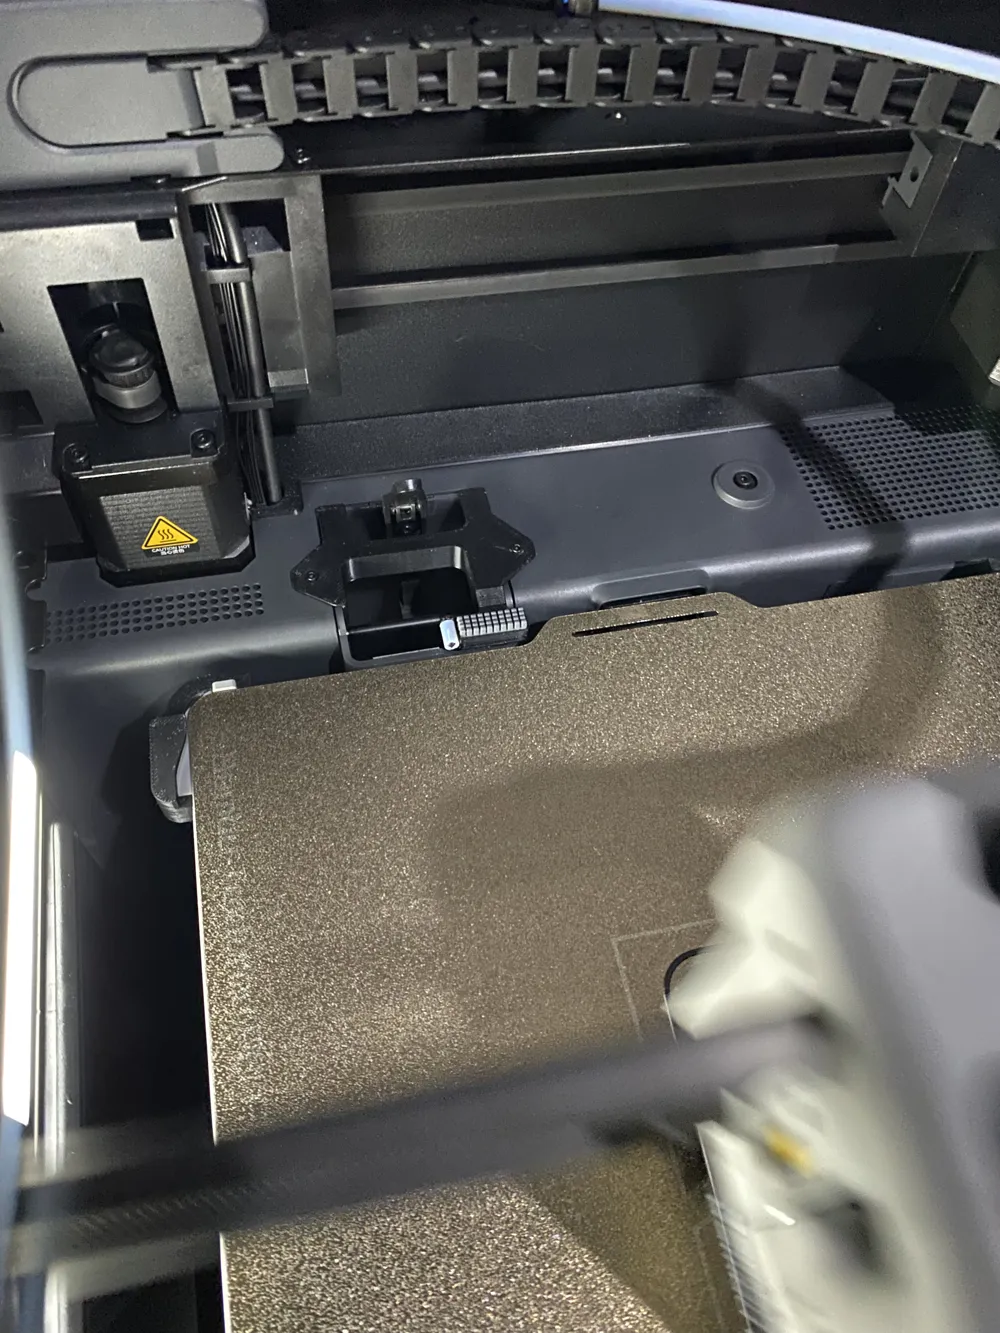
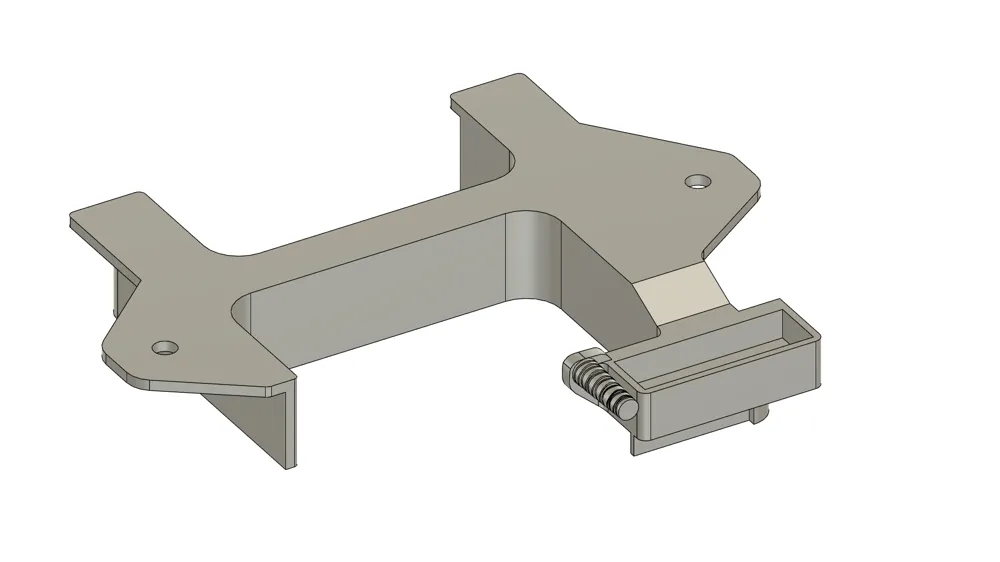
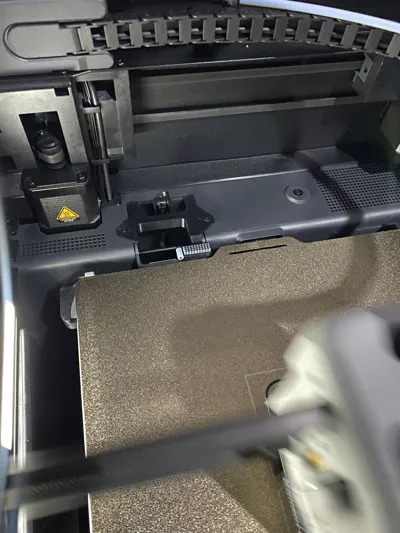
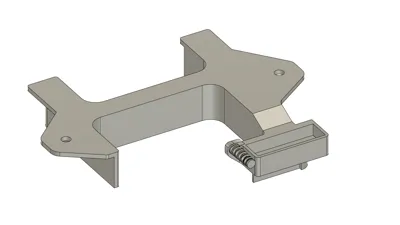
I have designed this new nozzle wiper specifically for the Bambu Lab P1S. The original wiper was not sufficiently effective, prompting me to rethink the design based on the A1 series reference. I decided to adapt the A1 mini wiper purchased separately and successfully installed it on my P1S.
This is the fourth iteration of the prototype, with improvements made version by version. For example:
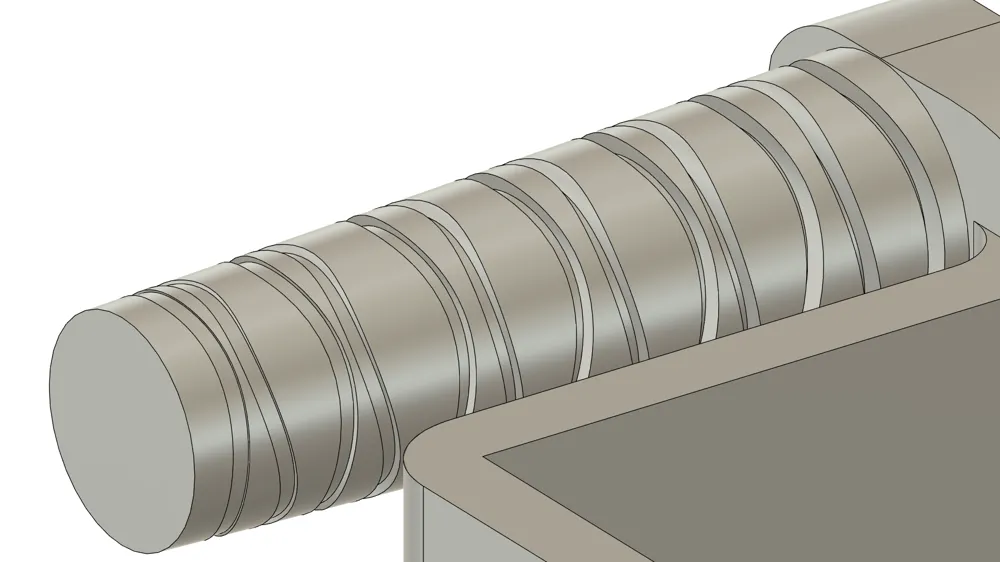
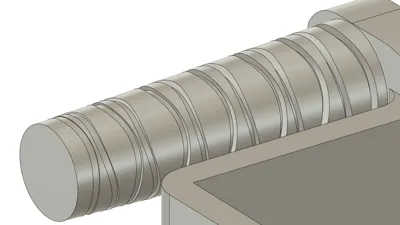
- The PTFE tube was previously loose, so I redesigned the mount with a tapered and threaded interface, ensuring a firm and secure fit.
- I optimized the distance of the silicone nozzle wiper, making sure it's neither too far nor too close to the nozzle.
This solution costs less than $1 and keeps my nozzle consistently clean, significantly reducing print defects especially during multicolor prints with color changes.
I’ve tested the latest version extensively and encountered no issues. It was printed using Bambu Lab ABS, as I frequently use premium filaments that require an actively heated chamber.
🛒 The A1 mini wiper is available from the official Bambu Lab store at an affordable price.
---
⚠️ Important Notes
- Use heat-resistant materials, such as PETG or higher.
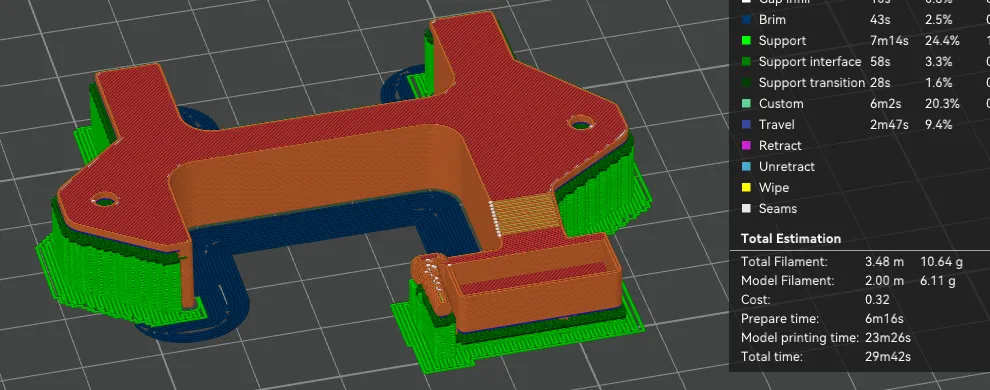
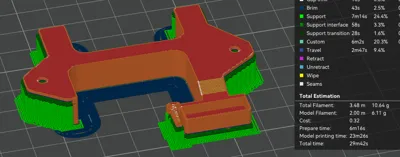
- Be sure to use my print profile, marked under my designer name, to ensure compatibility with the latest version of this model.
- Please make sure you are using a PTFE tube from Nozzle Cleaner default P1S to guarantee optimal performance and fit.
- Relax, this model is designed for seamless integration. No changes in your G-code are necessary.
---
🔧 Installation Guide
1. Remove the original wiper by unscrewing it with an Allen key.
2. Take the PTFE nozzle cleaner wiper and loosen its screw using the same tool.
3. Cut and adjust the PTFE tube to match the length of my nozzle cleaner model.
4. Insert it tightly and securely into the mount.
5. Take the A1 mini silicone wiper (only the silicone part) purchased separately.
6. Trim and adjust the silicone to fit my nozzle cleaner model.
7. Attach the silicone into the designated slot.
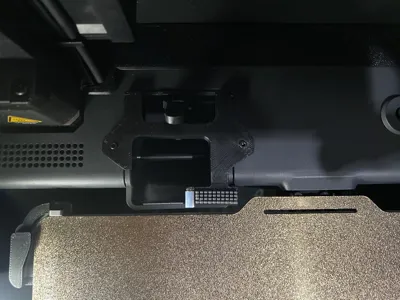
8. To install the cleaner onto the machine:
- Unscrew the two bolts near the nozzle cleaner.
- Position the new cleaner model in place.
- Re-tighten the two bolts.
✅ Done! Happy printing!
You can test the installation by running a print or performing a filament load/unload cycle. I’ve tested this model across multiple machines, and it performs reliably thanks to several rounds of prototyping and refinement.
License

You shall not share, sub-license, sell, rent, host, transfer, or distribute in any way the digital or 3D printed versions of this object, nor any other derivative work of this object in its digital or physical format (including - but not limited to - remixes of this object, and hosting on other digital platforms). The objects may not be used without permission in any way whatsoever in which you charge money, or collect fees.


Comment & Rating (40)