
Cute Halloween VOL2
Print Profile(1)
![[venderer] variable layer, hidden seams, minimal support](https://makerworld.bblmw.com/makerworld/model/USea43ea5a9108a4/435421442/instance/2025-10-09_388c996ed9ade.png?x-oss-process=image%2Fresize%2Cw_100%2Fformat%2Cwebp)
Description
Cute Halloween VOL2
Ideal for anyone who loves Halloween but can’t resist a touch of sweetness
Boost Me (for free)
Boosts are fuel for my brain! :)
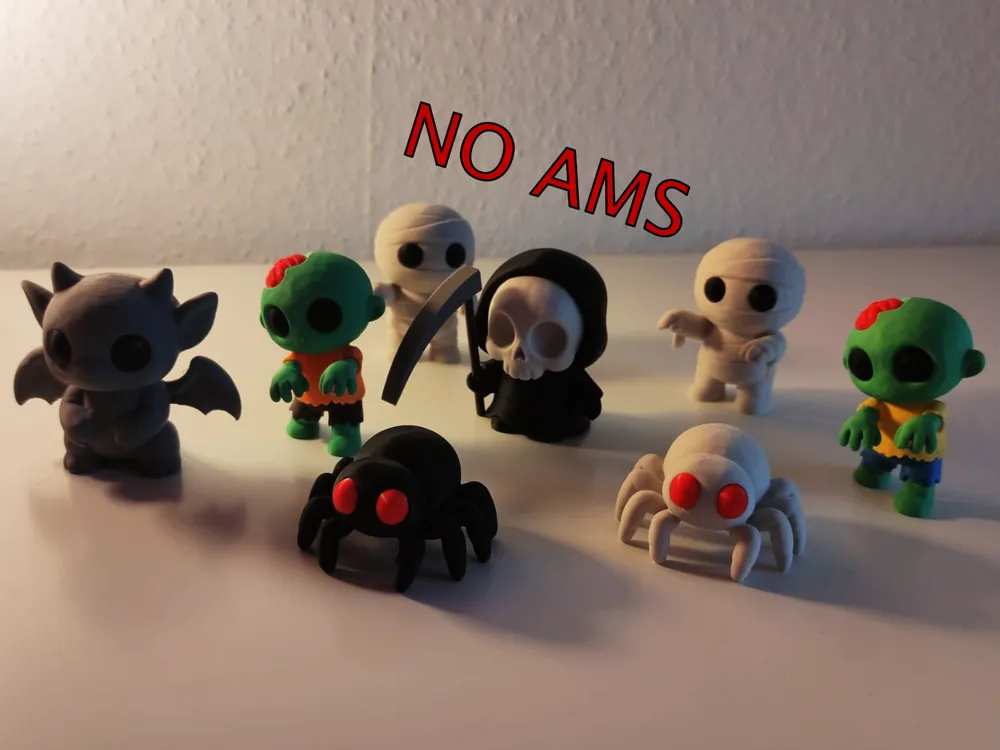
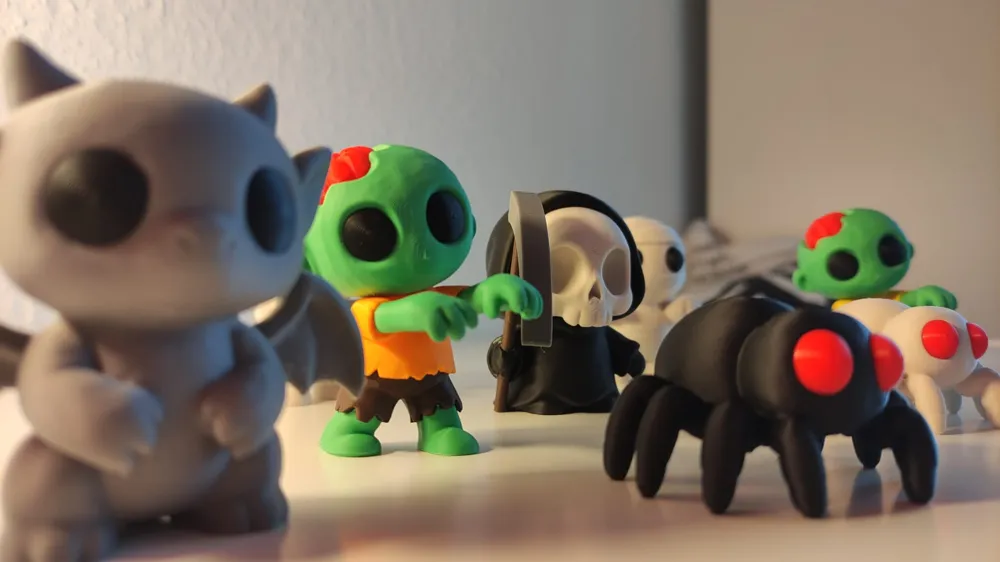
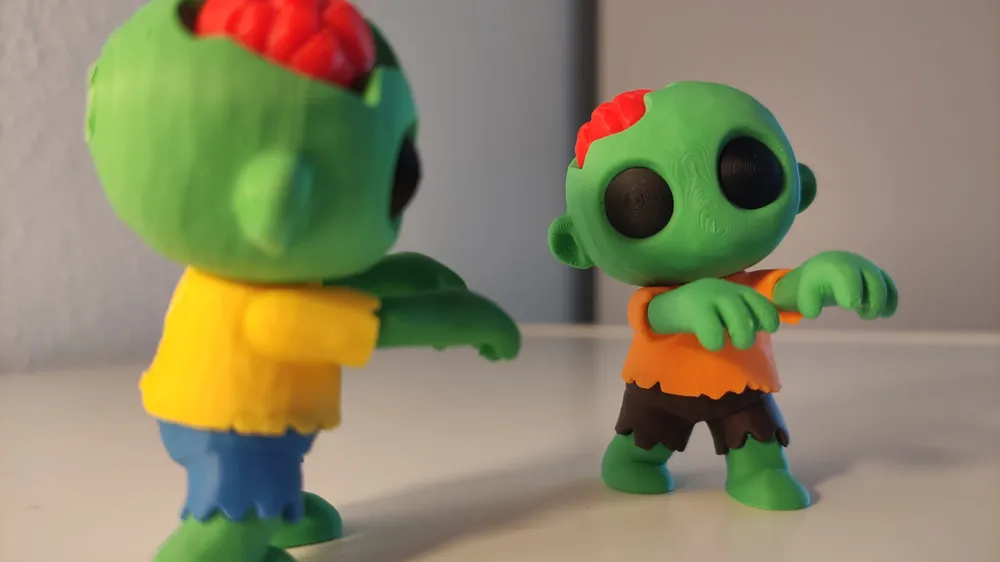
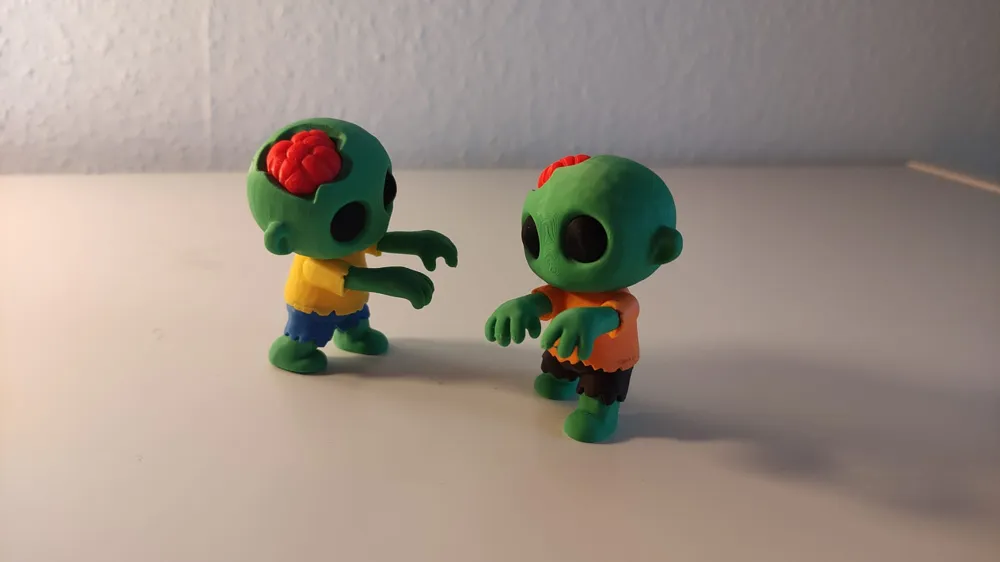
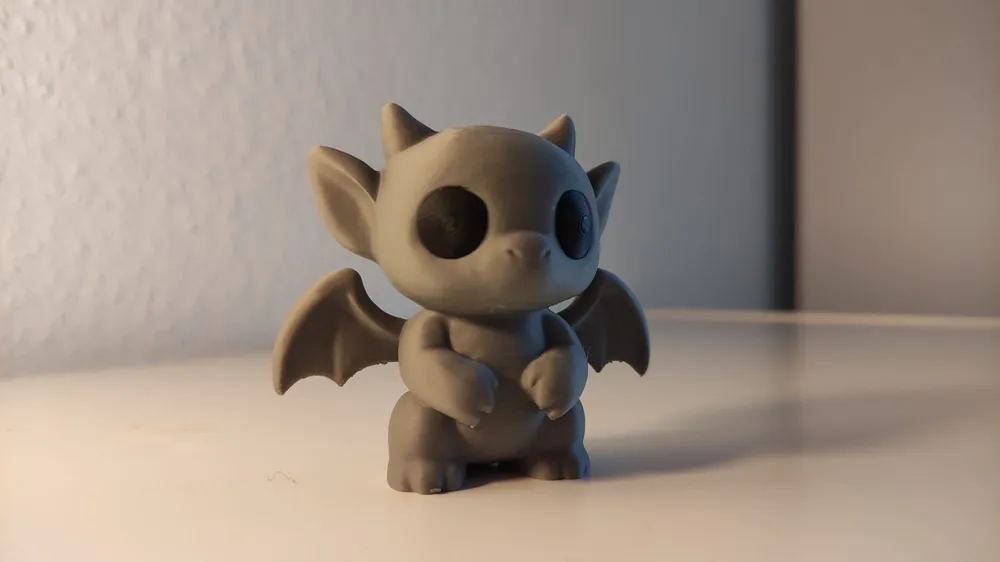
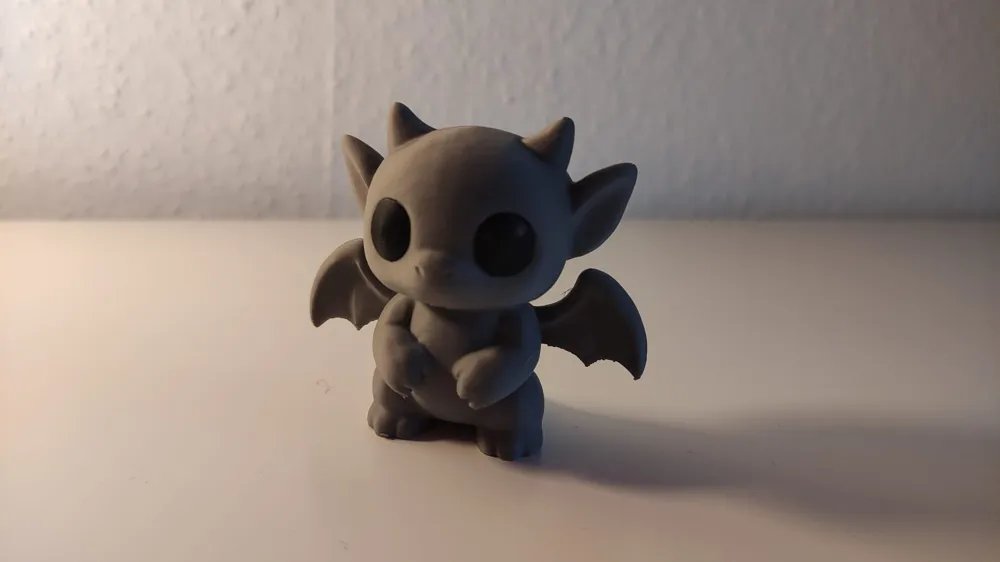
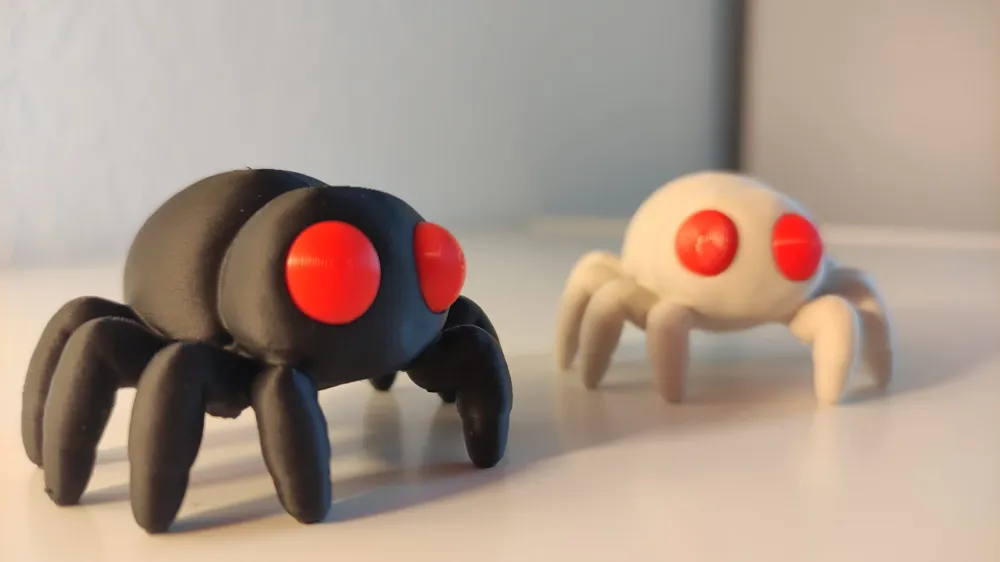
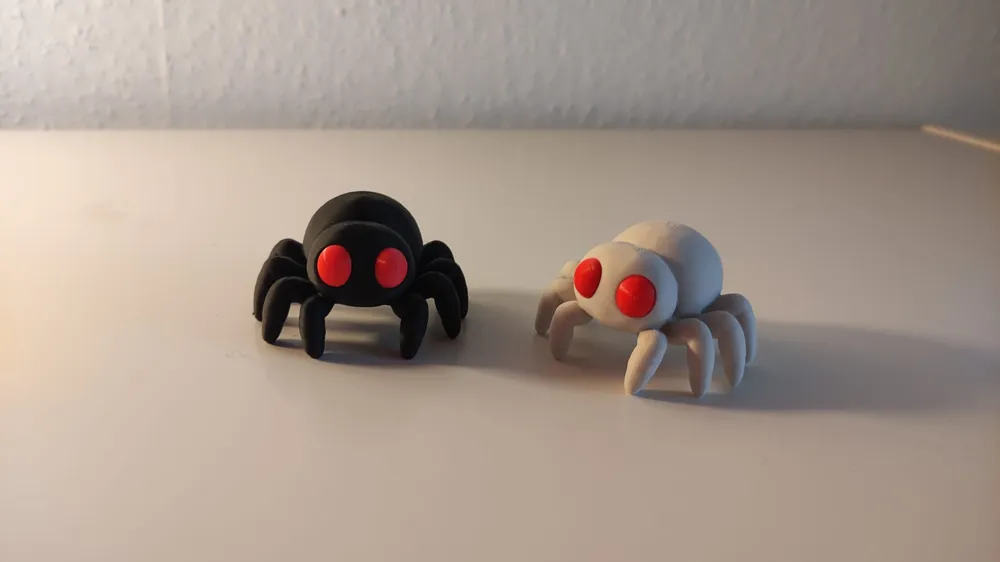
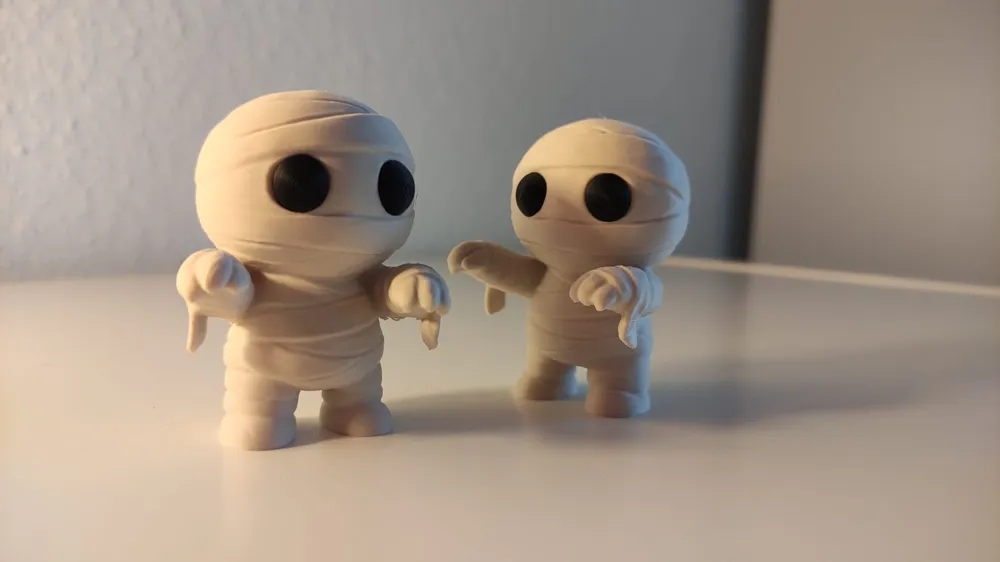
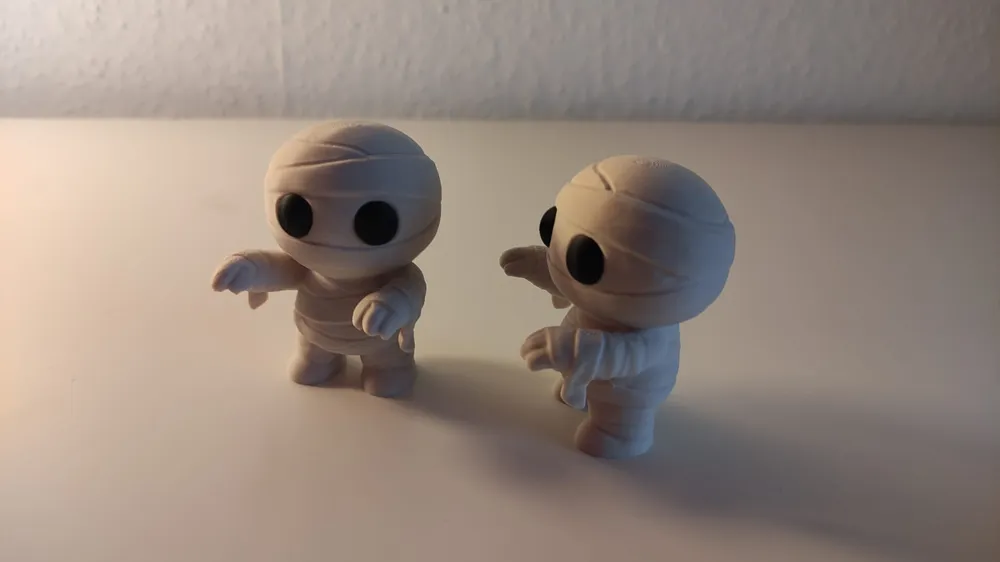
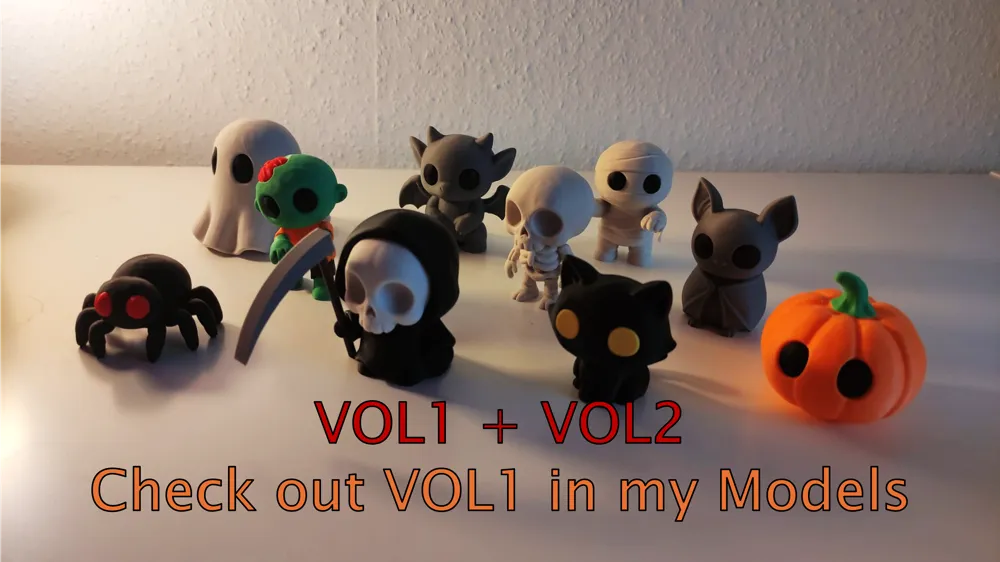
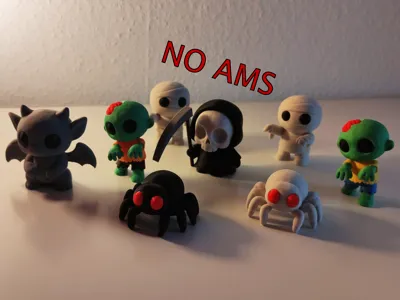
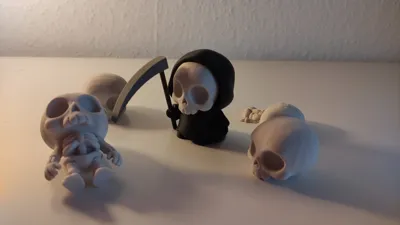
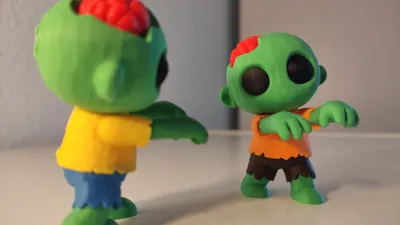
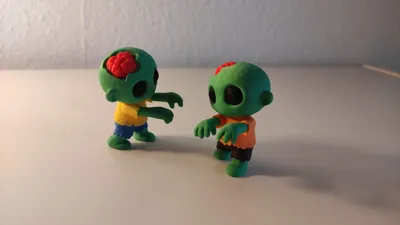
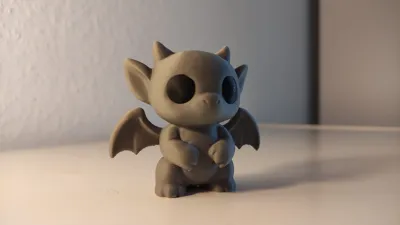
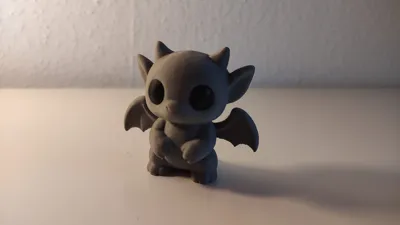
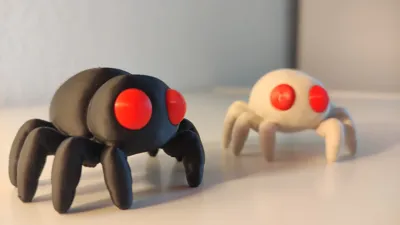
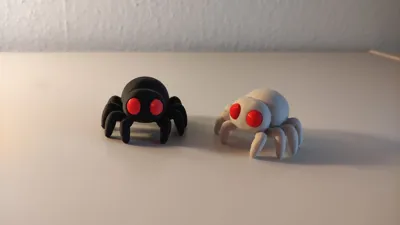
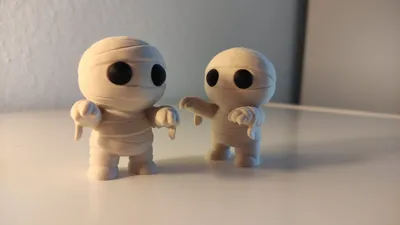
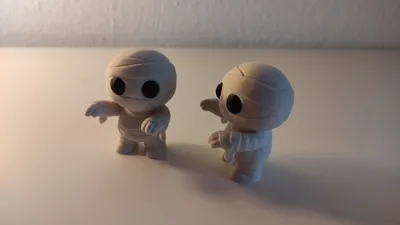
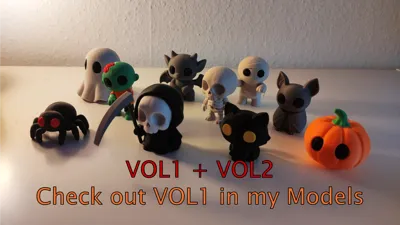
This collection of tiny Halloween figures brings spooky cuteness straight into your home. Included are the grim reaper, a zombie, a gargoyle, a spider, and a mumie – all designed in an adorable kid-friendly yet slightly creepy style. The models are quick and easy to print, and no AMS is needed to achieve their colorful charm. Each figure stands about 4–6 cm tall and takes around 1.5 hours to print. The eyes are printed separately and glued on to give each character its unique expression. Perfect for decoration or as little Halloween gifts. Whether displayed individually or as a full set, these mini-figures bring a cute and spooky flair to any home.
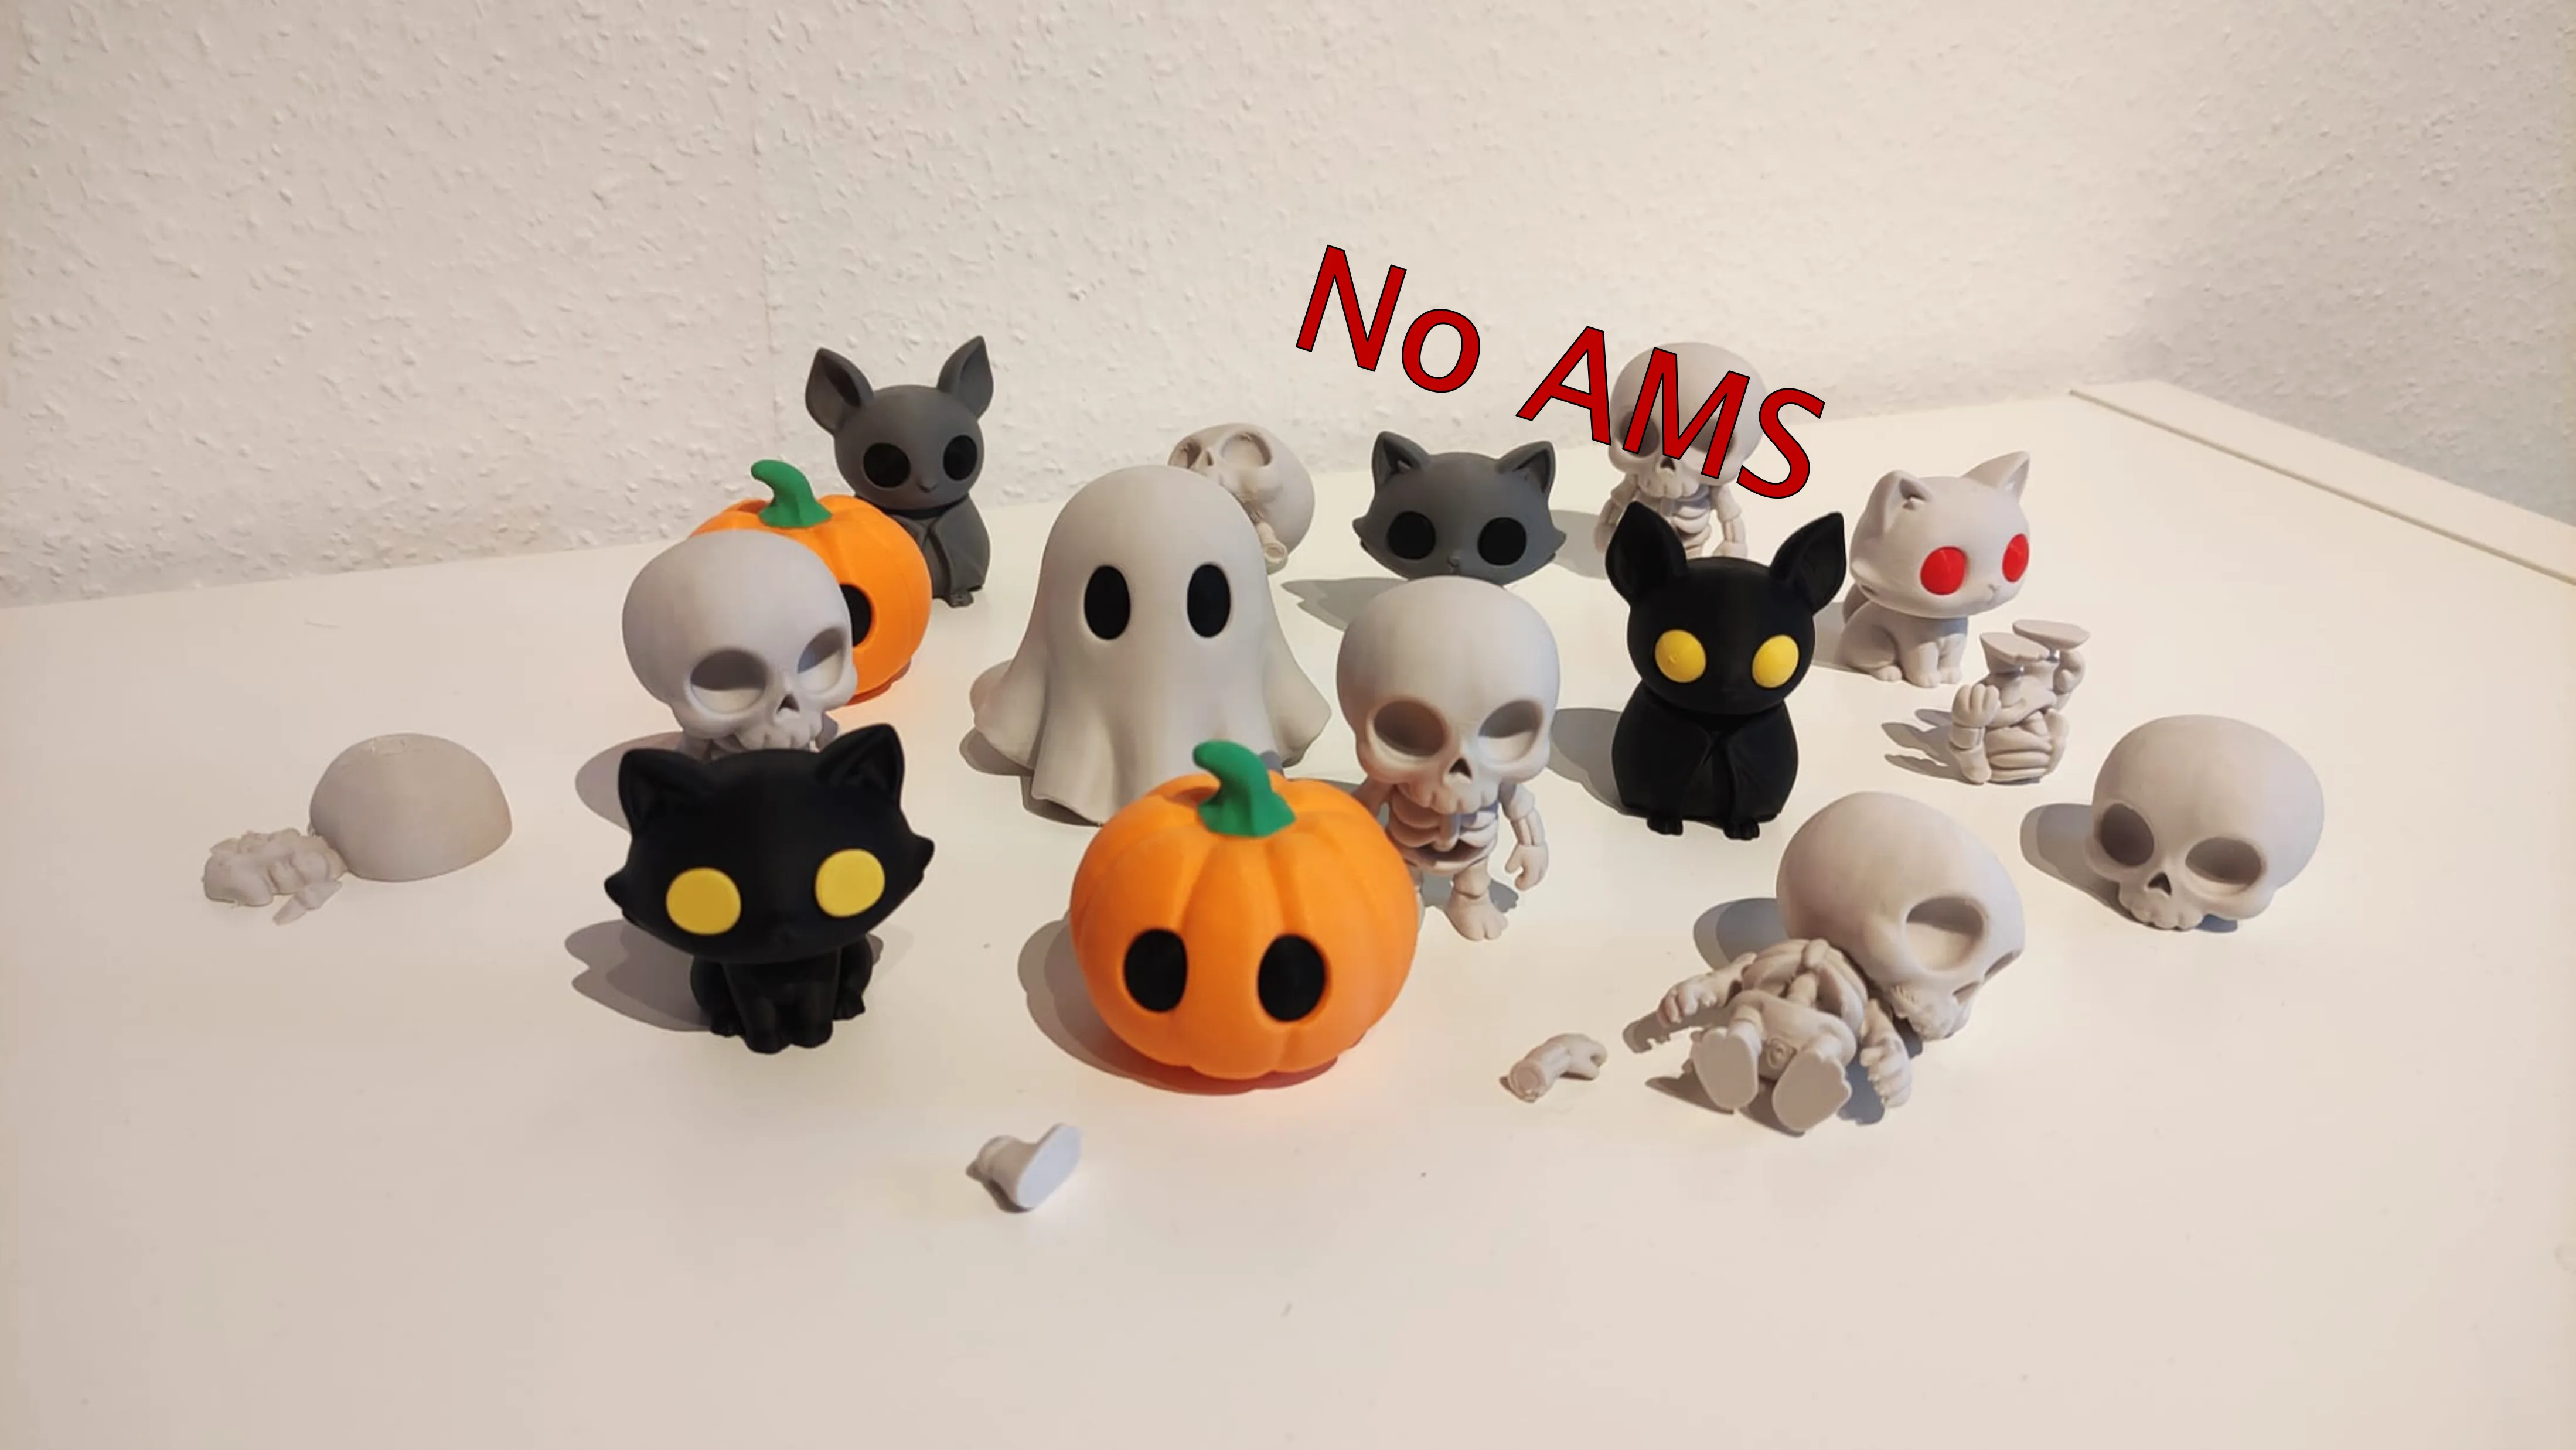
Also check out VOL1:
Print Recommendation:
I recommend printing this Models with the orignal intendet Print Profil: [venderer] variable layer height, hidden seams, minimal support.
This includes a layer height of 0.12 mm and the upper part of the heads (ears, faces etc.) with a layer height of 0.08 mm and hidden seams. The variable layer height is already set in the 3MF file.
Support Structures:
Designed with no to minimal supports – easy to remove, no tools needed.
Print Color Recommendation:
I recommend the colors i used (see pictures), but feel free to use any colors you like. I used PLA Matte except for the red parts (Brain and eyes), there is used PLA Basic.
Assemble:
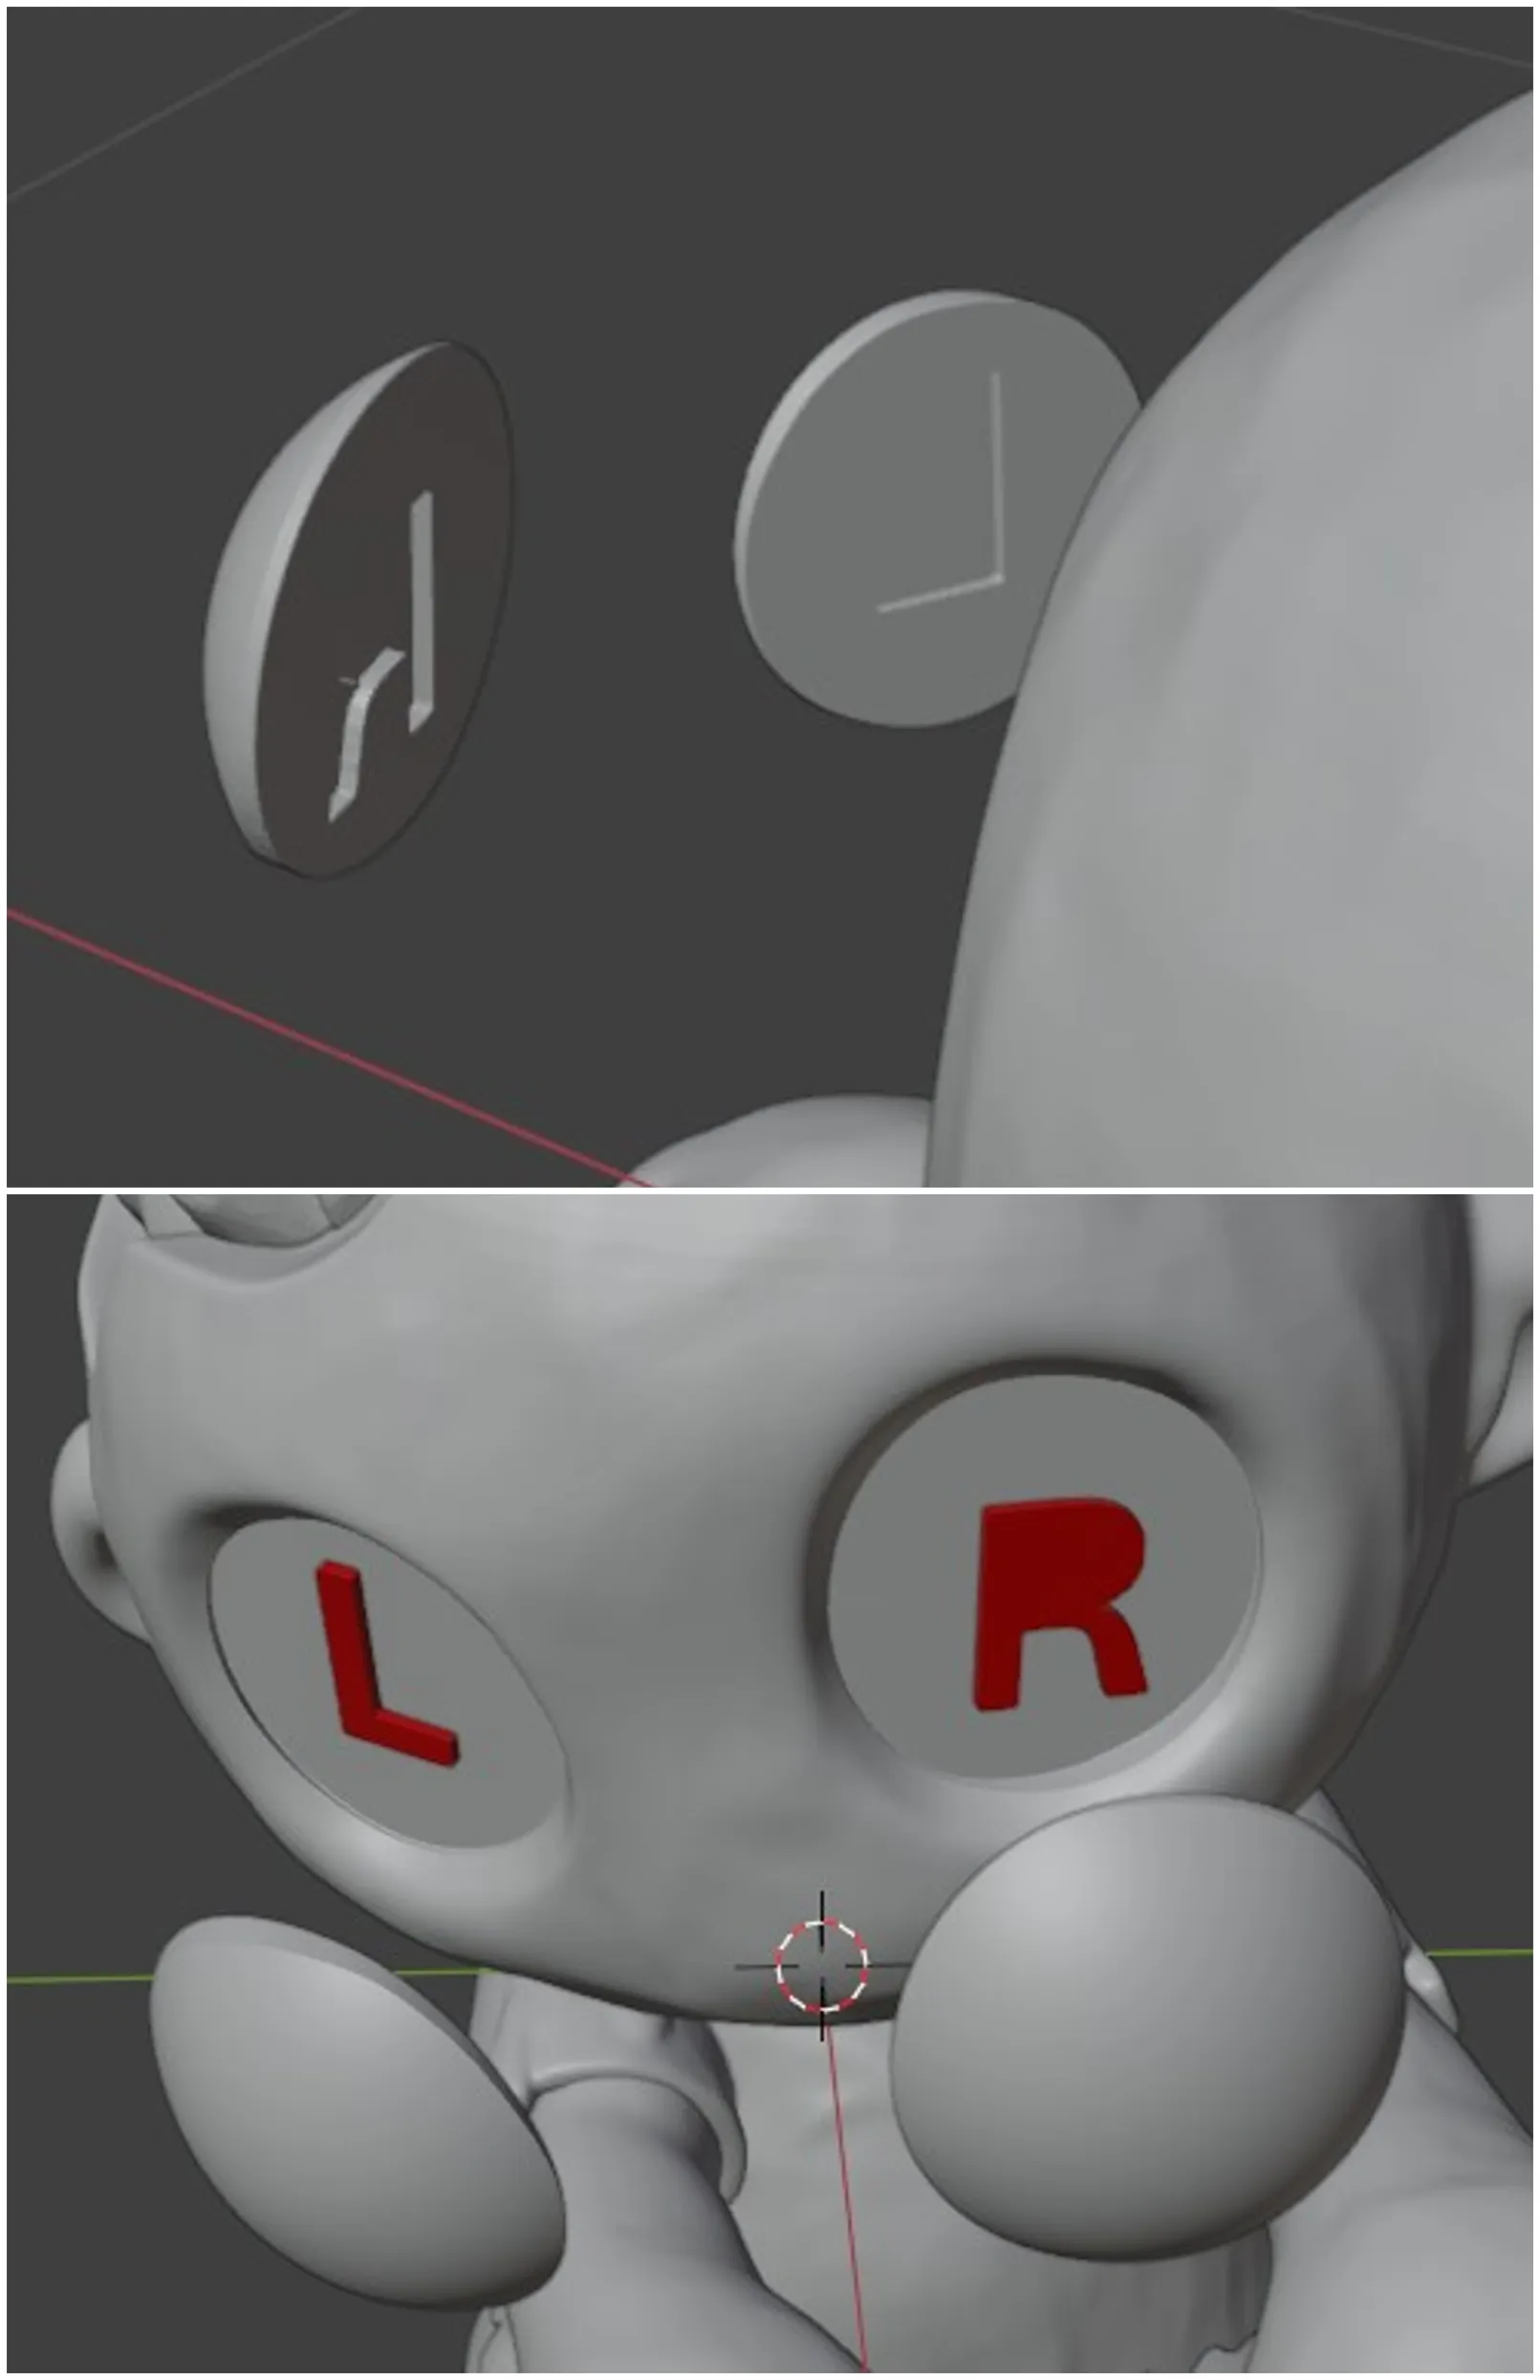
The eyes are marked “R” and “L” underneath. Glue “R” into the figure’s right eye and “L” into the left eye when facing you. For reference, please see the attached picture.
I usually use superglue. Maker @Berretje discovered that regular superglue can dissolve PLA and sometimes doesn’t hold well. He recommends using a special PLA or plastic adhesive for this purpose.
Grim Reaper:
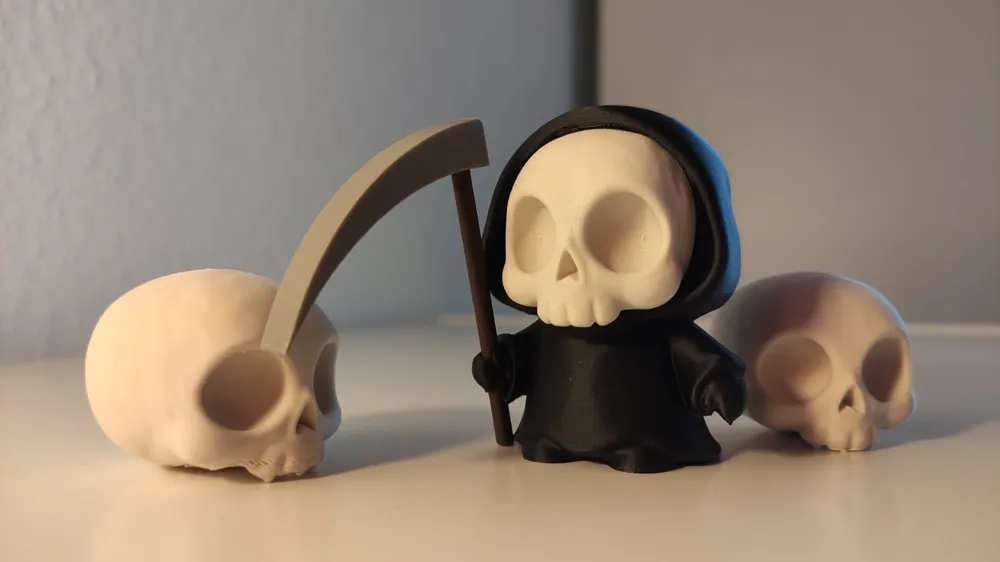
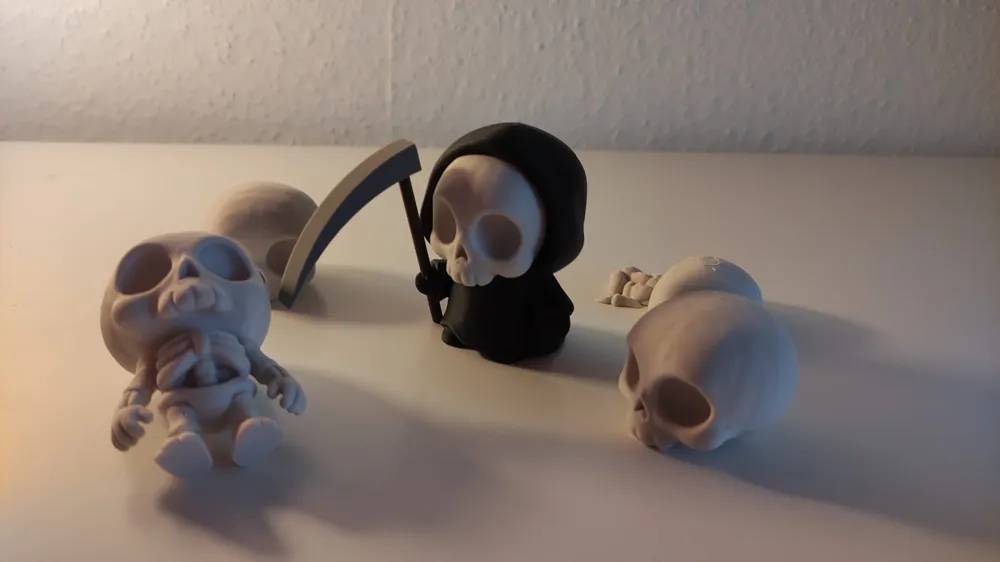
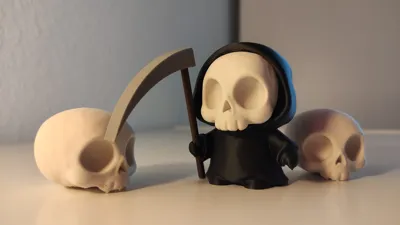
For assembling the Grim Reaper, first glue the skull into the hood. Next, take the scythe handle and insert it from below through the hands of the body. Make sure the handle’s angled end is pointing downward. Then rotate the scythe blade to your liking glue on top of the handle. To secure the scythe, glue the spots where the handle touches the hands so it won’t slip down.
Zombie:
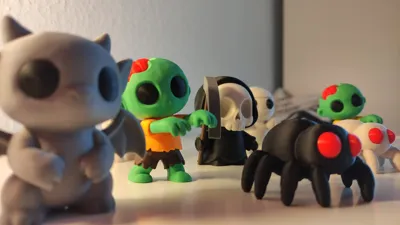
For assembling the zombie, I recommend starting with the head. Take the brain and glue it into the opening in the head. Make sure it’s oriented correctly so it fits perfectly into the slot and can be pressed in completely. After that, attach the eyes with glue. For assembling the zombie’s body, proceed as follows: Take the T-shirt and attach the pants by gluing them to the bottom of the shirt. The pants can be fully pressed into the shirt. Then take the legs and insert them into the pants in the correct orientation — they should fit perfectly. For leg alignment, refer to the uploaded zombie images. Next, attach the arms to the shirt. You can identify the correct arm orientation by the small ridges on the upper side of the sockets. Finally, glue the head onto the shoulders of the shirt.
Check out my other Halloween Models:
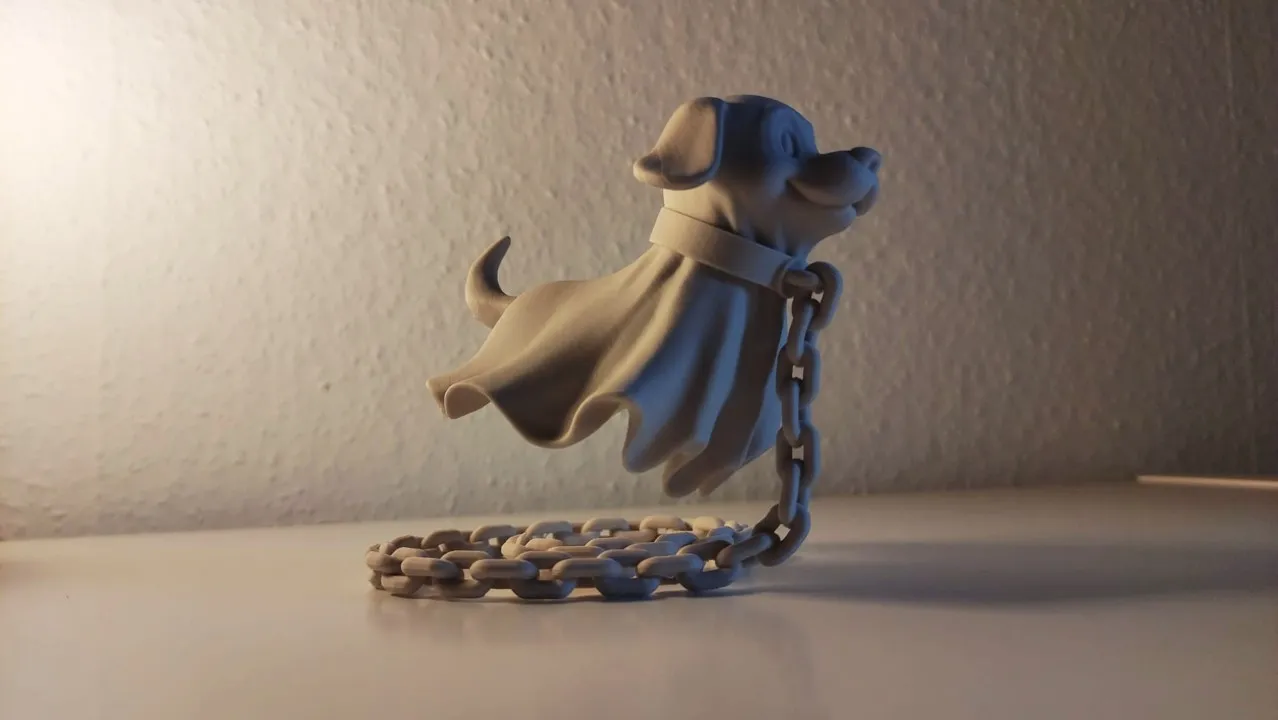
Have fun printing!
License

You shall not share, sub-license, sell, rent, host, transfer, or distribute in any way the digital or 3D printed versions of this object, nor any other derivative work of this object in its digital or physical format (including - but not limited to - remixes of this object, and hosting on other digital platforms). The objects may not be used without permission in any way whatsoever in which you charge money, or collect fees.


Comment & Rating (71)