
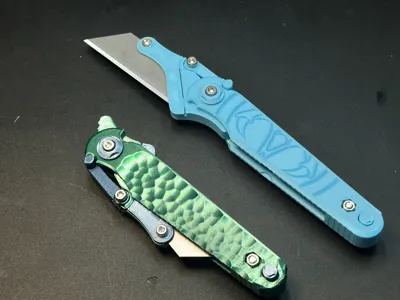
3D Printed Hawk Shortcut Folding Utility Knife
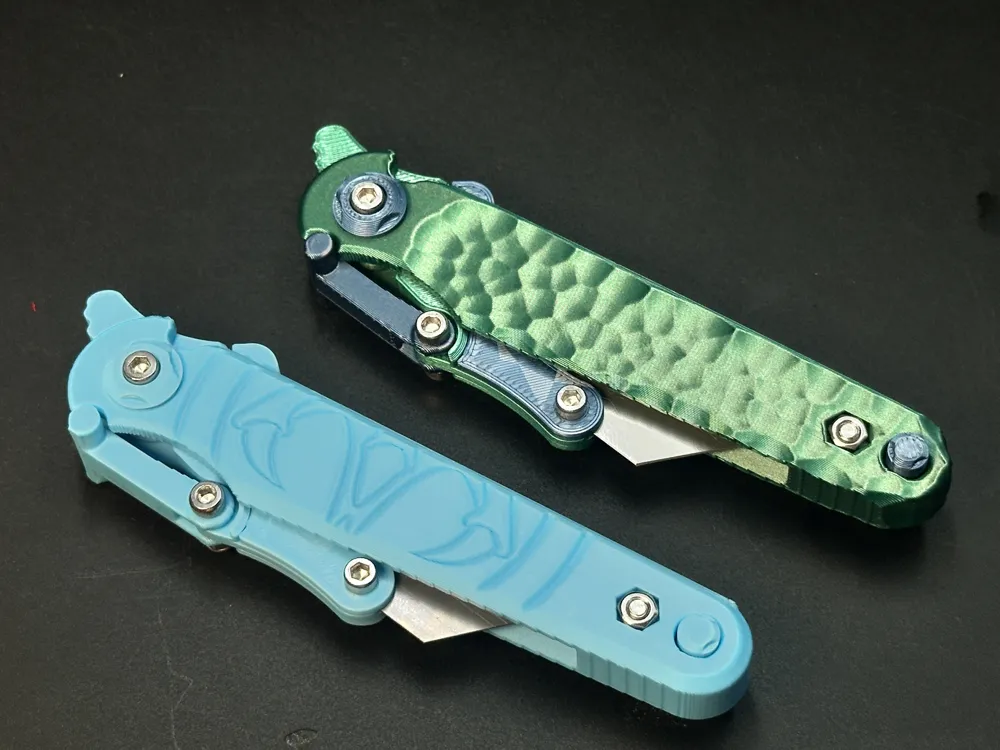
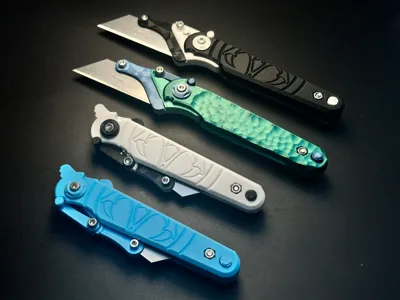
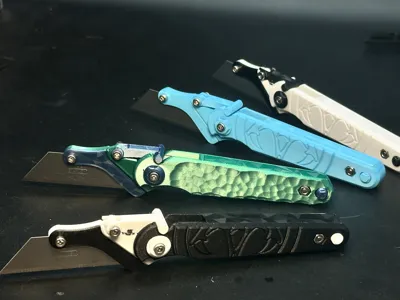
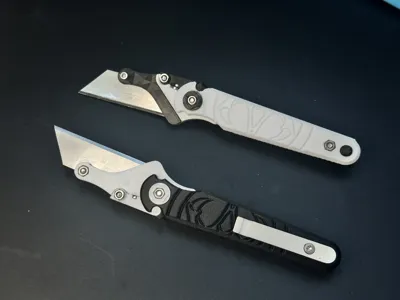
Print Profile(4)


Bill of Materials



Description
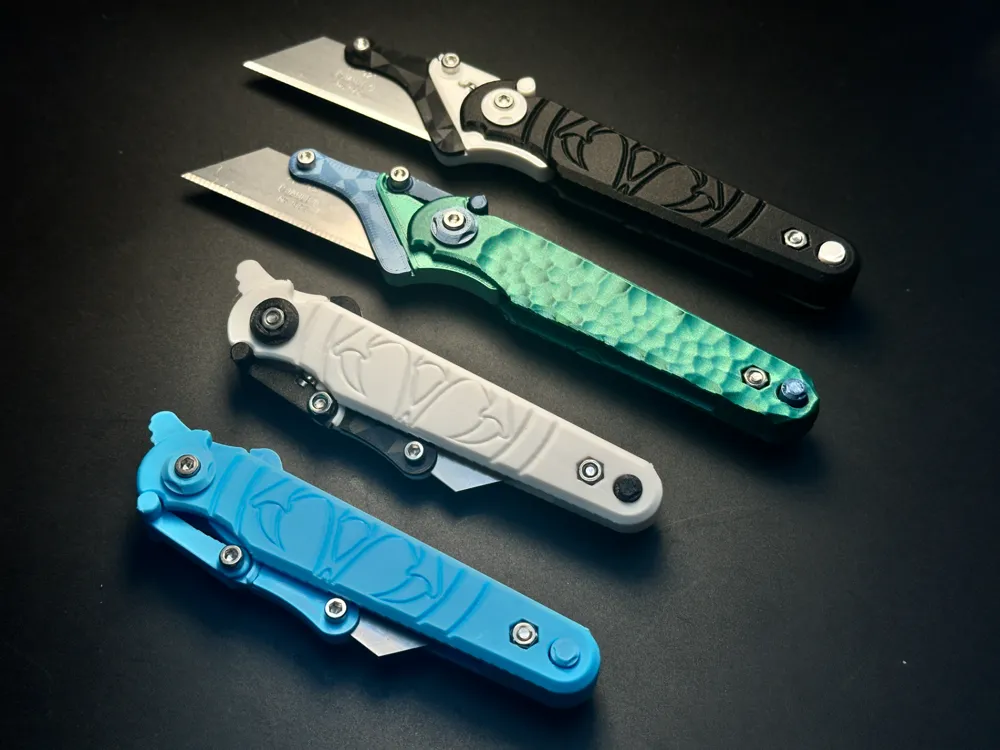
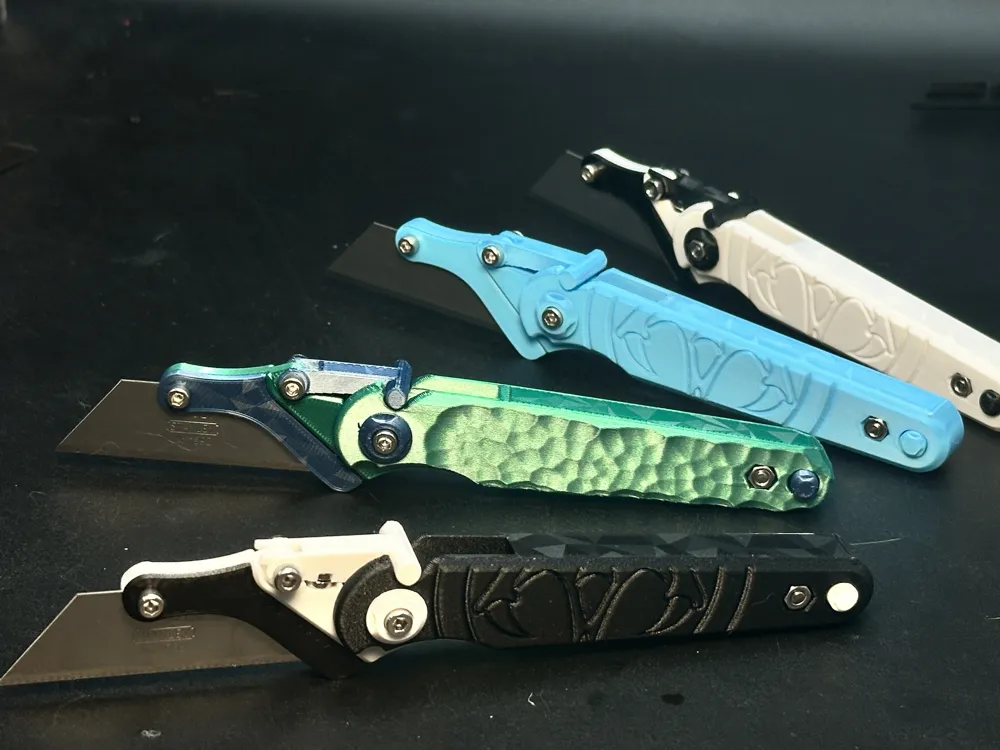
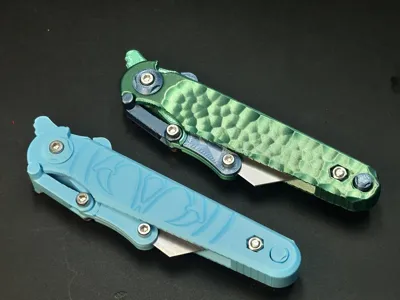
This project is a faithful replica of the Hawk Shortcut, aiming to recreate its user experience through 3D printing.
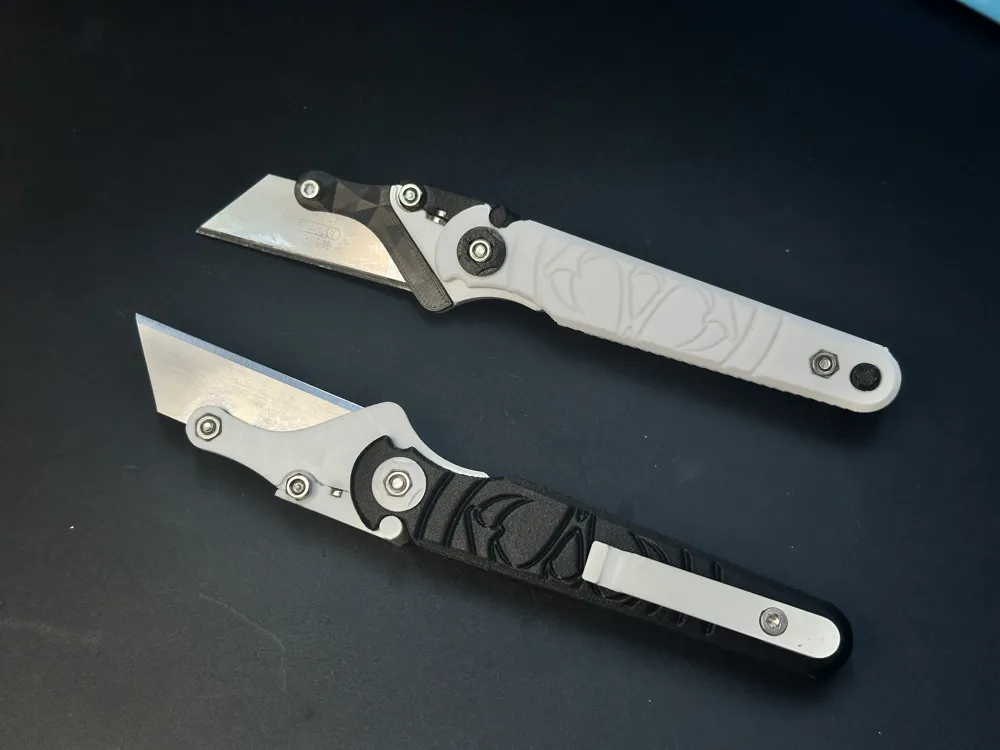
It enables easy one-handed rapid deployment and features a very sturdy pocket clip.


The original Hawk Shortcut uses a torsion spring to provide elasticity for the locking mechanism. In practice, torsion springs are far less common than extension or compression springs, which undoubtedly increases assembly difficulty. After extensive testing, I developed two alternative solutions:
- Utilizing the inherent elasticity of 3D-printed materials.
- Employing magnetic force to actuate the lock.
I provide downloadable configurations for both solutions and detail them below.Printing Configurations:
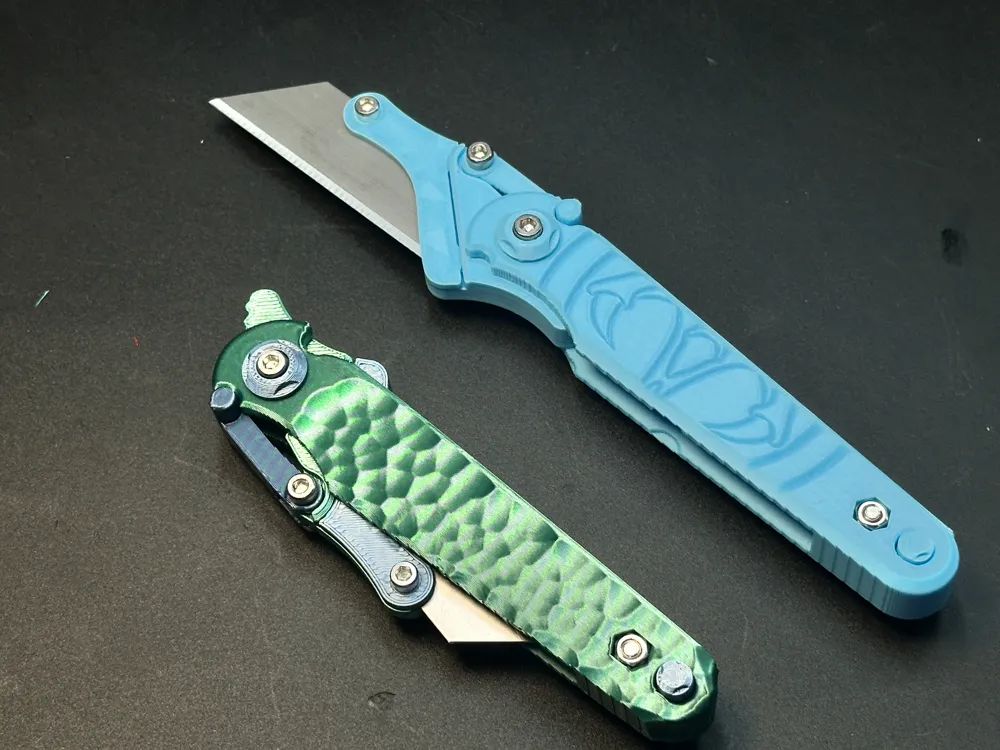
- Variant 1, Basic - Hawk LOGO: Uses 3D-printed material elasticity for locking.
- Pros: Simpler assembly, no magnets needed.
- Cons: Action is less smooth than magnetic version; material may lose elasticity over time due to fatigue. Requires screws and nuts for assembly.
- Variant 2, Basic - Hammer Texture: Identical to Variant 1 but features a hammer-textured handle.
- Variant 3, Magnetic Edition: Uses magnetic attraction for locking.
- Pros: Extremely smooth action; no concerns about material fatigue.
- Cons: Higher assembly precision required. Due to weaker magnetic force, joints must be carefully filed and polished to reduce friction (lubrication is highly recommended). Requires screws, nuts, and four magnets (6mm diameter, 2mm thickness).
- ⚠️ Not recommended for beginners. Successful assembly requires manual skill to reduce resistance in the locking mechanism with files. If done correctly, performance is exceptional.
Printing Notes: Simple process. Requires minimal, easily removable supports that leave no visible marks.
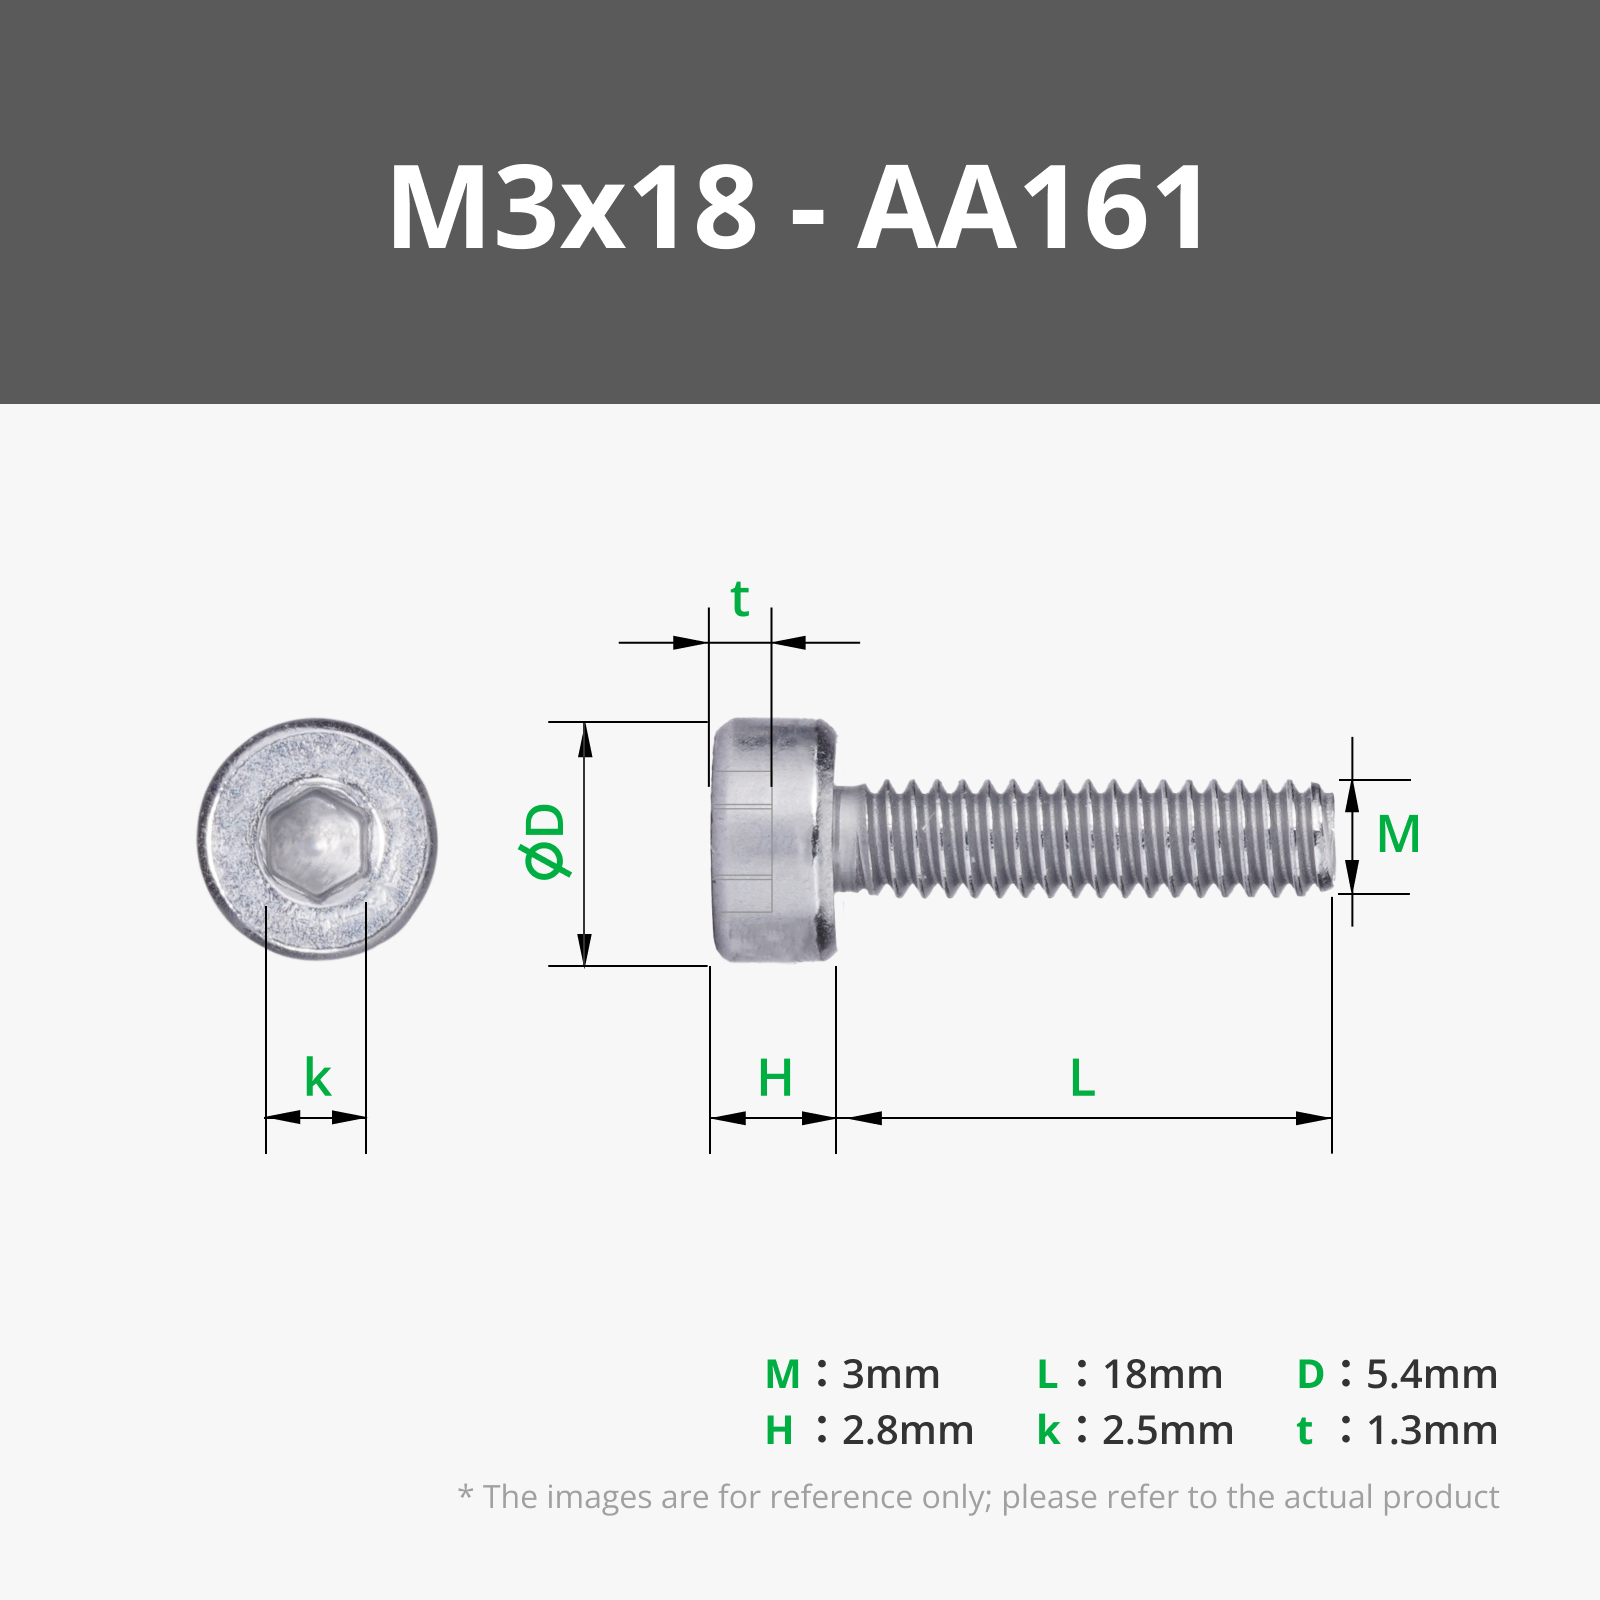
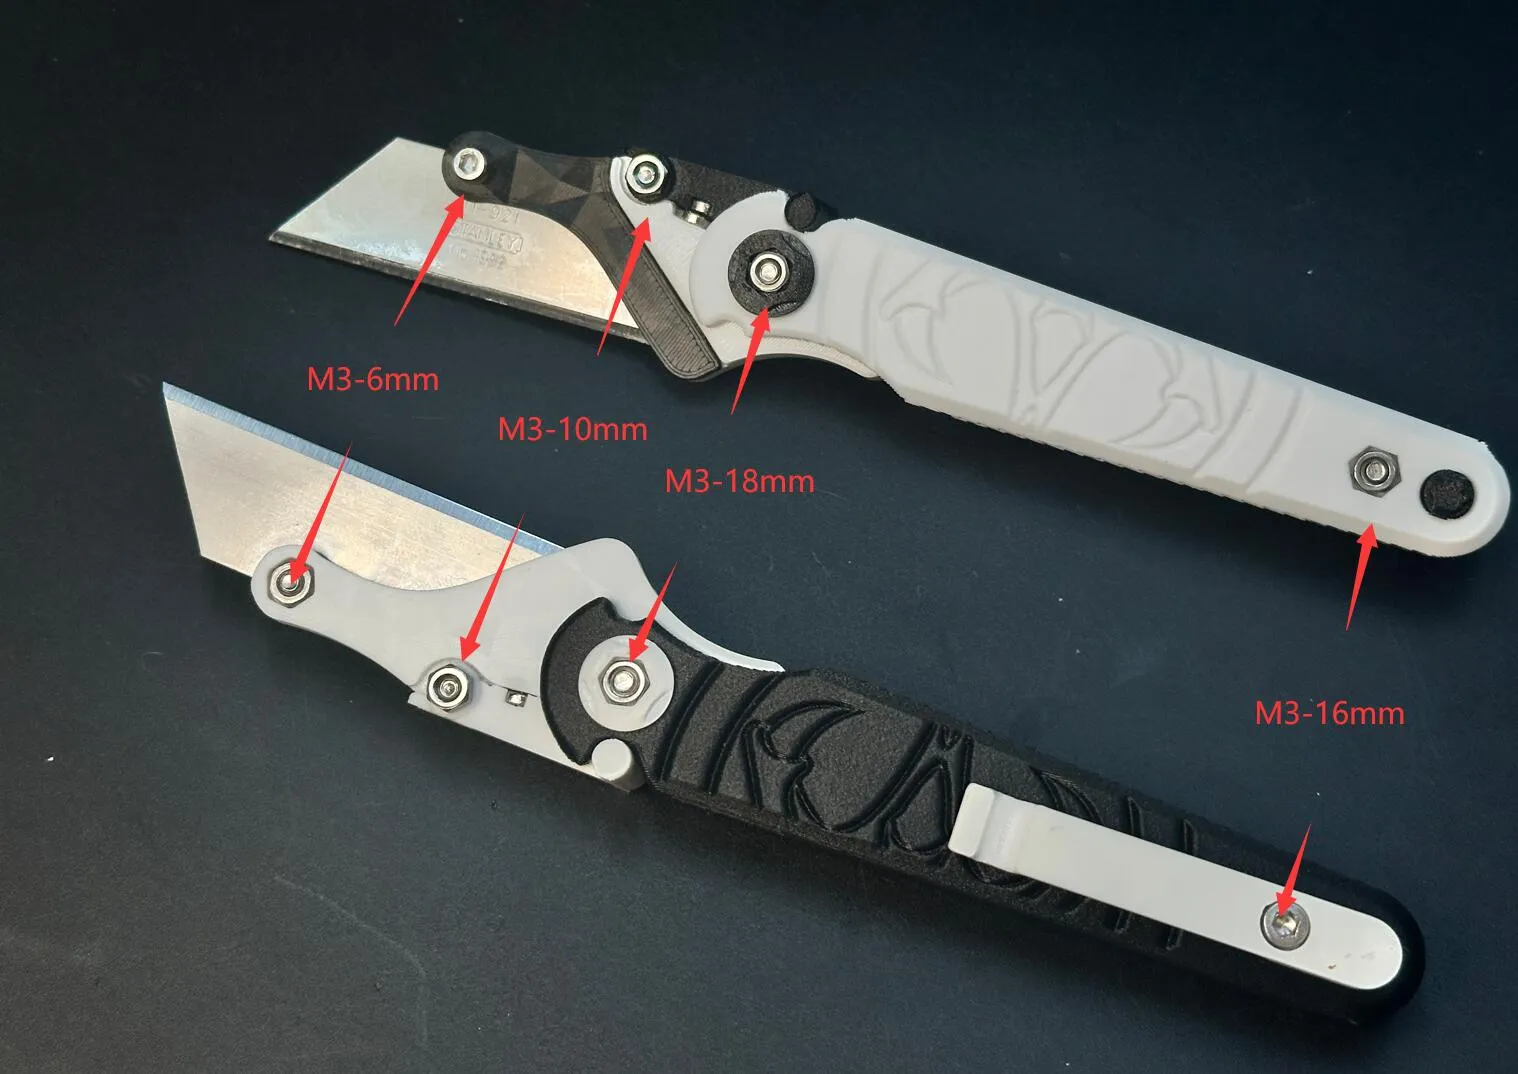
Assembly Notes: Basic variants are straightforward; magnetic version requires fine-tuning and is challenging. Assembly requires four M3 screws and four M3 nuts in the following lengths: 6mm, 10mm, 16mm, and 18mm. To accurately replicate the original外观, I did not standardize screw lengths, so four different sizes are needed.
Blade Compatibility: Designed for Stanley-style utility blades (62mm length). Longer blades may not fit; shorter ones may cause wobble.
Assembly Guide:
Video Tutorial: Highly recommended.
Screw Usage Diagram:
Assembly Steps:
Install Magnets (Skip for basic variants). The model relies on magnetic attraction, so ensure correct polarity.need 4 magnets (6mm diameter, 2mm thickness)
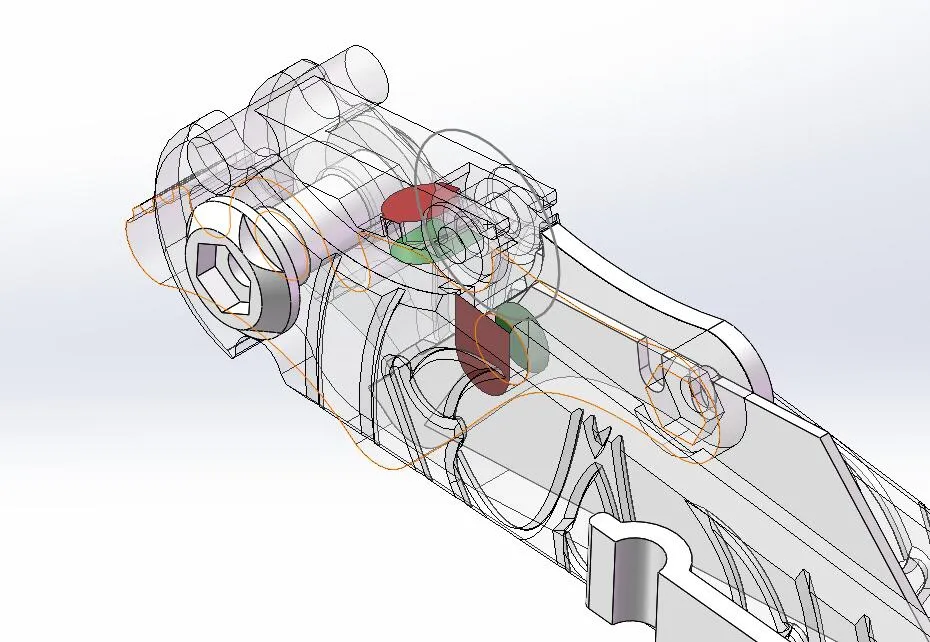
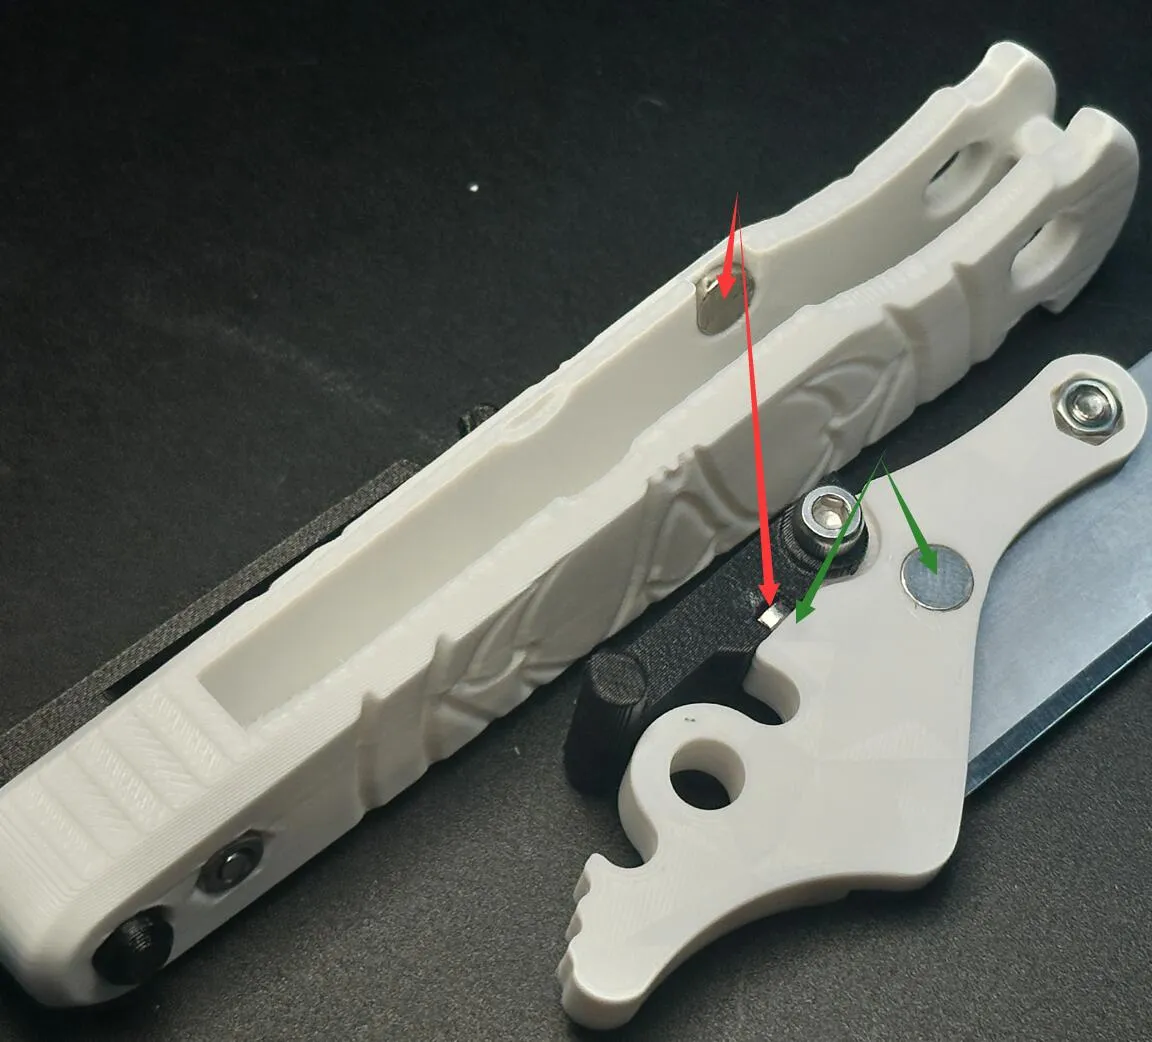
Secure the locking mechanism and blade holder with one M3-10mm screw and nut. (For magnetic edition: meticulously polish the joint to minimize friction and use lubricant.) Do not overtighten.I use threadlocker to prevent nut loosening.
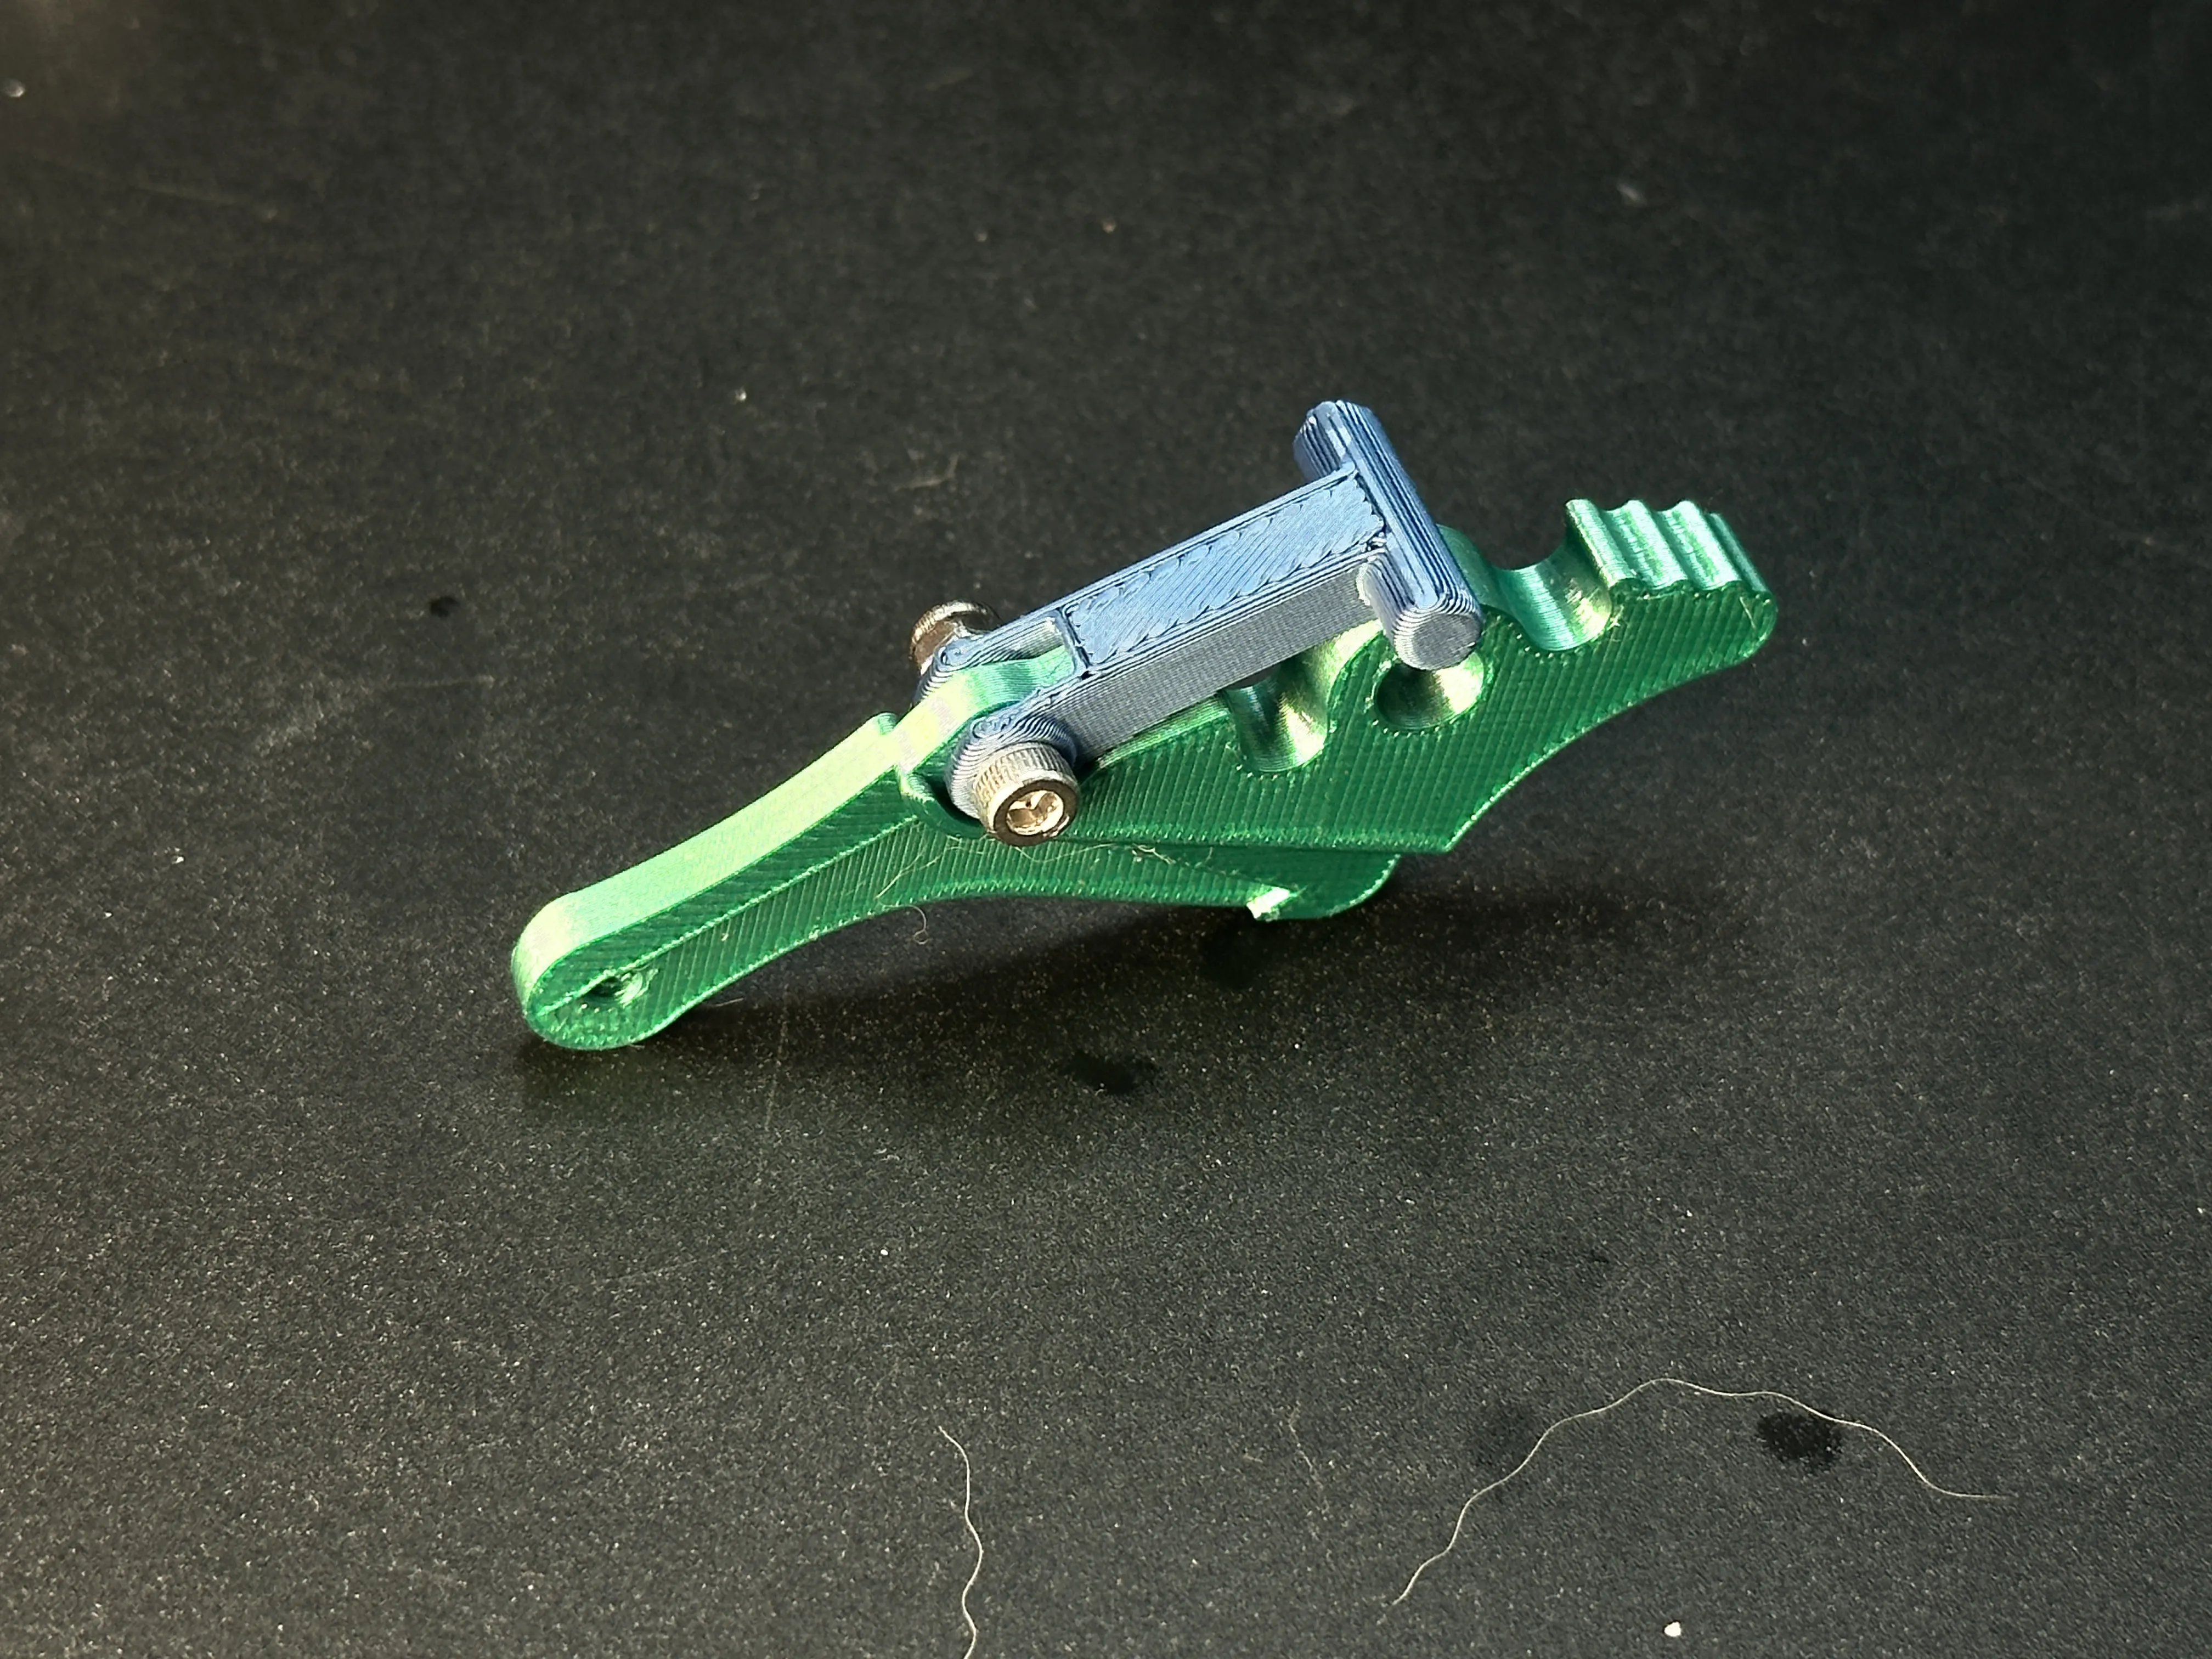
Install the blade holder into the handle. Fix it with two pivot axle parts, then secure with an M3-18mm screw and nut.
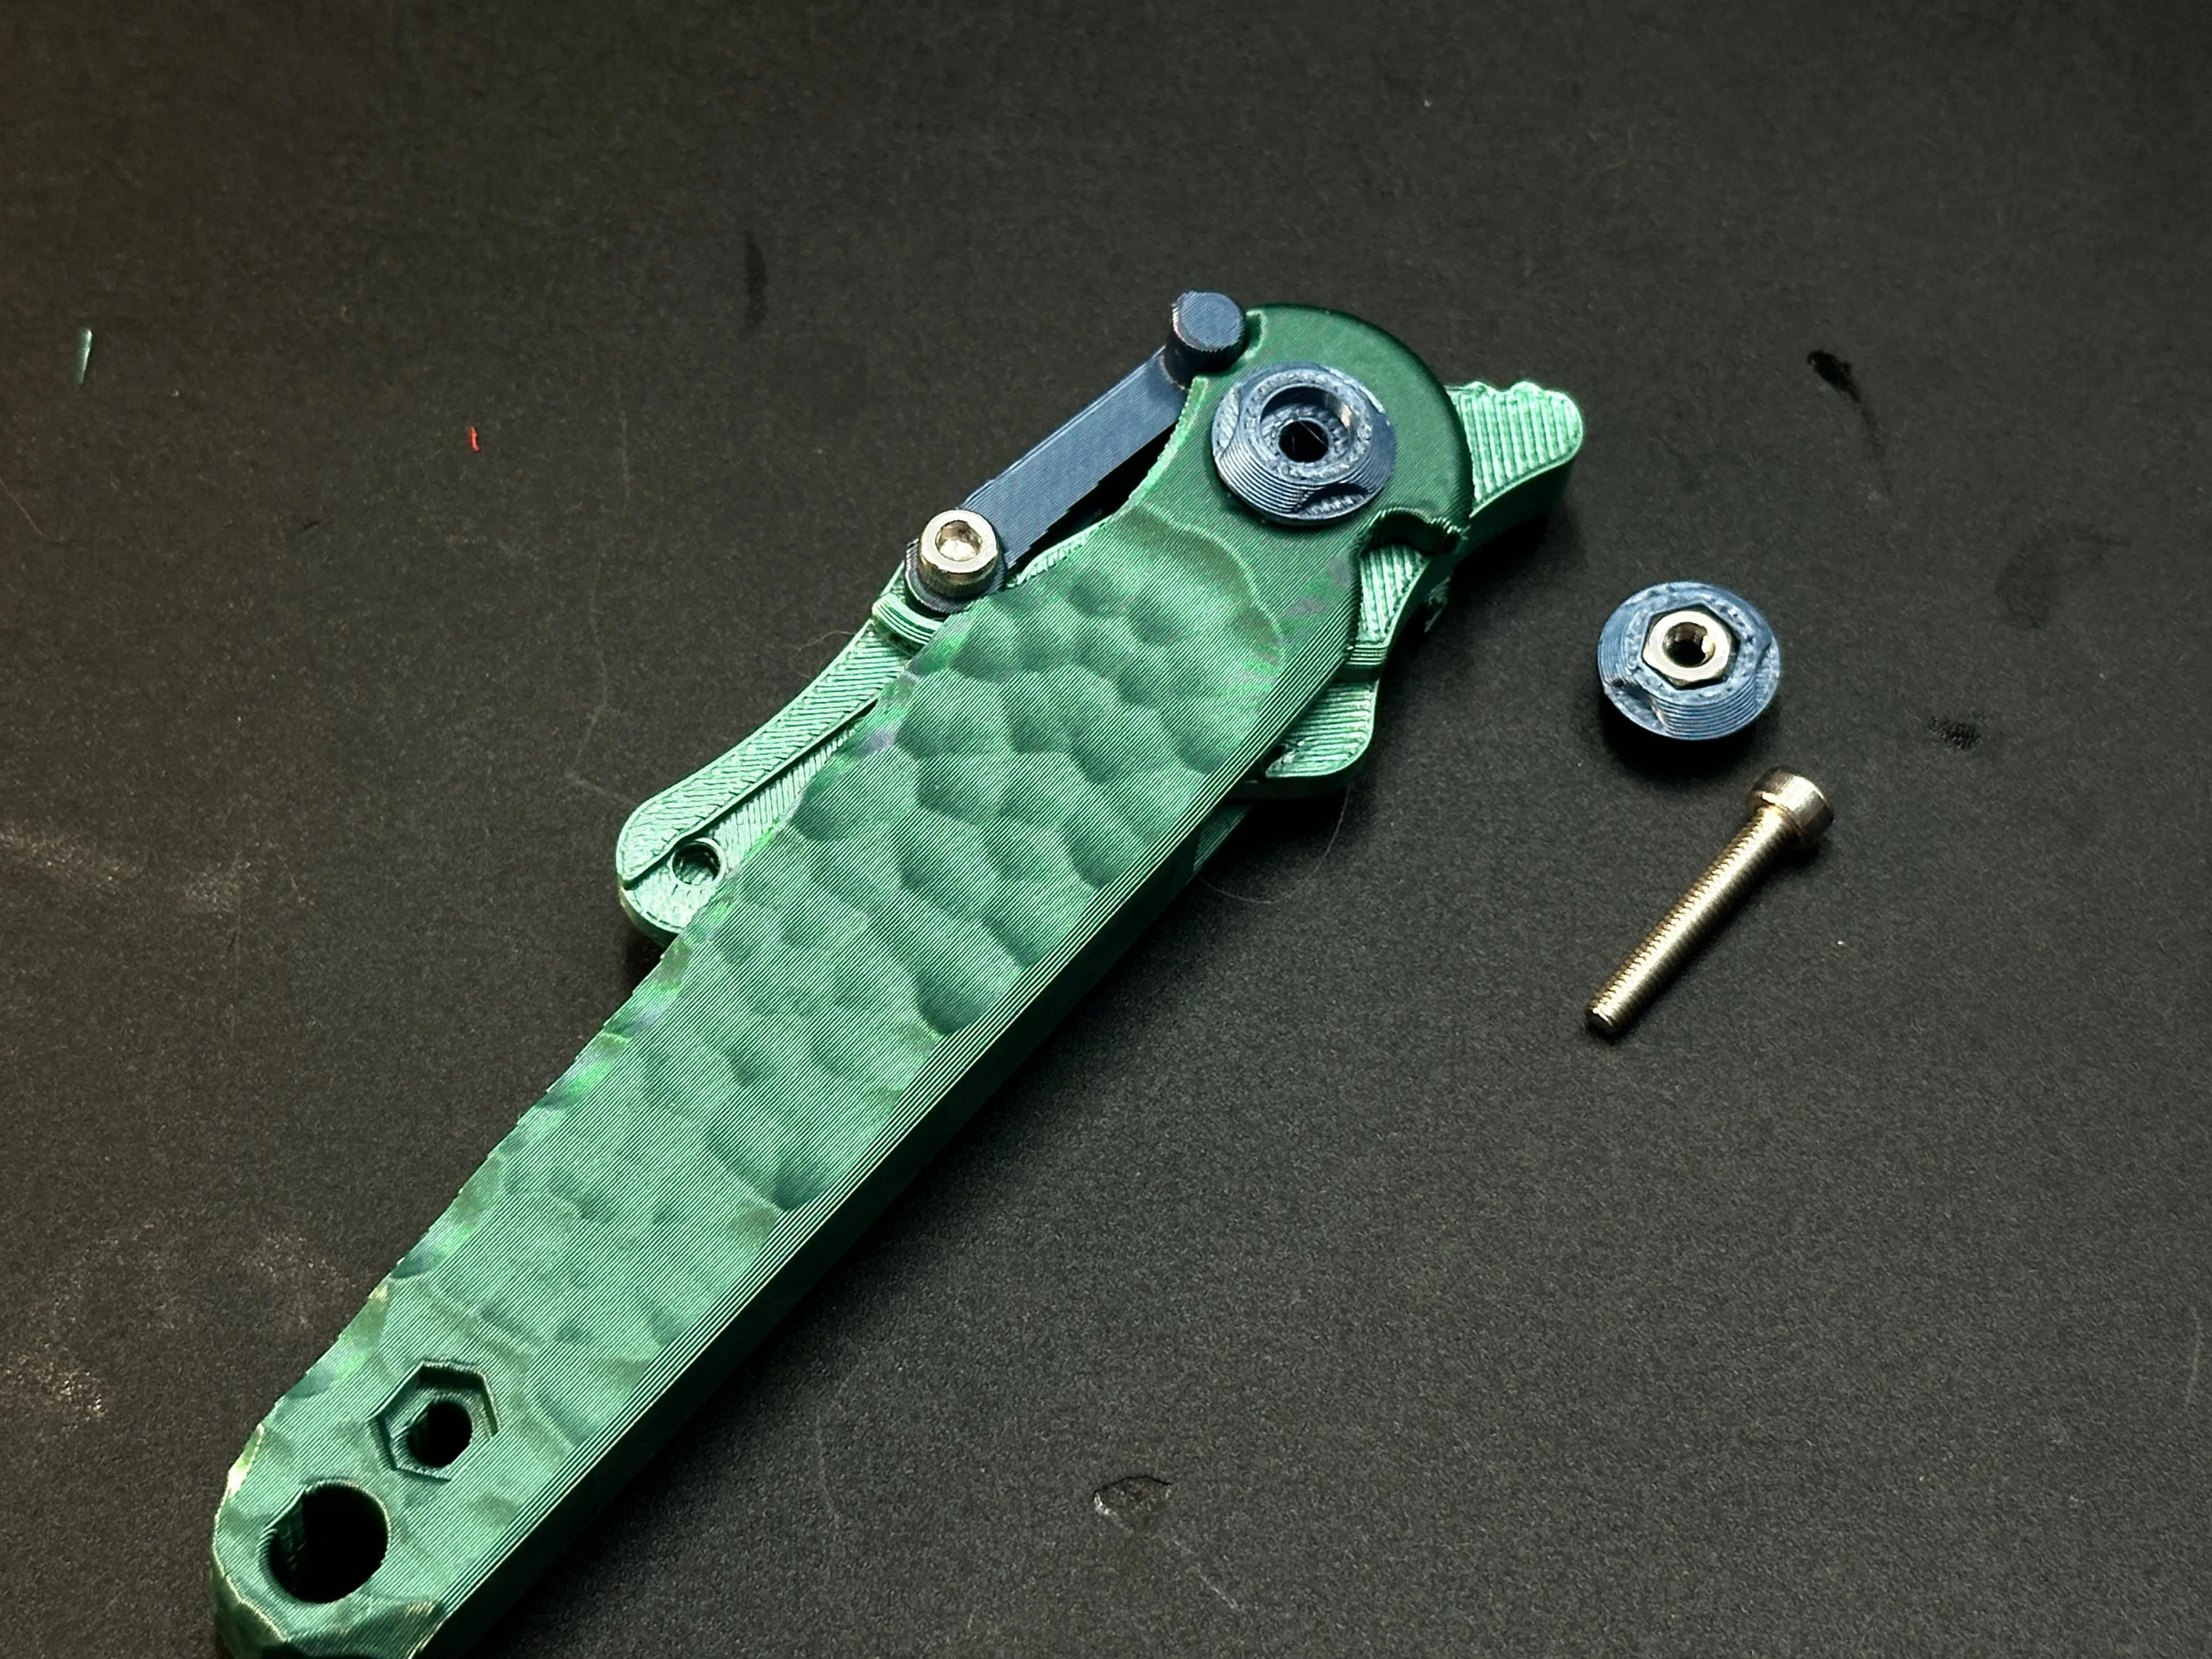
Attach the pocket clip with an M3-16mm screw and nut.
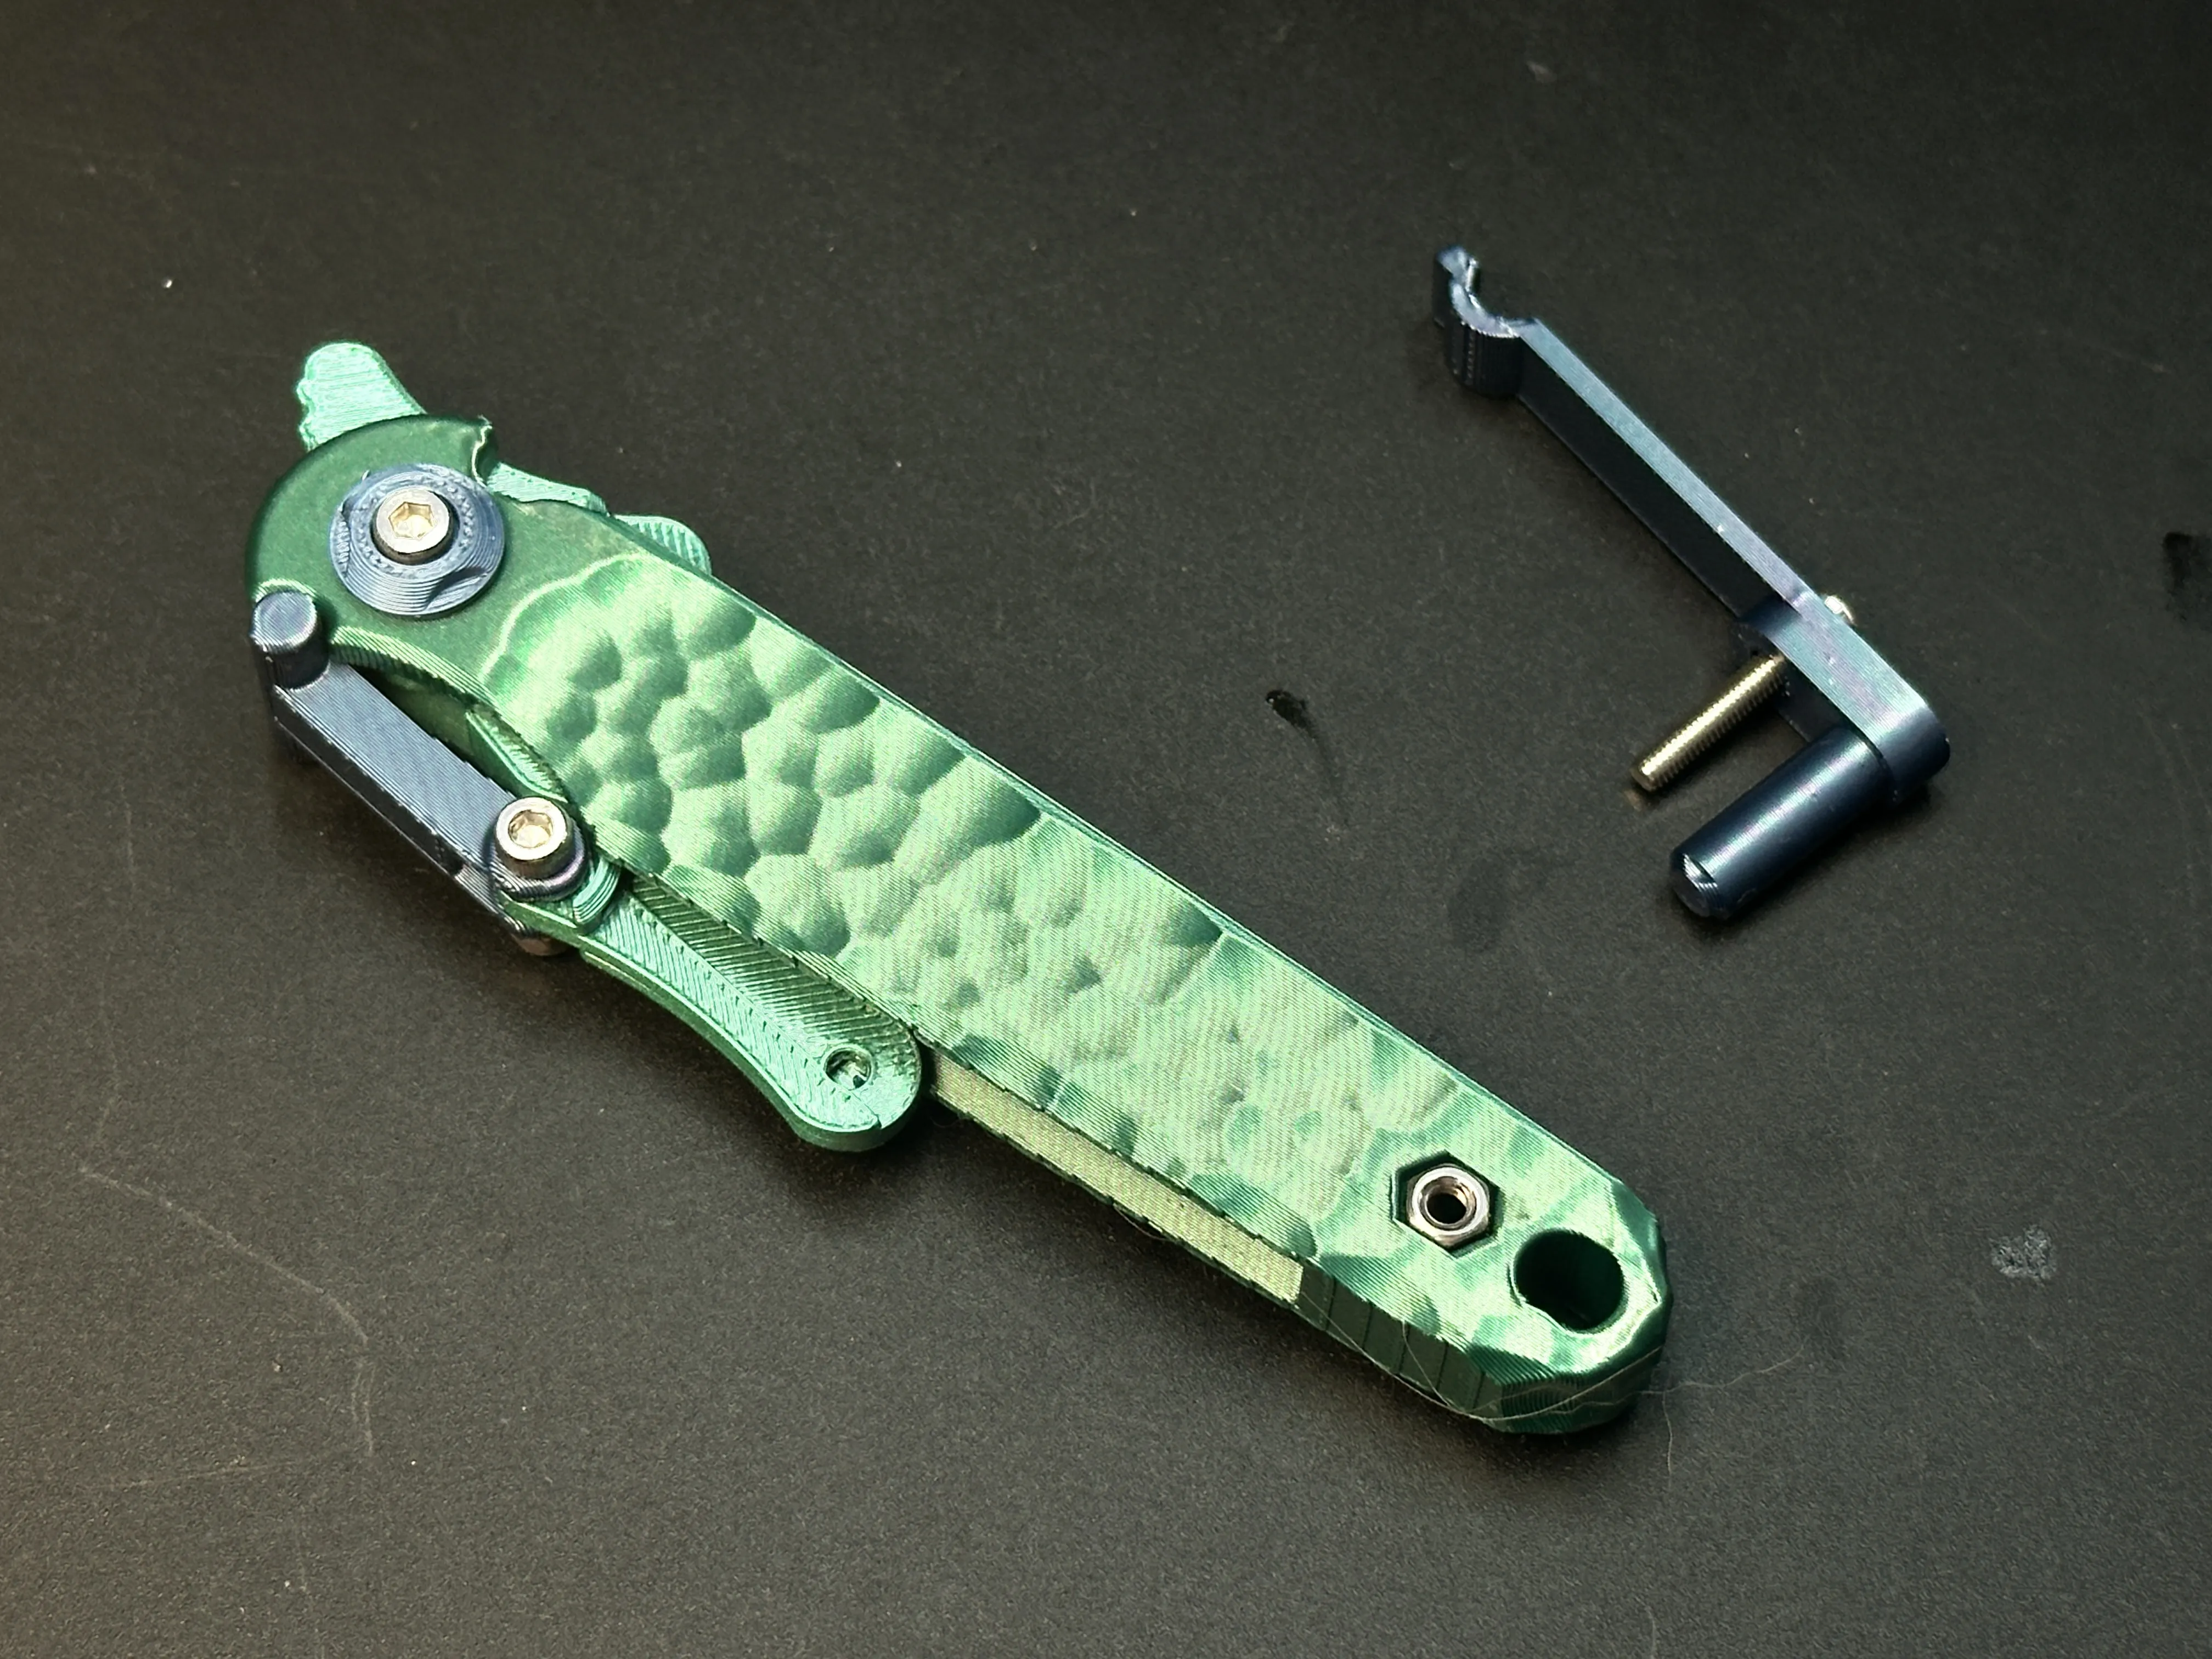
Install the blade using an M3-6mm screw and nut.
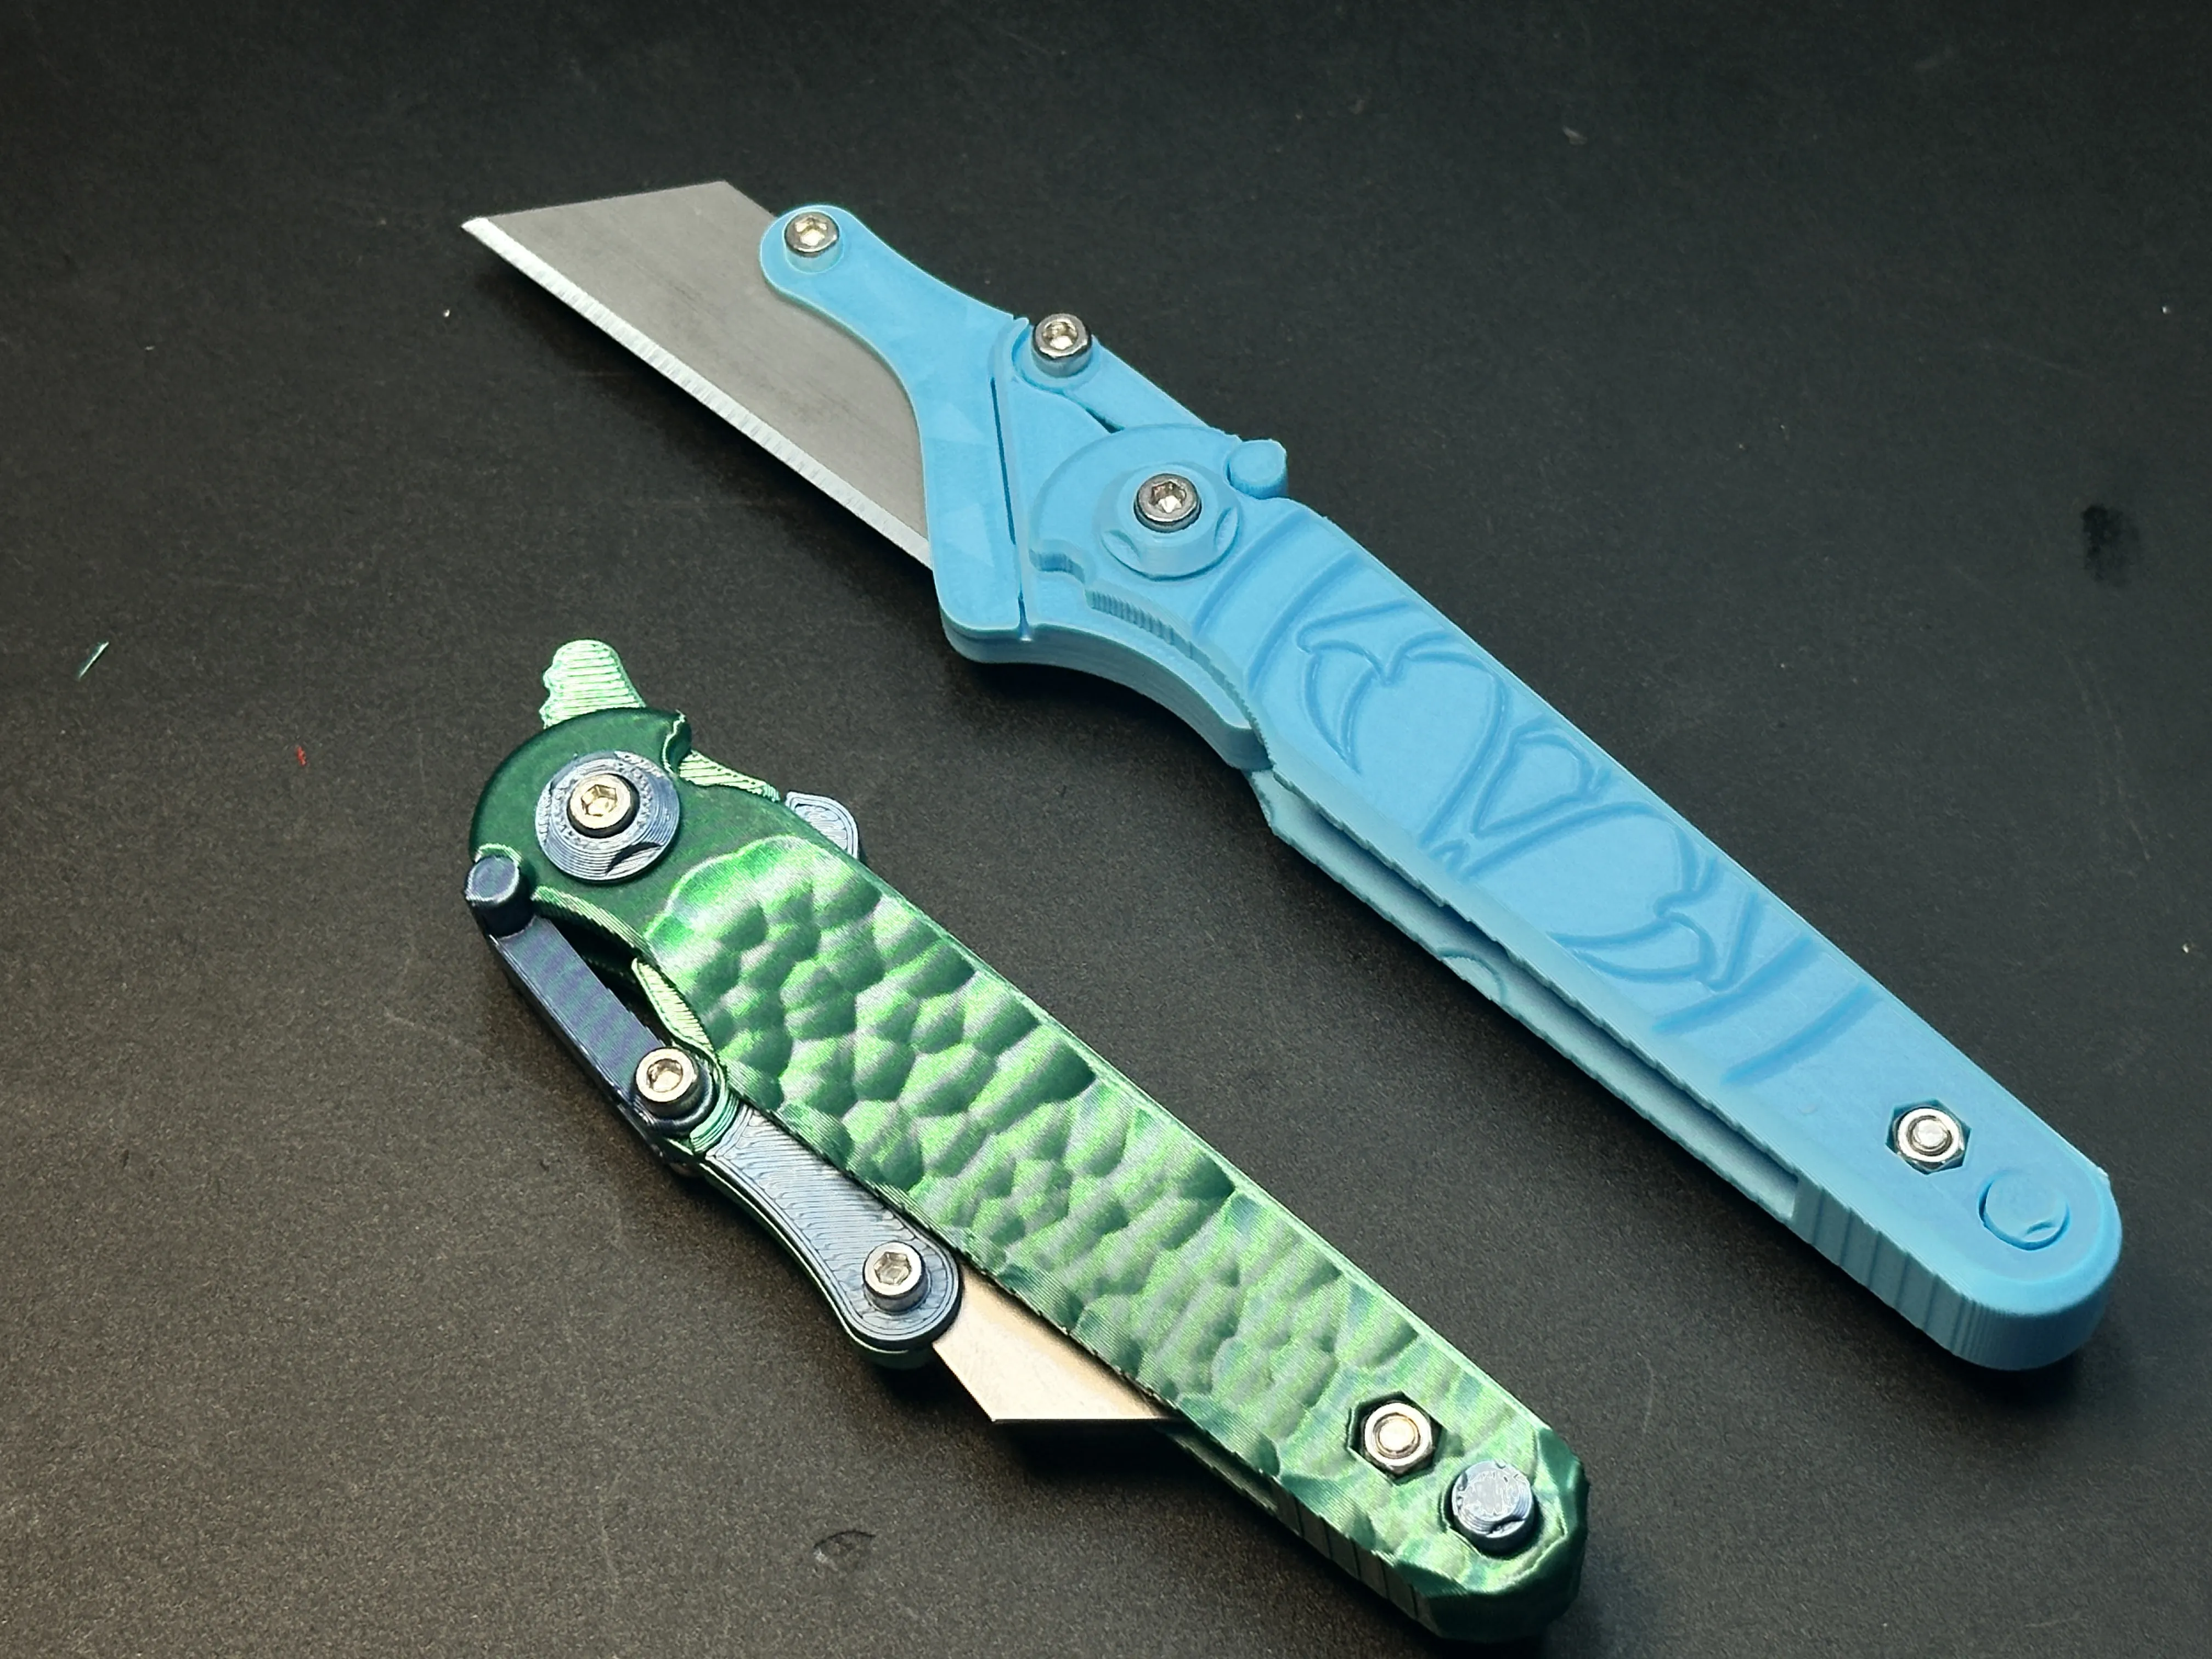
The strength of 3D-printed knives cannot be guaranteed and they are suitable only for light-duty tasks, such as cutting paper or opening Amazon packages. Unless otherwise specified, all of my knife designs are intended for light-duty use only.
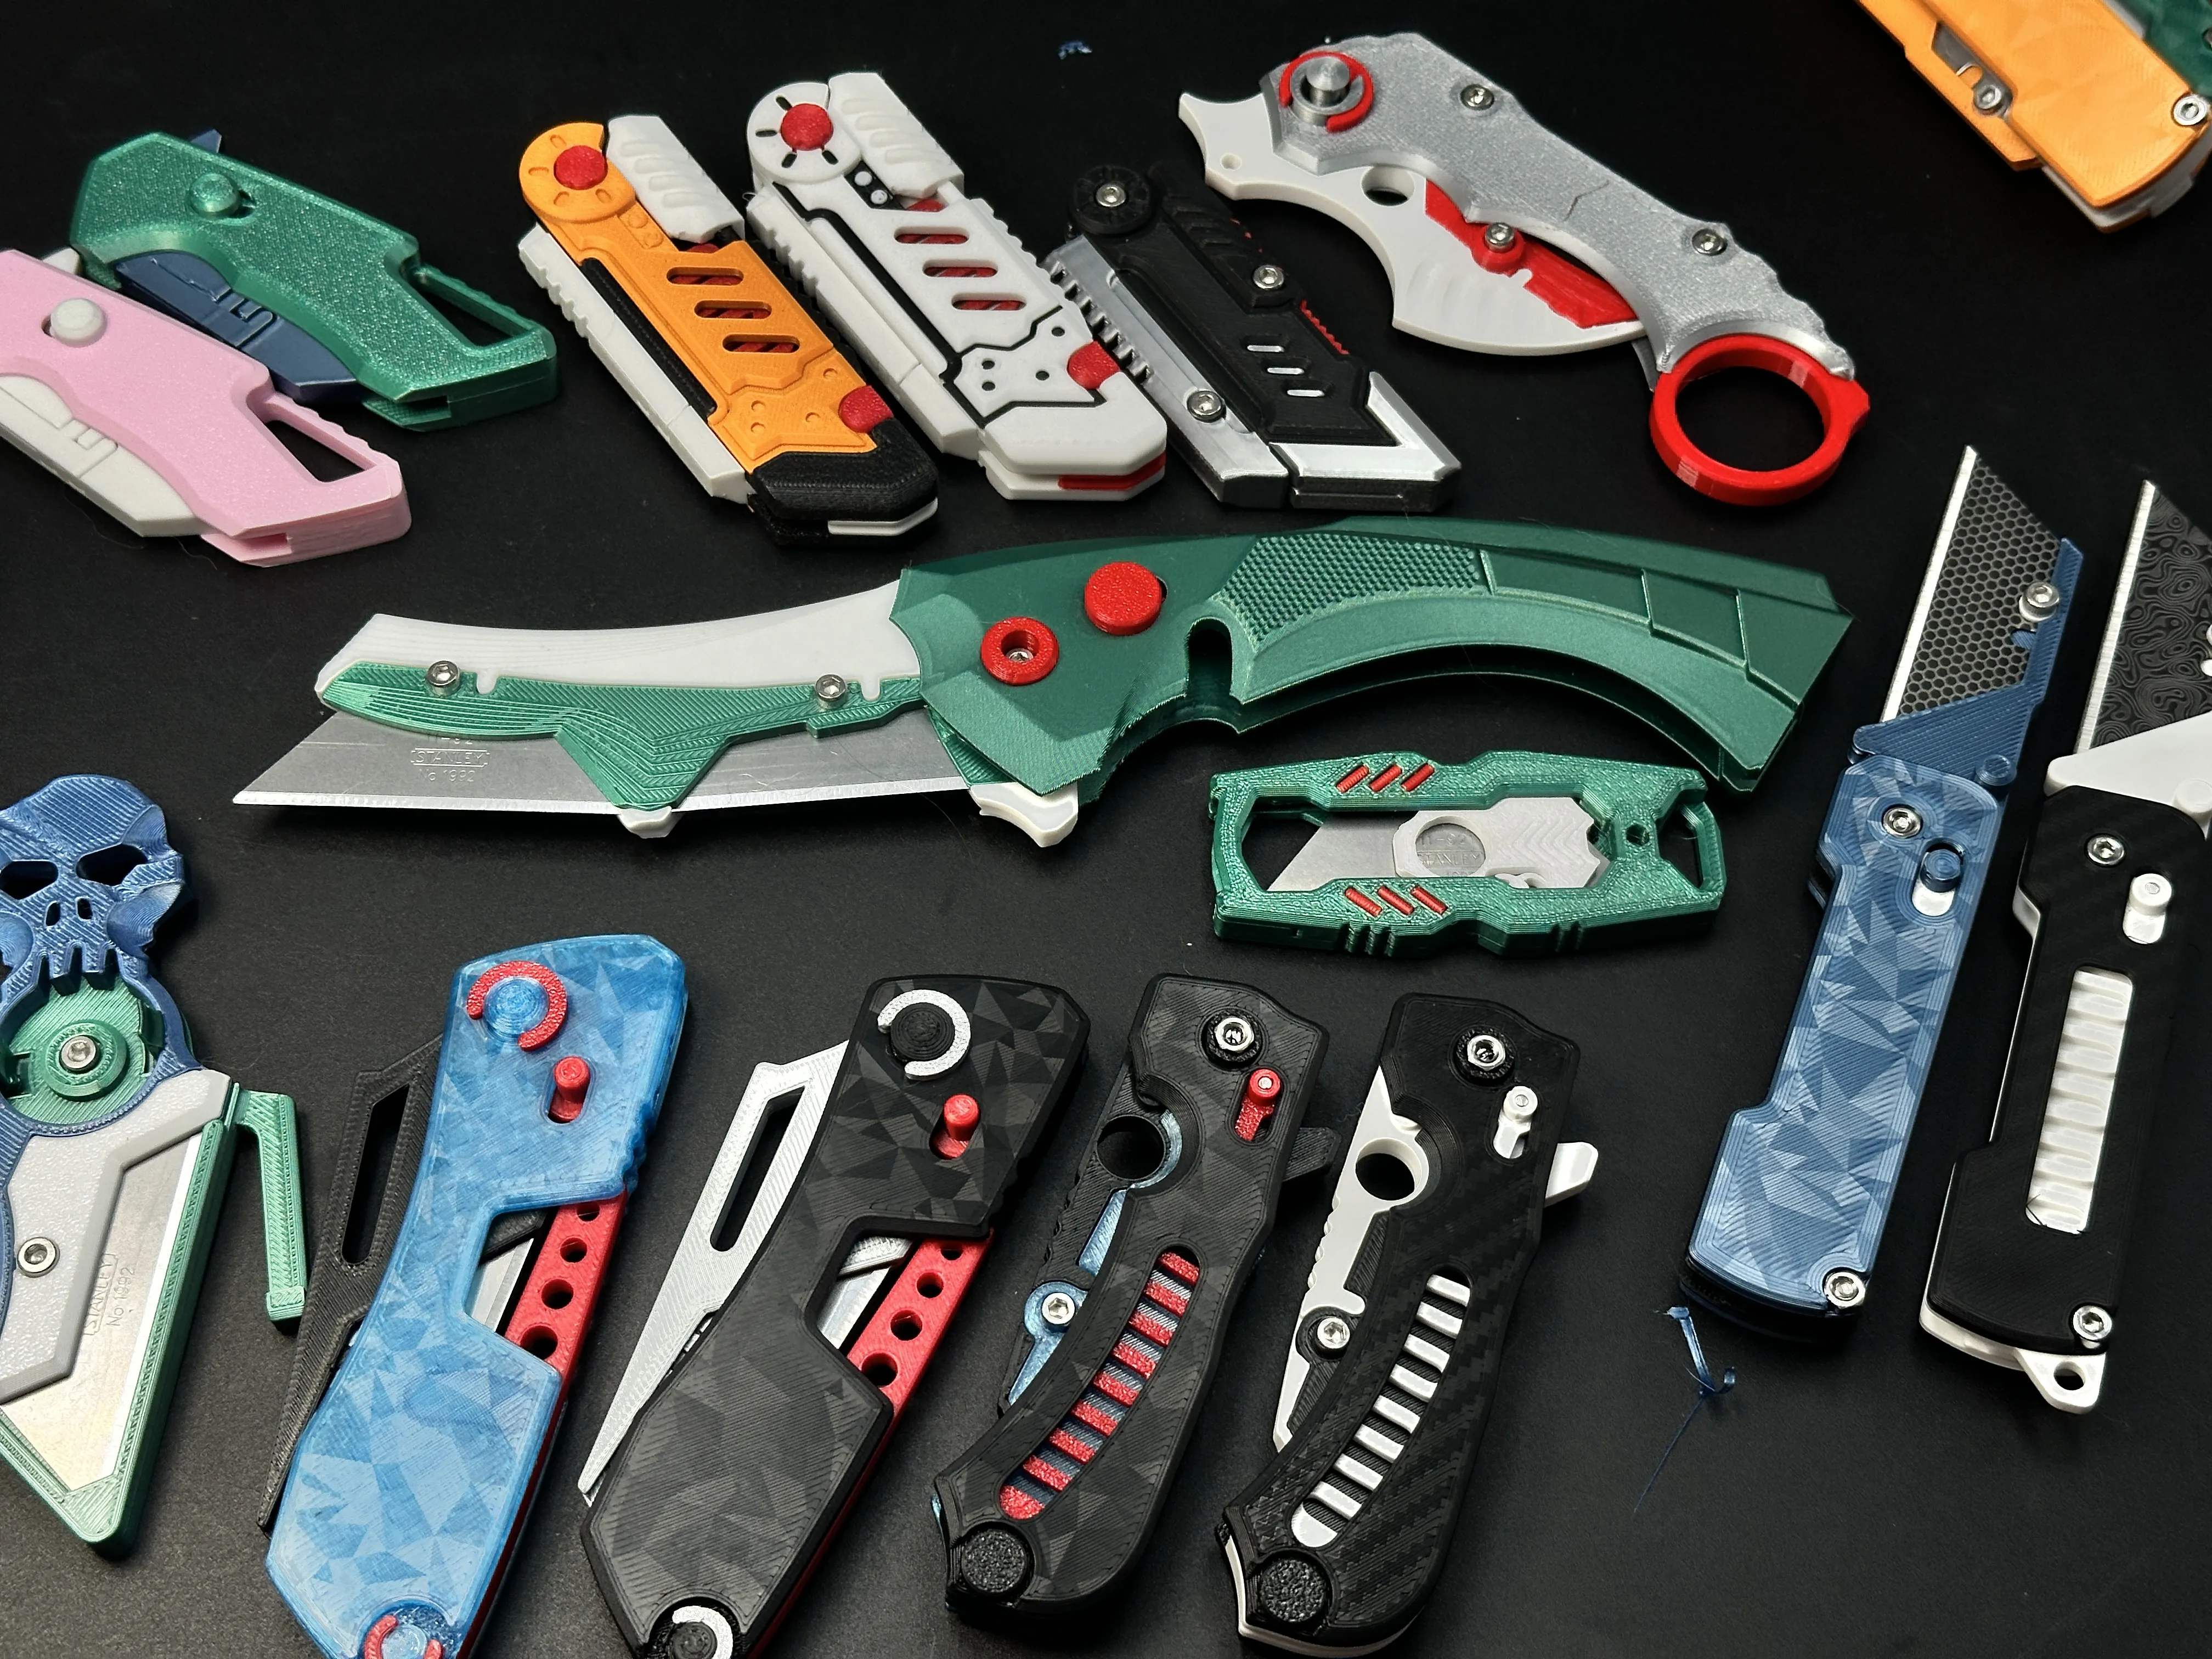
My similar projects, click on the picture
Membership
License

You shall not share, sub-license, sell, rent, host, transfer, or distribute in any way the digital or 3D printed versions of this object, nor any other derivative work of this object in its digital or physical format (including - but not limited to - remixes of this object, and hosting on other digital platforms). The objects may not be used without permission in any way whatsoever in which you charge money, or collect fees.


Comment & Rating (170)