CyberBrick Truck Rotating Beacons


Print Profile(1)

Bill of Materials


Description
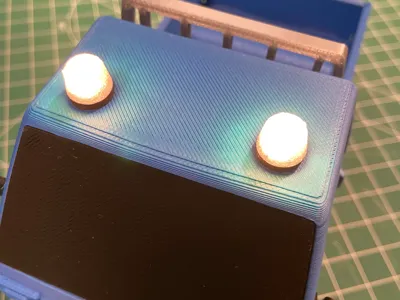
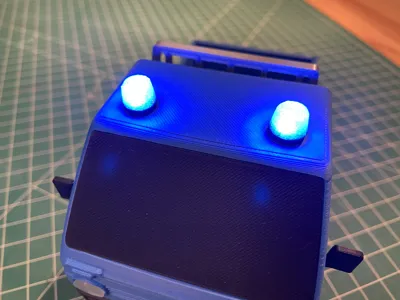
I created rotating beacons for the CyberBrick truck's cab and connected them to the CyberBrick. This allows them to be switched on via the CyberBrick remote control using the rocker switch (see photos). In position 1, the rotating beacons flash yellow, in position 2, they flash blue, and in position 0, they are off
The rotating beacons were printed with black and transparent PLA
Required hardware
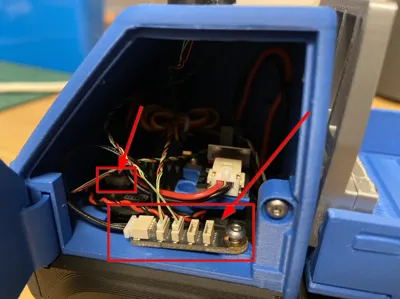
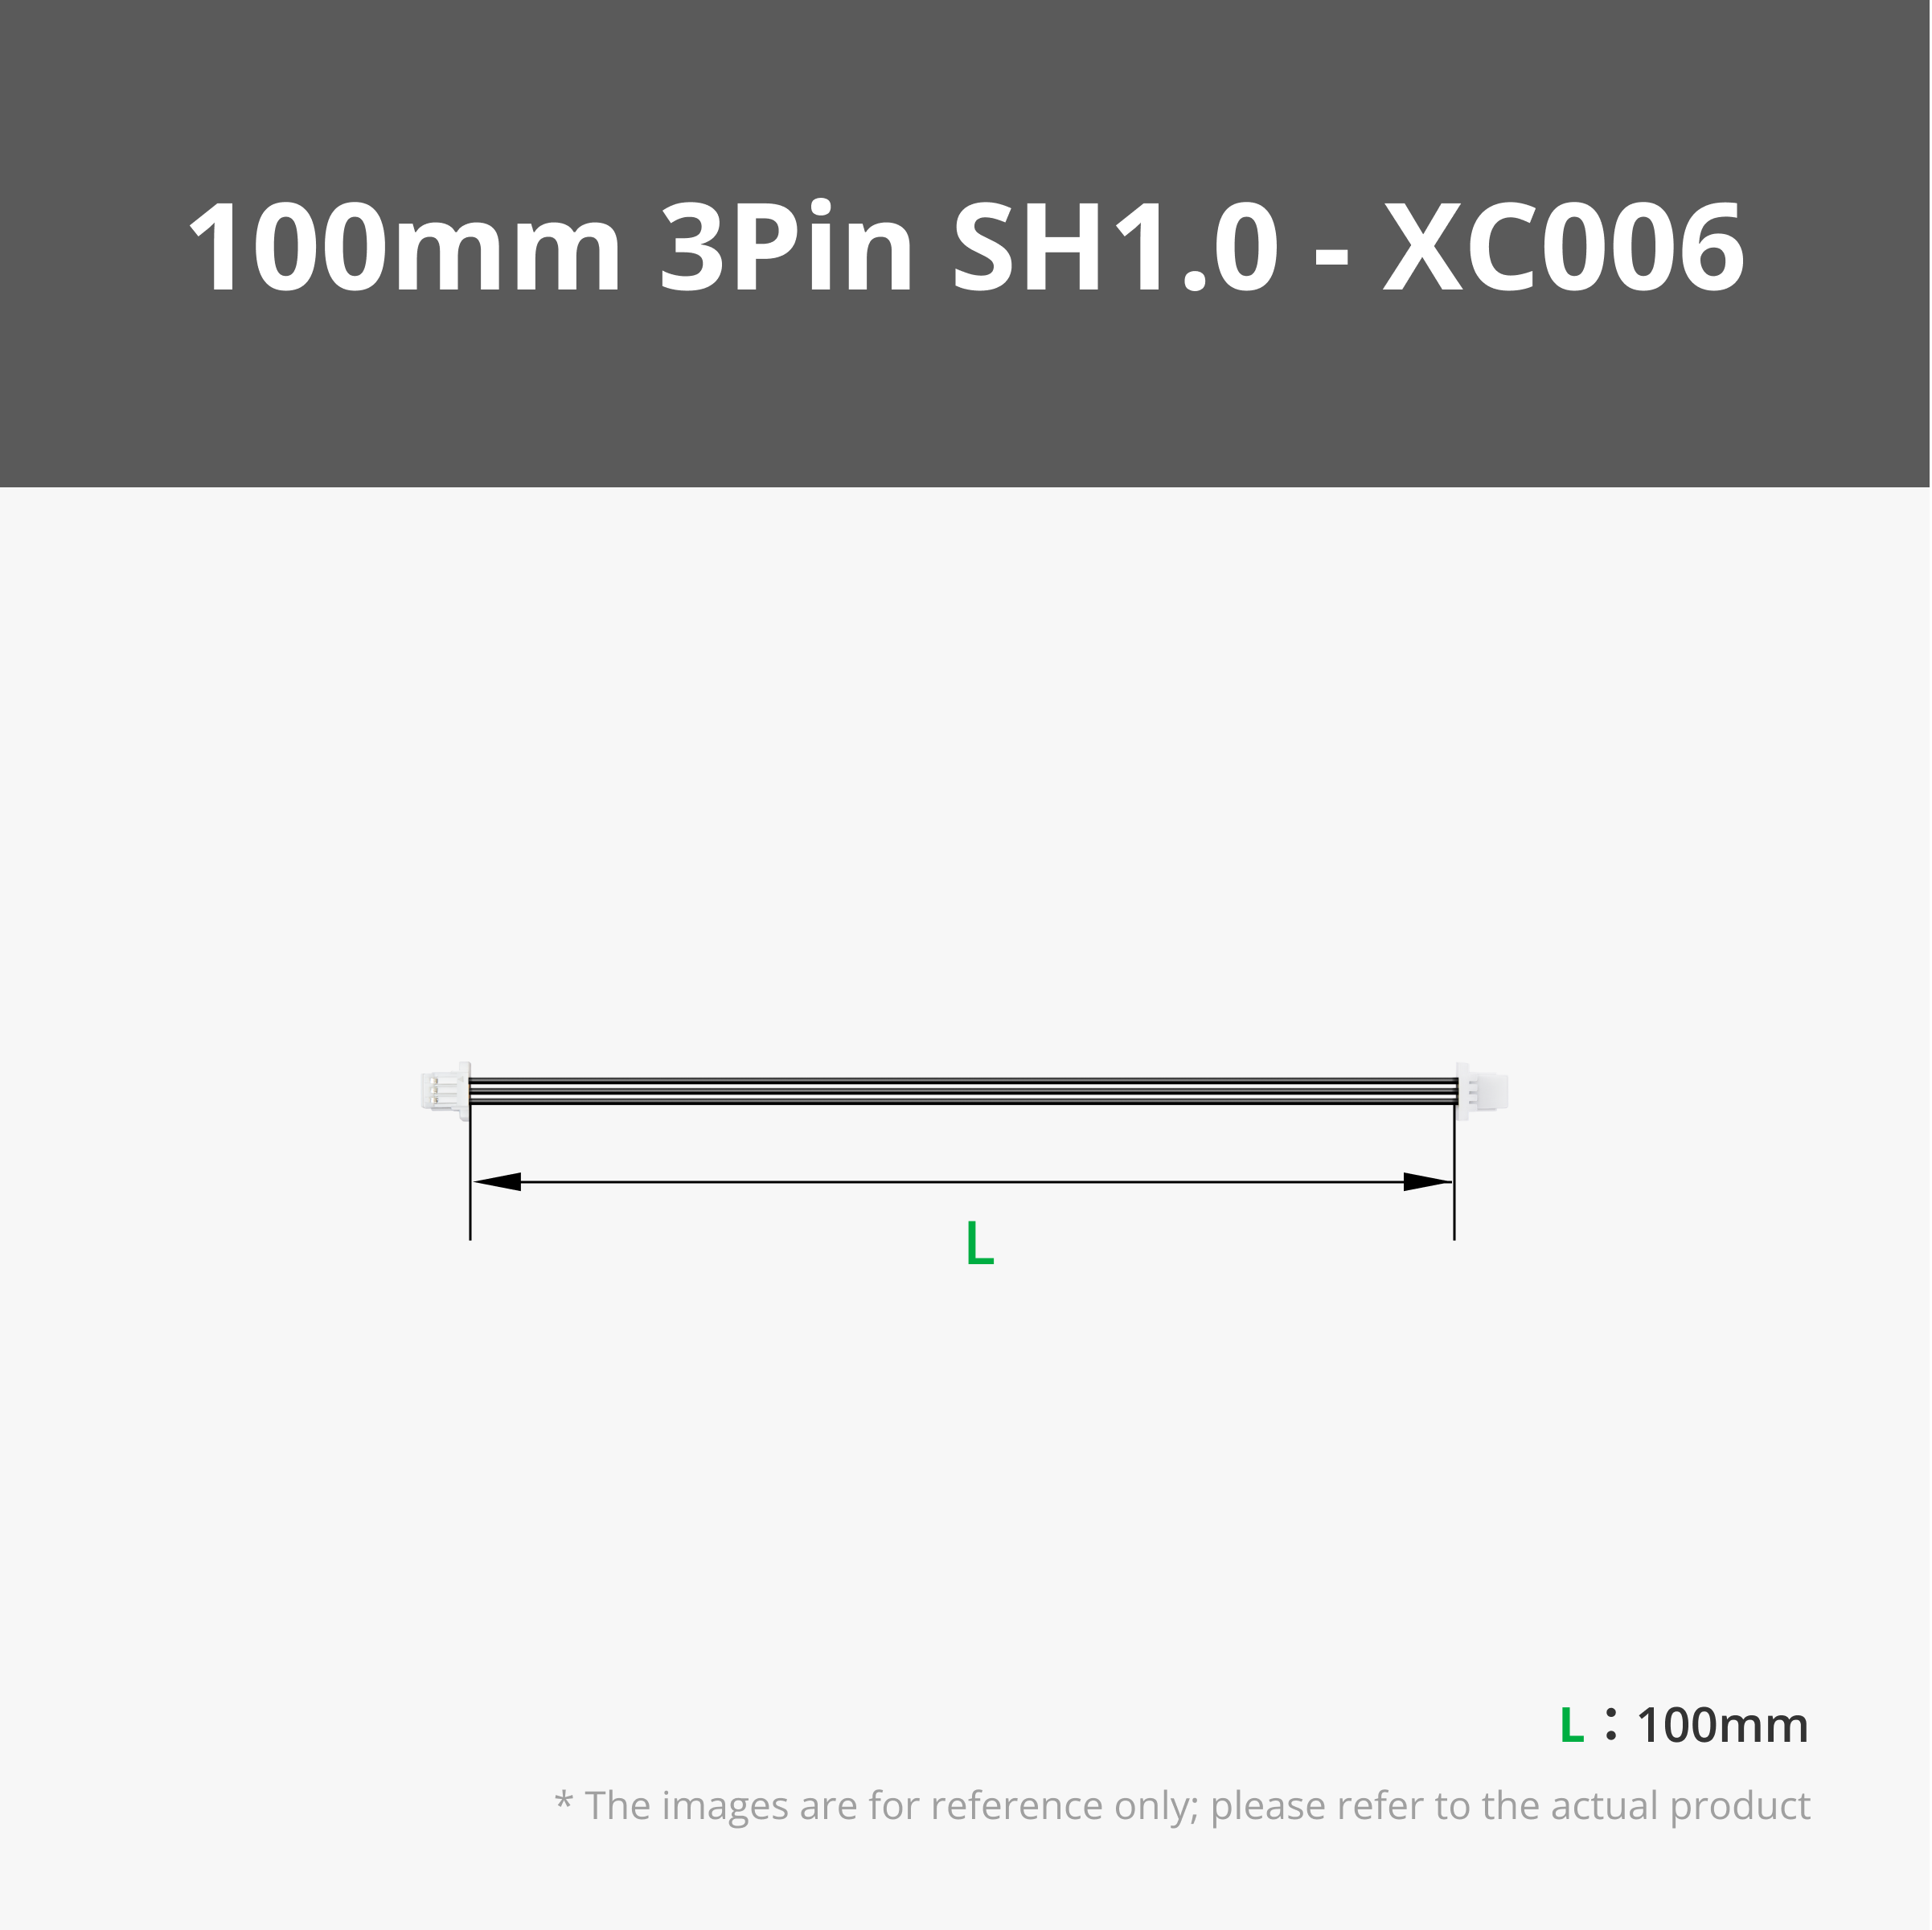
For installation, two additional RGB LEDs, an LED hub, and a cable with a 3Pin SH1.0 connector are required
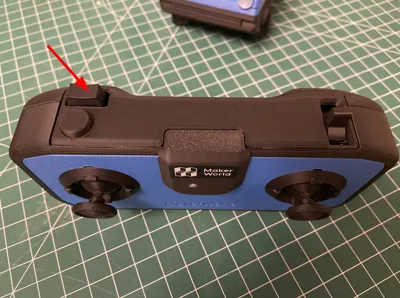
Installation
Two holes are drilled into the cab. The RGB LEDs are then pressed into the printed rotating beacons. The LED cables are then routed from above through the holes in the cab. I then glued the rotating beacons in place. However, there are certainly other mounting options if the cab model is modified
The LED cables are plugged into the LED hub, and the LED hub is connected via the SH 1.0 connector to the free port on the main board of the CyberBrick receiver module
CyberBrick configuration file
See attachment Truck_MichaelMakes_v3_json.zip
And this is what it looks like

Comment & Rating (3)