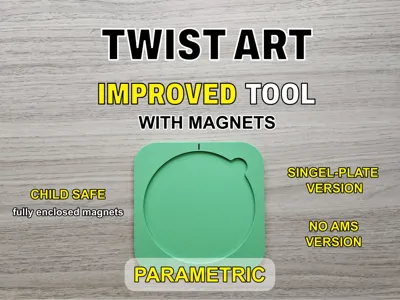
Twist Art Improved Tool (with magnets)- Parametric


Print Profile(4)


Bill of Materials

Description
If you enjoy my work, consider supporting me 😊 Link here → 
Improved Twist Art Tool
Info for the parametric version at the end of the description.
⚠️ Safety Note: This model uses magnets, which can be dangerous if swallowed. Make sure all magnets are fully enclosed and cannot come loose. Play safe and have fun!
An improved version of my Twist Art Tool.
It comes in two parts and makes creating art even easier. The two parts are held together by magnets that clamp the paper in between. With this tool, the Twist Art disk will no longer slip while drawing, making it especially helpful for younger children who cannot hold down the disk and tool at the same time.
Assembly
This model requires eight 2 mm × 6 mm magnets (same size as used in Gridfinity). [There is also a print profile with 2mm by 8/10 mm and parametric files.]
If you are not using the provided print profile, set the layer height to 0.16 mm and insert a pause to place the magnets manually.
If you are using the print profile, simply start the print. The printer will automatically pause at the correct layer. Insert the magnets into the hexagonal holes, ensuring correct magnet orientation.
- AMS version: magnets of the top and bottom parts must face opposite directions.
- NO AMS version: magnets must face the same direction.
The NO AMS version has a small notch marking on the top side. Color it with a Sharpie or similar.
Check out my Twist Art Stencils (←Link here)
If you have any suggestions, ideas or requests for improvements or new drawings feel free to leave a comment!
Parametric Version
The parametric files allow you to customize the Twist Art Tool to your needs. You can adjust the magnet size as well as the tolerance of the magnet holes.
Please note that I cannot provide a ready-made print profile for every custom configuration. The easiest method is to drag your newly generated file onto one of the plates in my existing print profile (6 mm x 2 mm), delete the old model, and keep the prepared settings.
Alternatively, make sure that all layer heights are set to either 0.16 mm or 0.08 mm. Do not forget to adjust the first layer height as well.
Slice the model once, then use the layer bar on the right to add a pause. The printer pauses at the beginning of the selected layer, so choose the layer that closes the magnet holes.
Printing with AMS
If you are using an AMS, I recommend placing the side with the indicator face-down on the build plate for a cleaner look. Do not forget to color the model in Bambu Studio. Use the Fill Tool and enable Edge Detection.
Printing without AMS
If you are not using an AMS, print the model with the indicator facing up. You can either add a manual color change, just like you added the pause, or color the indicator afterwards with a Sharpie or a similar permanent marker.
Boost Me (for free)
Do not forget to: Boost, like or comment on this model if you think it is a fun toy for kids. A Boost is free but helps me a lot in creating more models.
Membership
You would like to support me or sell my Twist Arts? Check out my Commercial Memberships!
License
You shall not share, sub-license, sell, rent, host, transfer, or distribute in any way the digital or 3D printed versions of this object, nor any other derivative work of this object in its digital or physical format (including - but not limited to - remixes of this object, and hosting on other digital platforms). The objects may not be used without permission in any way whatsoever in which you charge money, or collect fees.
Comment & Rating (112)