
Pumpkin Pie Fidget Spinner
Print Profile(1)

Bill of Materials


Description
The Makerworld annual Halloween design contest is one of the biggest (if not the biggest) contests of the year. It compiles thousands of entries, has a big prize, and tons of people look at models released. And I competed in the Halloween contest last year, and it went well. So why not do it again?

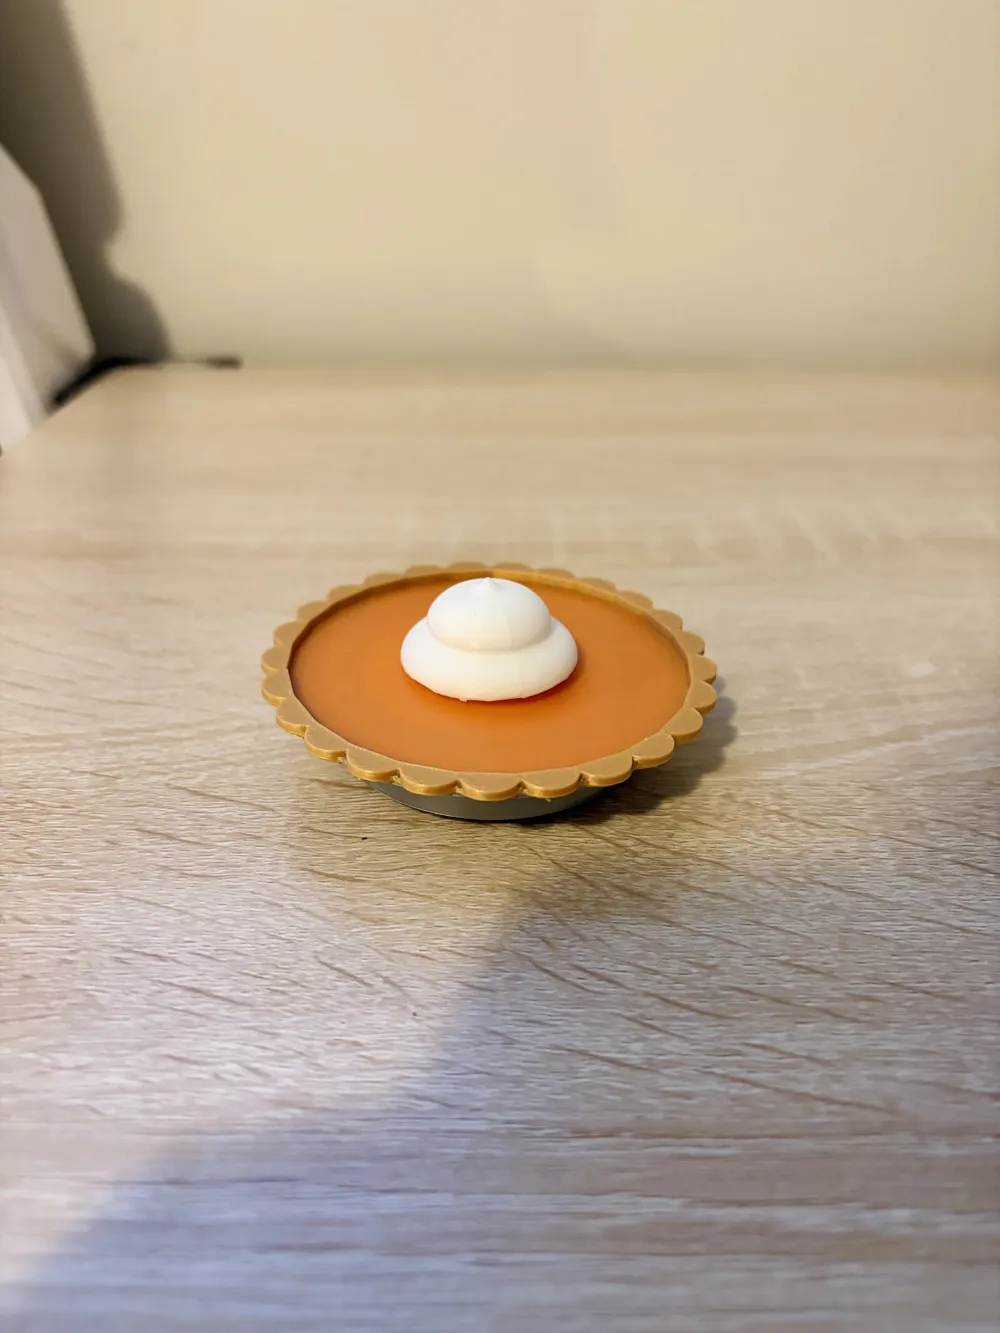
I wanted to make something that was fun but functional. Usually, my models are one of the two. But this time I wanted to combine both. I quickly set my heart on a fidget and started thinking about different models. Eventually, I decided on a pumpkin fidget spinner. But as you can see, I clearly did not make that. I just couldn't really make a design that I liked. So I went back to the drawing board and started thinking again. I came up and tried a couple of other ideas until I decided that it should probably be something round for easier spinning. I then thought about all things Halloween. And eventually came to the conclusion that pumpkin pie would be my best option. And after many design iterations, test prints, and redesigns, I have finally finished it.
This model prints in 3 parts. The pumpkin pie itself, the whipped cream topper, and the thumb rest on the bottom. Supports are needed for the whipped cream and pumpkin pie but are easy to remove. Multicolor is also required, but you could, of course, make it in single color if you would like. This model takes a total of about 2 hours and 15 minutes and 45 grams to print. Assembly is pretty simple. You will need to use a 3-D Printed or metal 608Z bearing. I didn't have any lying around, so I used a 3-D printed one, and it turned out great. Start by putting your bearing in the slot carved out of the middle of the pie. It should sit flush(ish) to the orange top. Then press the rod on the whipped cream into the top of the bearing and do the same with the thumb rest on the bottom. Check to make sure everything is in the right place, and you're good to go!
As always, let me know if you have any questions, concerns, comments, etc.
Enjoy,
Leopardgeckoguy
Note: I have not been able to test with a real bearing yet. Sometime in the future I will but for anyone who does use it please let me know if it doesn't fit right.
Update 1:
After further inspection of a printed model, I noticed that there is a small line about halfway down the pumpkin pie. And I also noticed the lines from color bleeding on the top of the pie. I fixed both of those issues. Regarding other parts of the model, I made the tip of the whipped cream less pointy so it would be more comfortable for longer use periods. Finally I added a second bearing option in the bill of materials. Thanks for all the support on this model!
Boost Me (for free)
Want to support me? A boost goes a long way!
License

You shall not share, sub-license, sell, rent, host, transfer, or distribute in any way the digital or 3D printed versions of this object, nor any other derivative work of this object in its digital or physical format (including - but not limited to - remixes of this object, and hosting on other digital platforms). The objects may not be used without permission in any way whatsoever in which you charge money, or collect fees.


Comment & Rating (54)