



Print Profile(1)

Description
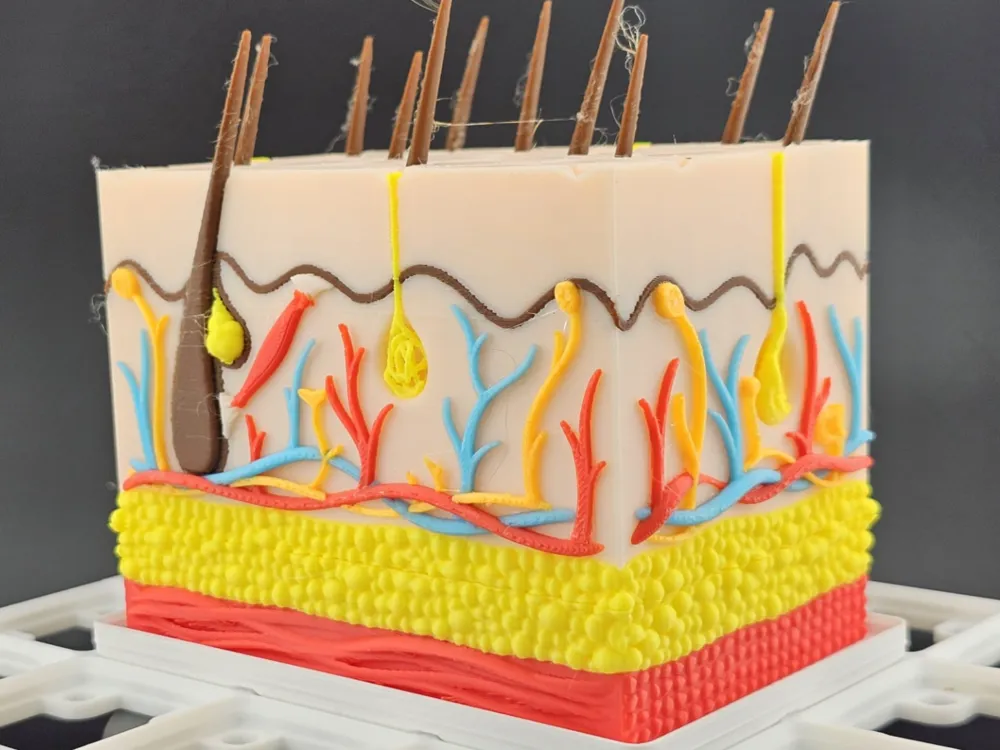

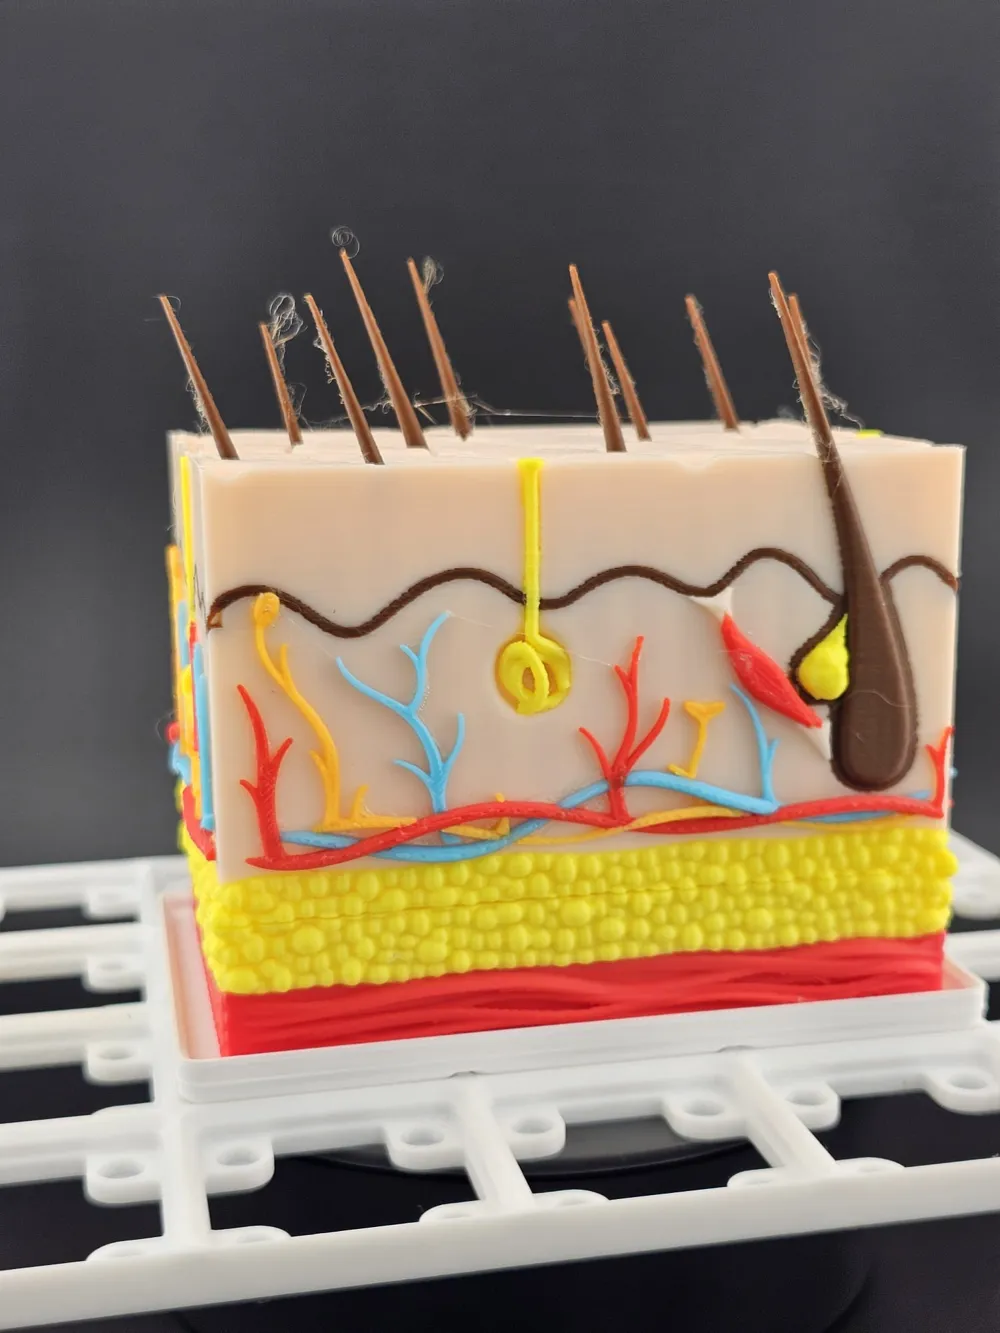
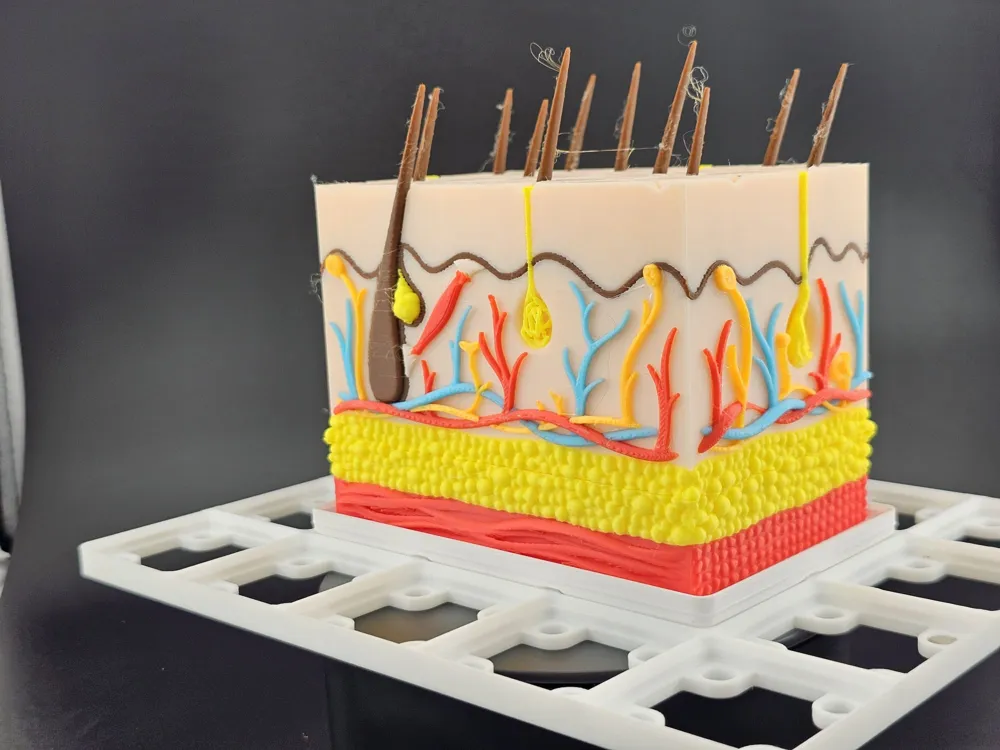
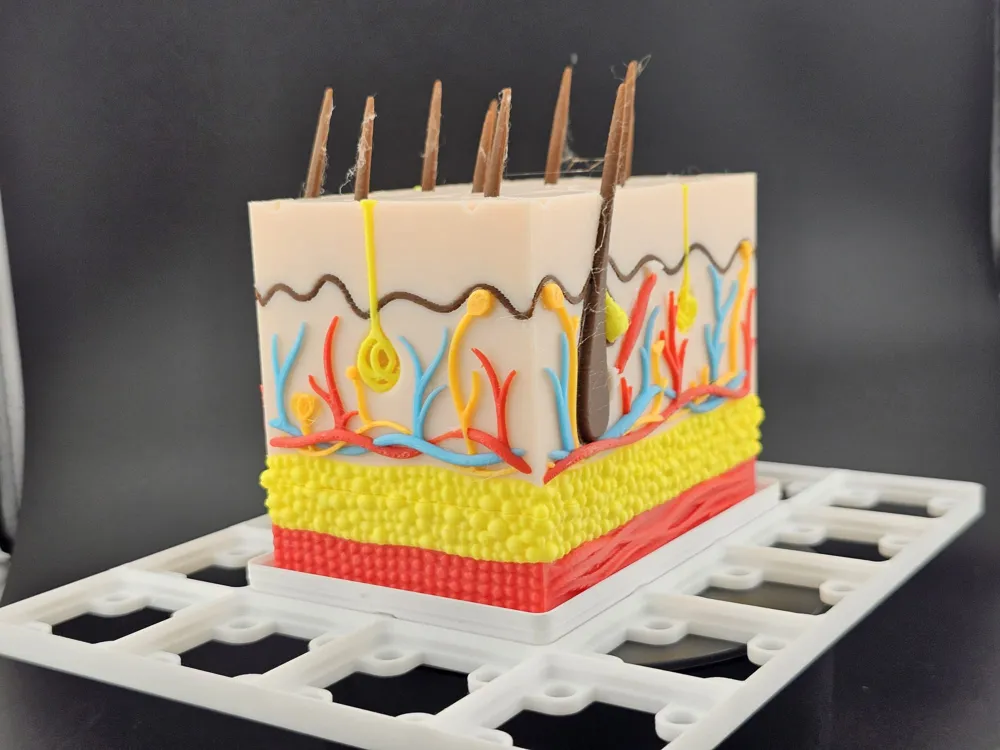
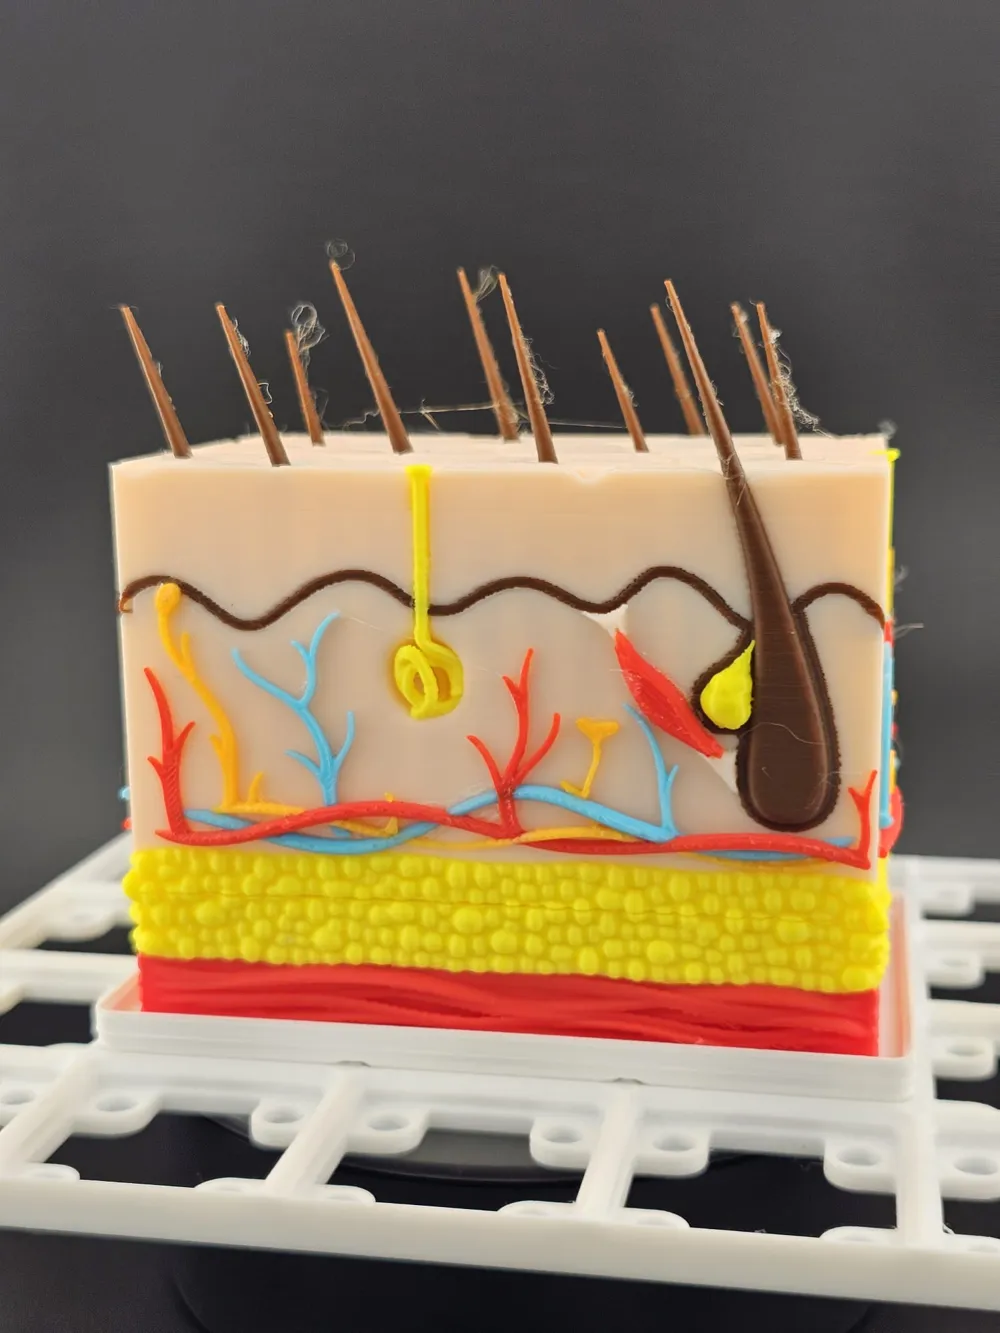
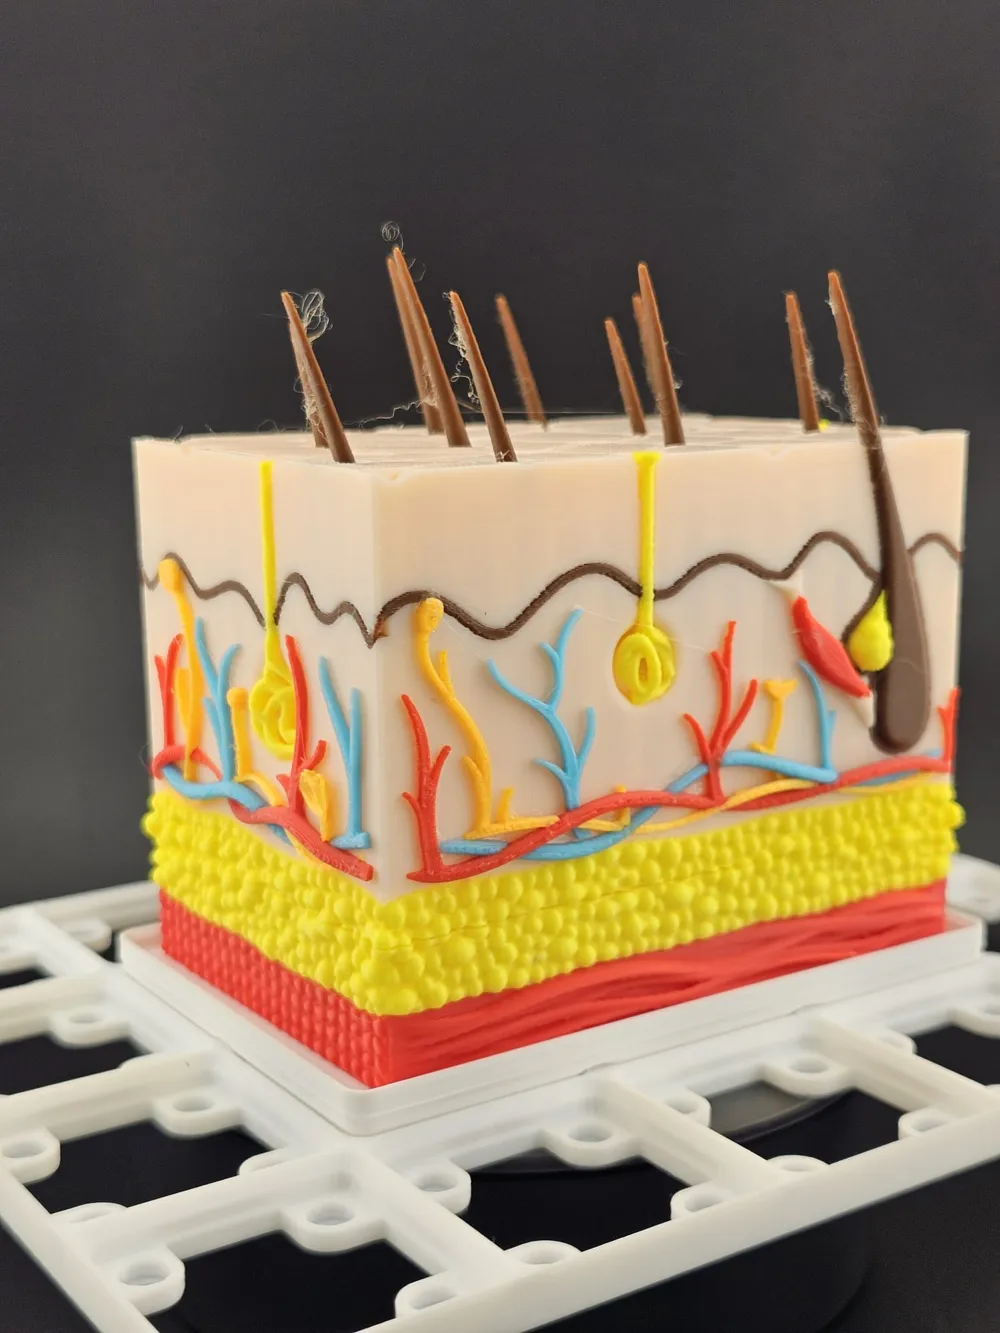
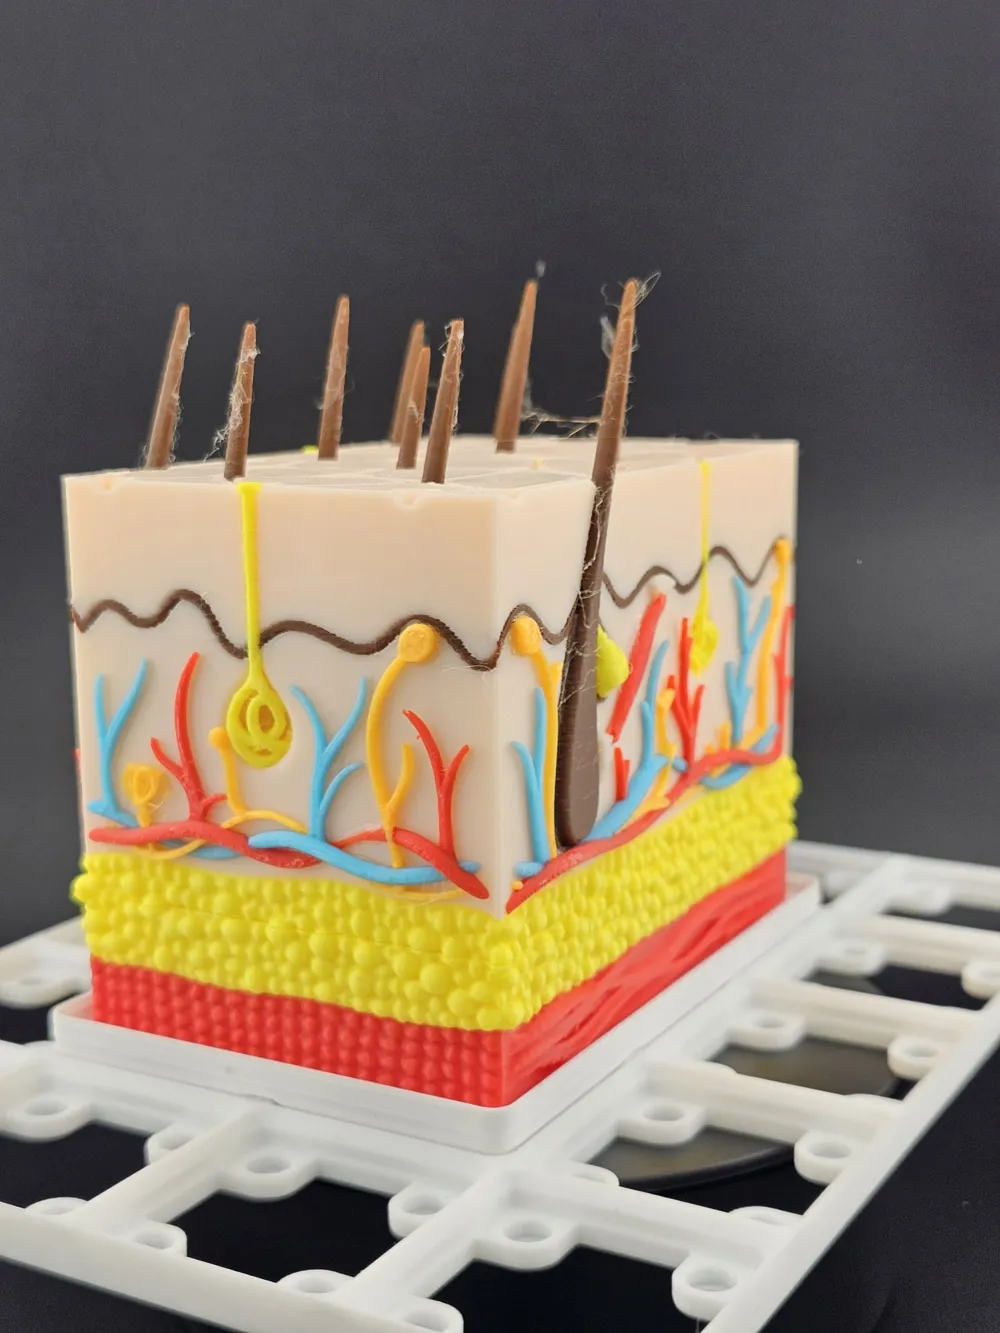
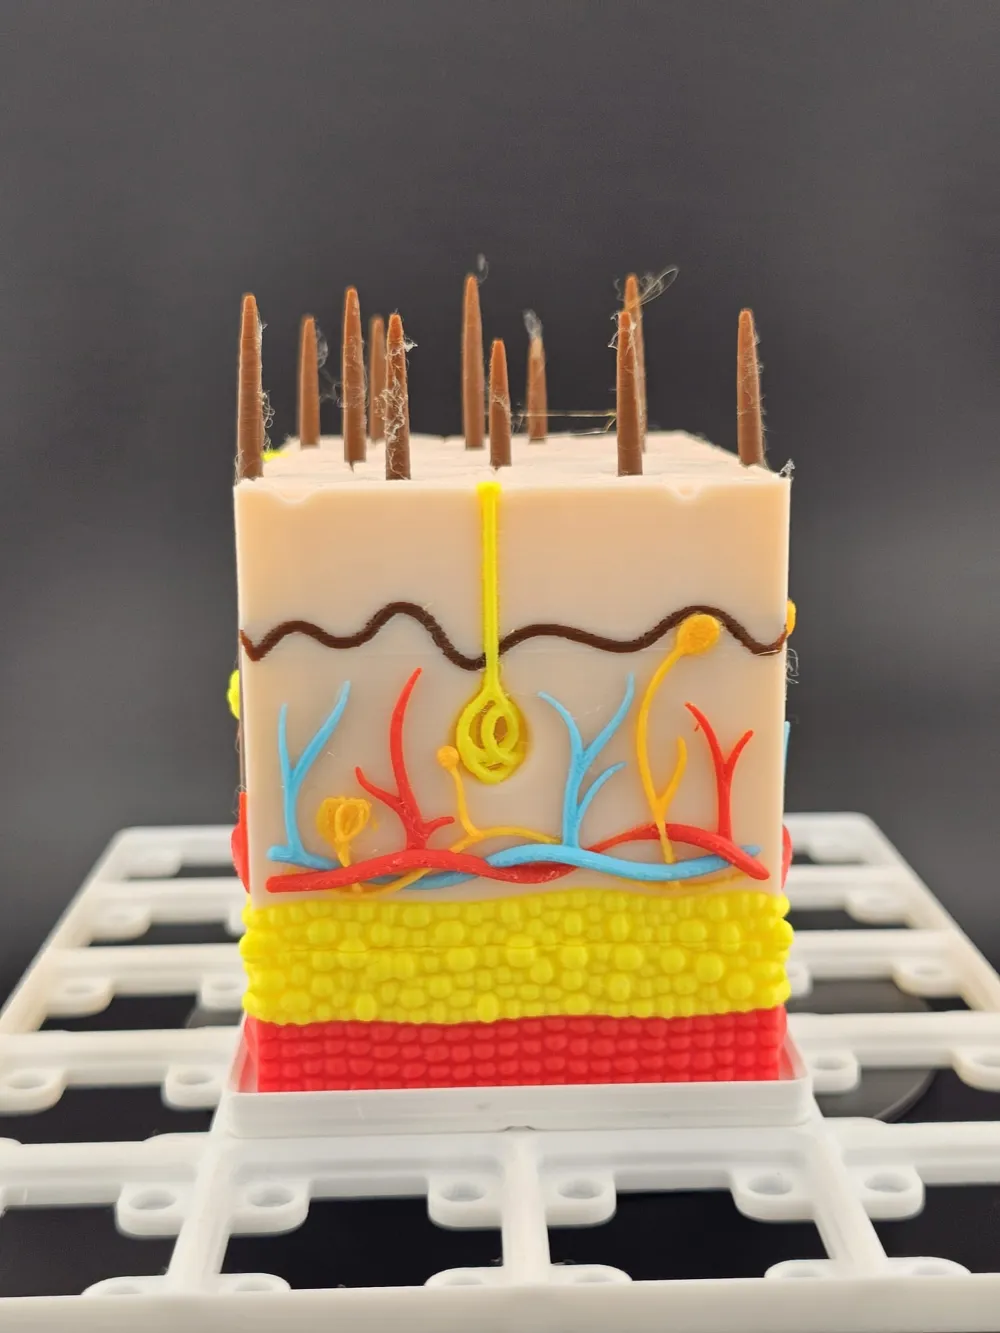
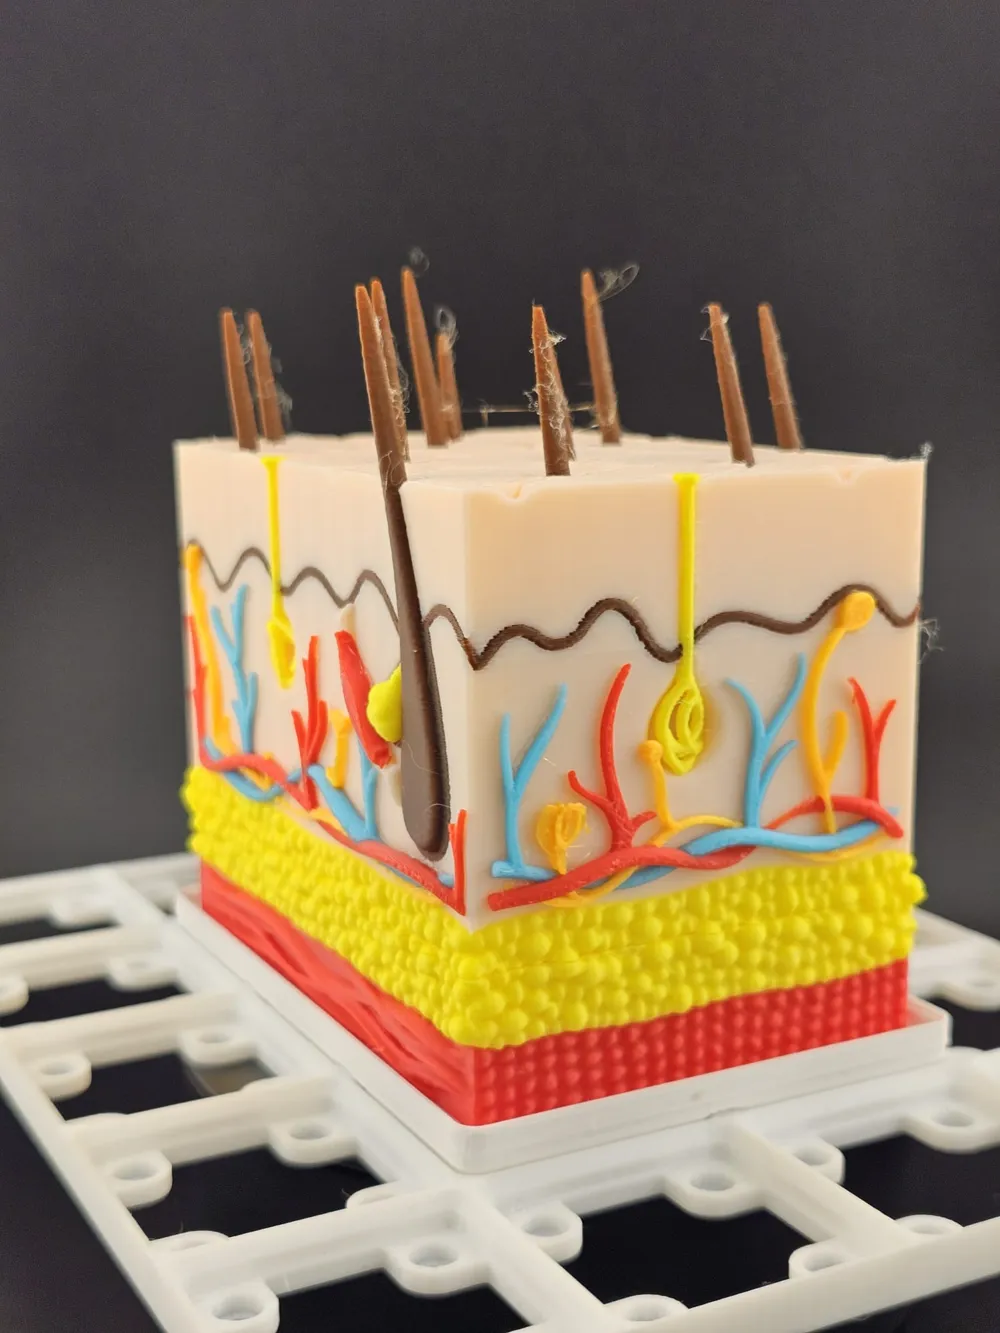
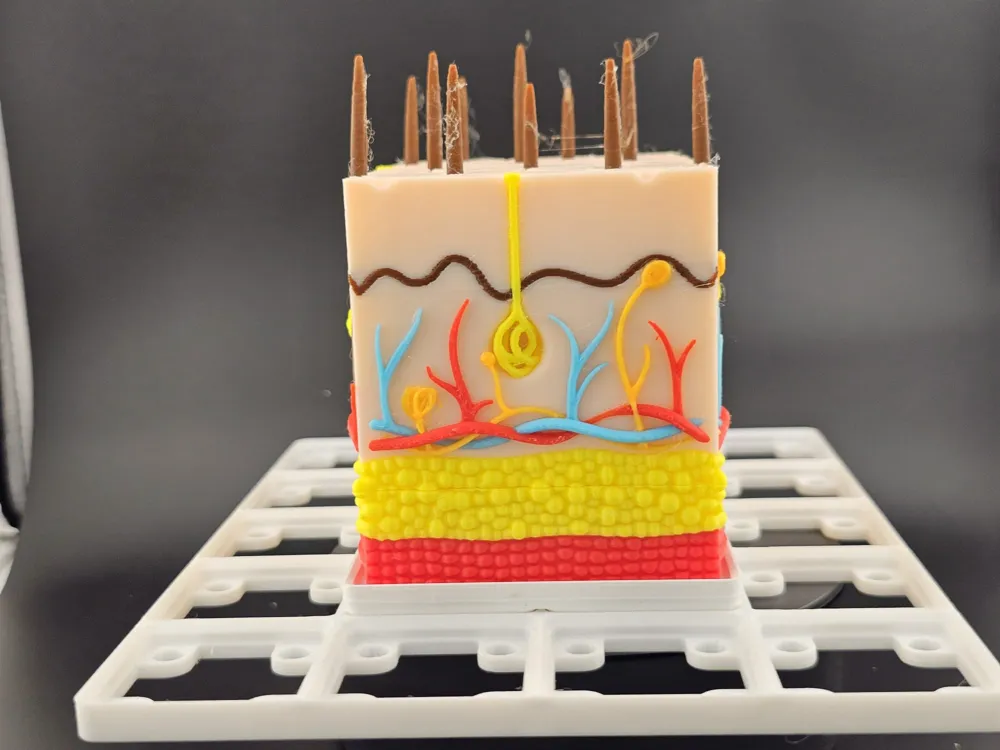
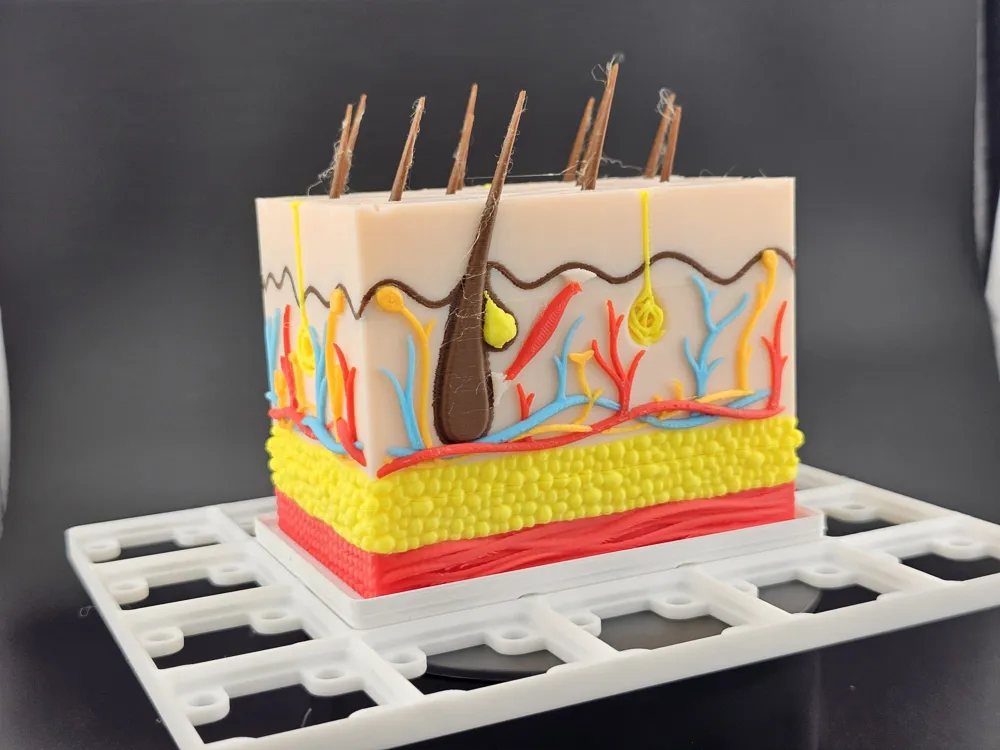
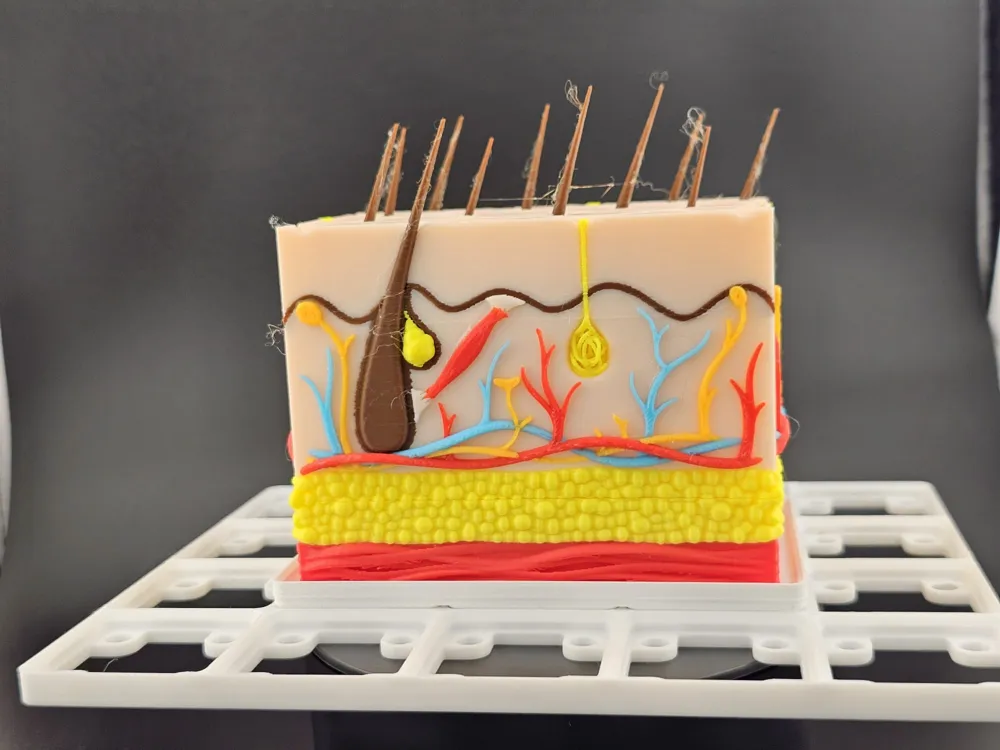
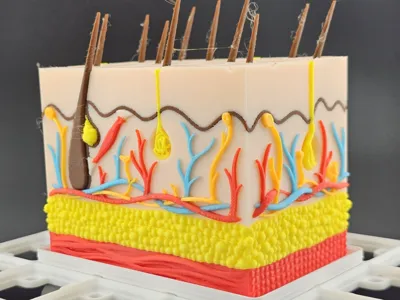
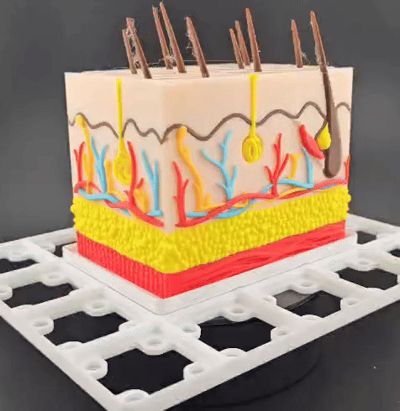
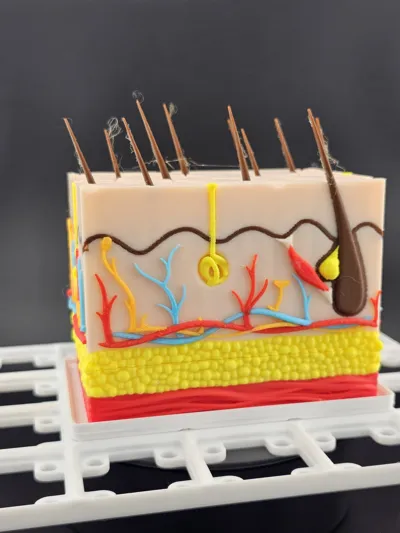
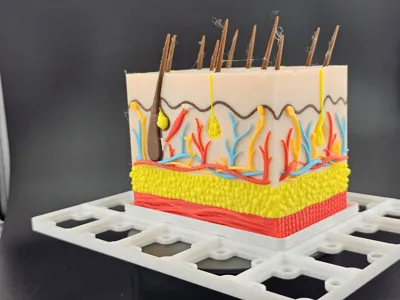
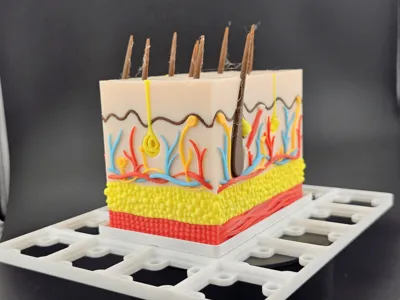
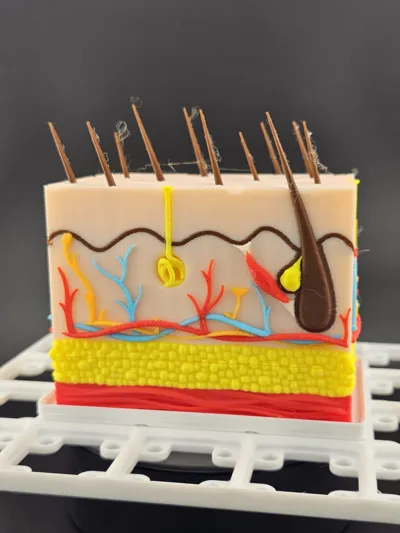
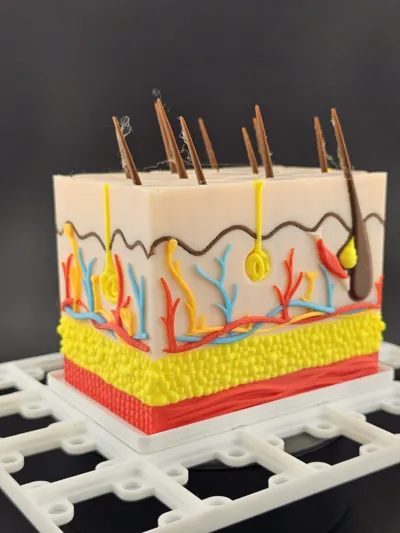
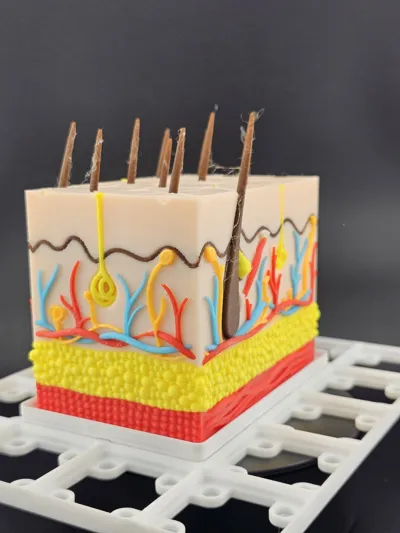
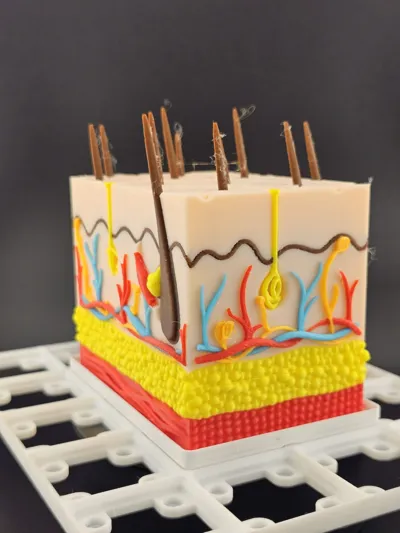
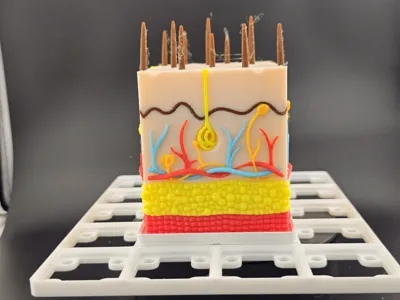
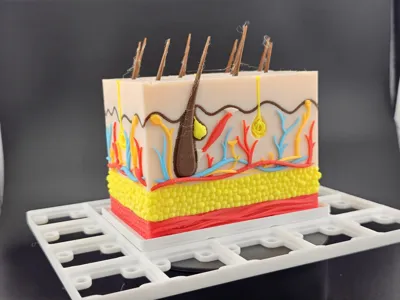
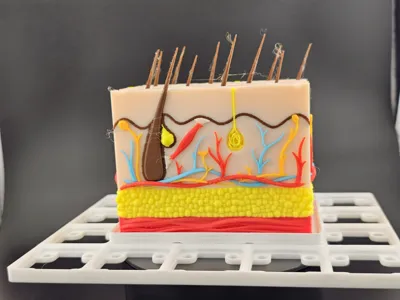
This is a detailed, multi-part, and multi-color anatomical model of a cross-section of human skin. It displays the key structures, including the epidermis, dermis, hypodermis, hair follicle, sebaceous gland, sweat gland, arrector pili muscle, and vascular system. Mounted on a convenient 2x3 Gridfinity base, it's a fantastic educational model for any science enthusiast, student, or medical practice.
Printing Instructions
Please read this carefully before printing! This is a challenging project recommended for experienced printers.
- Multi-Color (AMS): This model is designed for an AMS. While the completed model uses more than four colors, each individual plate uses a maximum of four colors at a time. Simply load the colors you wish to use for each plate and assign them to the corresponding parts in the prepared 3MF file.
- The Vascular System (Most Difficult Plate): This plate contains the intricate network of arteries and veins.
- The printed parts are extremely detailed and can be flimsy.
- Use extreme care when removing this print from the build plate to avoid breaking the delicate structures.
- If you have problems, it is highly recommended to use a brim on these parts to increase stability and bed adhesion during printing.
Assembly
- Gluing: Once all parts are printed, they will need to be glued together. A standard super glue (cyanoacrylate) or plastic cement will work well.
- Fitting the Arrector Pili Muscle: The tolerance for the arrector pili muscle is very tight. Depending on your printer's calibration, you may need to make a small adjustment:
- Filing: You can carefully file down the connecting part of the muscle until it fits snugly.
- Heat Gun (Recommended): Alternatively, you can gently warm the part with a heat gun to make it slightly pliable. I used this method myself. Once softened, carefully press and glue it into its designated spot for a perfect fit.
This model is part of the growing "Gridfinity Anatomy" series. You can explore the complete collection here: https://makerworld.com/de/collections/10042958-gridfinity-anatomy
Important: To view all models in the series, you must enable "Show NSFW" content in your account settings. This is necessary because some anatomically correct models are flagged as sensitive content by the platform.
How to enable: Account Settings > Settings > Show NSFW (at the bottom)
Boost Me (for free)
If you enjoy my work a boost would be great. Thank you!
This remix is based on

License



Comment & Rating (6)