Electronic Chamber Seal - P1 / X1 series


Print Profile(1)

Bill of Materials

Description
Model
Designed to keep the hot chamber air contained when printing advanced materials, this seal effectively isolates the electronics compartment from high temperatures and prevents hot air or potentially harmful fumes from escaping through its ventilation openings. This helps your printer’s electronics stay cooler and enhances long-term reliability (and your health, too!).
This model was inspired by AP Engineering work.
Features
- Maintains a stable temperature inside the print chamber
- Protects electronics from heat exposure
- Simple, support-free print design
- Easy and secure installation
Printing and preparation
You can directly use the provided 3MF file, no supports are needed for a successful print.
For the flexible grommet, I recommend TPU 95A HF, which offers the right balance between flexibility and durability.
Installation
1 - Power off and unplug your printer, then remove the back cover.
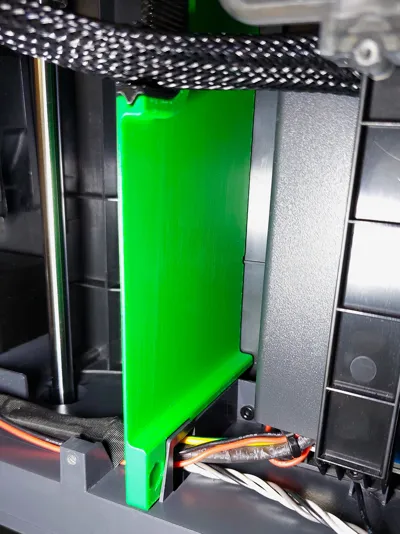
2 - Insert the cover from the bottom of the printer, behind the bed cable, as shown in the reference image.
- Gently wiggle it into place.

- Ensure the top edge fits into the upper notch of the electronics chamber (see next image).

- Once aligned, slide the bottom part into its slot, make sure everything is well aligned and into the correct spot.
3 - Install the TPU grommet and route the cable through it.
4 - Reassemble the back panel, making sure the bed cable remains properly seated inside the grommet.
Comment & Rating (9)