
Dell 2407 or 2408 WFP Replacement Power Button
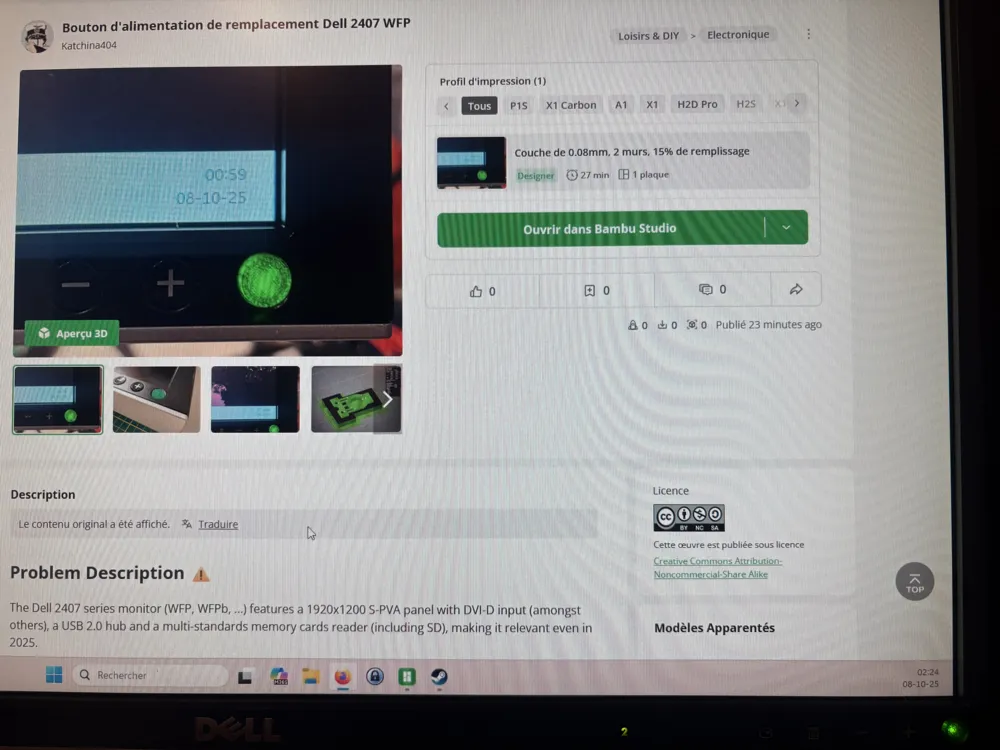
Print Profile(1)

Description
Problem Description ⚠️
The Dell 2407 series monitor (WFP, WFPb, …) features a 1920x1200 S-PVA panel with DVI-D input (amongst others), a USB 2.0 hub and a multi-standards memory cards reader (including SD), making it relevant even in 2025. The iterative Dell 2408 was built on the very same chassis, featuring improved electronics meant to address some of the weaknesses of the 2407 as far as color fidelity was concerned.
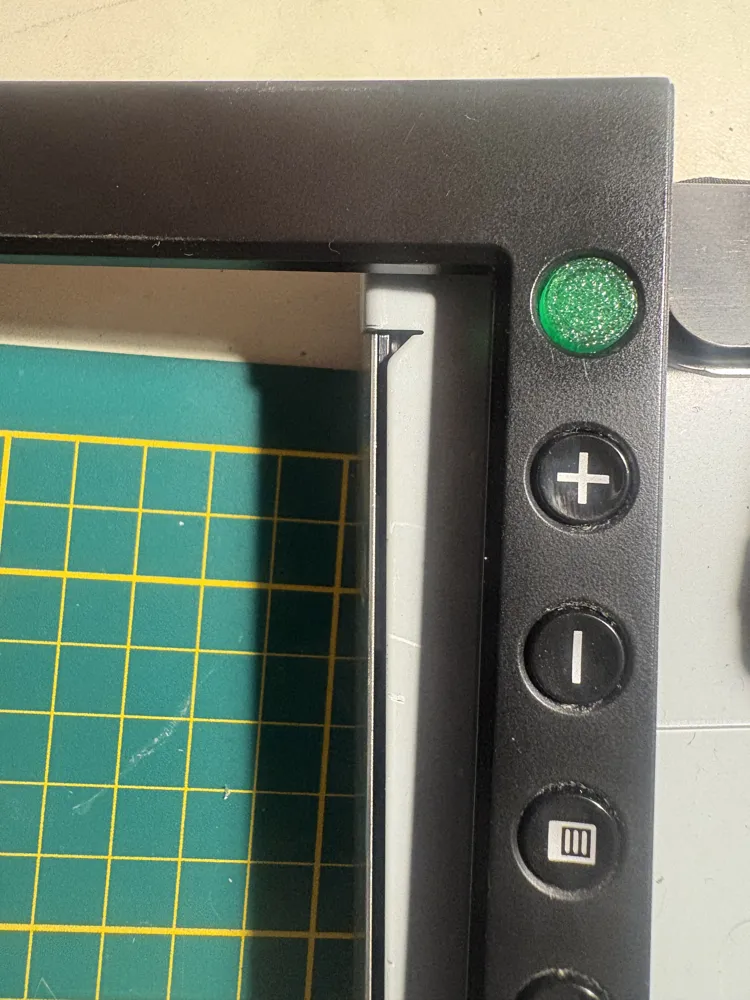
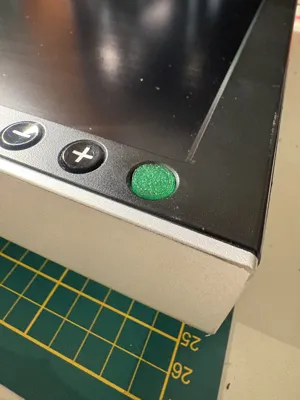
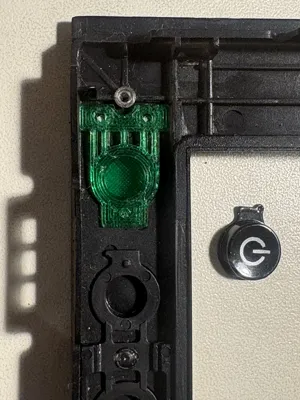
However, these monitors have been known to suffer from a common failure : the front power button (bottom right of the front bezel) eventually breaks, cracks, or loses its “click” mechanism. Users report that the button becomes stuck, rotates out of alignment, or no longer actuates the switch underneath. Often the little plastic “nipple” or toggle that contacts the underlying circuit board either fractures or shears off.
Dell does not generally provide spare parts for such vintage monitors, making them unusable even though all other circuitry is fine.
Solution Summary and Benefits 🔧
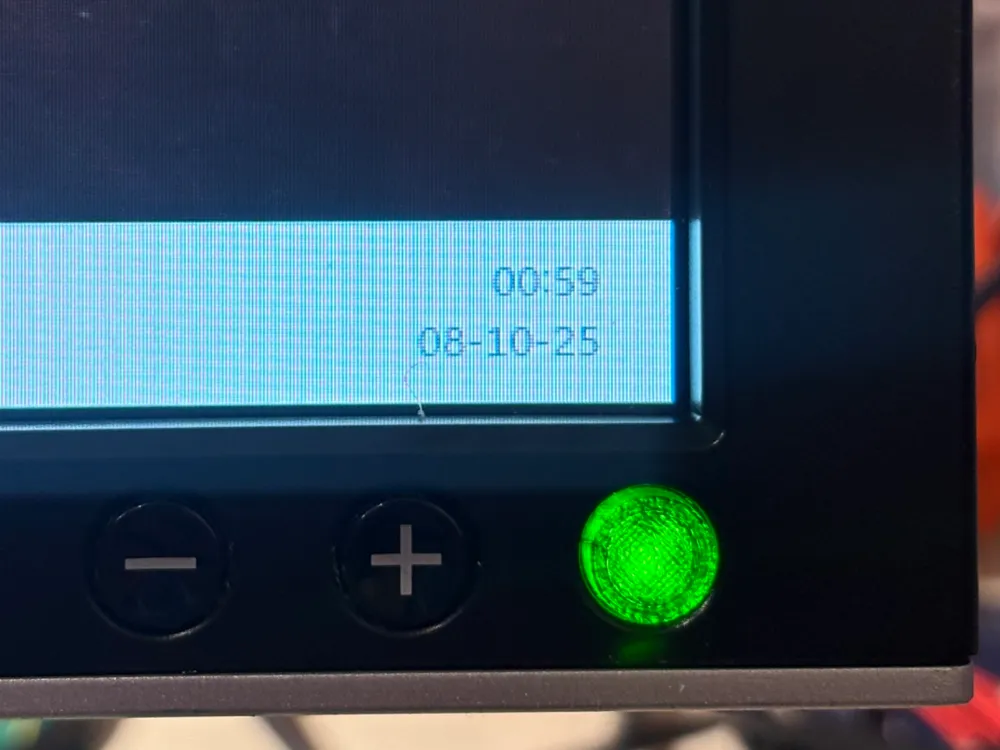
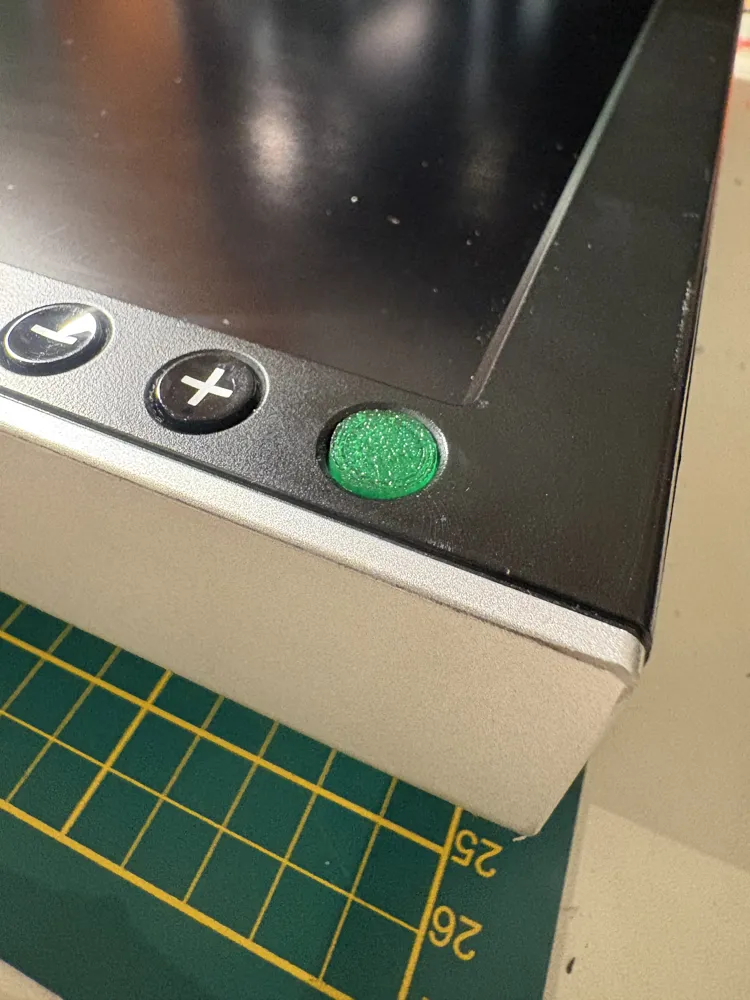
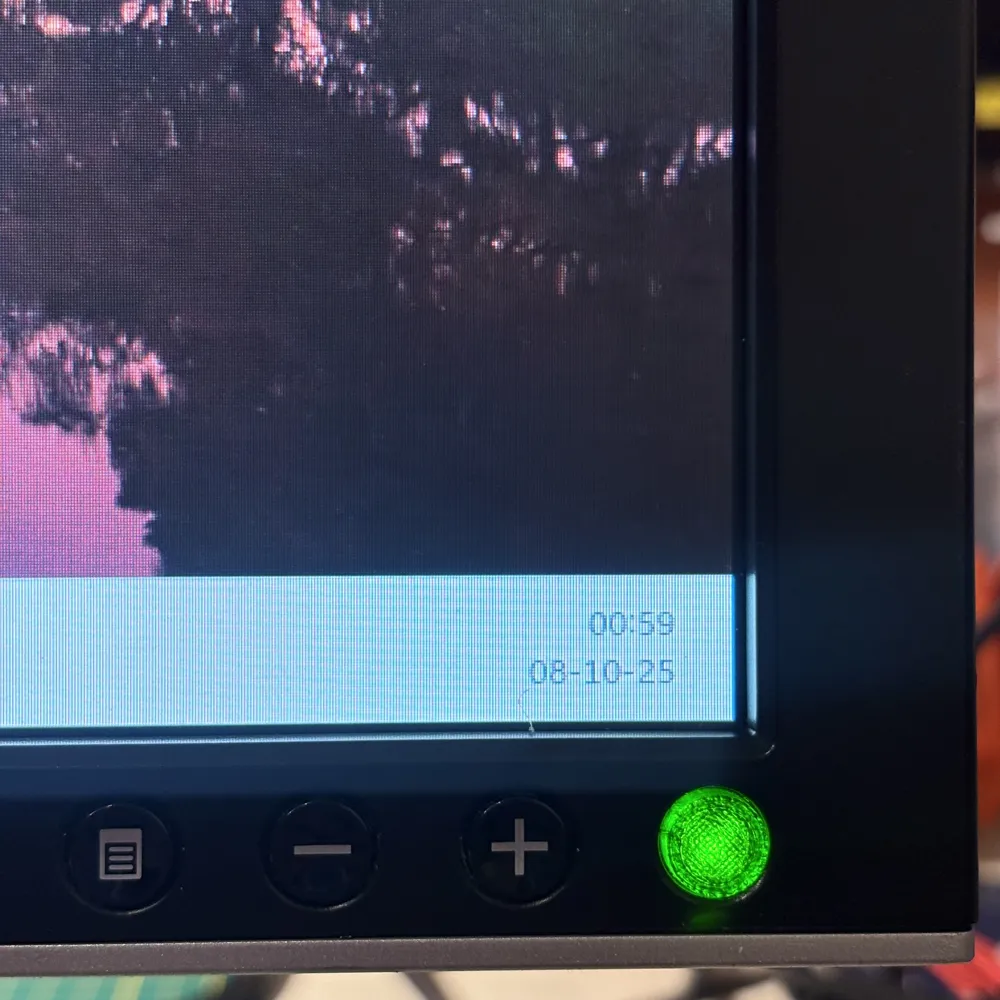
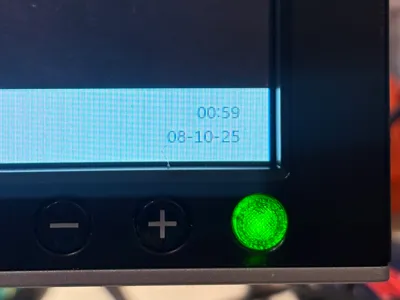
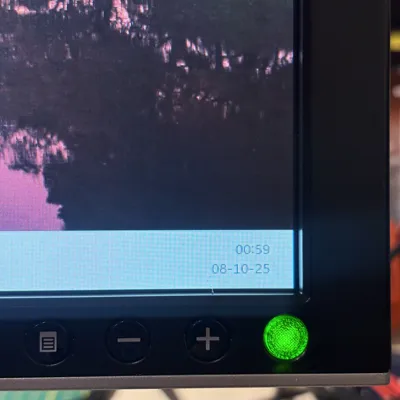
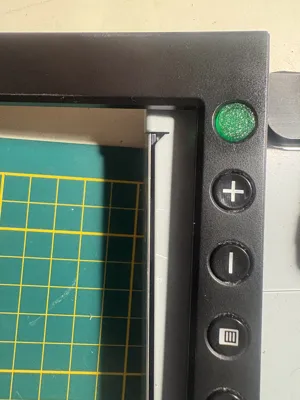
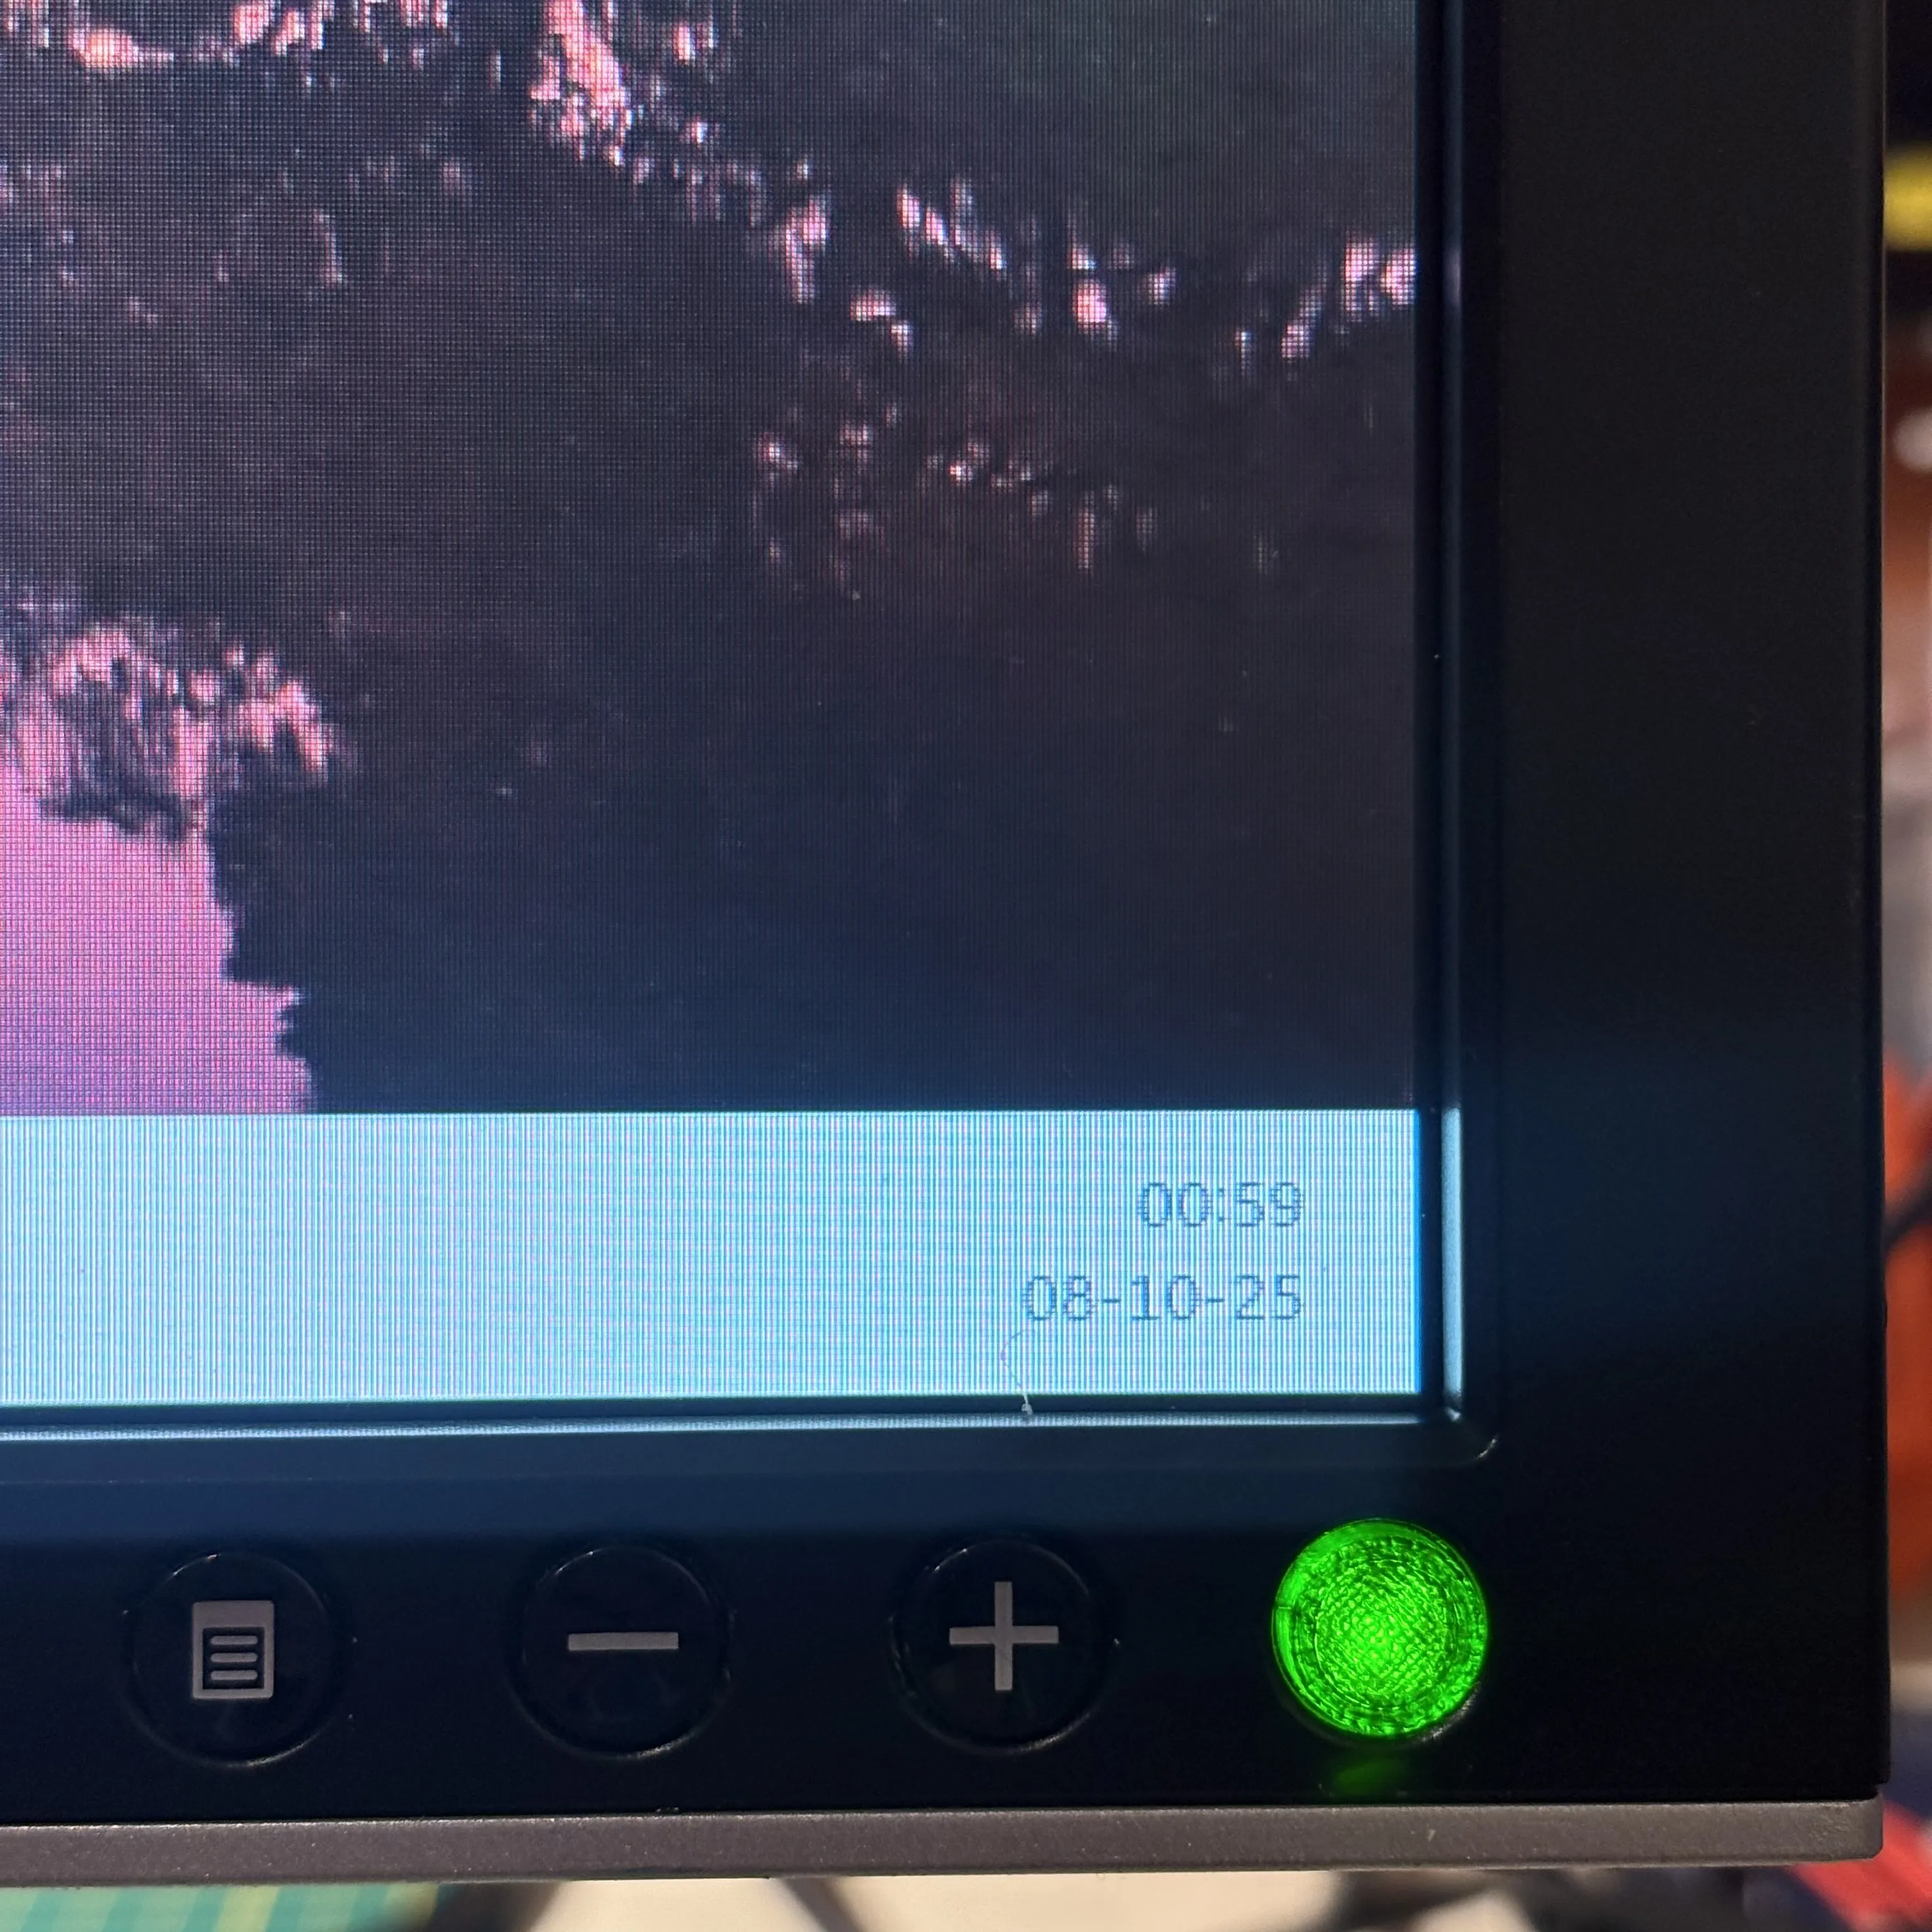
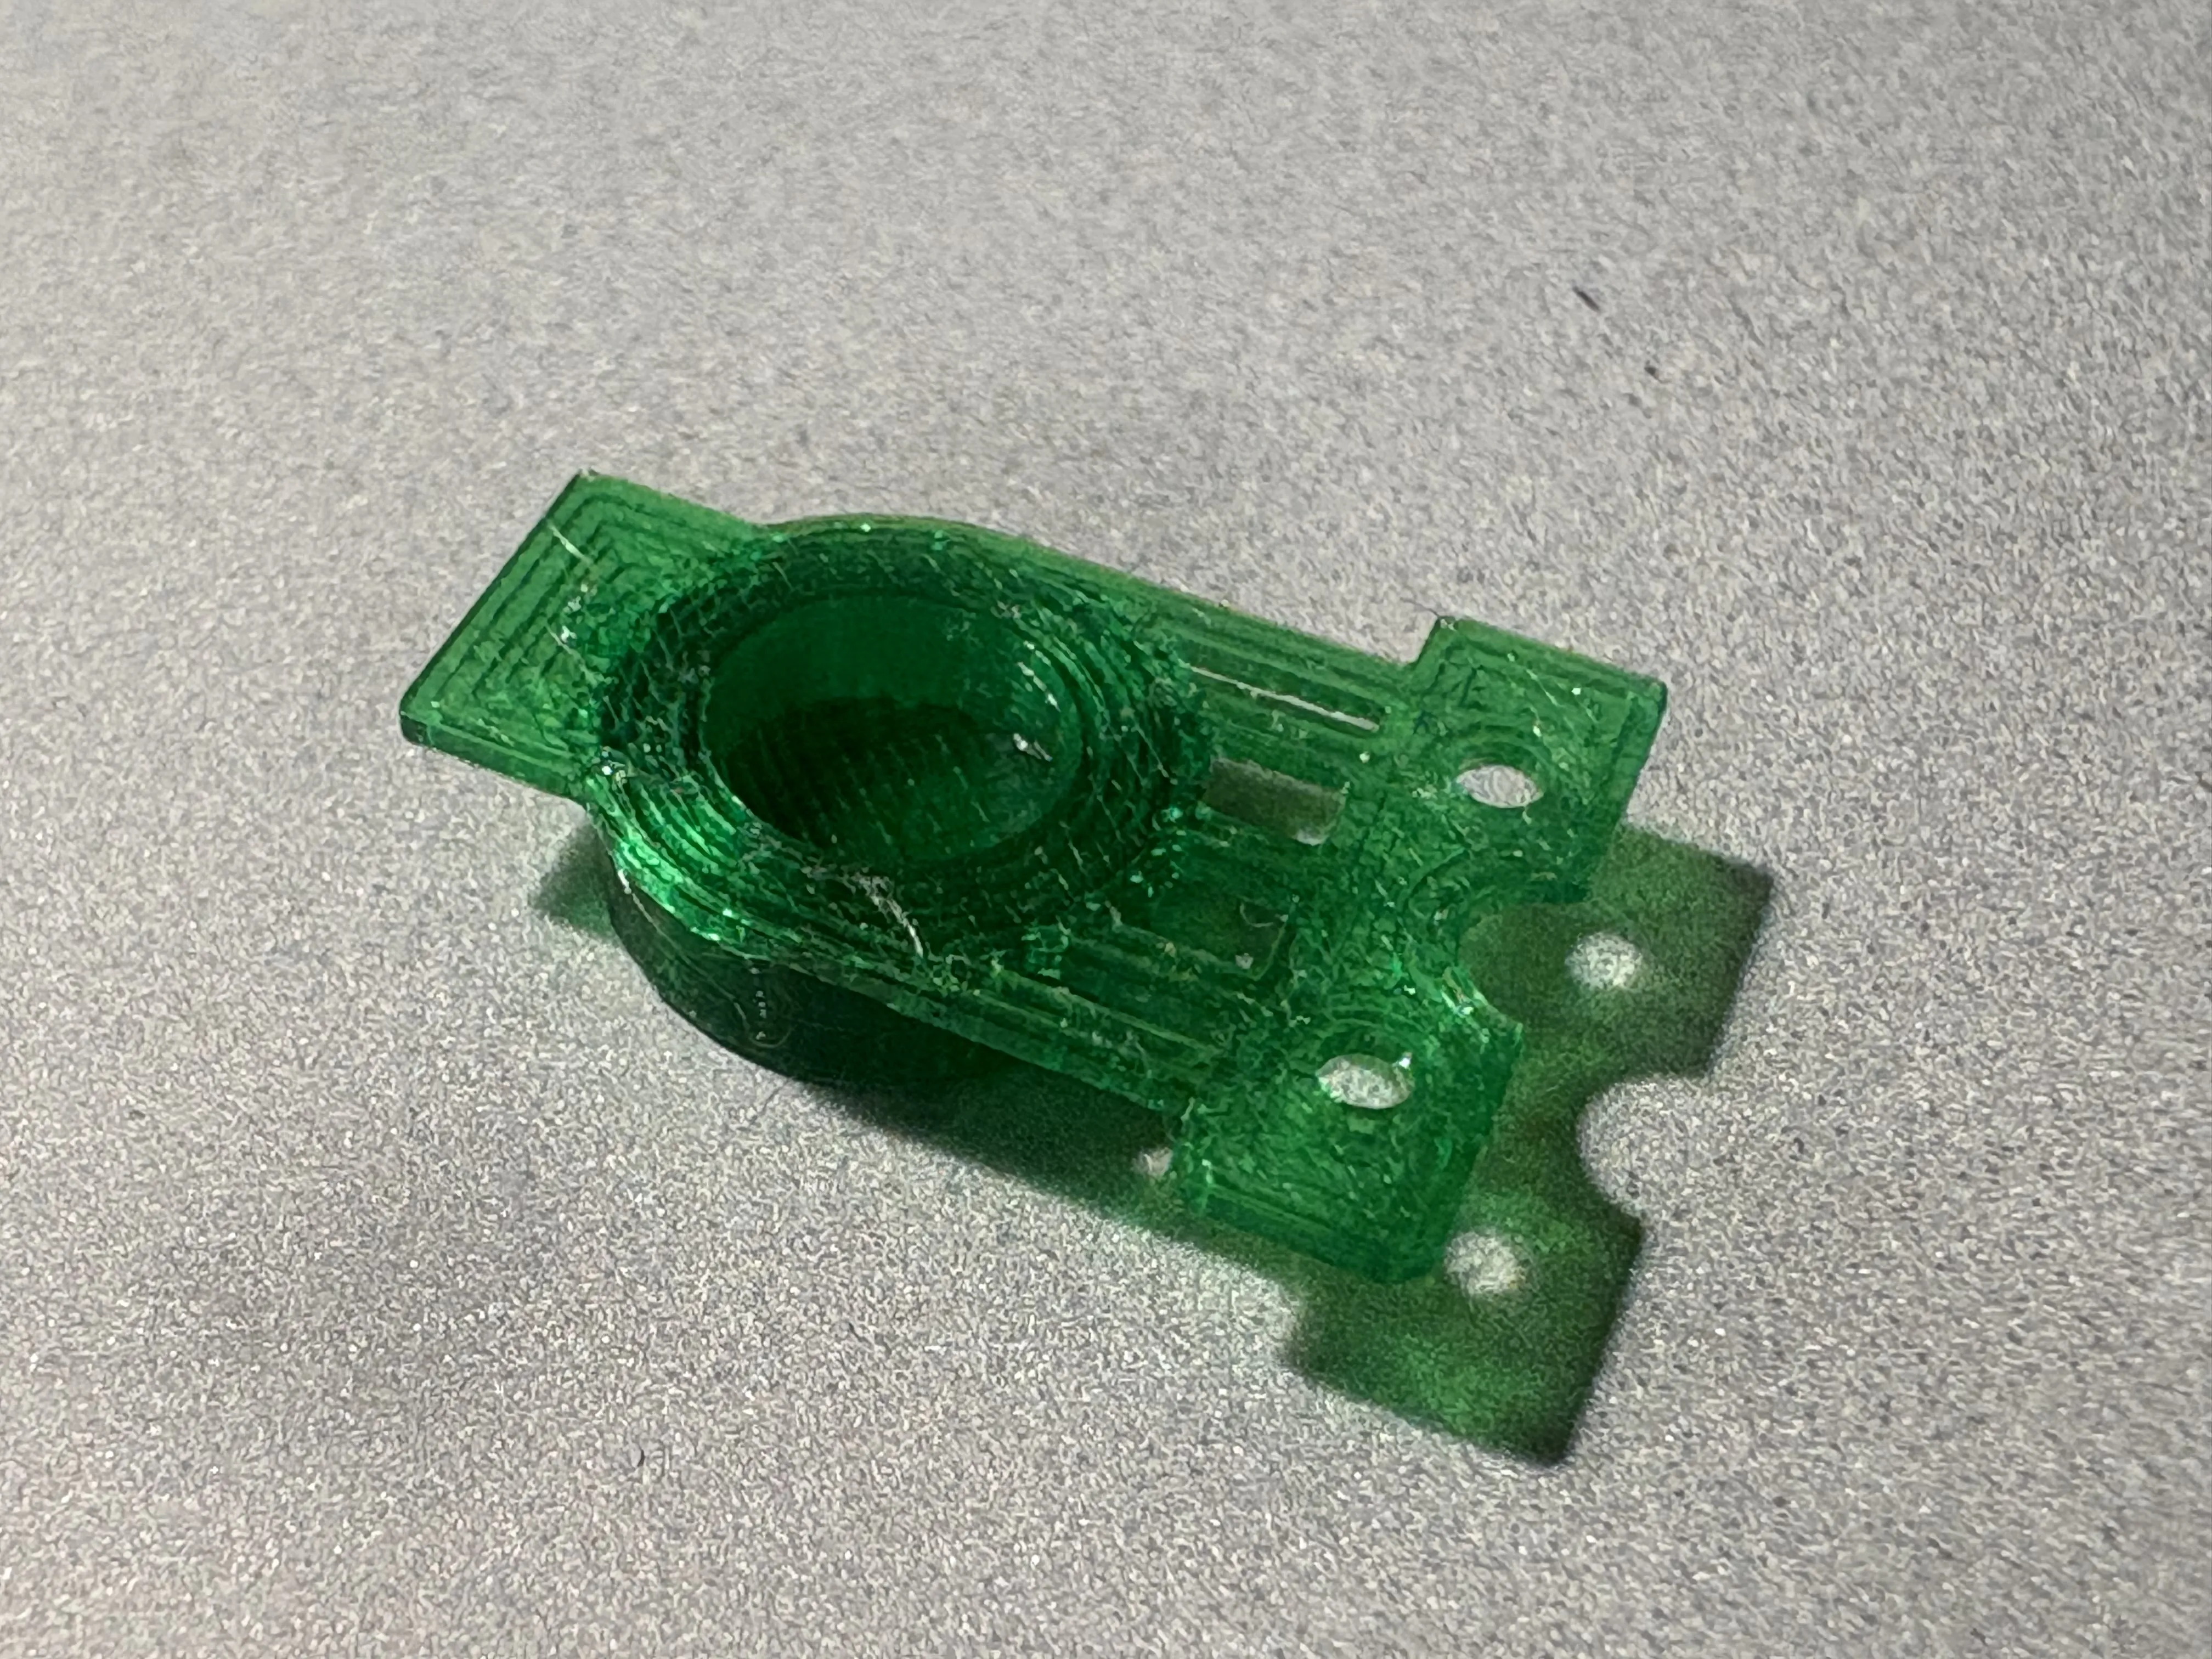
This project provides a 3D-printable replacement power button designed to exactly fit into the Dell 2407 or 2408 front bezel and mechanically re-engage the underlying switch.
Features :
- It restores full functionality to an otherwise working monitor, avoiding disposal.
- A correct-fit button preserves the original look and feel (or comes very close, one might argue the translucent button gives it a vintage style) rather than an ugly “hack.”
- As the part is digital (STL/3MF), it can be shared, revised, and replaced easily by the community.
- It prolongs the life of monitors that are otherwise in good condition.
Printed part description :
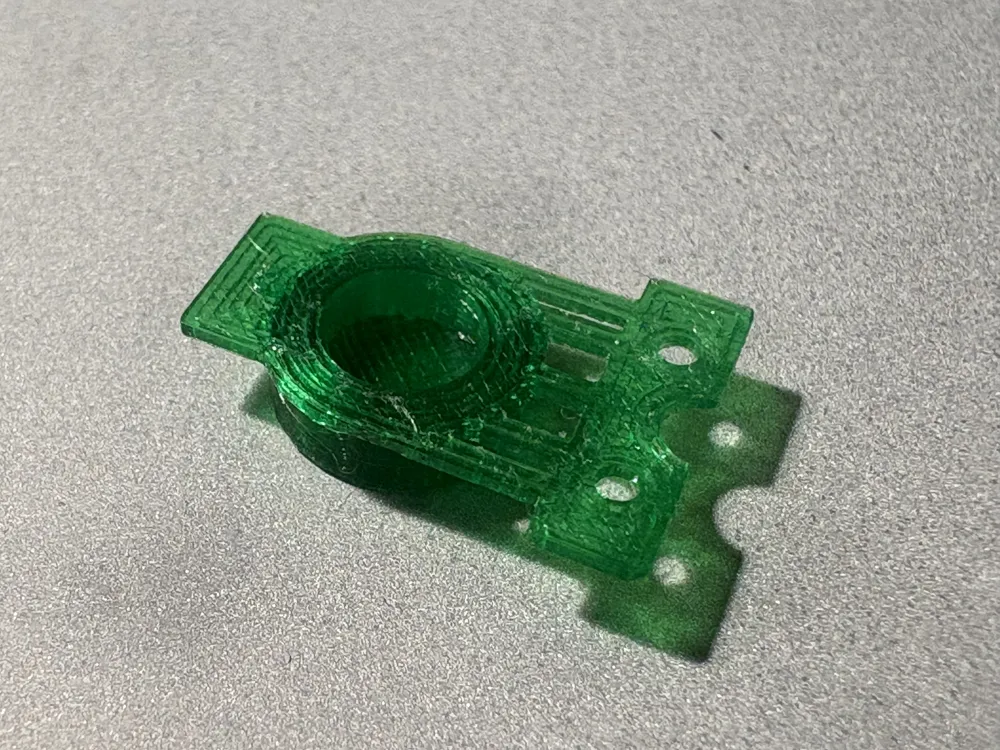
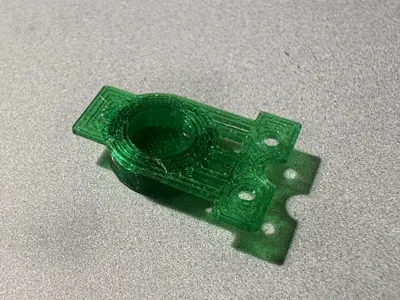
- The replacement button is designed to be printed in translucent PETG (or similar durable translucent filament) maintaining the original LED feature.
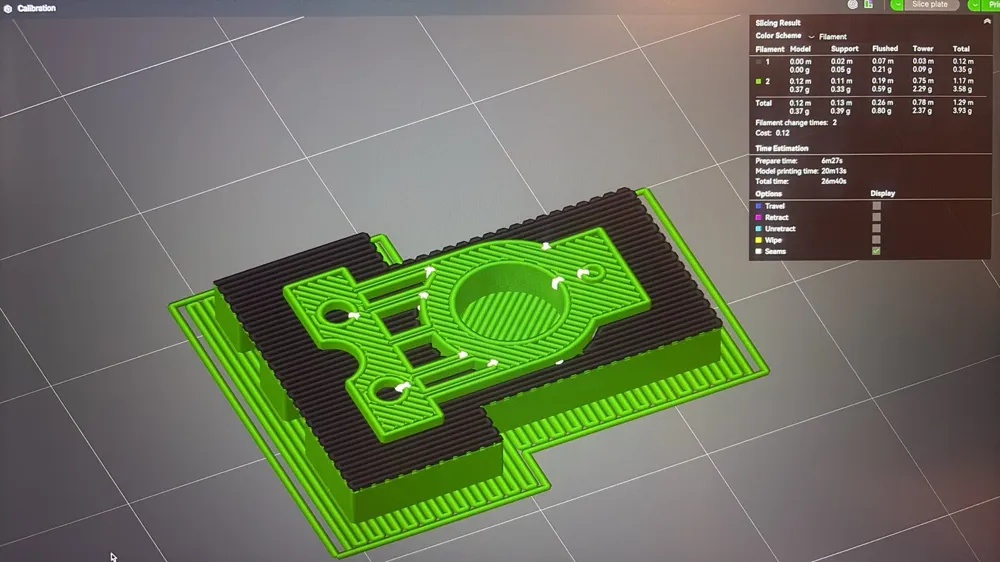
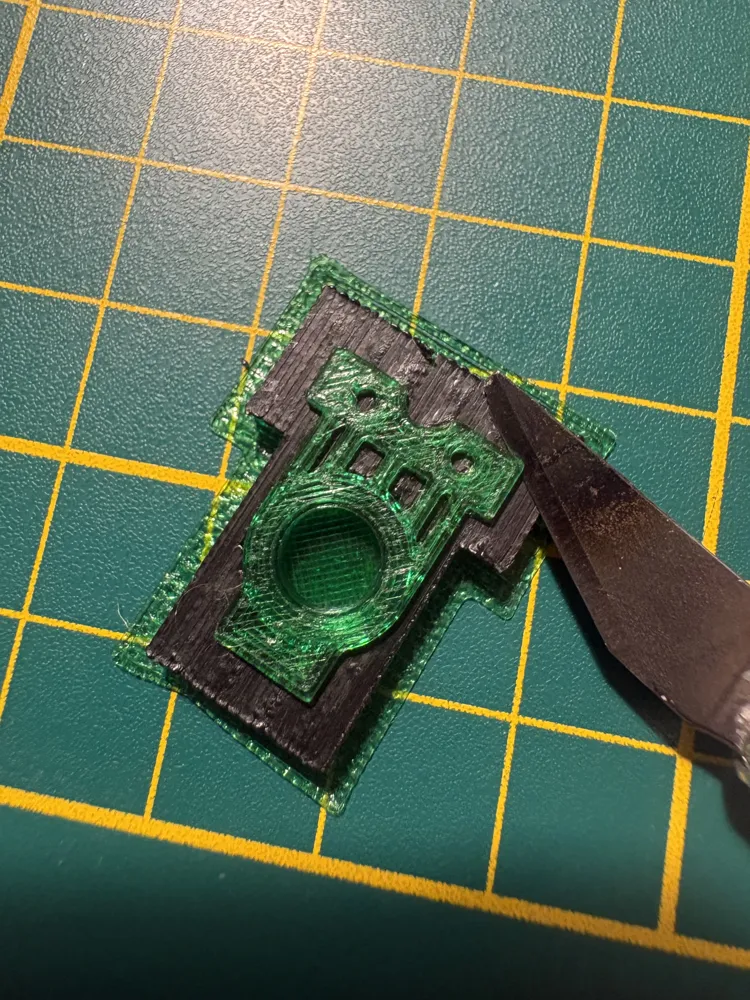
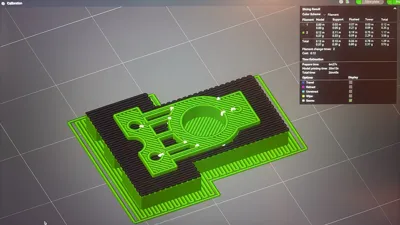
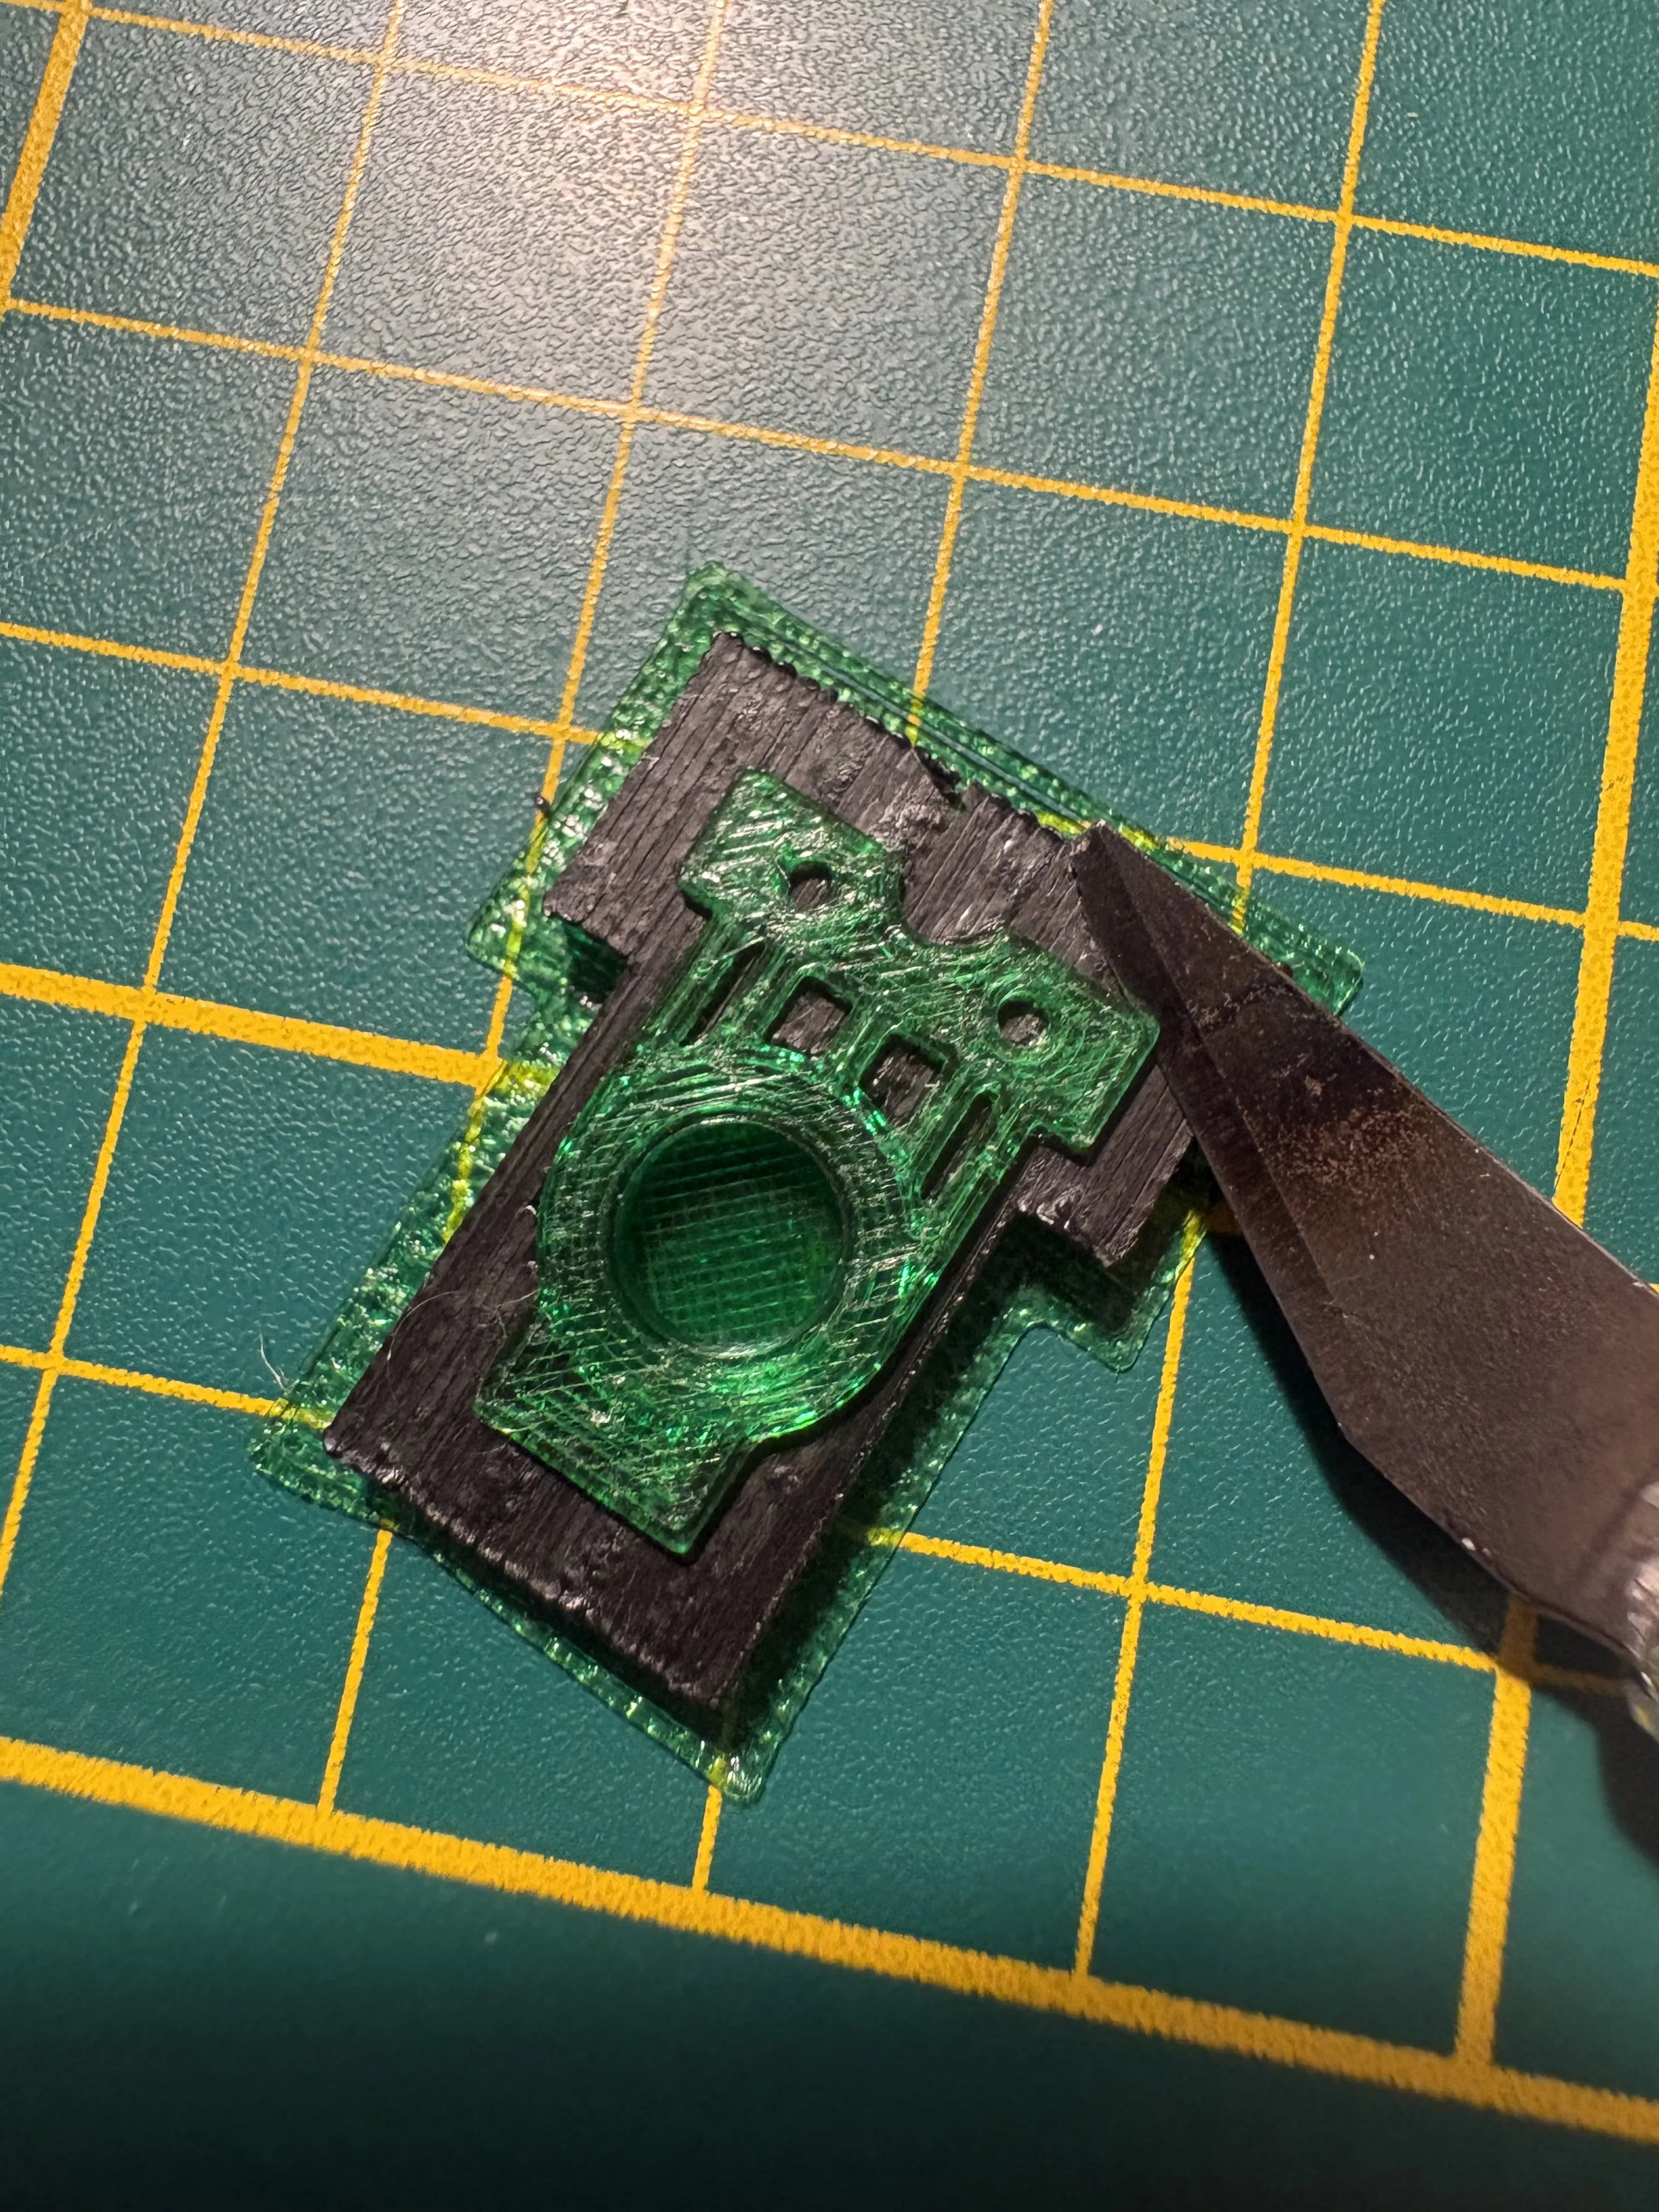
- The geometry is extremely precise and delicate, with thin layers (~ 0.08 mm). Because of the small “nipple” used to actute the microswitch, the button must be printed upside down with PLA supports to preserve the tiny geometry.
- I therefore recommend using an AMS (or a dual-extruder printer such as the H2D).
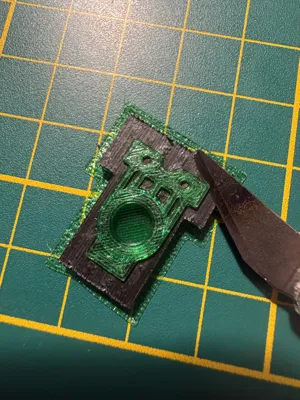
- After printing, supports are removed carefully using an Xacto knife (scalpel).
Boost Me (for free)
If, just like me, you love fixing older computer equipment to give it a second life and reduce waste, please consider boosting me :-) !
Step-by-Step Installation Instructions 🧩 🛠️
Below is a suggested workflow. Use proper ESD precautions, and take care — monitors contain high voltages (especially capacitors) even when unplugged.
- Remove the monitor from its stand
- Lay the monitor face down on a soft, nonabrasive surface (e.g. a towel).
- Detach the stand by pressing the black release button behind the stand.
- Remove the back cover / open the case
- Once the stand is removed, there are 4 screws on the back panel. Remove them.
- Once screws are out, lay the monitor face up, and carefully pop off the front bezel (plastic trim) by gently prying around the edges. Be extremely cautious — the clips are fragile.
- Lay the monitor face down again and gently pry the back cover away from the monitor + bezel.
- Access the small PCB / control board behind the power button
- Lay the monitor face up again and carefully tilt the bezel forward around its lower edge. Inside the bezel, you will see a small PCB that carries the control switches (power, input, menu, etc.).
- Remove 4 small screws securing that PCB to the front frame (or bezel).
- Gently lift or unclip the PCB, exposing the old button “nipple” or fractured remnant.
- Clean up debris / old plastic fragments
- Using tweezers, remove all bits of broken plastic that remain in the frame or in the switch aperture.
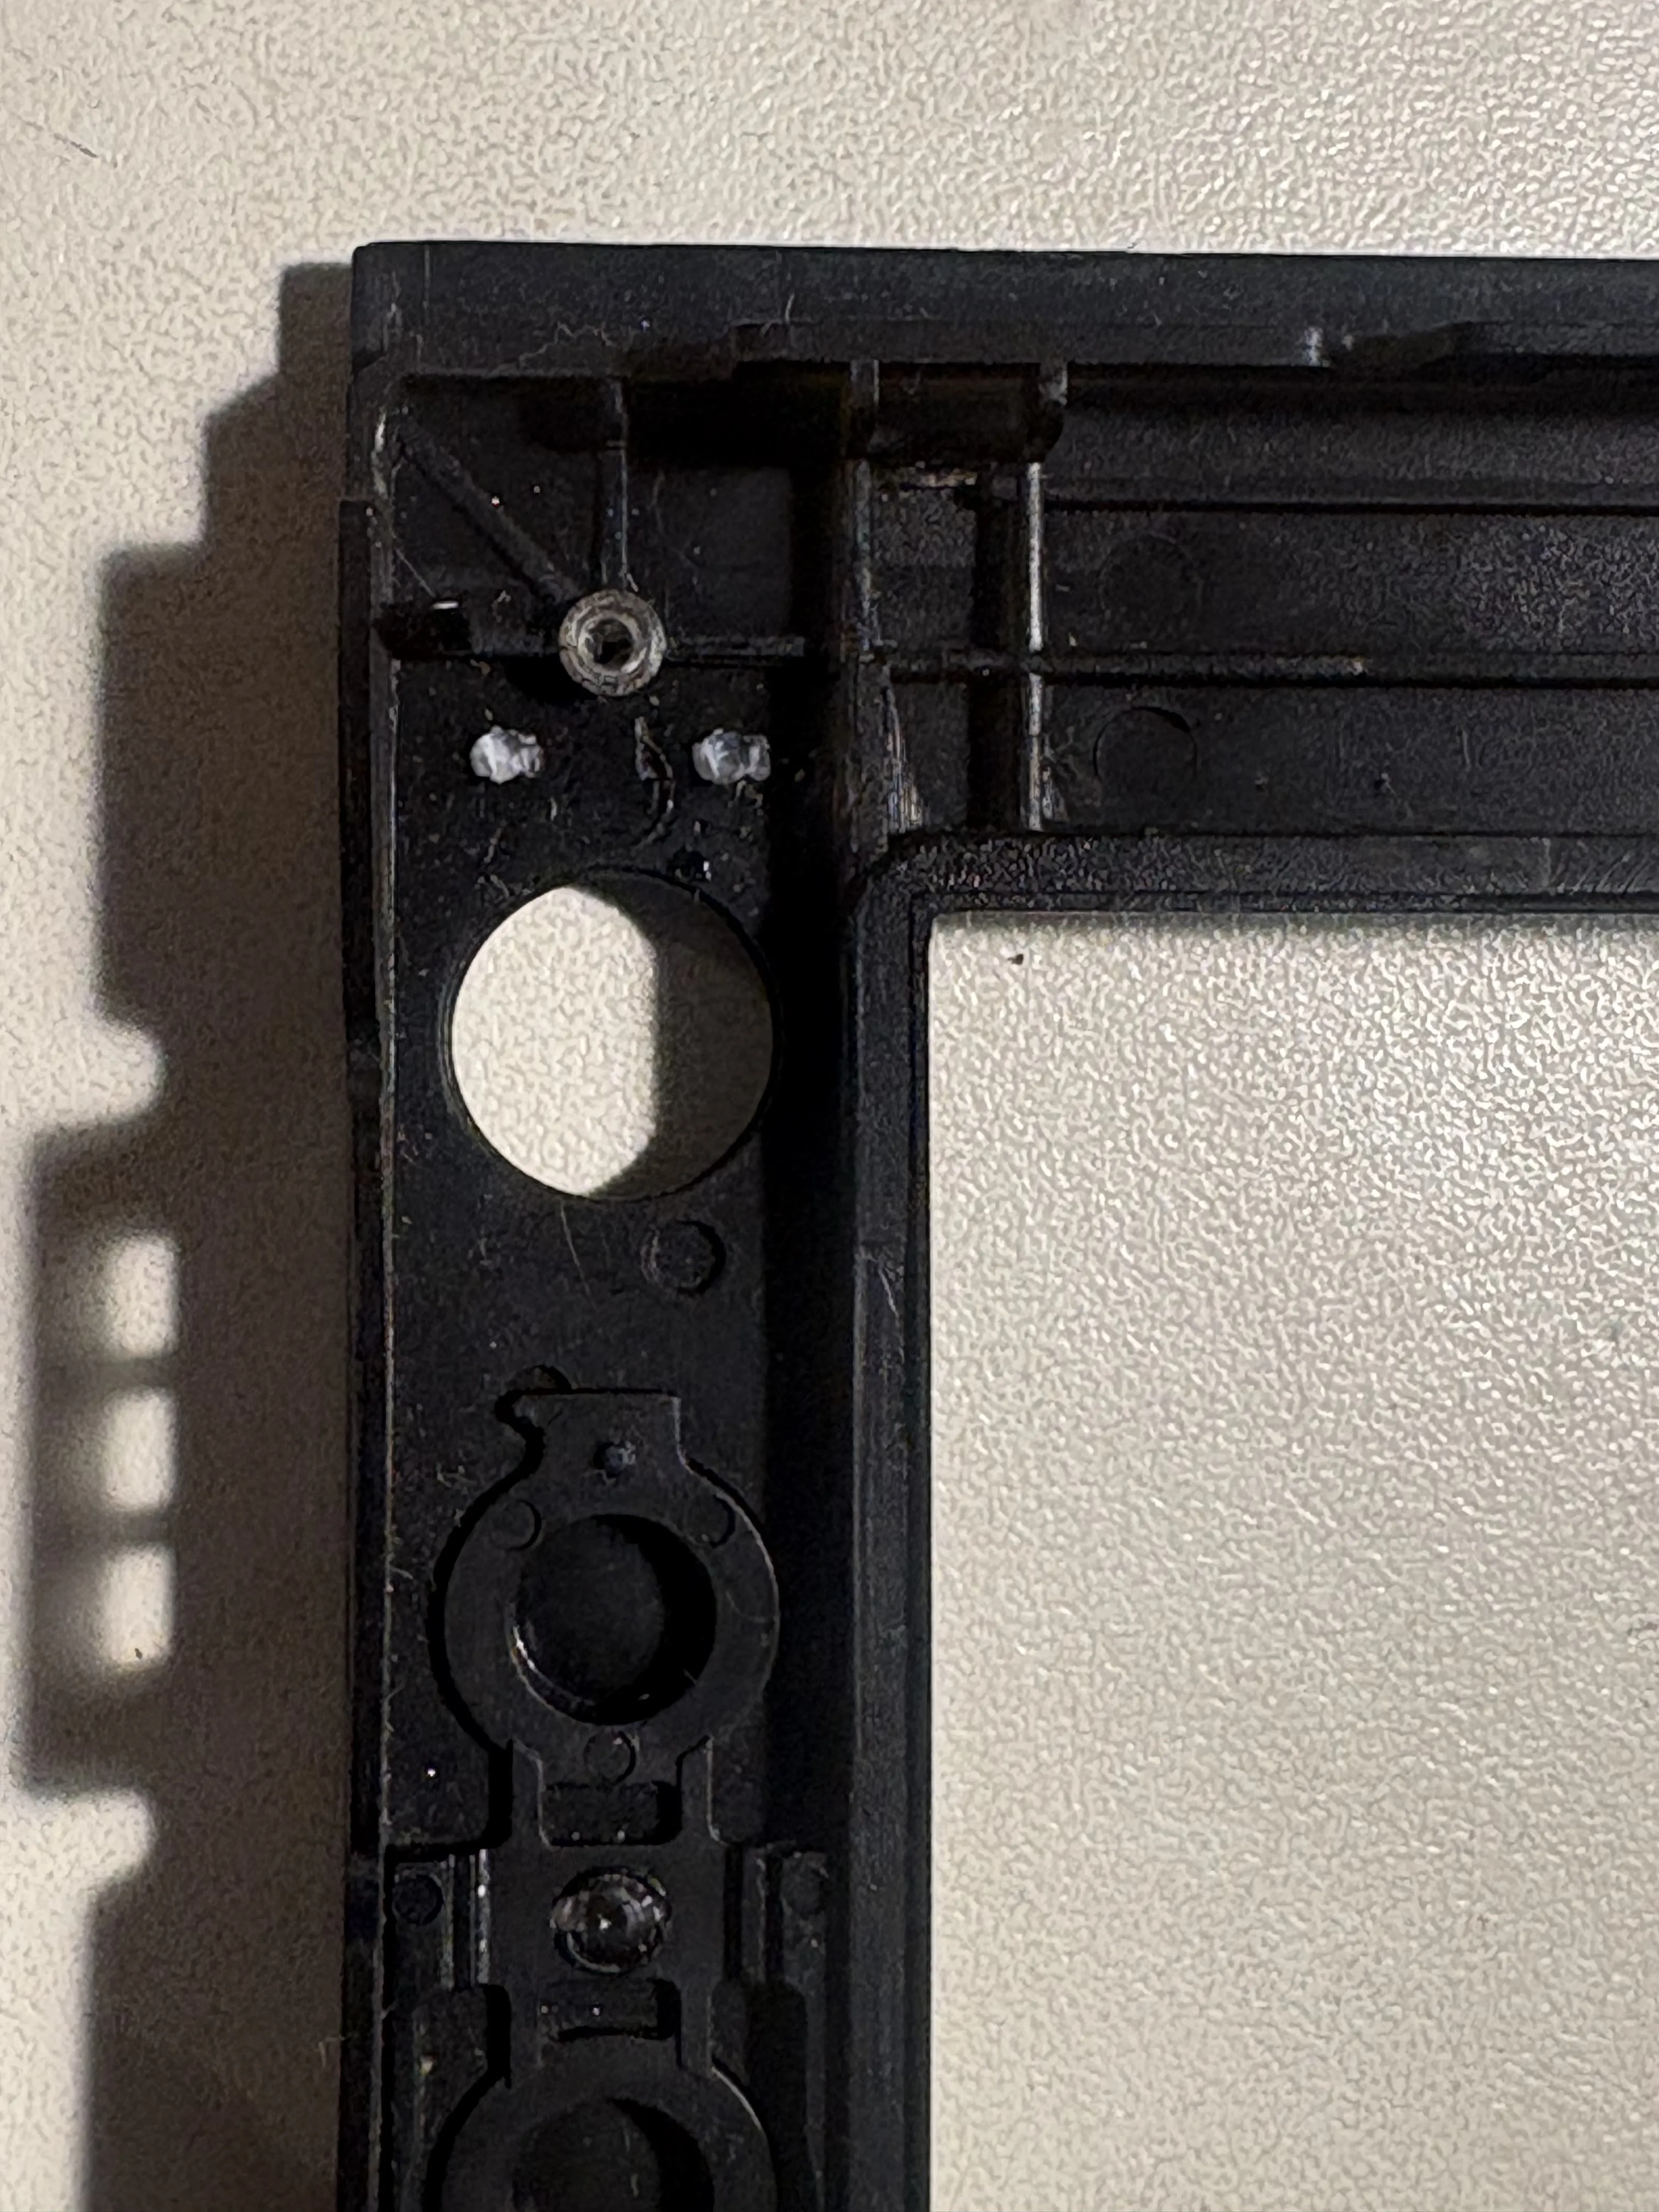
- Install the new button into the front bezel
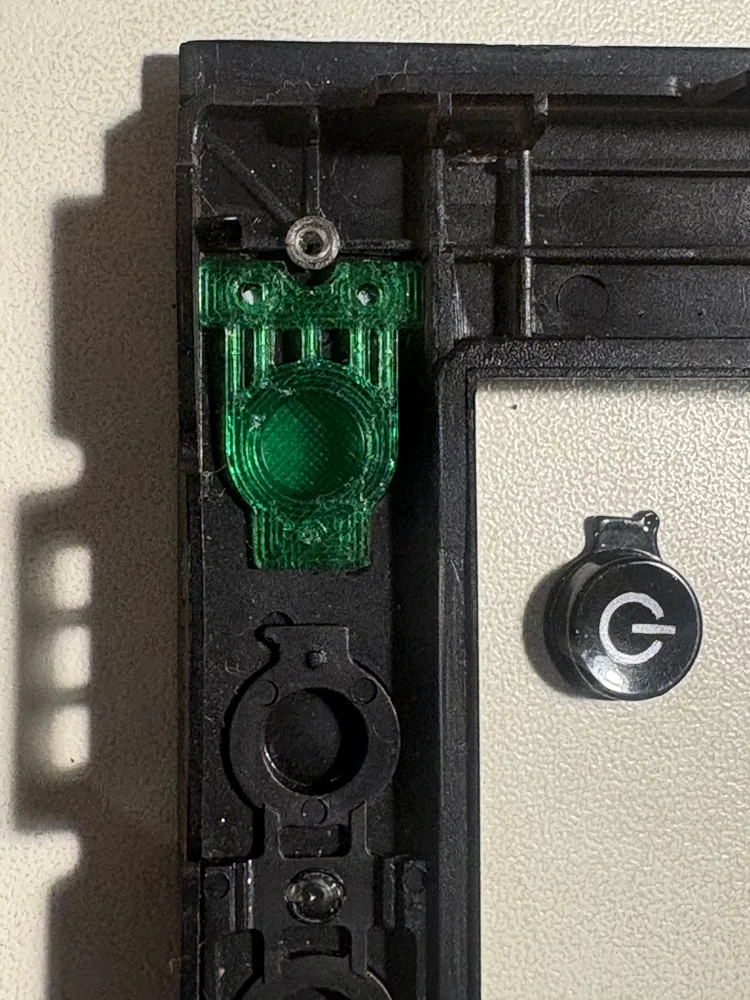
• Slide the printed button into its recess in the bezel frame. Ensure correct orientation.
• The small “nipple” portion will align with the PCW microswitch dome during reassembly.
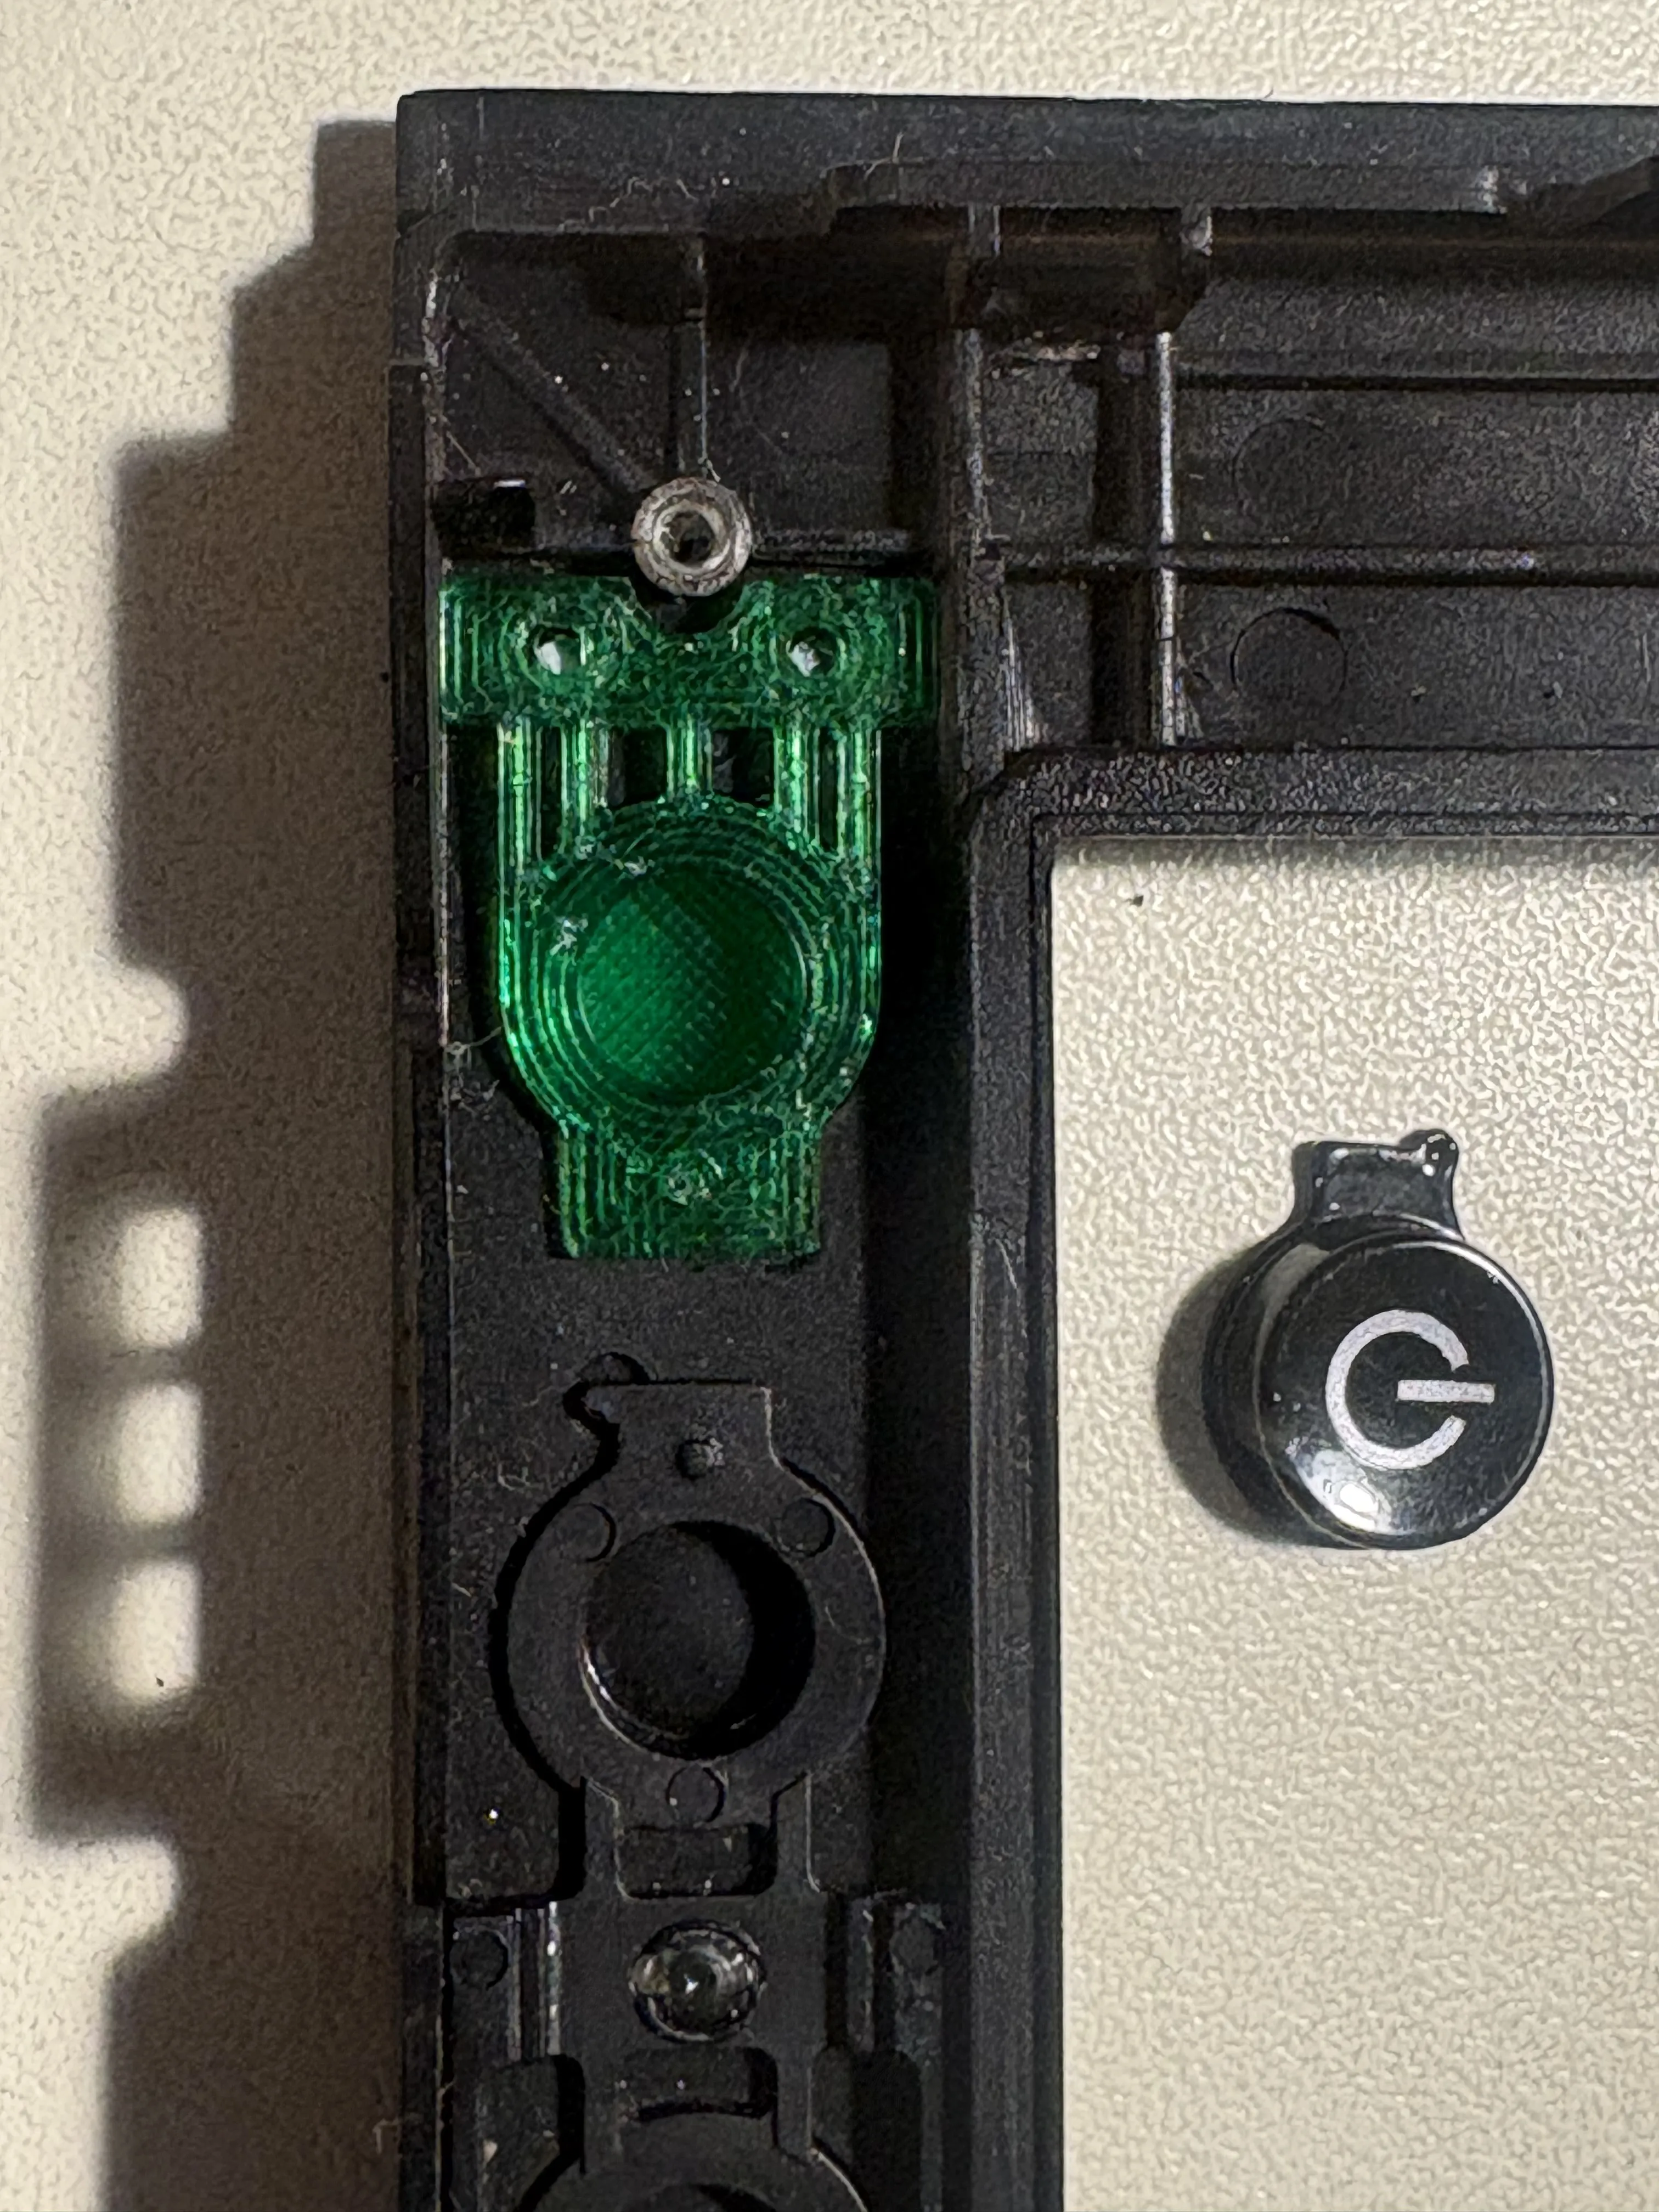
- Reattach the small control PCB
• Position the PCB back over the new button so that the switch dome rests on the new nipple.
• Fasten the PCB again with the 4 small screws. Take care not to overtighten and stress the delicate plastic.
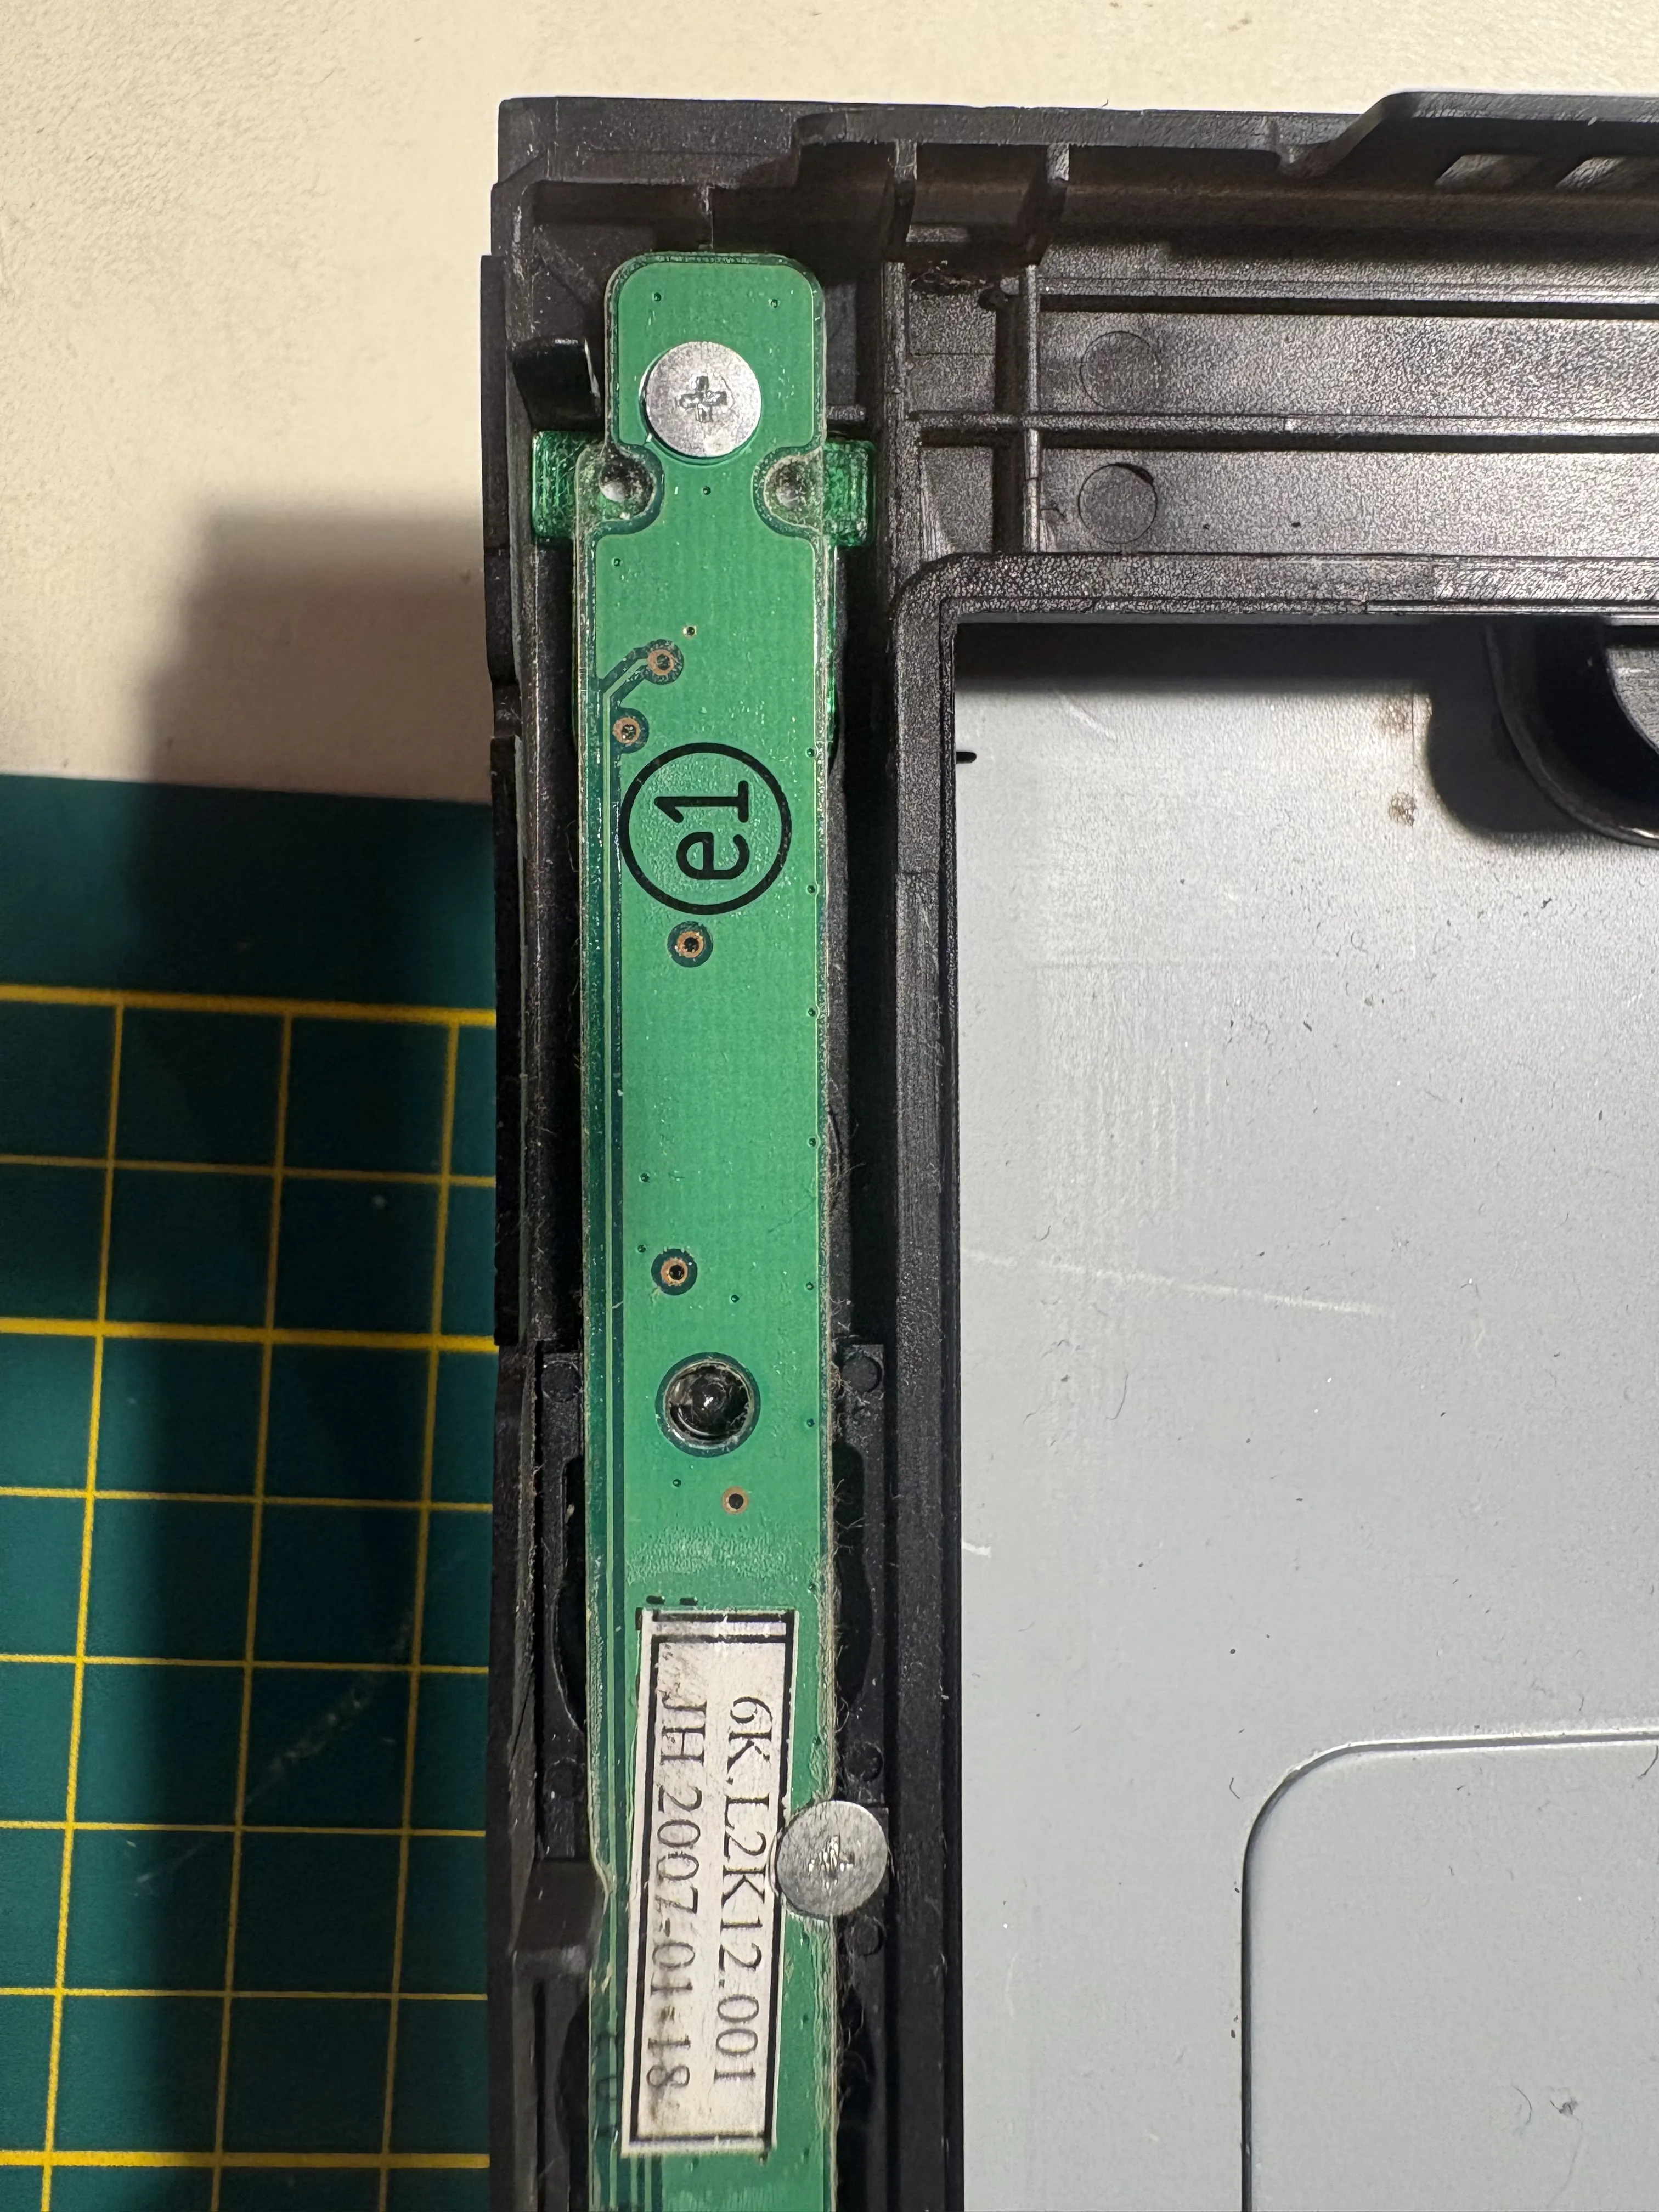
- Reassemble the monitor
• Align the front bezel + screen assembly into the rear housing carefully, ensuring no cable pinches.
• Replace the 4 rear screws to secure the back cover.
• Reattach the monitor to its base/stand.
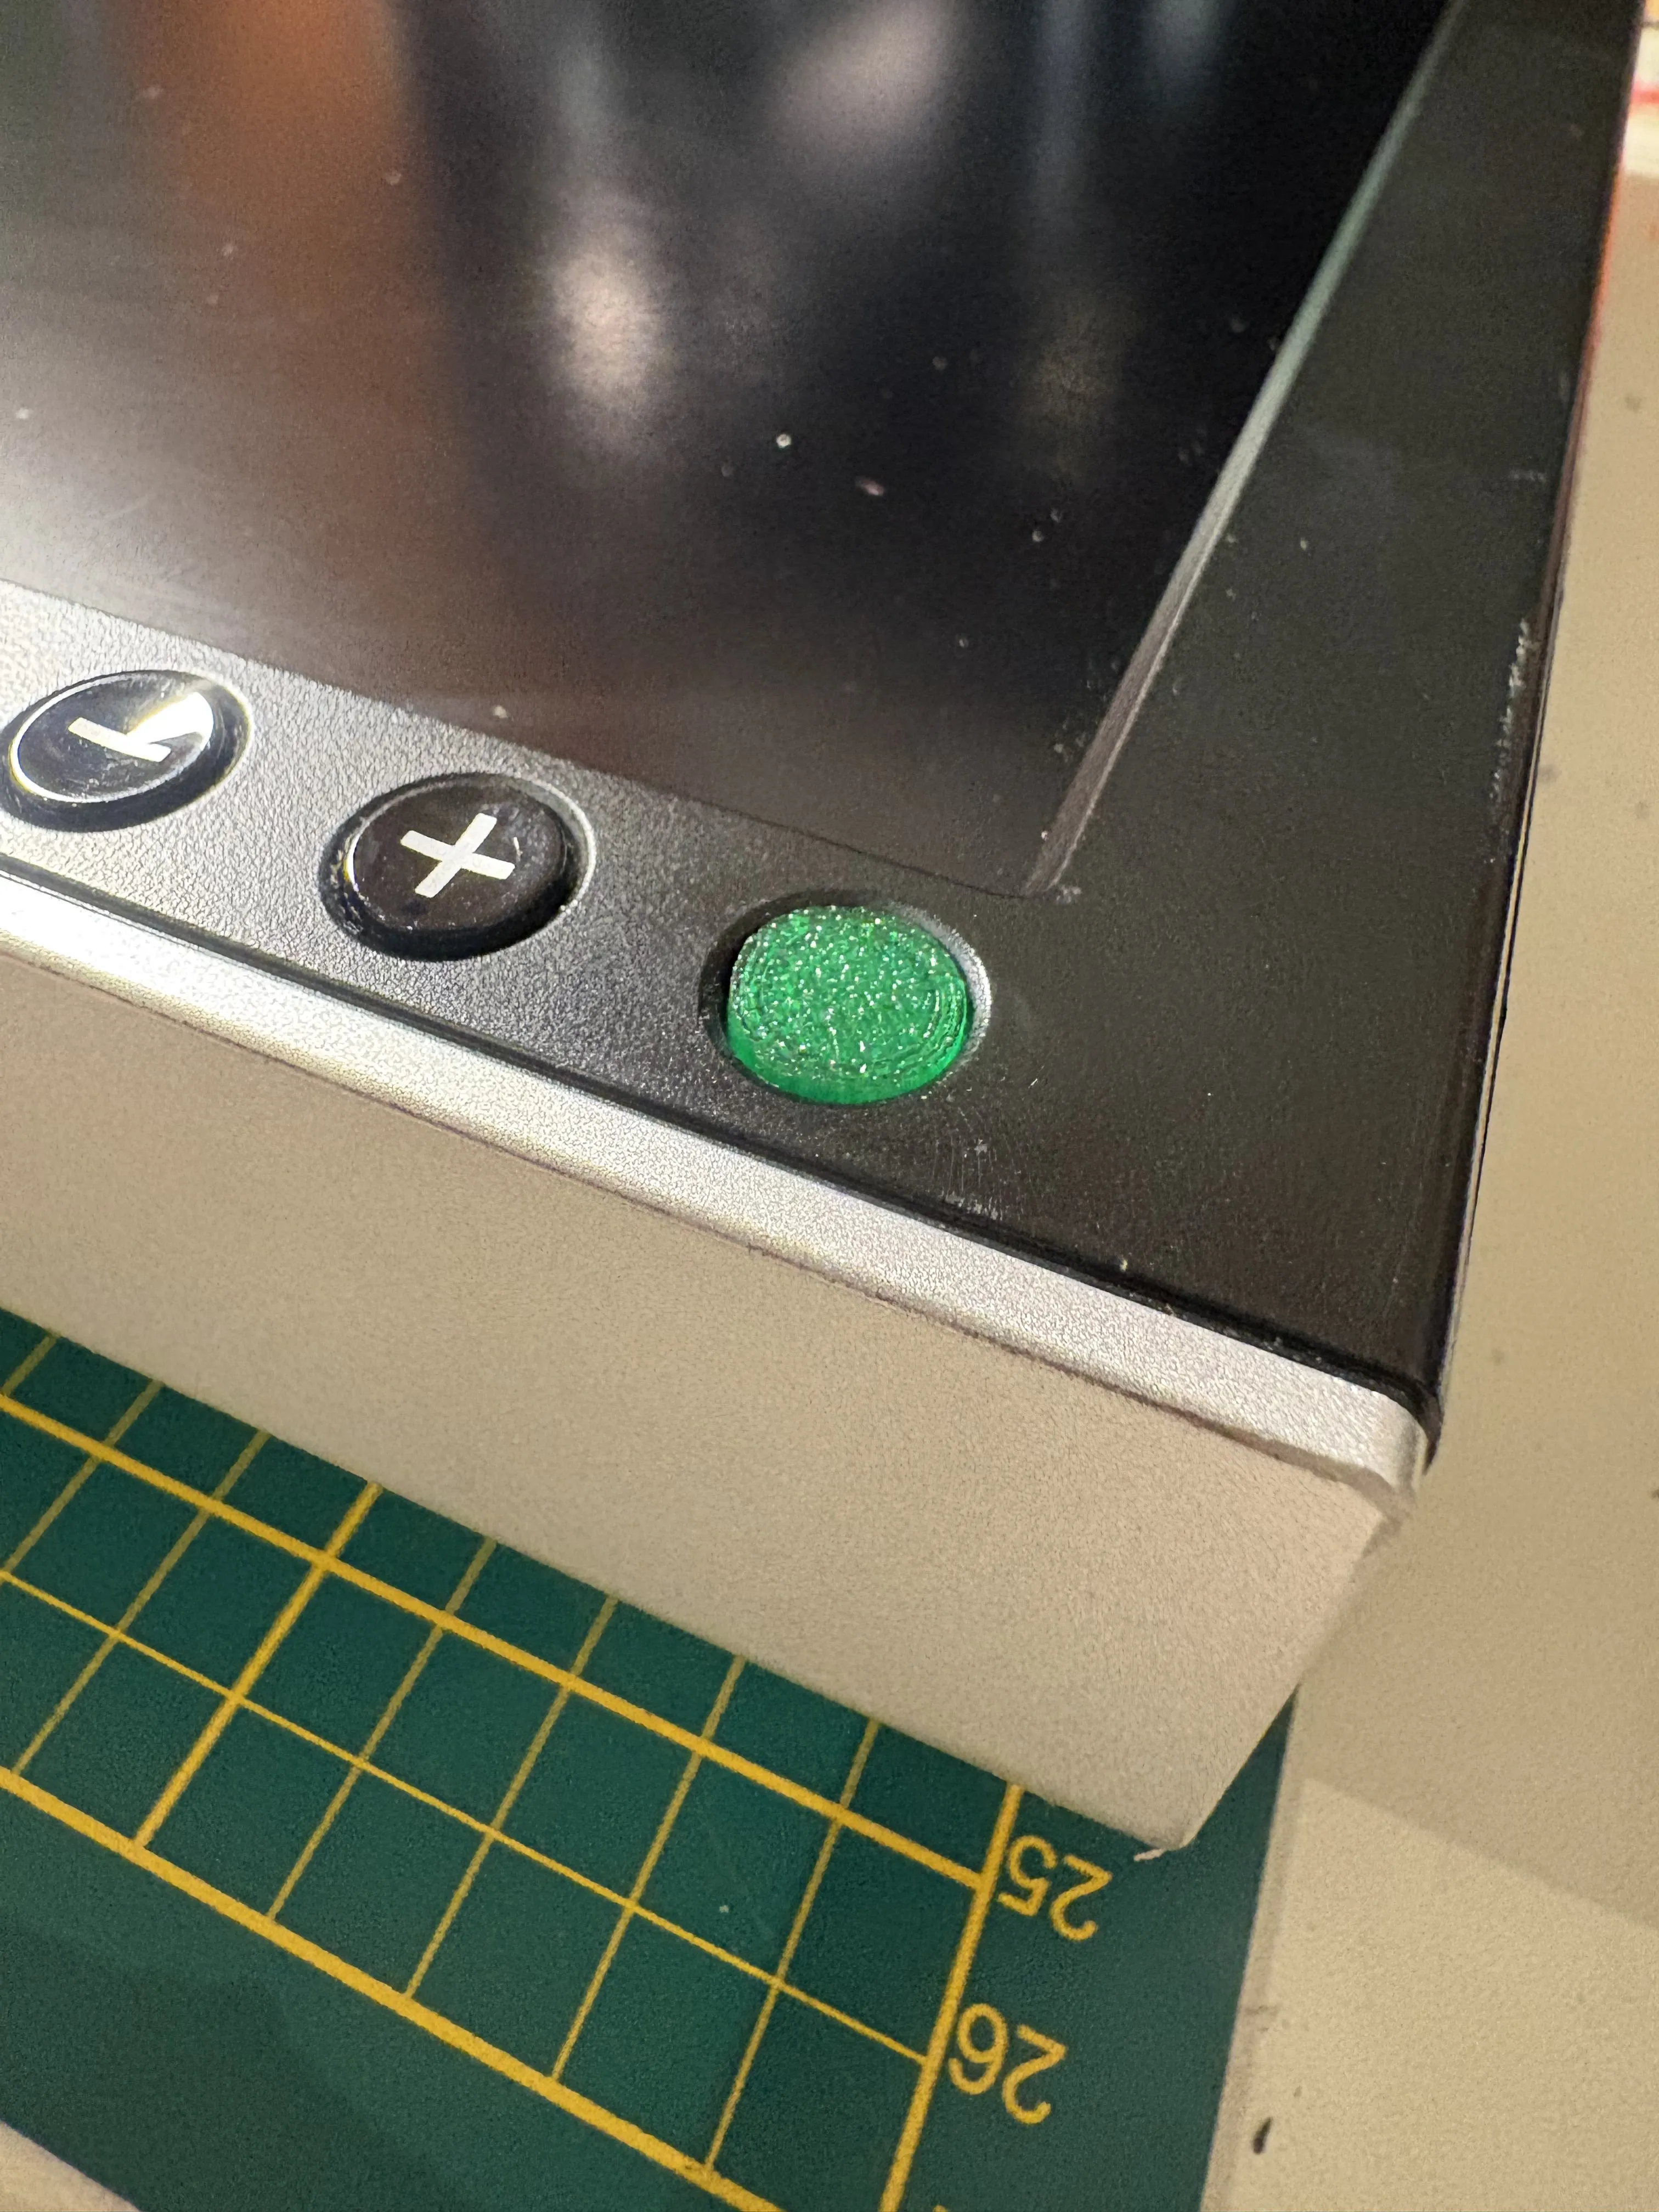
- Power on and test
• Plug in, turn on the monitor. The new button should register a clean “click” and power toggling should function as original.
Bonus Tip: Reviving a Stuck Clip / Lock Tab 🪛
Often over years, the locking clips can get “stuck” or glued in place by dirt or mild deformation.
You can attempt to restore its function:
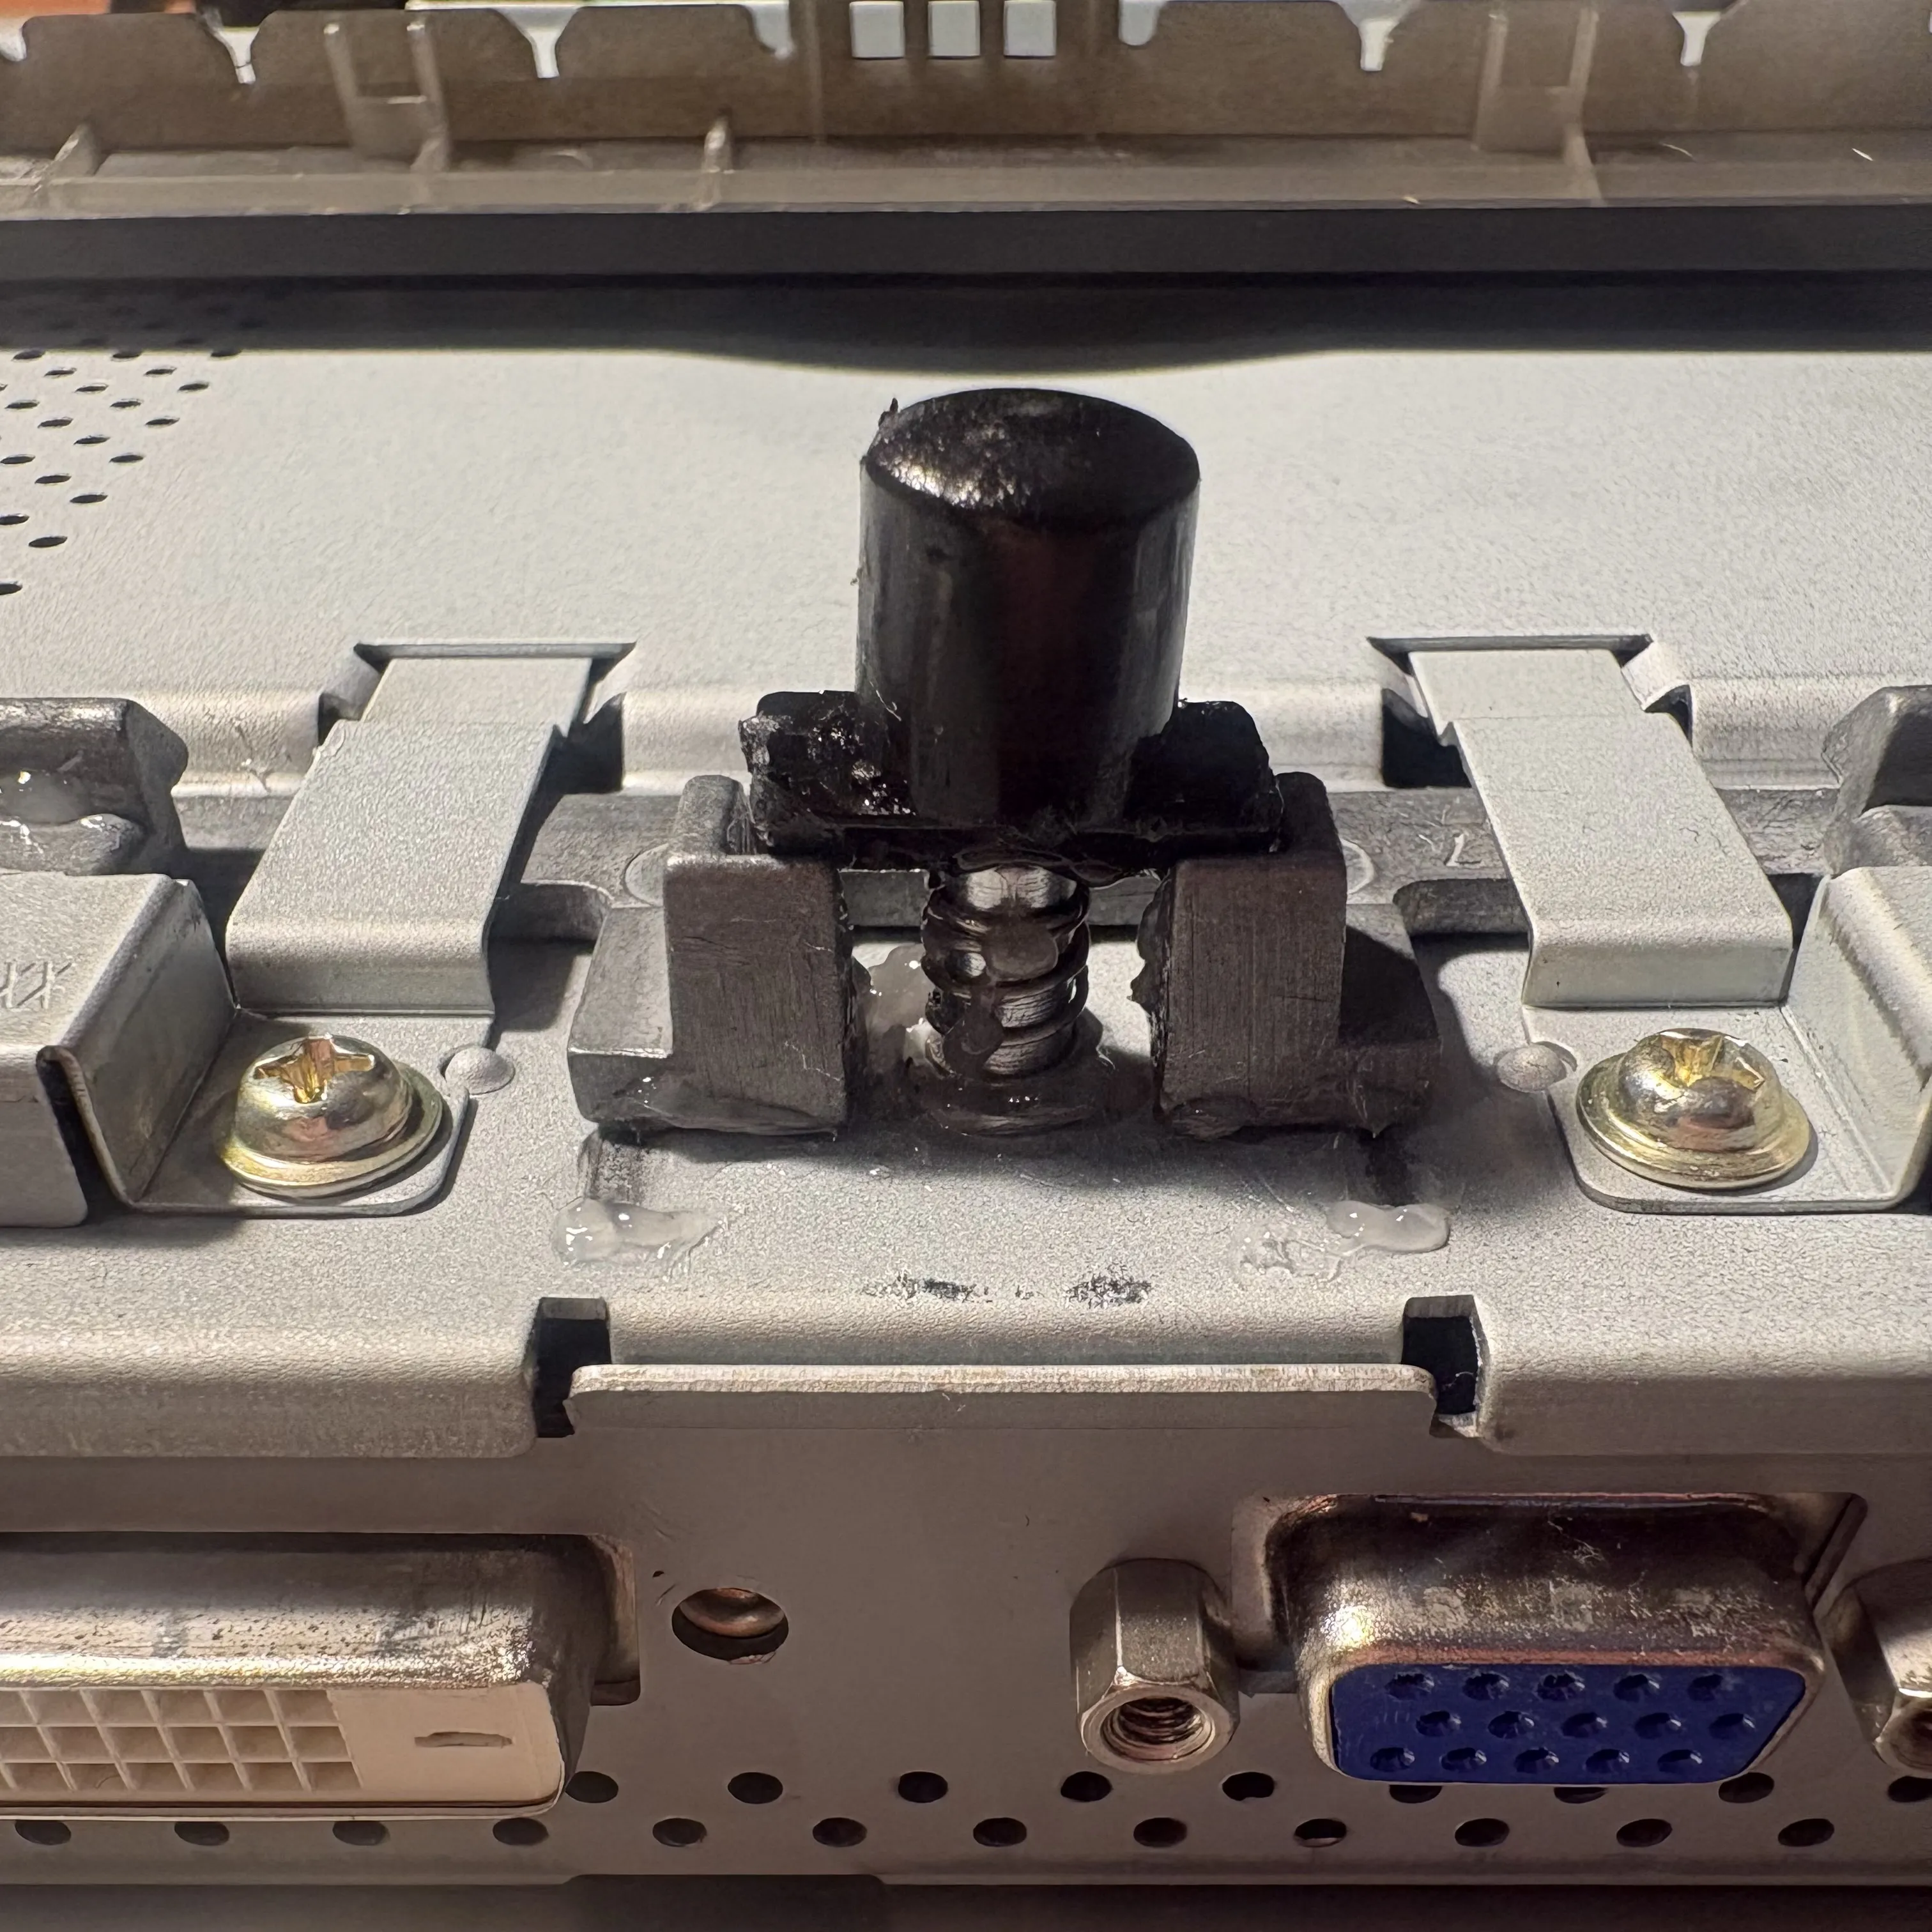
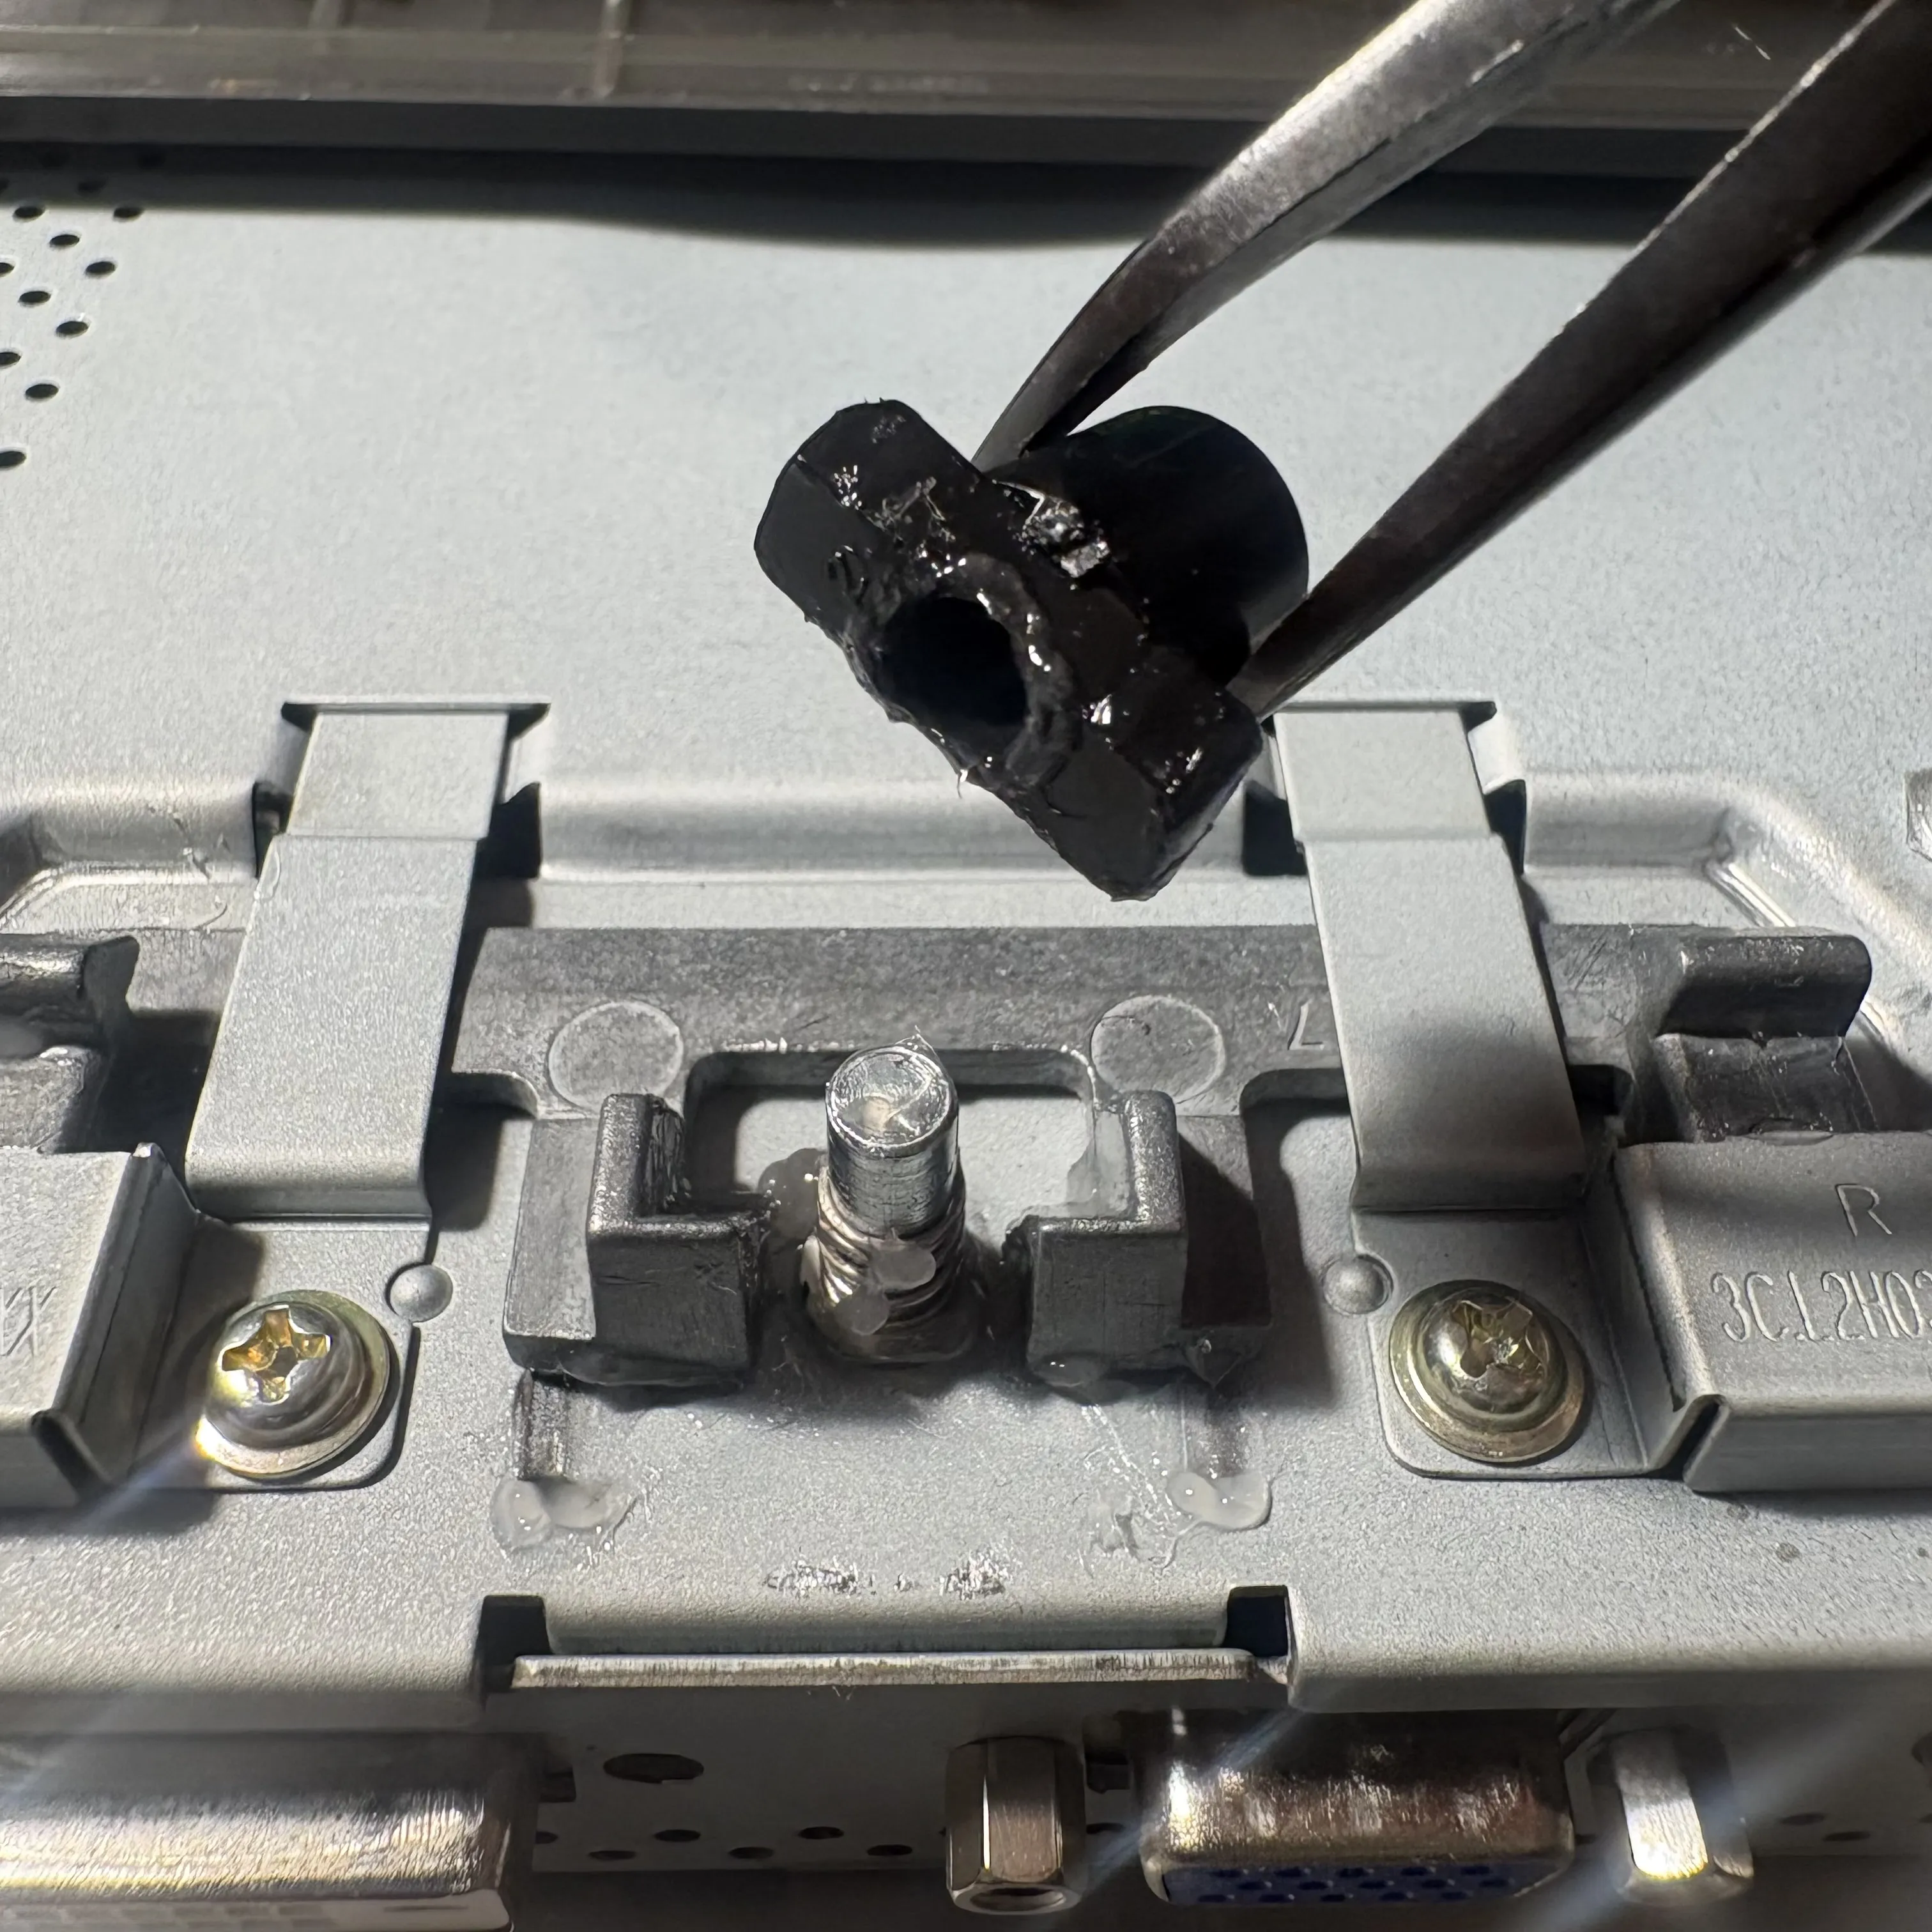
- While screen is open and lying with face down, firmly pull the stuck clip button with a small pliers or fine tool to unstick it. Completely remove the plastic button.
- Apply a small drop of grease (for example, a light lubricant like SuperLube used for your Bambu printer) on the axle and spring.
- Re-seat the button carefully back into its slot and make sure it now moves down freely when pressed and back up when released, moving the locking mechanism along.
Notes & Warnings ⚡
This is a DIY project intended for experienced makers. Modifying electronic devices carries inherent risks. Make sure you understand what you're doing before proceeding. I take no responsibility for any damage, injury, or malfunction resulting from the use of this model or the instructions provided.
High voltage caution: inside LCD monitors, even when unplugged, the power board and panel drivers can hold dangerous voltages. Do not touch the backlight inverter or capacitors.
This is a set of DIY instructions and blueprints. The brand name Dell and associated logos are used solely for the purpose of compatibility reference. This product is an independent design and is not affiliated with, endorsed by, or sponsored by Dell in any way. All trademarks and brand names are the property of their respective owners.
License



Comment & Rating (2)