
Signaling cone
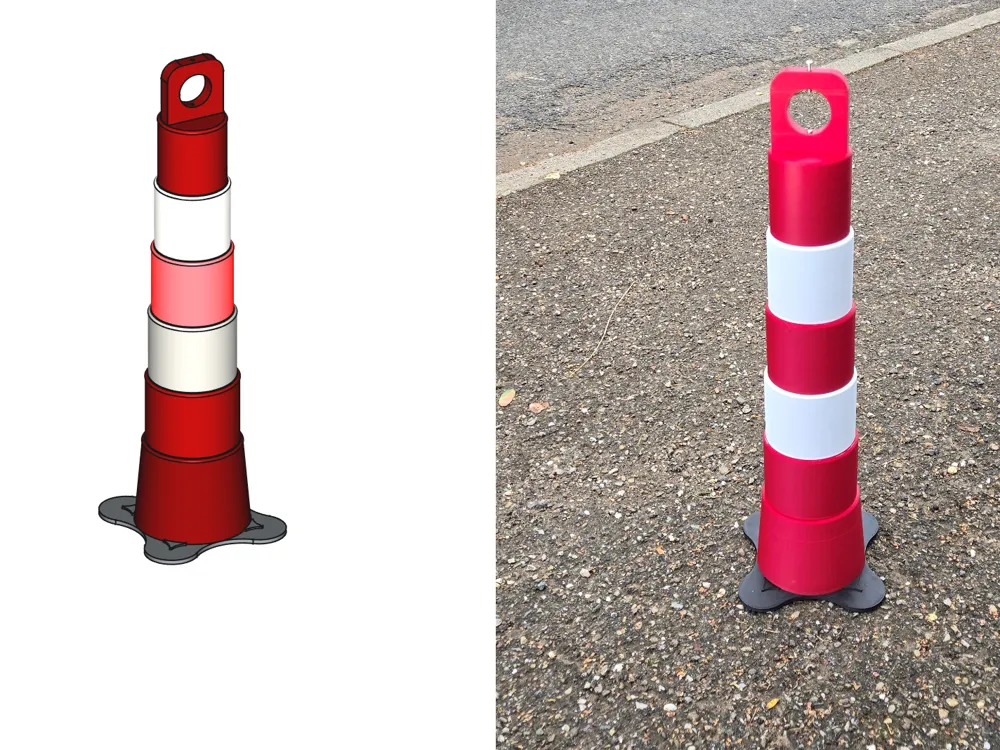
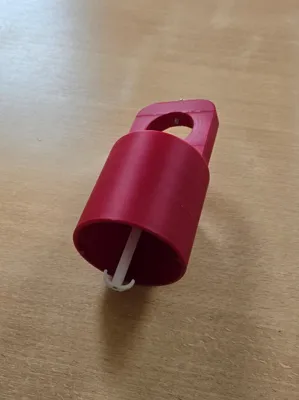
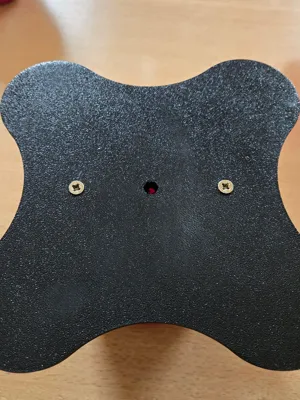
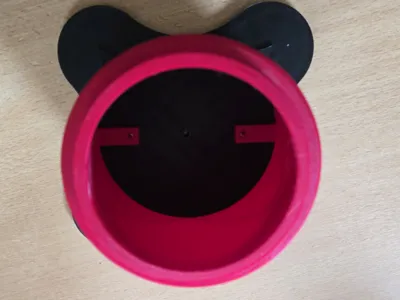
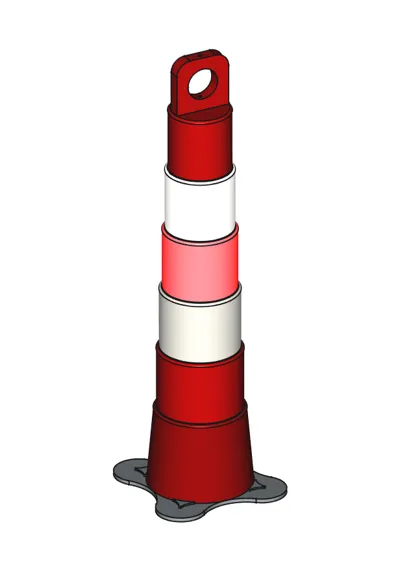
Print Profile(1)

Bill of Materials

- colle x 1: (sauf si montage alternatif)
- vis autotaraudeuses M4 15 mm x 2:
- tige M4, minimum 41 cm x 1: optionnel (= montage alternatif)
- vis M3 25 mm - 30 mm x 1: pour crochet (optionnel)
- vis M4 x 1: si besoin, permet une fixation sur le dessus (exemple: panneau signalisation).
Description
Highlights:
- No AMS required.
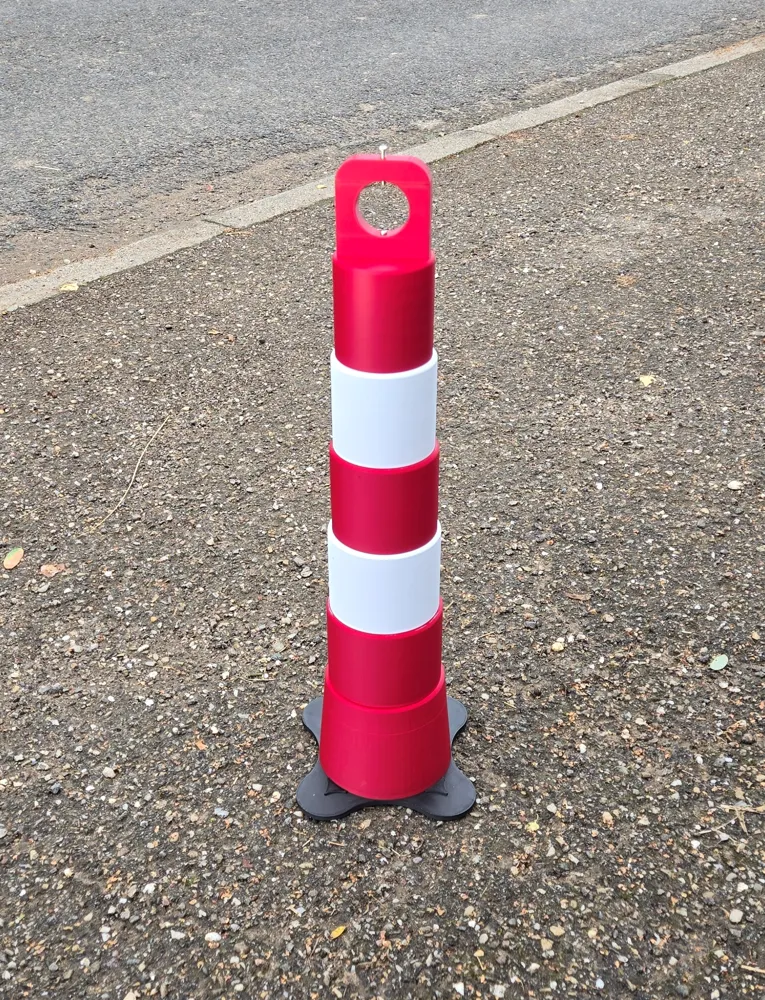
- 57 cm high and designed to be printable on A1 mini.
Note: Scaling up the height is conceivable but untested. In this case, use the same height scale for all numbered elements so that the interlocking angles remain relevant.
- Option to add a battery-powered lamp.
Description:
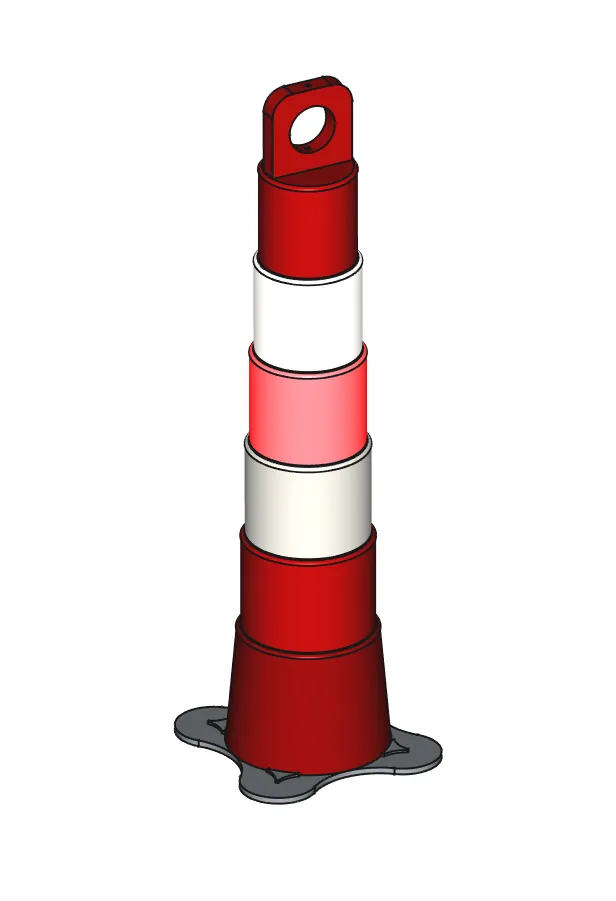
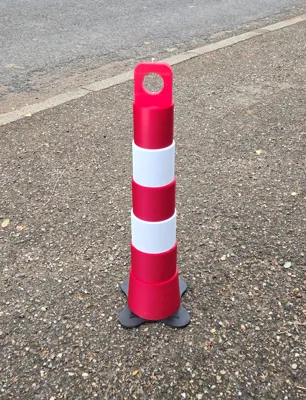
Not having found a full-size cone or signpost model, I designed one. Although I started from scratch for my design, I was inspired by the visual published by lilmonster36 ( https://makerworld.com/fr/models/1582800-traffic-channelizer-cones-construction-diorama?from=search#profileId-1666091). My design is undoubtedly imperfect, and I have only tested printing on A1 mini. If you are interested in its improvement, feel free to encourage it. (This is my first share).
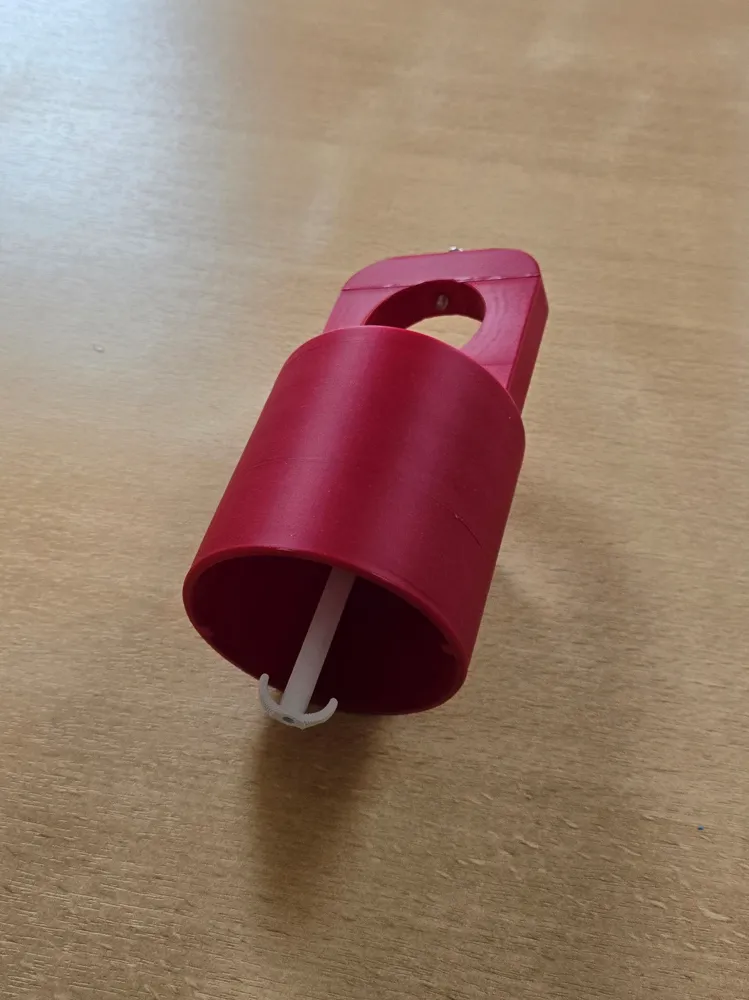
An optional hook is provided for hanging a lamp inside. Note: in this case, use sufficiently transparent filament.
Assembly:
The main part of the cone is assembled between consecutive numbers (e.g., "red 1" with "red 2" or "white 5" with "red 4", etc.). The order matters little, but it is advisable to attach the base first.
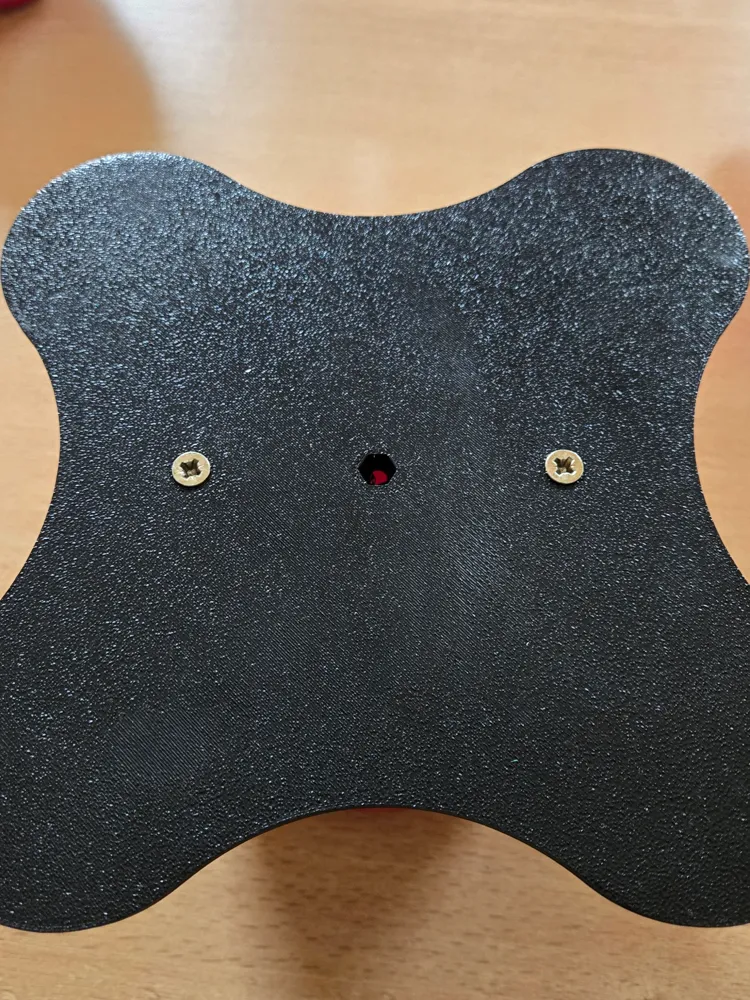
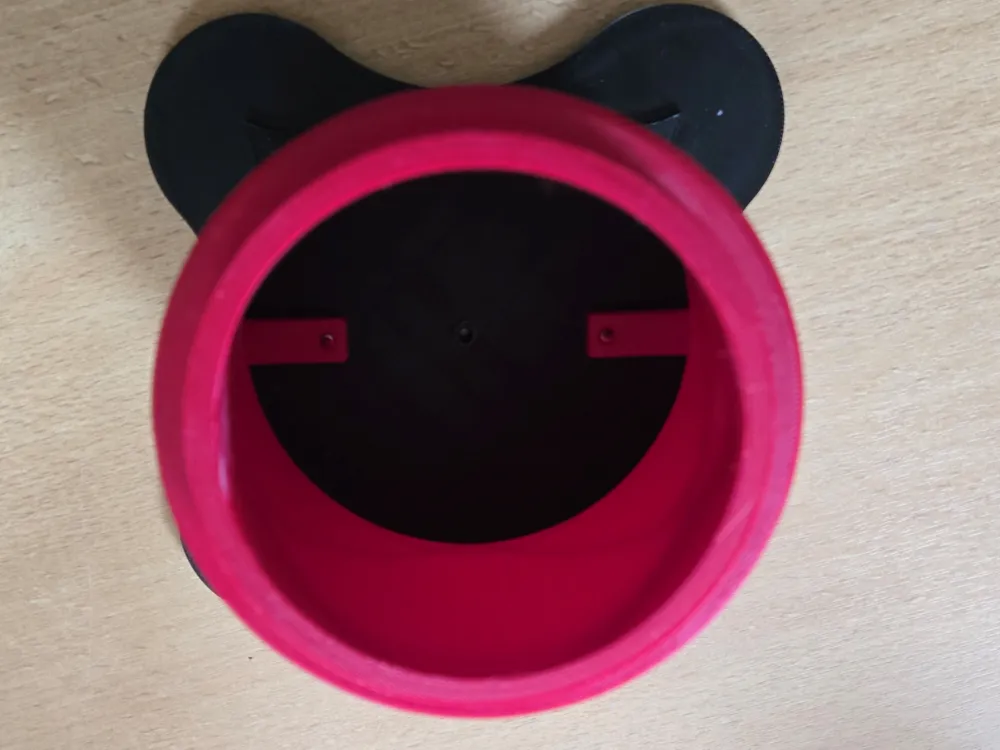
Attaching the "base" with "red 1":
It is designed to be attached with 2 M4 15mm long self-tapping screws.
- flip "Red 1"
- position "base" on "red 1" using the centering and positioning guides
- check that the holes are aligned
- screw
Note: You could choose not to print the "base" and instead fix it directly to a wooden support, for example.
Main cone assembly:
It is designed to be glued between the pieces "red base 1", "red 2", "white 3", "red 4", "white 5".
Warning! Do not glue "Red Dome 6" to "white 5", unless you do not intend to use the hook or need access to the inside of the cone. Assembly is by interlocking and then rotating.
Hook attachment:
The internal part of "Red Dome 6" has an M3 thread to allow the attachment of the optional hook (M3 screw length 25mm-30mm required).
Other notes on assembly:
"Red Dome 6" has an M4 thread on top to allow the attachment of a sign panel or other item (M4 screw length as needed).
Threads do not always print perfectly, and it is advisable to re-tap them or use a screw with a screwdriver (be aware that the screw may heat up in this case).
The use of self-tapping screws is also possible, but may reduce lifespan depending on the number of screwing/unscrewing cycles.
Alternative assembly (without glue):
I devised an alternative glue-free assembly using an M4 threaded rod (approximately 41 cm long, to be adjusted).
- Place an M4 nut in the hexagonal recess in the center of the base.
- Screw the M4 rod into it.
- Place the different pieces in numerical order (without gluing).
- Screw the hook onto the rod.
- Place "Red Dome 6" and adjust the rod's length so that all pieces interlock, with any excess length protruding from the base side.
- Cut the rod to the correct length (disassembly may be necessary).
- Once all pieces are reassembled and the rod correctly positioned, screw the hook through "Red Dome 6" with an M3 screw 25mm-30mm long.
Required materials:
- 2 M4 15mm long self-tapping screws (wood screw type is suitable).
- Plastic glue or for alternative assembly: 1 M4 rod (also print the optional hook)
- If using the hook: 1 M3 screw 25mm-30mm long
- for adding an optional panel: M4 screw length as needed
License



Comment & Rating (0)