
Flexible Bell Beast From Silksong NO AMS
Print Profile(4)








Description
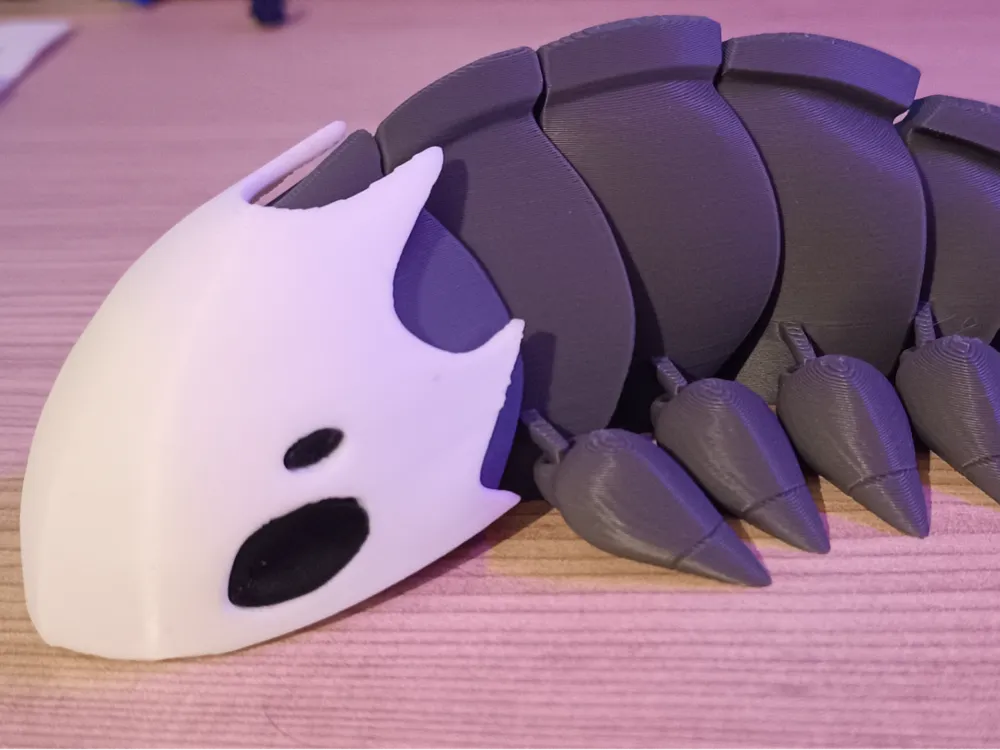
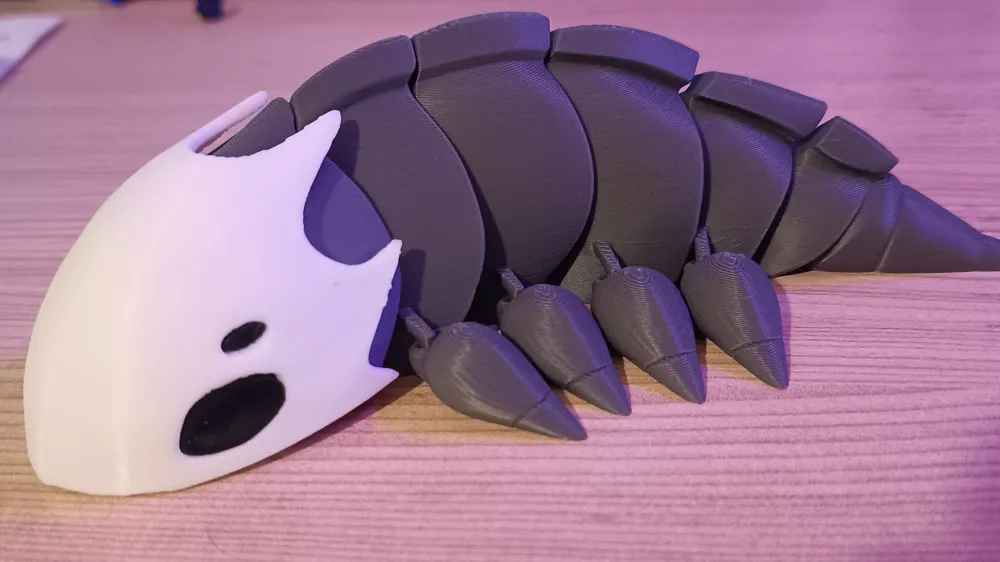
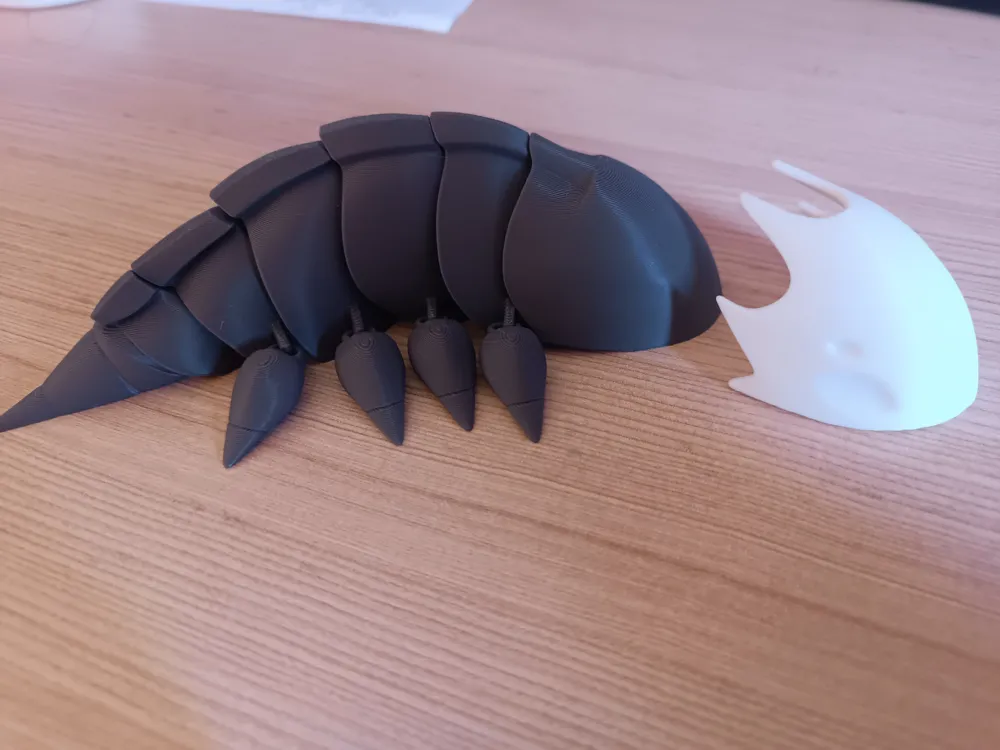
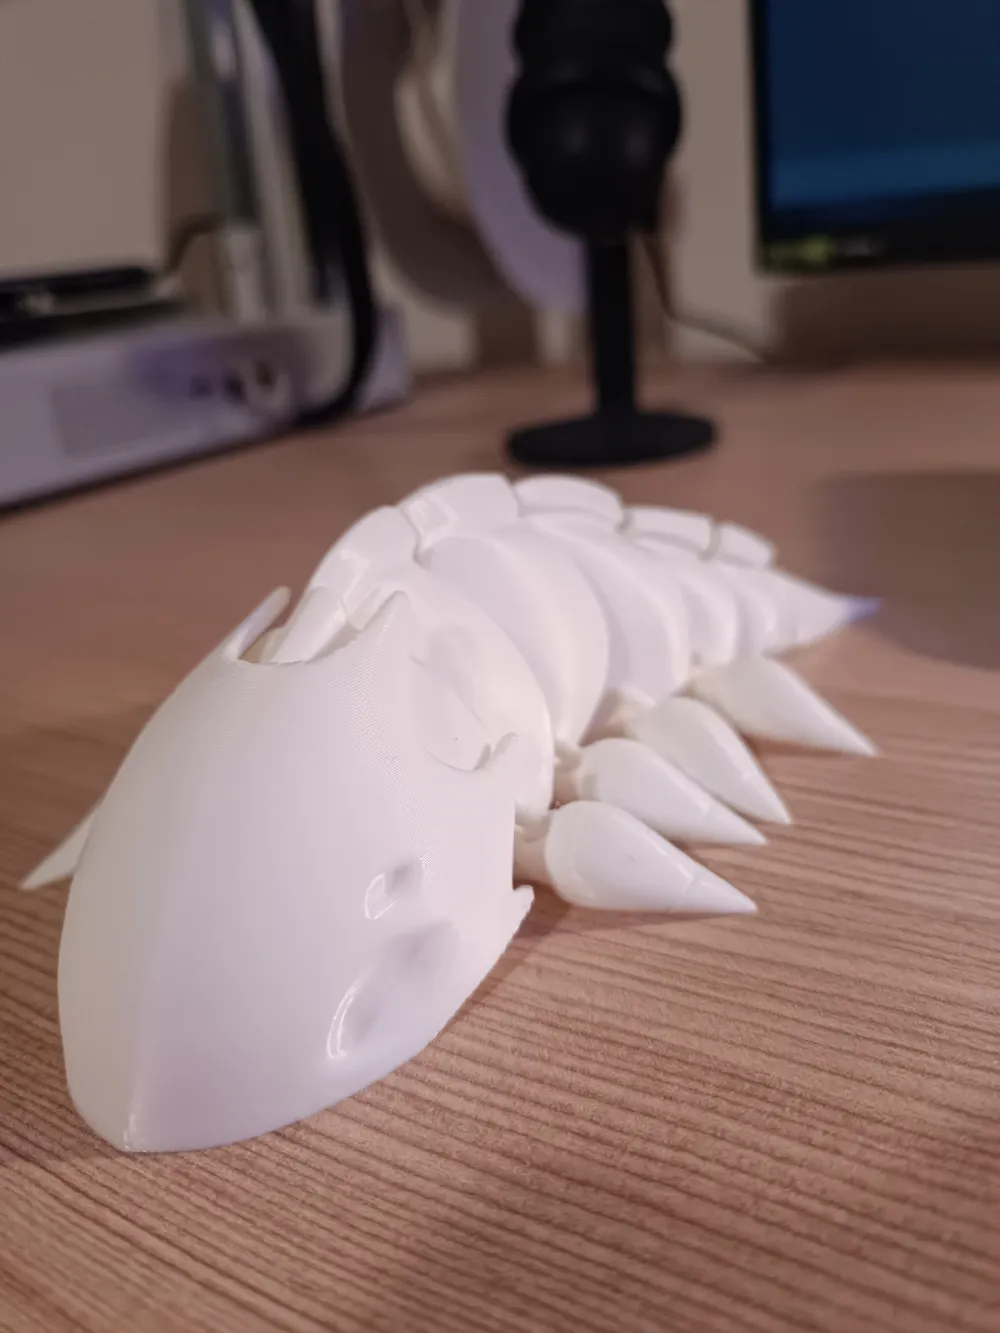
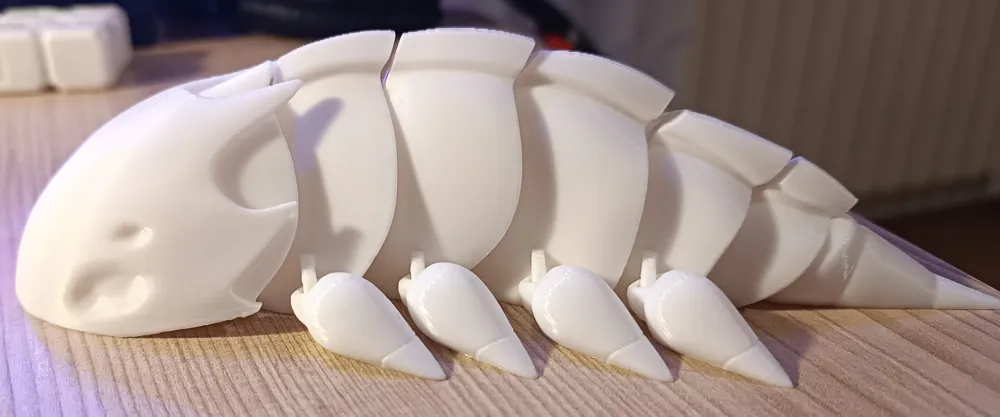
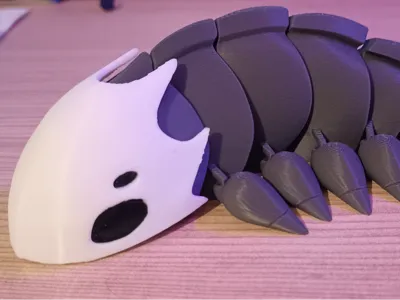
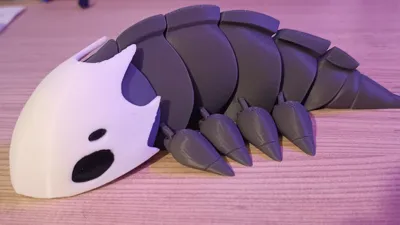
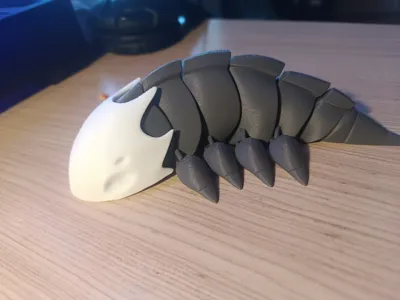
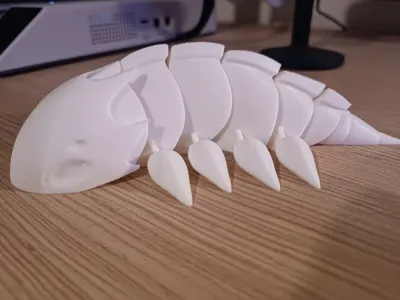
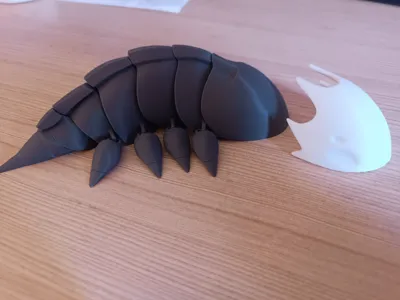
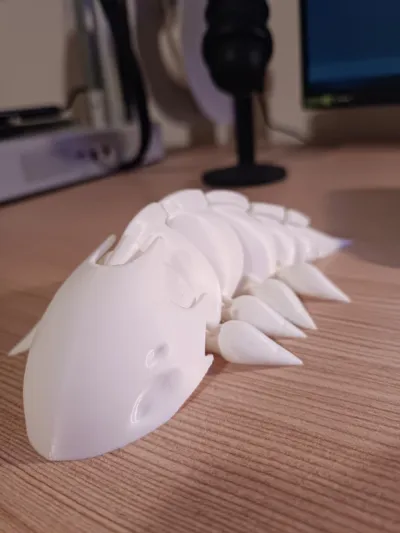
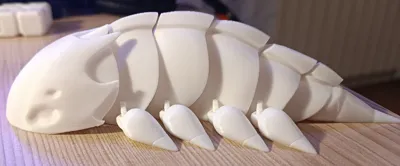
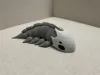
The Bellbeast from Hollow Knight: Silksong. Your main mean of transport and one of the first friends you make in the game.
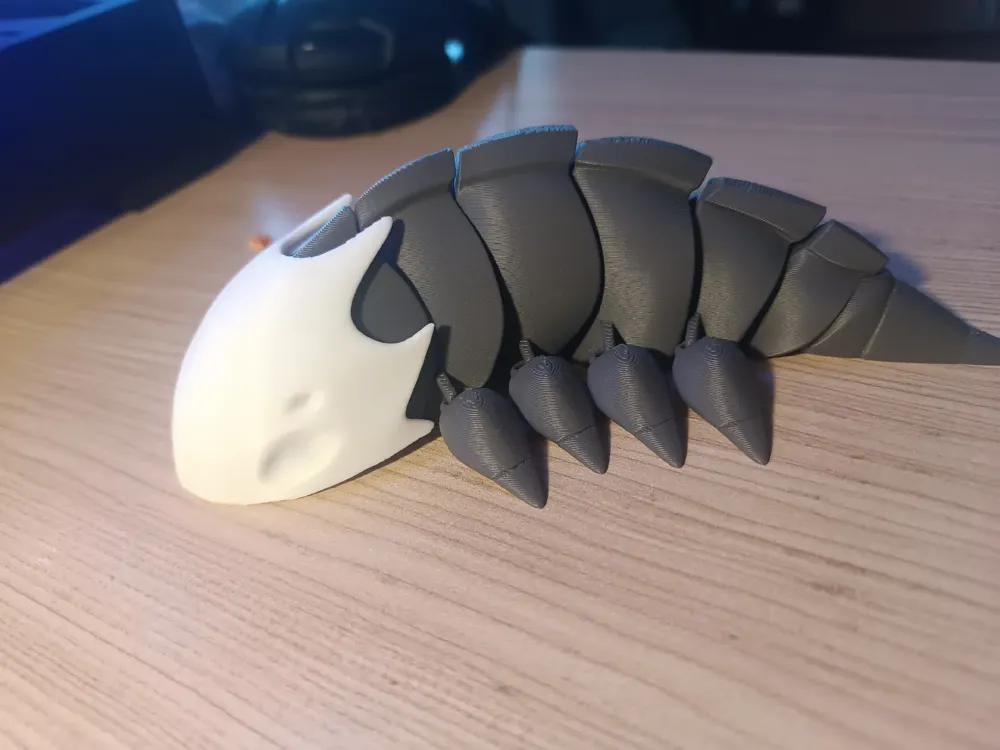
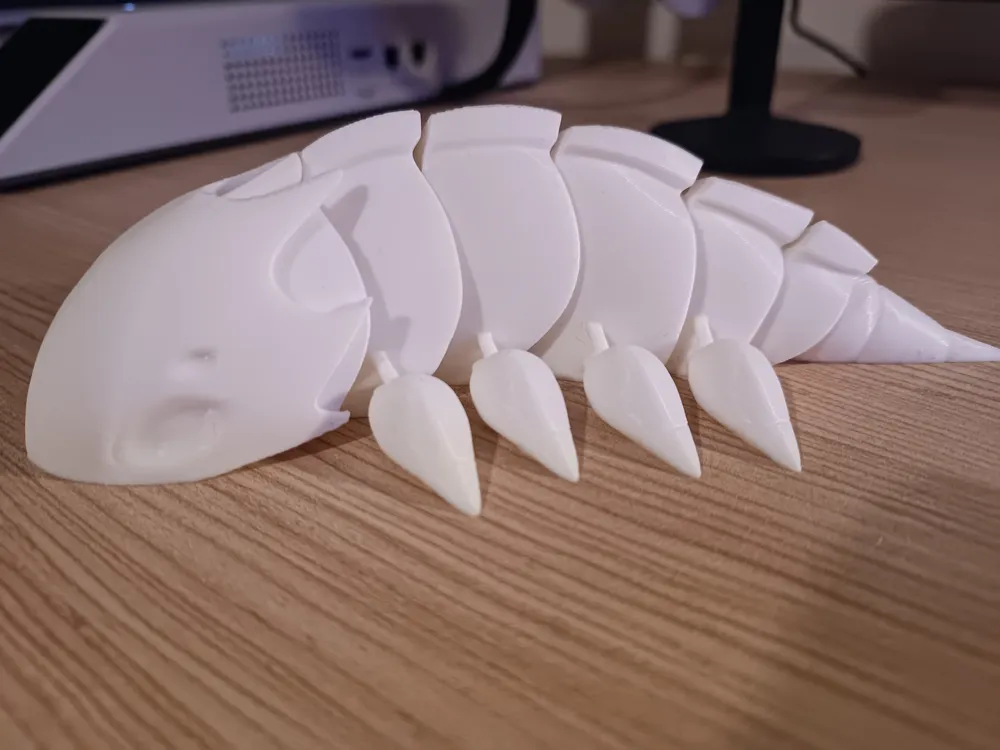
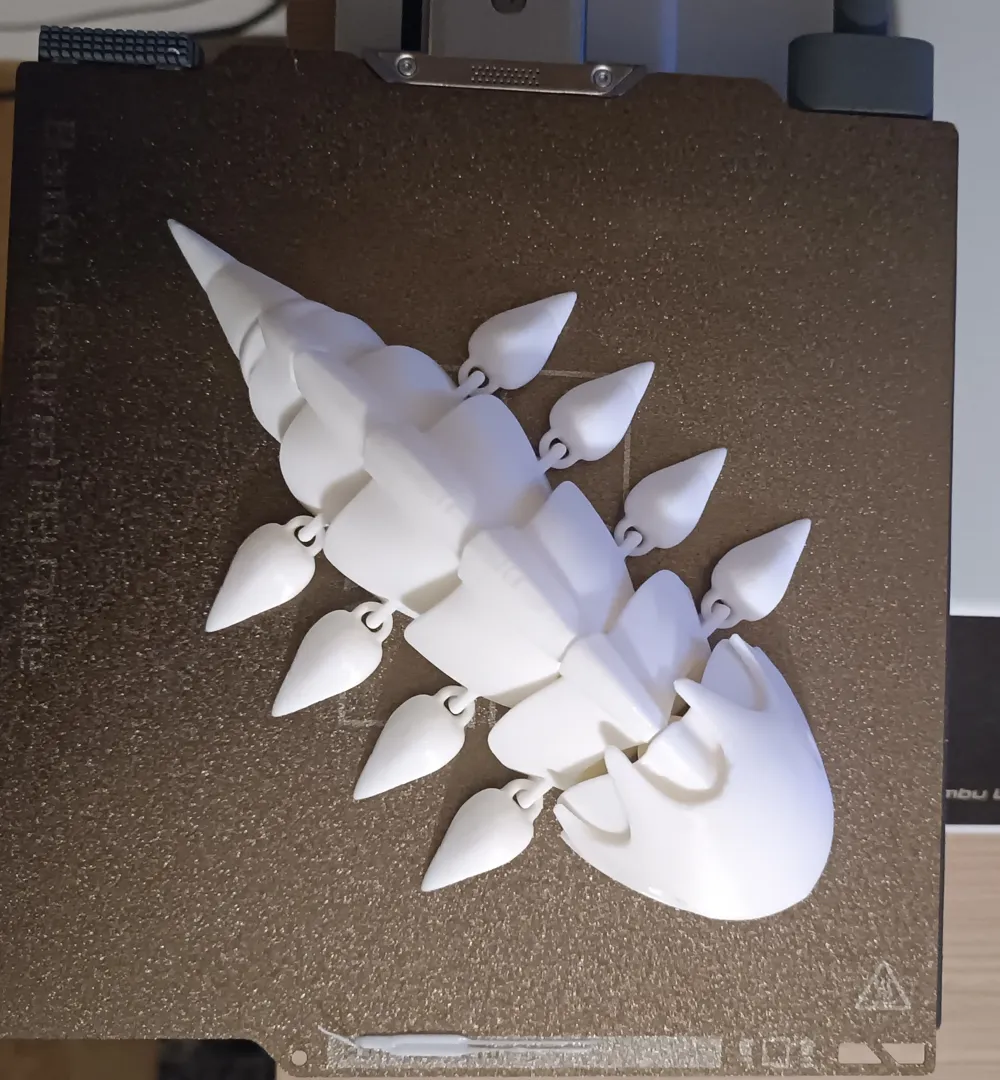
This model is a flexible print in place one, no need for support or braking plastic; once you finished printing you can already start toying with it.
Assembling instructions:
For the "Separated head, supports" model you just need to glue the head to the body, i recommend trying the fit before putting on the glue. You should aim for the mask to seat just below the body in it's middle and slightly raised on its sides.
For the “Separated head and eyes” model, seat the mask as described above then slide the eyes in. The eyes are chiral, which in this case means they are not interchangeable, if they seem to not fit on one side try on the other side of the head. While the small ones due to print tolerance may slot in all the same, you will notice they don't follow the mask's shape but create a small recess on the bottom.
Printing instructions for non .3mf users:
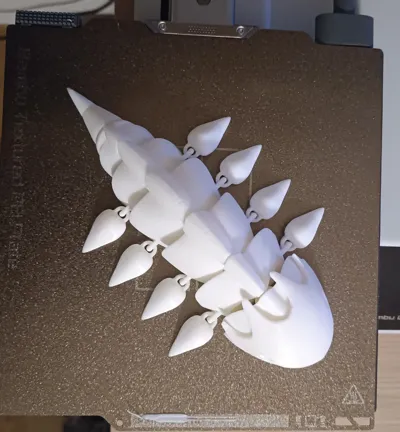
The base model prints with no support, absolutely no brim, I'd recommend 3 perimeters for strength but 2 is fine as well.
If you print any of the separated model you will need to add supports manually on the under side of the mask, to do this I set supports to manual only and painted on the visible overhangs and also a line in the middle for stability reasons, however i find it that the auto generated ones are fine generally (just remember to set support generation off for the body). The supports are needed on the body only on the eyes cut out if you are using that model.
Print one copy of the eye and one copy MIRRORED or they won't fit on one of the sides of the head.
I suggest printing the eyes with variable layer height for better results.
Happy printing!
License

You shall not share, sub-license, sell, rent, host, transfer, or distribute in any way the digital or 3D printed versions of this object, nor any other derivative work of this object in its digital or physical format (including - but not limited to - remixes of this object, and hosting on other digital platforms). The objects may not be used without permission in any way whatsoever in which you charge money, or collect fees.


Comment & Rating (192)