
Coffin Beyblade X Box
Print Profile(1)

Description
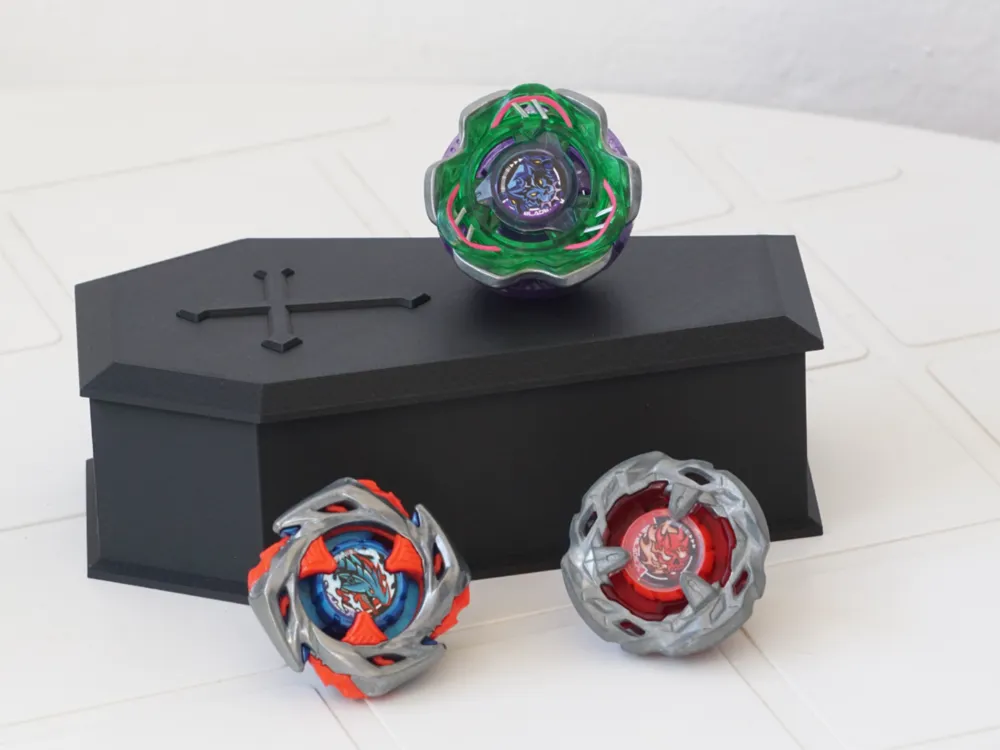
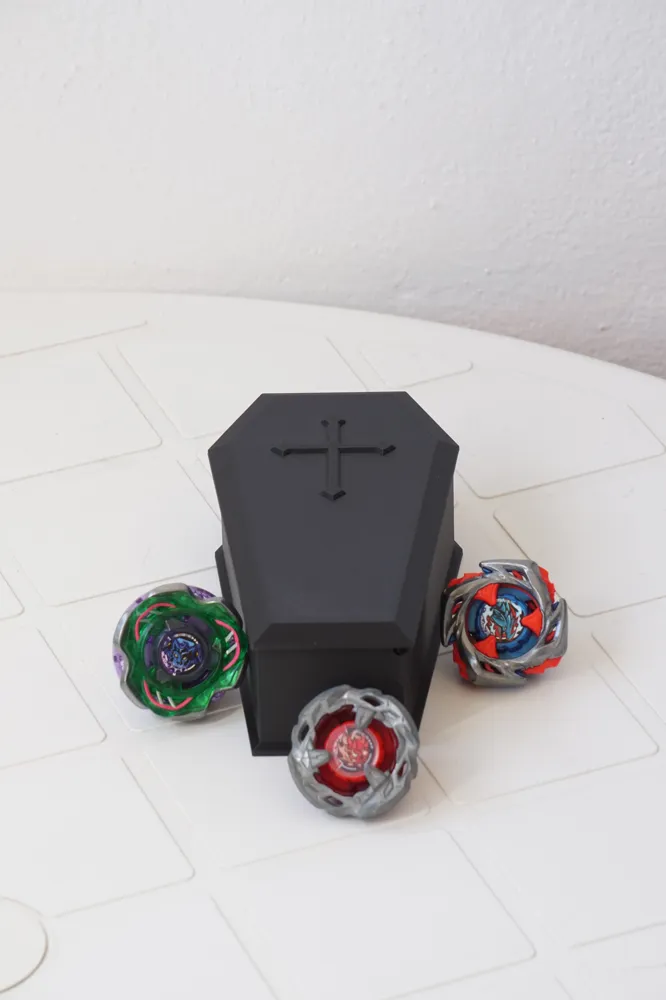
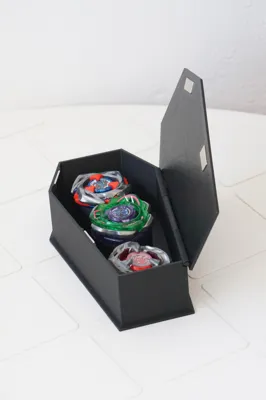
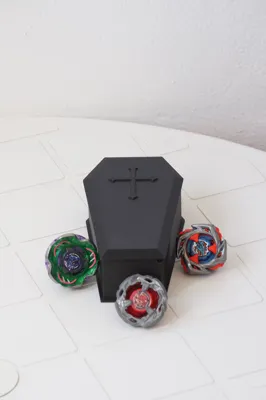
Coffin Beyblade X Box
Boost Me (for free)
If you like this model, consider giving it a boost! It helps me create more models like this.
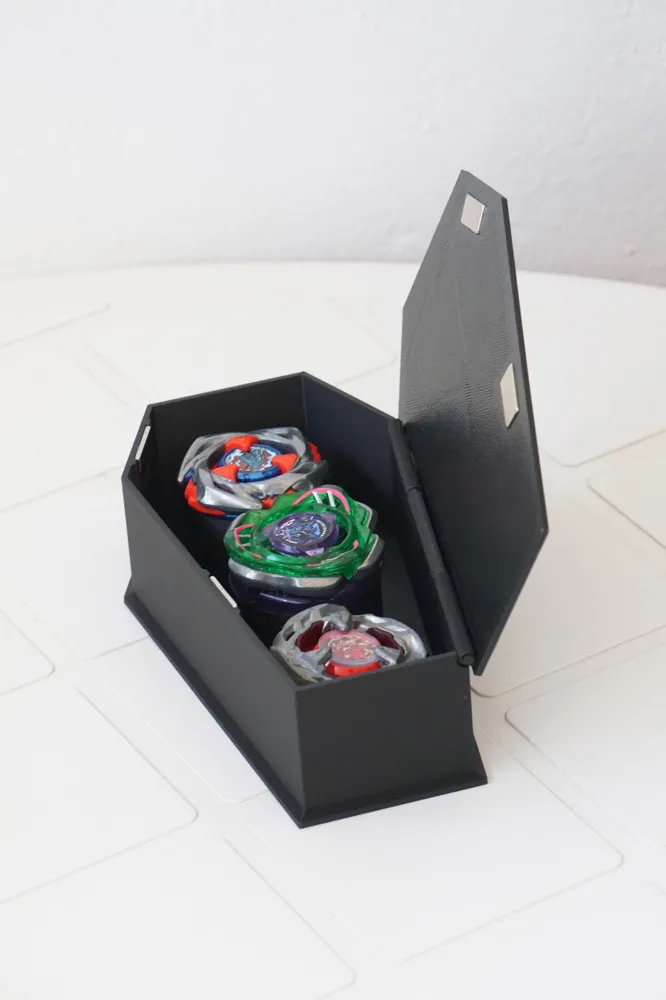
This case was specifically designed to channel the spirit of Halloween while securely transporting and protecting up to three Beyblades (BX, UX, and CX compatible). With its unique coffin aesthetic, it prioritizes intuitive assembly using only the printed parts, inspired by the precise snap-fit concept like the SnapLock V2.
Key Features
- Tomb Capacity: Securely stores three Beyblades in individual, custom-molded slots.
- Coffin Design: Unique aesthetic with a robust, impact-proof structure.
- 3D Print Optimized (Box Only): Designed to be fully 3D printed (base, lid, and compartments).
- Eternity Hinge: The hinge components allow for smooth opening and closing motion.
- Magnetic Sarcophagus Lock: The lid features specific recesses for a firm and secure closure. It requires magnets of 20×10×2 mm (not included) for magnetic locking functionality.
Sinisterly Simple Assembly
The process involves simple alignment and pressure for the main components. Glue and heat are required to secure the hinge and the magnets.
- Lid Pre-Assembly: Glue the two hinge pieces to the back of the coffin lid, ensuring they are firmly attached before proceeding.
- Coffin Body Assembly: Snap the three Beyblade compartments into the base slots and press them firmly together.
- Hinge Union (Heat Seal):
- Align the lid (with the hinges already attached) to the base.
- Insert a piece of filament (PLA or PETG) through the hinge holes to act as the pin.
- Gently melt (or "detire") the tip of the filament using a lighter or fine-tipped soldering iron.
- Press the melted tip against the surface so the filament widens, creating a "head" that fixes the pin and prevents it from sliding out, permanently securing the hinge.
- Final Lock (Magnet Gluing): Glue the magnets into the designated recesses in the lid and the base. Ensure the correct polarity is respected so they attract when the case is closed.
For commercial use of the designs, you must purchase a sales license.
Membership
Do you love my designs and want to sell products with them? Fantastic! Find all the details and different Membership options below. Thank you!
You can also support my work through my Ko-fi page: https://ko-fi.com/daniprojects.
License

You shall not share, sub-license, sell, rent, host, transfer, or distribute in any way the digital or 3D printed versions of this object, nor any other derivative work of this object in its digital or physical format (including - but not limited to - remixes of this object, and hosting on other digital platforms). The objects may not be used without permission in any way whatsoever in which you charge money, or collect fees.


Comment & Rating (13)