Assemble your own Skeleton Wizard


Print Profile(1)


Description
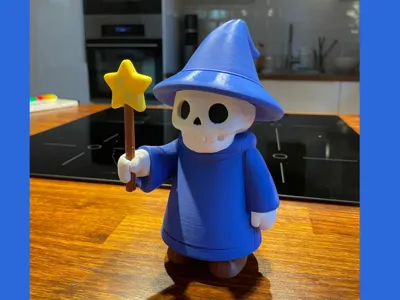
Behold the Skeleton Wizard – a cute yet mystical undead sorcerer, brought to life (again!) with a vibrant multicolor print. Designed for assembly with modular hexagon connectors, this model combines playful design with clever engineering.
The wizard comes in 5 main colors:
- Blue (robes, hat)
- White (skeleton head and hands)
- Black (eyes and nose)
- Brown (wand handle)
- Yellow (wand star)
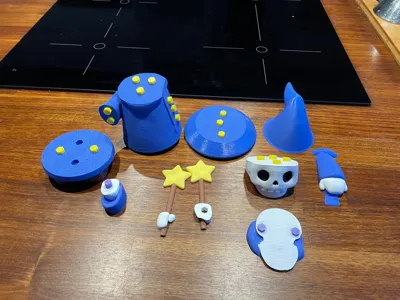
All parts are split into manageable pieces for easier multicolor printing and to avoid excessive filament changes. The model assembles with a system of hexagon pins that snap into place, making it both fun and sturdy.
📦 Parts List
- Connectors:
- 19 Standard Hexagon Pins
- 1 A-Hexagon Pin
- 2 H-Hexagon Pins
- 2 W-Hexagon Pins
- Body & Clothing:
- 1 Main Body (Blue)
- 1 Lower Body (Blue & Brown)
- 1 Shoulders + Neck (Blue & White)
- Limbs & Head:
- 1 Right Arm (Blue & White)
- 1 Left Arm (Blue & White)
- 1 Head (White & Black)
- Hat:
- 1 Hat Lower (Blue)
- 1 Hat Top (Blue)
- Hand & Wand:
- 2 Right Hand Parts (White, Yellow, Brown)

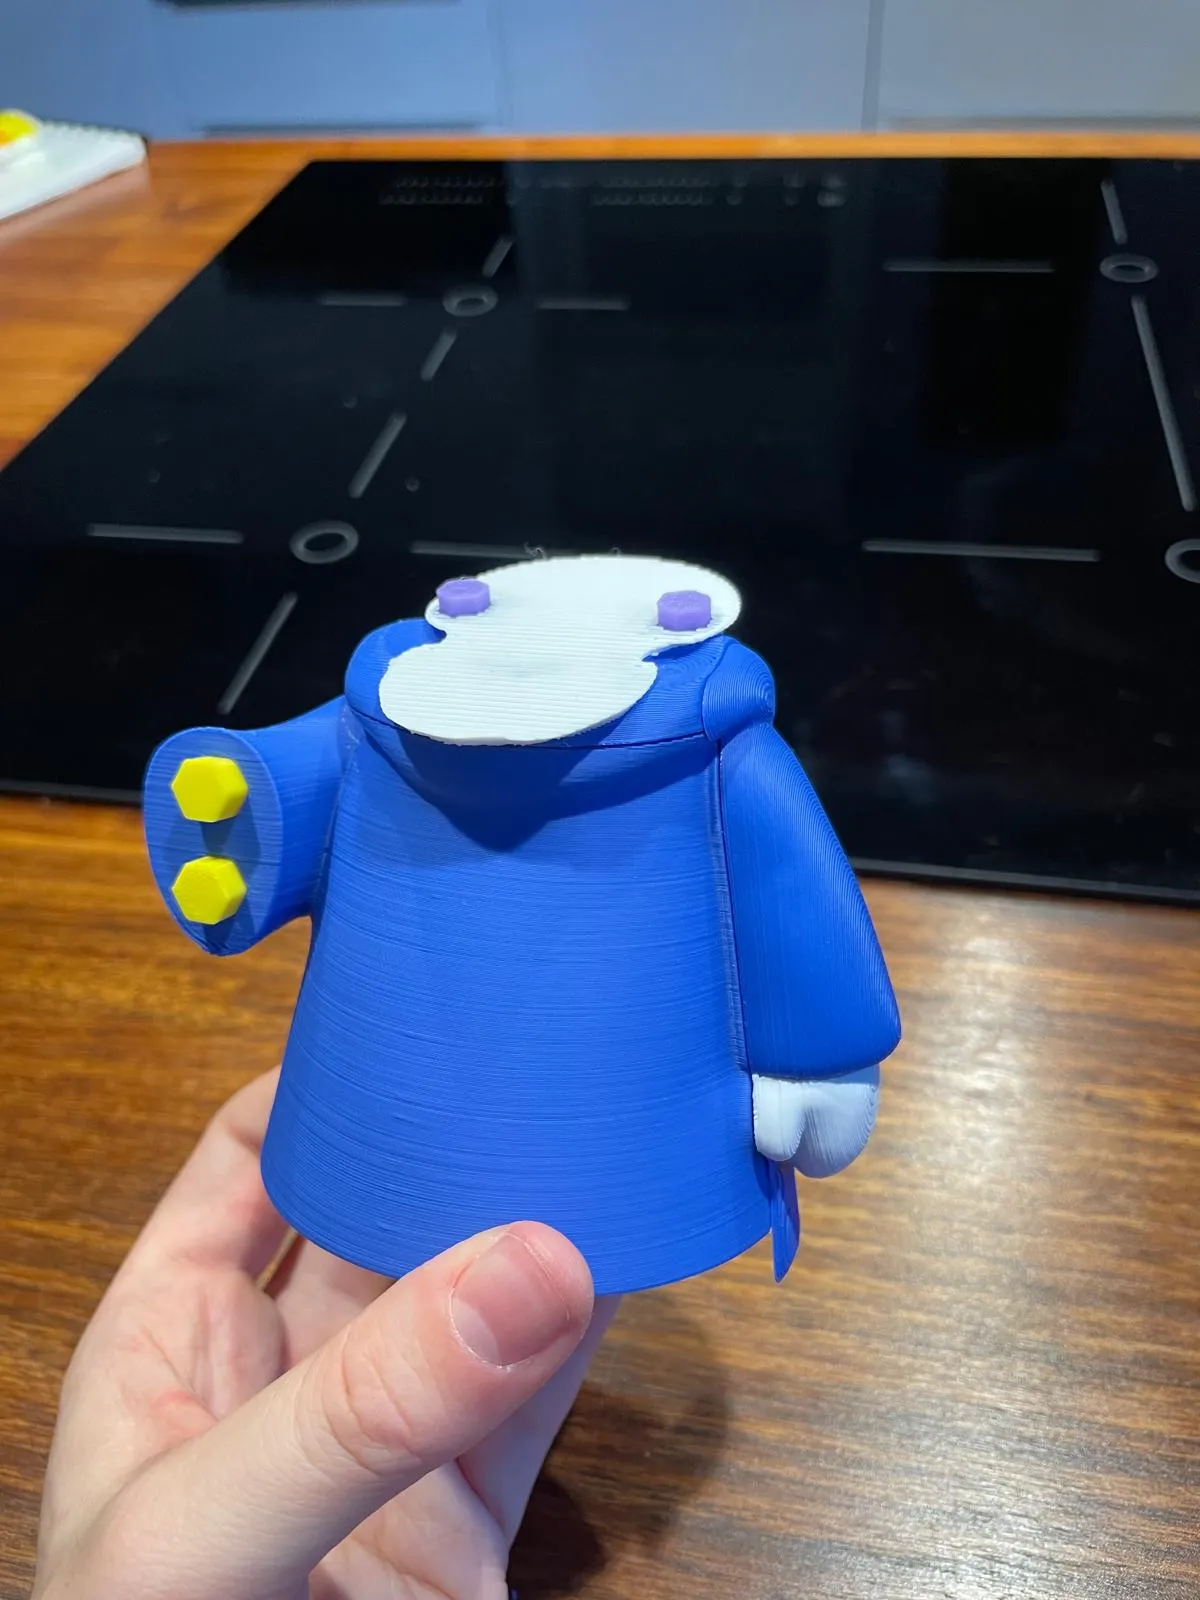
🛠️ Step-by-Step Assembly
- Take the Main Body and press 12 Standard Hexagon Pins into all hexagon slots (use a table surface if they’re tight).
- Attach the Shoulder + Neck part onto the Main Body.
- Insert the 2 H-Hexagon Pins into the shoulder slots (these will hold the head).
Attach the Left Arm to the Main Body.
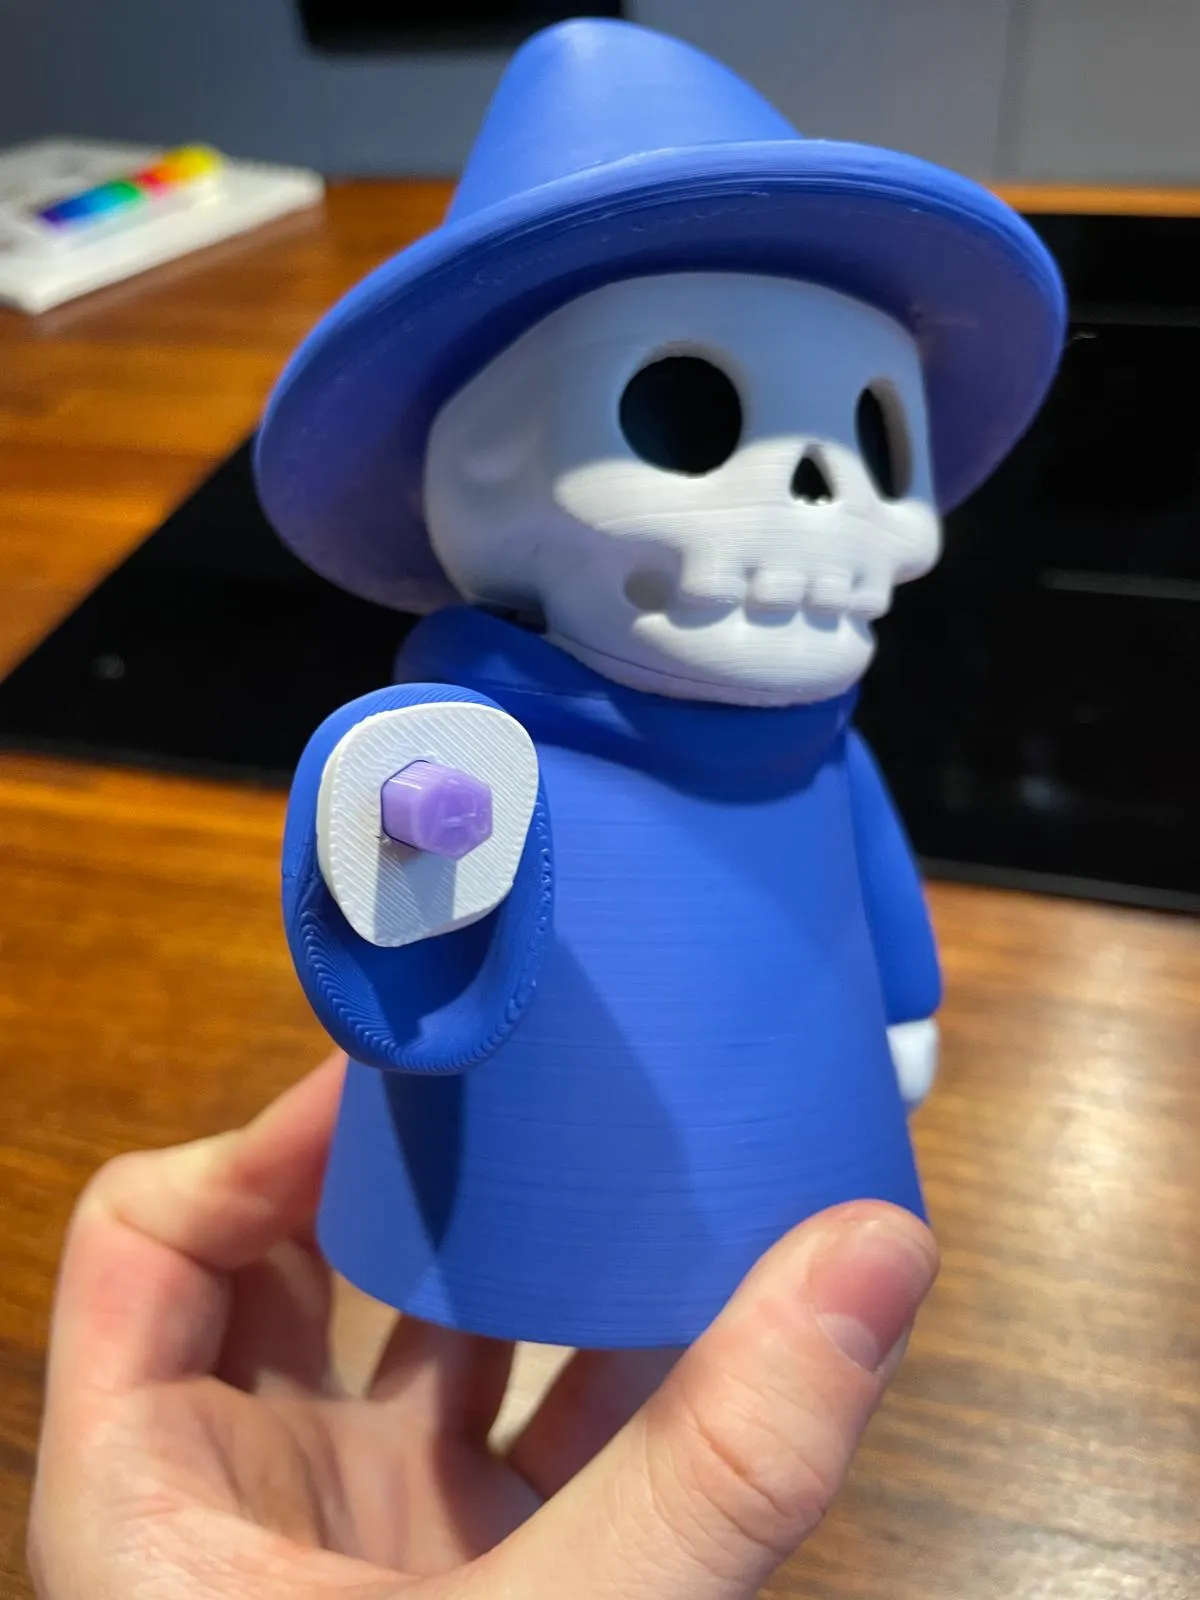
Place the Head onto the shoulder pins. On top of the head, insert 4 Standard Connectors

Attach the Hat Lower Part onto the head, then insert 3 Standard Connectors into the top.

Place the Hat Top Part onto those connectors.

- Attach the Right Arm to the upper arm slot.
Insert the A-Hexagon Connector into the right arm.
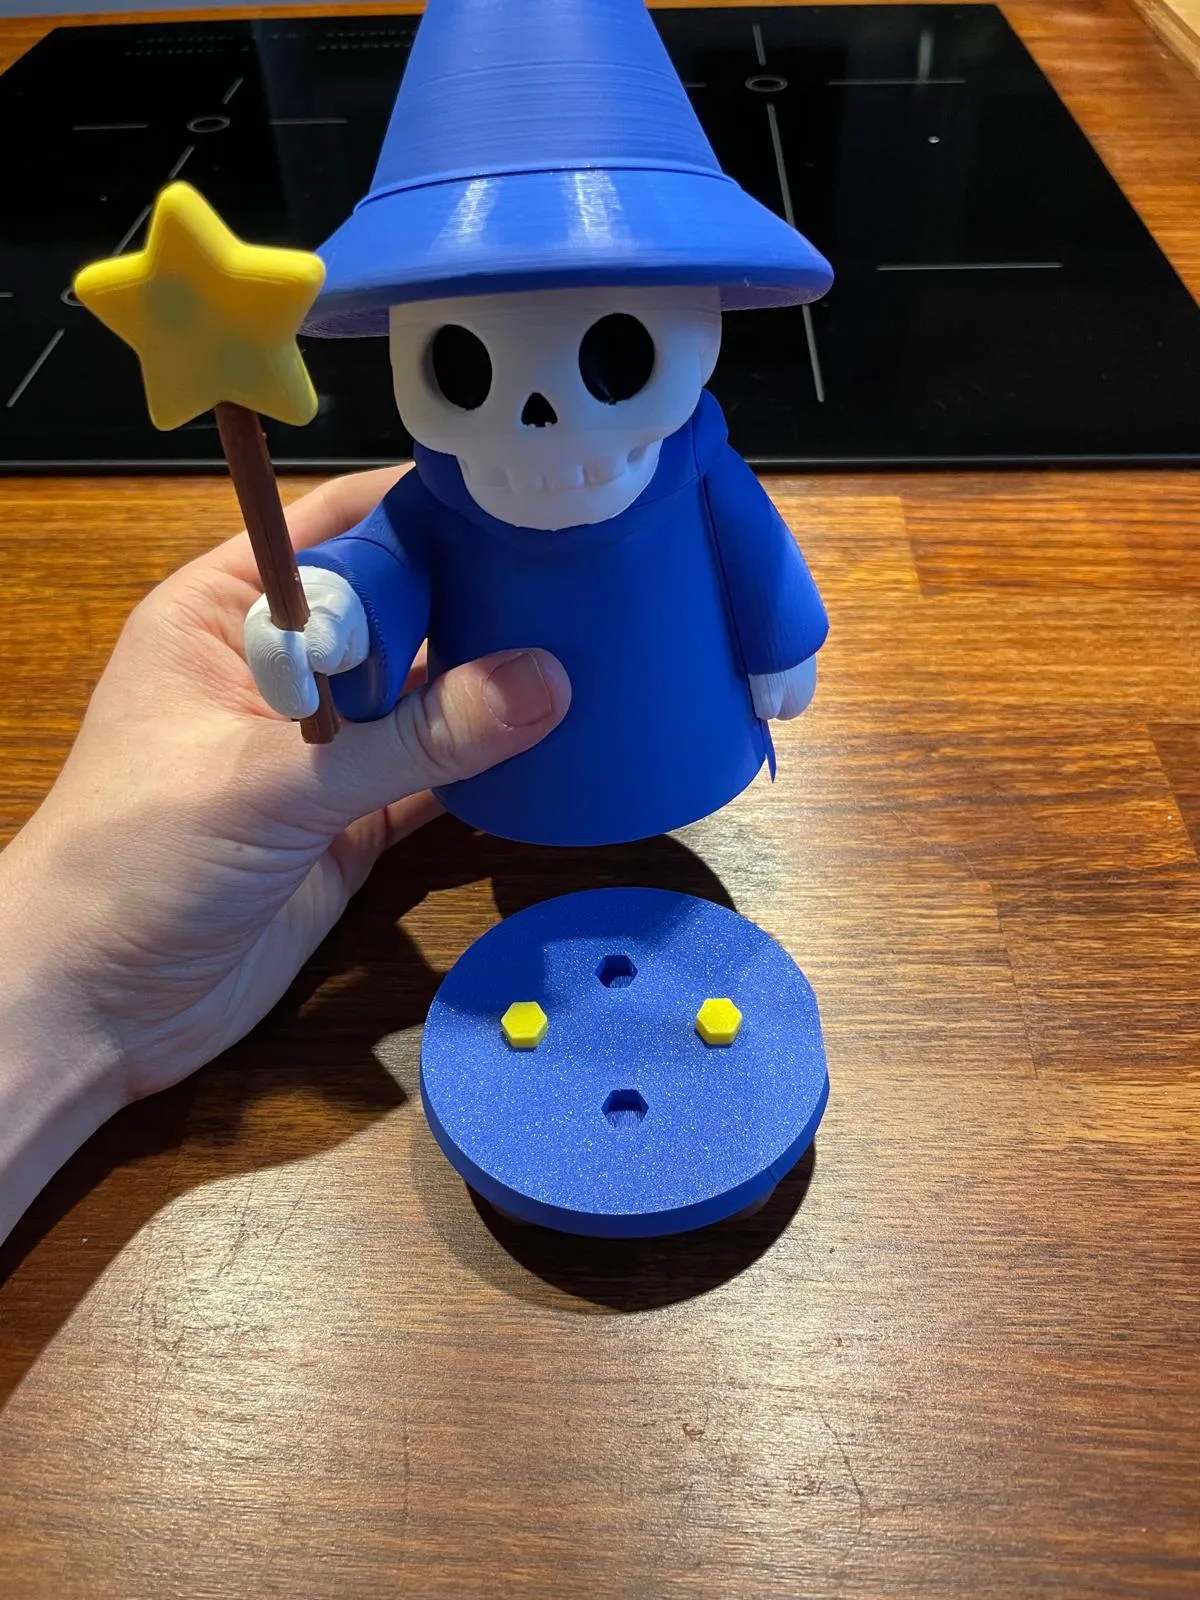
- Build the Right Hand + Wand:
- First, place the hand piece with the through-hole.
- Insert the 2 W-Hexagon Pins into the star piece of the wand.

Attach the wand front part onto the pins.

Attach the Lower Body to the Main Body from below.
- Check all connections. If anything feels loose, you can add a drop of glue for reinforcement.
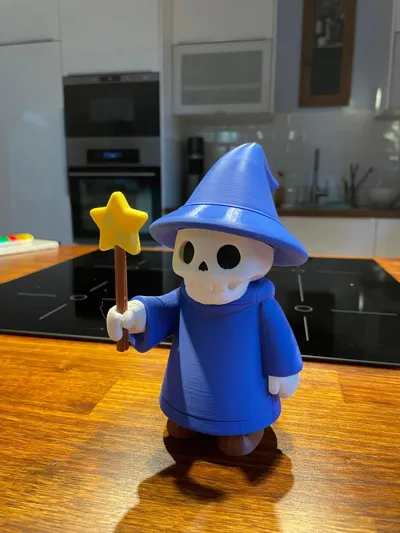
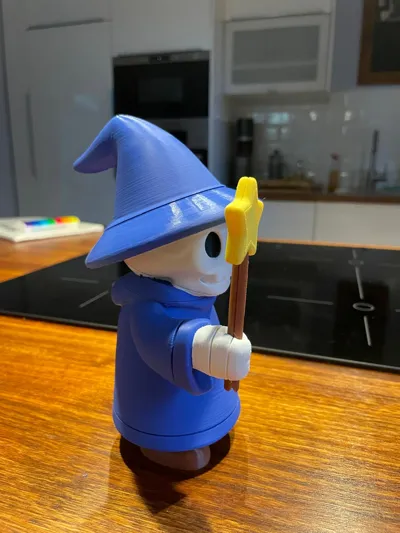
Your wizard should now stand tall and fully assembled – staff in hand, hat on head, ready to cast spells!

⚙️ Technical Details
- Dimensions: 12.5 x 11.5 x 18.4 cm
- Print Time: ~16h total
- Supports: Requires Tree Supports
- Printer Setup: Requires AMS for multicolor
- Customization: Connector pins can be printed in any color – fun to mix and match!
License
You shall not share, sub-license, sell, rent, host, transfer, or distribute in any way the digital or 3D printed versions of this object, nor any other derivative work of this object in its digital or physical format (including - but not limited to - remixes of this object, and hosting on other digital platforms). The objects may not be used without permission in any way whatsoever in which you charge money, or collect fees.
Comment & Rating (3)