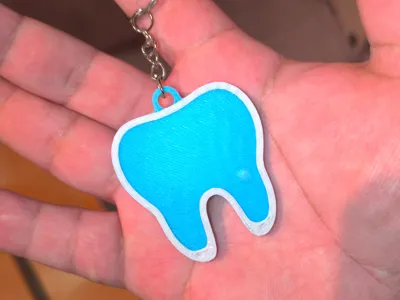
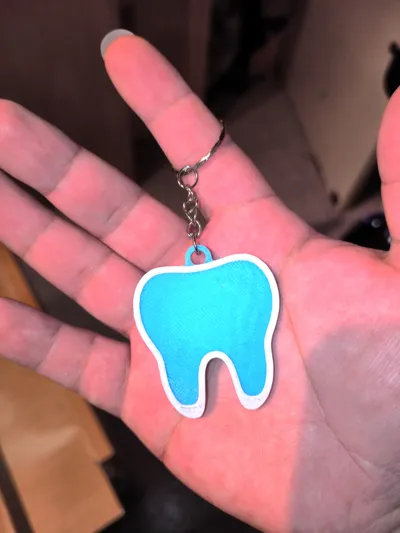
NFC Tooth Keychain for Halloween - Dentist


Print Profile(1)

Description
NFC Tooth Keychain for Halloween - Dentist
Gift and promote your Dental Clinic with this smart keychain design.
Easy to print and with ample space to display and promote your Clinic's name, number, or address. This keychain also gives you the opportunity to share your social networks, website, and phone contact through an NFC chip located inside the model.
Features:
- Acceptable size for business or Clinic name.
- Low filament consumption.
- Design does not require AMS.
- Durable and lightweight.
- Centered keychain ring.
NFC Chip:
- Circular size of 25mmx1.2mm diameter.
- Recommended with standard double-sided tape.
- NFC placement layer height 2.60.
- Filament change for text 3.60.
Printing Features:
- Recommended Filament: PLA.
- 2 walls 10% infill.
- Supports: NO.
- IMPORTANT: in process -> Strength > walls > detect thin walls.
Boost Me (for free)
I will try to explain in the best possible way. If something is unclear, please comment with the issue.
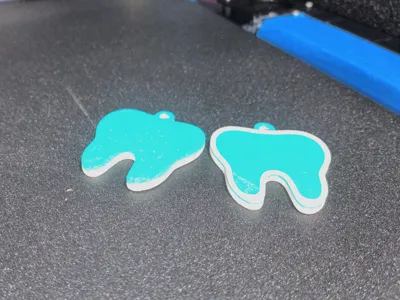
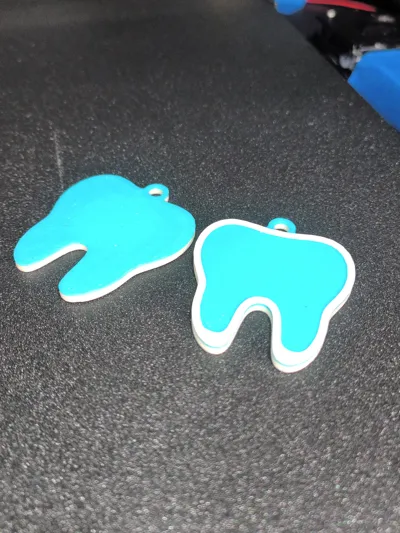
NFC Chip Assembly and Filament Color Change.
The model can be printed without AMS, just by configuring the layer height for PAUSE and filament change in the slicer.
(First) PAUSE
the pause must be performed at layer height 2.60mm, no filament change is required during this pause unless desired.

(Second) Placement of the Clinic Name.
The best way to place the name on a model is by extrusion and not by cutting. To make the manual change, it is at layer height 3.60mm.
IMPORTANT: in process -> Strength > walls > detect thin walls.

How to place the text for the clinic name, address, or contact number:
- Upload the model to the slicer.
- Select the Text tool at the top.
- Font: Roboto (it's the best font I know for text with a 0.4 nozzle; most printers don't have trouble printing it).
- Size: 4mm to 6mm (I do not recommend going below this size, as the printer struggles with dots, commas, or dashes).
- Thickness: 0.4 (this is the extrusion height for the model's outer layers).
- Embedded depth: 0.0 so that it becomes a single model.
- Mode: (will depend on the shape you want the text to be).
- Operation: Part (this is to generate an extrusion on the model).
- Select the arrows to position the text.
note: Everything will depend on your machine and how you control its parameters; you can use the text test I have in published models.
DESIGNS YOU MIGHT BE INTERESTED IN


License
You shall not share, sub-license, sell, rent, host, transfer, or distribute in any way the digital or 3D printed versions of this object, nor any other derivative work of this object in its digital or physical format (including - but not limited to - remixes of this object, and hosting on other digital platforms). The objects may not be used without permission in any way whatsoever in which you charge money, or collect fees.
Comment & Rating (1)