Mold for concrete flowerpot and saucer


Print Profile(2)


Description
Boost Me (for free)
If you find this model usefull , please consider boosting ;) thank you
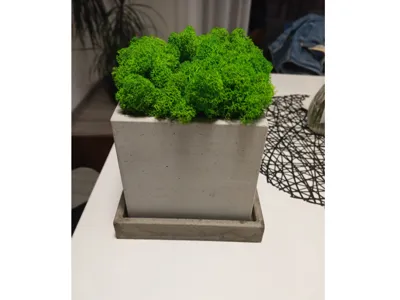
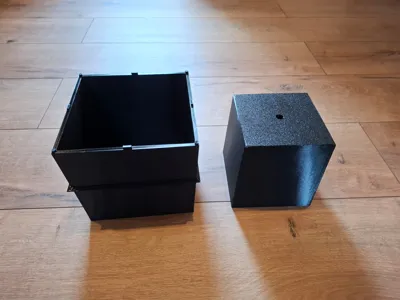
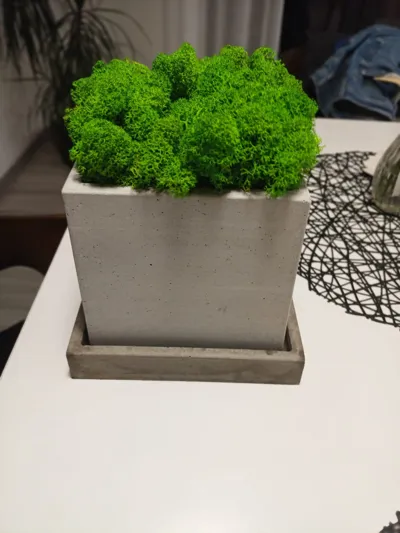
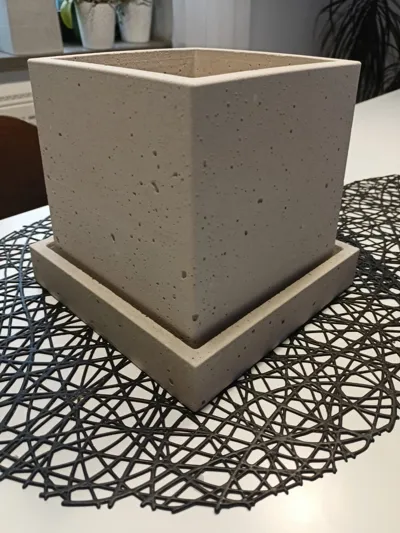
I am presenting mold for concrete flowerpot and machin saucer
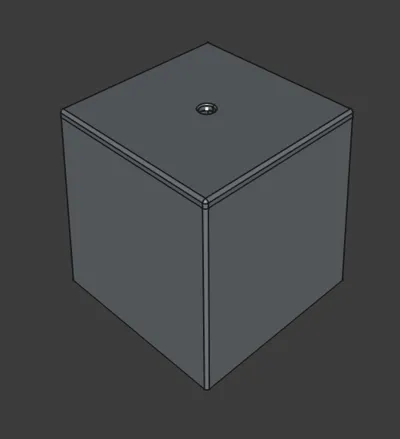
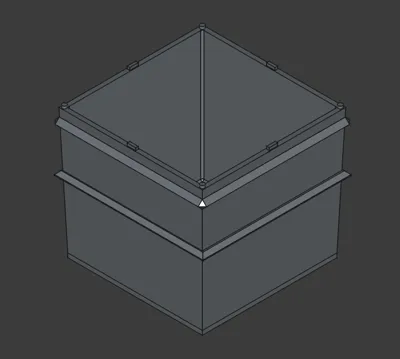
Flowerpot:
- mold will allow you to create finish product at size:
- 150x150x150mm
- wall thickness 10mm
- bottom thickness 15mm
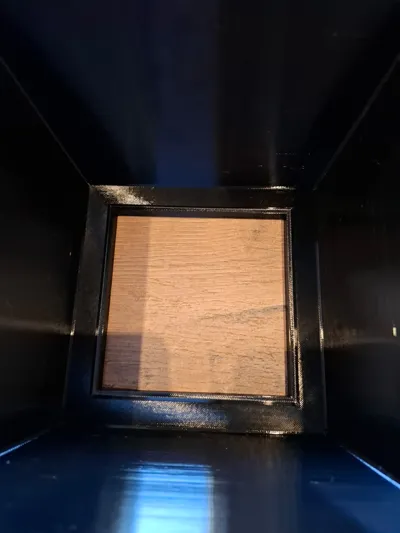
- mold is devided into 2 seperate parts to prevent inpurieties at inner wall of the mold when printer resumes printing inner wall after spending some time at printing flat surface of future bottom of pot
- both parts have locking mechanisme that will leave 1mm room of play to them, this is space for CA glue around whole edge of forms
- the better you glue them the better air release mechanisme will work ( read further)
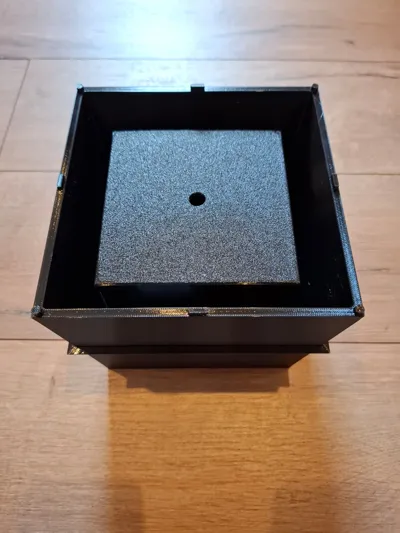
- inner mold have 10mm hole to be able for using Air gun to release hardened concrete from the mold
- to prevent leaking of concrete , plug 10mm hole with 10mm rubber stopper
- mold walls thicnkess is 5mm
- mold infill 20%
mold have little legs that allows little hight difference for bether releasing from the mold

- use of adhesion reducing agents is muth have , otherwise you will strugle with separating mold from finish product
- PETG is go to material for it, I poured at least 30 flowerpots and it is still ok
- 0.2mm layer hight was chose to save time, this layer hight require som minor sanding on finish concrete product
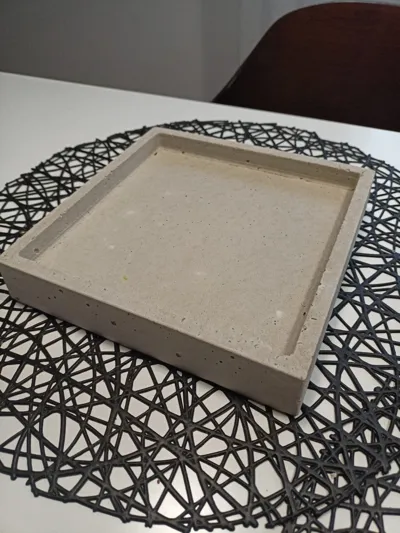
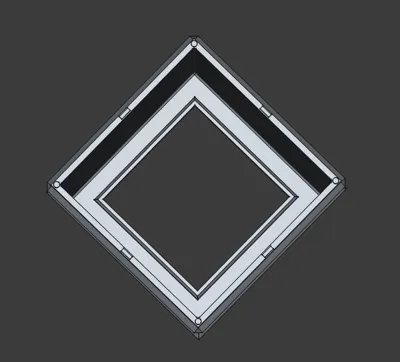
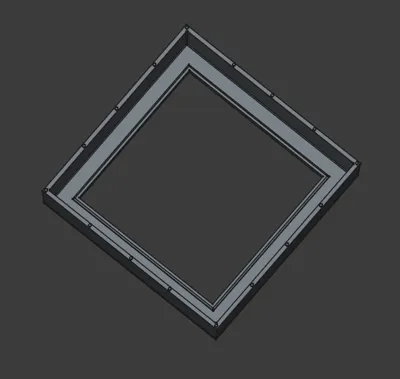
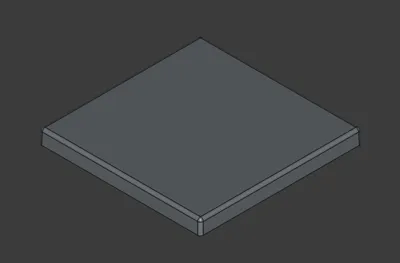
Saucer:
- mold will allow you to create finish product at size:
- 190x190x35mm
- wall thickness 10mm
- bottom thickness 20mm
- mold is devided into 2 seperate parts to prevent inpurieties at inner wall of the mold when printer resumes printing inner wall after spending some time at printing flat surface of future bottom of pot
- both parts have locking mechanisme that will leave 1mm room of play to them, this is space for CA glue around whole edge of forms
after gluing them together you will left with 1mm gap at inner side, this is to be filled with glue also sinc this mold do net have air release mechanism so I prepared it for more glue to be prepared for larger flexing and bending

- mold walls thicnkess is 4mm for better flexibility of the mold
- mold infill 7%
mold have little legs that allows little hight difference for bether releasing from the mold
- use of adhesion reducing agents is muth have , otherwise you will strugle with separating mold from finish product
- PETG is go to material for it
- 0.2mm layer hight was chose to save time, this layer hight require som minor sanding on finish concrete product
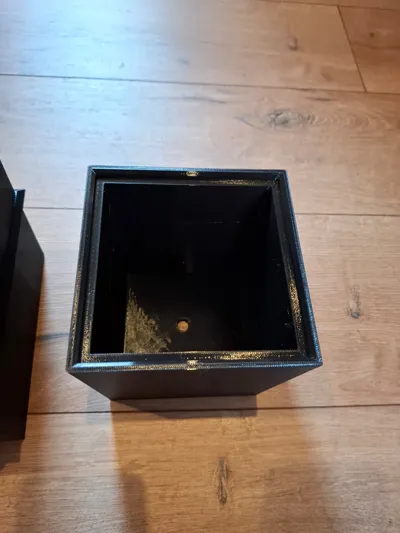
Keep in mind that concrete is not water tight, I used to put flower in original “one time use” plastic pot into concrete pot ;)
License
You shall not share, sub-license, sell, rent, host, transfer, or distribute in any way the digital or 3D printed versions of this object, nor any other derivative work of this object in its digital or physical format (including - but not limited to - remixes of this object, and hosting on other digital platforms). The objects may not be used without permission in any way whatsoever in which you charge money, or collect fees.
Comment & Rating (4)