
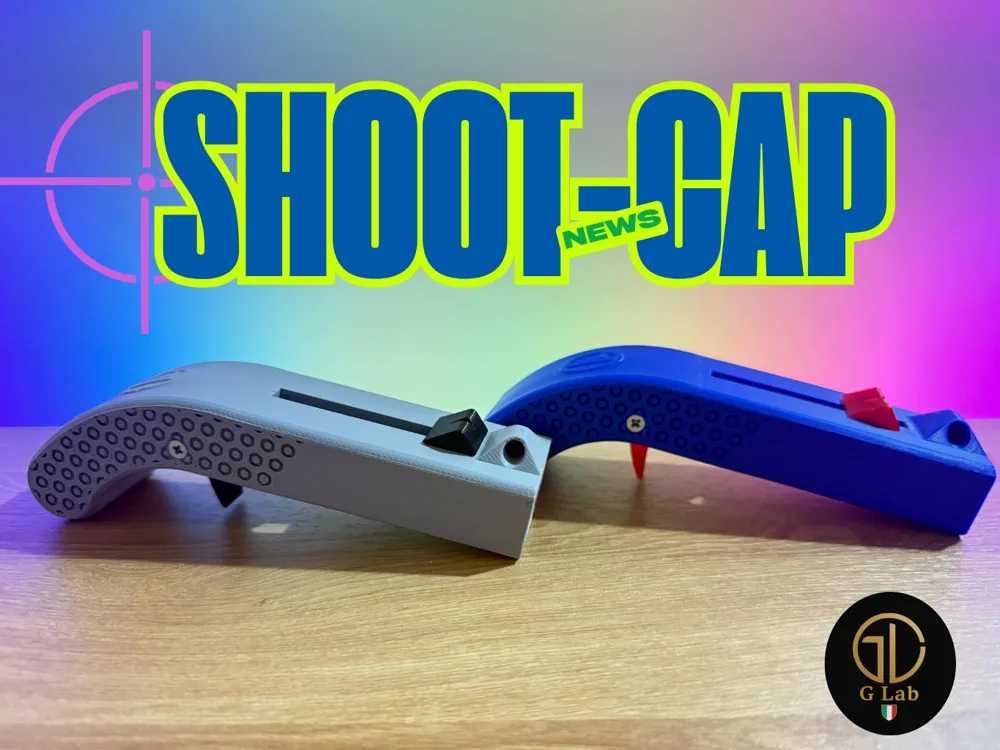
Shoot-Cap Bottle Opener
Print Profile(5)


Bill of Materials


Description
Membership
Boost Me (for free)
If you like my project and want to, leave a boost!!
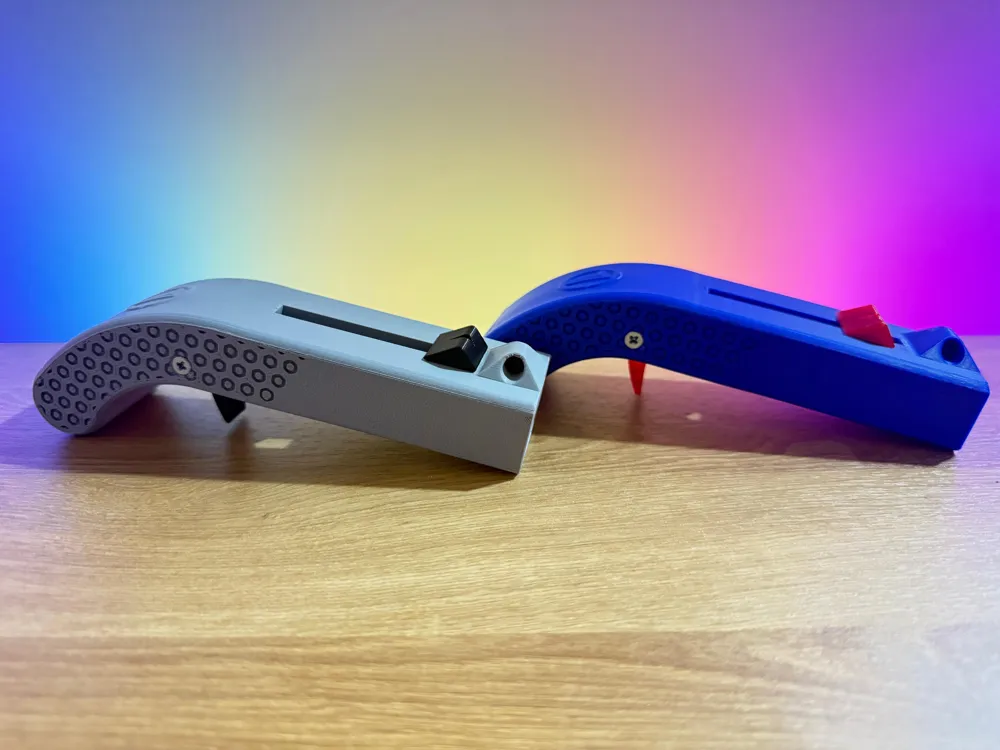
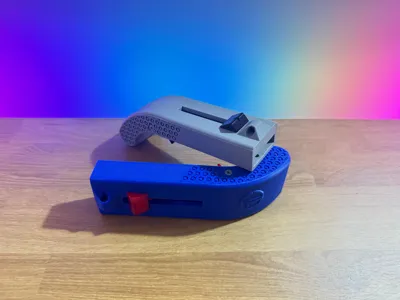
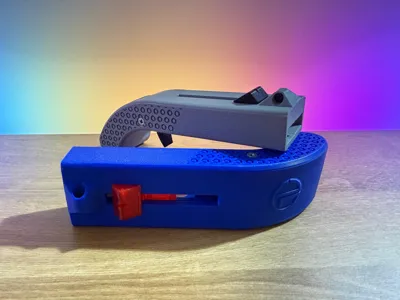
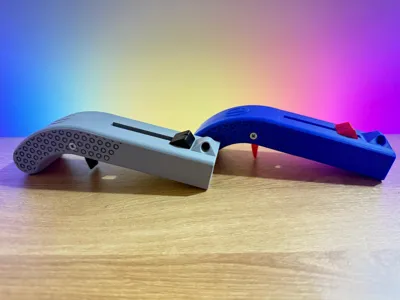
SHOOT-CAP

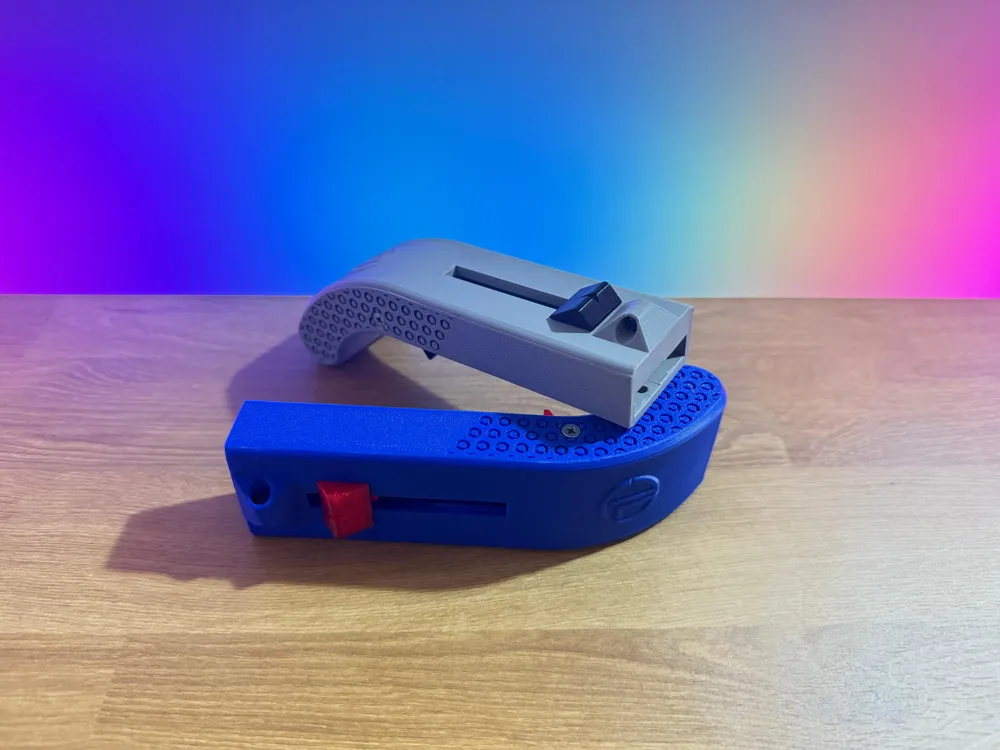
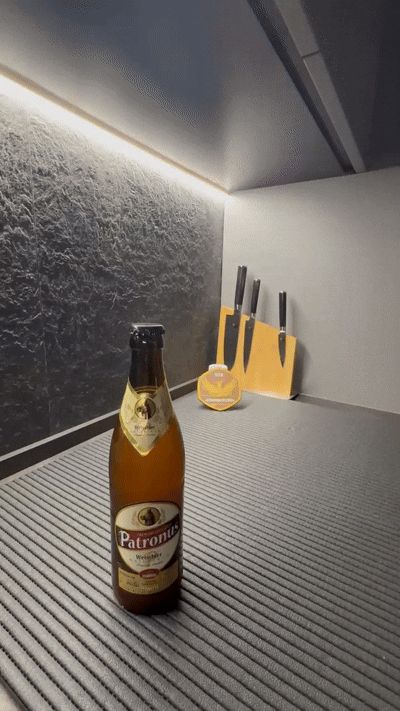

Unique and fun bottle opener: opens the bottle and shoots the cap away!!
TIPS:
It is recommended to print the Sight and Trigger in PETG.
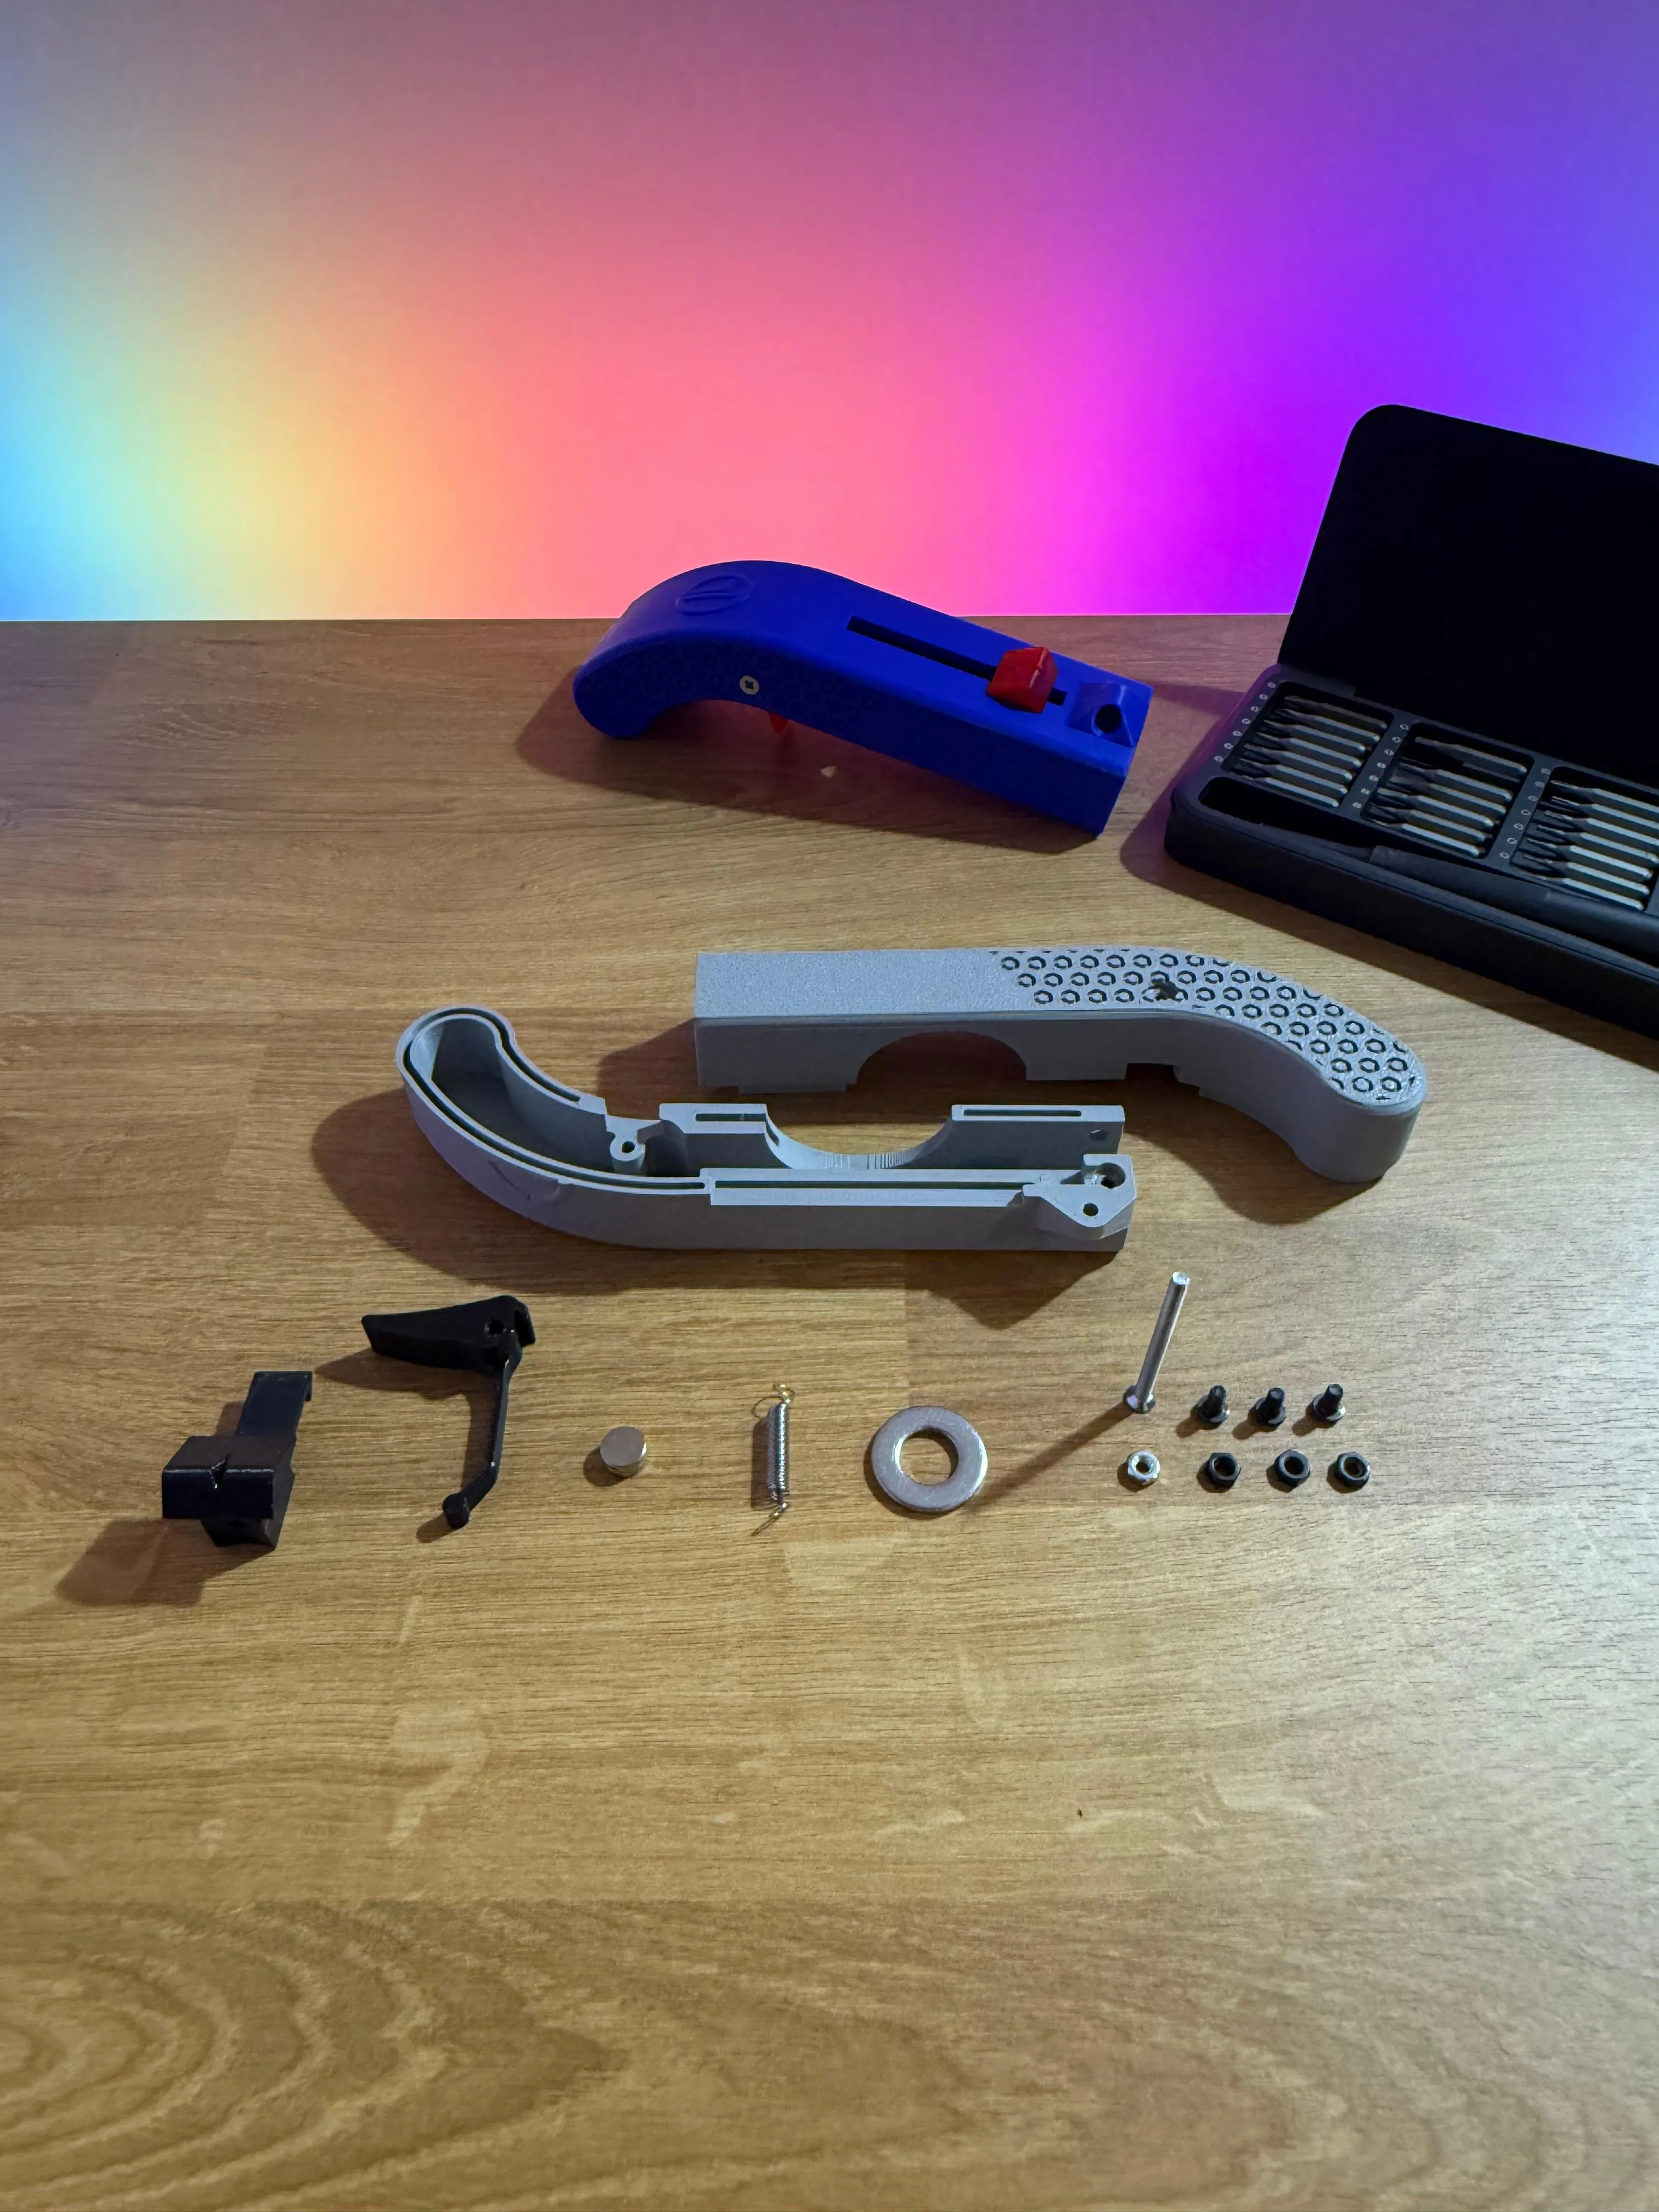
REQUIRED COMPONENTS:
1X M3X40mm Countersunk Head Screw
3x M3X6 Flat Head Screw
4X M3 Nuts
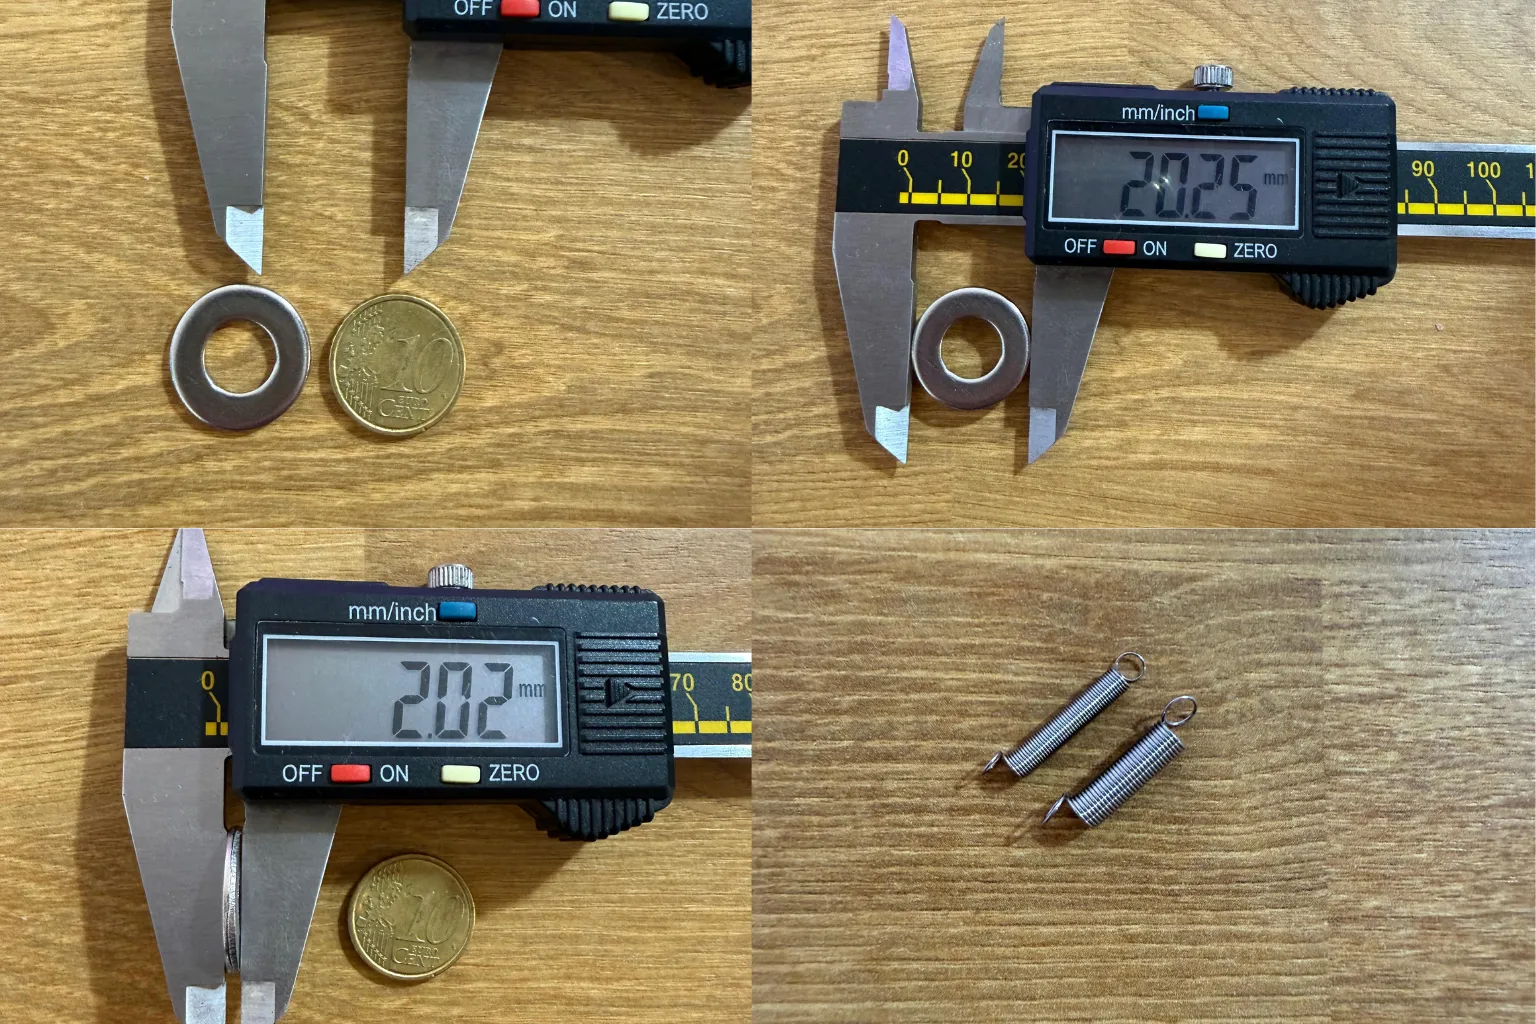
1X Tension Spring 4mm X20 or 3mmX20mm
1X M10X20mm Washer or alternatively 1X 10 Euro Cent Coin
2x Magnets 8mmX2mm
ASSEMBLY:
STEP 1:
Insert the nuts into their respective slots, ensuring that the nut hole is aligned with the object's hole, it is recommended to have thoroughly removed the supports beforehand.
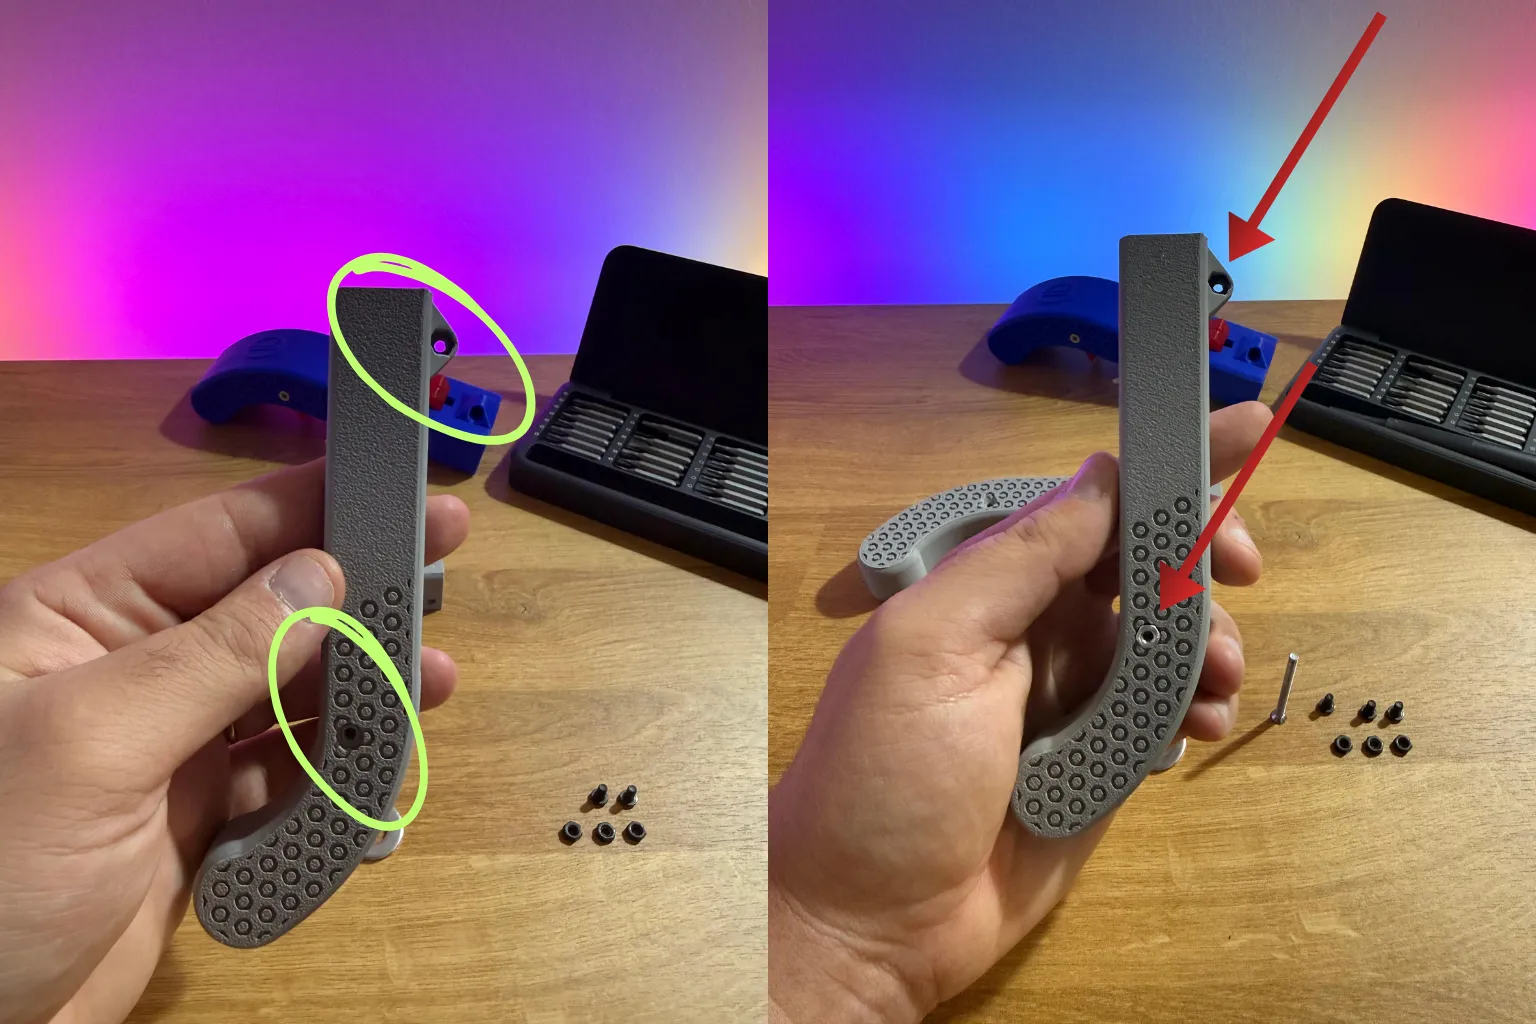
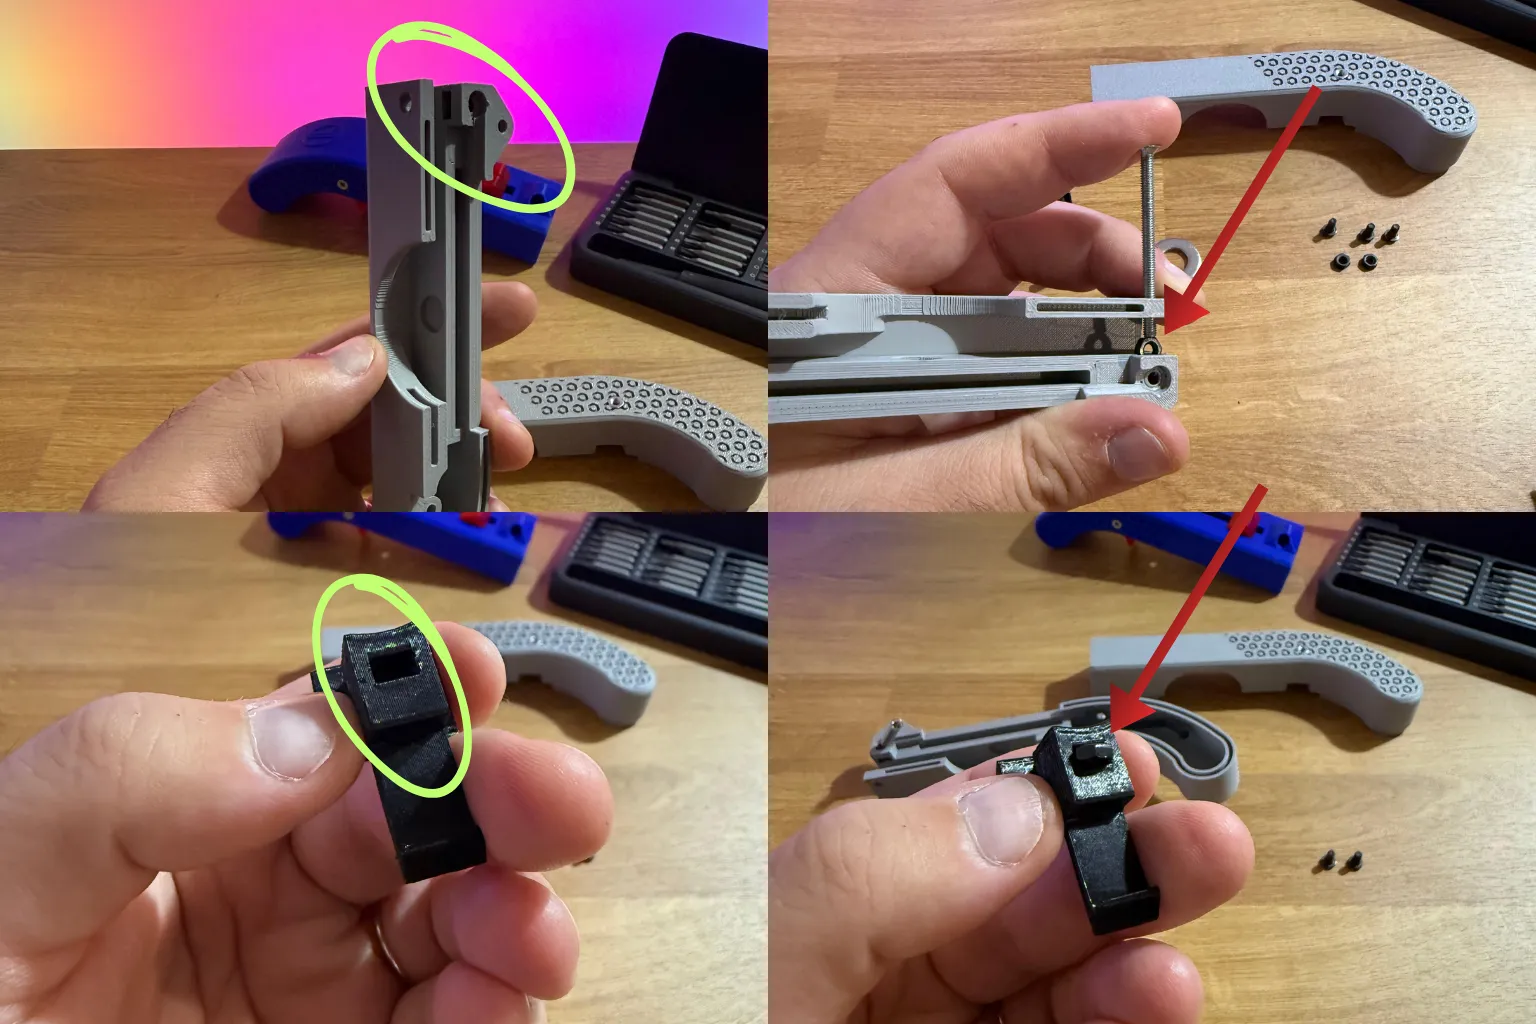
STEP 2:
Insert the trigger screw so that it can fully thread into the screw.
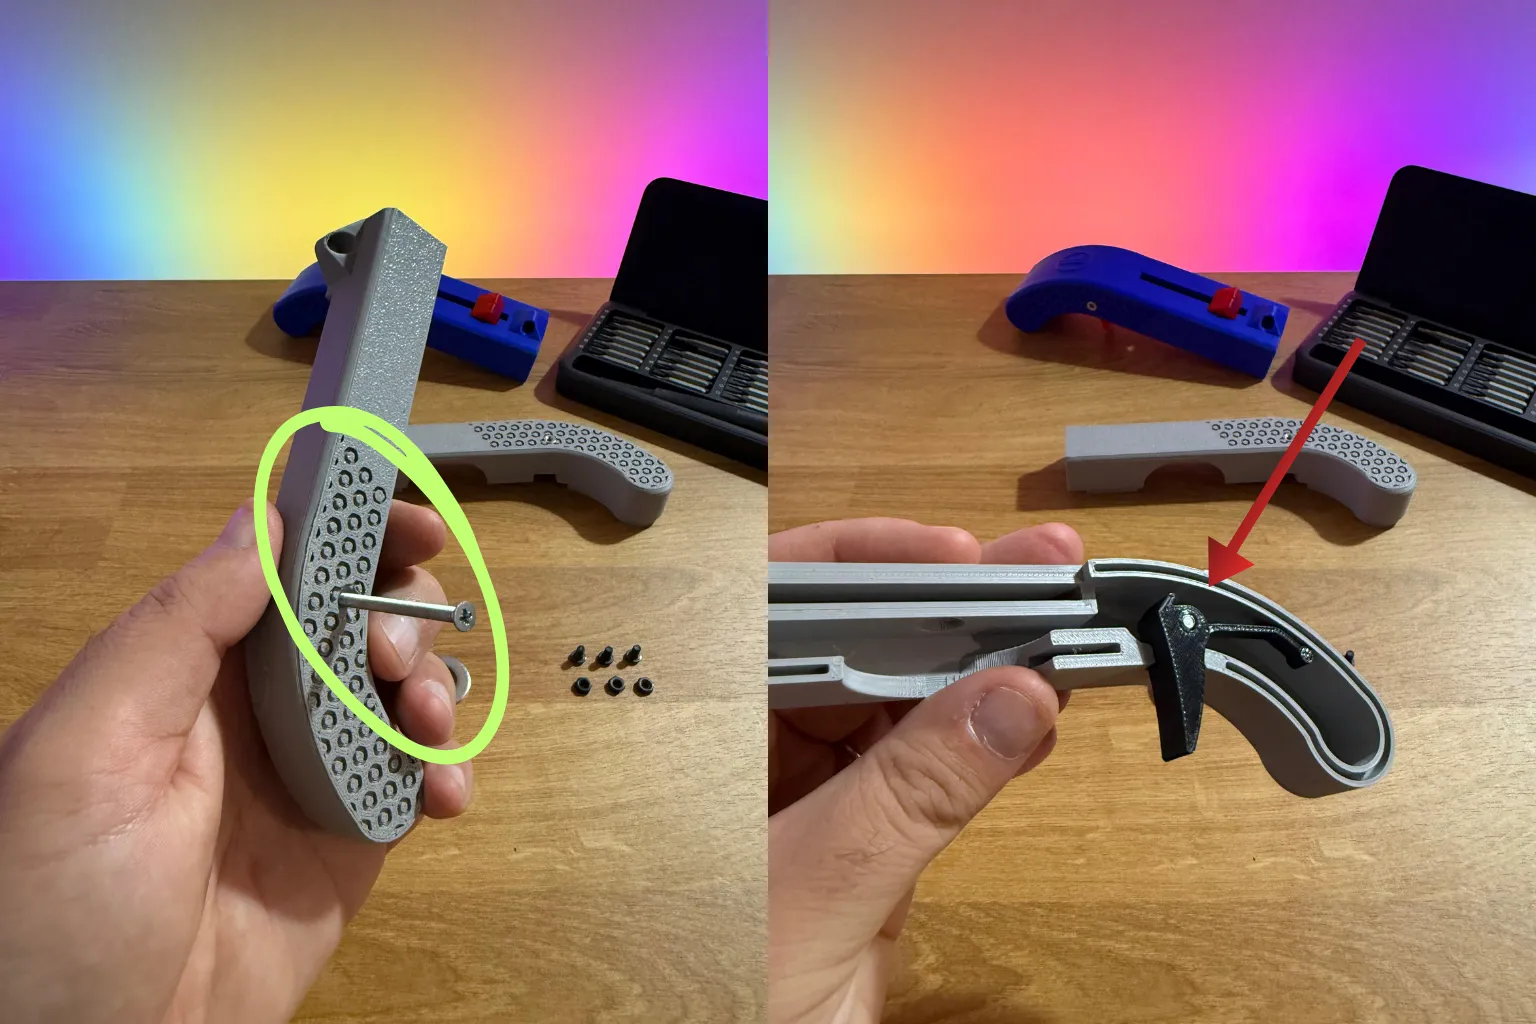
STEP 3:
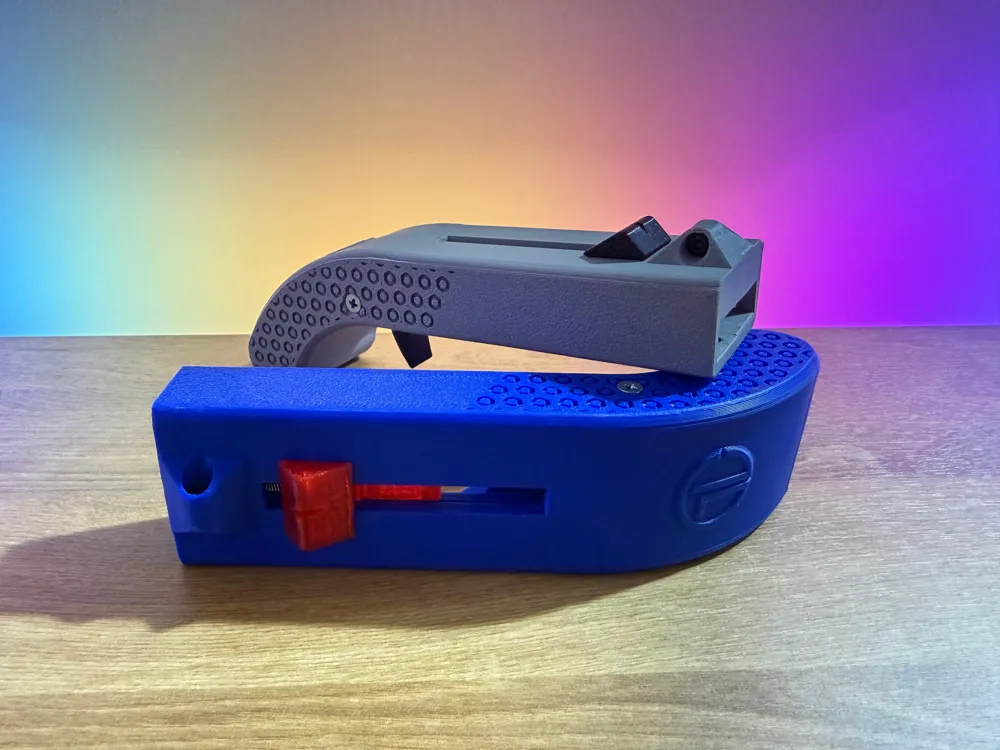
Screw the M3/M4X20mm spring into the gun body and then into the sight, making sure to install it exactly as shown in the photo. (Using the spring's loops, it will not be centered in the holes, so it is necessary to ensure it is off-center towards the top of the gun). Tension the spring and lock it into the trigger.
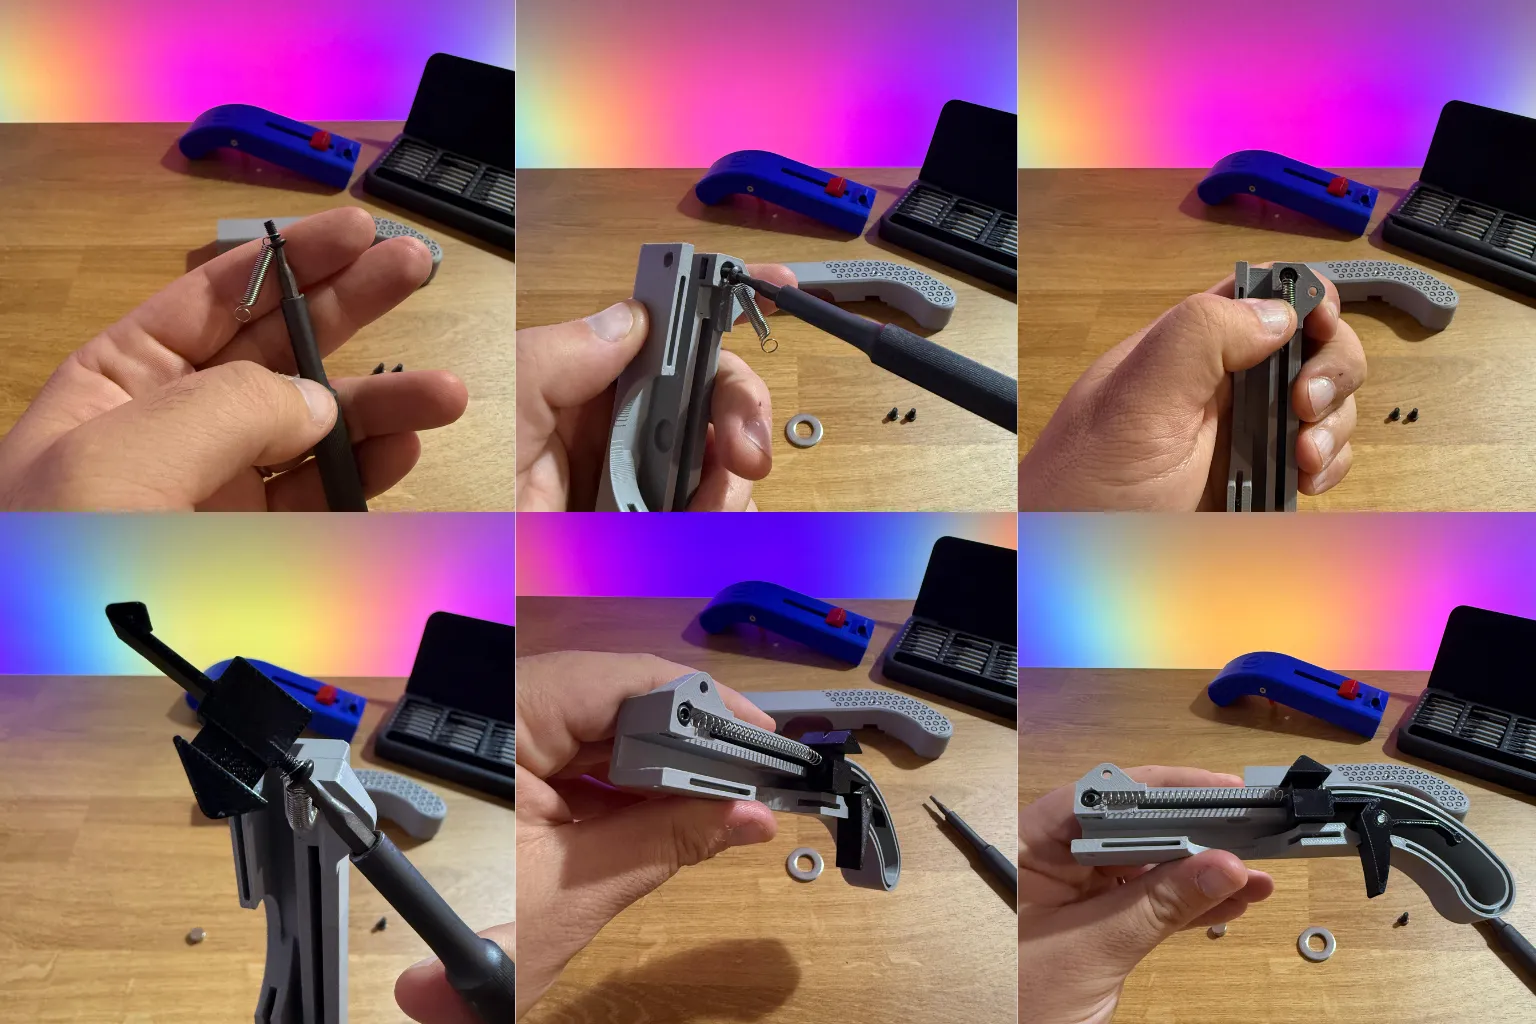
STEP 4:
Insert the magnets into their respective slots with adhesive, then install the Washer/Coin in its designated slot and close the gun by joining the two halves, screw as shown in the photos making sure not to overtighten the screws so that everything slides smoothly.
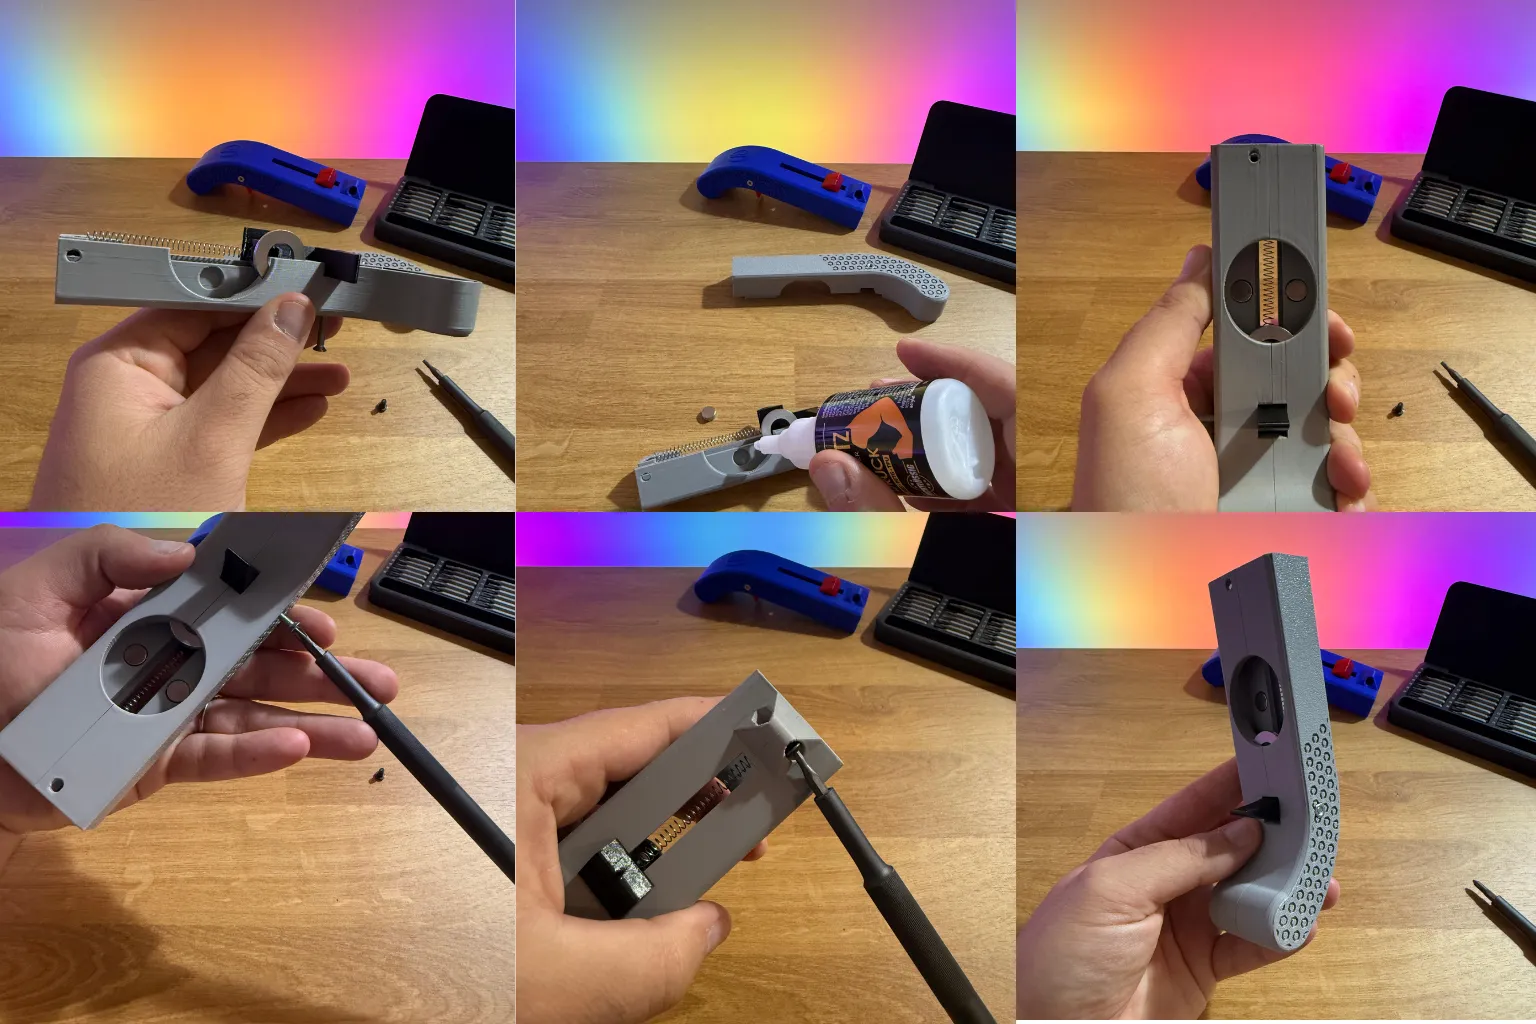
STEP 5:
CHEERS!!!
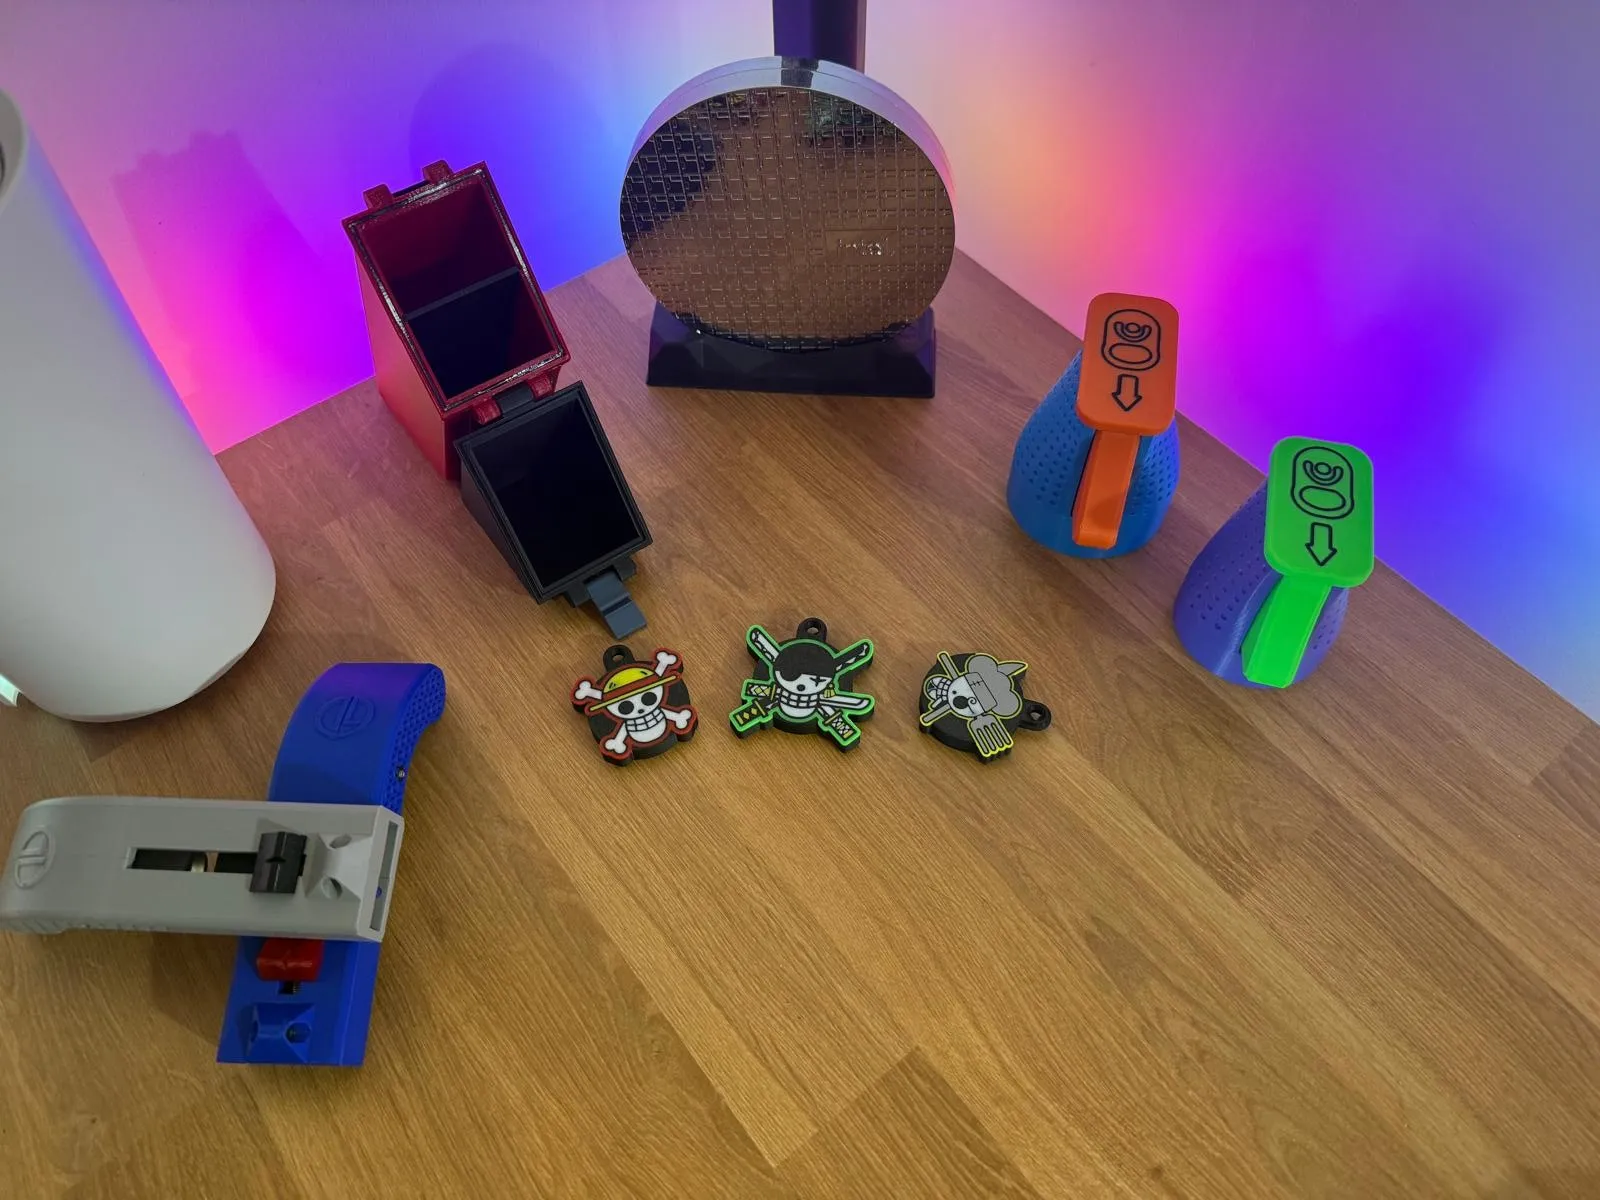
Take a look at my PROJECTS!
https://makerworld.com/it/@galanteandrea/upload
License

You shall not share, sub-license, sell, rent, host, transfer, or distribute in any way the digital or 3D printed versions of this object, nor any other derivative work of this object in its digital or physical format (including - but not limited to - remixes of this object, and hosting on other digital platforms). The objects may not be used without permission in any way whatsoever in which you charge money, or collect fees.


Comment & Rating (146)