
Tacoma/4Runner Dash side lid w/ Leatherman holder
Print Profile(8)


Description
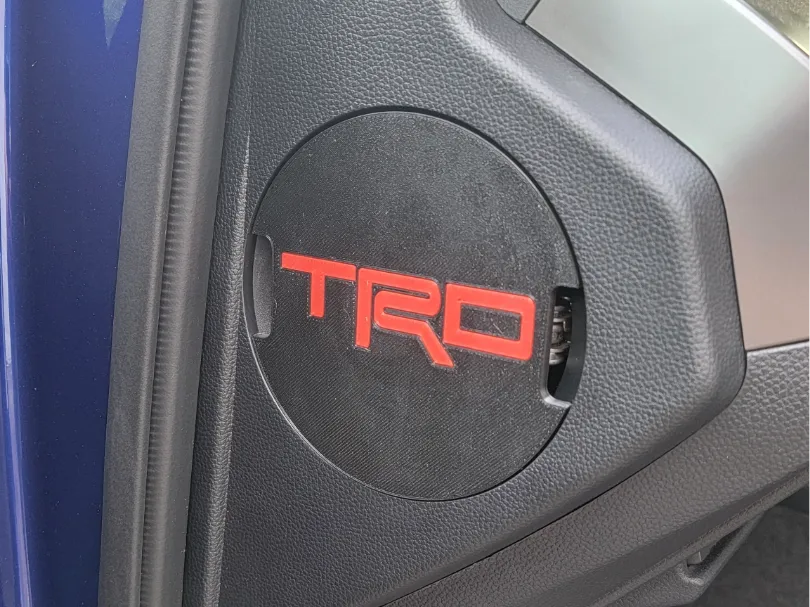
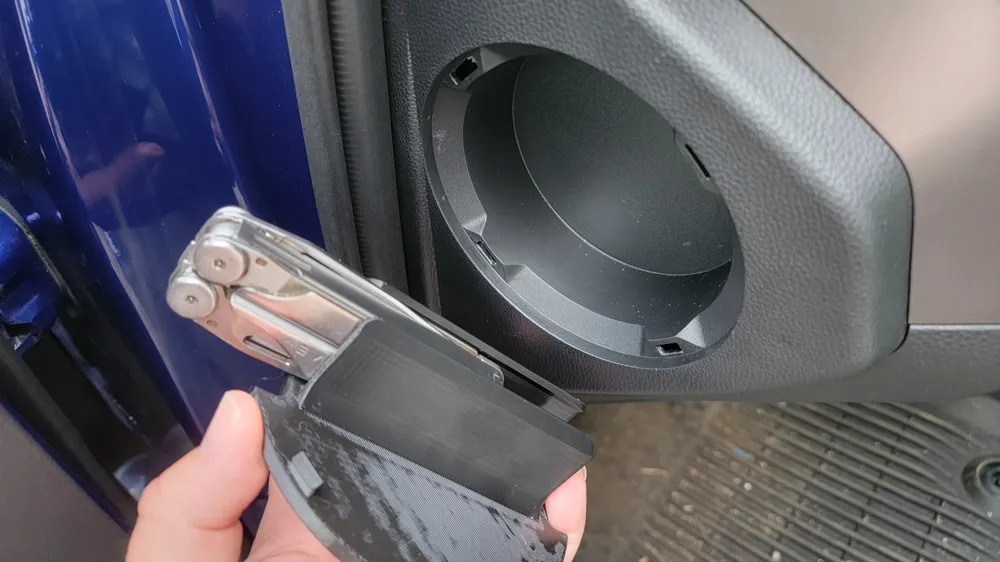
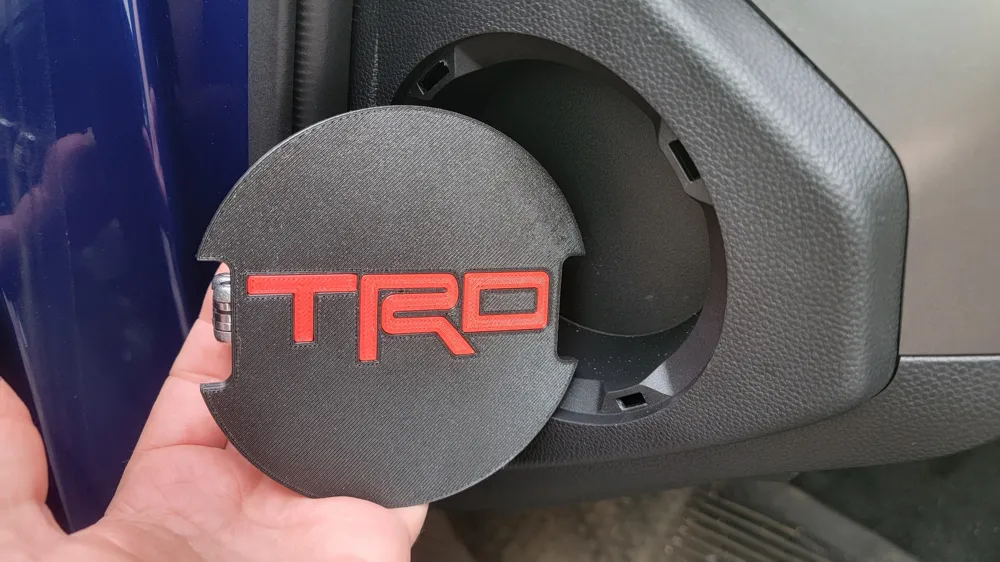
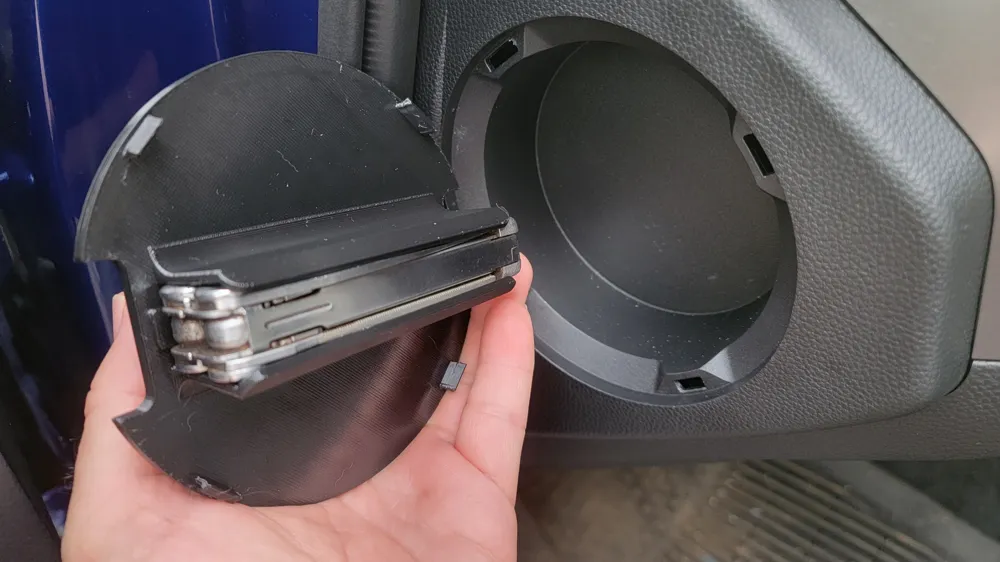
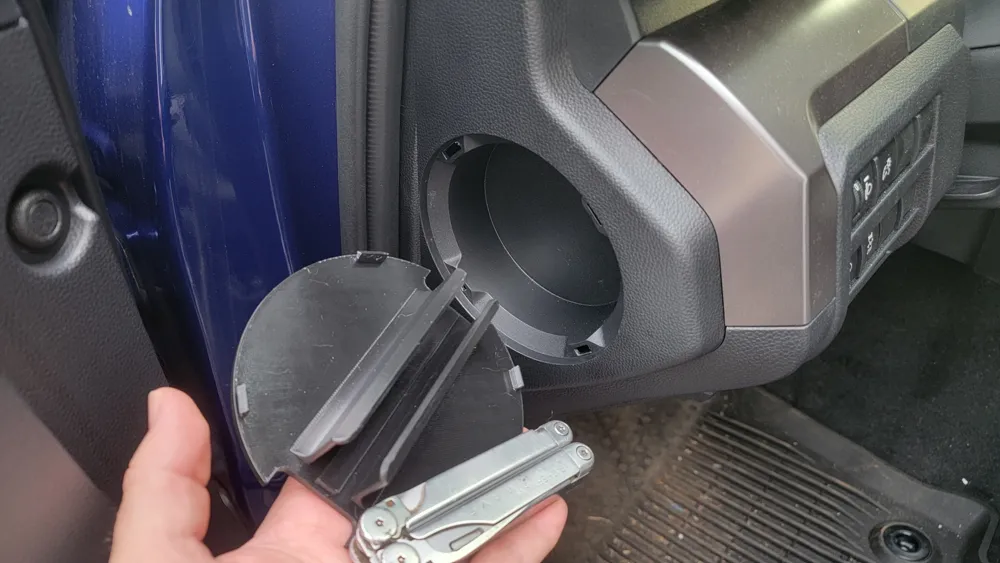
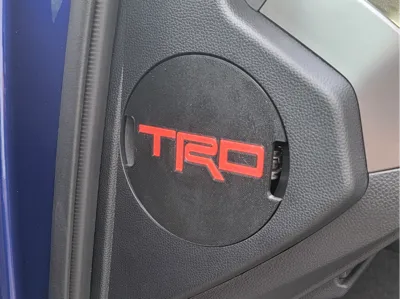
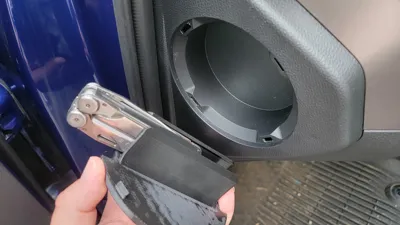
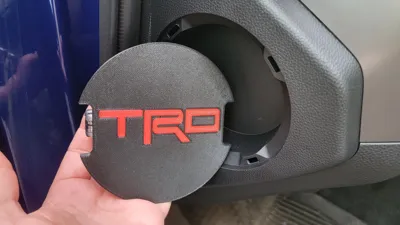
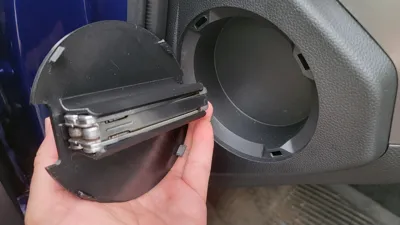
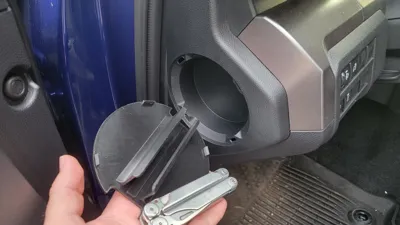
Want to add a little pop of color inside your 4th generation Tacoma or 6th gen 4Runner? This model replaces the blanking plug covering the small dash cubby on the drivers side, have a little fun with your color choice and even a custom logo, all while holding a Leatherman Wave. I've included a few different logo choices as well as a blank versions where you can add your own text/logo, both with and without the Leatherman holder. The versions with logos are based on using an AMS for mid-print color changes.
Each 3MF file has two filament colors by default, black for the lid and red for the logo, change those as needed under Objects in your slicer to match your taste. I've also added modifier blocks to beef up the Leatherman tool holder tabs.
I recommend using “Arachne” Wall Generator in your slicer to make the logos a little cleaner, especially on the finer details.
Note that with the thickness I've chosen for the color inlay (1.2mm) this equates to 5 color changes across the first 5 layers. In the past I've experimented with fewer layers but I've found it best to have at least 4 color layers to make the inlay color pop, especially with red inlaid into black. Too few color layers and the inlay looks lackluster.
A couple of caveats, One: this model is for vintage Leatherman Waves that are a little smaller than the modern Wave Plus (or Wave+) version. The current Wave+ has a lock on each tool, the vintage Wave only has locks on the blades/file accessible from the outside without opening the tool. Please see my other published model if you have a later Wave+.
Two: The OEM lid is injection molded plastic which makes a nice smooth finish on the four retainer barbs, conversely the nature of stacked layers in FDM printing increases friction on the leading edges of the barbs. You may find it smooths insertion/removal of the lid if you dress the flats of the barbs with a small file. You're not trying to change the shape of each barb rather just smoothing down the layer lines. The Adaptive Layer Height option in your slicer might help to smooth the tips of each barb.
Three: Note that one of the four barbs is wider than the rest, when installed in the vehicle the wide tab is upper left, at the 10:30 position. If you're adding your own custom logo make sure you orient the logo correctly so it isn't upside-down when the lid is mounted in the cubby.
If you're interested in adding your own custom text or logos I recommend the method outlined in this video, the results are clean and the process is straightforward:
License



Comment & Rating (13)