
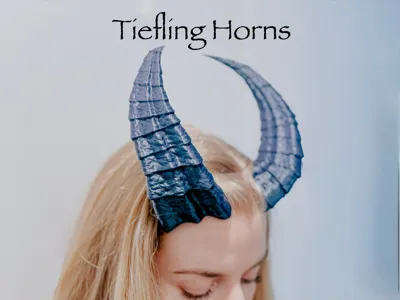
Tiefling Costume Horns
Print Profile(5)


Bill of Materials
Description
Boost Me (for free)
Please boost if you like my model!
For commercial license please visit https://www.patreon.com/c/measureonce/home
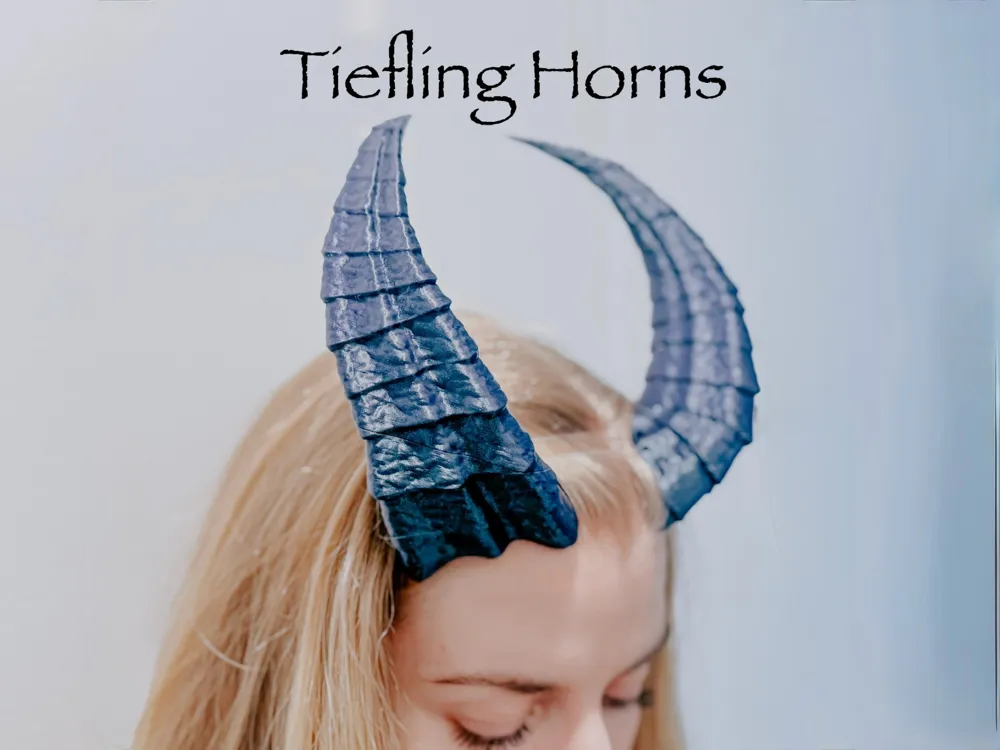
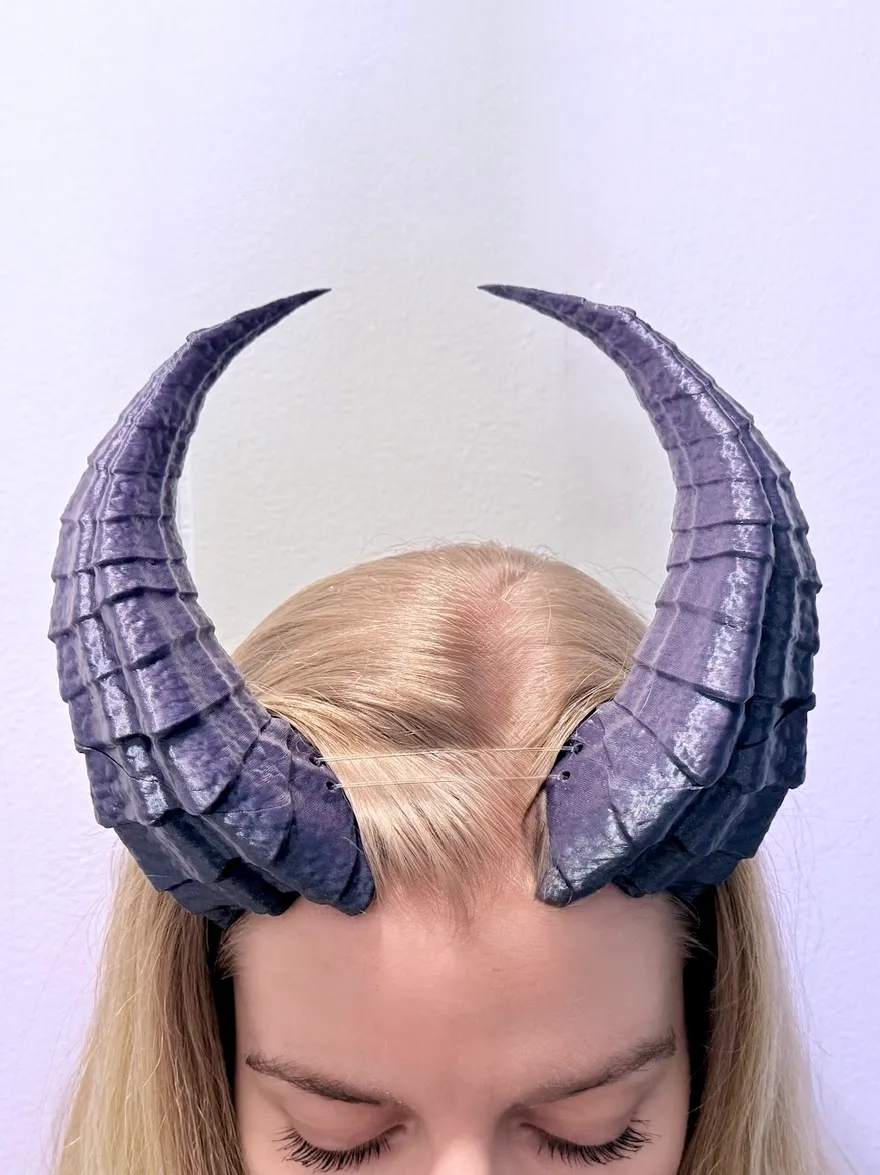
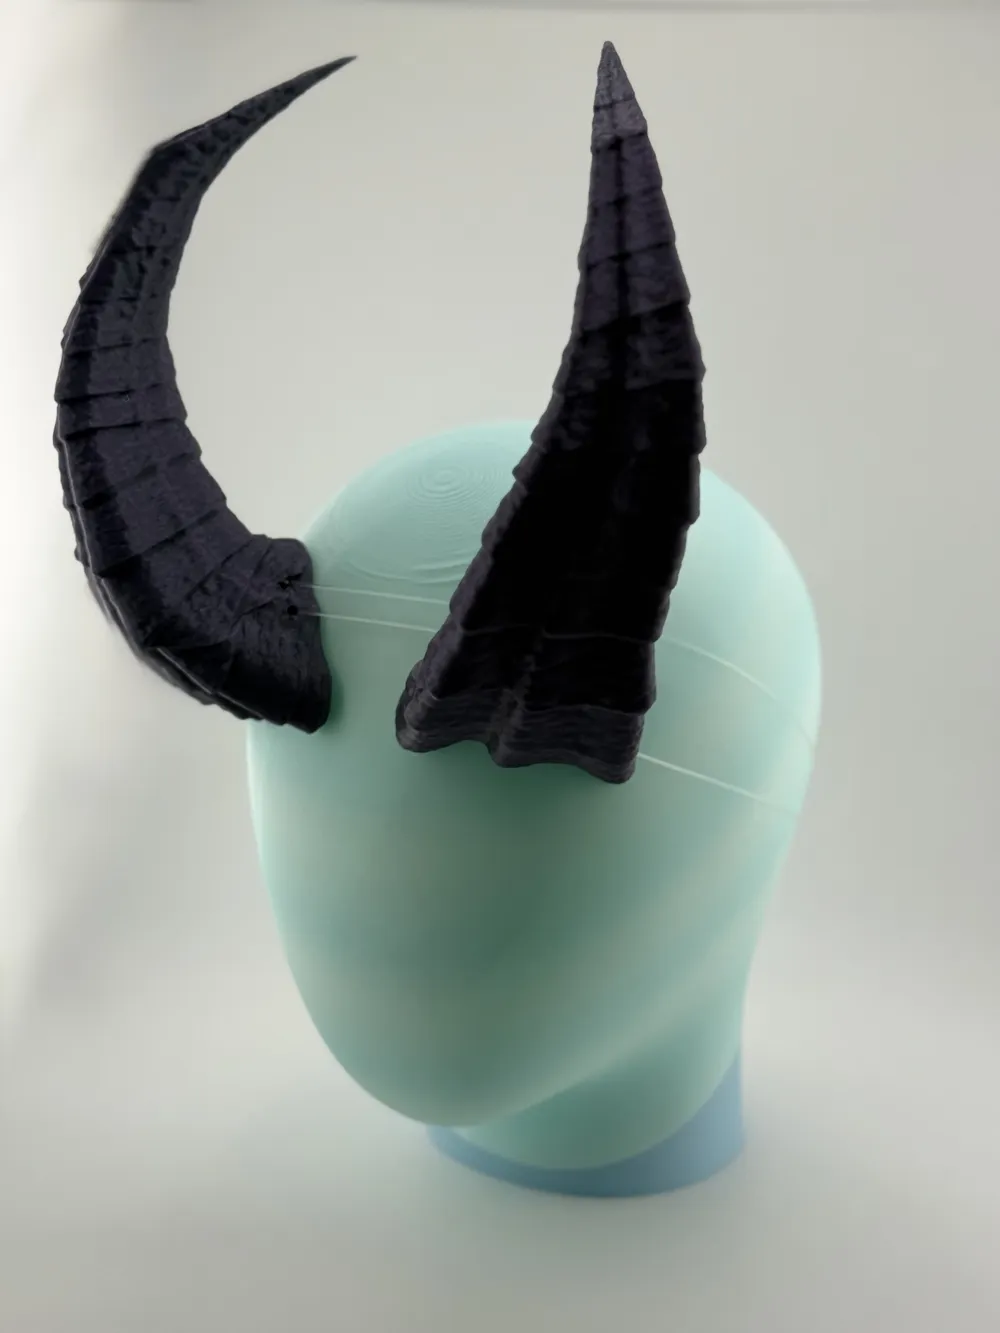
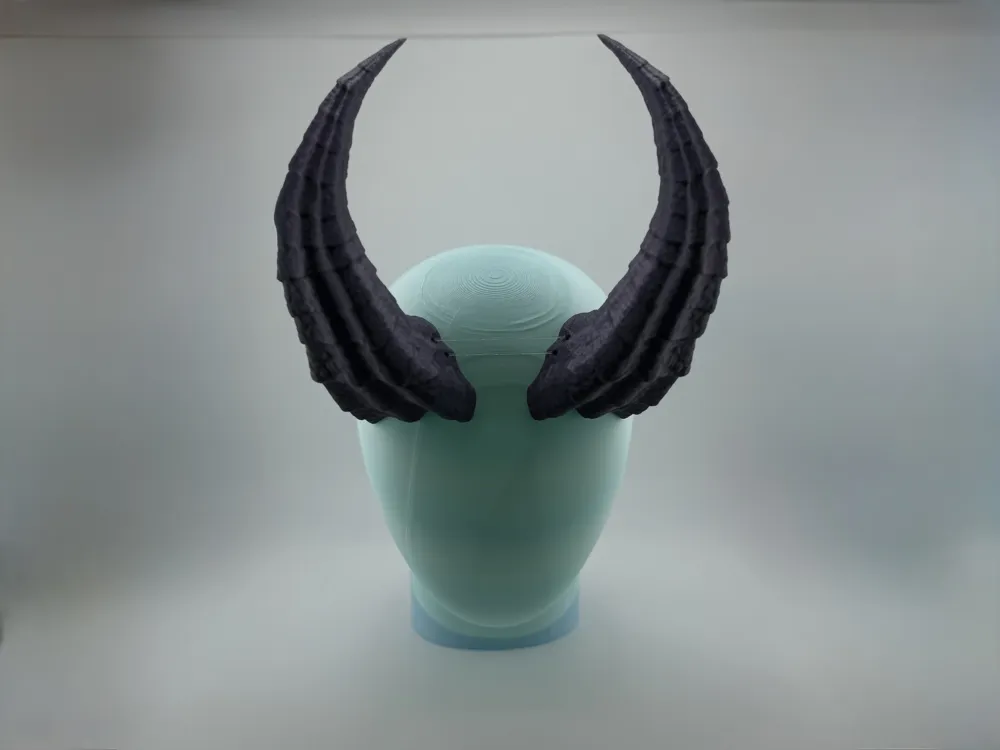
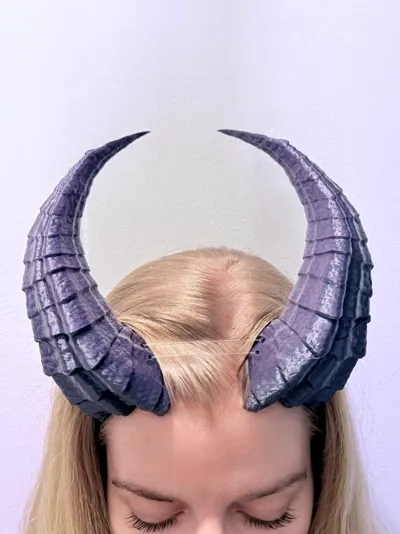
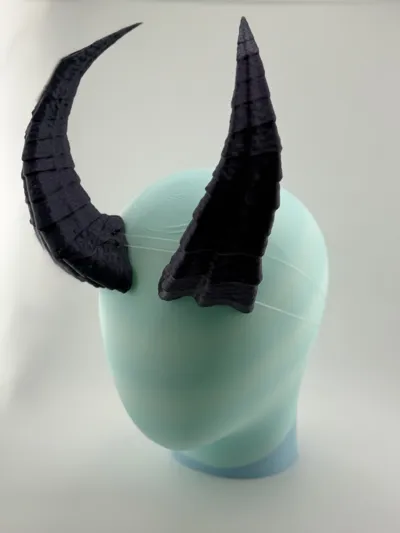
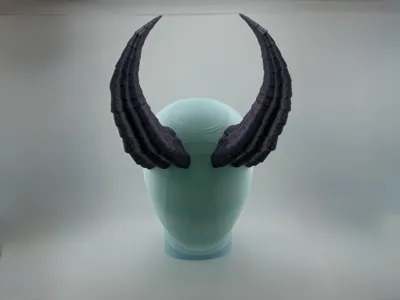
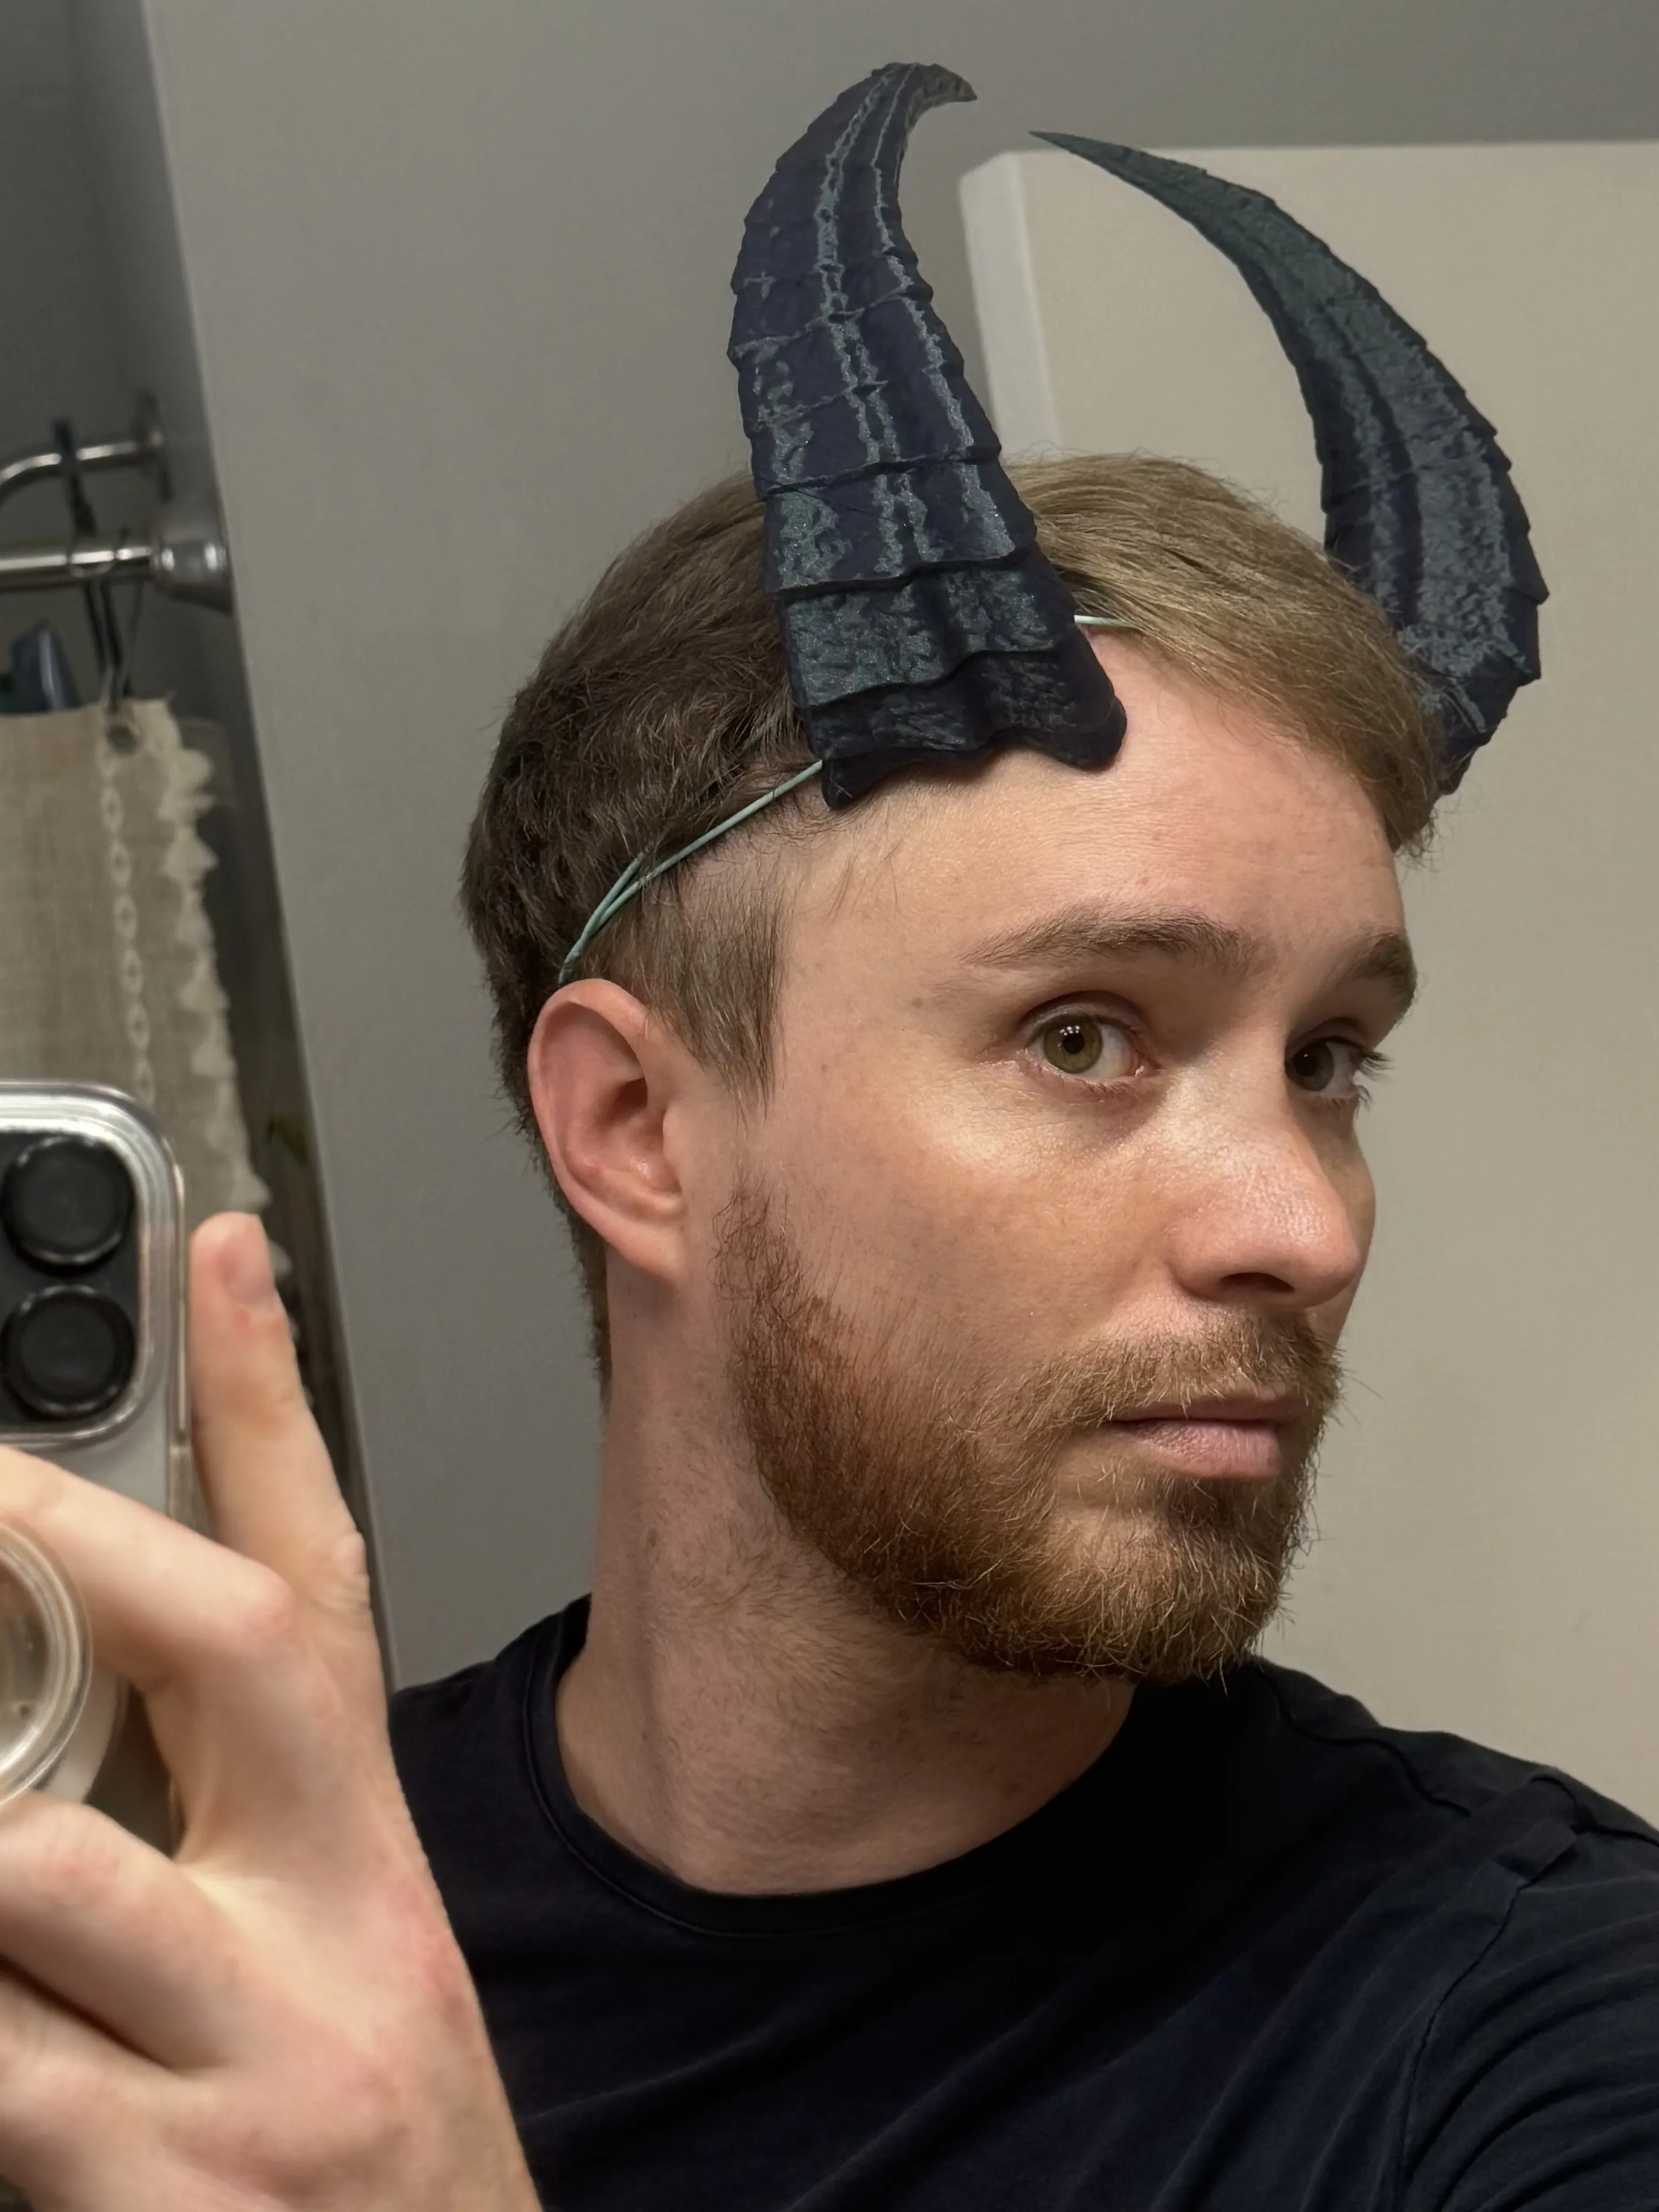
These horns contour comfortably onto your forehead. Sharp edges are smoothed for comfort. It uses a band to wrap around your head. The tunnels that the cord goes through provide excellent hold on the head. The locations where the cord exits the horns is intentionally placed to be above the hairline so they can be hid with your hair. Please follow the instructions for how to string the horns up.
You do NOT necessarily need magnets for this assembly but they are nice to have in there because its easier to get your hair set up without the top halves on.
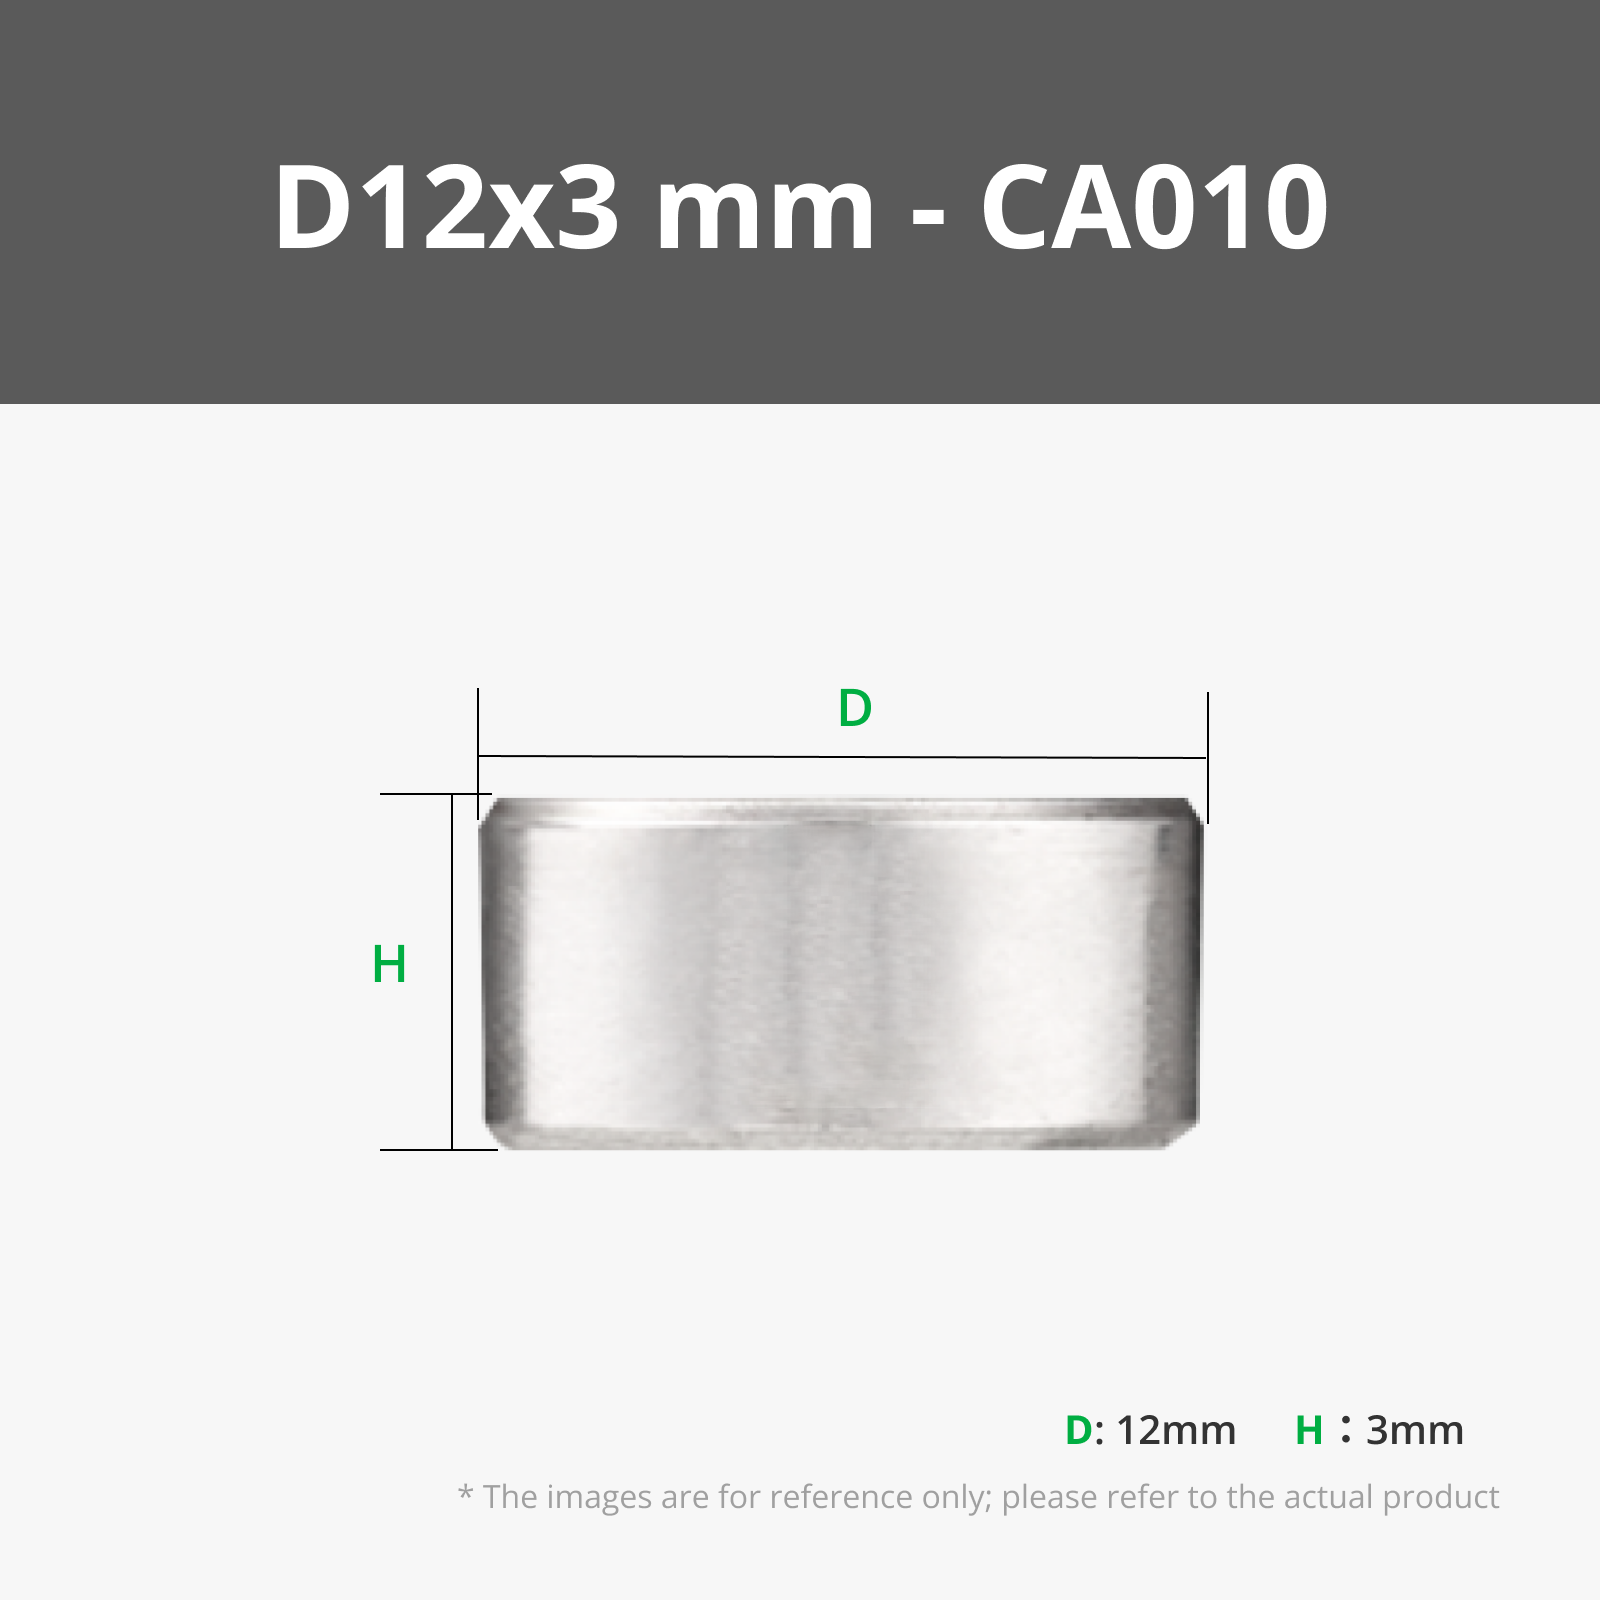
- This model uses 8 12x3 magnets. You can either glue them in after the print or place them into the print during a pause at LAYER 26. Alternatively you can choose to not use magnets and just glue the halves together. This design was meant for the ease of removing the top half during traveling or down time.
- 2 Magnets on each part might be necessary for the “MAGNETS GLUED IN AFTER PRINT” parts.
Clear cord (alternatively you can use TPU filament): https://www.amazon.com/Paxcoo-Elastic-Bracelet-String-Stretch/dp/B0CQC34H4R
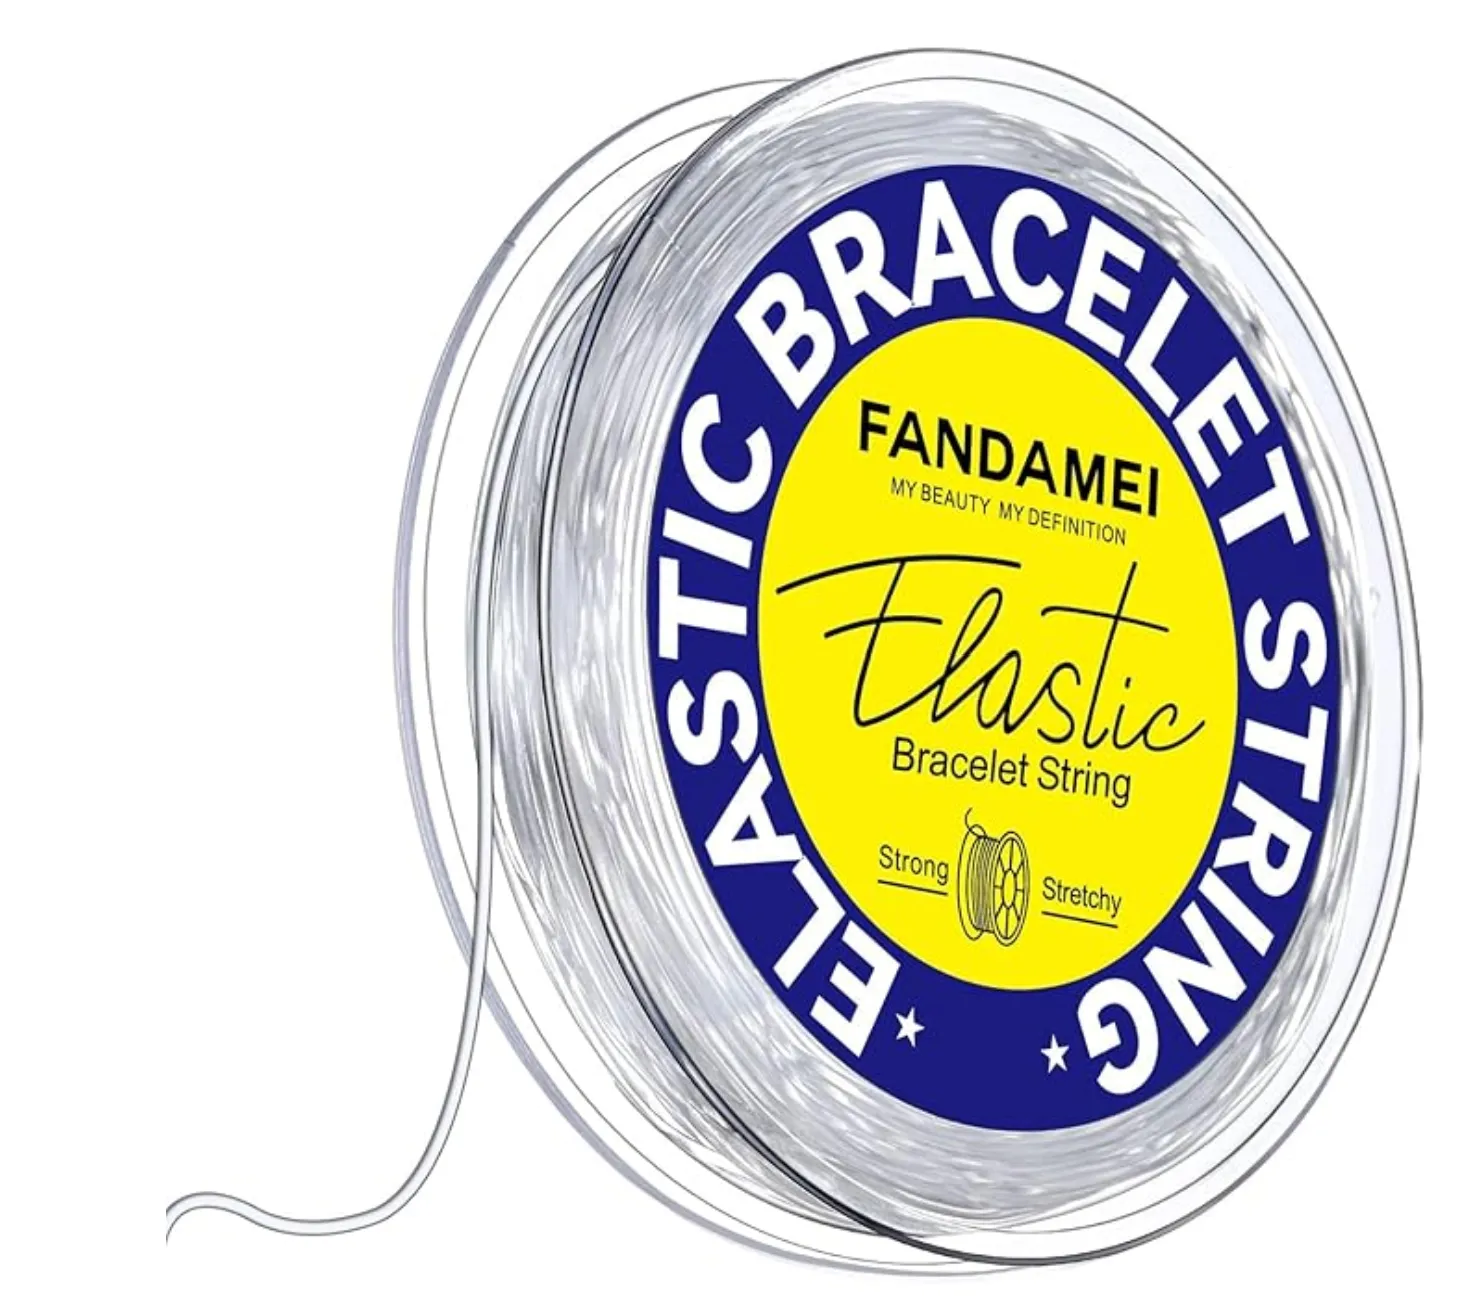
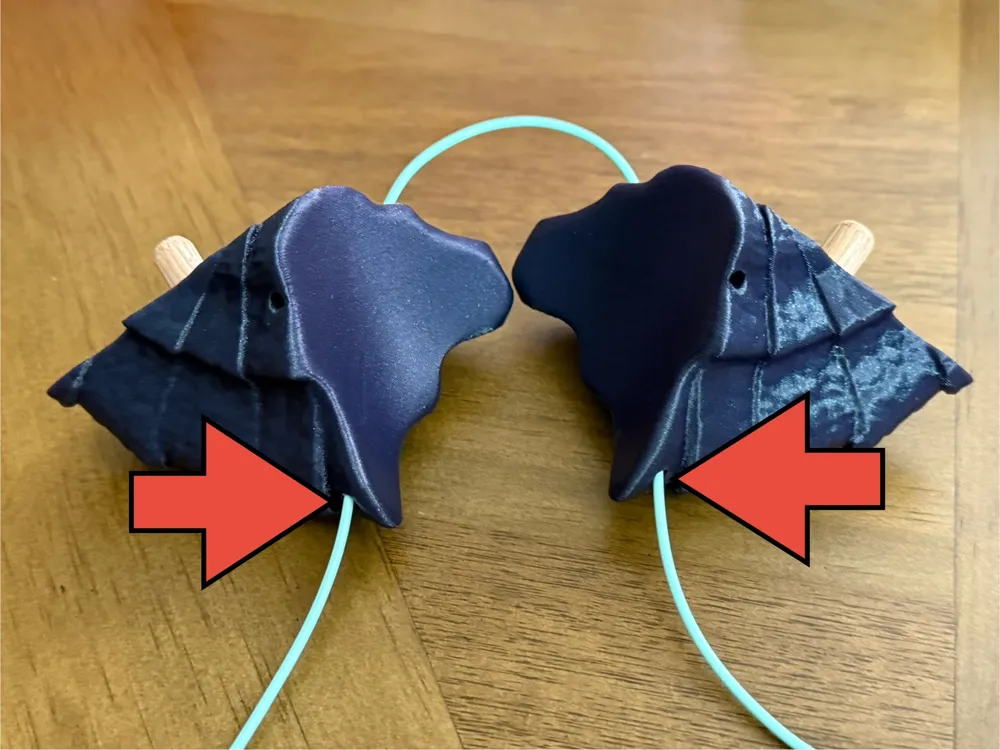
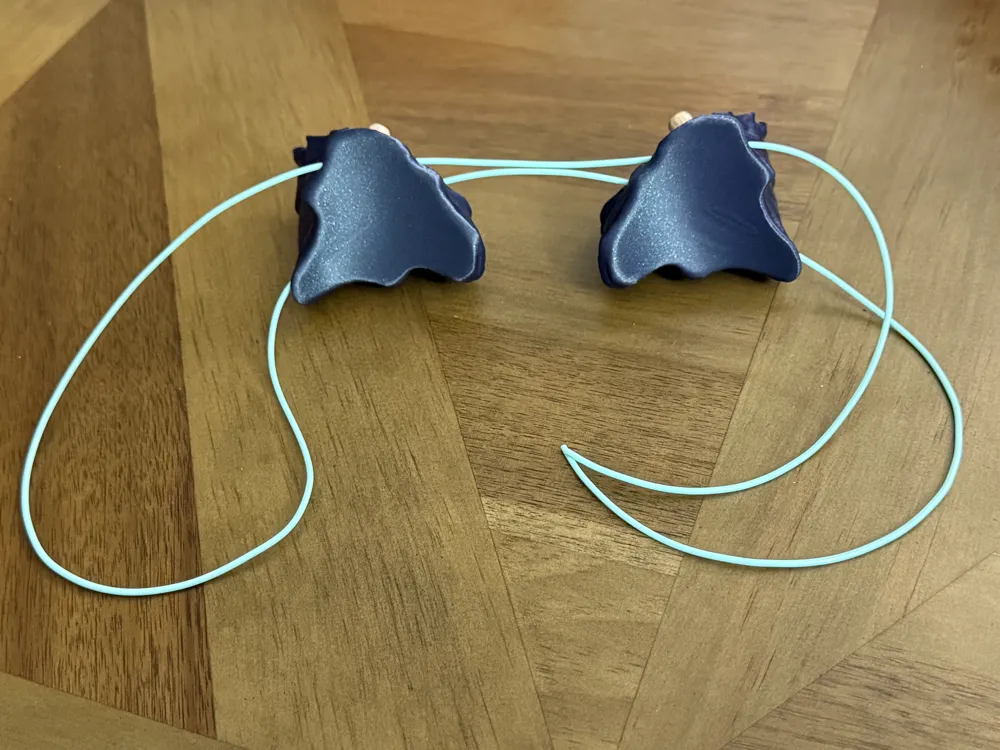
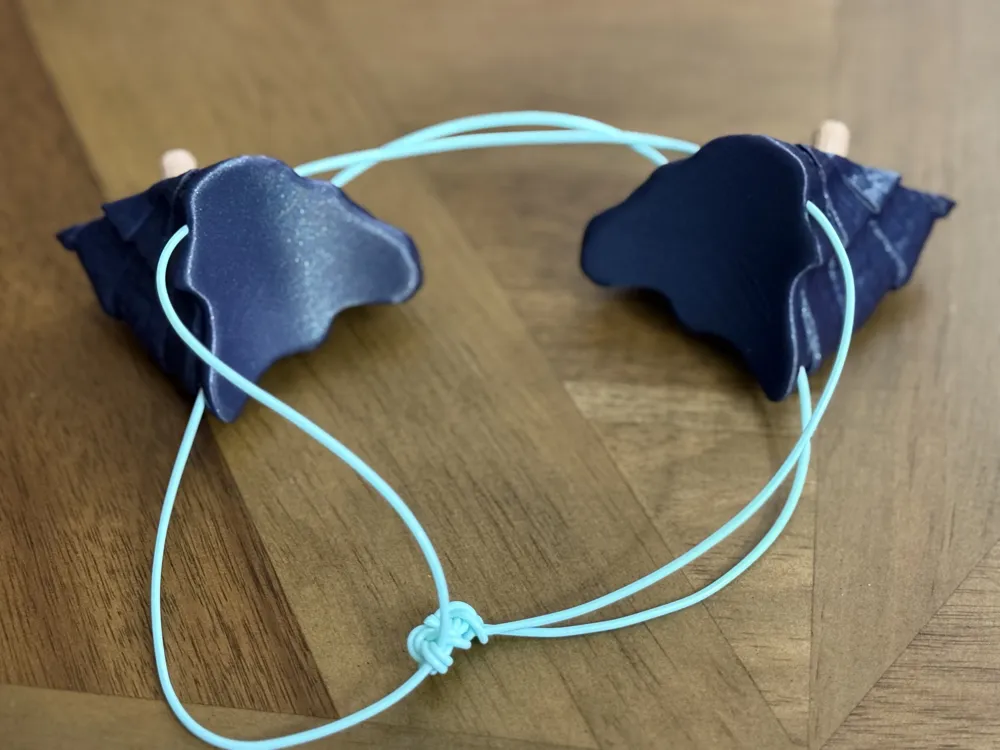
Assembly for cord:
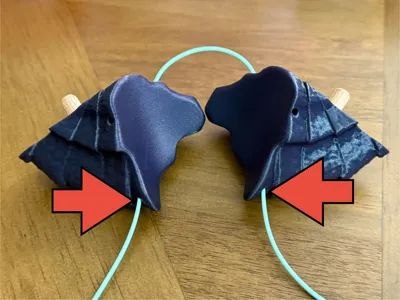
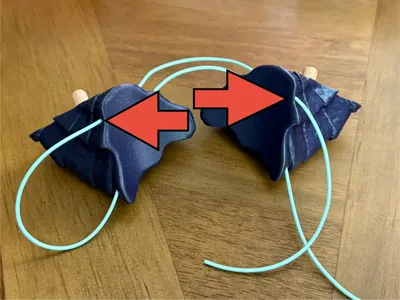
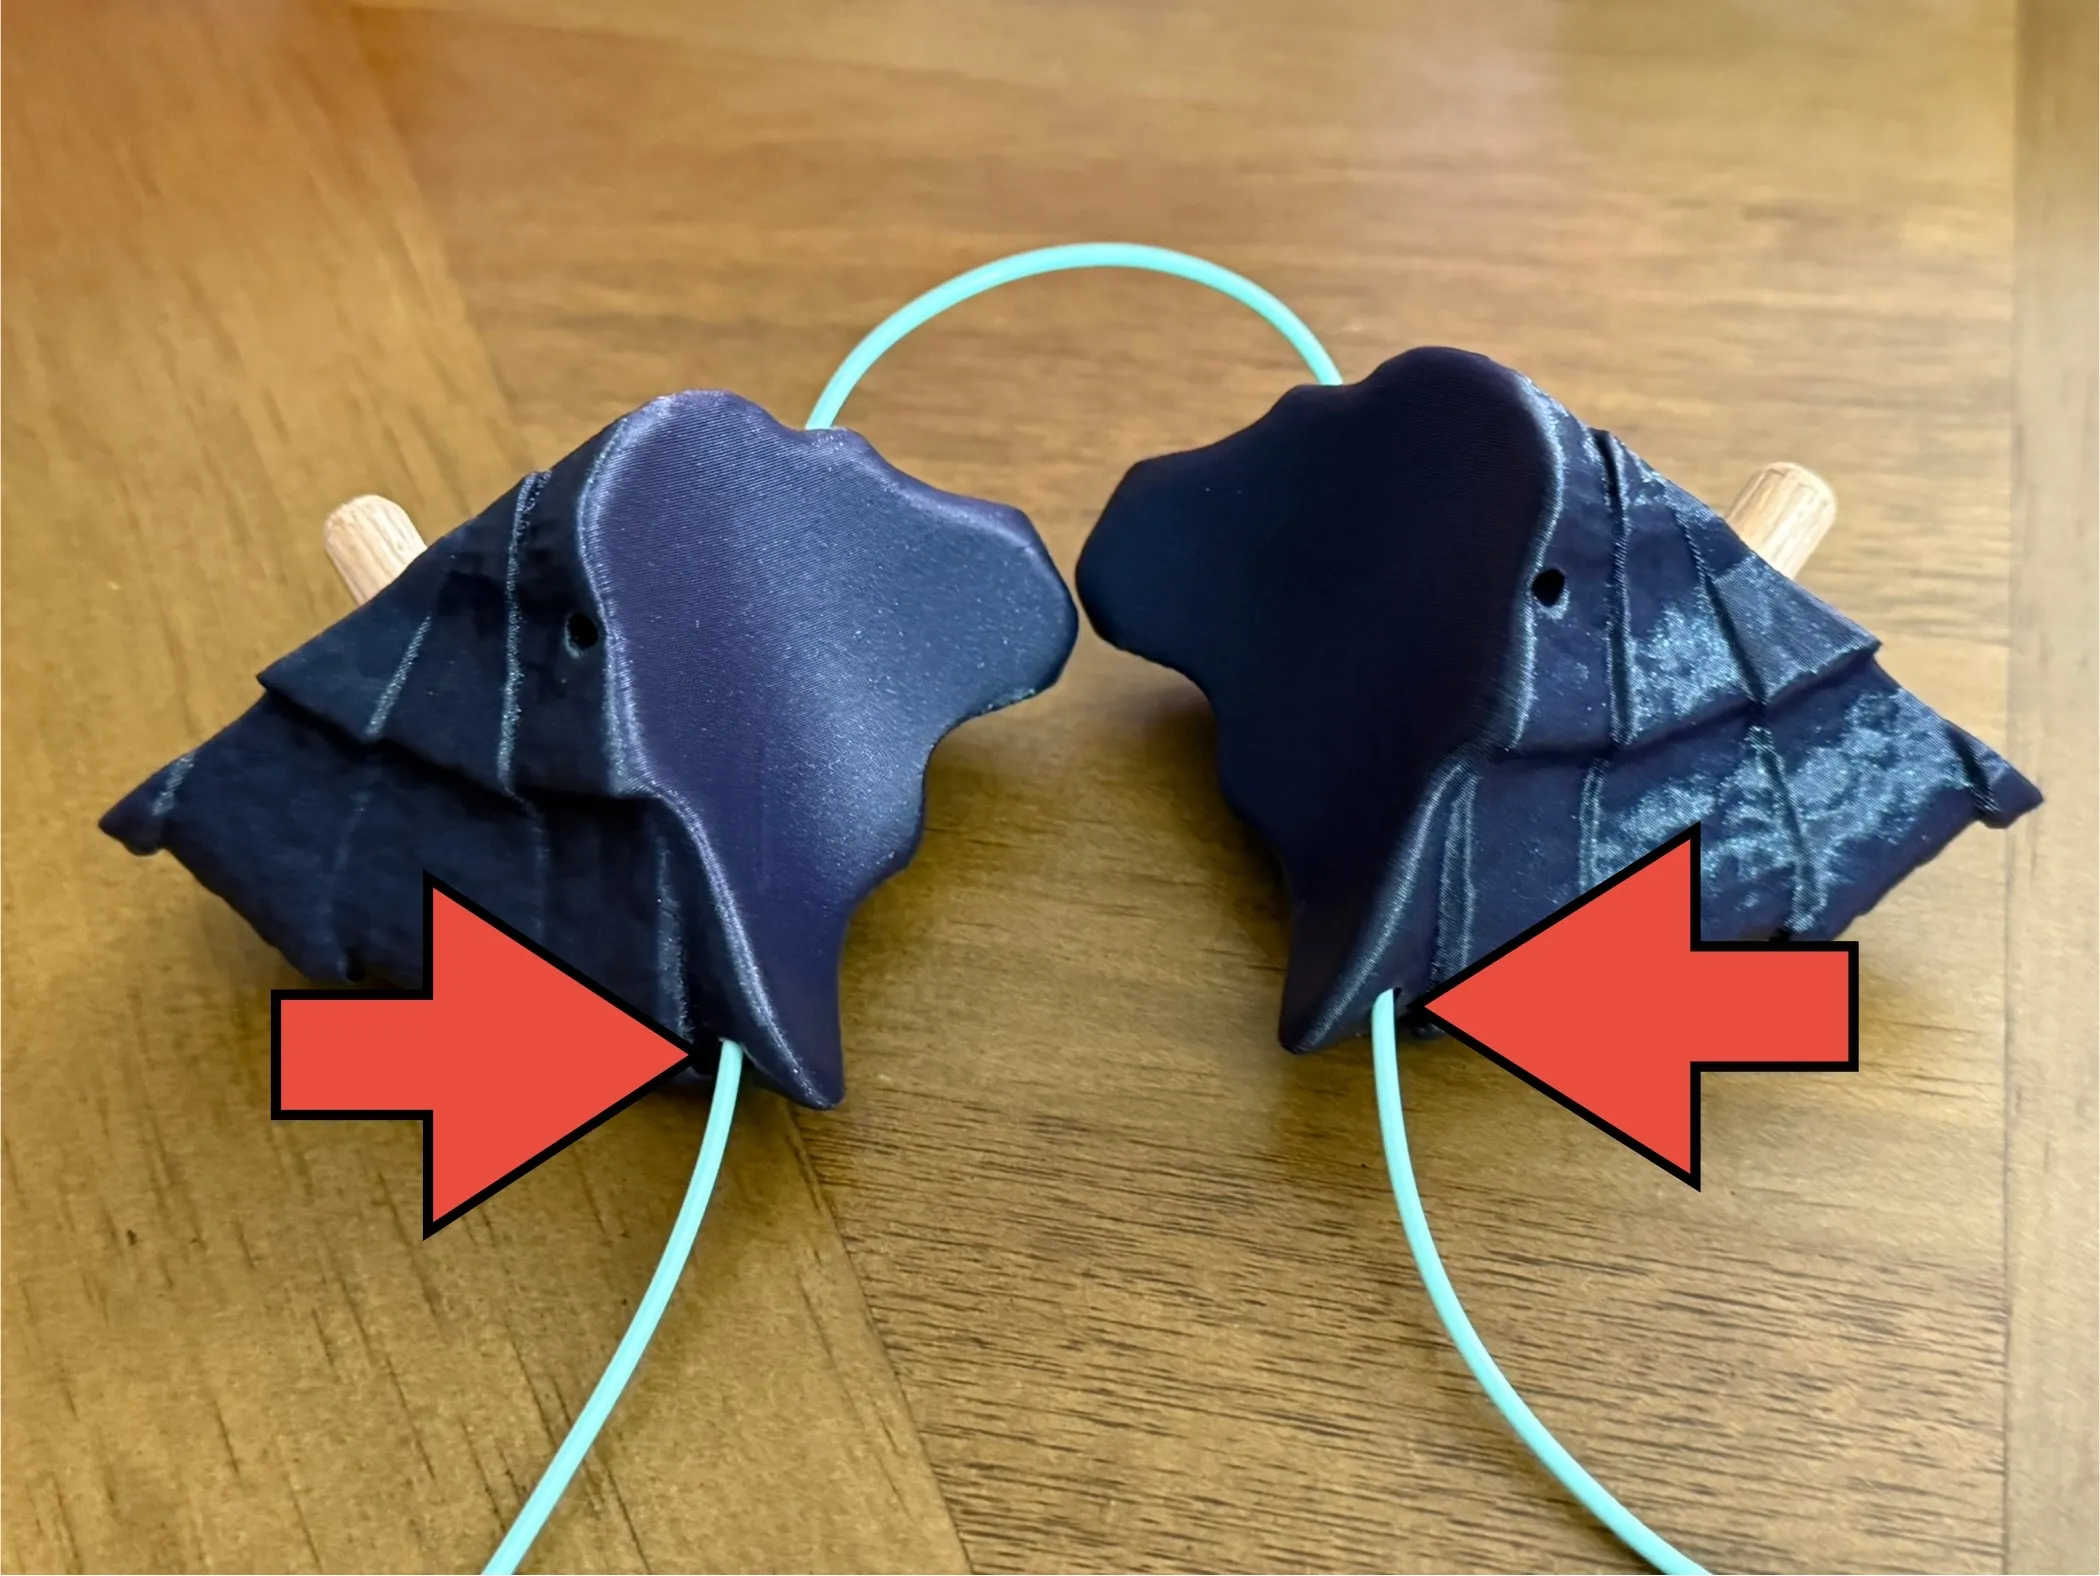
Place the two bottom halves of the horns as shown and push the cord through the holes in the way shown in the picture. Note where the cord is entering and exiting as well as the placement of the horns. Try to match this image as best as possible.
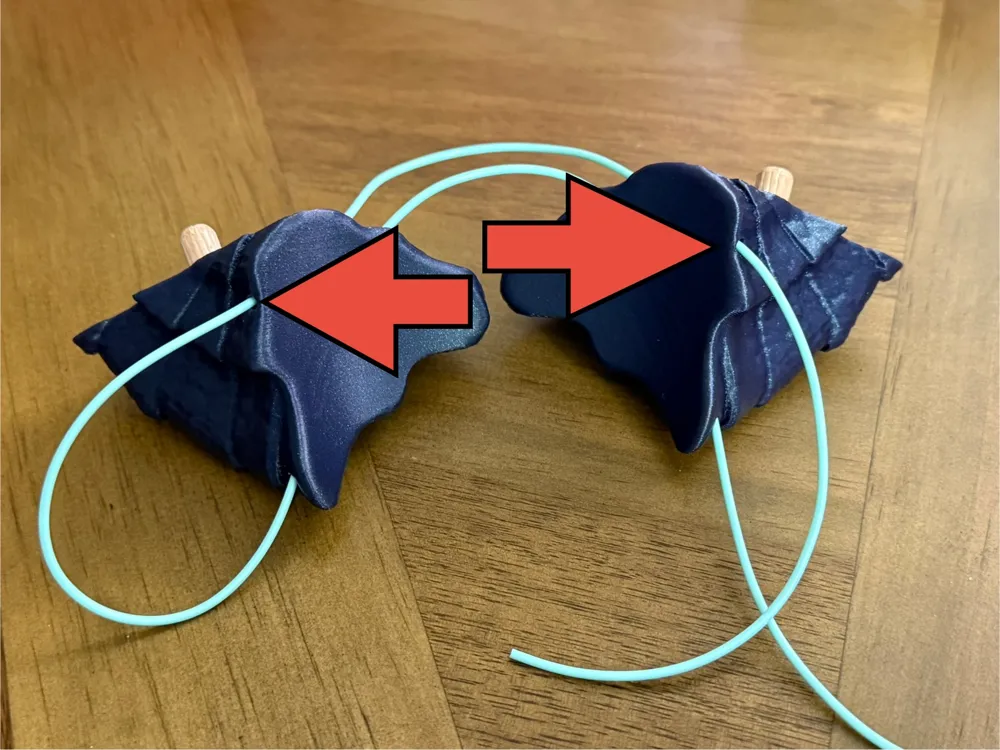
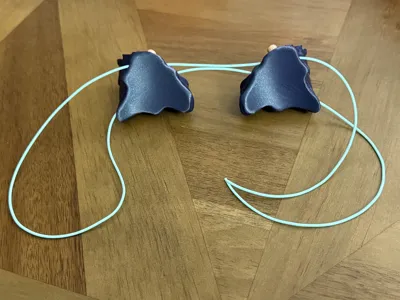
 2. Take one end of the cord and slide it through the top hole on both horns and pass it out the other side where the other end of the cord is located. It should match the image below.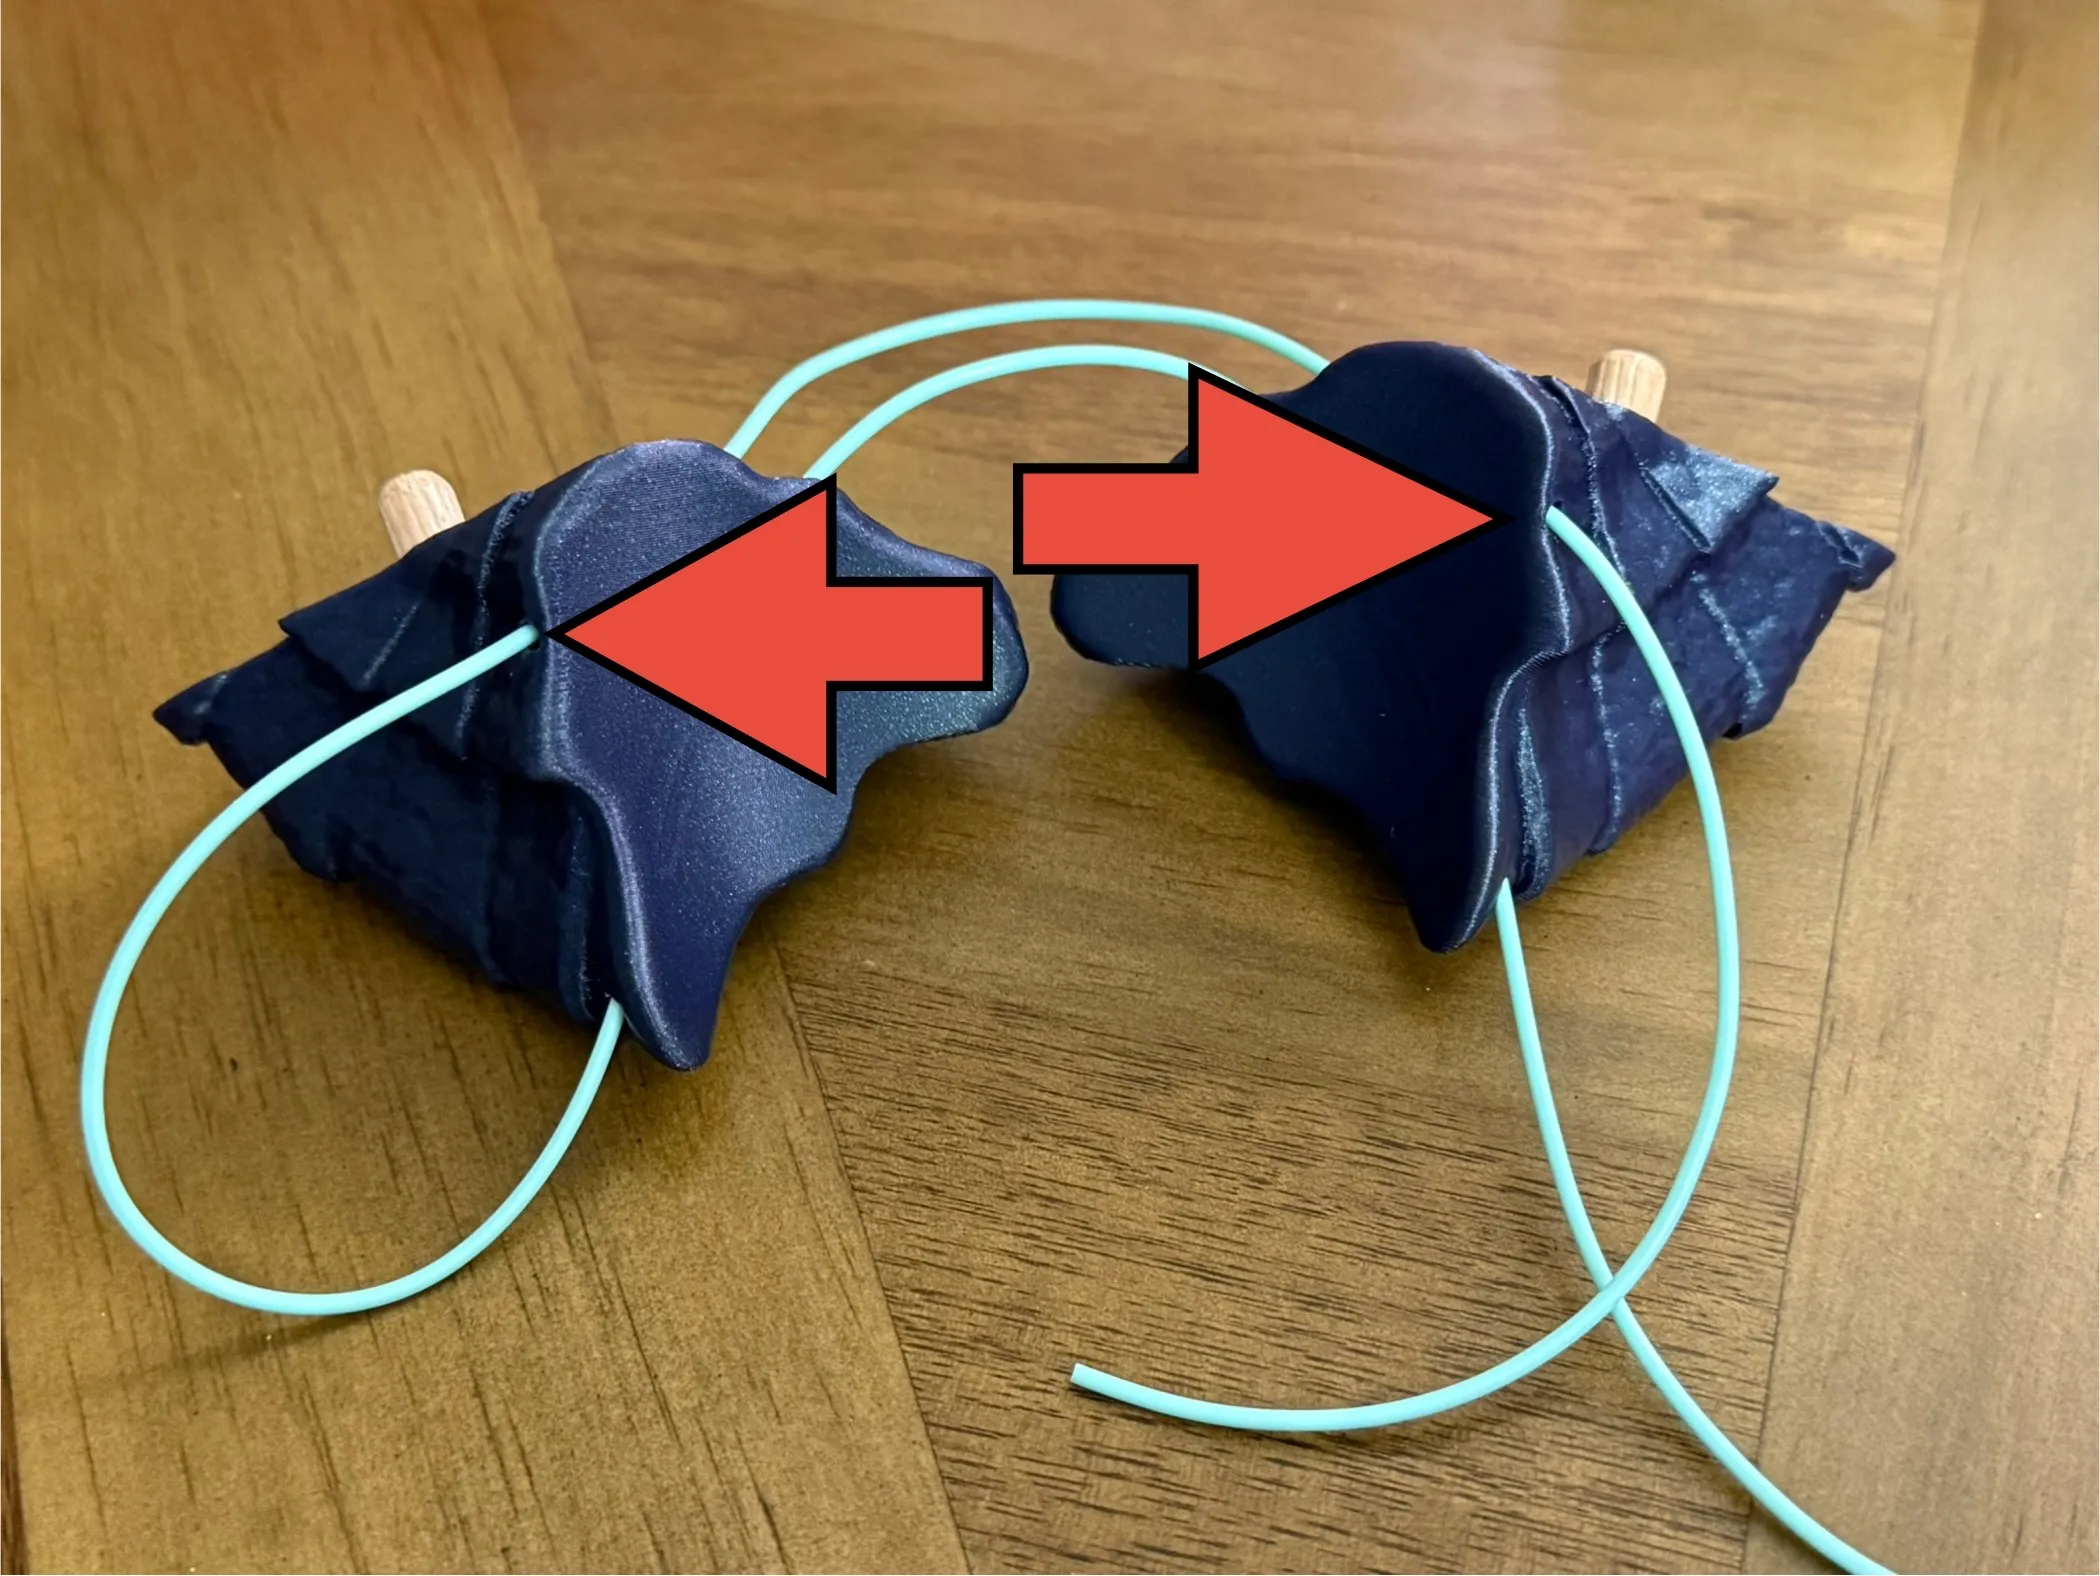
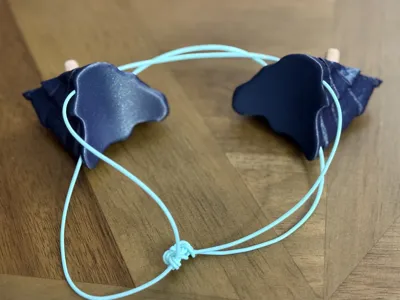
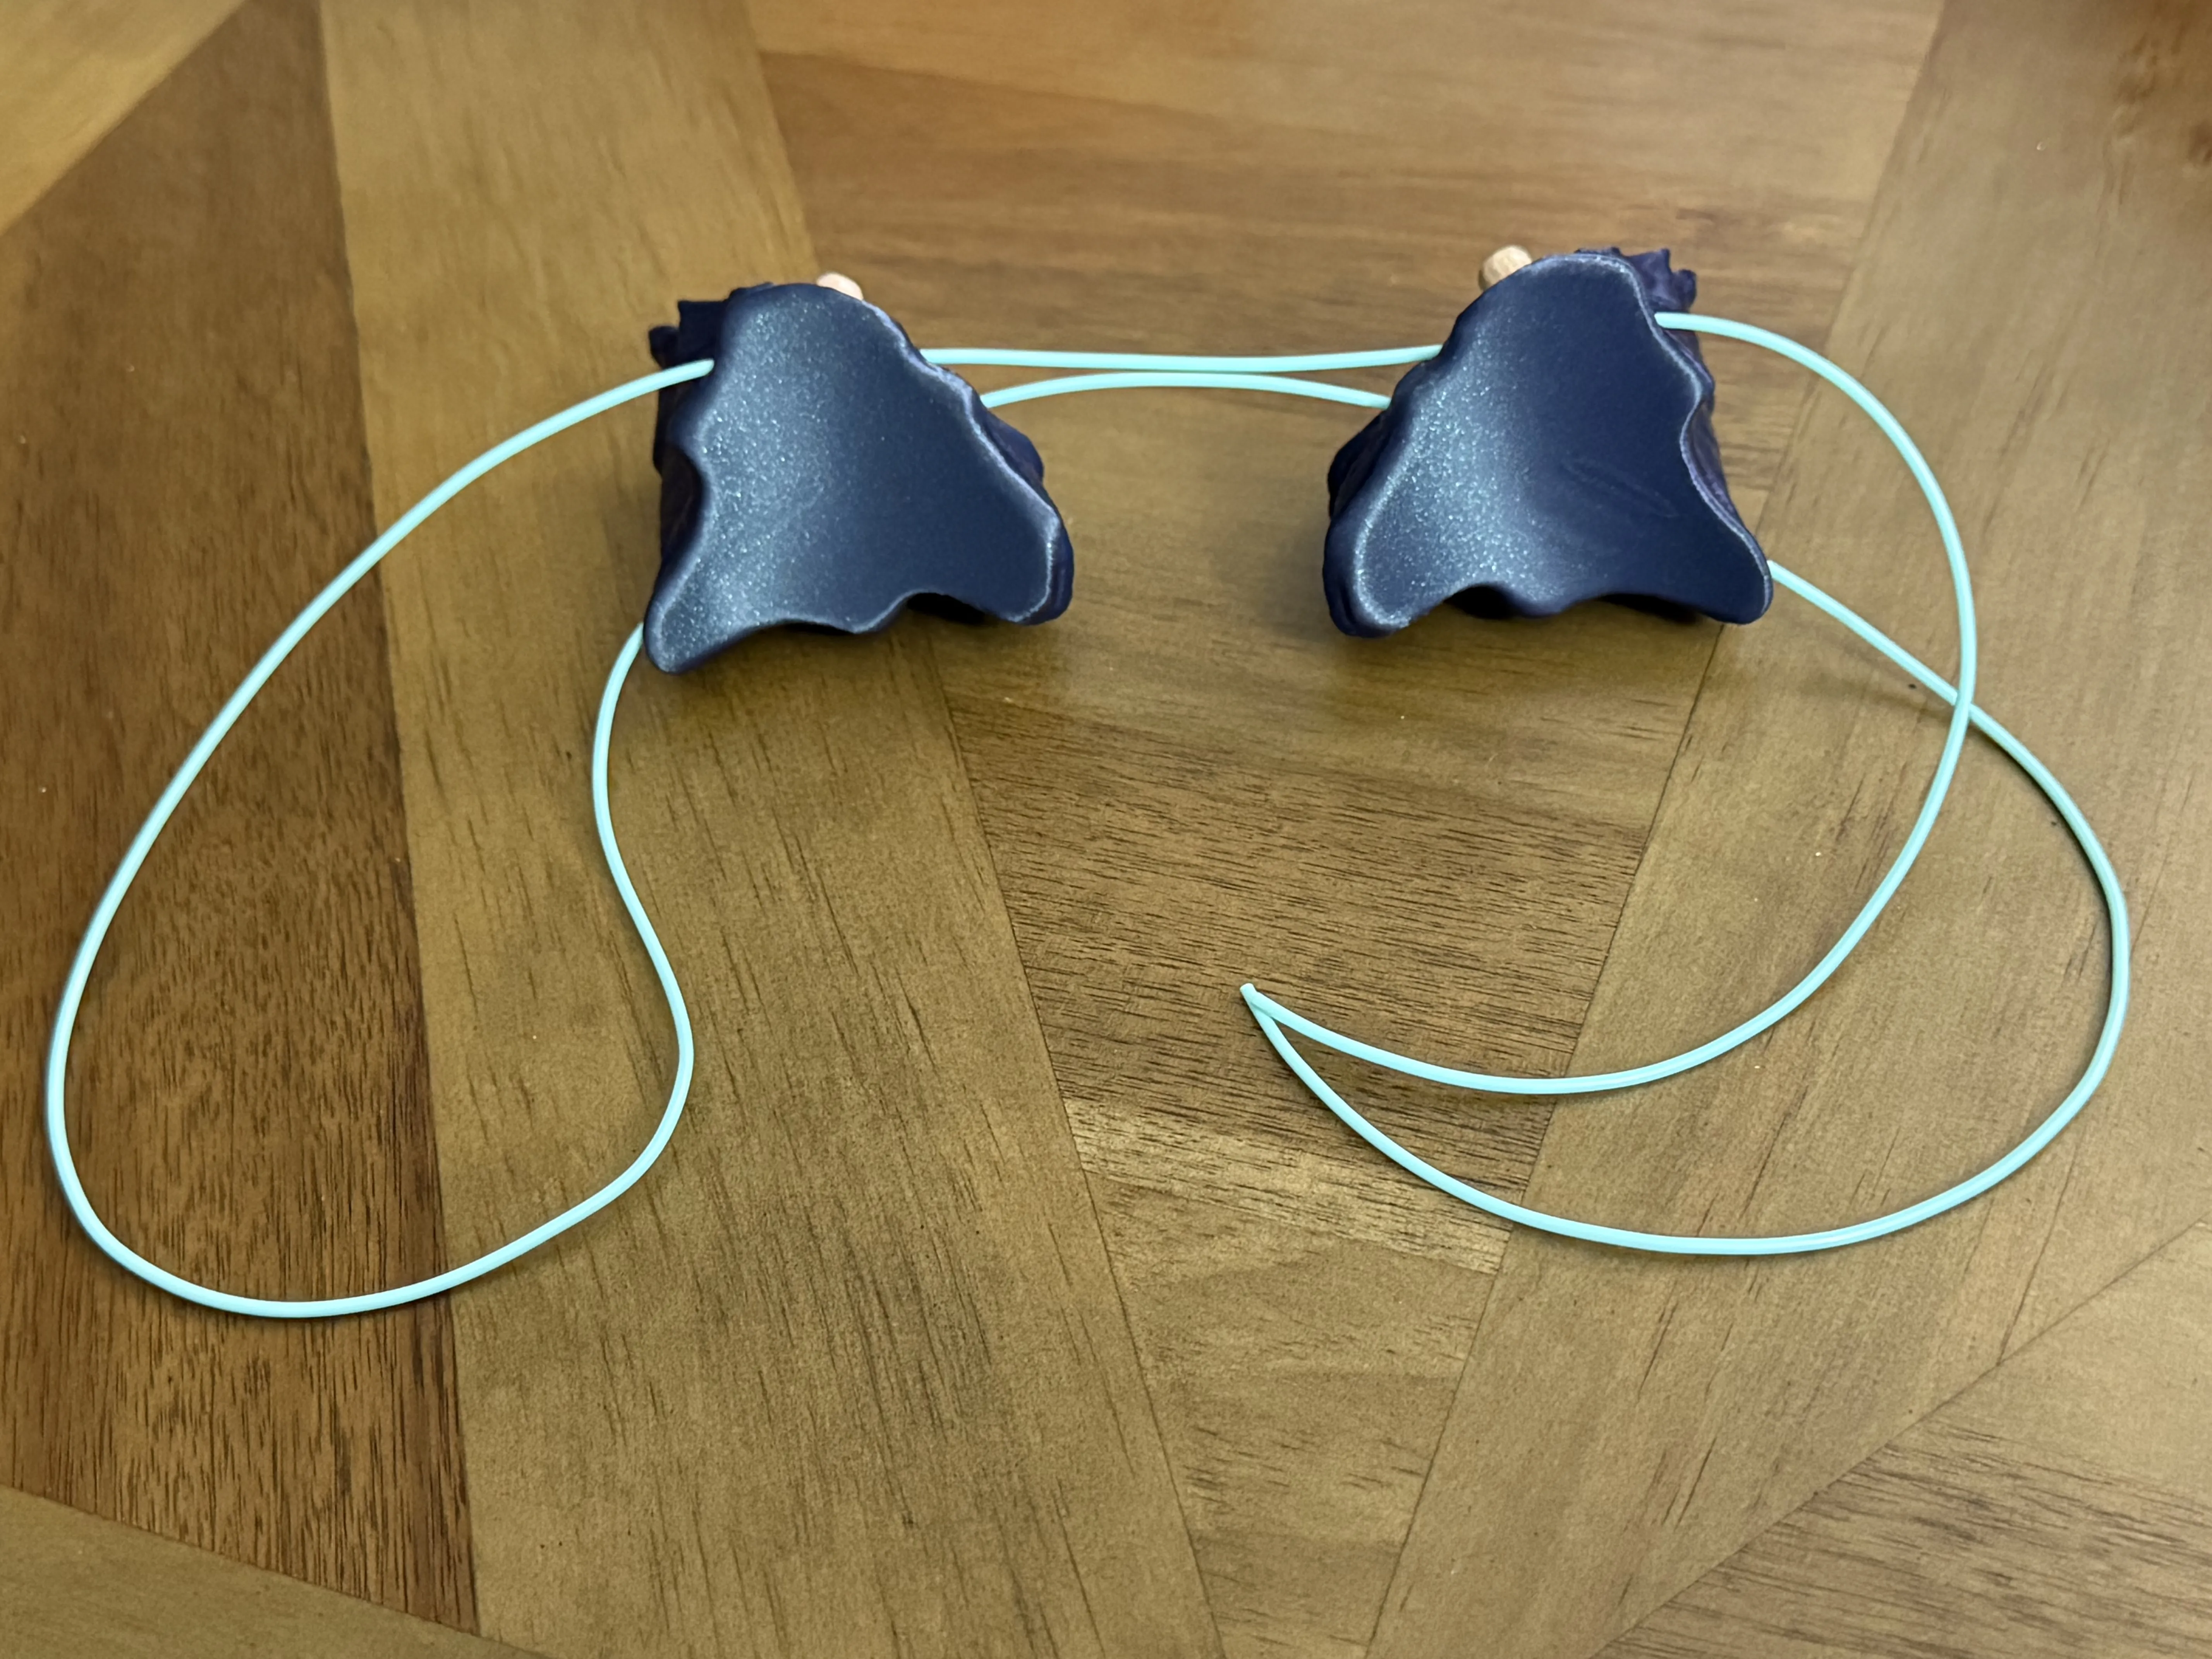 3. Tie a knot to connect both ends. Use super glue on the knot if necessary.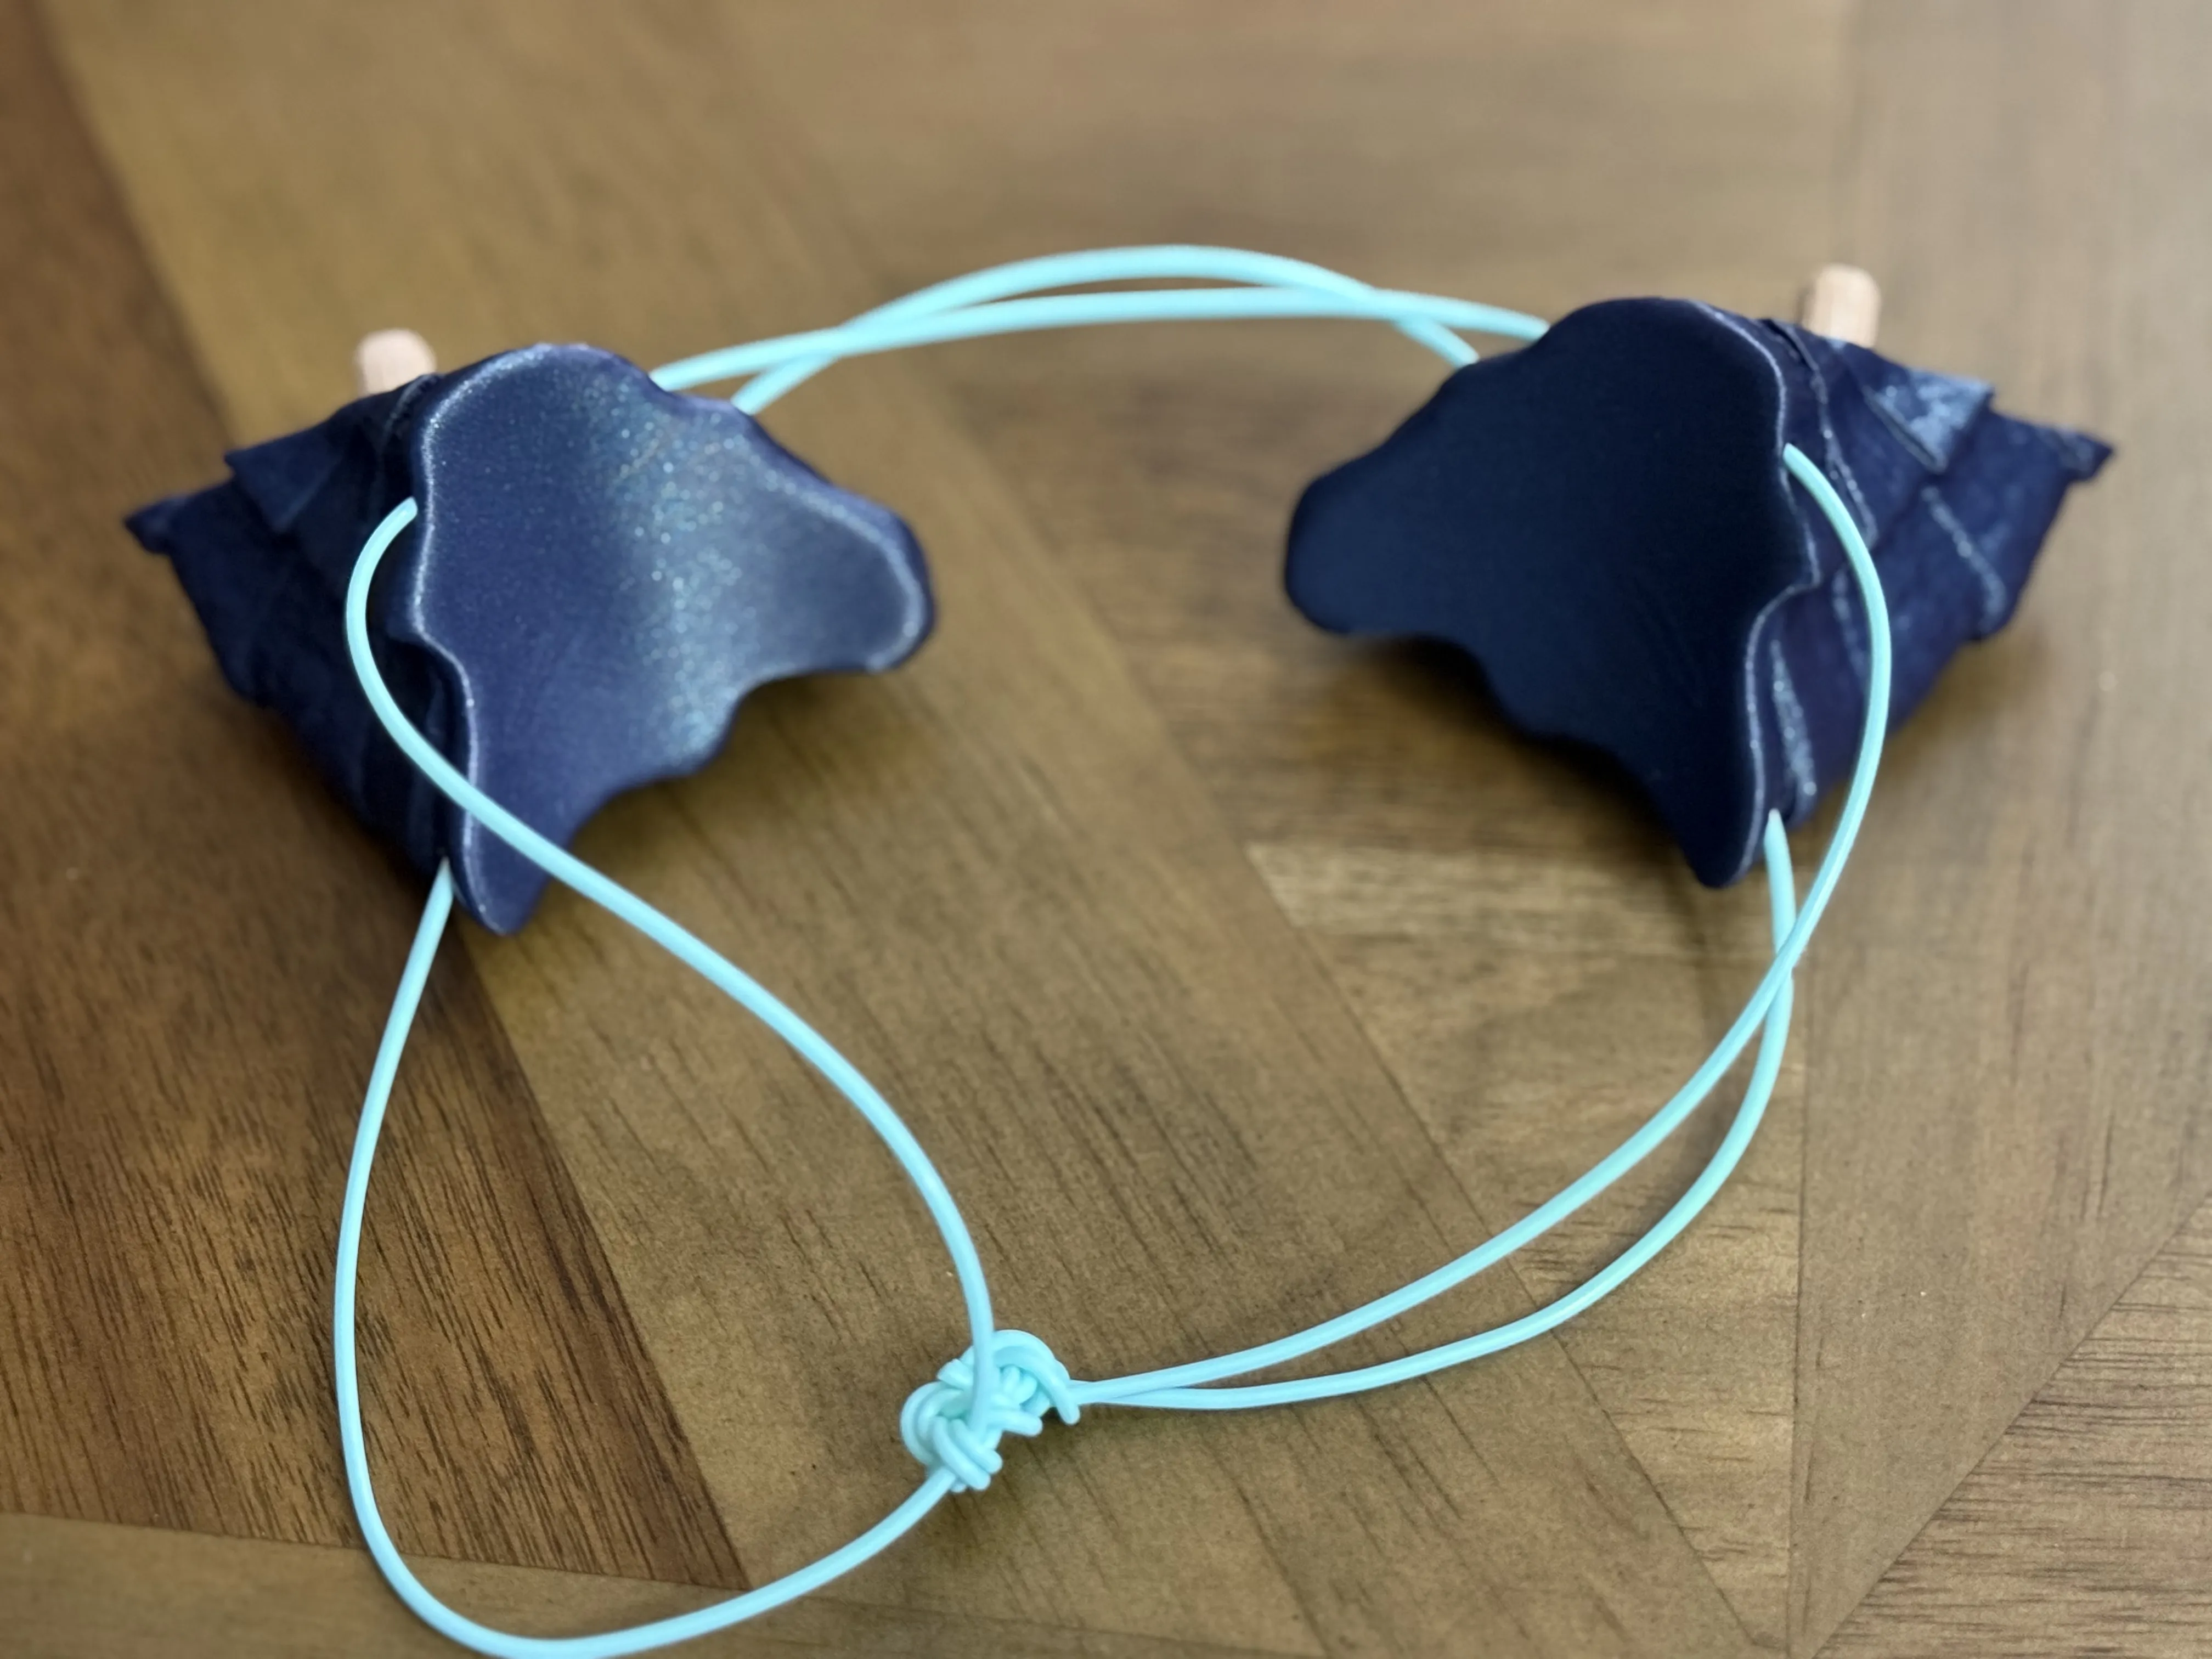
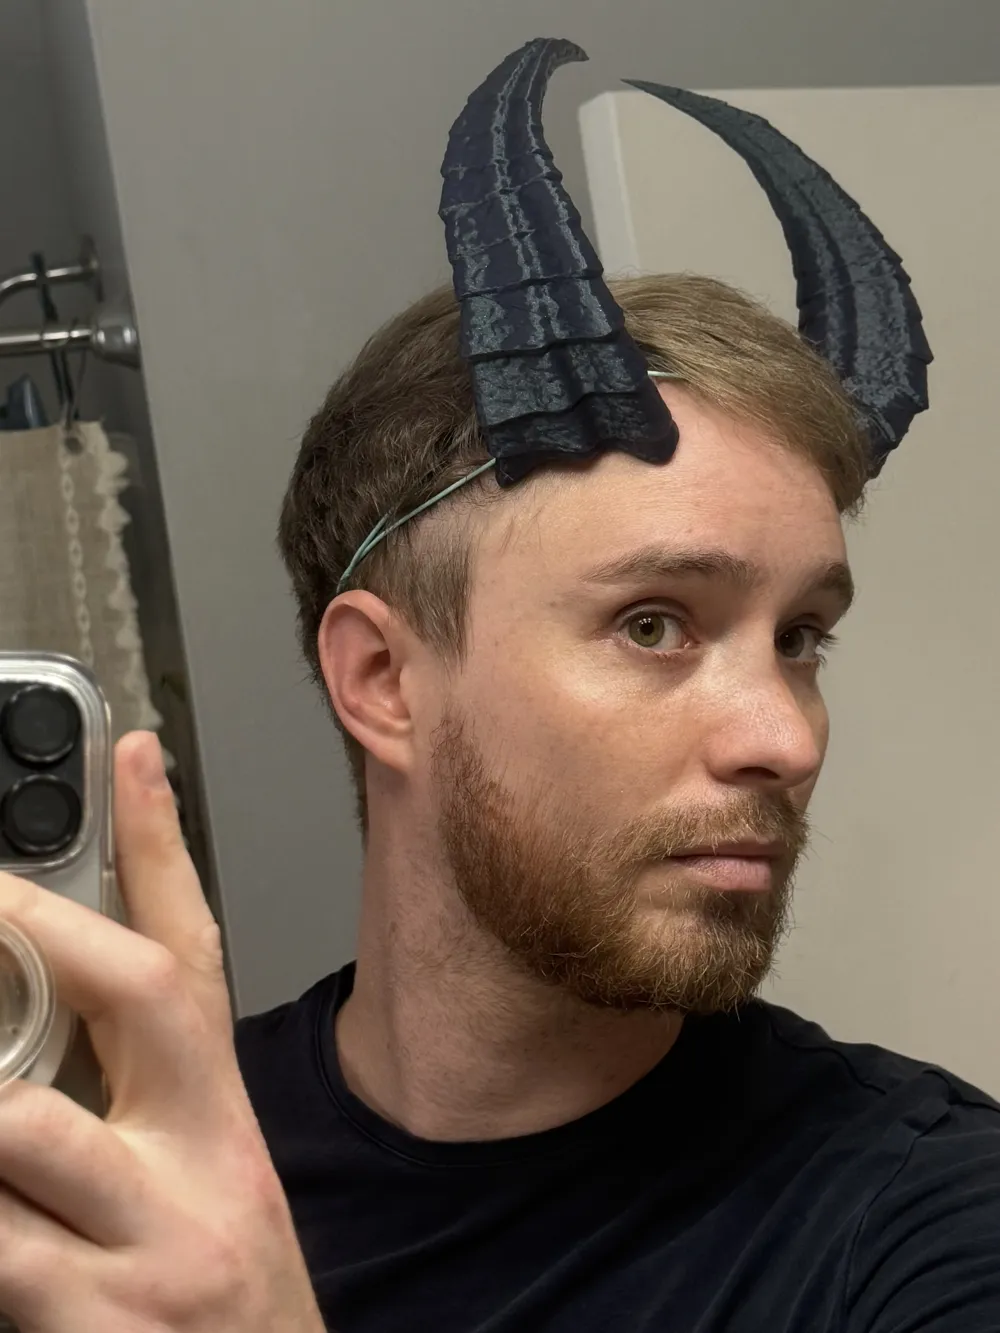
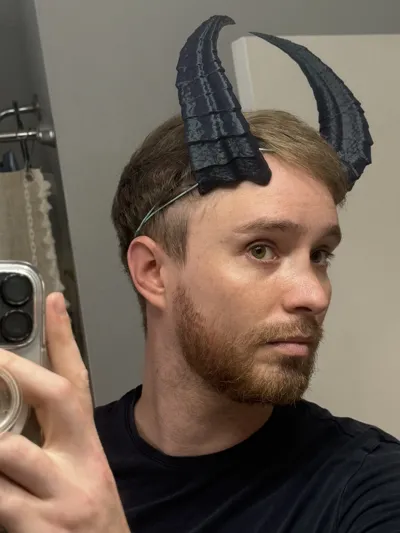
Below is a picture of me wearing them with the blue TPU filament as the cord.

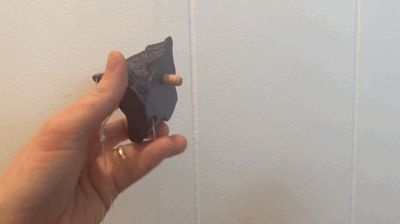

The pins need to be glued to one side of the horns and the magnets should self align themselves by pivoting around the pin. See gif below
License

You shall not share, sub-license, sell, rent, host, transfer, or distribute in any way the digital or 3D printed versions of this object, nor any other derivative work of this object in its digital or physical format (including - but not limited to - remixes of this object, and hosting on other digital platforms). The objects may not be used without permission in any way whatsoever in which you charge money, or collect fees.


Comment & Rating (155)