
Mandalorian Helmet 303g-Min Support-Parts&Assemble

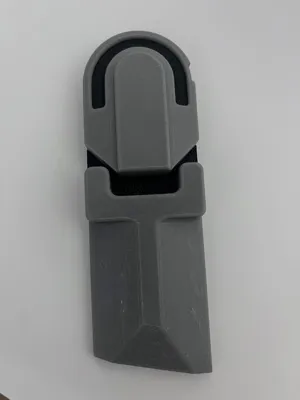
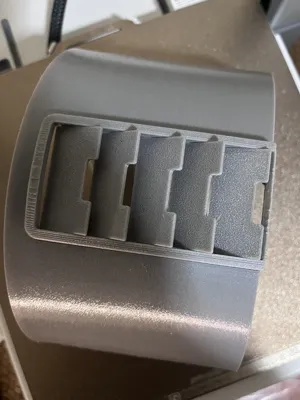
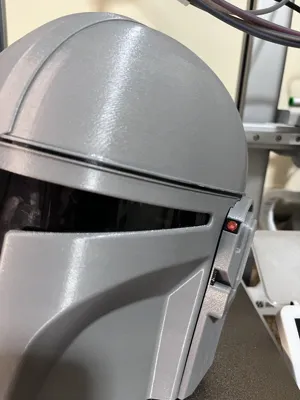
Print Profile(4)


Bill of Materials


Description
Boost Me (for free)
Like this Helmet? It took a lot of work. Why not Support me with a BOOST!
More Models by us @3Z3D:
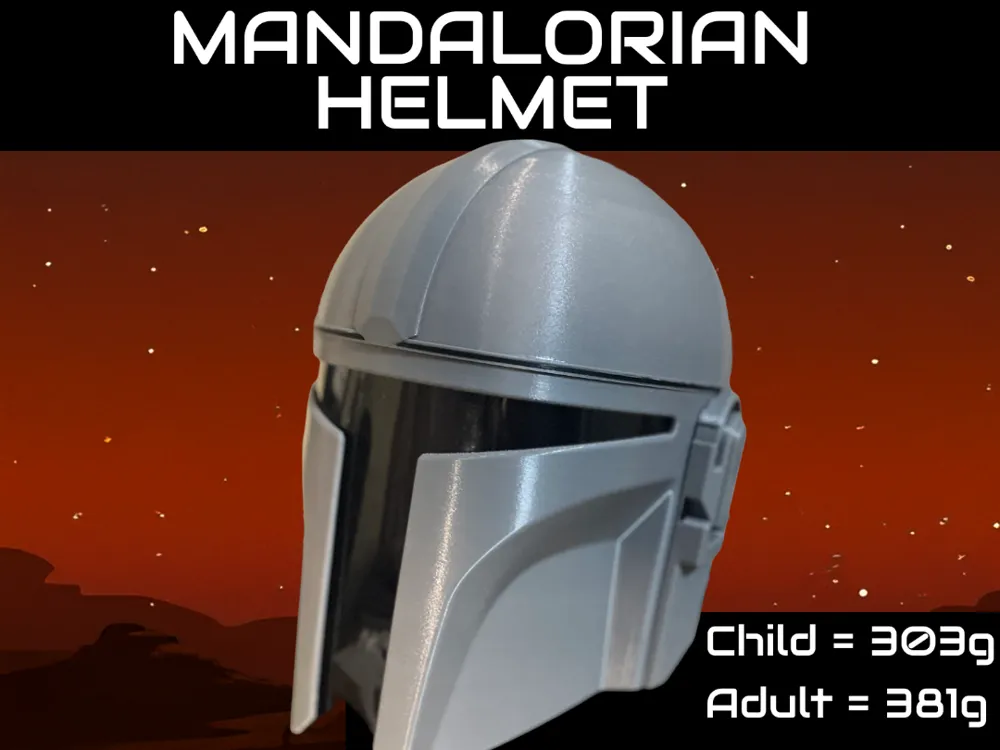
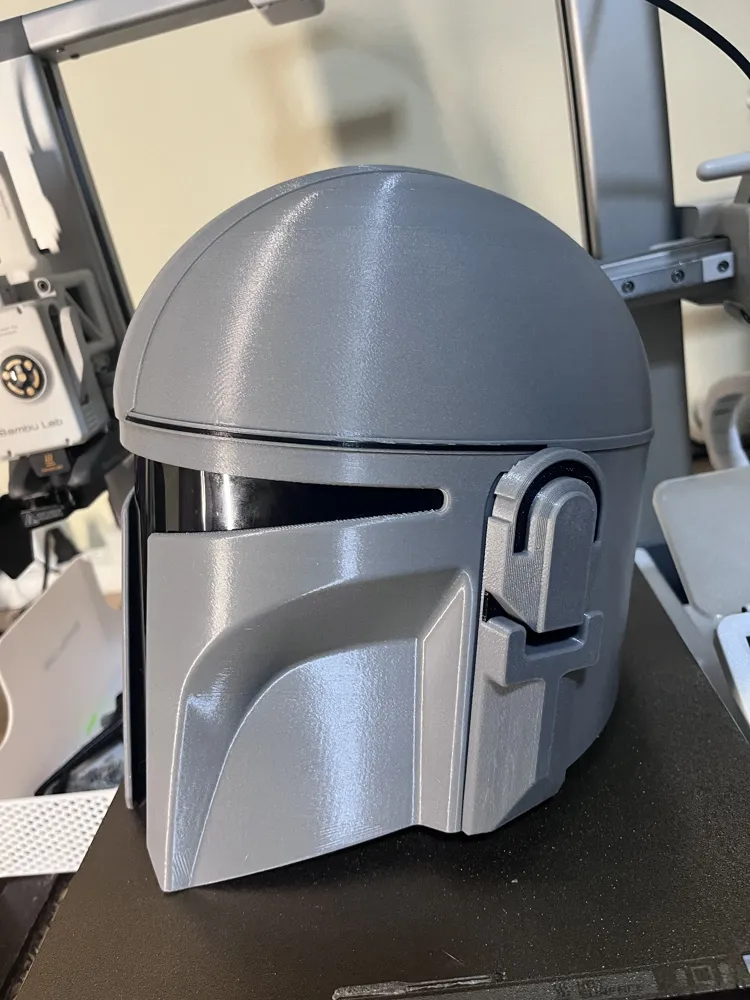
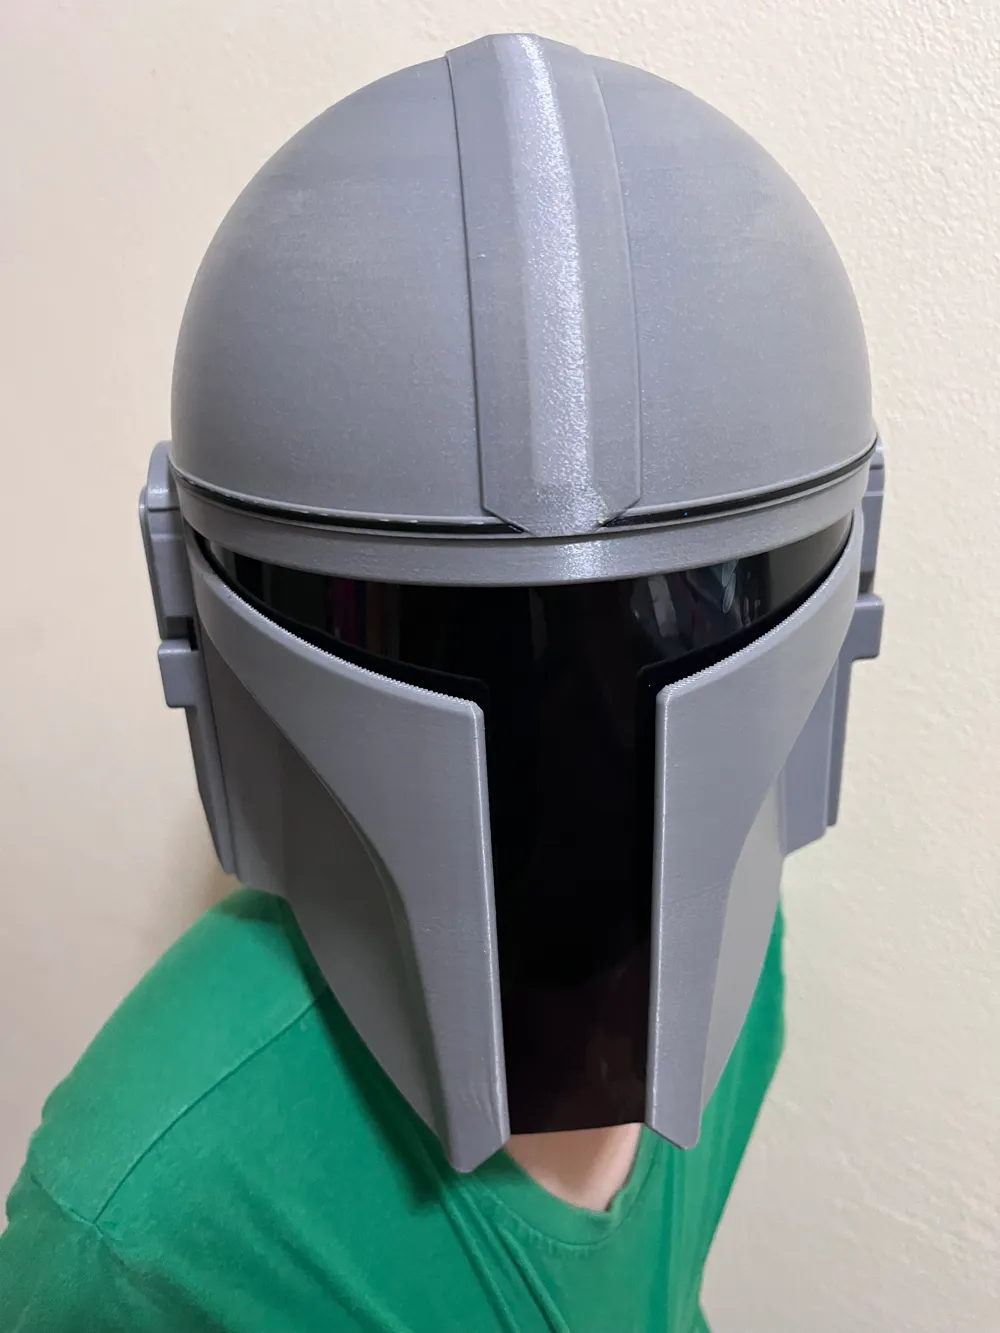
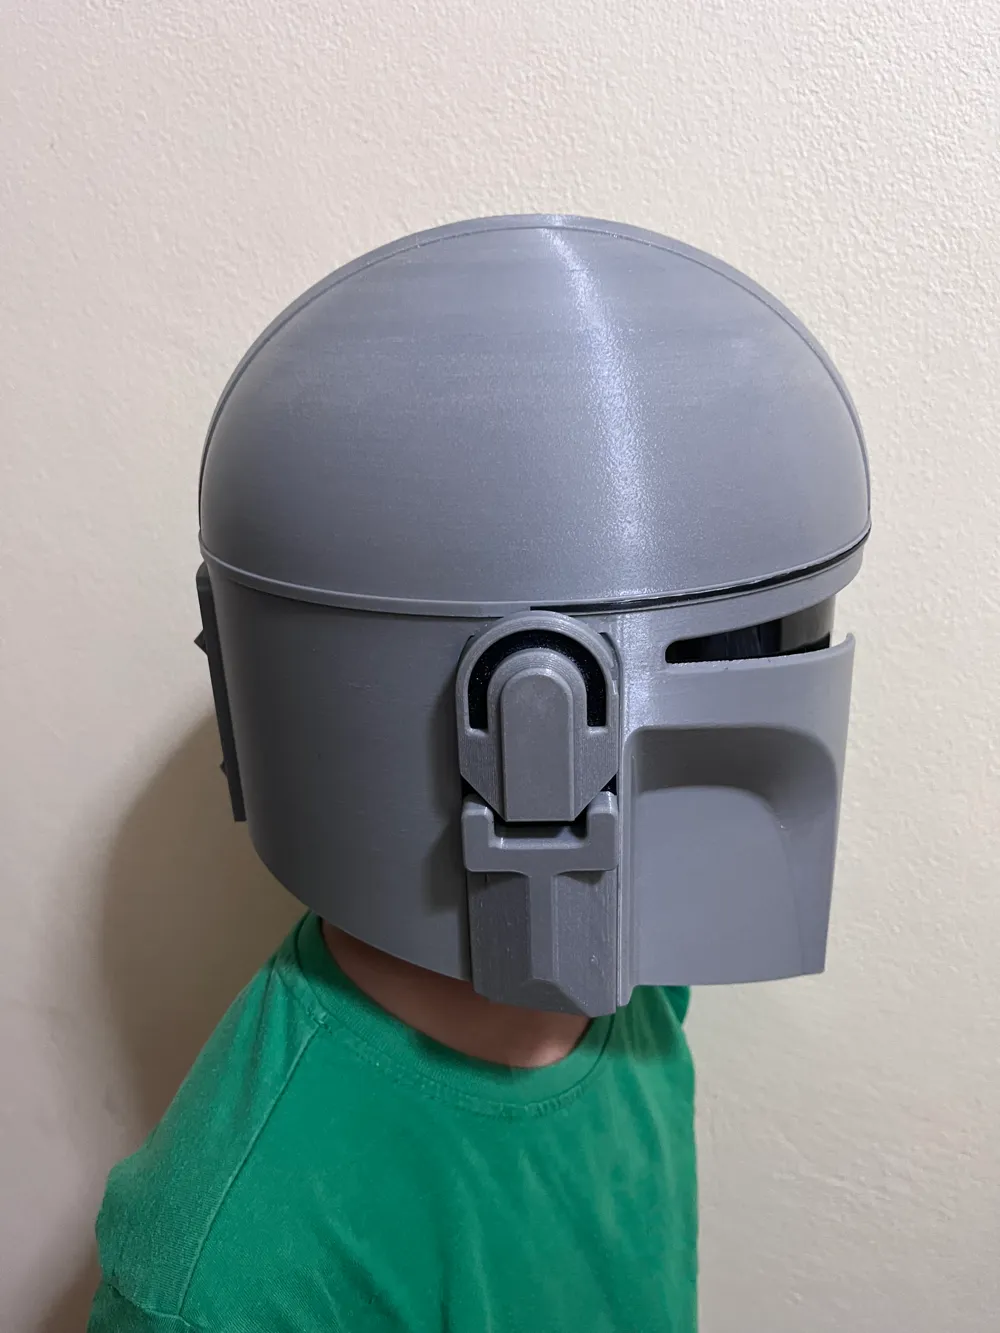
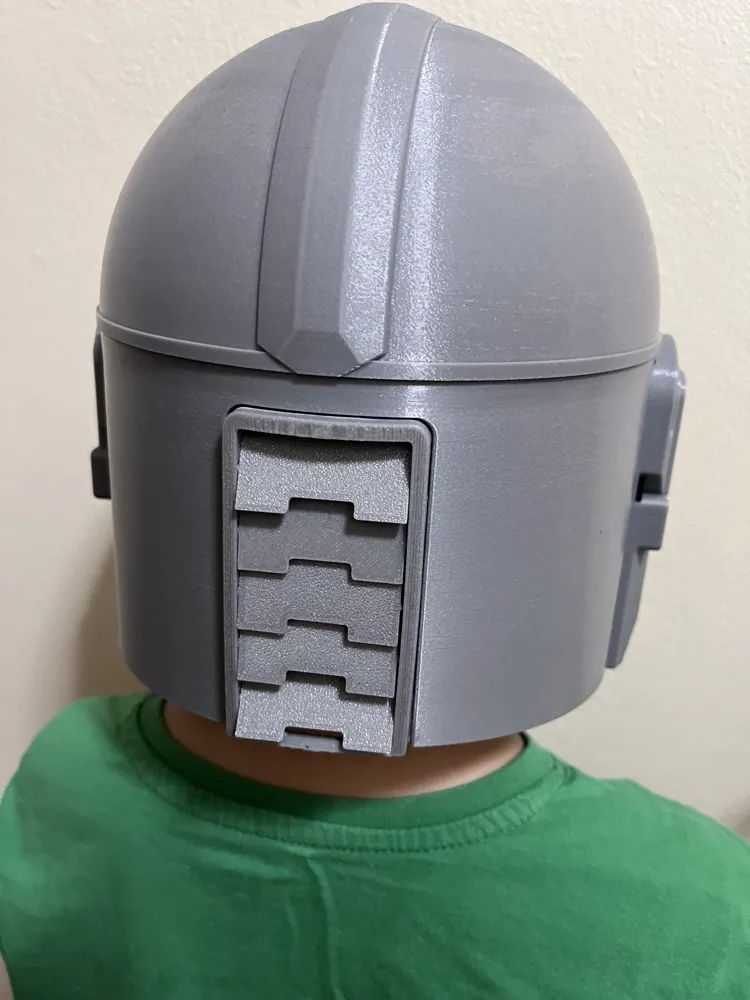
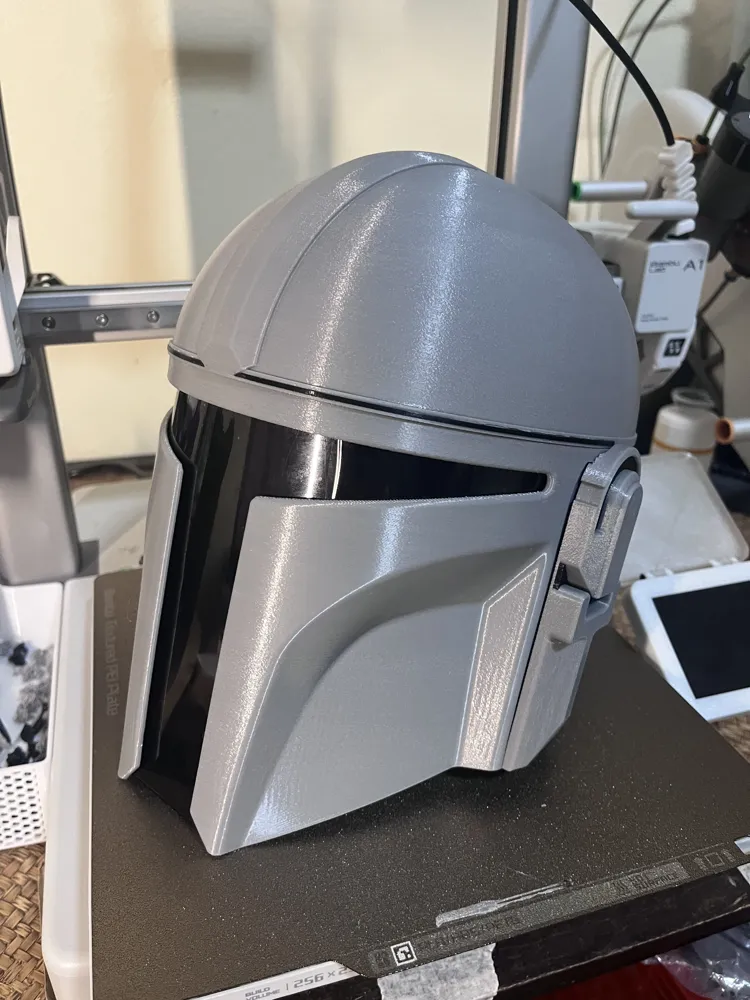
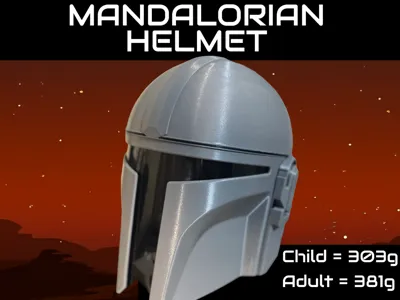
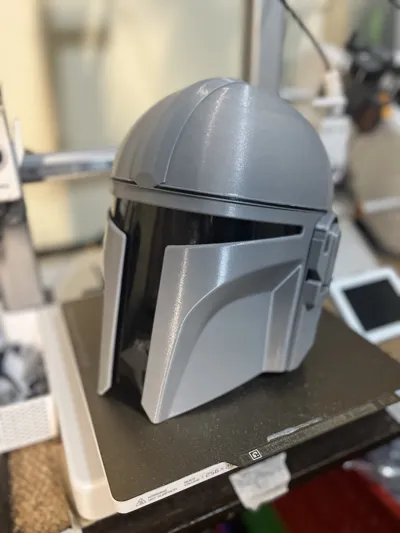
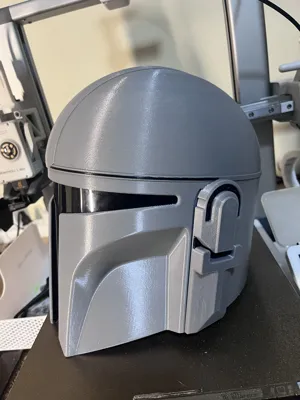
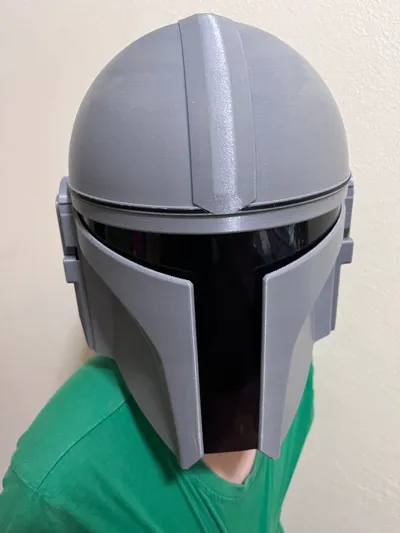
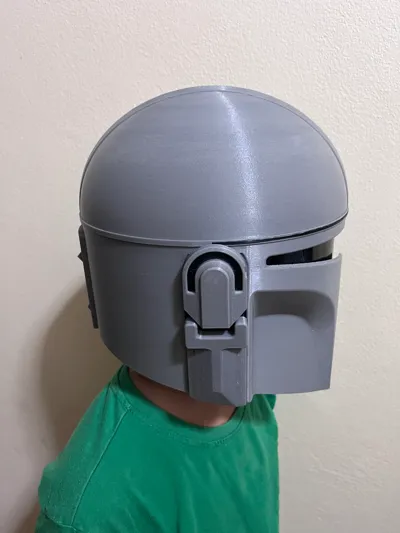
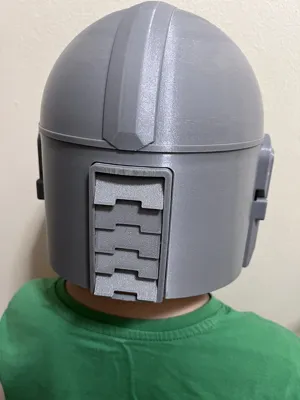
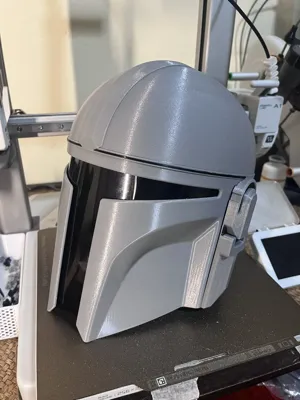
Mandalorian Helmet - Low Filament @ 303g - Minimal Supports and Easy to Assemble
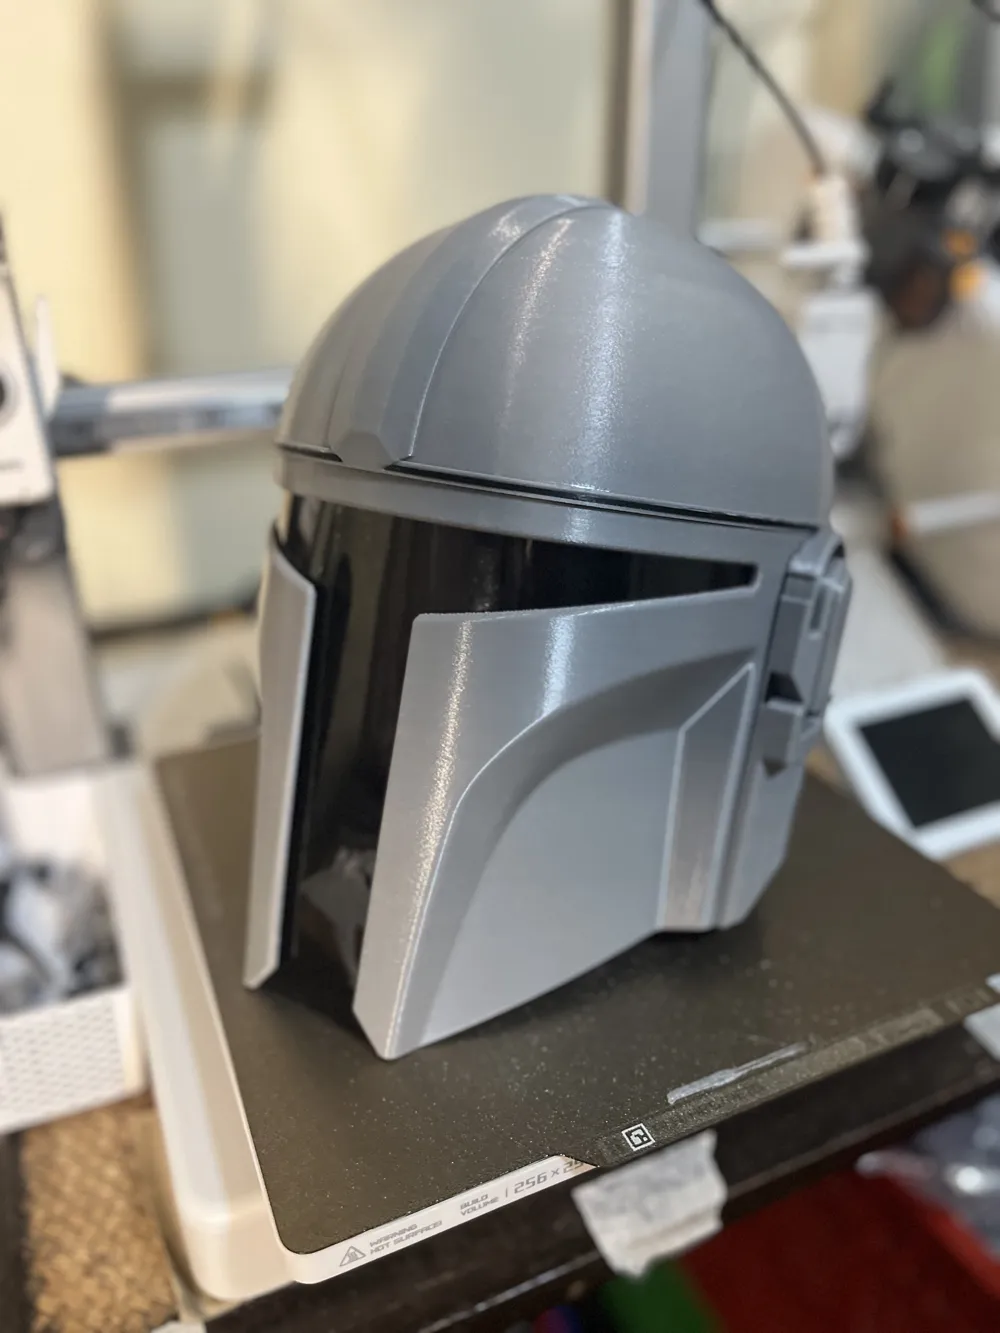
My son really wanted a Mandalorian Helmet, all the other models I found were ether too much filament or too long a print (I don`t like long prints that can possibly fail). I found a CAD file and highly modified and edited it for our needs. It printed and assembled so well and looks AMAZING.
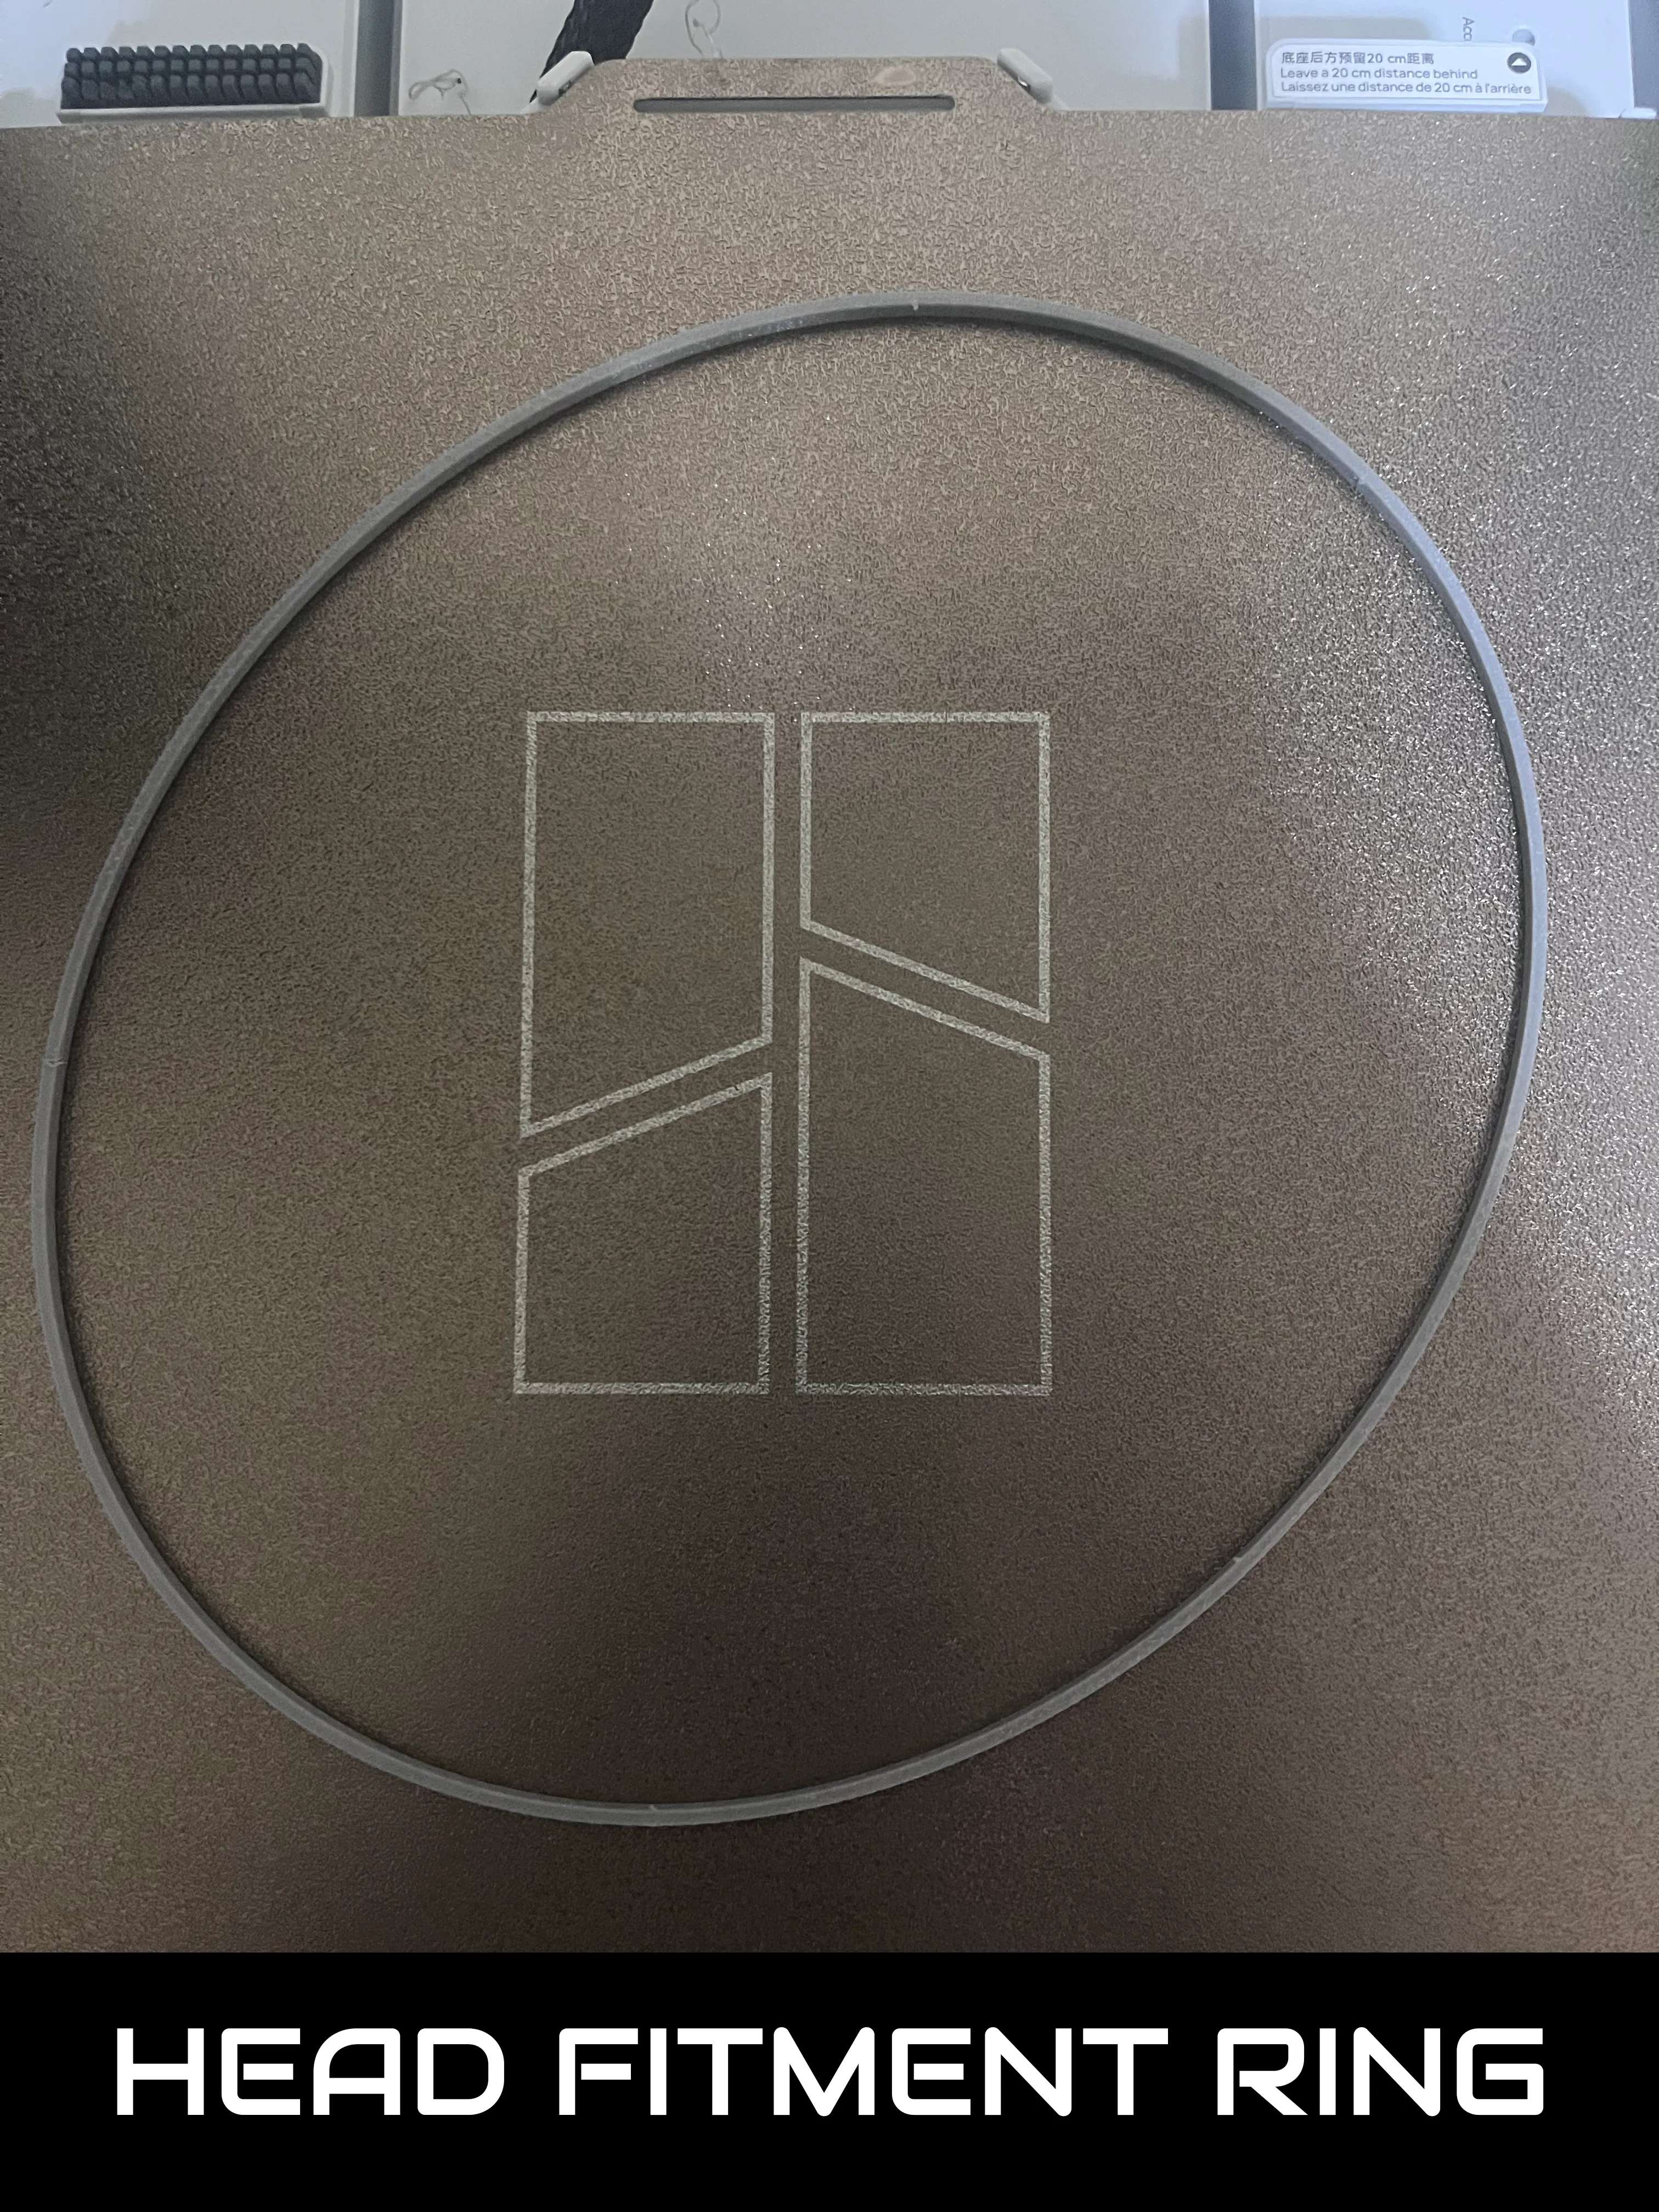
How To Check Fitment:
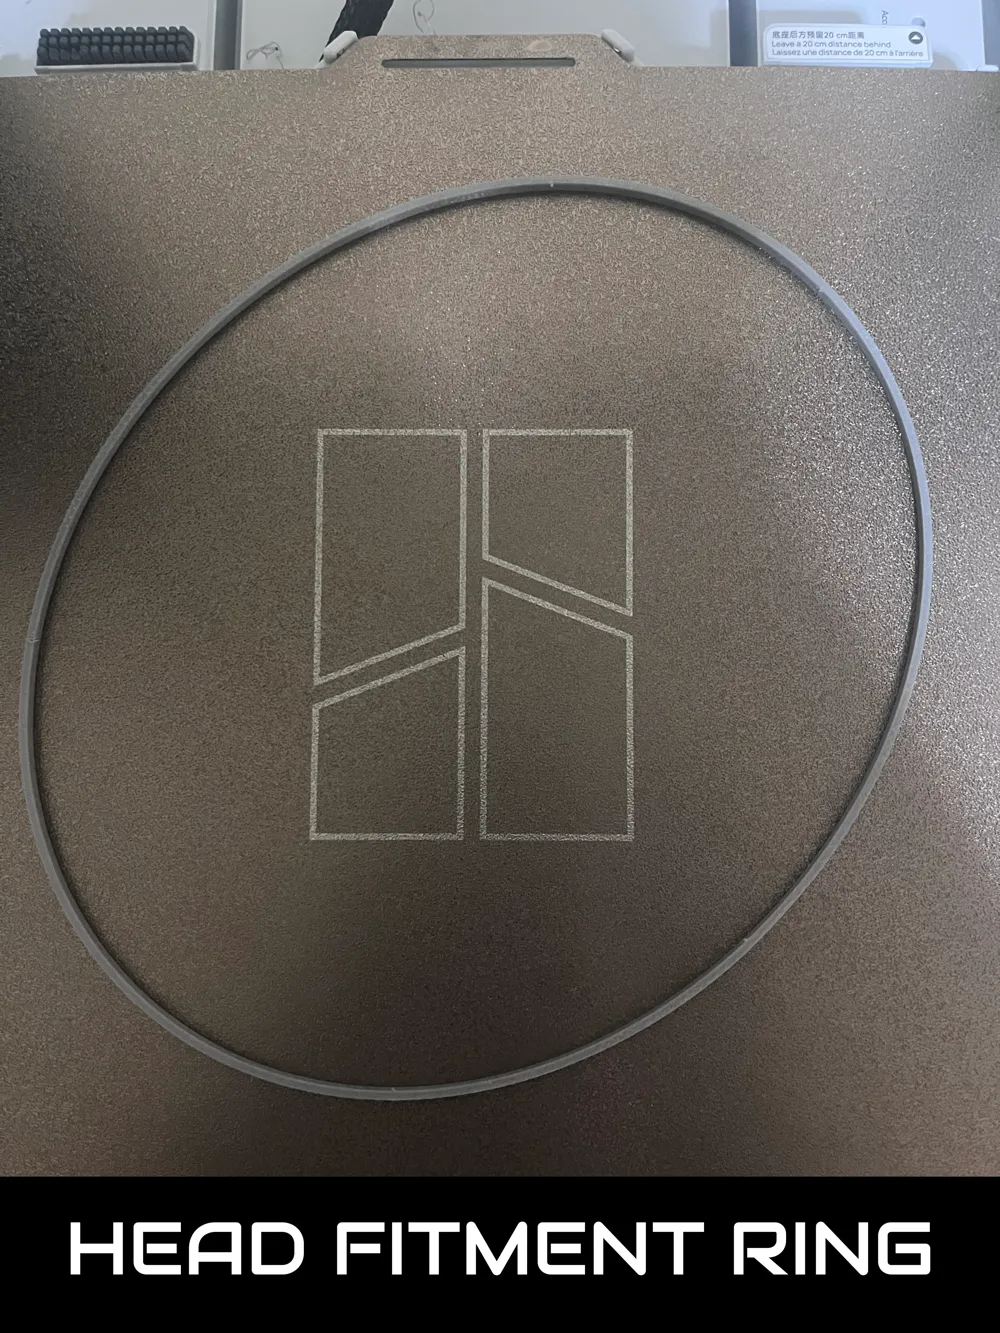
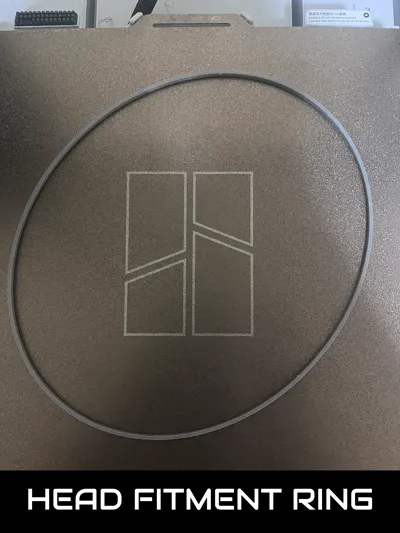
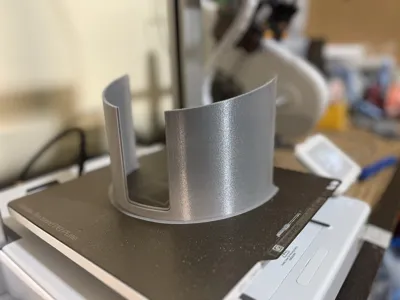
Print the “Head Fitment Test + Connection Ring” Plate - NOTE - Keep this Ring to use in Step 5 - it also serves as a Connecting Ring
- Make sure it fits over the top of your head, around the forehead area.
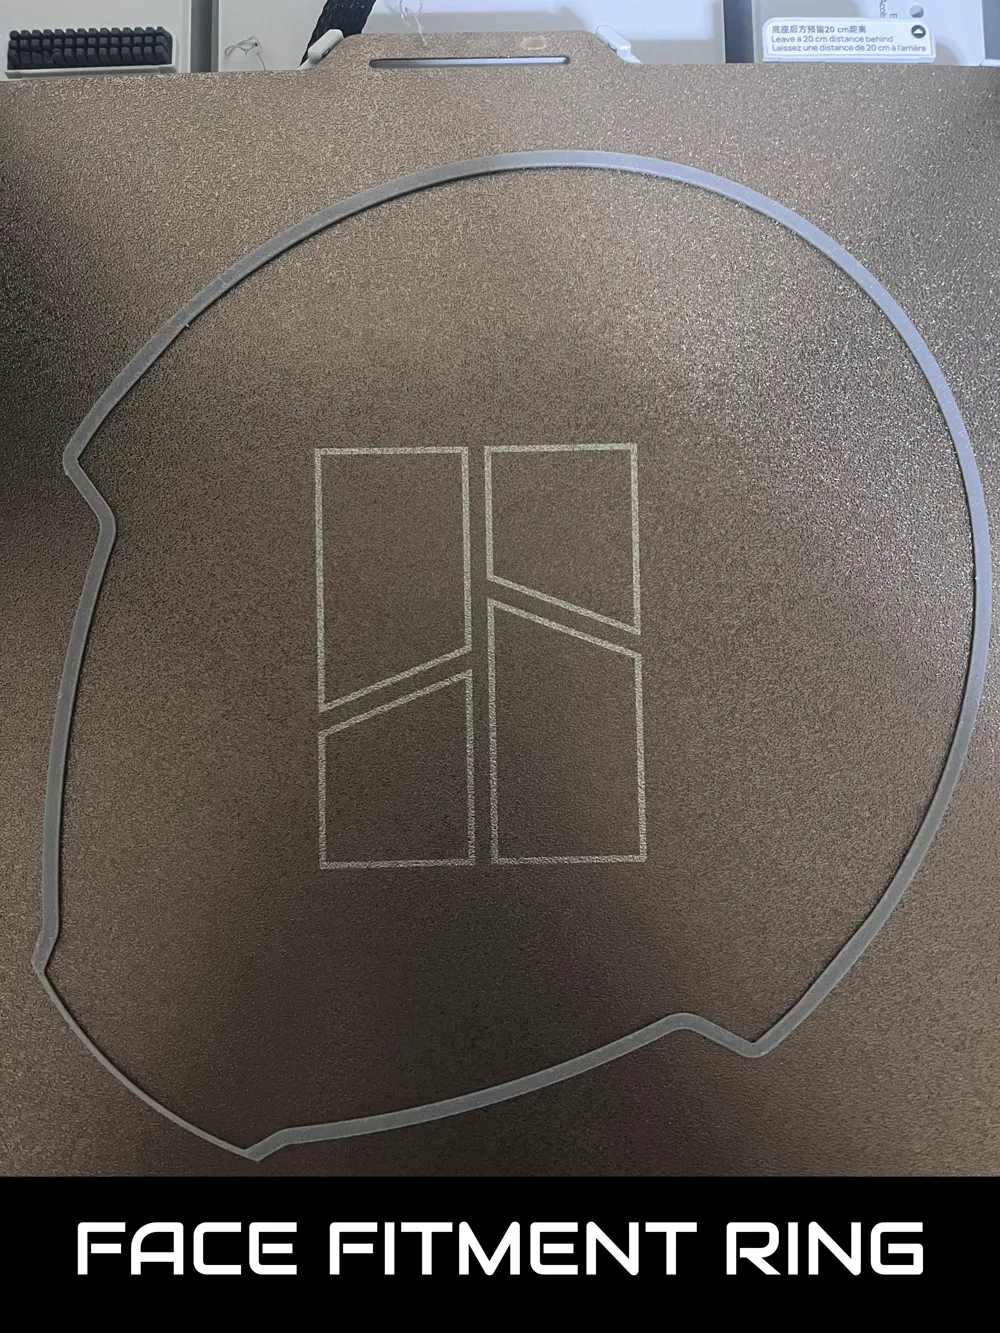
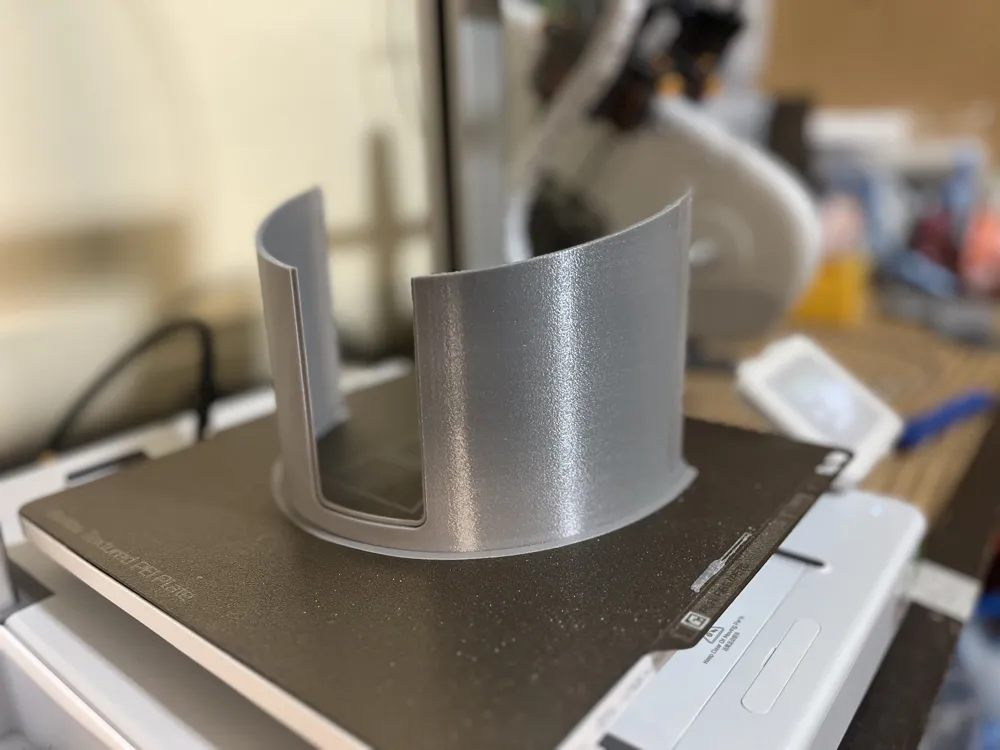
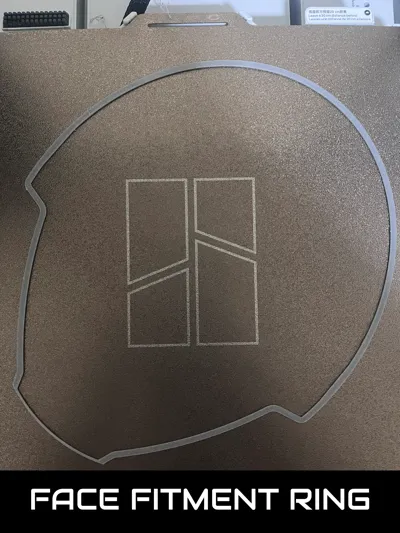
Print the “Face Fitment Ring” Plate
- Make sure it fits over your face, at the cheek area.
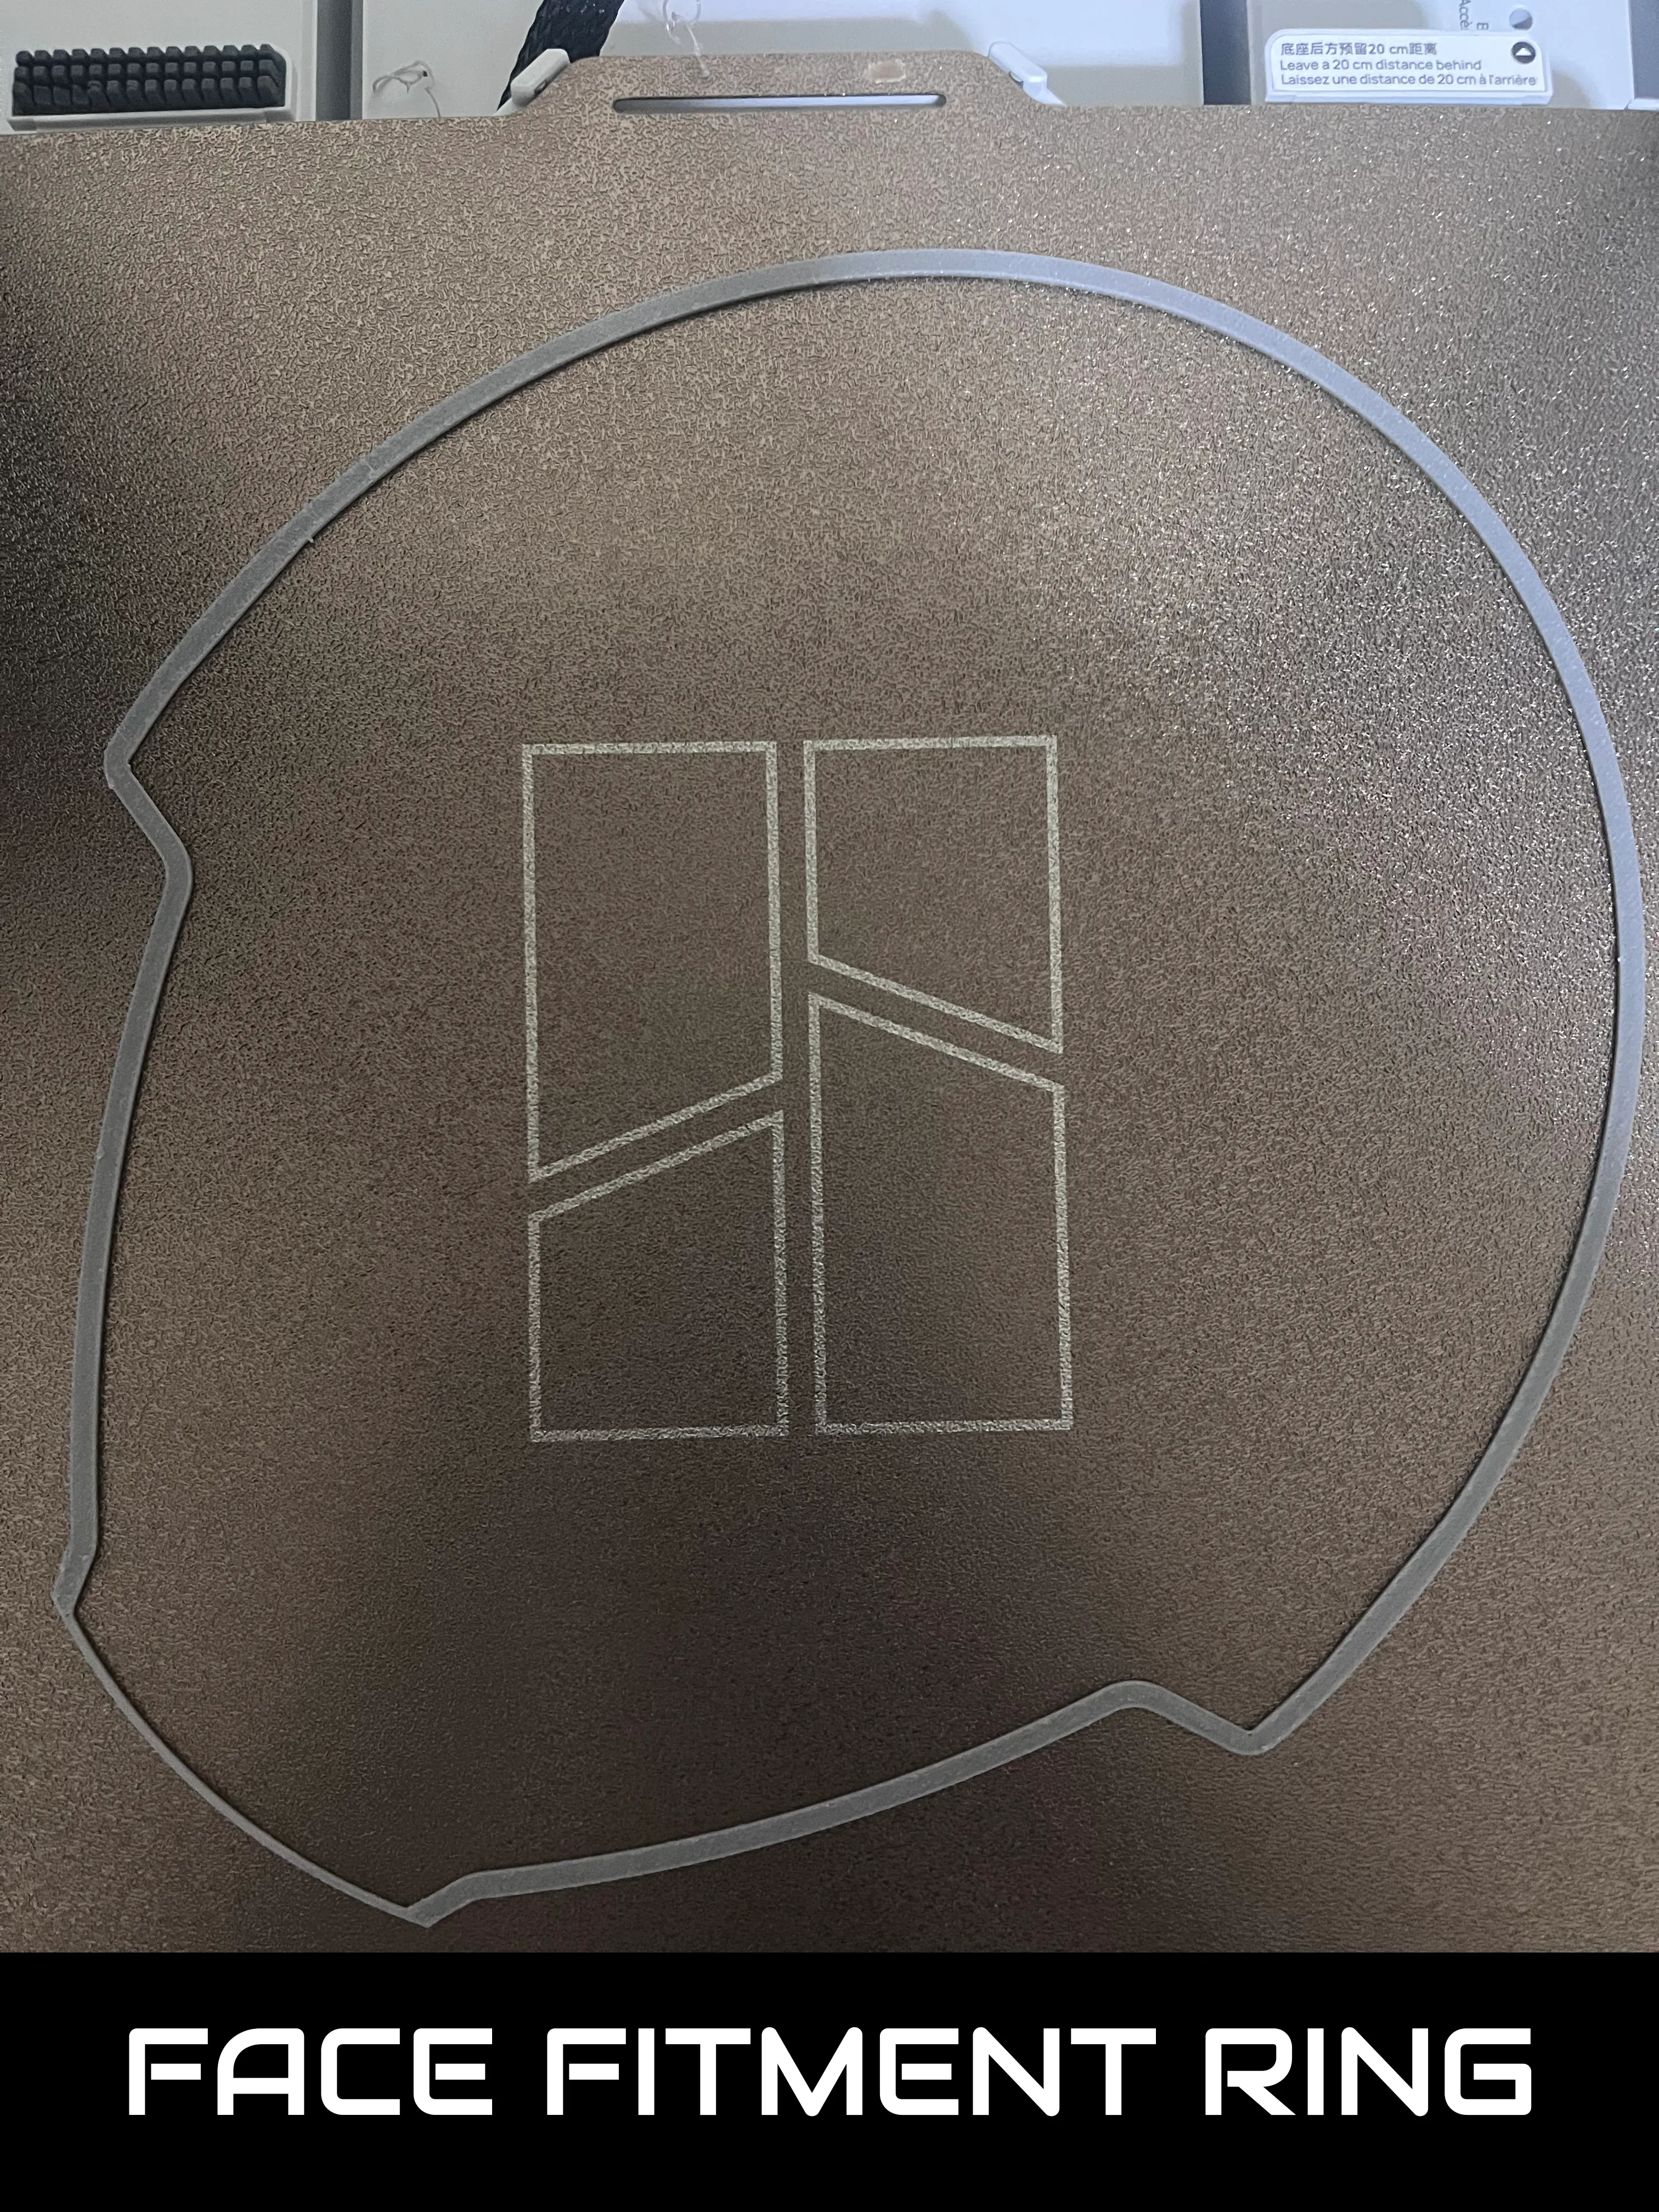
!! TRY AT YOUR OWN RISK WHEN SCALING - Scaling the model to be larger has not been tested by myself !!
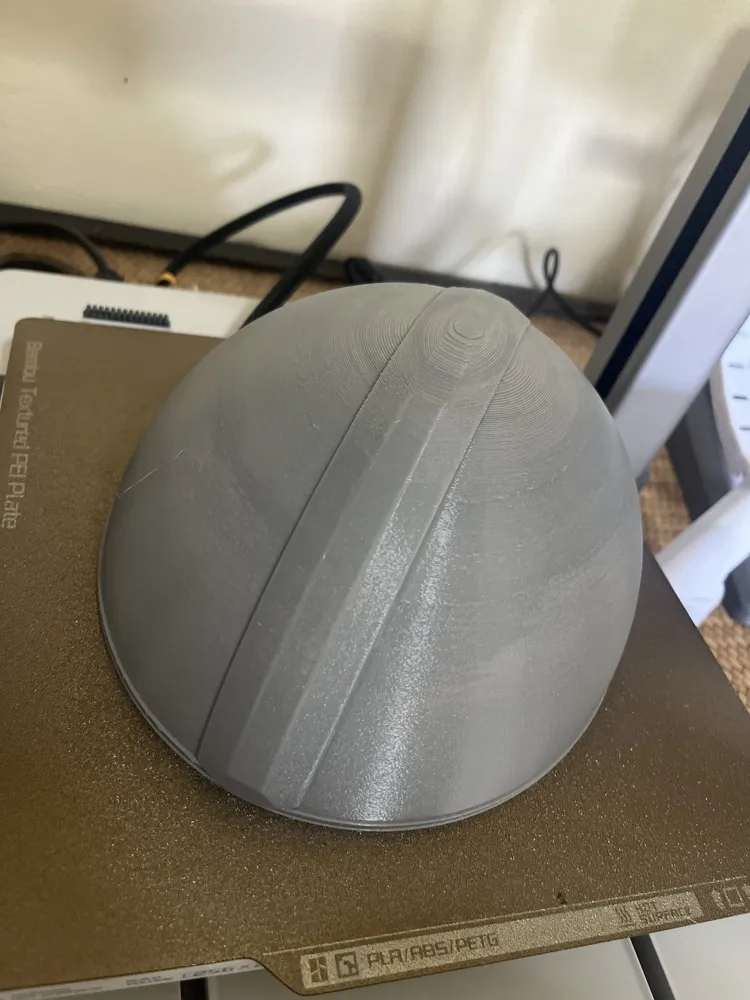
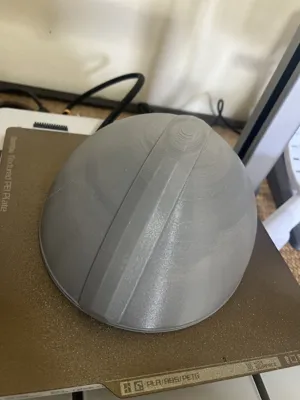
If needed, scale up all the parts. Note: The “Helmet Top” plate might start to need some supports with a support enforcer in the middle if it gets much bigger.
How to Prepare Face Mask Insert:
- Print the Template as attached in the PDF - A4 Borderless or US Letter Borderless.
- Cut Face Mask Insert out of some Transparent A4 PVC Sheet Tinted black with some window tint.
- Here are some example links, I did not buy these but use similar products:
- Transparent A4 PVC Sheet 0.3mm : Aliexpress / Amazon
- Window Tint: Aliexpress / Amazon
- Here are some example links, I did not buy these but use similar products:
How to Assemble (You will need some superglue):
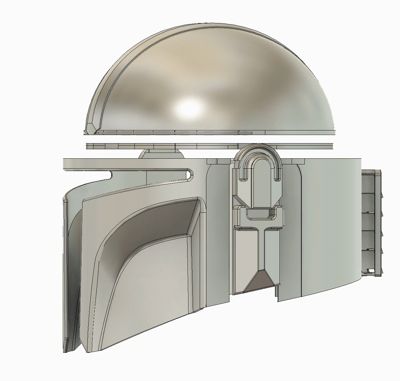
1. Print all Plates
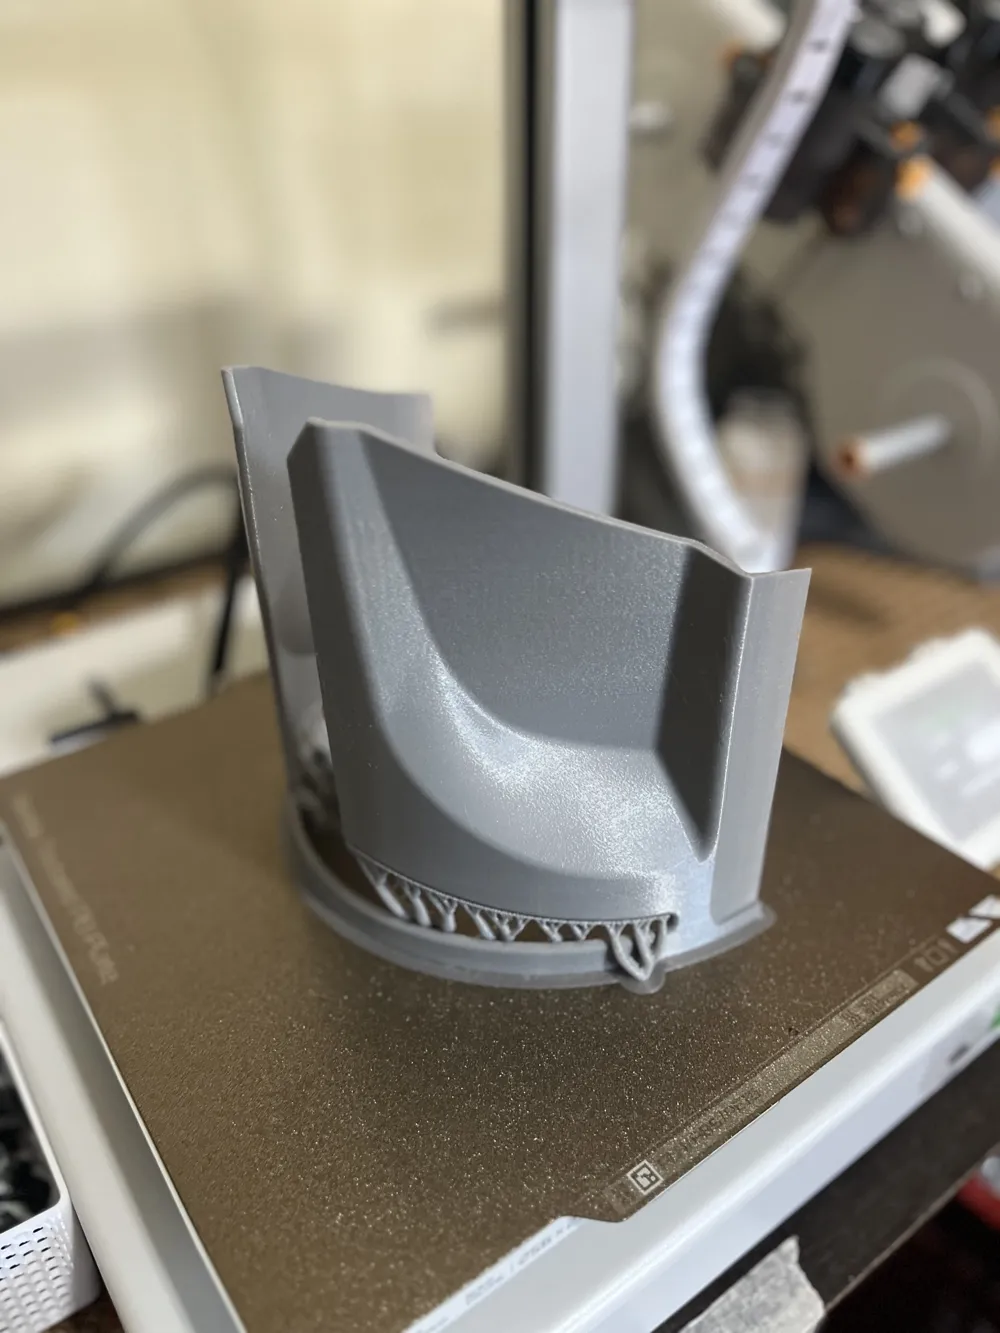
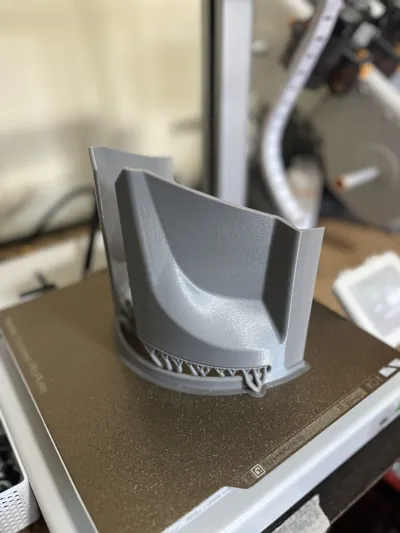
2. Remove Supports
3. Glue “Helmet Bottom Front” to “Helmet Bottom Back”
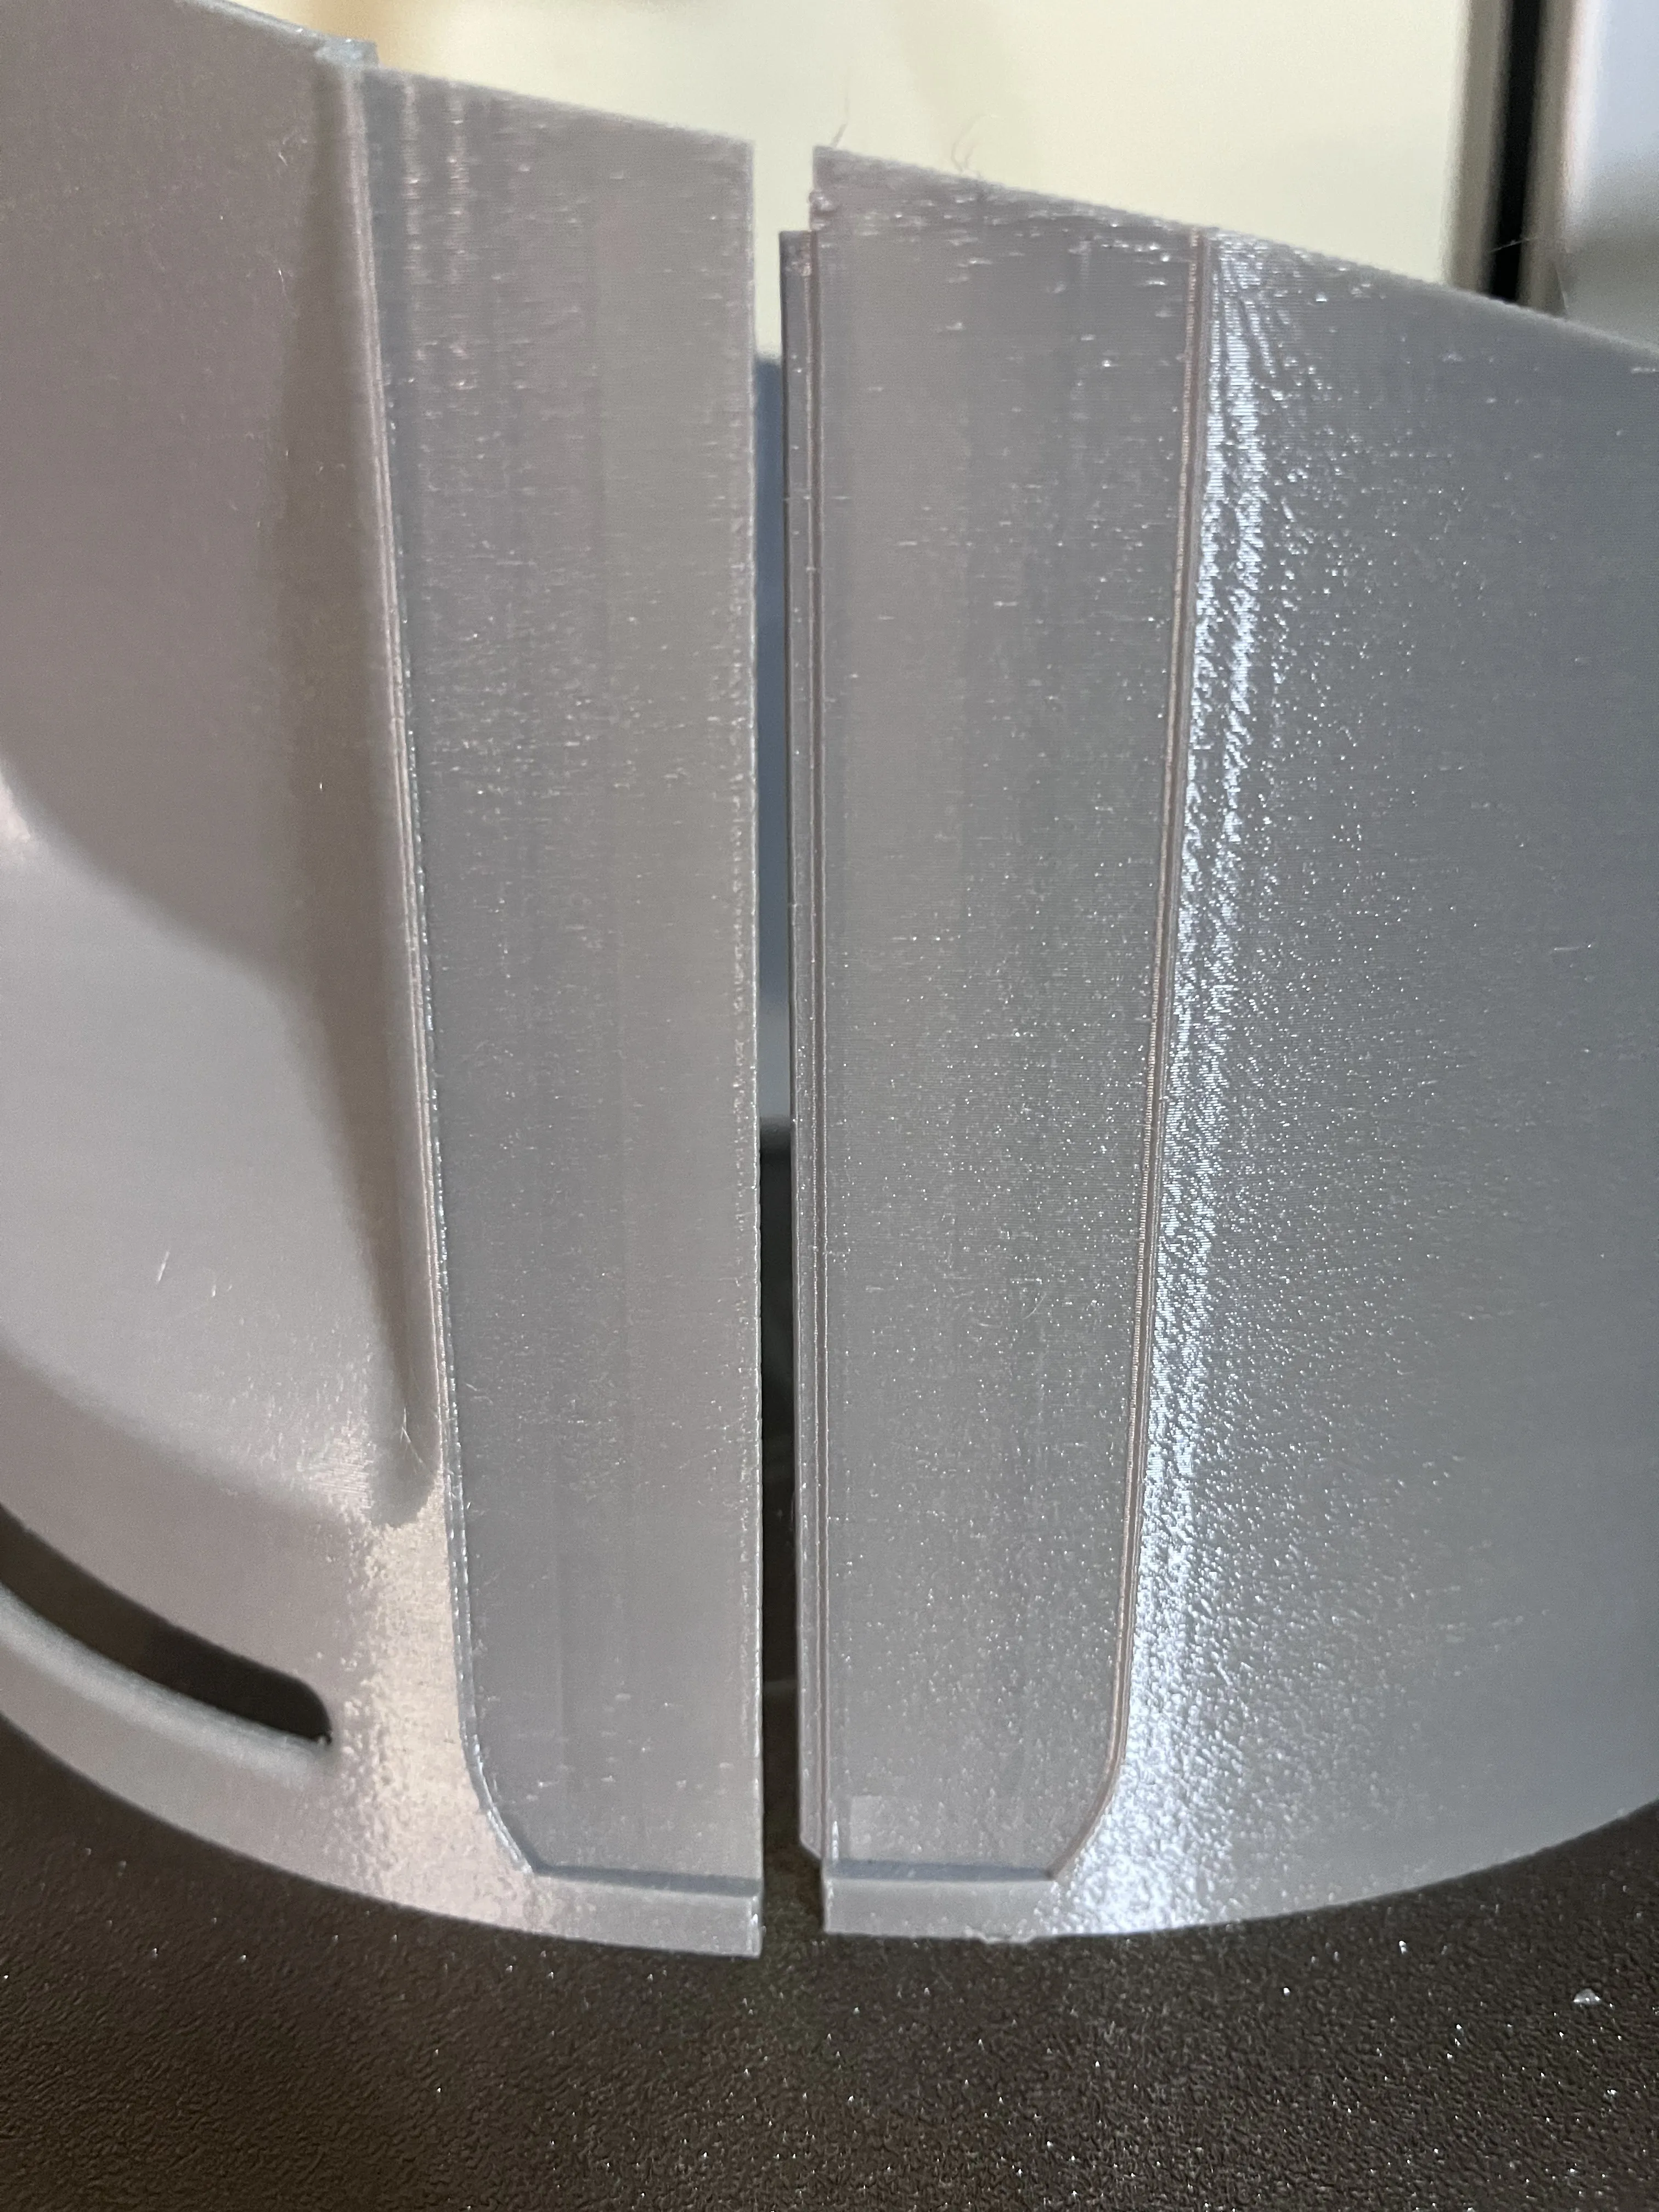
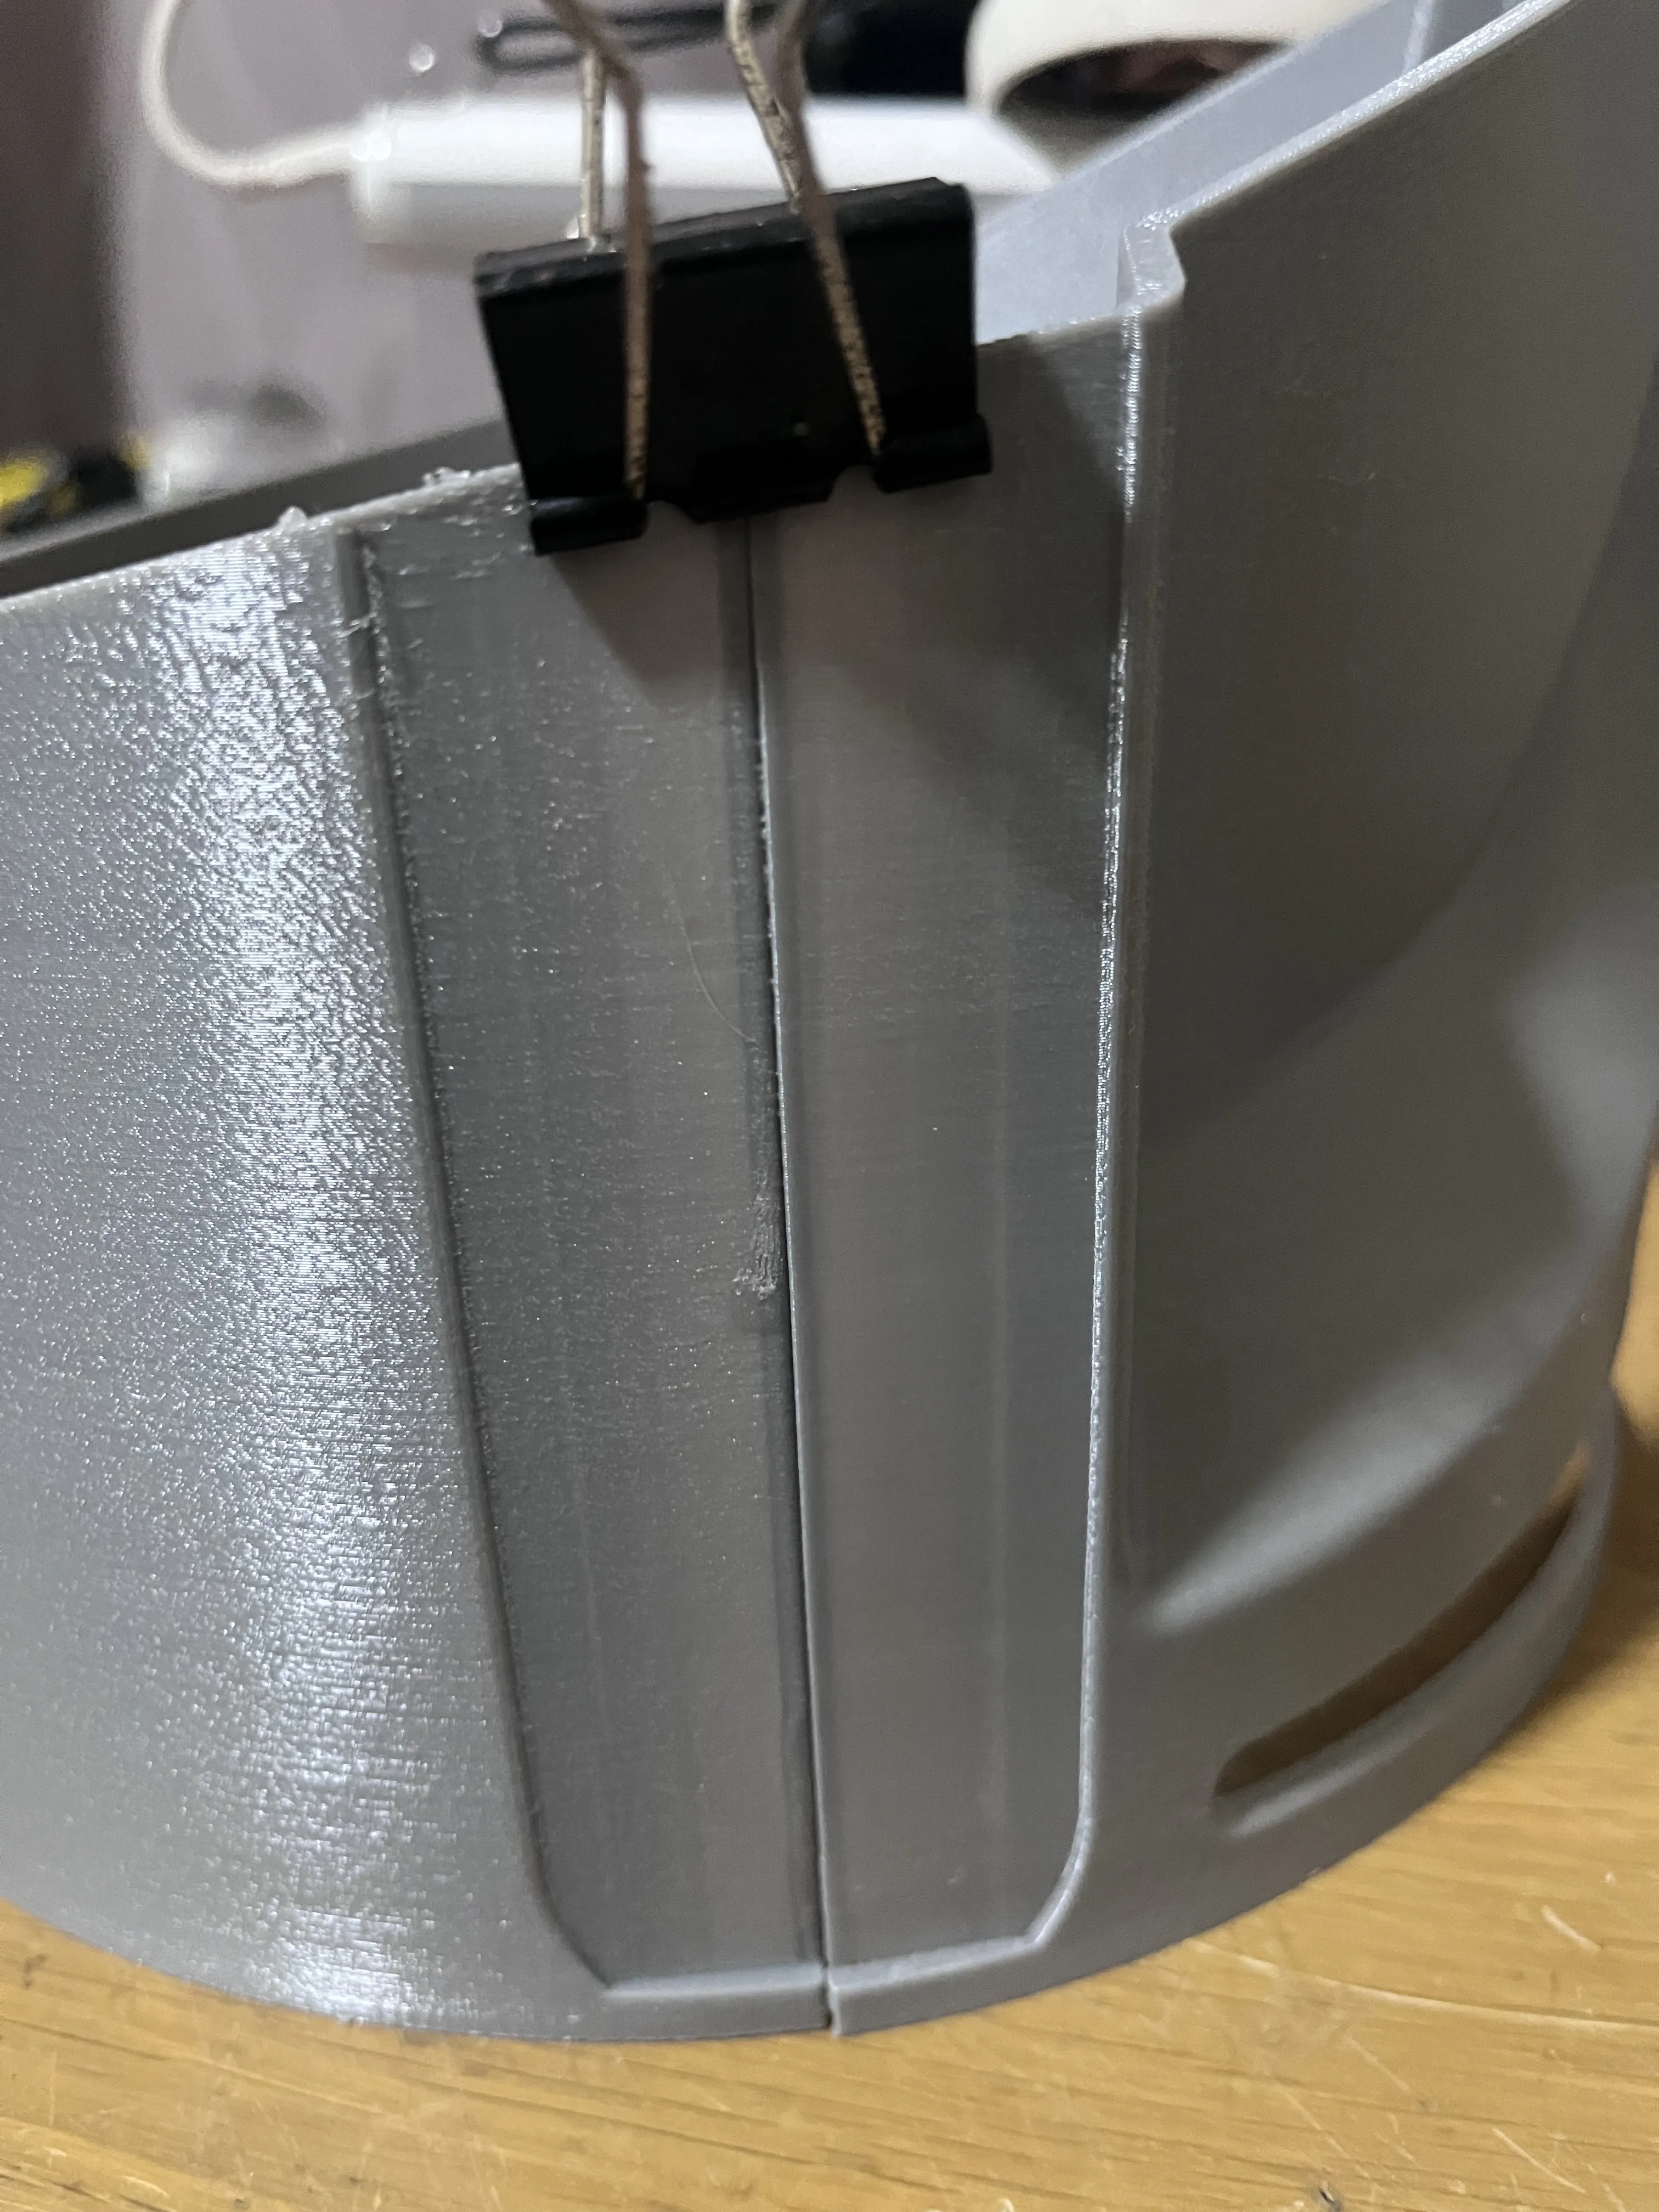
4. Install Face Shield Insert at the point if you have it - if not its fine you can install it later. I just taped it in place with some electrical Tape
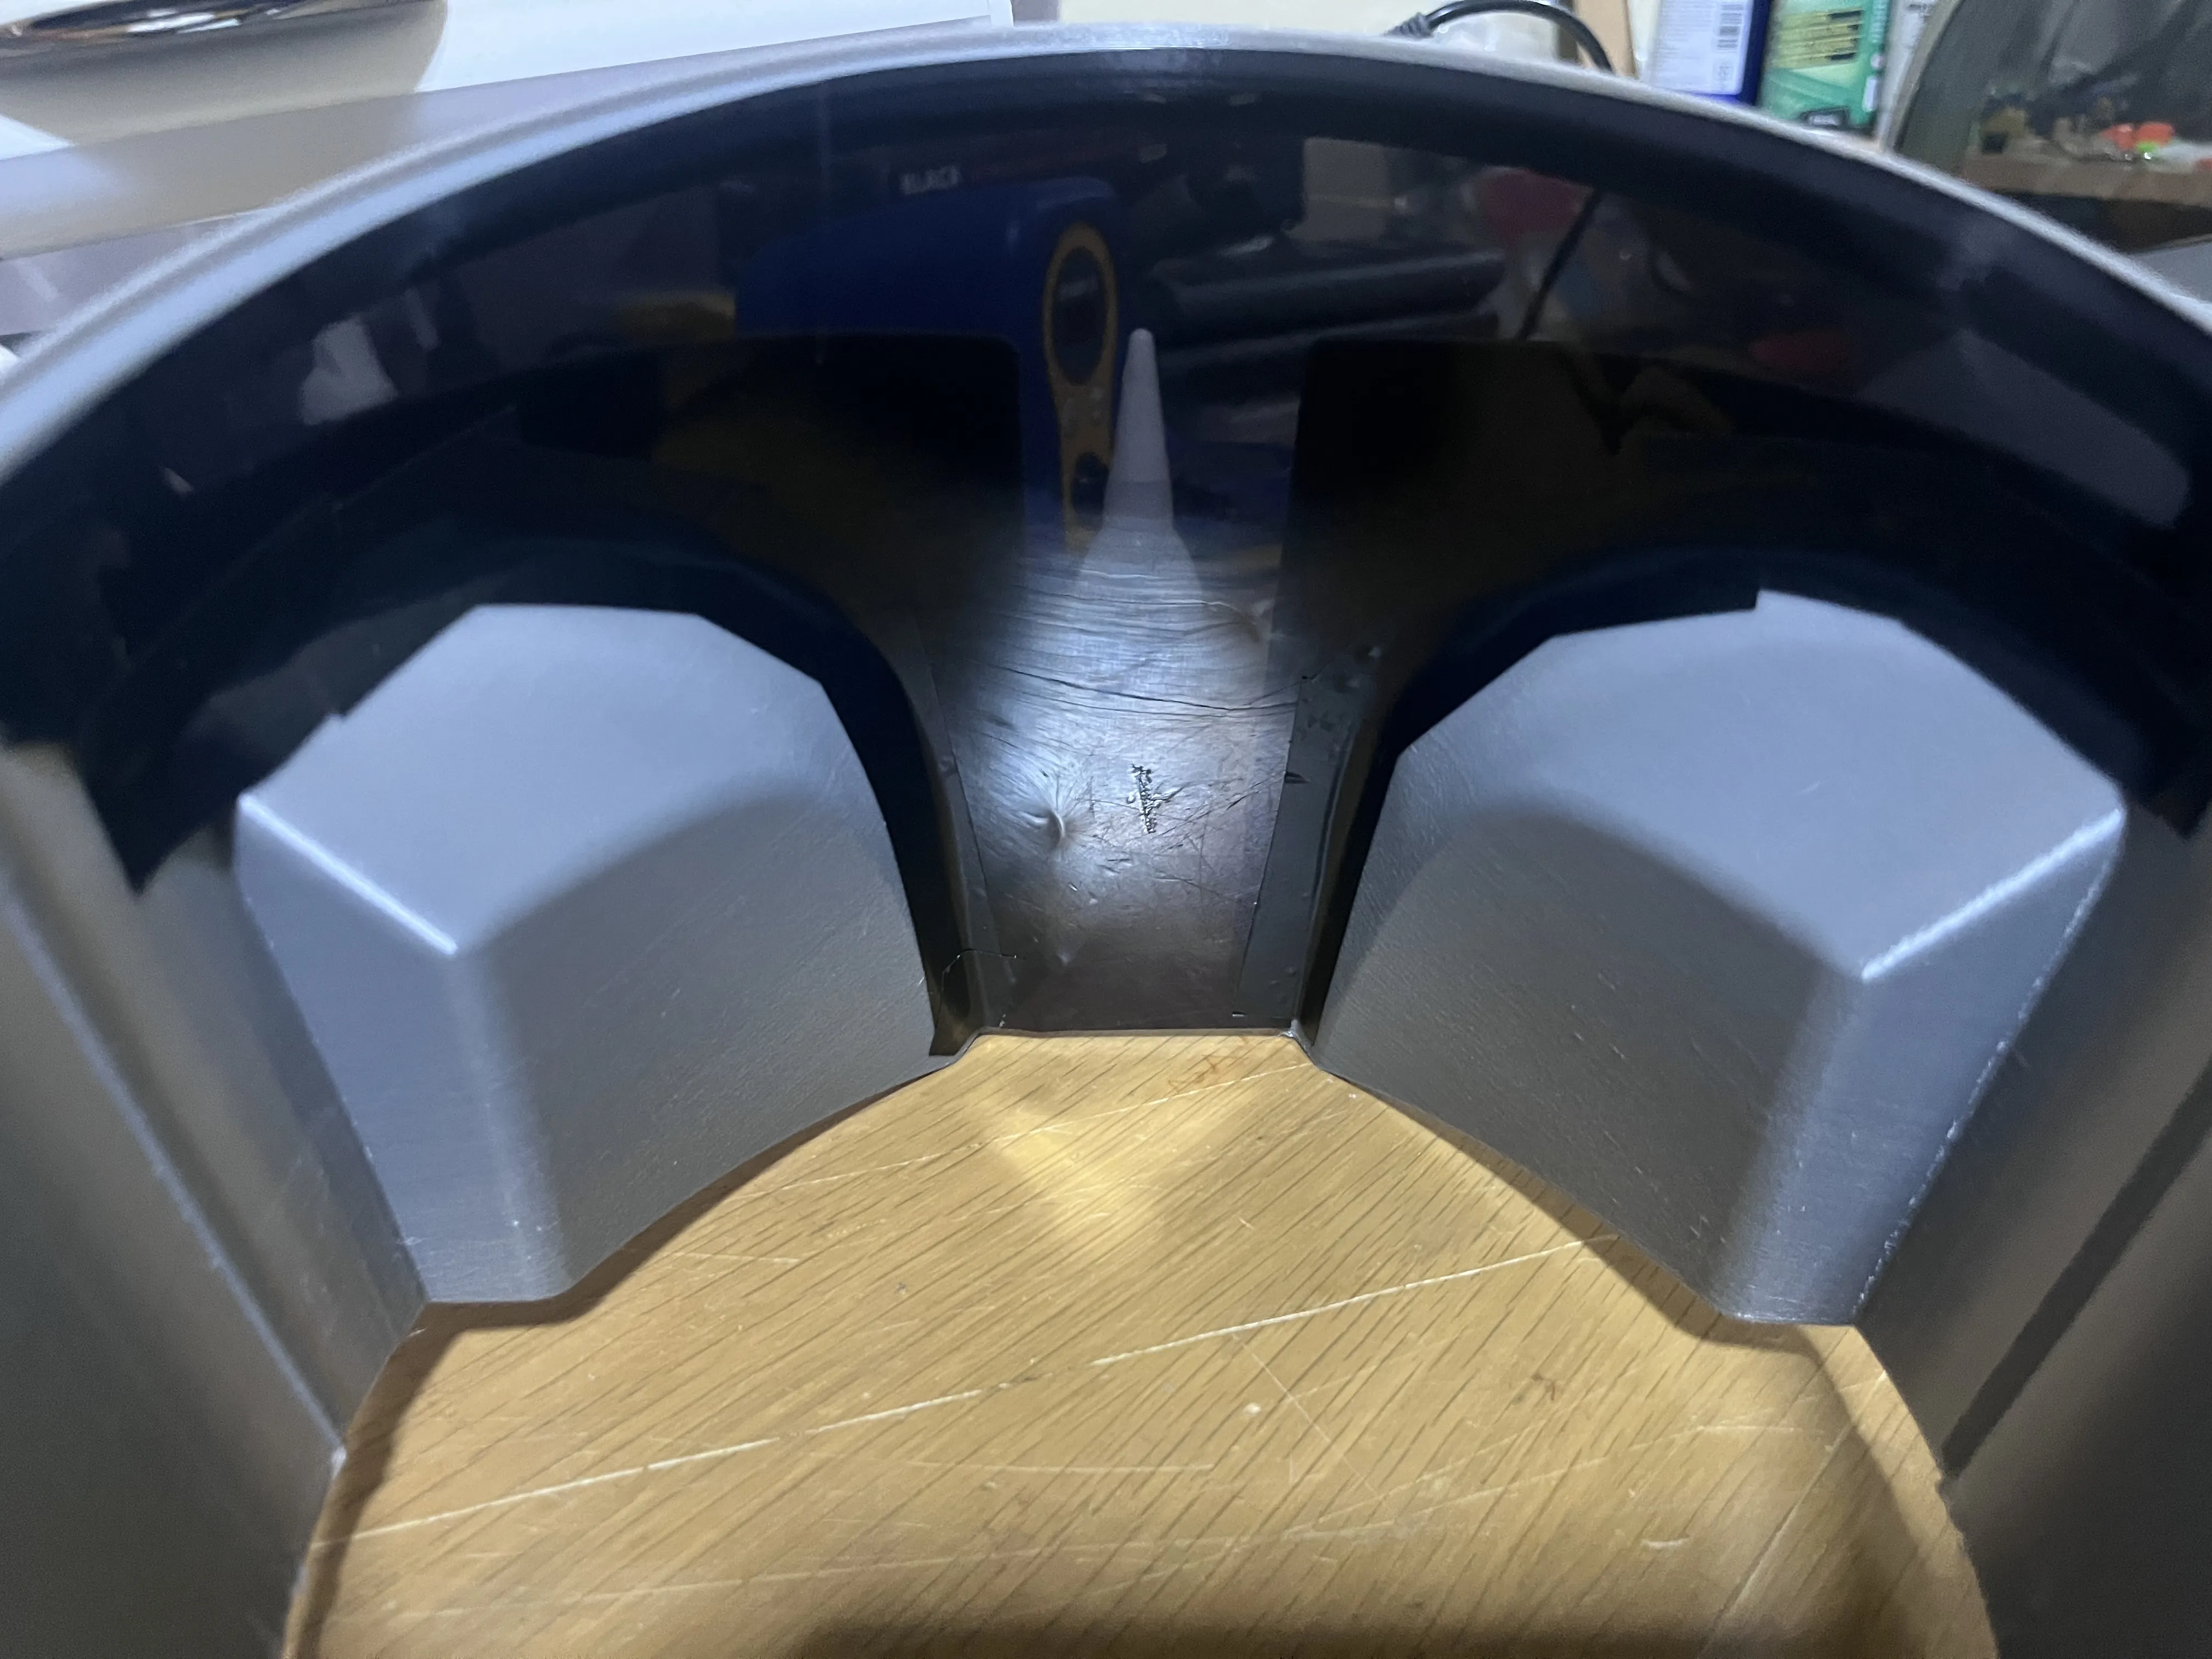
5. Glue"Head Fitment Test + Connection Ring" in to “Helmet Bottom”
Make sure to place the “Helmet Top” alignment Peg Slot on the BACK of the Helmet
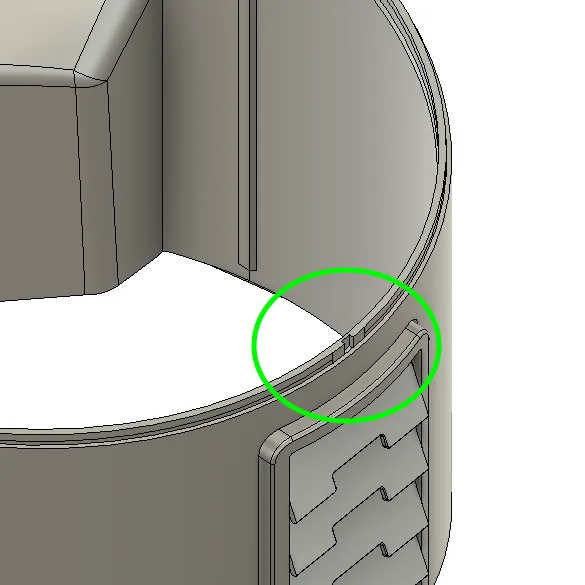
- Make sure to use the alignment pegs on the sides to help with alignment.
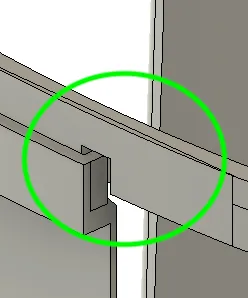
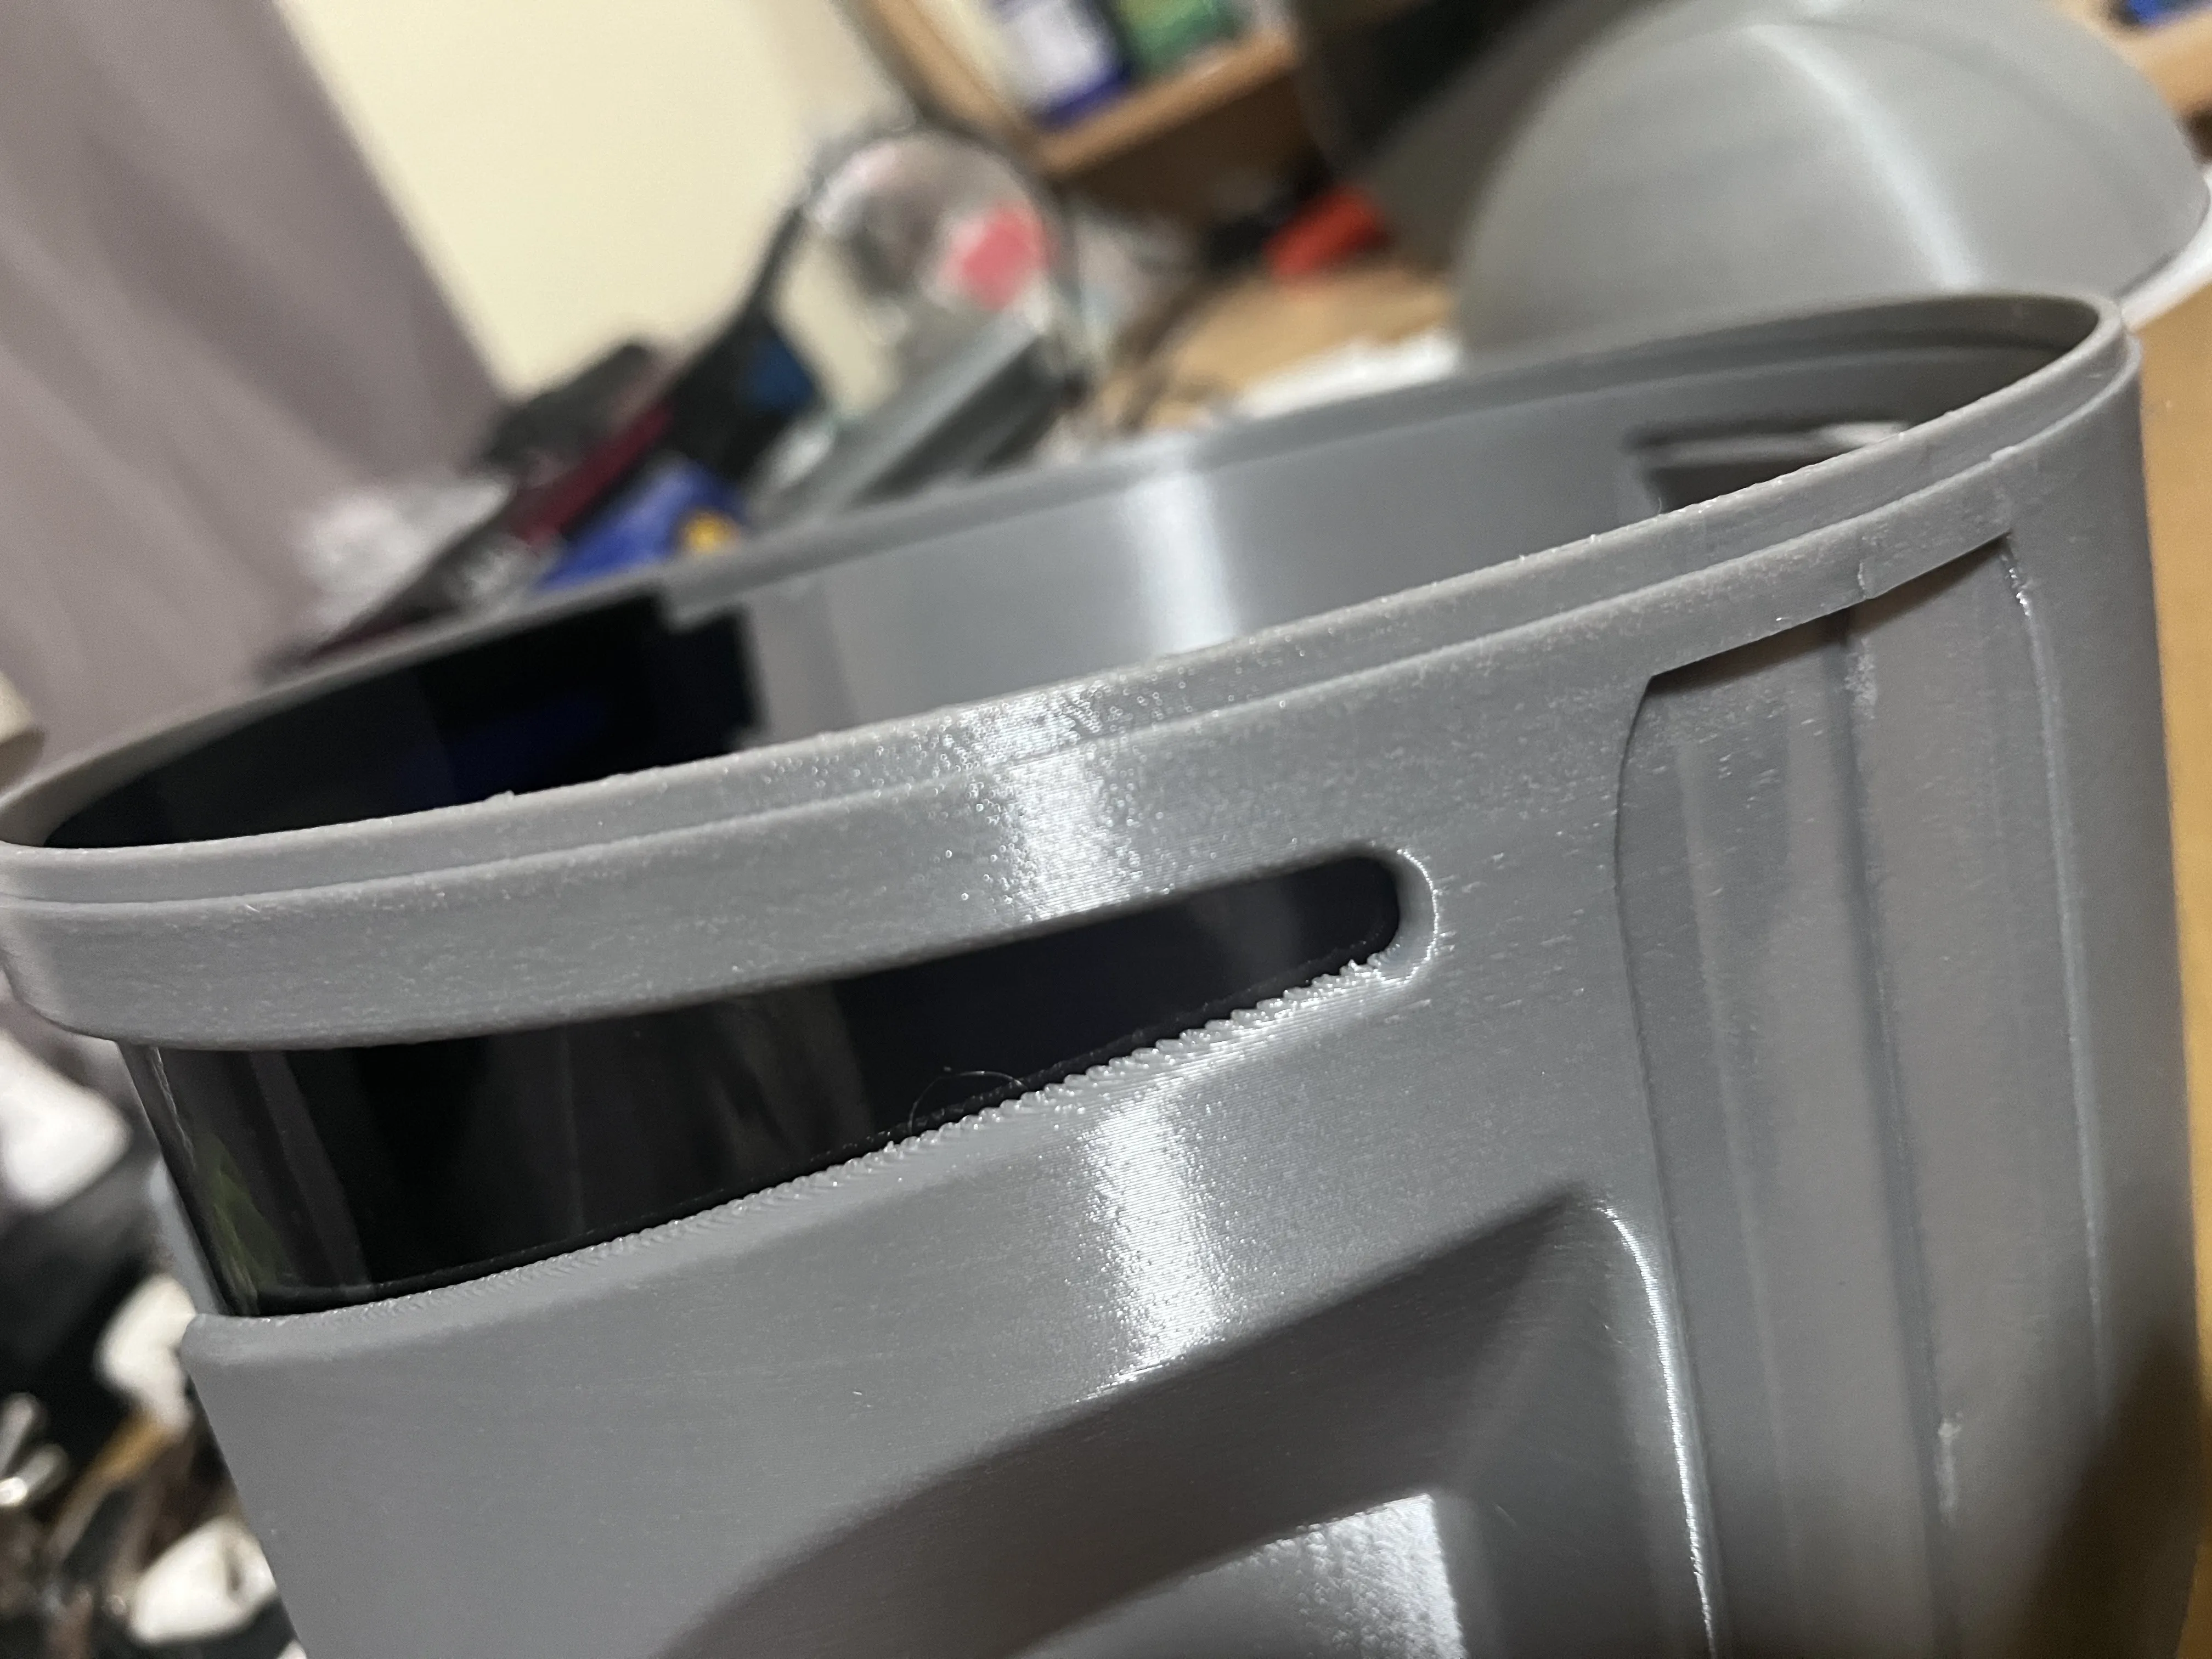
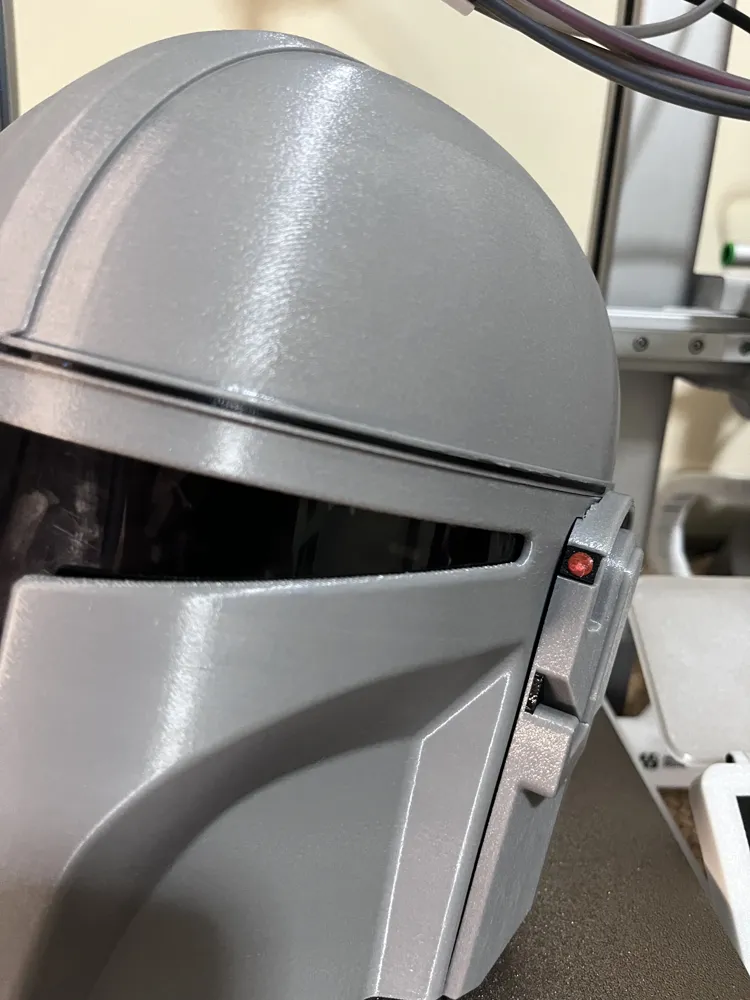
6. Glue “Earpiece and Front Inserts in to “Earpieces” and ”Helmet Top"
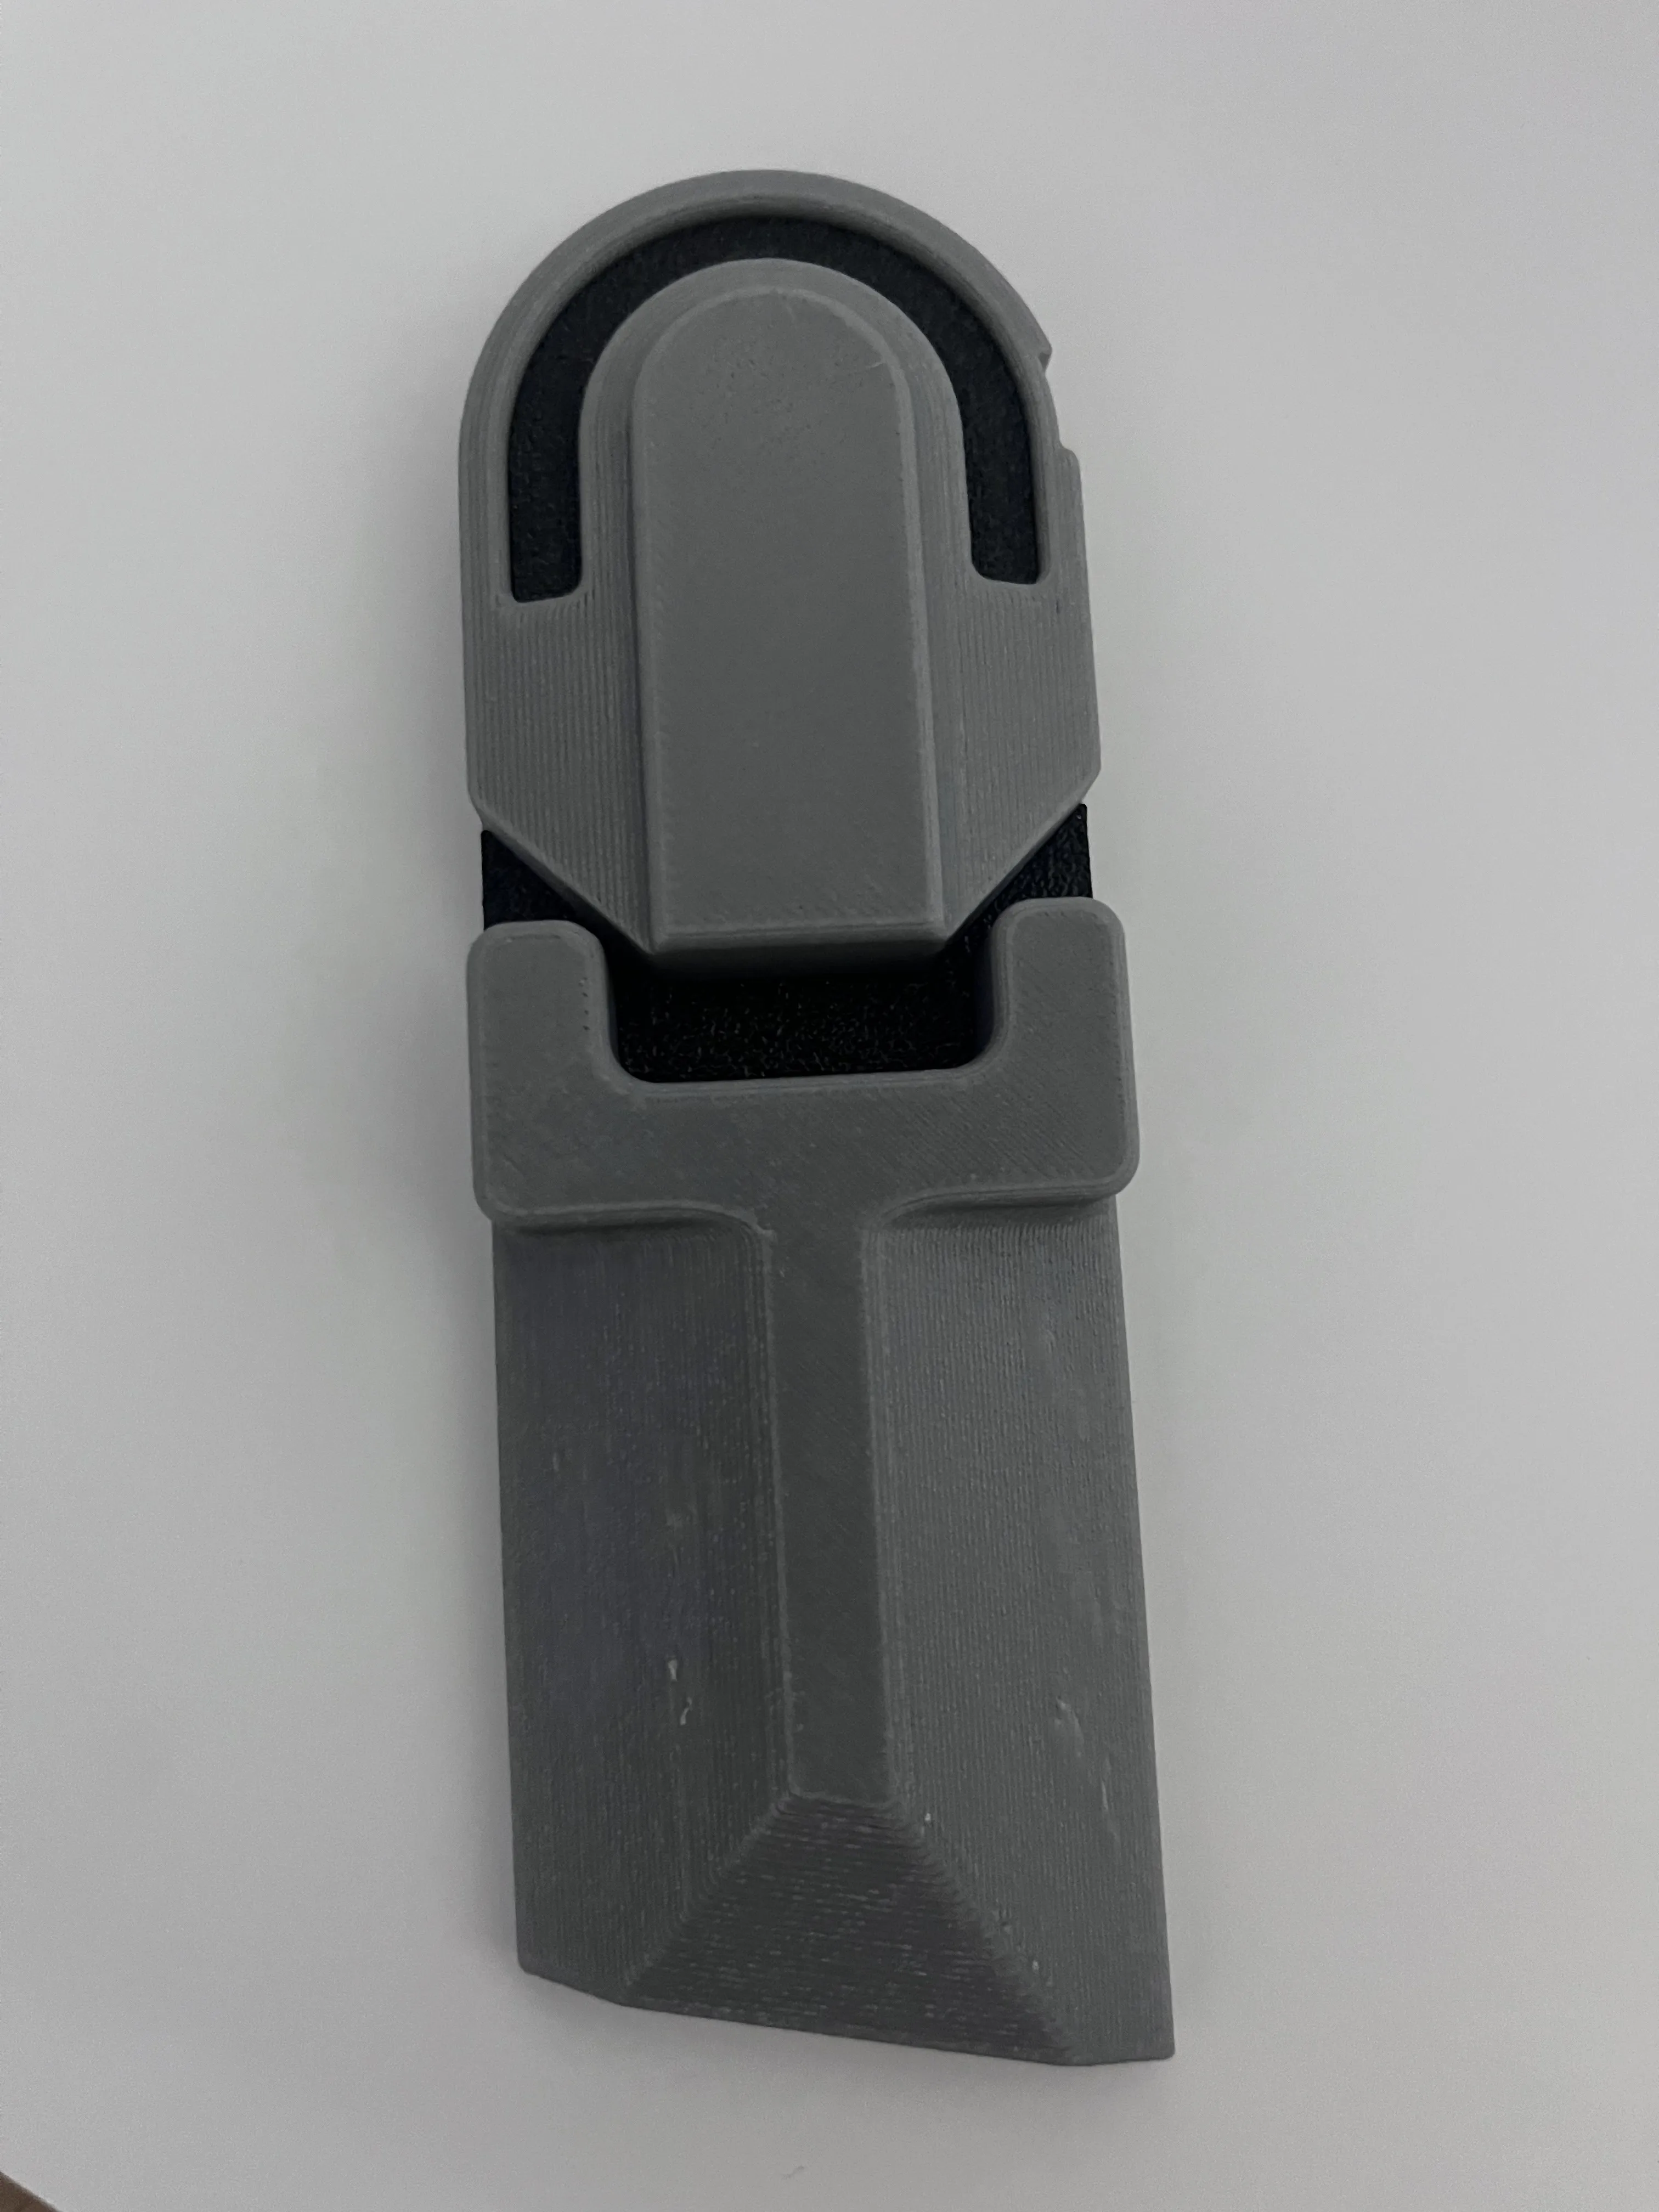
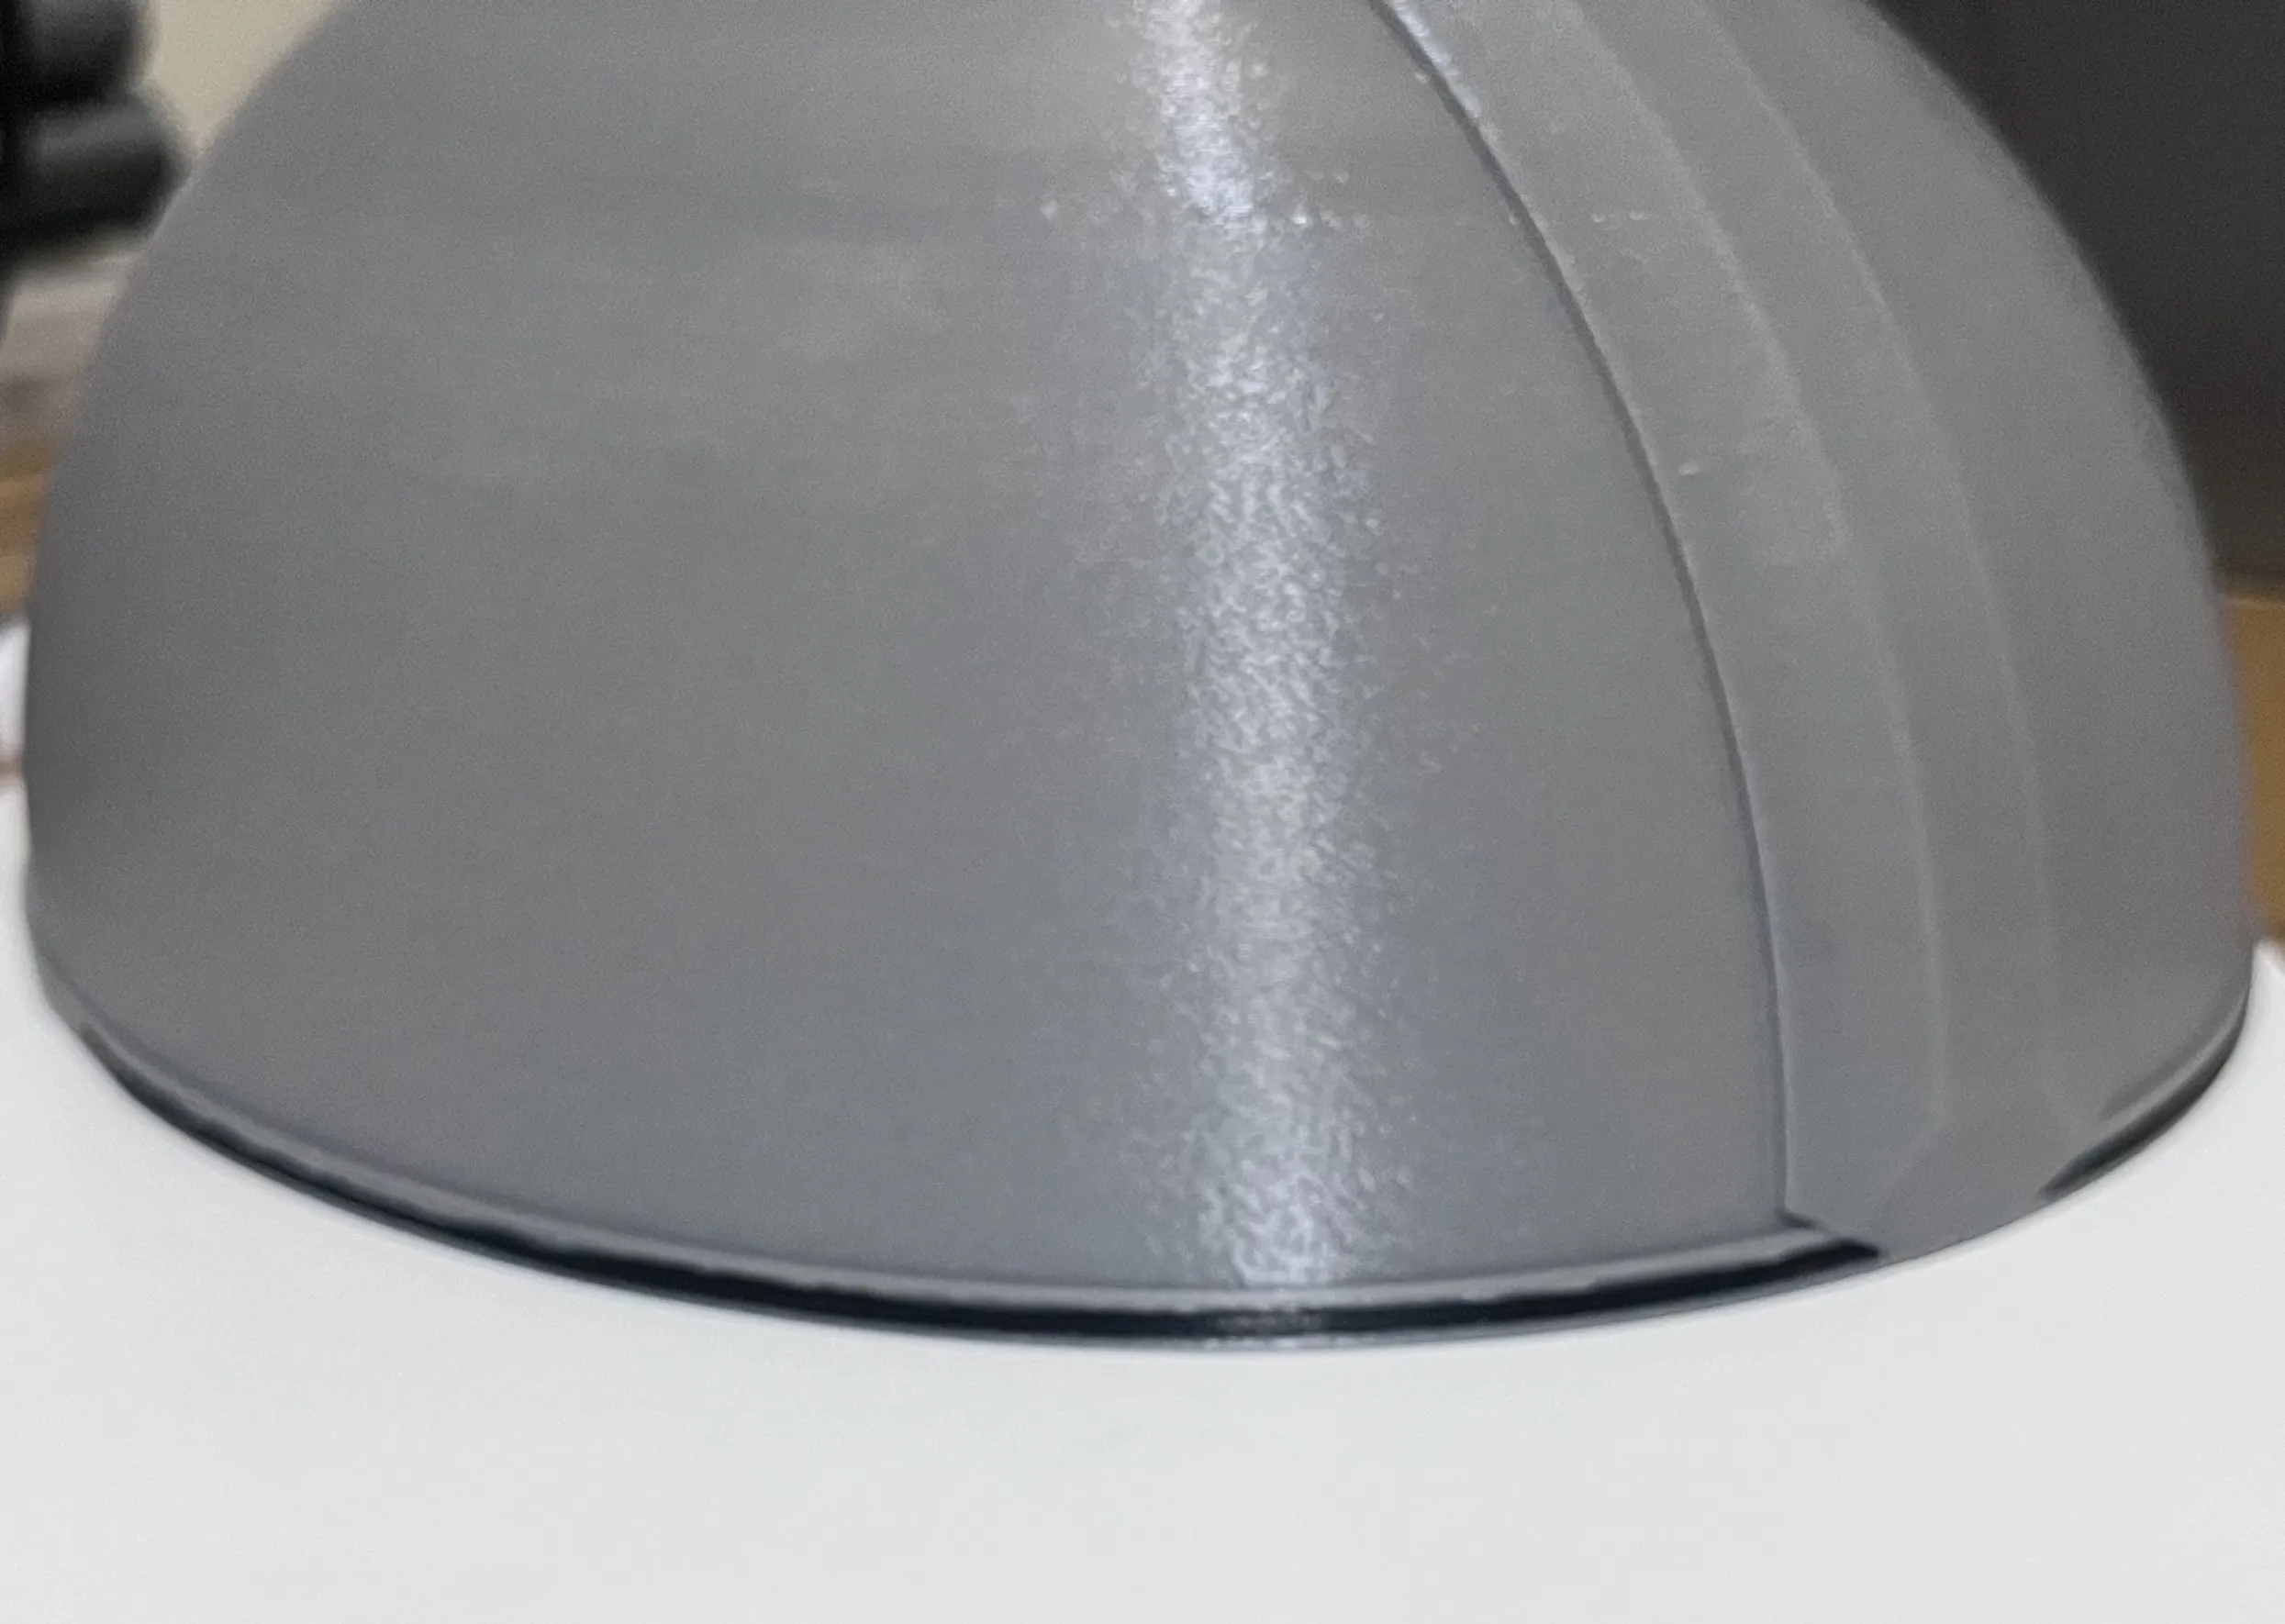
7. Glue “Helmet Top” on to “Helmet Bottom” - Make sure to use the alignment peg in the back to help with alignment.
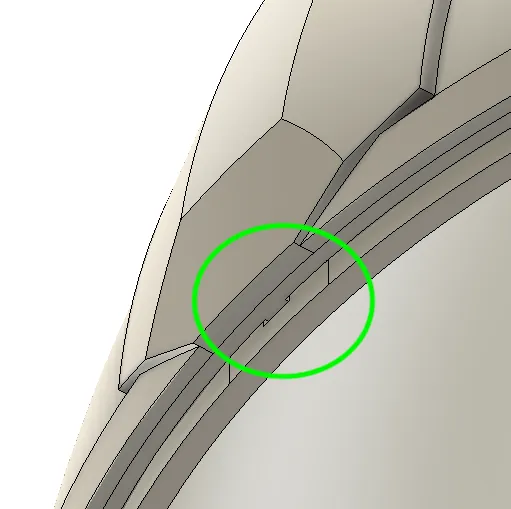
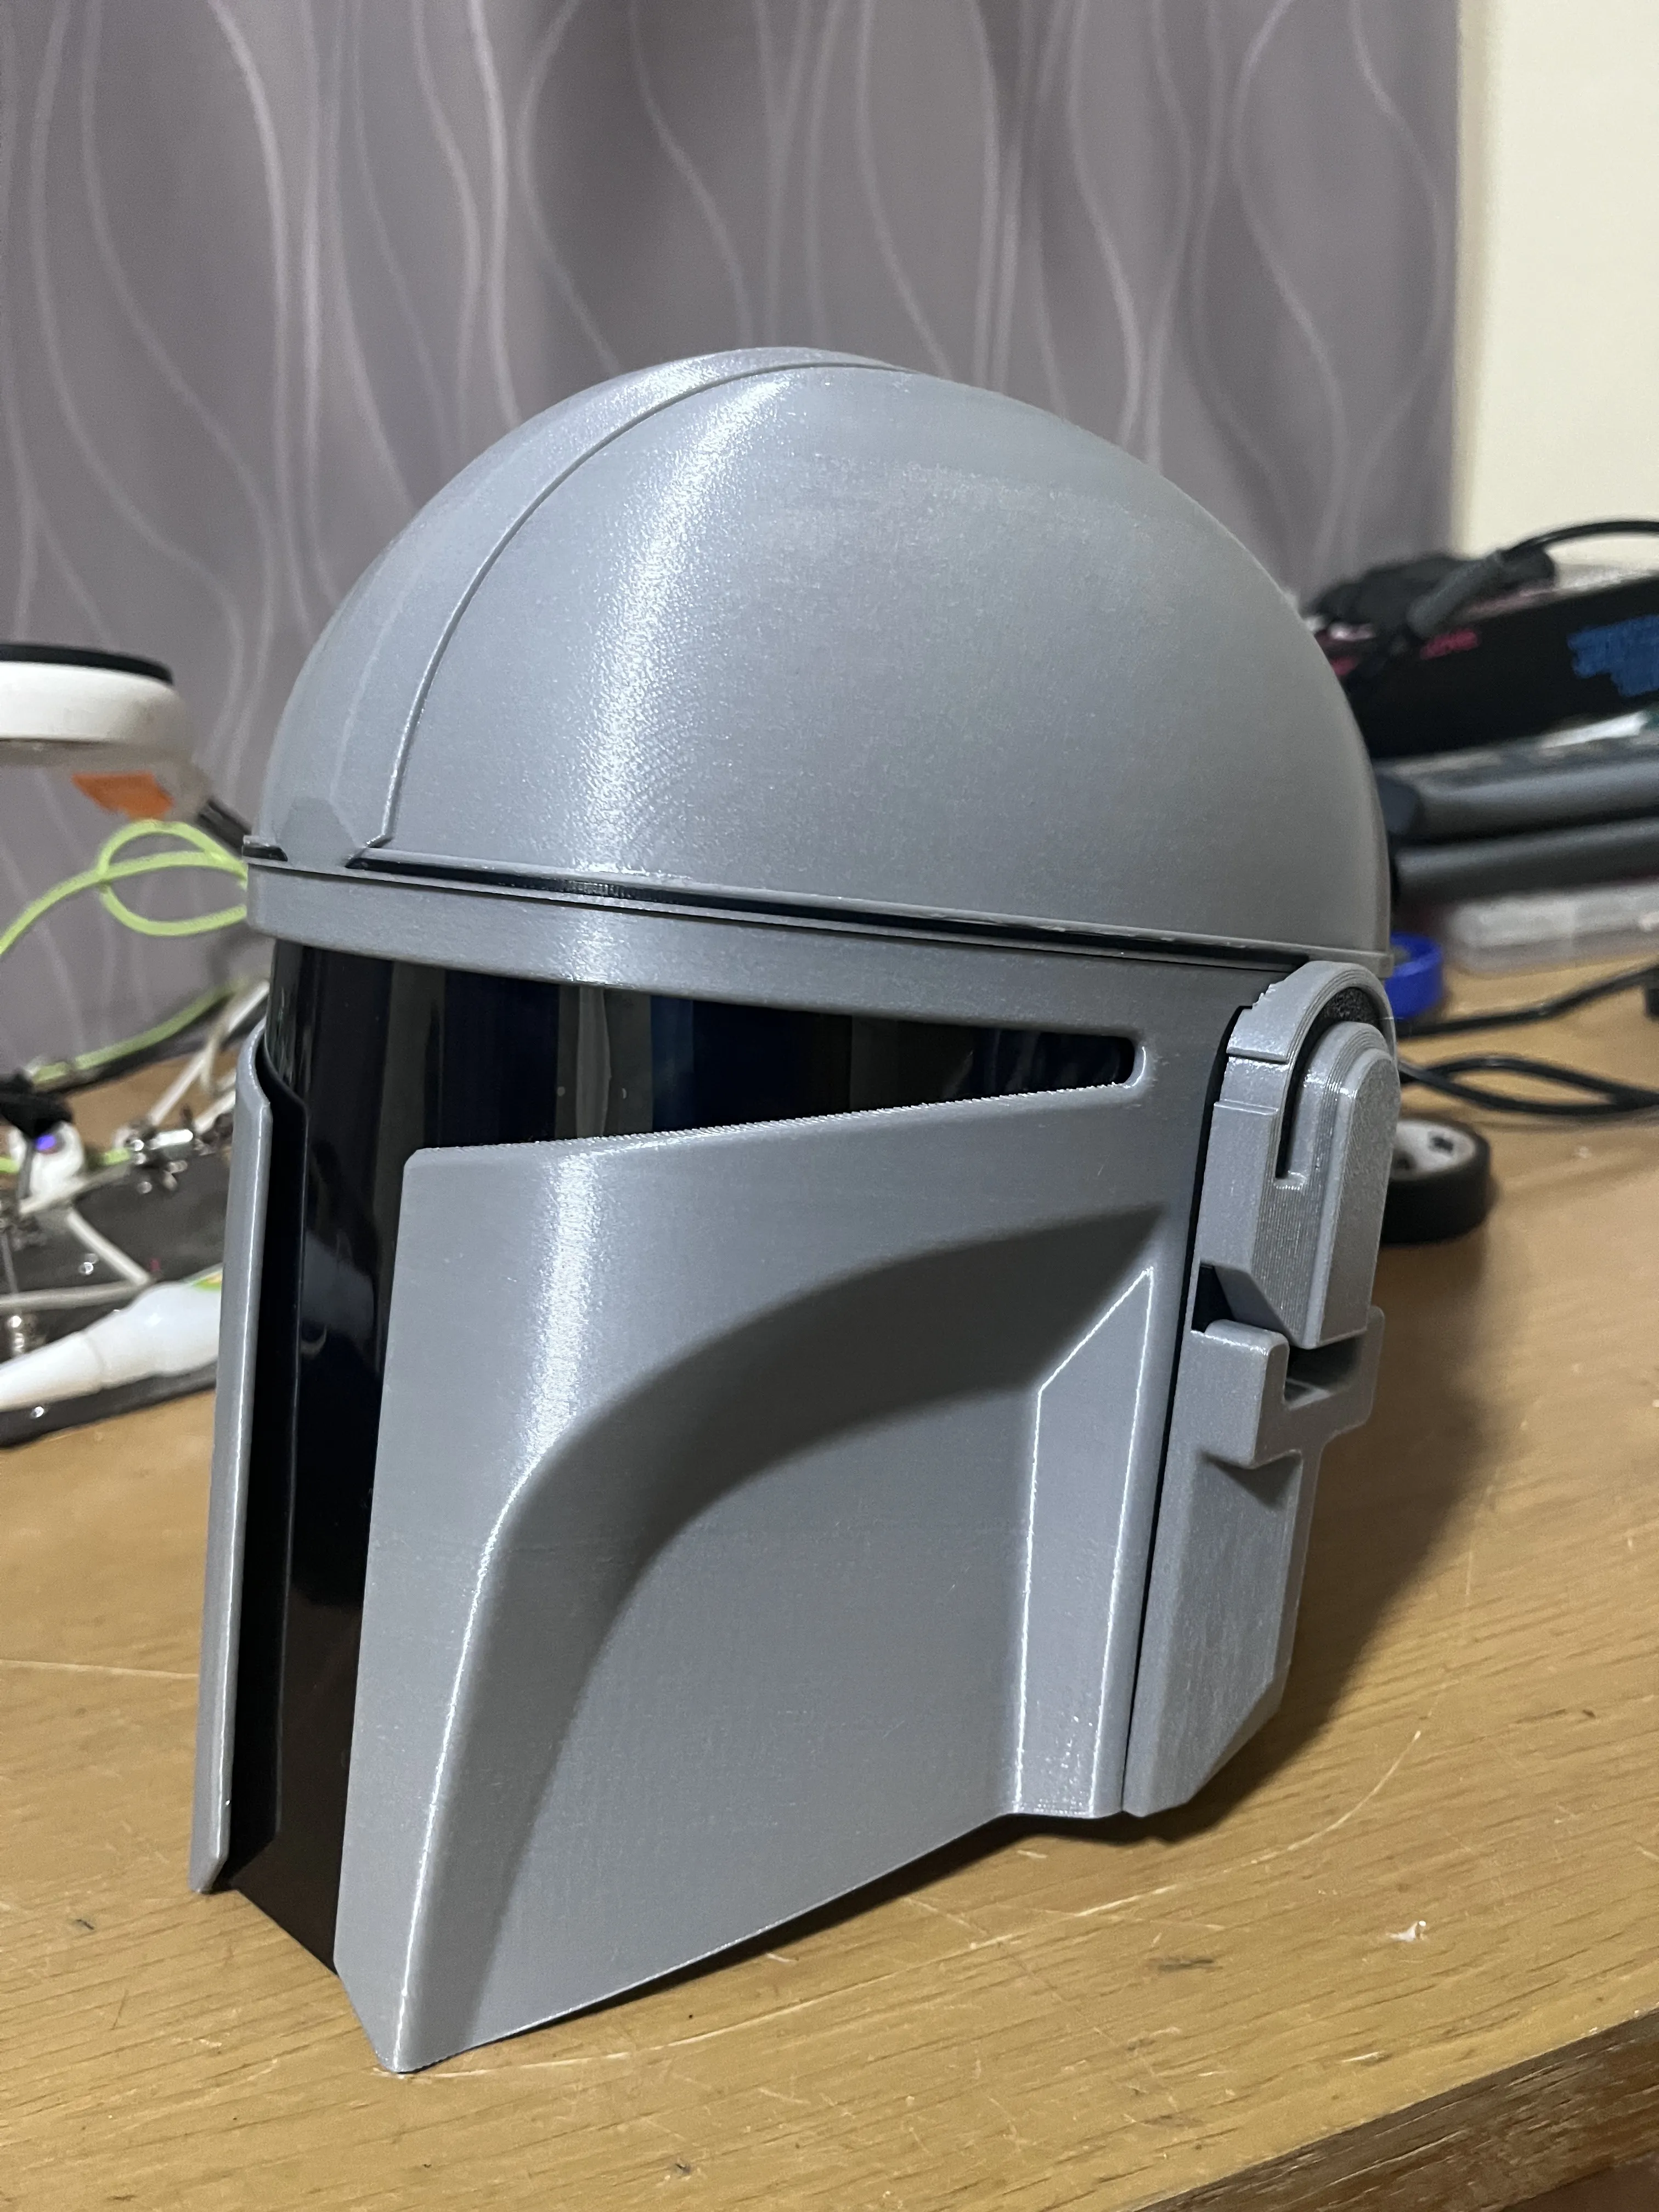
8. Glue “Earpieces” on to Helmet
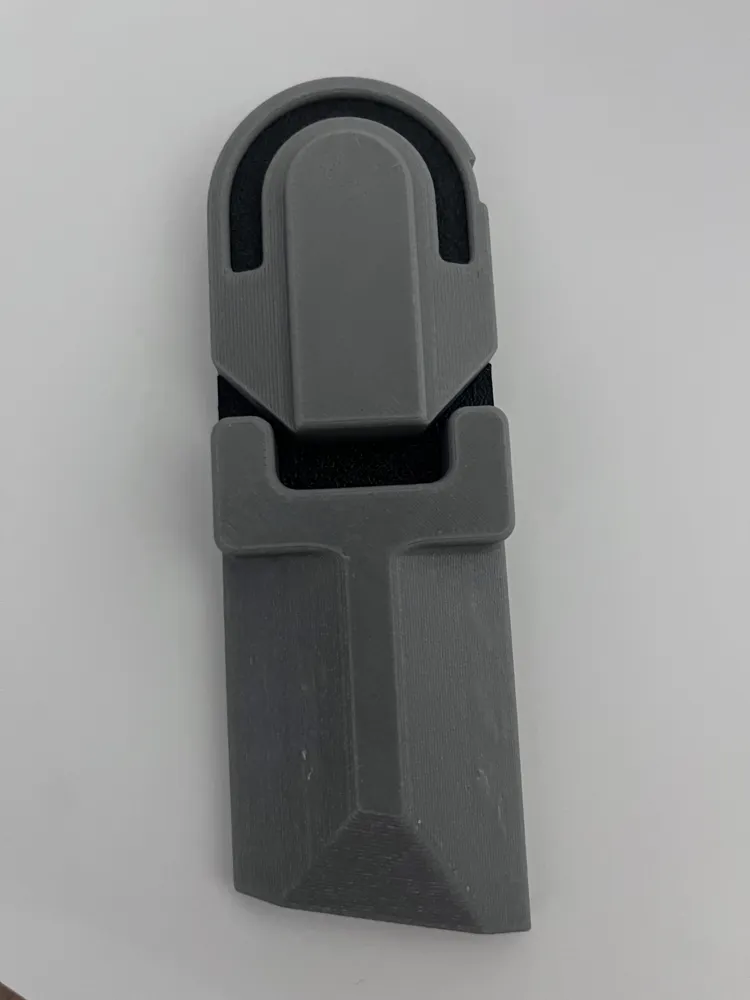
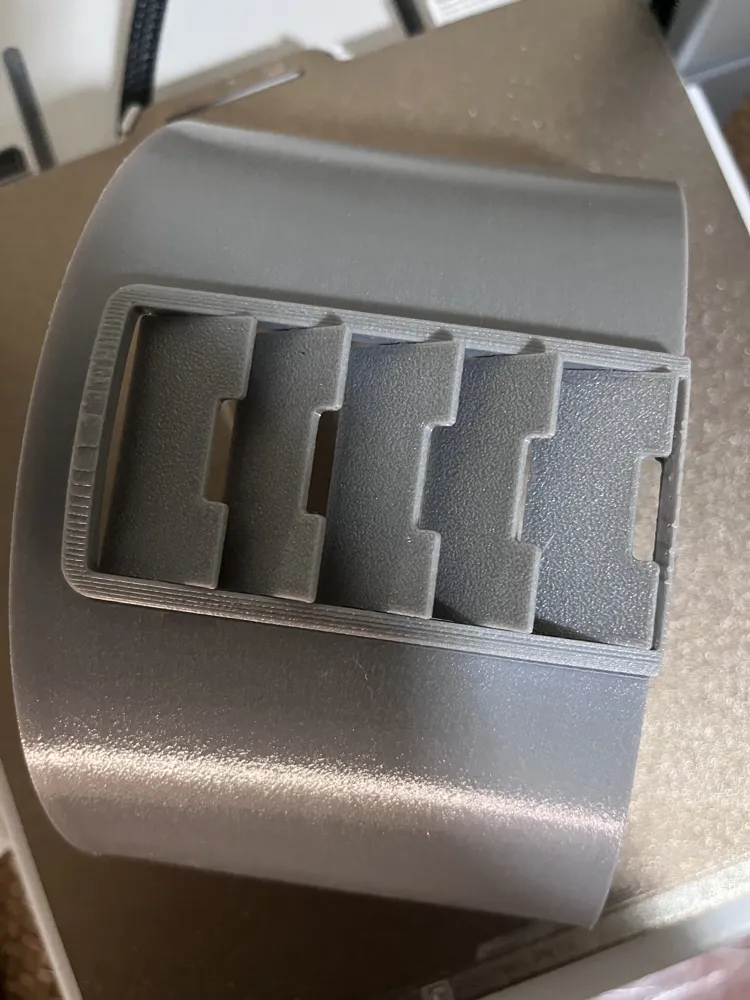
9. Assemble and Glue “Vent” on to the back of the Helmet
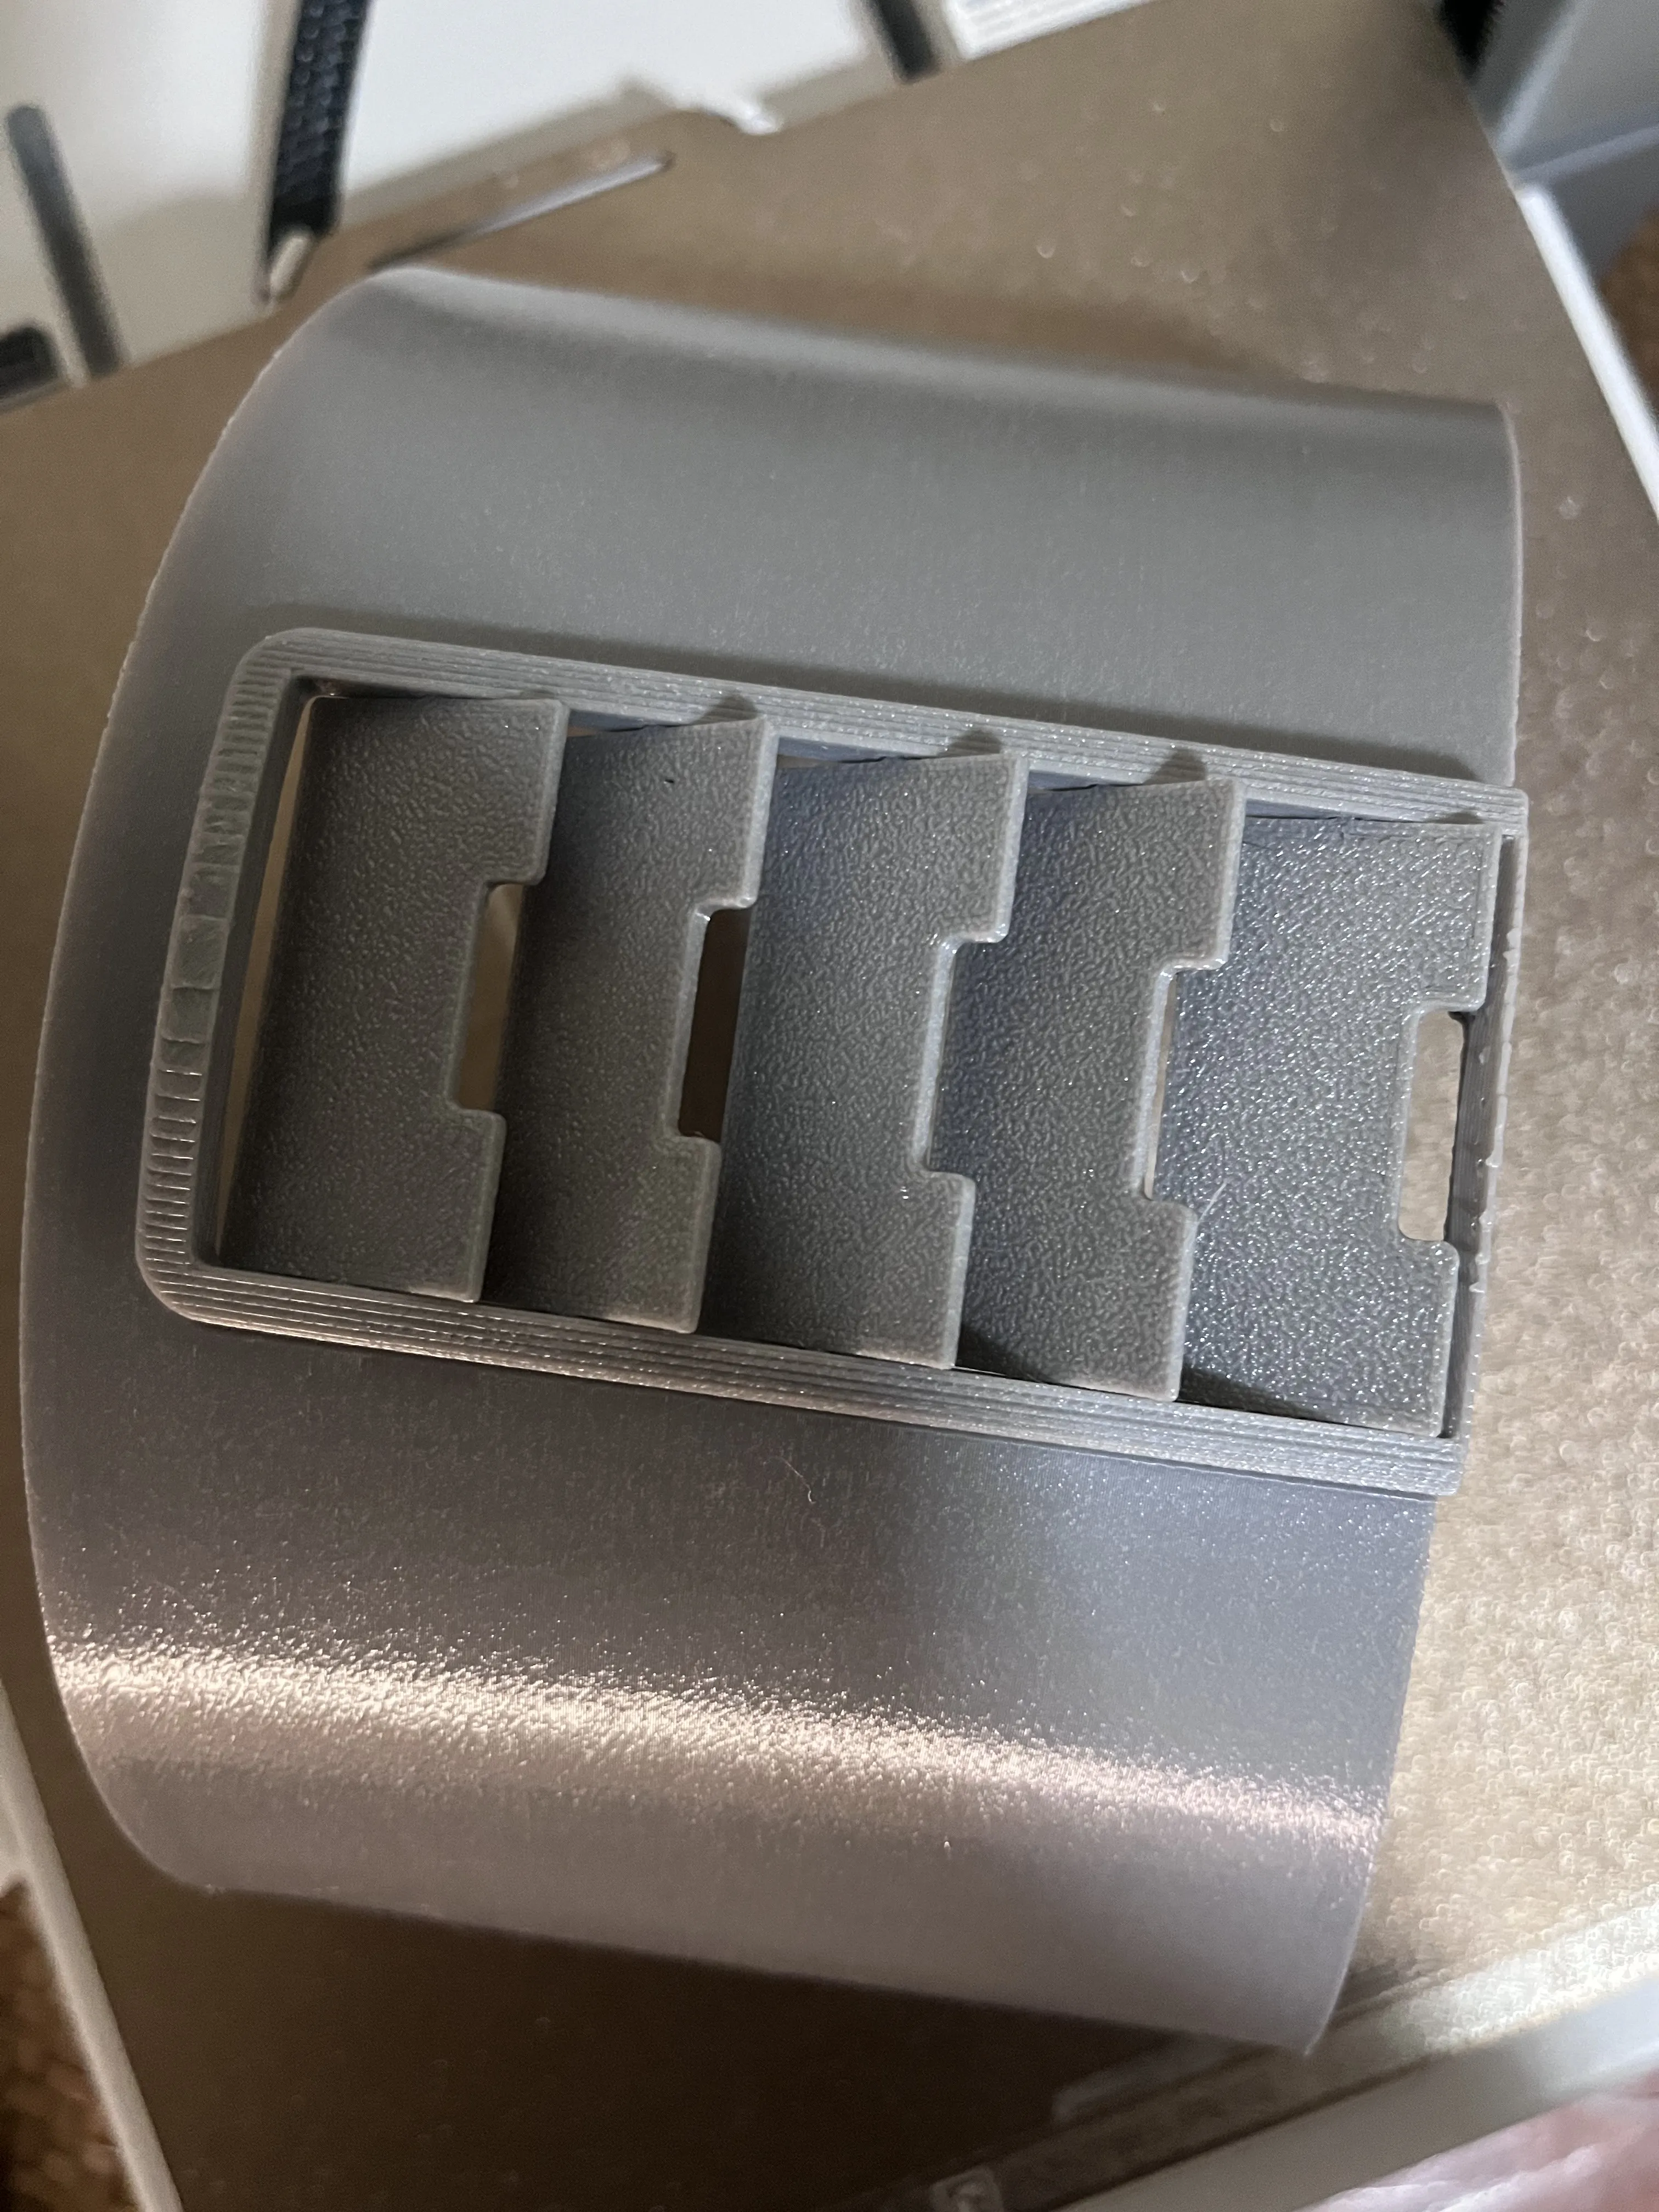
10. Glue “Earpiece Light Inserts” in to Earpiece (Optional)
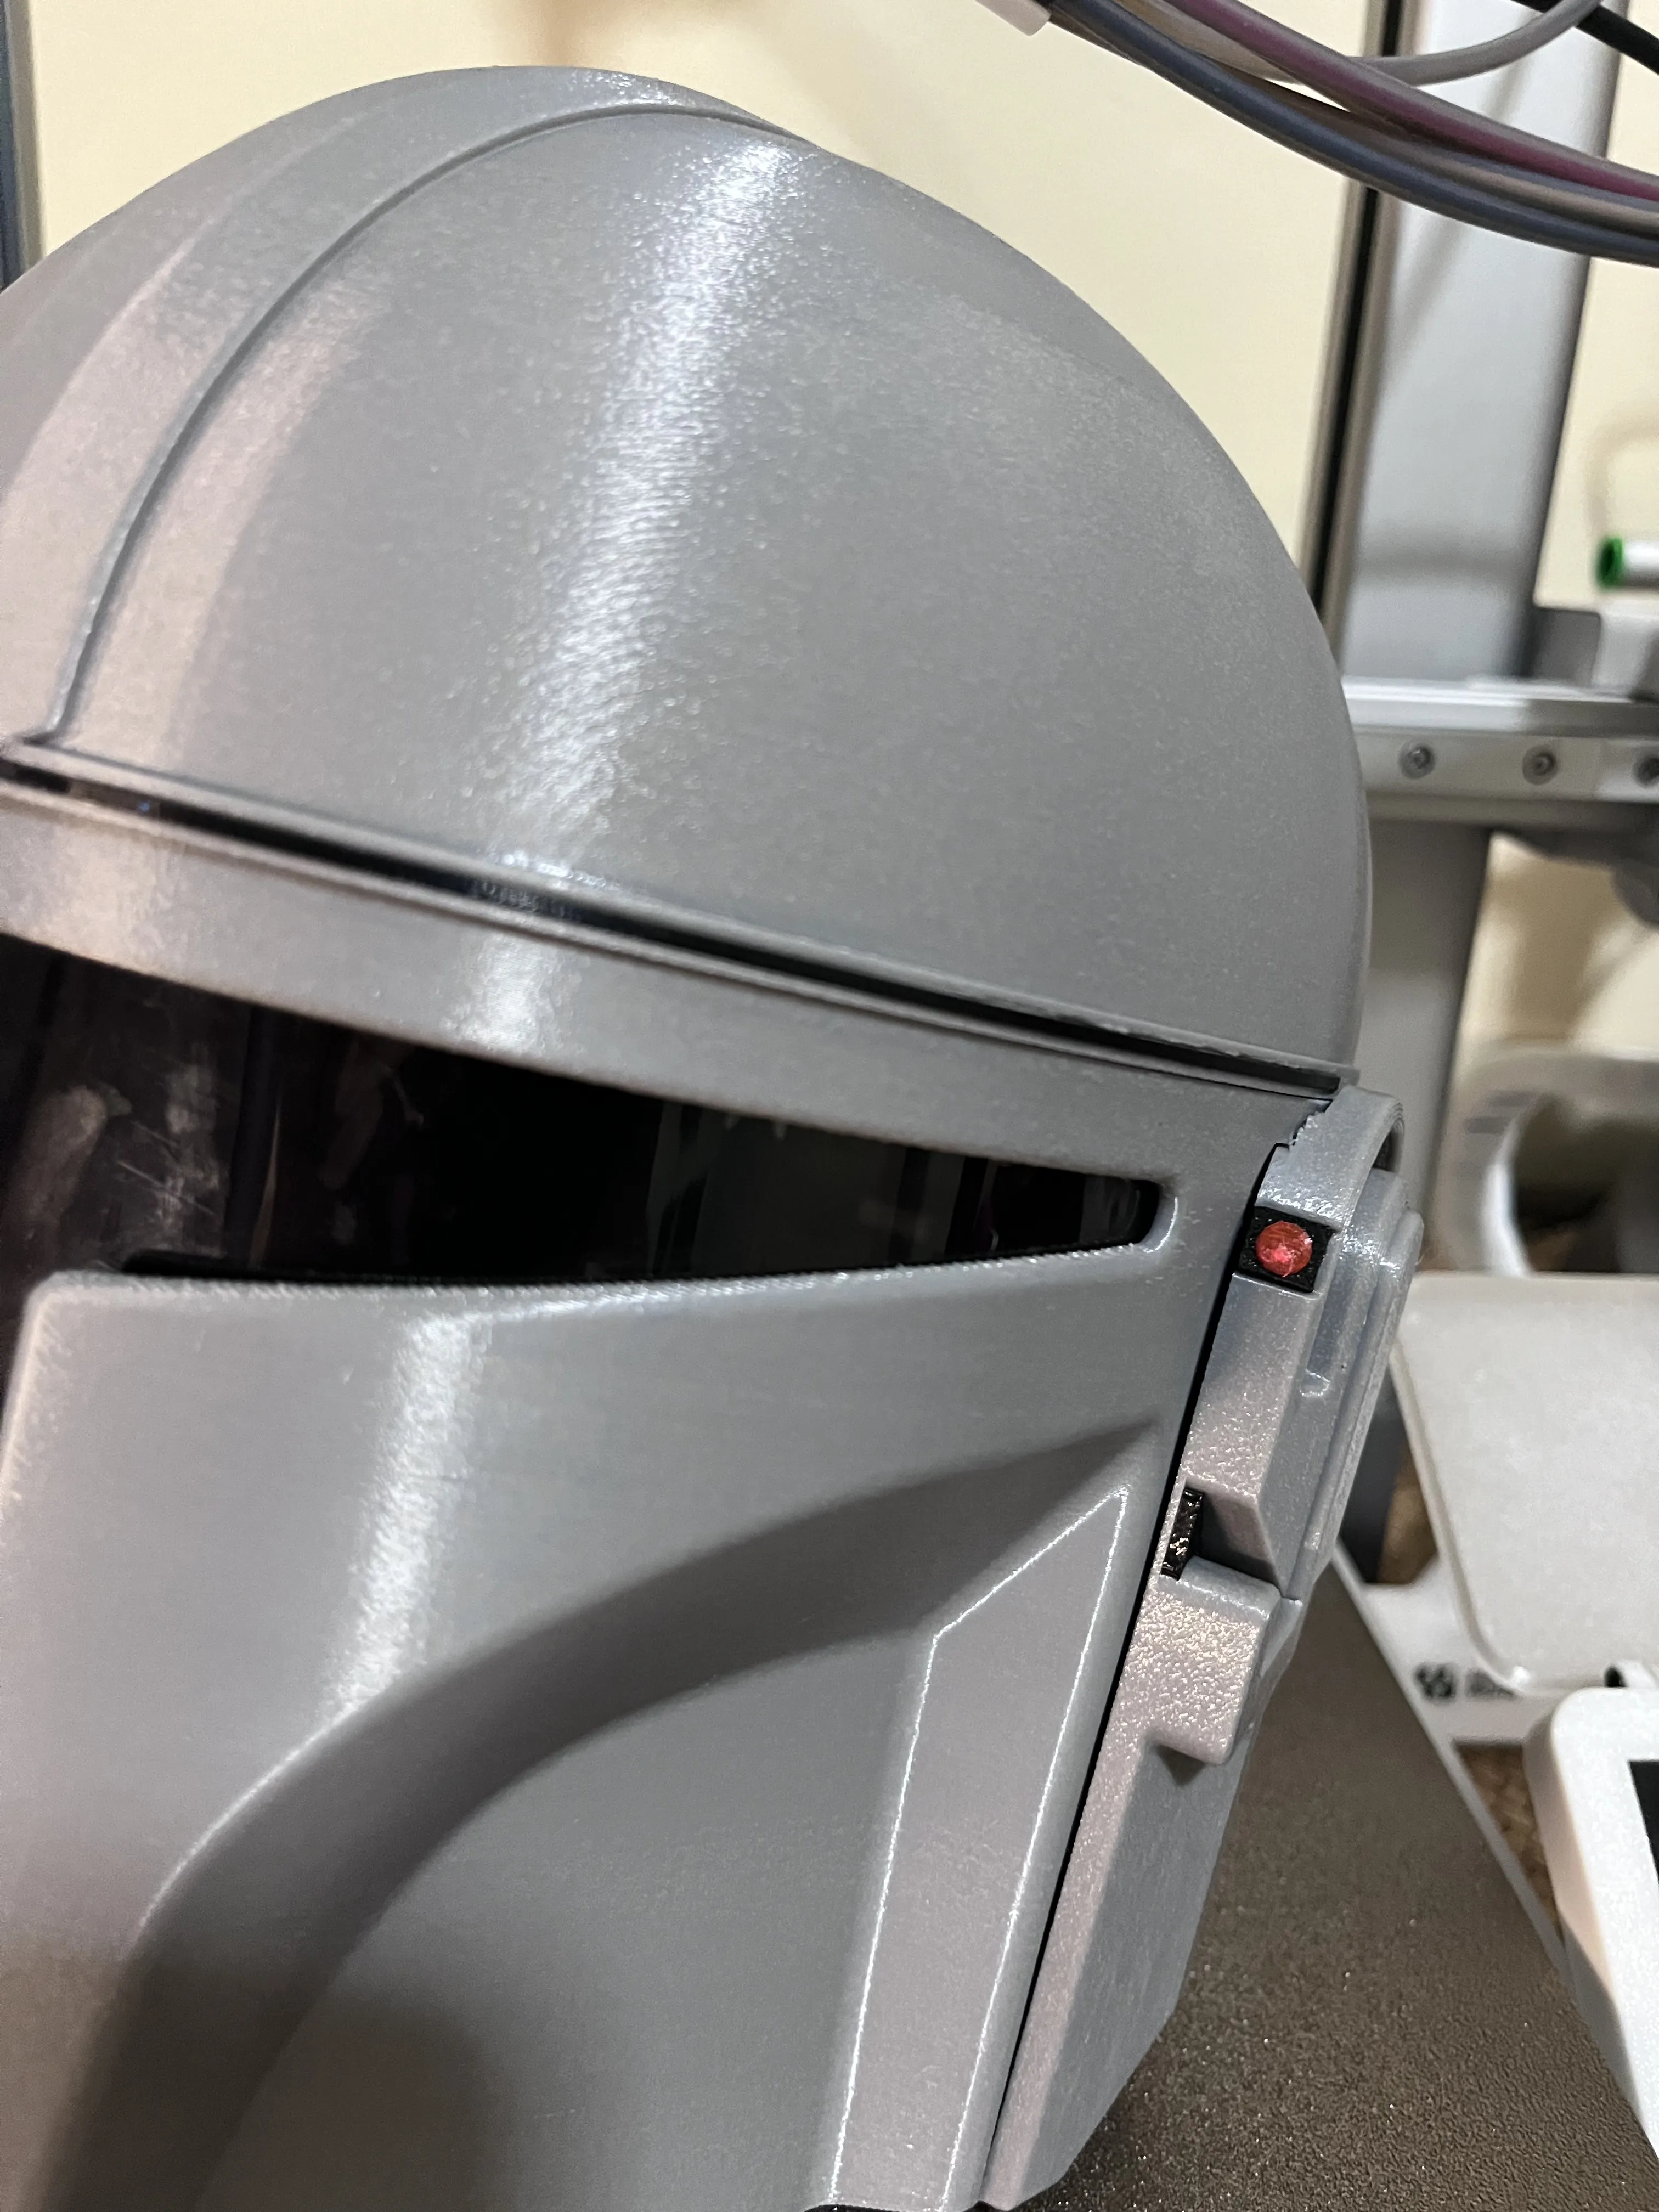
Credit to original highly modified CAD Model: https://grabcad.com/library/mandalorian-helmet-13
!!UPDATES!! v1.1 - Vent Louvres Scale Fixed - Print updated profiles for correct Vent Louvres
**As an Amazon Associate and Aliexpress Affiliate I earn from qualifying purchases.
Documentation (5)
License



Comment & Rating (178)