
Skull and Bones Candleholder Collection
Print Profile(4)



Bill of Materials


Description
Boost Me (for free)
It is my first design, by boosting me you give me fuel for new projects :D
UPDATE
-The skull candle have been fixed
-Various optimization in presets
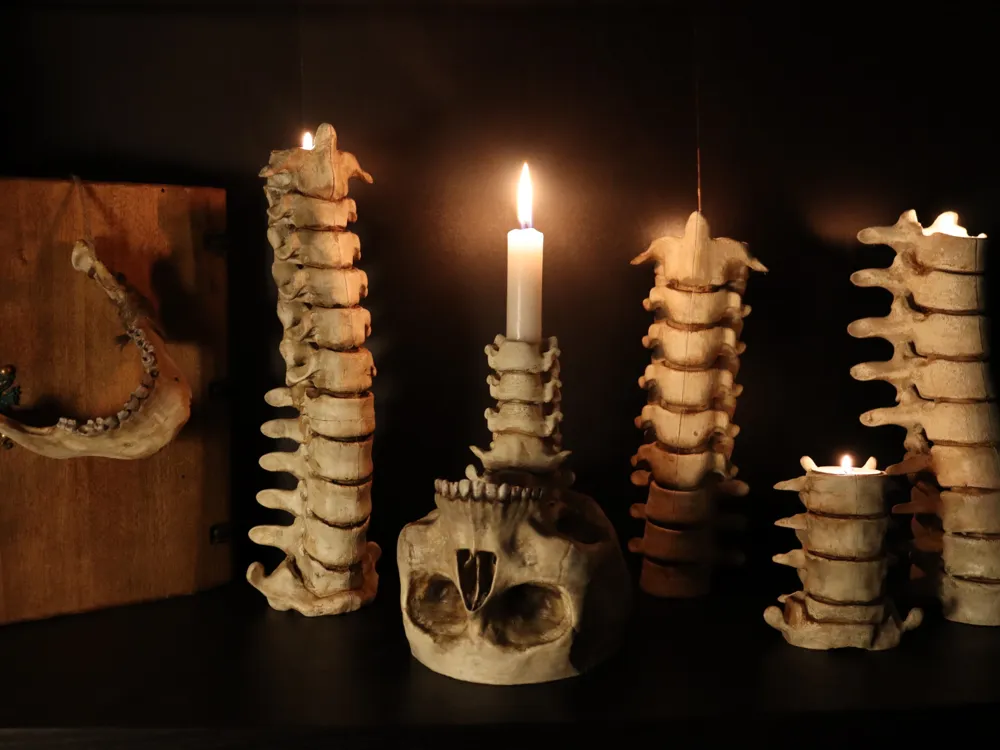
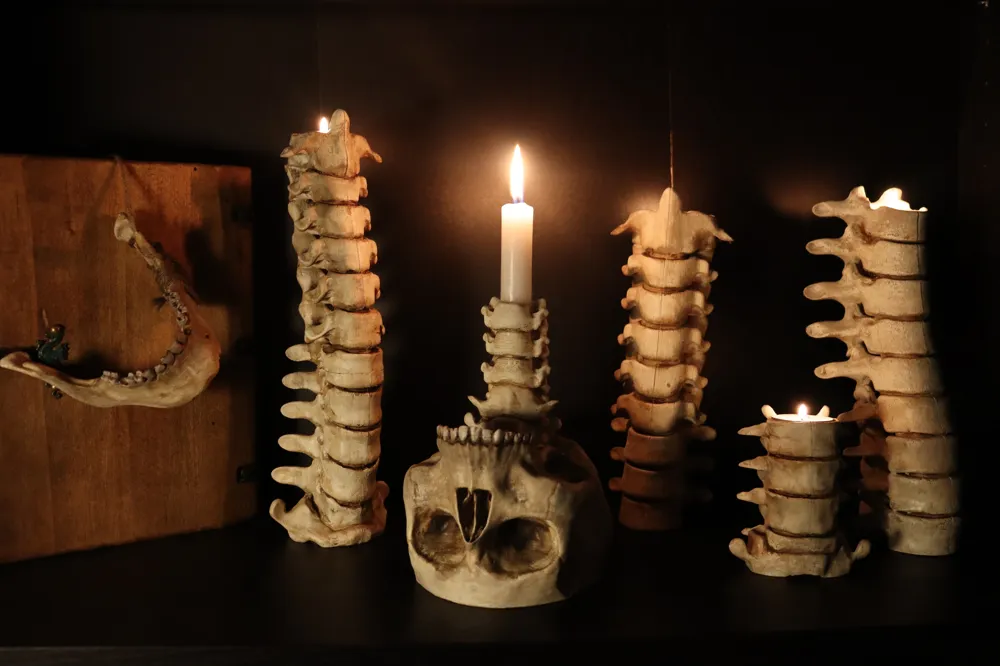
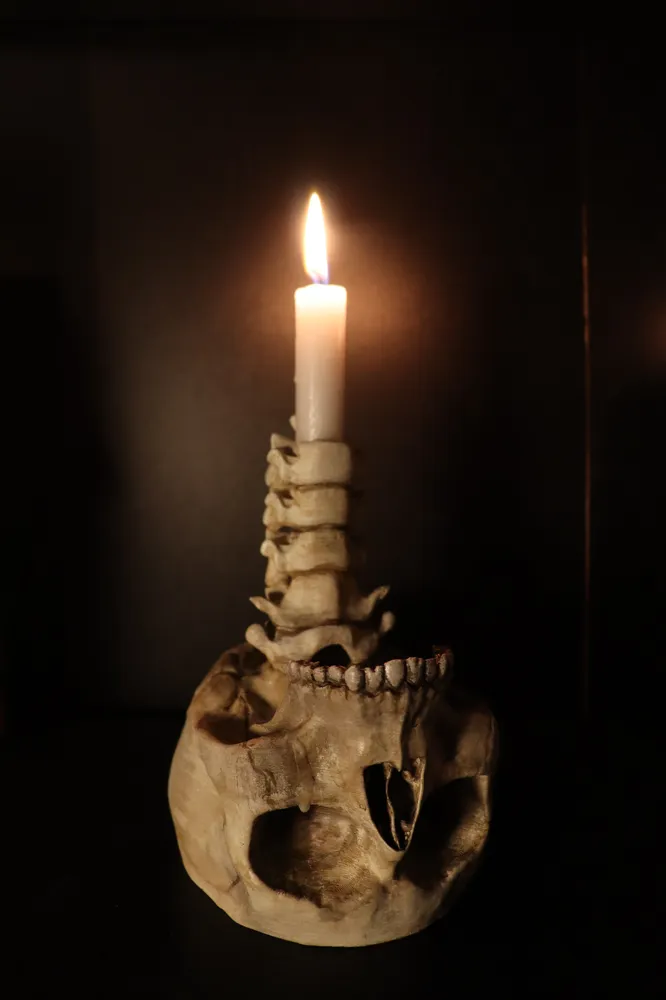
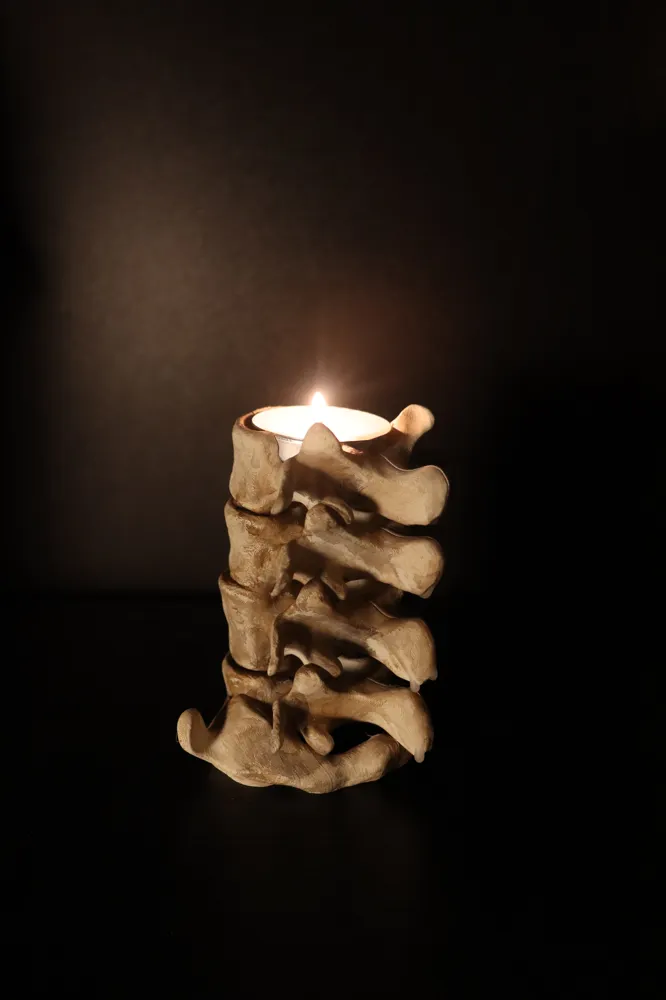
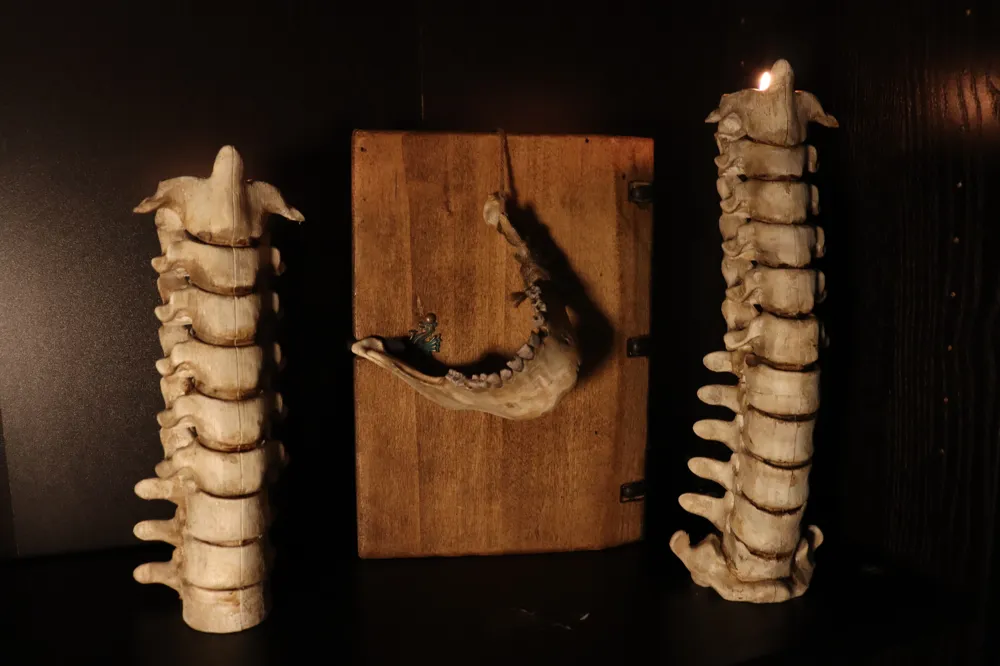
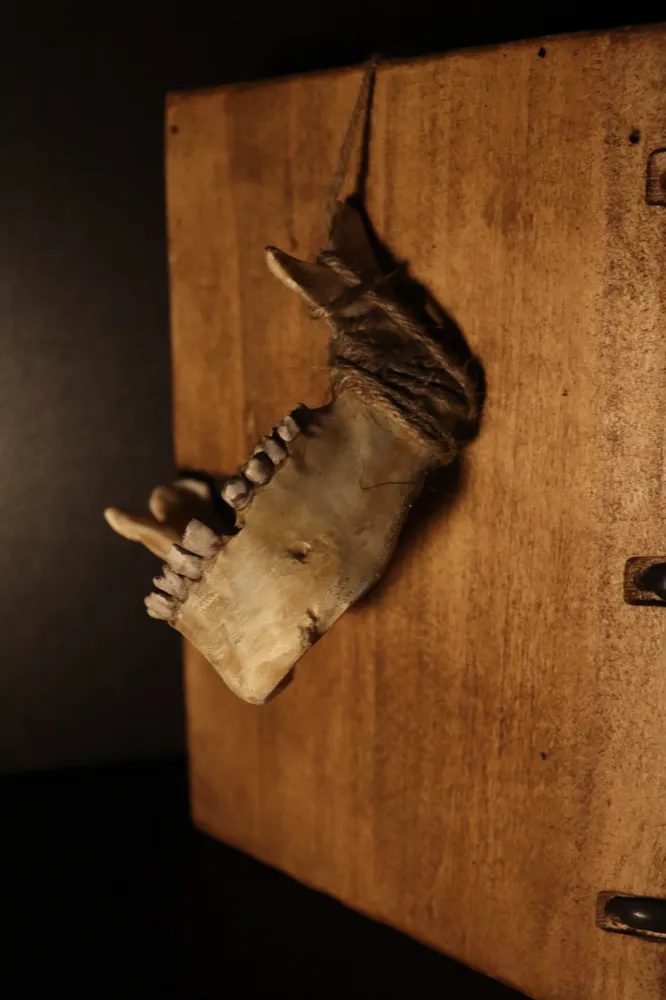
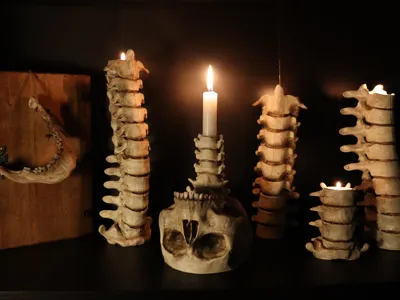
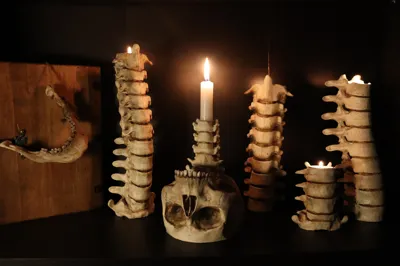
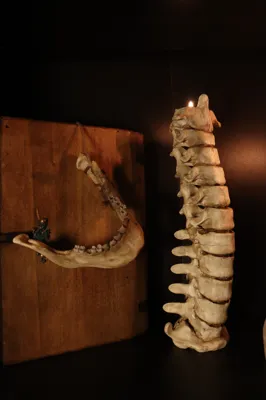
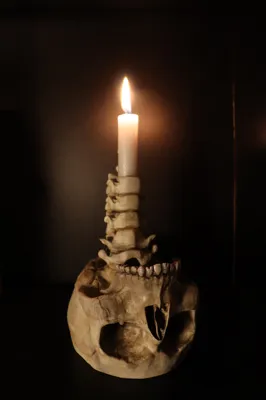
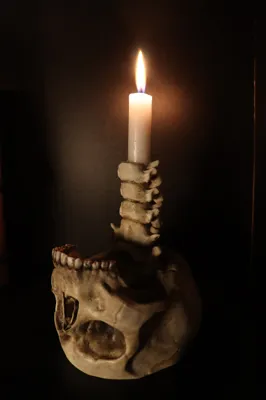
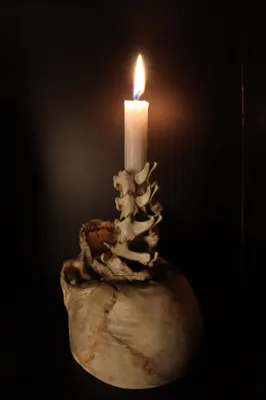
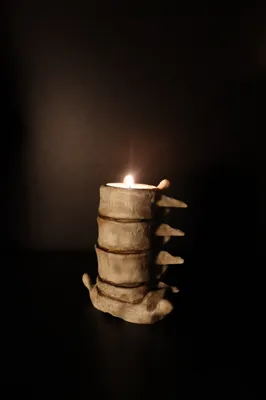
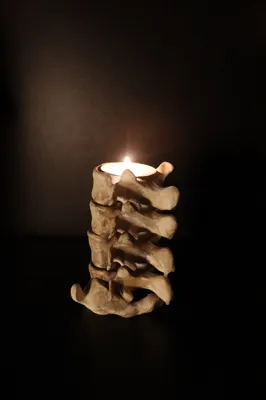
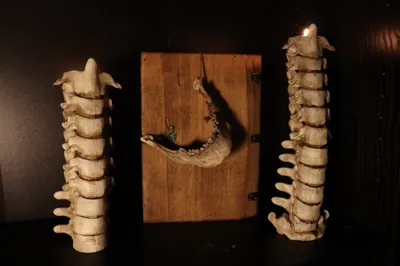
Dark and gothic candleholder set
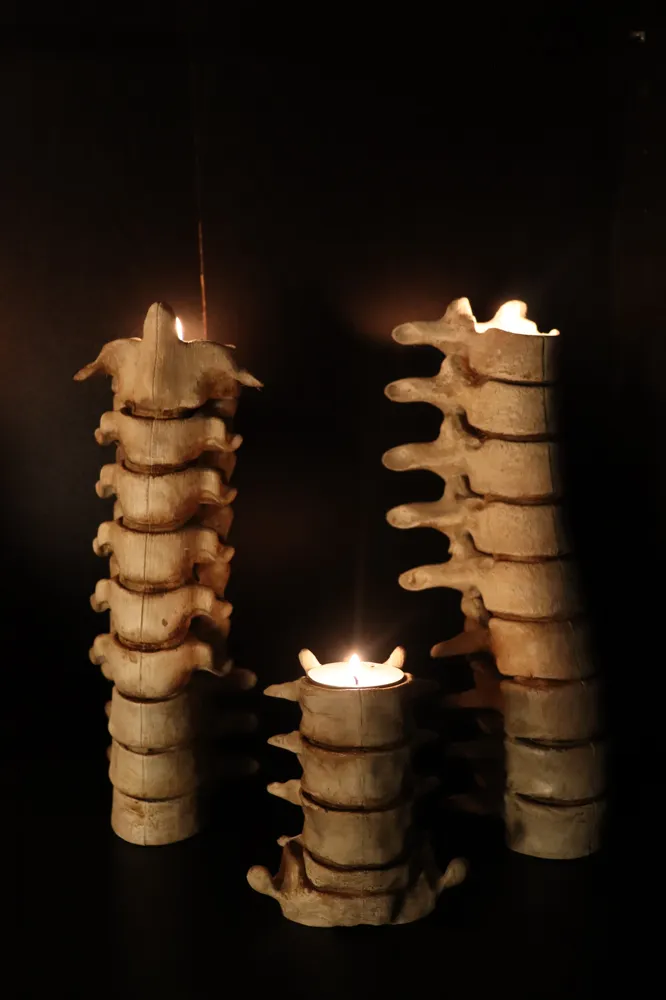
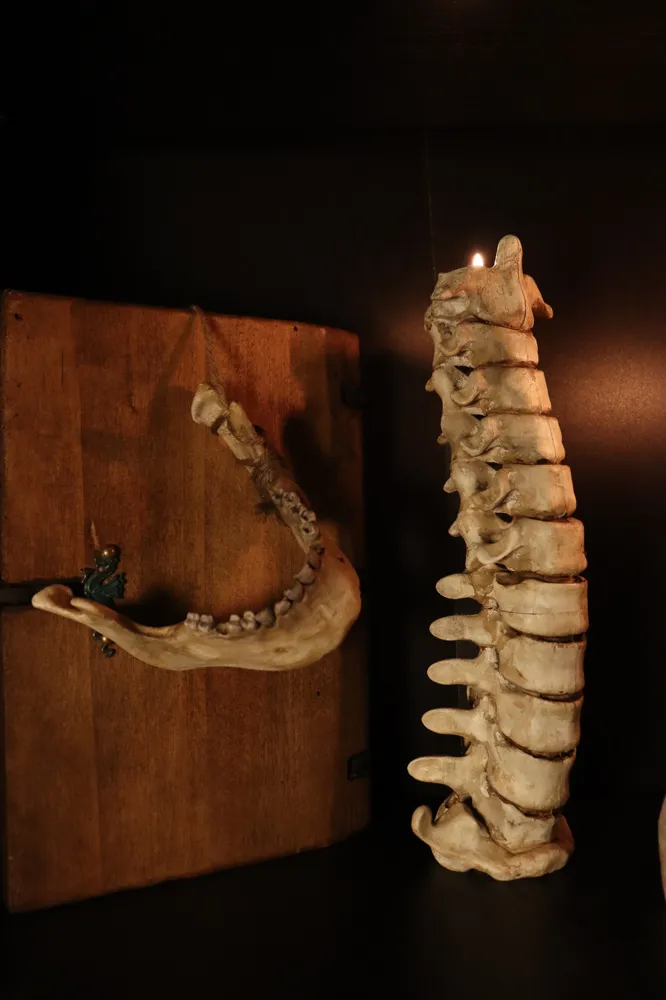
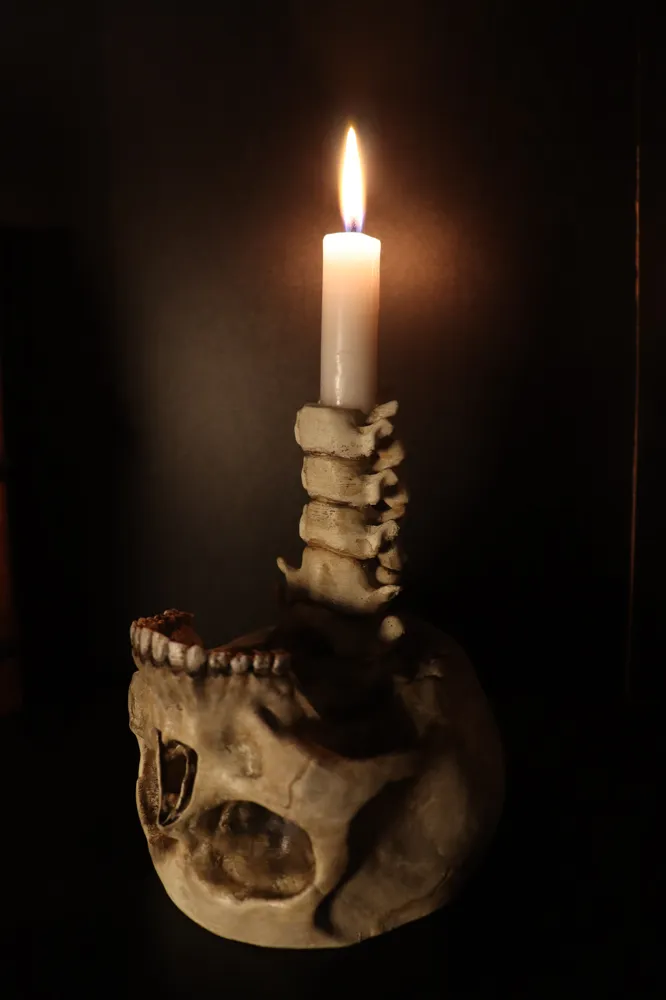
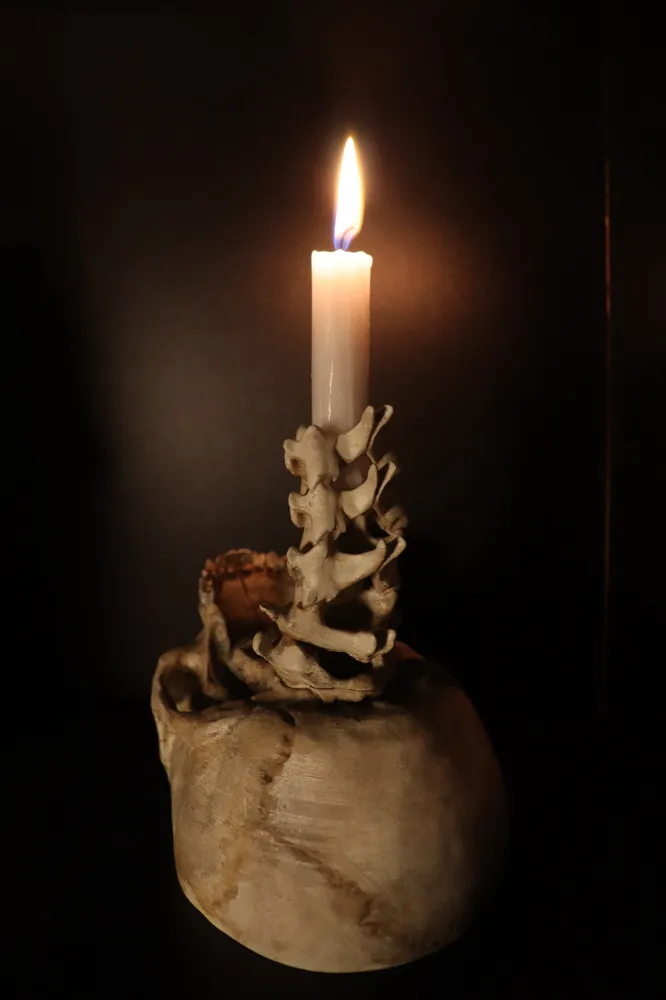
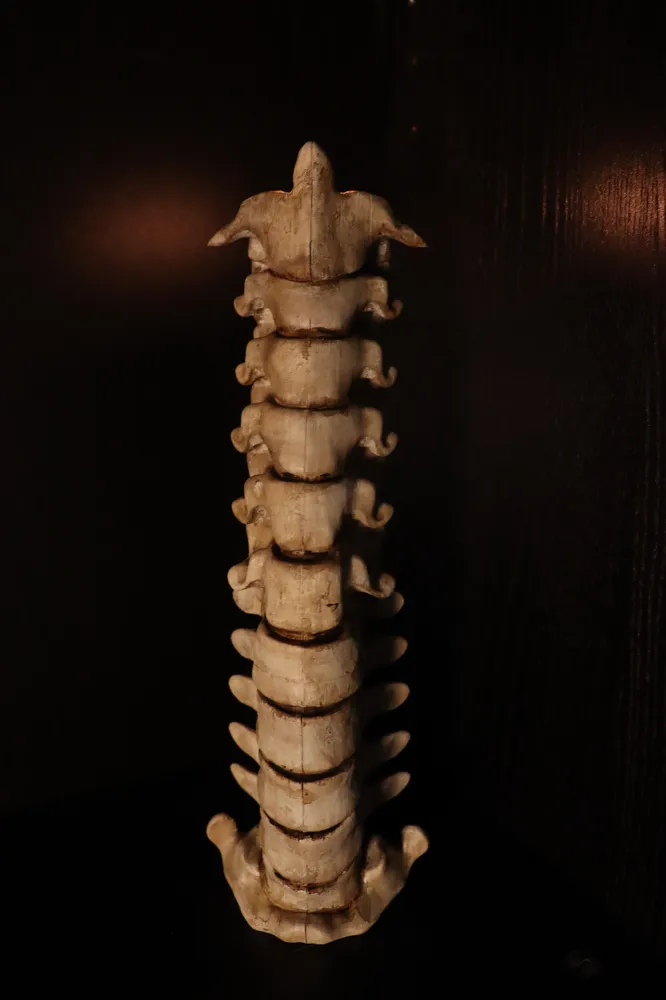
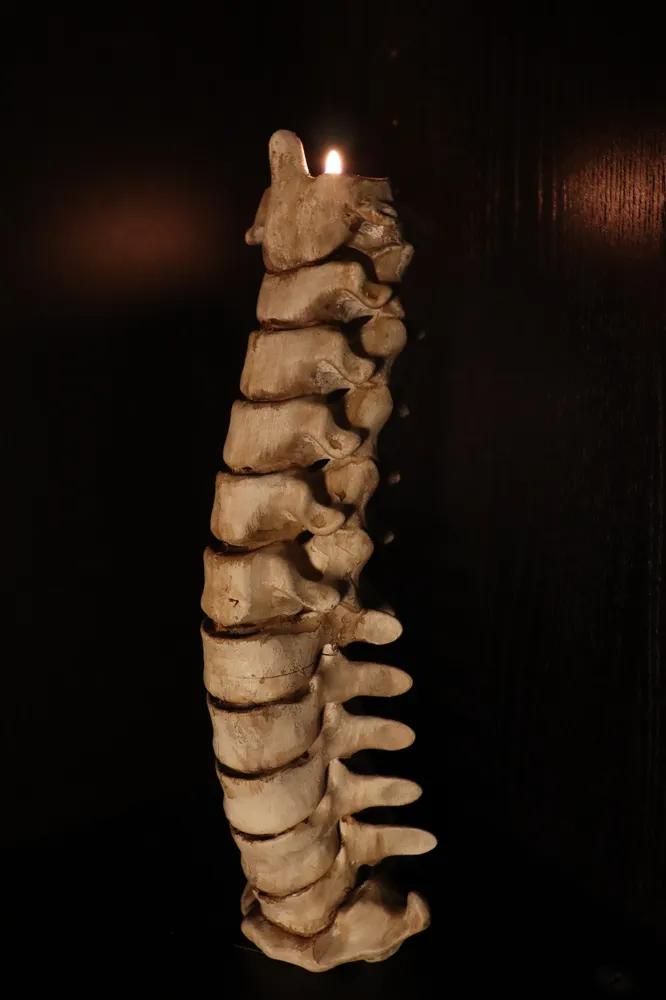
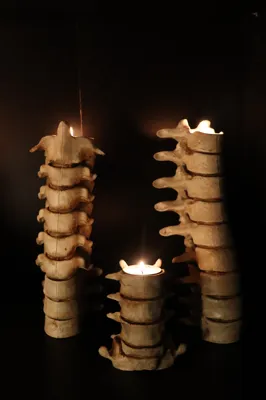
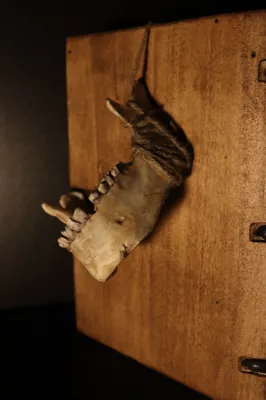
Bring a touch of darkness and originality to your space with this spine and skull candleholder set.
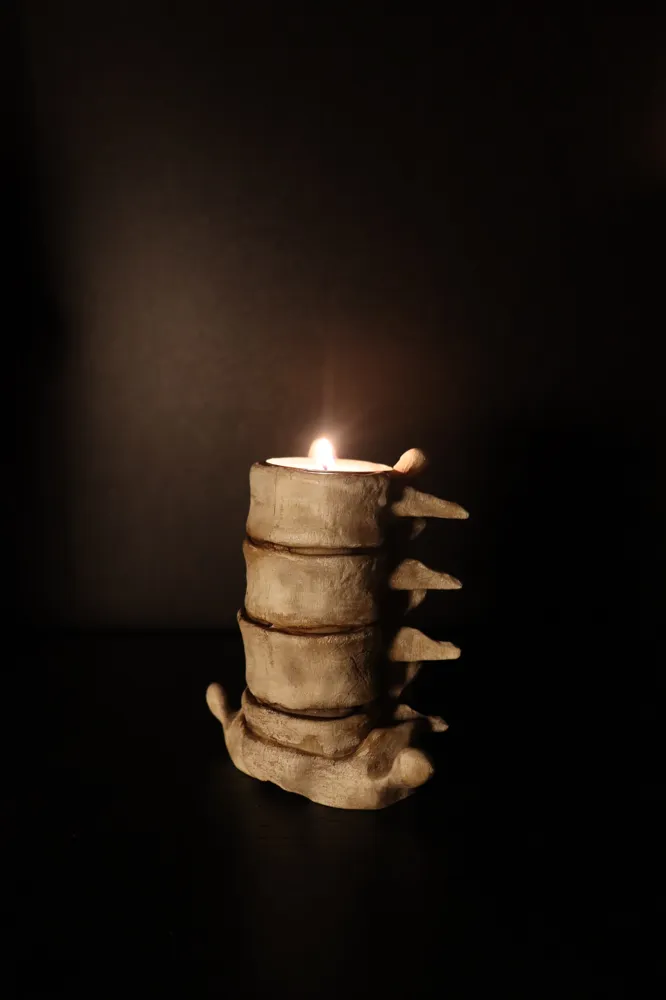
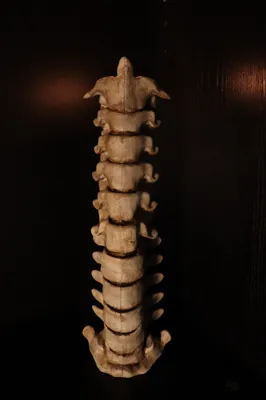
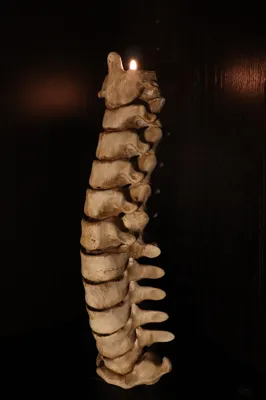
This project combines skulls, bones, and vertebrae shapes to transform ordinary candles into macabre works of art. Perfect for Halloween decorations, horror props, gothic interiors, or anyone who loves creepy and unusual designs.
All the candle holders have been designed to hold tealight candles measuring 3.5 cm in diameter and 1.5 cm in height
Concerning the skull it fits a 2cm diameter candle.
I printed it with my P1Pusing the split version when the plate couldn't fit the cadleholder.
It took me a lot of work to make these (I am a complete beginner in 3D modelling), but I’ve decided to make them free for everyone to print and remix.
PLEASE DO NOT SELL MY DESIGN.
POST PROCESS - PAINTJOB
SUMMARY
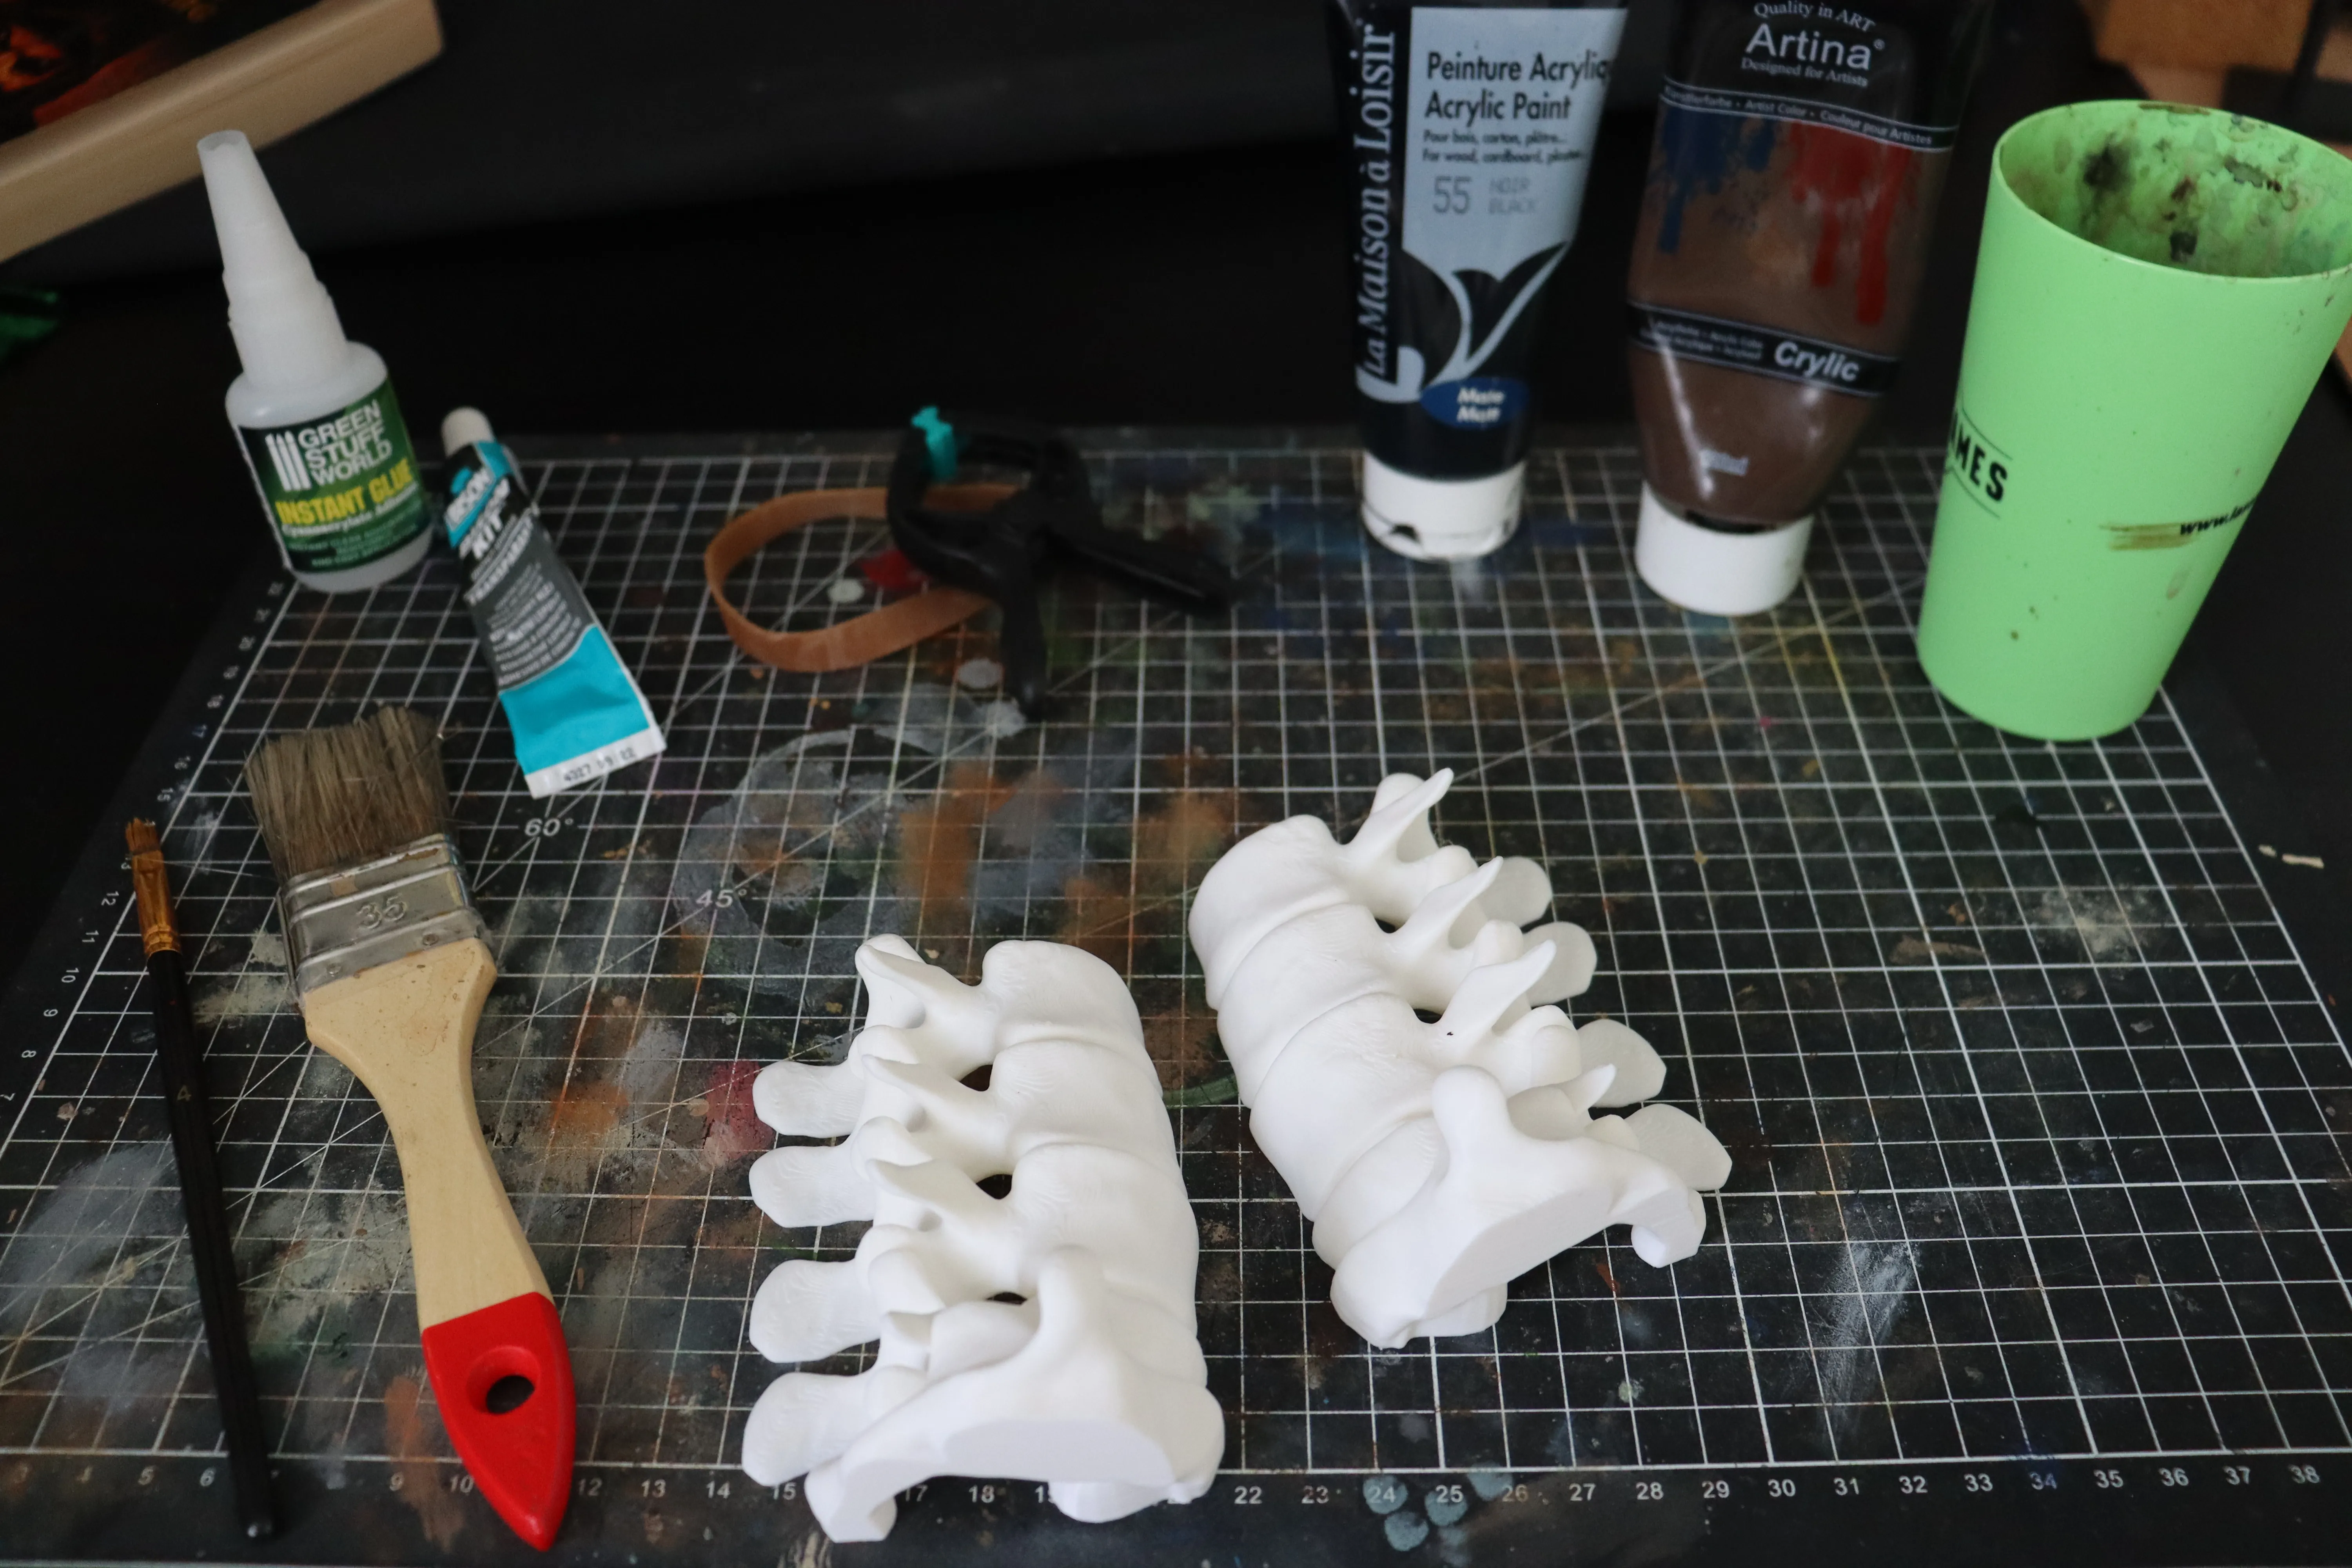
This is all you need to get good result : Big brush, small brush, glue, rubber band (or anything that can hold still), brown paint, black paint, water pot.
Optional : wood paste filler, beige primer
STEP 1 : Glue your print together
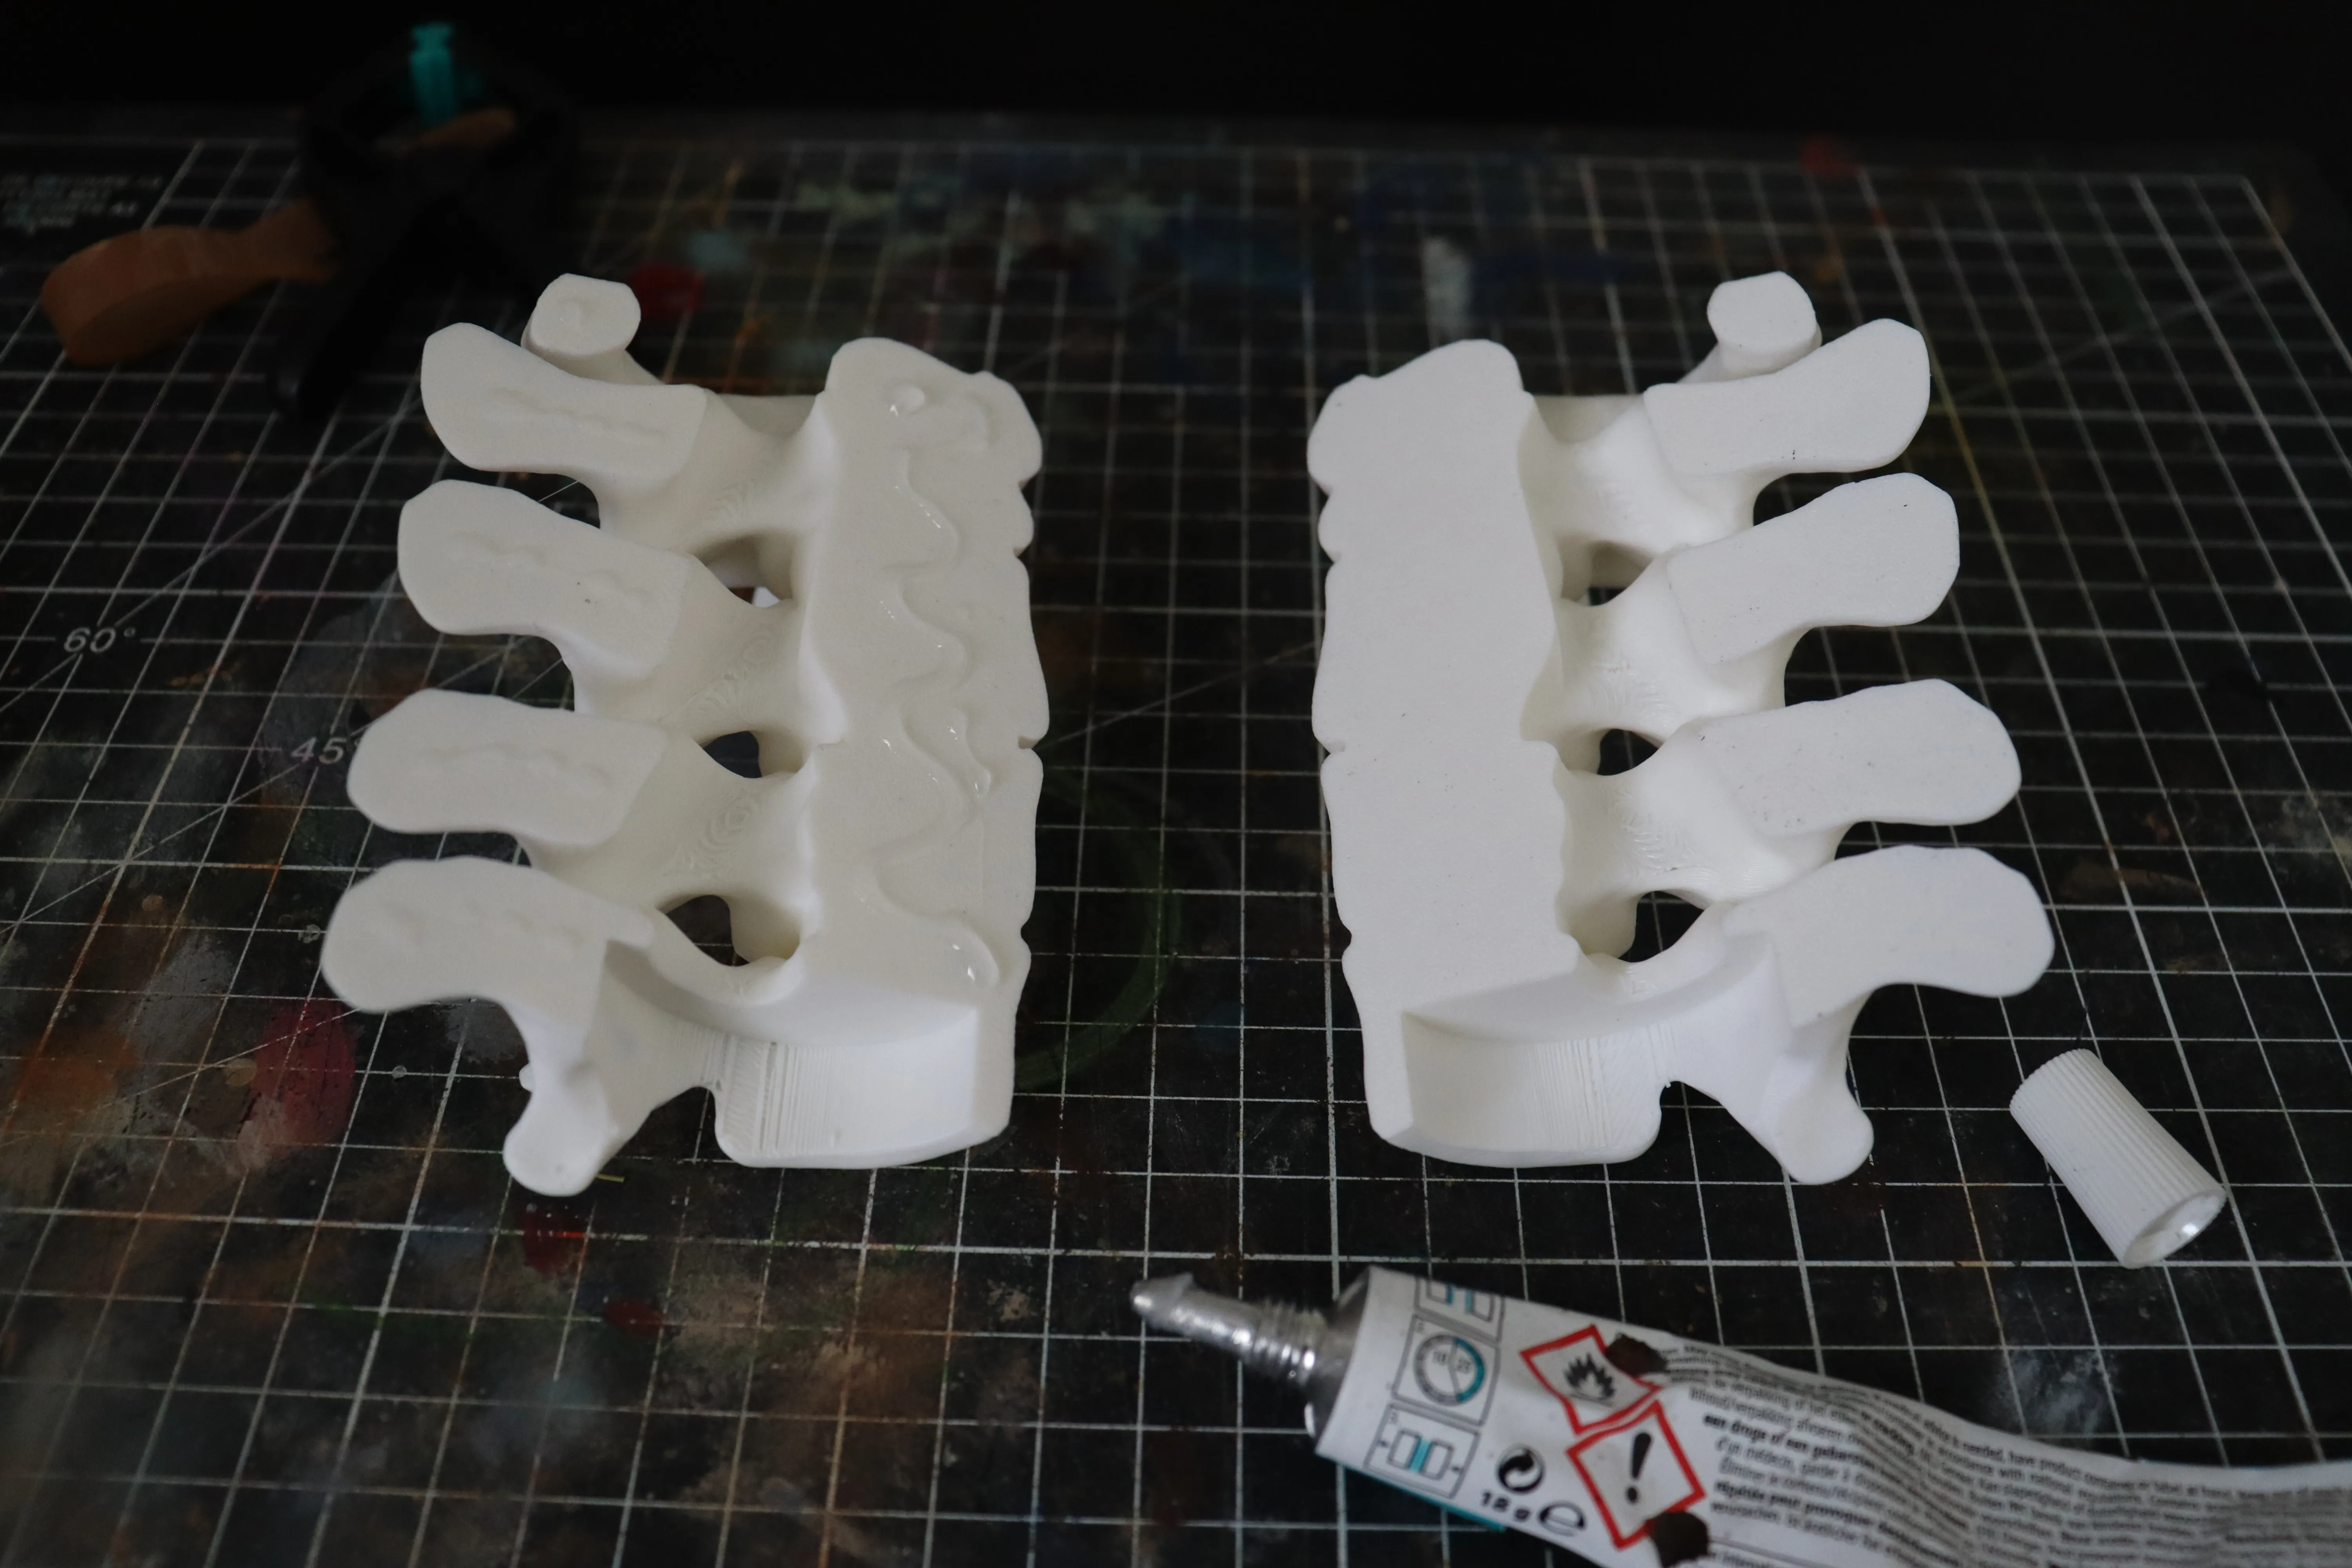
STEP 2 : Wait for it to dry
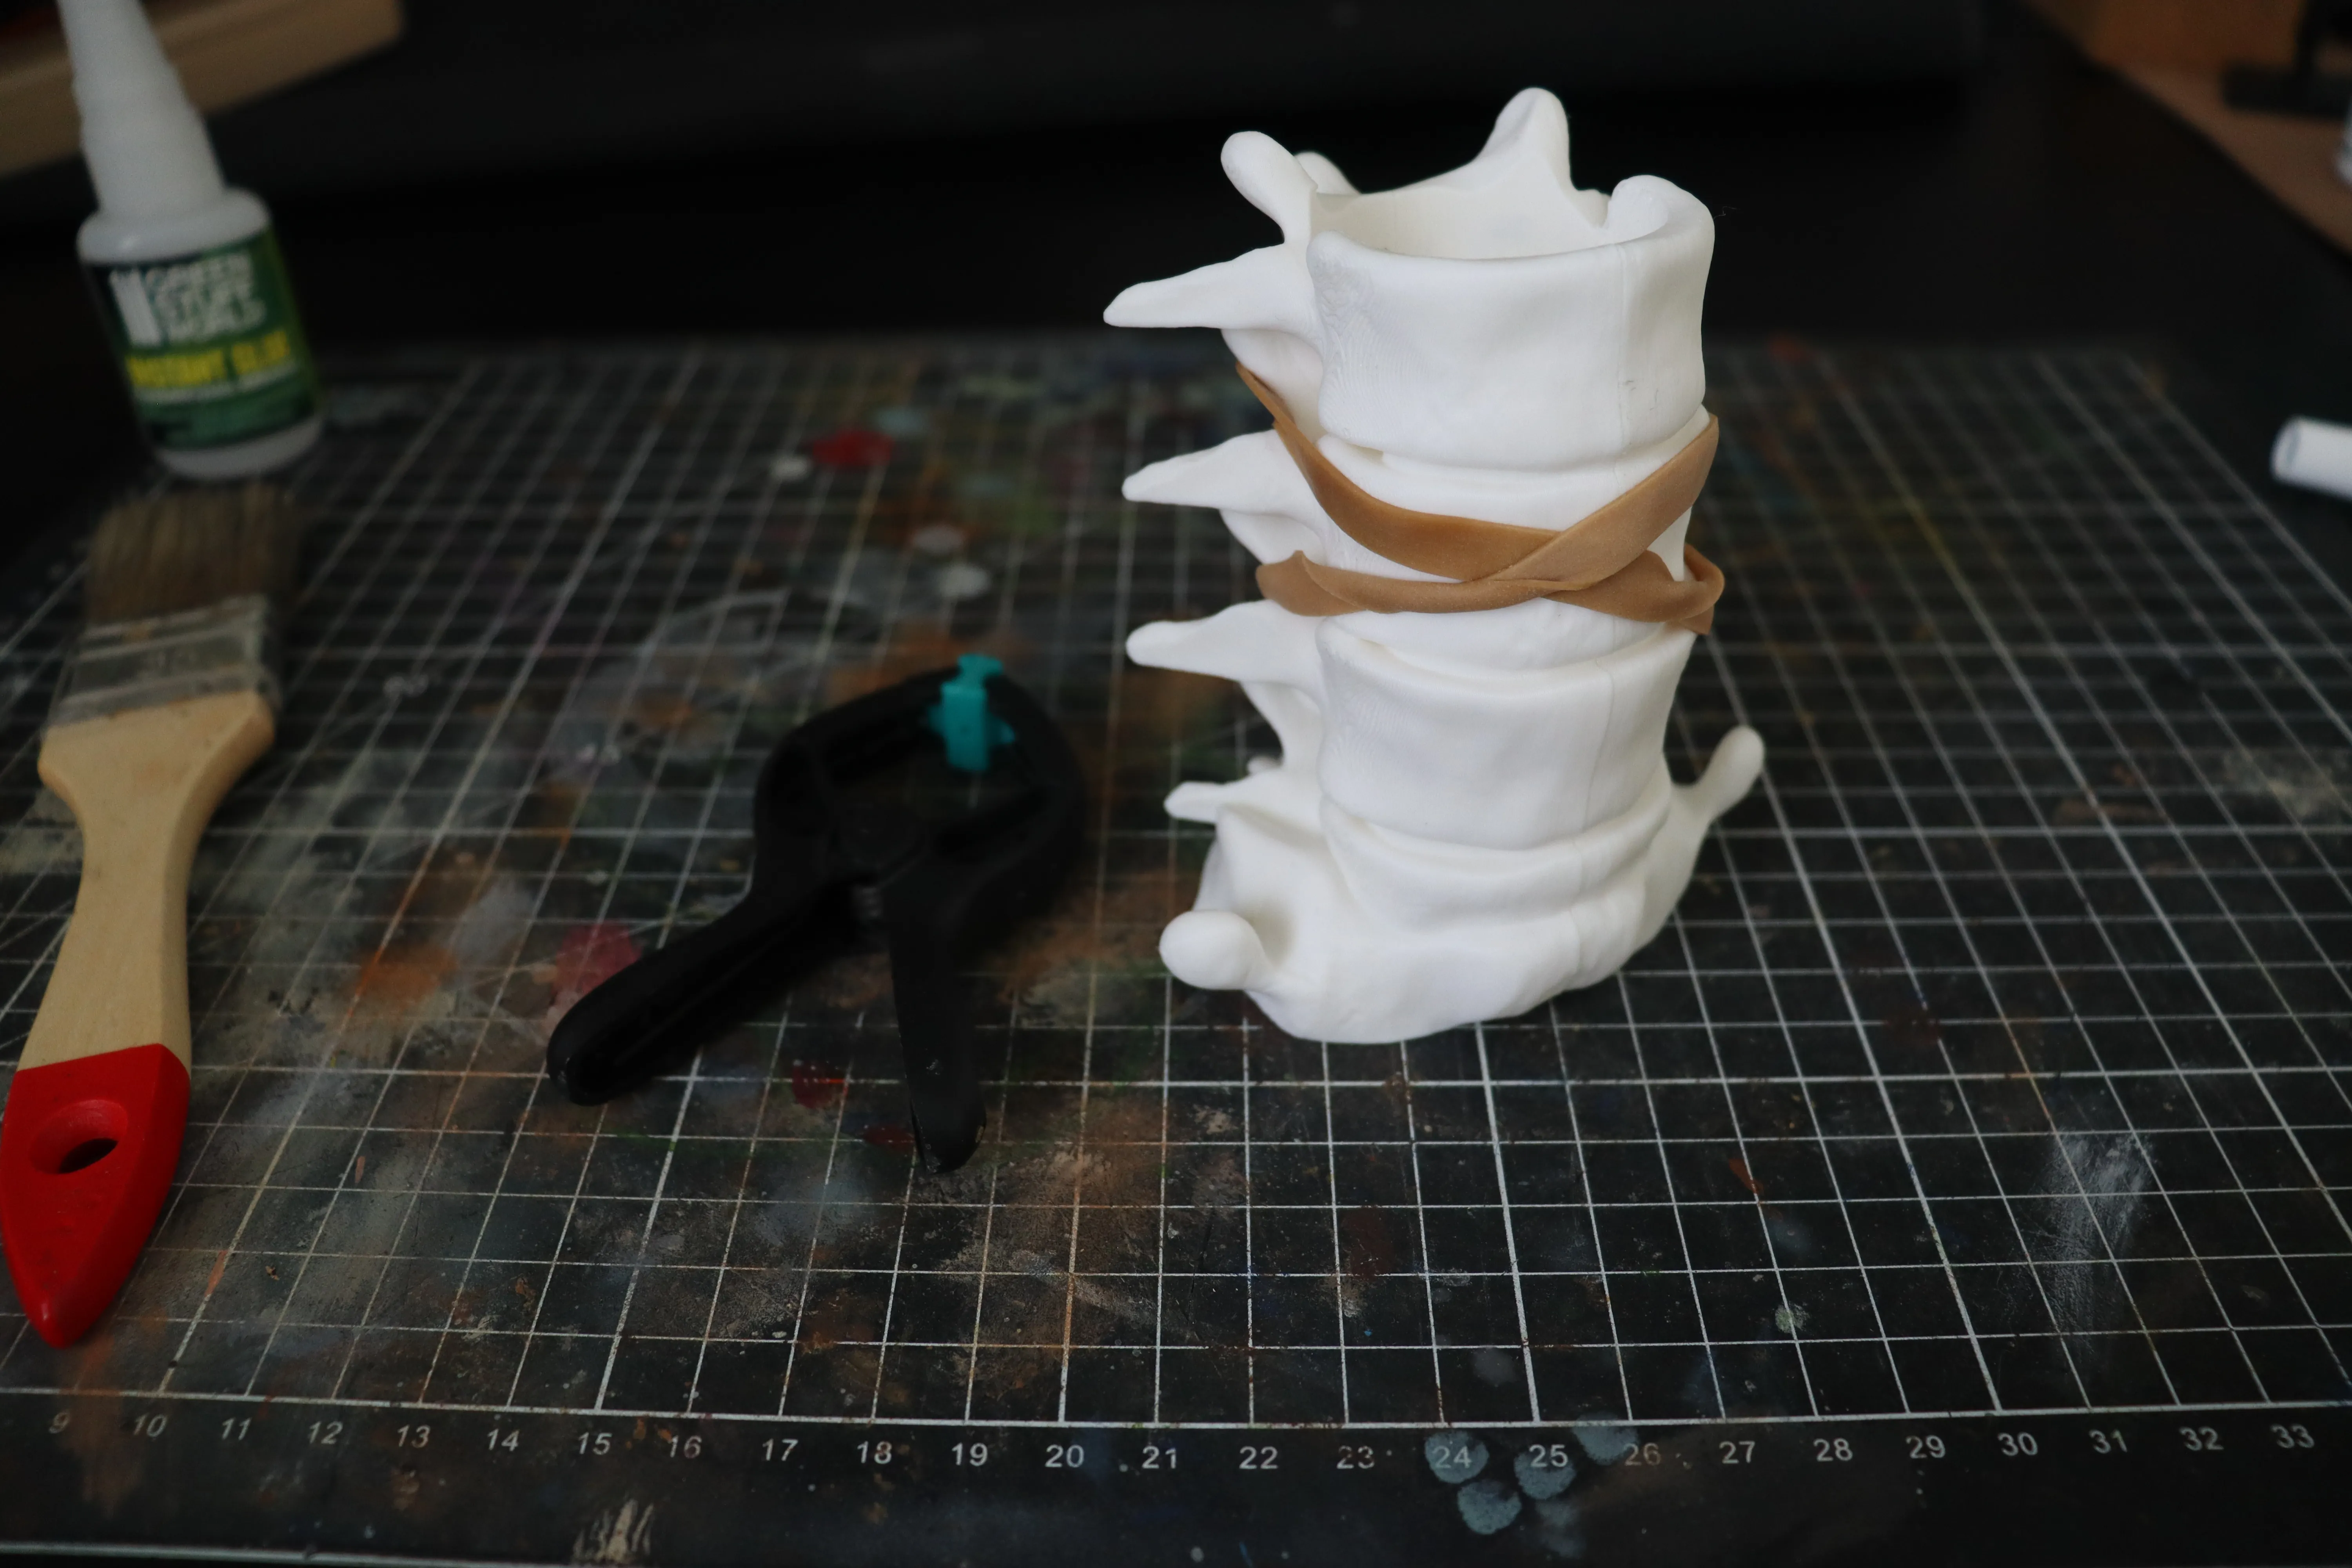
STEP 3 : PRIME and PAINT
For this exemple, I won't prime this print to show you it can be done without primer. Thin your brown paint and cover the whole model. Wait for it to dry, repeat if needed
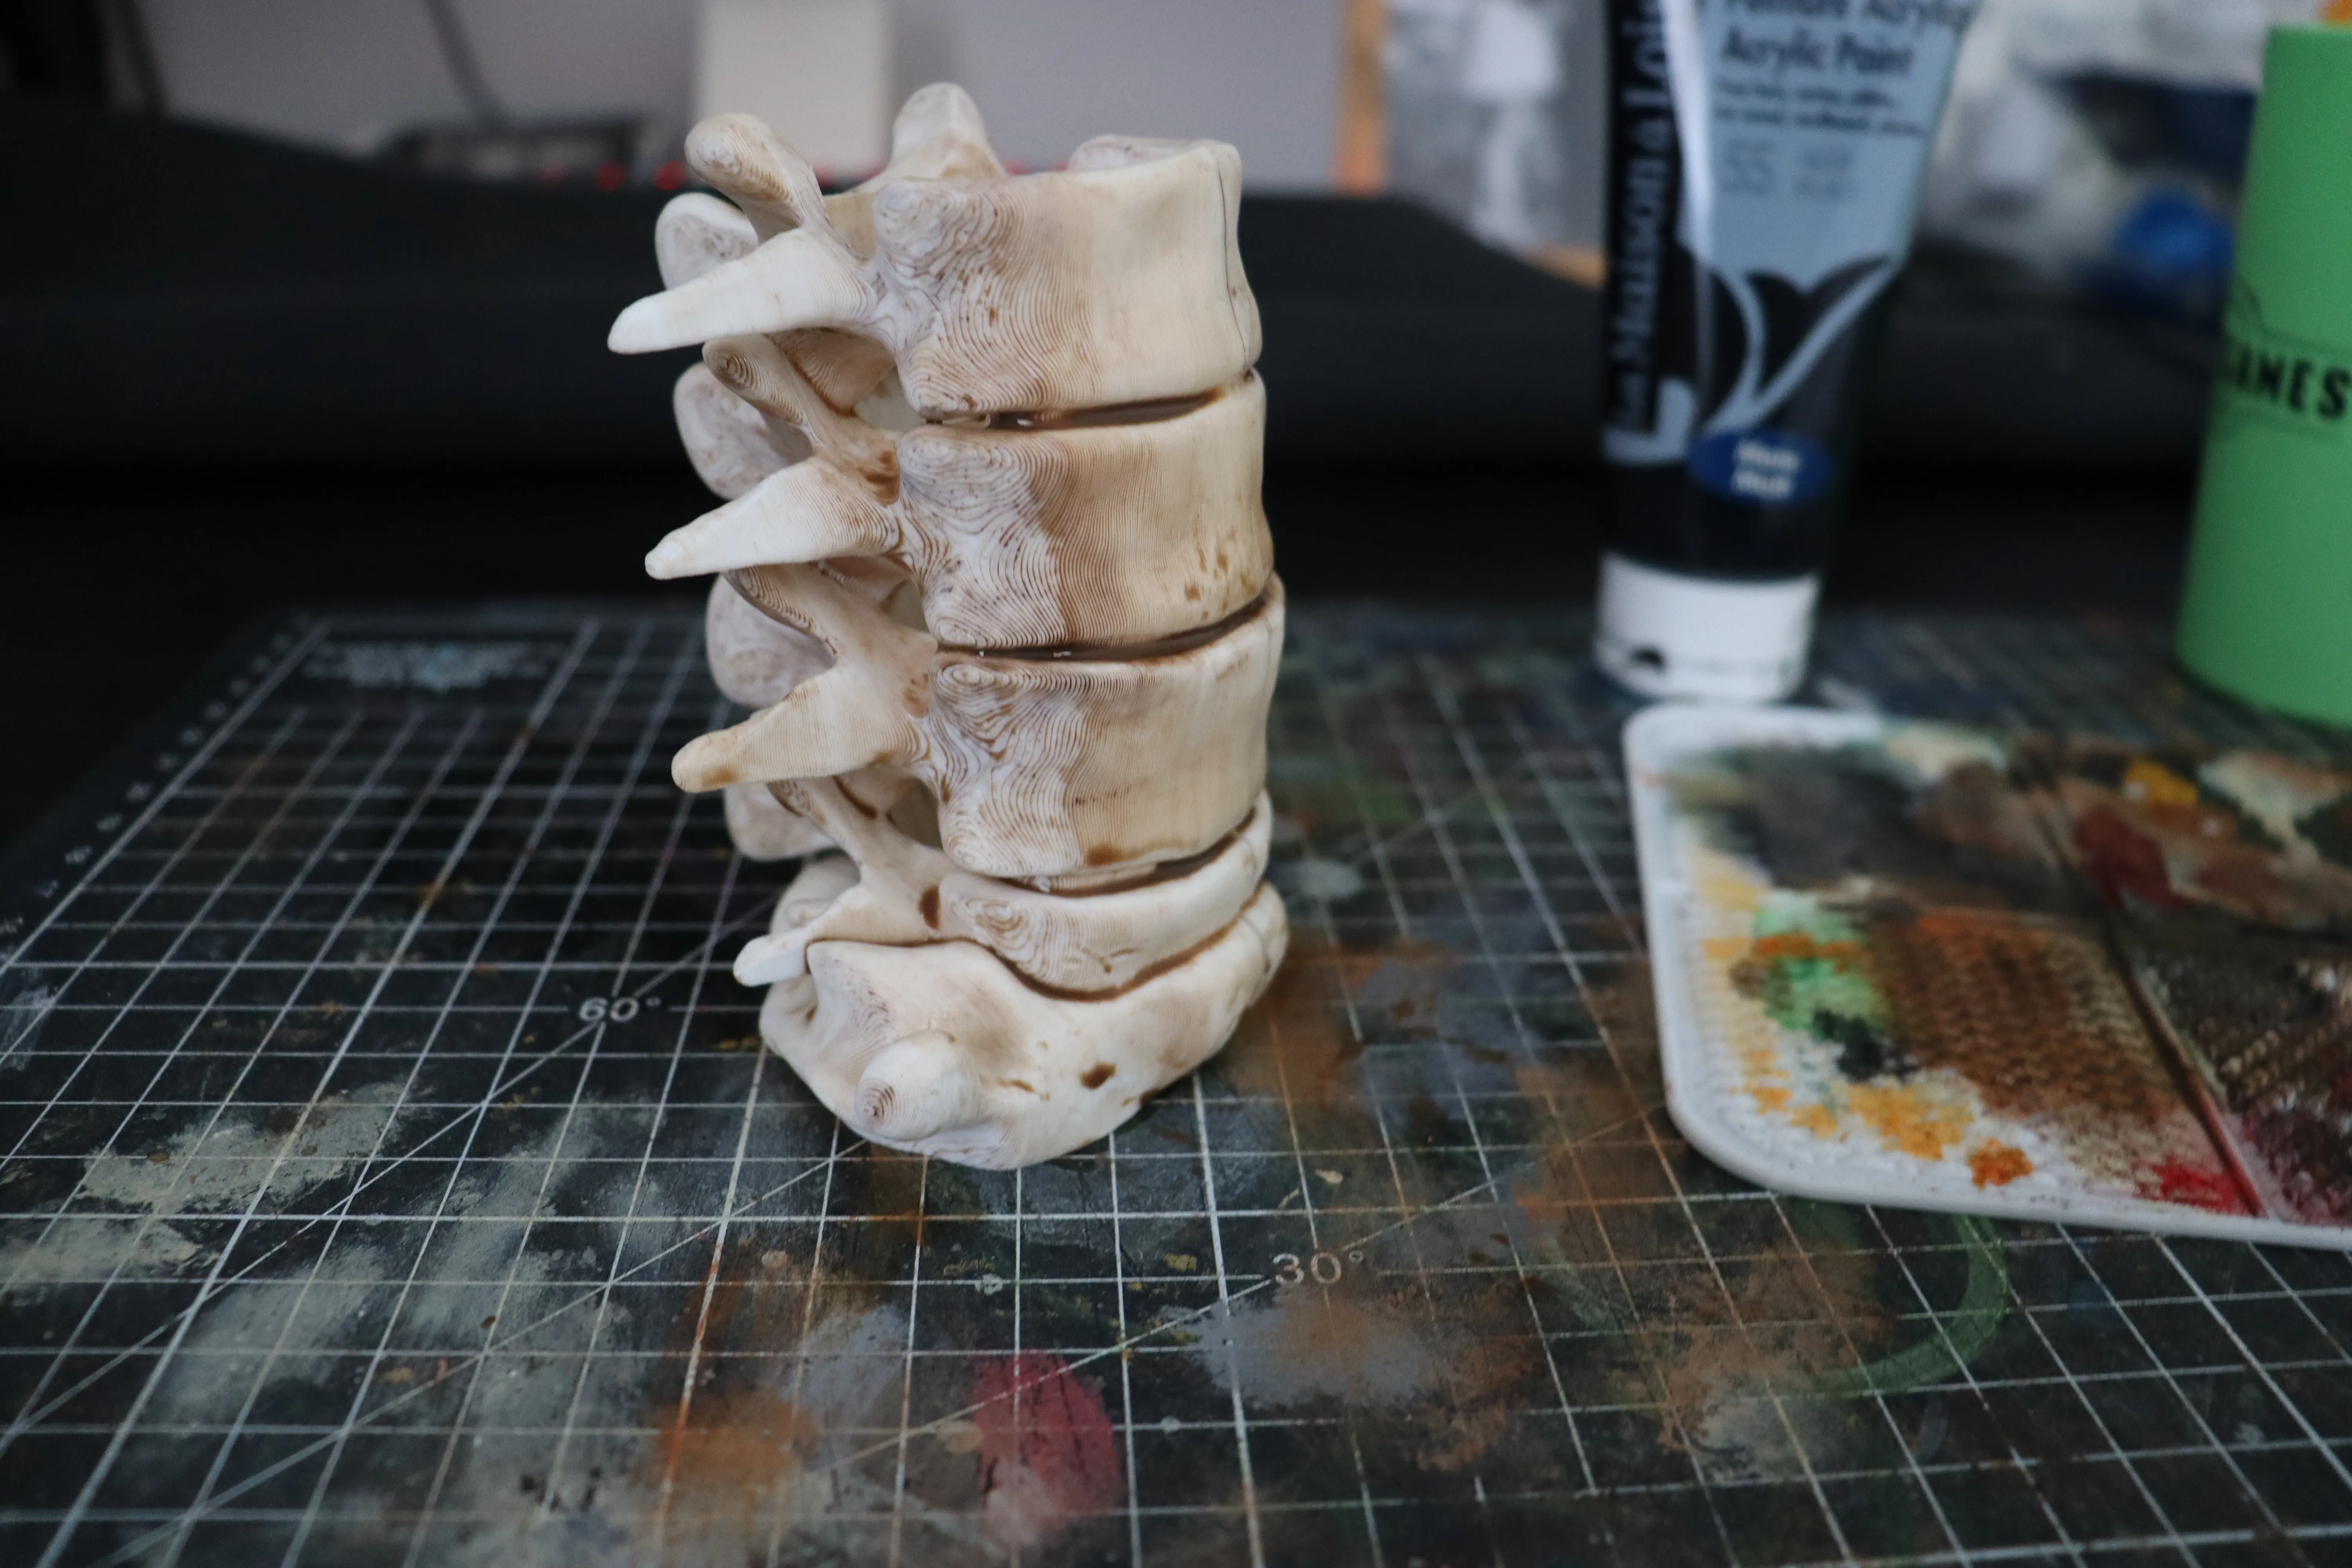
Wipe the excess paint on the bones to keep the paint in the recesses.
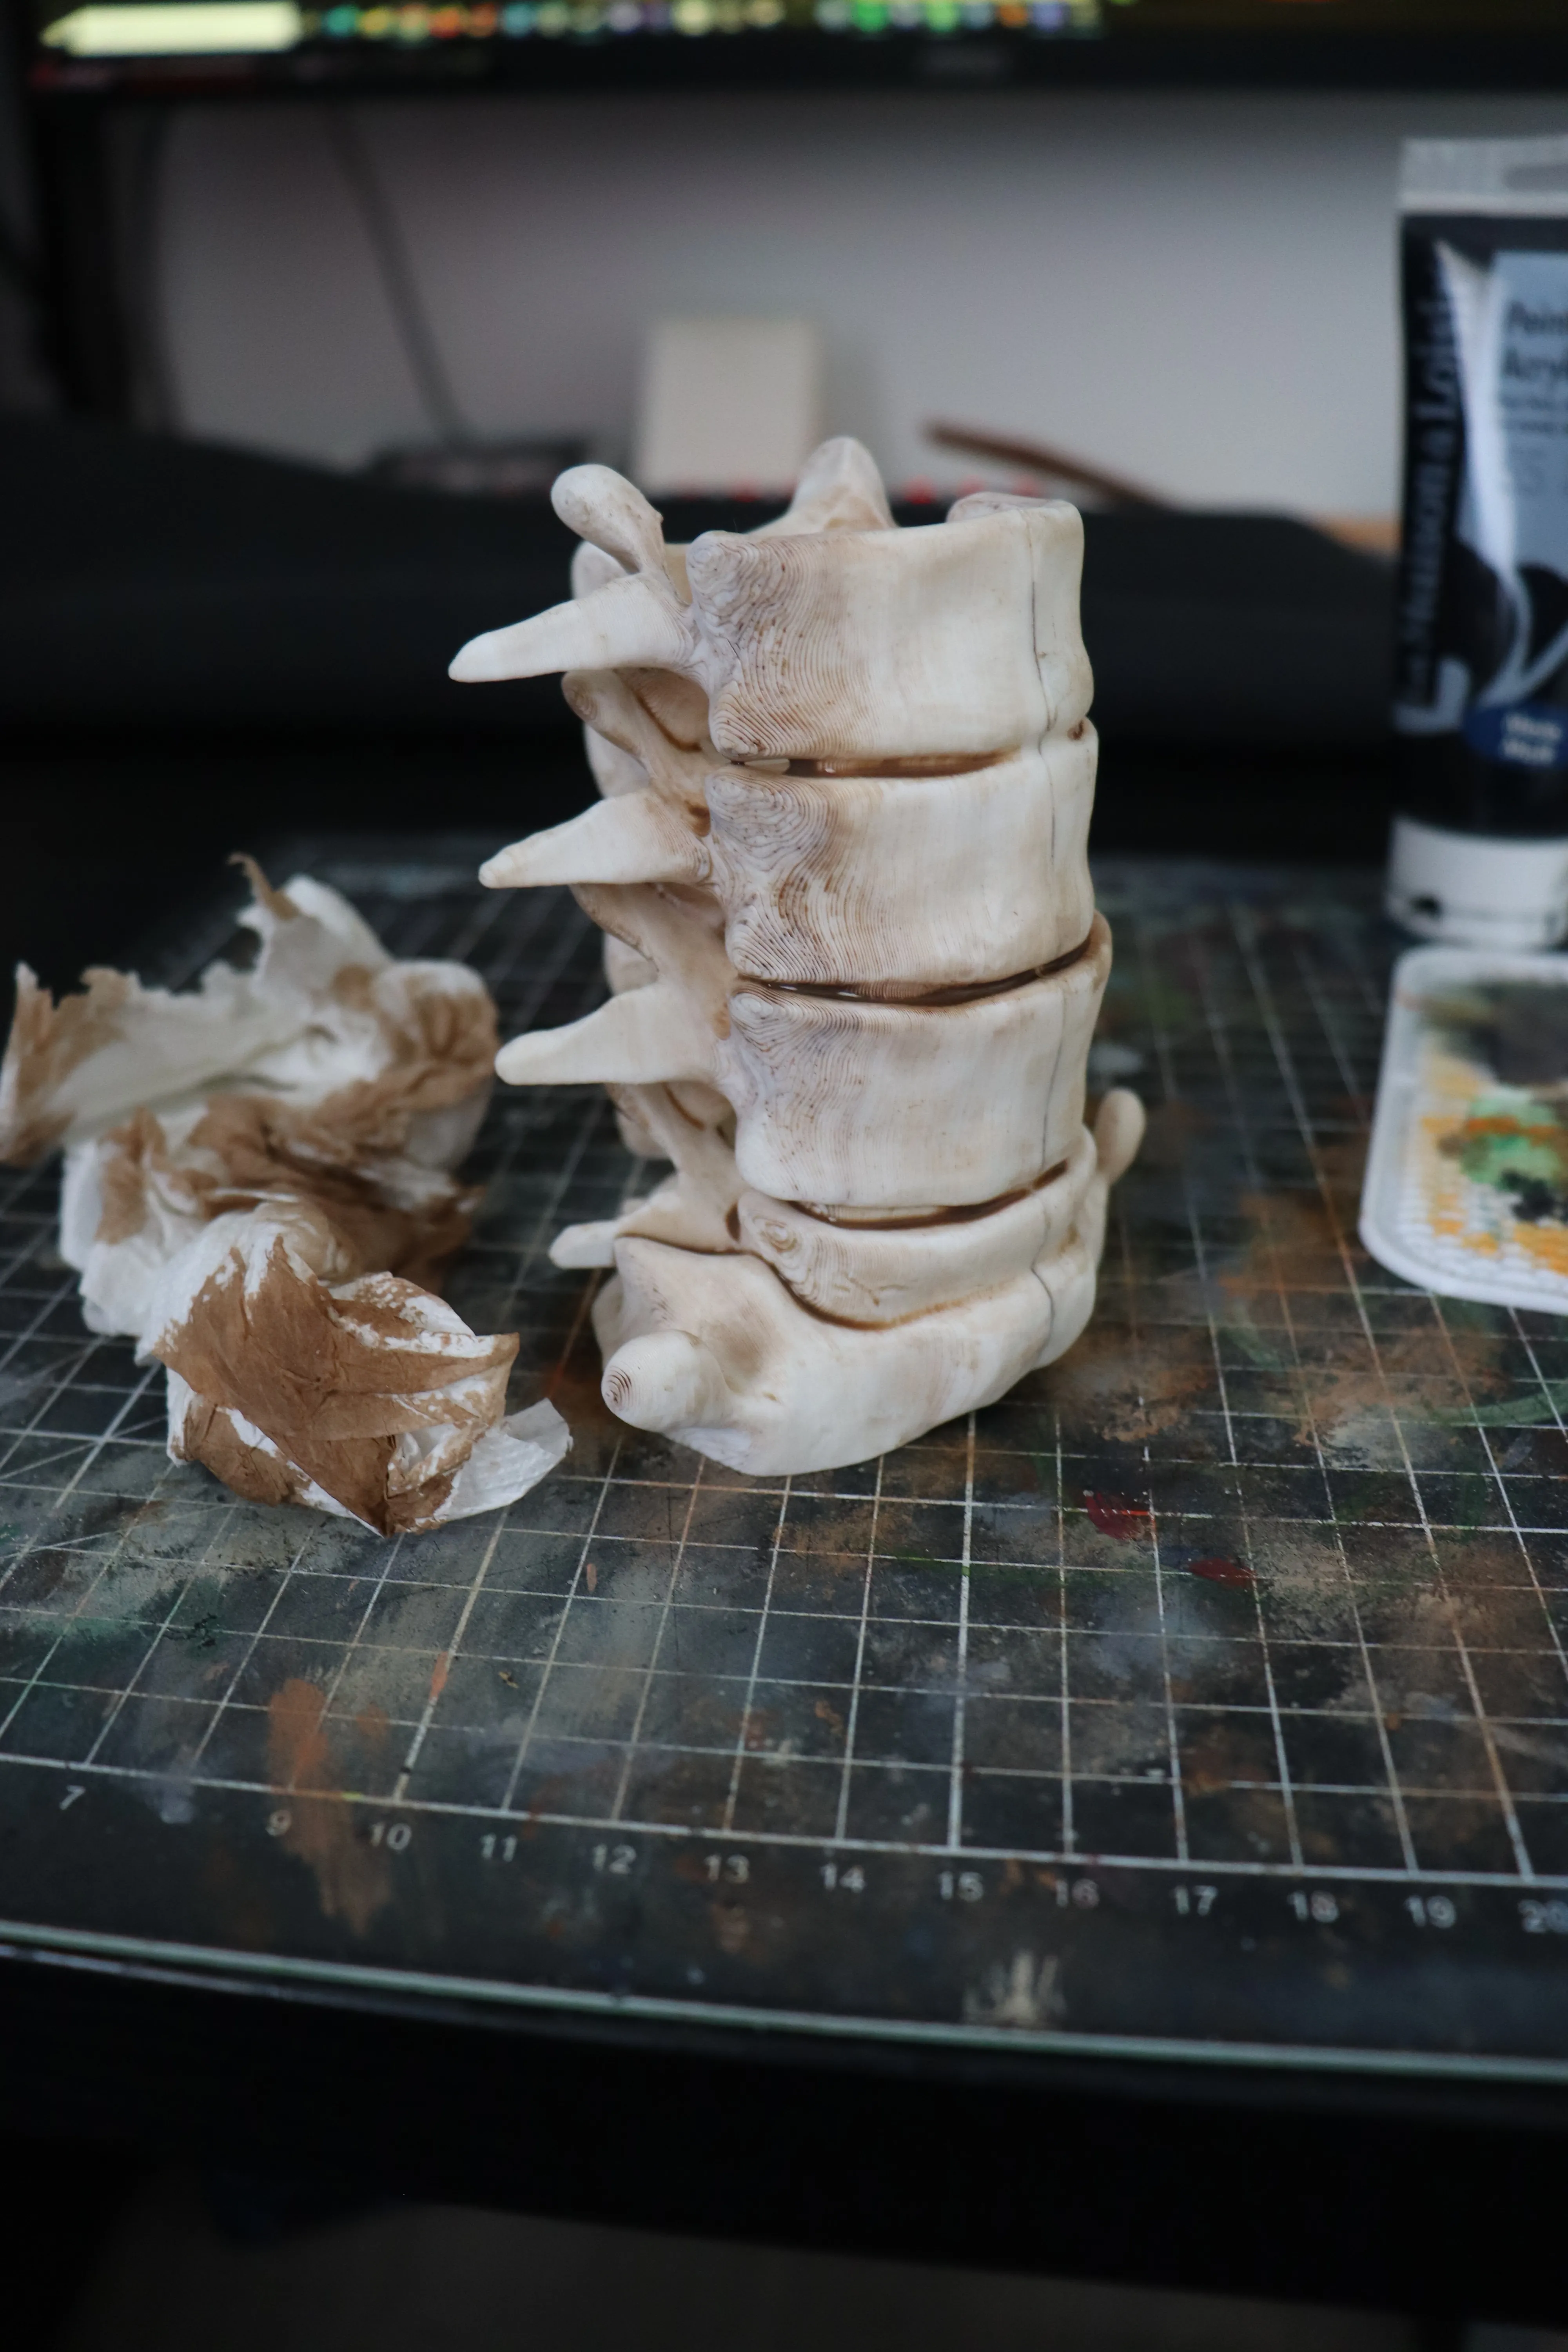
Once it's dry , do the same with black paint
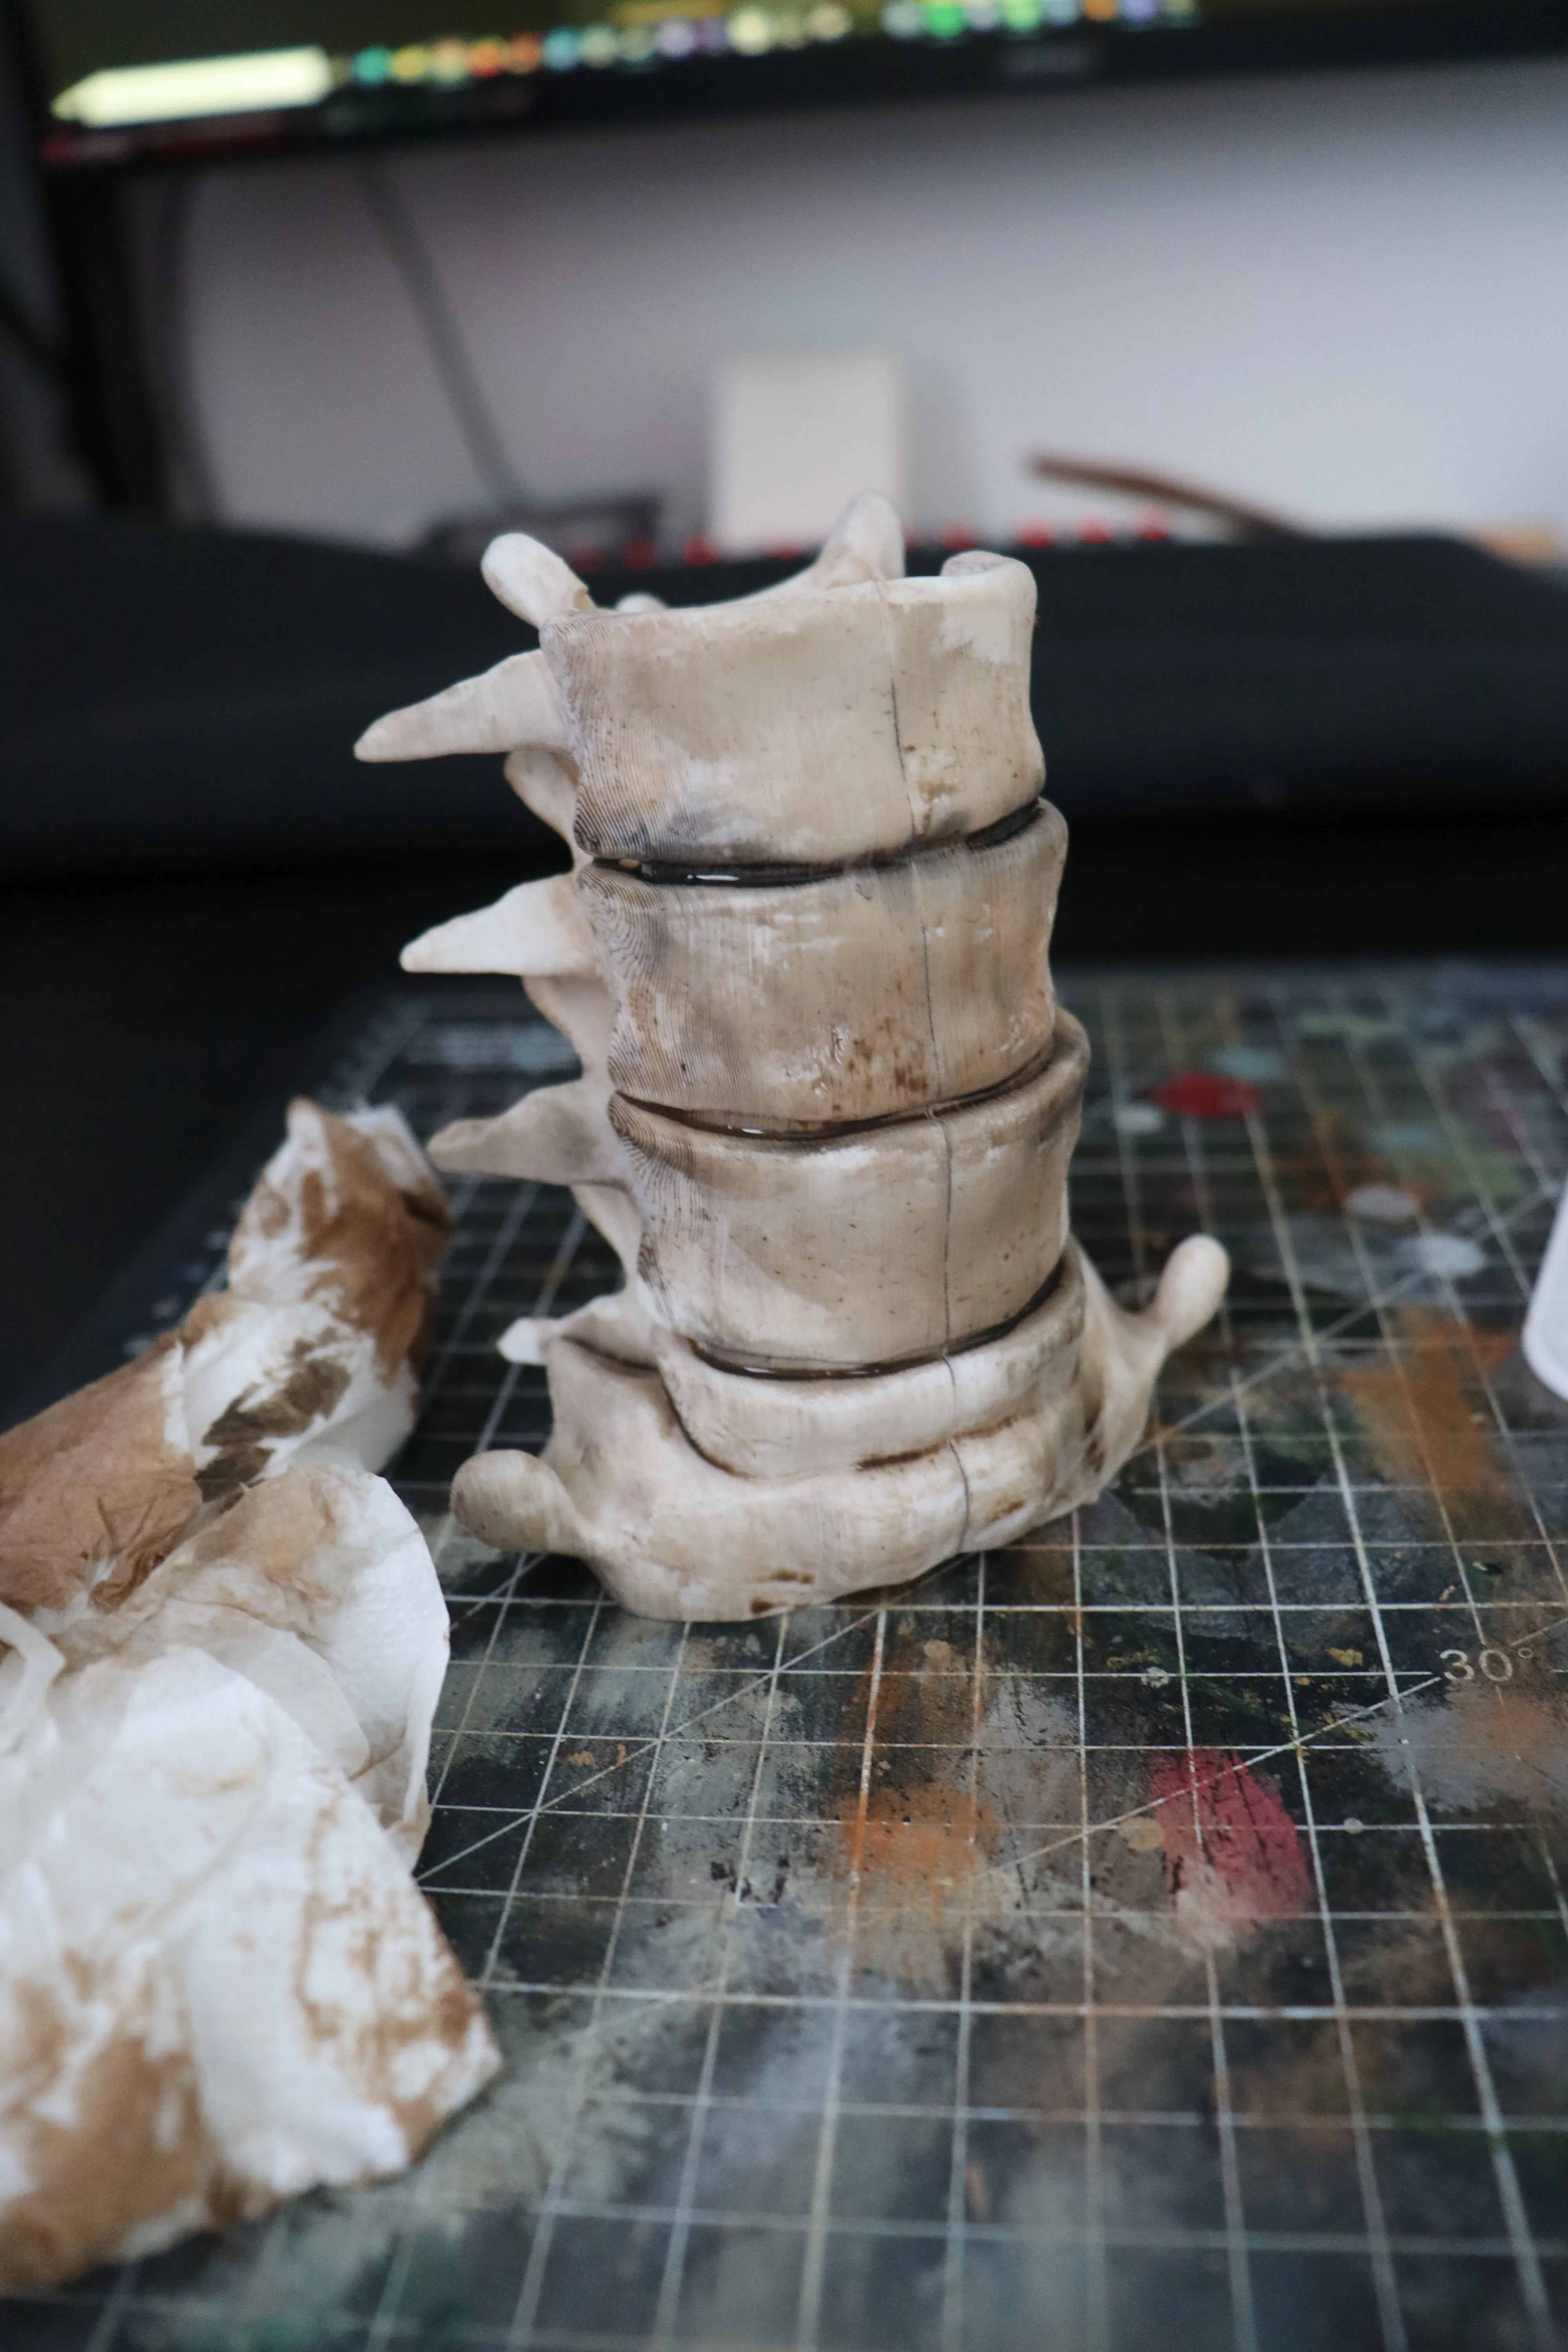
FINAL STEP : With a small brush, apply a thick-ish coat of brown paint between the vertabrae.
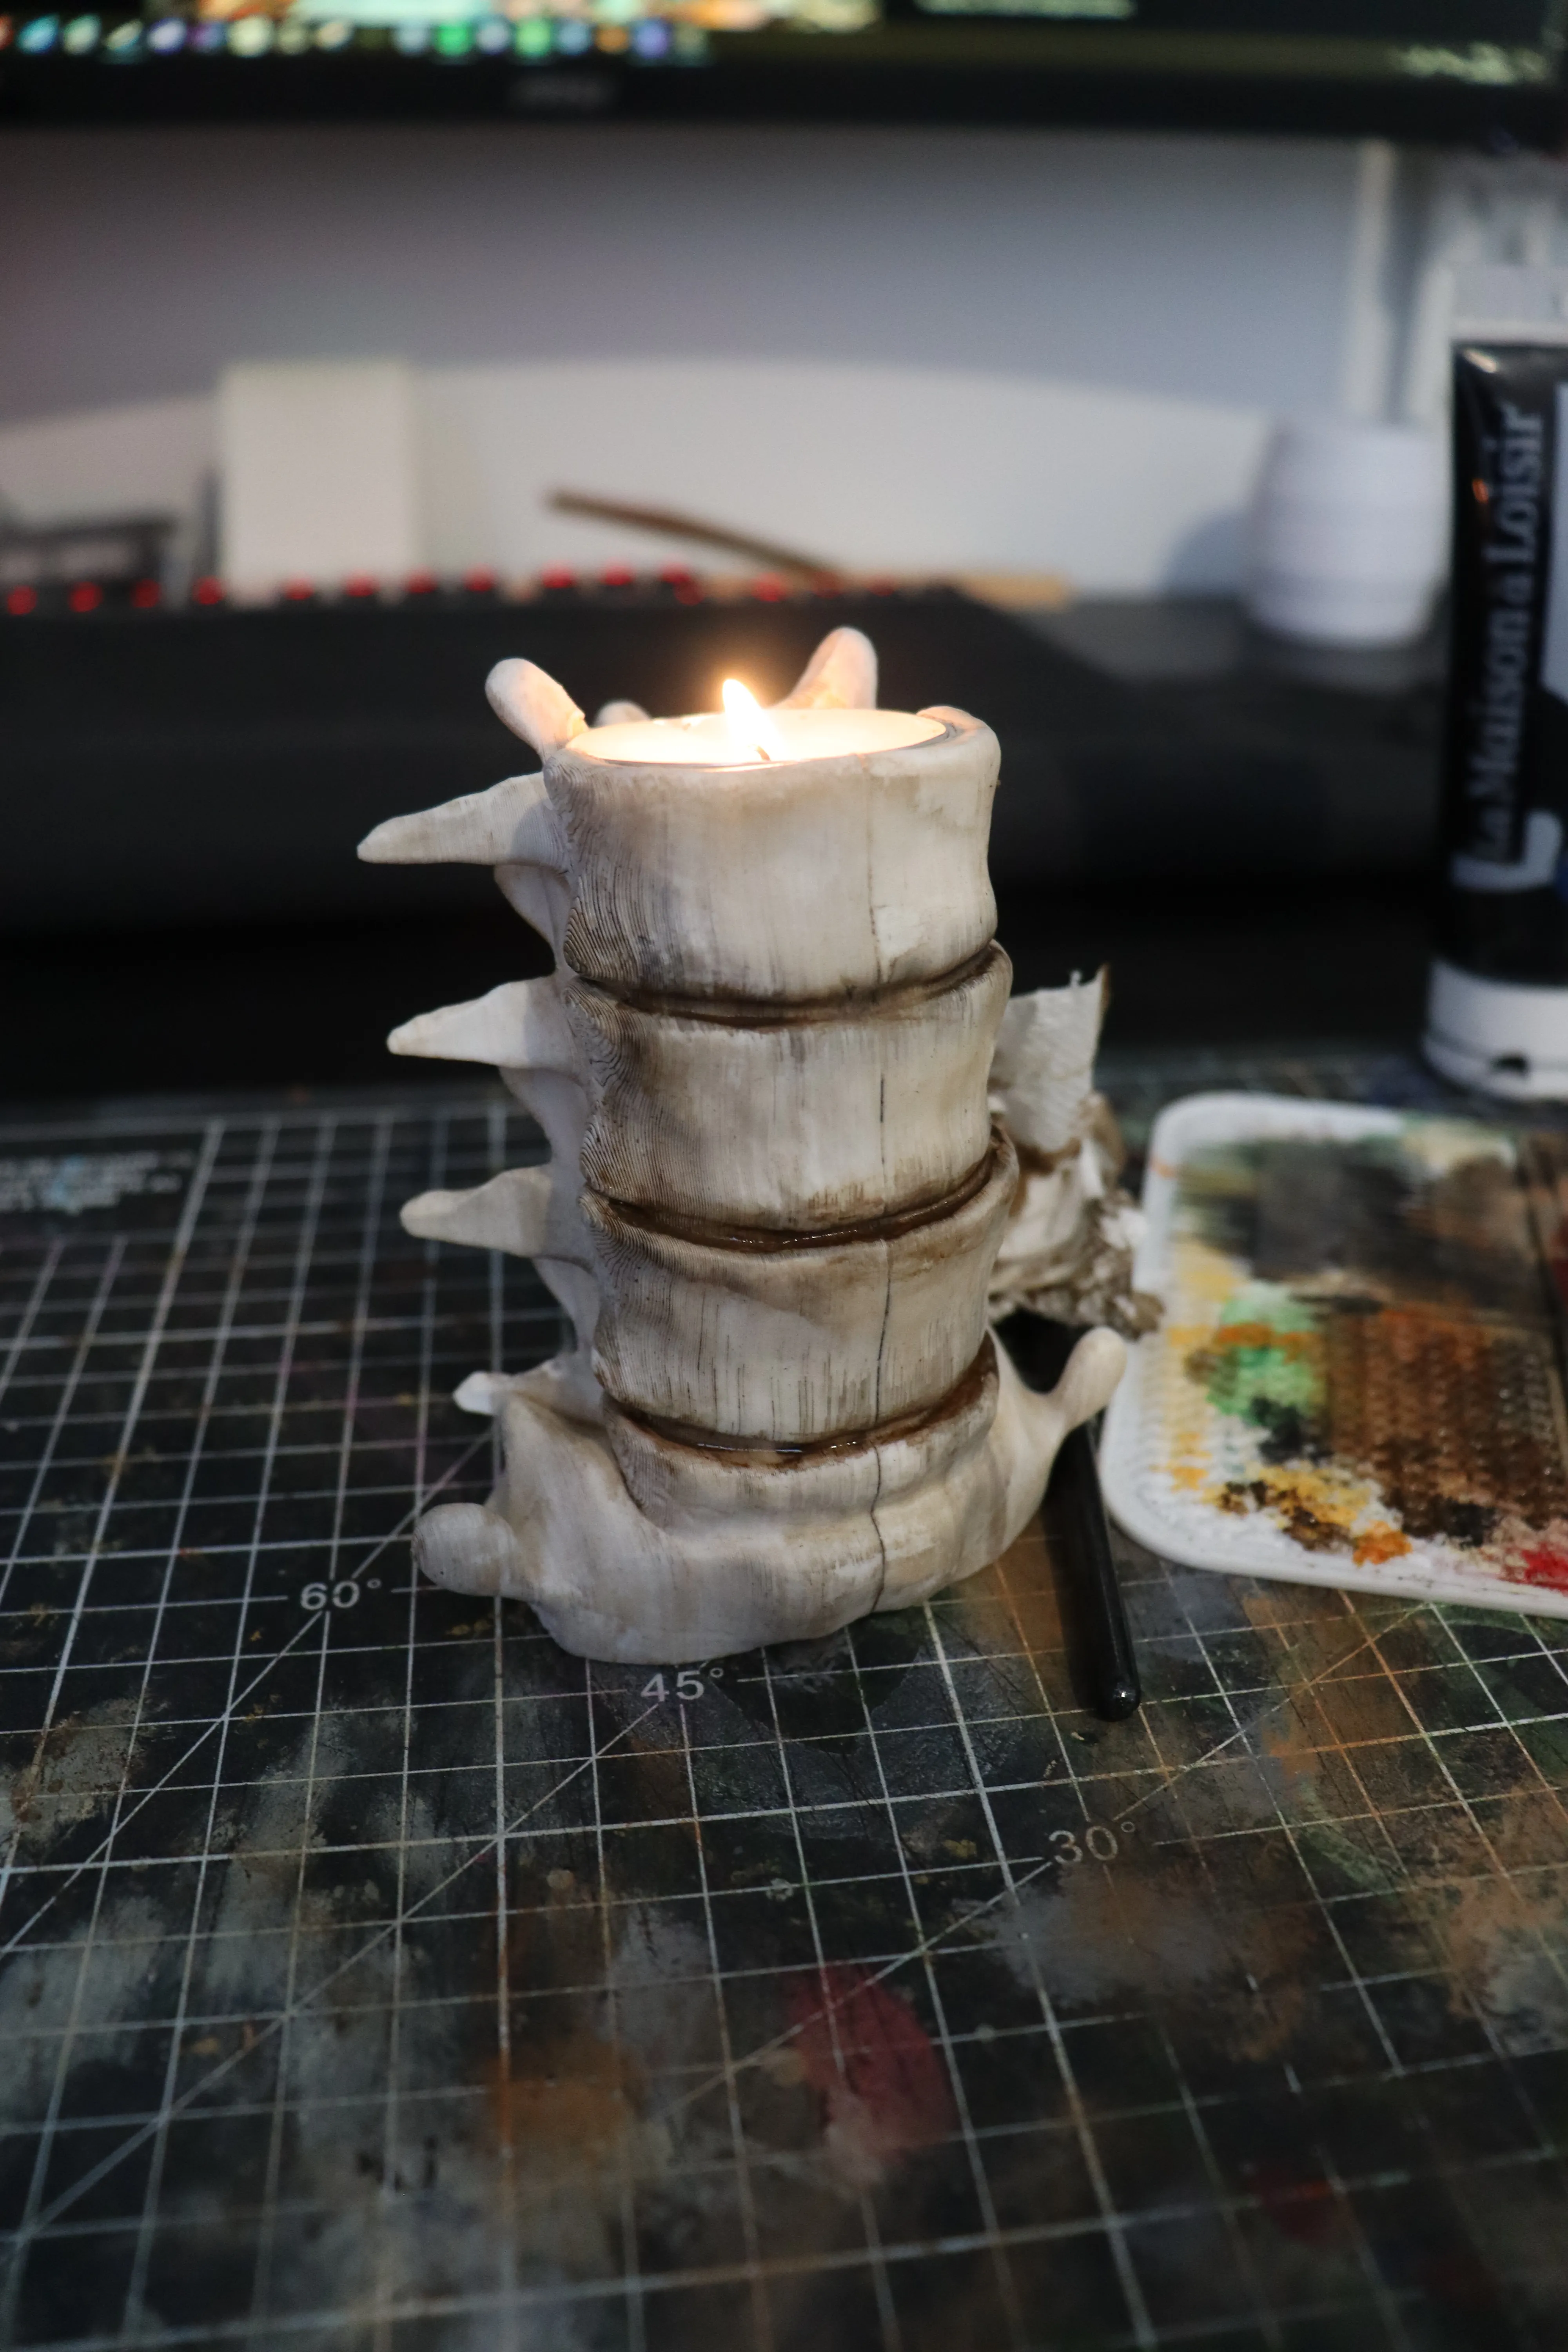
ET VOILA!!
Happy Printing!
License

You shall not share, sub-license, sell, rent, host, transfer, or distribute in any way the digital or 3D printed versions of this object, nor any other derivative work of this object in its digital or physical format (including - but not limited to - remixes of this object, and hosting on other digital platforms). The objects may not be used without permission in any way whatsoever in which you charge money, or collect fees.


Comment & Rating (260)