
Medicine Dispenser with Planetary and Geneva gears
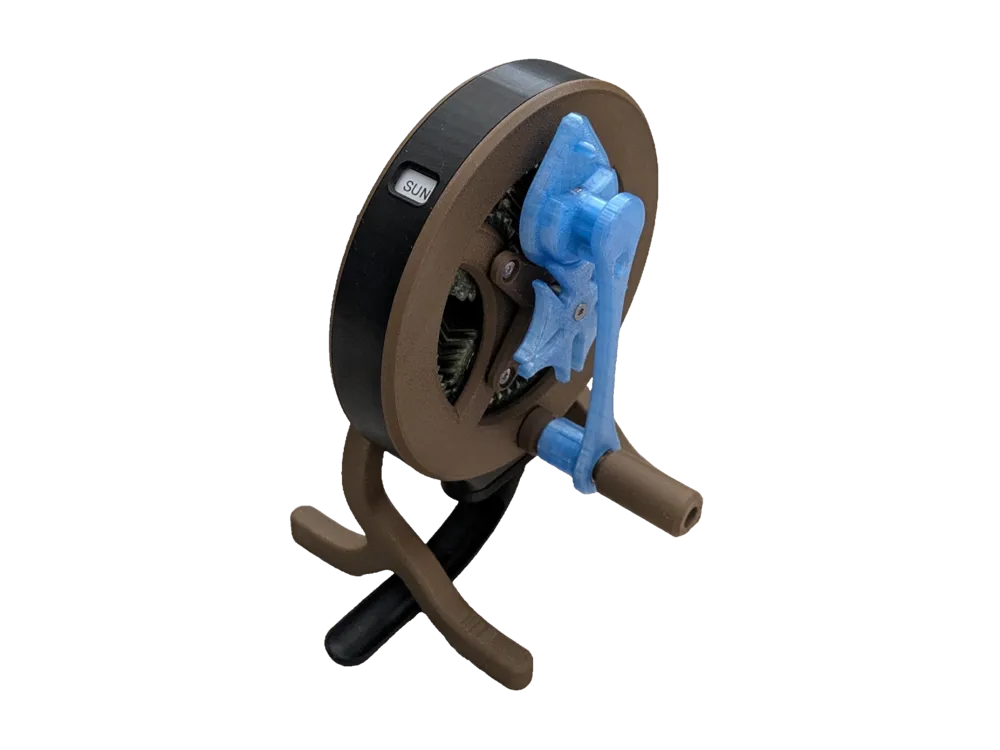
Print Profile(1)
Bill of Materials


Description
Medicine Dispenser with Planetary Gearbox & Geneva Index
Build a reliable, 3D‑printable medicine dispenser that advances exactly one dose per step using a planetary gearbox and a Geneva index. The mechanism provides a crisp, repeatable detent at each position, so it won’t drift between uses.
The design offers 14 positions (13 doses plus one index gap) and two outer‑ring variants: a simple glued slide, or a magnetized removable slide for faster refills. With a handful of 12×8×3.5 mm bearings, M3×12 mm screws, and Ø10×3 mm magnets, you’ll assemble a smooth, durable, hand‑operated dispenser.
Parts
| Quantity | Part |
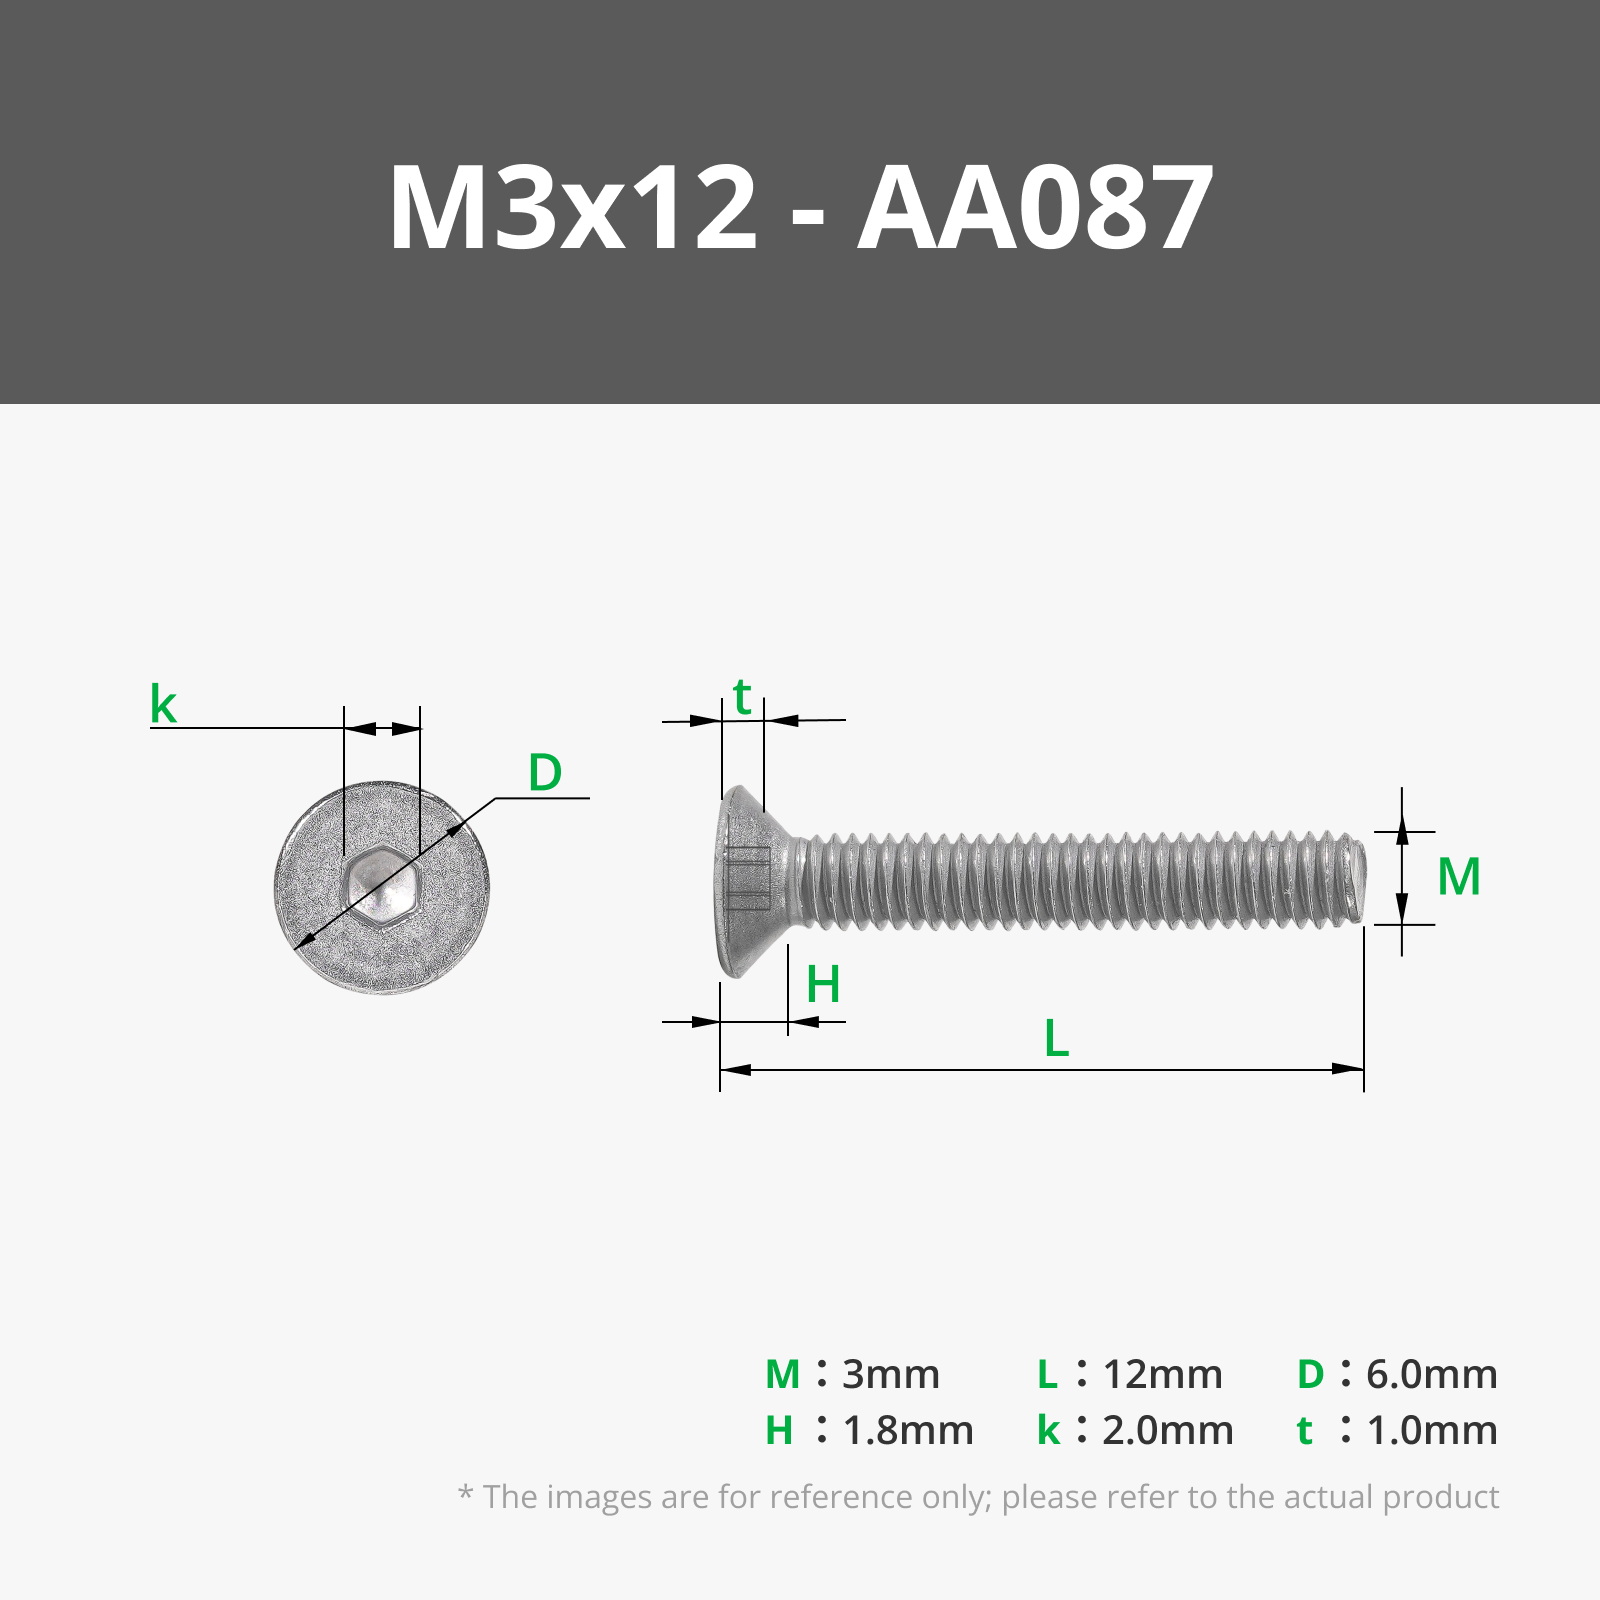
| 12 | Flathead M3x12mm screw |
| 11 | Bearing 12mm (OD) x 8mm (Shaft) x 3.5 mm (Width) |
| 2 | Magnet Ø10 × 3 mm |
| +4 (for ring with magnet option) | Magnet Ø10 × 3 mm |
Printing
Tip: Mark one face of your magnets beforehand to keep polarity consistent.
Plate 1 (Stand):
- Pause at Layer 25 and insert one Ø10×3 mm magnet.
- Polarity: The pole facing up here must be opposite to the pole facing up in Plate 4 (Geneva). Example: if Stand has north-up, Geneva must be south-up.
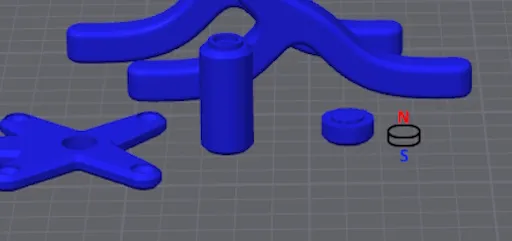
Plate 2 (Sides):
- No special actions.
Plate 3 (Planetary gear):
- Printed in place. Ensure first-layer calibration is good.
- After printing, gently free gears if needed (no force—wiggle only).
Plate 4 (Geneva gear):
- Pause at Layer 25 and insert one Ø10×3 mm magnet.
- Polarity: Opposite to the Stand (Plate 1). See note above.
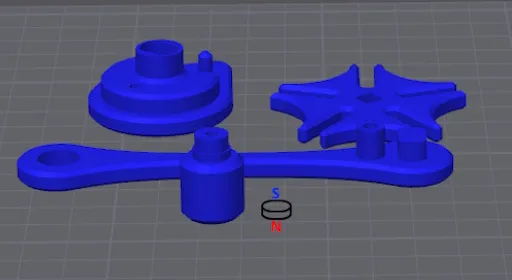
Plate 5 (Ring plus slide without magnets):
- No special actions
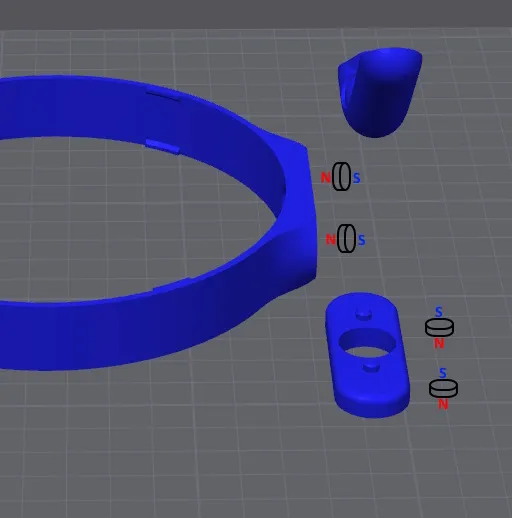
Plate 6 (Ring plus slide with magnets)
- Insert four Ø10×3 mm magnets:
- Two at Layer 25
Two at Layer 70
Assembly
Before starting, verify all printed parts are present and clean up any strings.
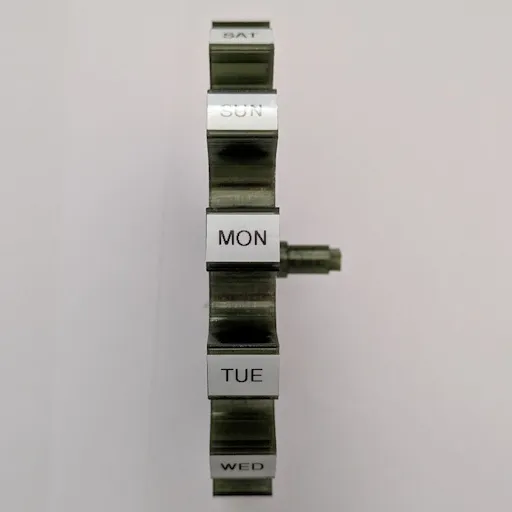
1. Label the ring slots.
Print labels or apply stickers for each of the 14 positions.
Maximum label size is 14mmx11mm, displayed below is a 9mm label.
2. Insert bearings
Insert 4 bearings into the bottom side of the planetary gearbox and 4 into the top side.
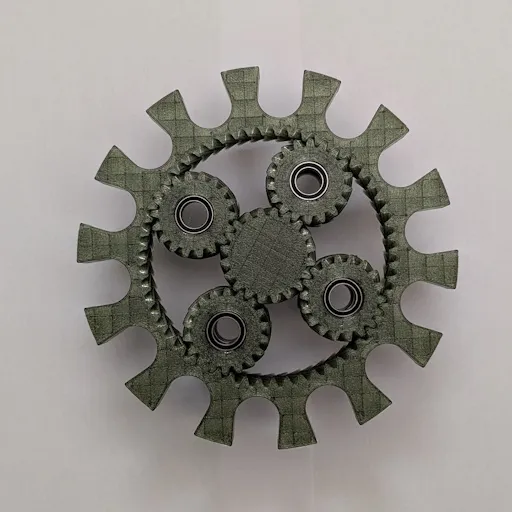
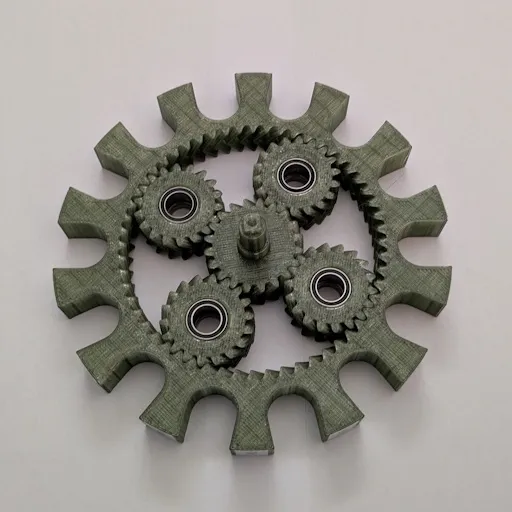
3. Mount planetary gearbox
Place the planetary gearbox onto the side plate with the longer pins.
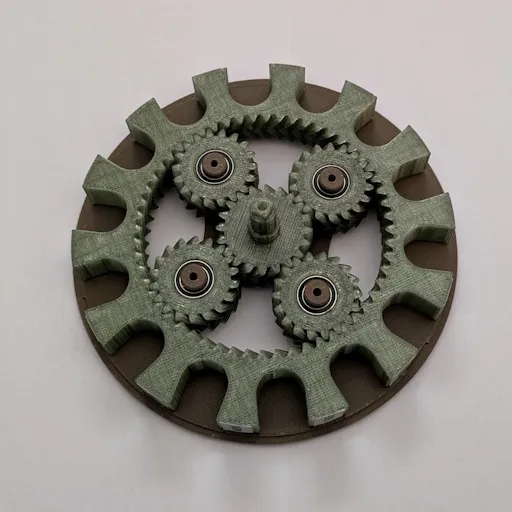
4. Add outer ring
Fit the chosen ring (with or without magnets) into the side plate notches on top.
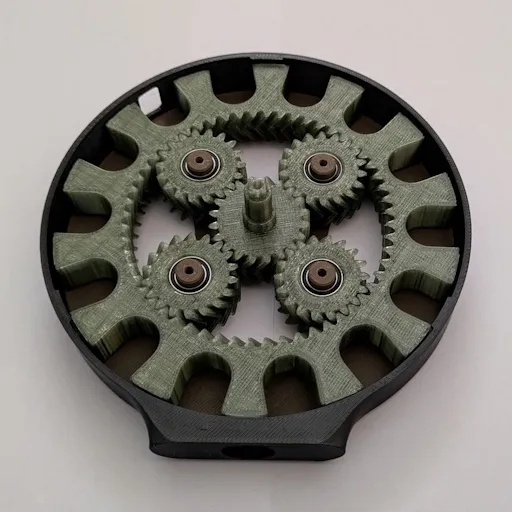
5. Top side plate
Install the top side plate. Glue the magnet housing in place now and let it cure.
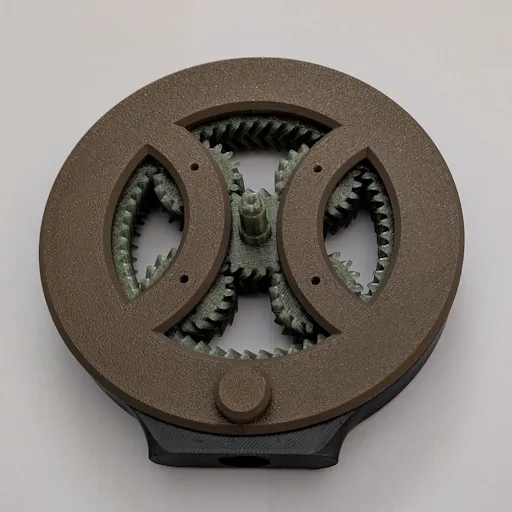
6. Connection plate bearing
Install 1 bearing in the connection plate
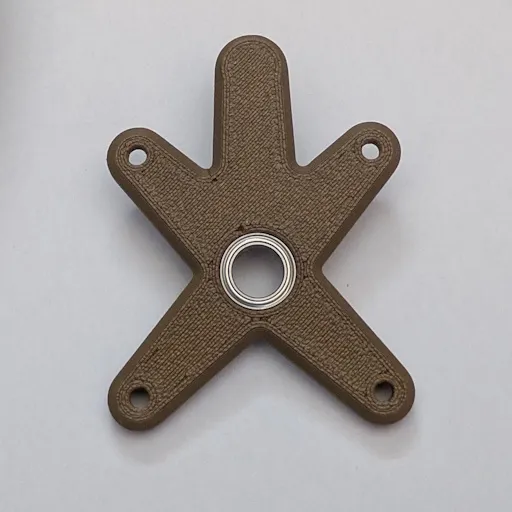
7. Main join
Bring assemblies together and fasten using 4 × M3×12 mm screws.
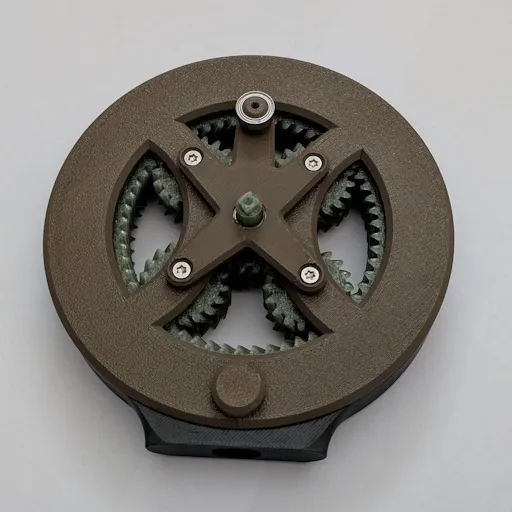
8. Index stack
Manually rotate/align the planetary gearbox so the text label aligns with the hole in the ring. Then install cam plate and index plate (the index plate is keyed and fits only one way).
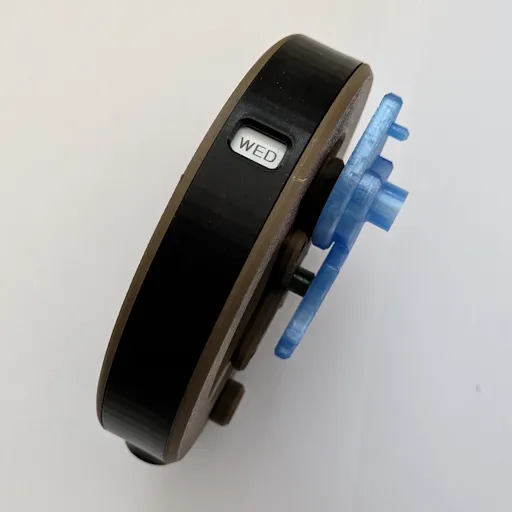
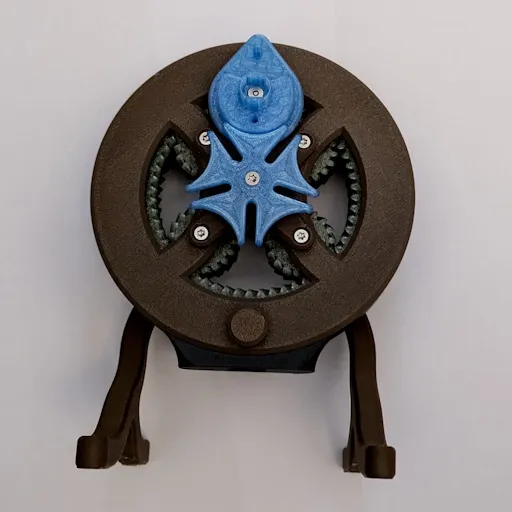
9. Pendulum sub‑assembly
Build the pendulum using 1 bearing and 1 × M3×12 mm screw
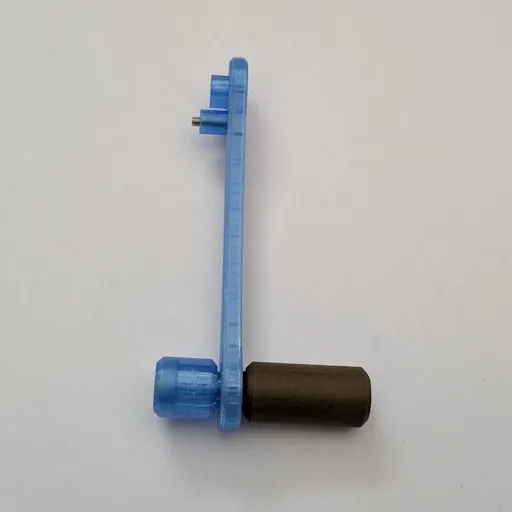
10. Attach pendulum
Mount the pendulum to the assembly with 1 × M3×12 mm screw. Verify it swings freely and is captured by the magnet
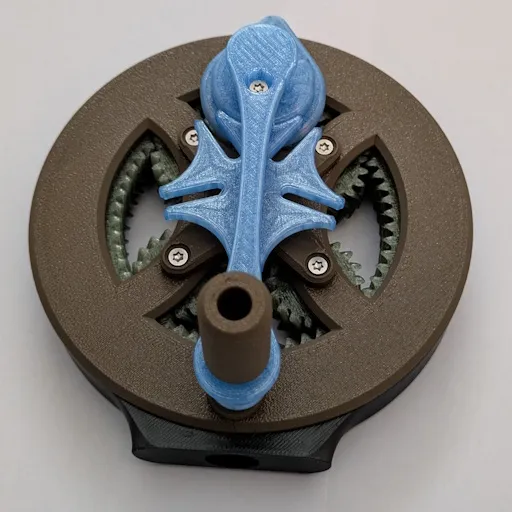
11. Mount stand
Attach the stand to the main assembly.
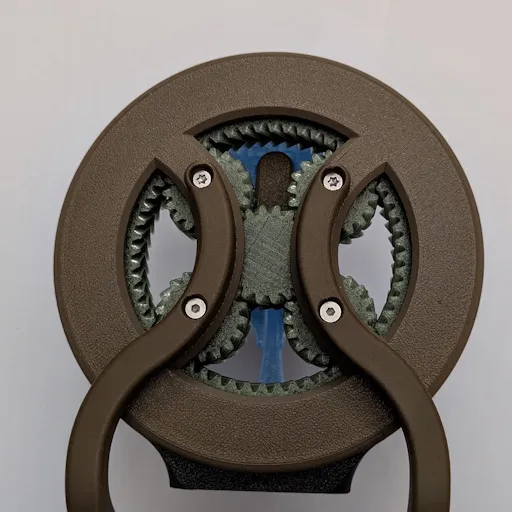
12 Install slide (No‑magnet ring)
Glue the slide directly to the ring and let cure.
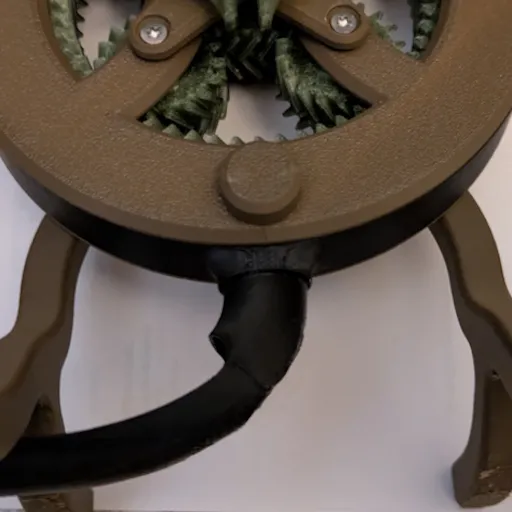
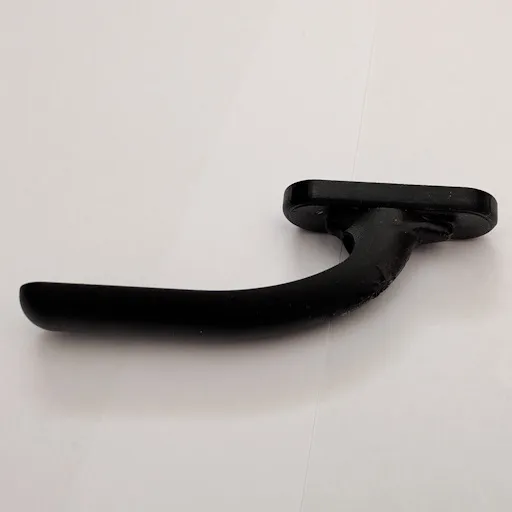
12 Install slide (Magnet ring)
Glue the slide to the slide mount only (slide remains removable from the ring).
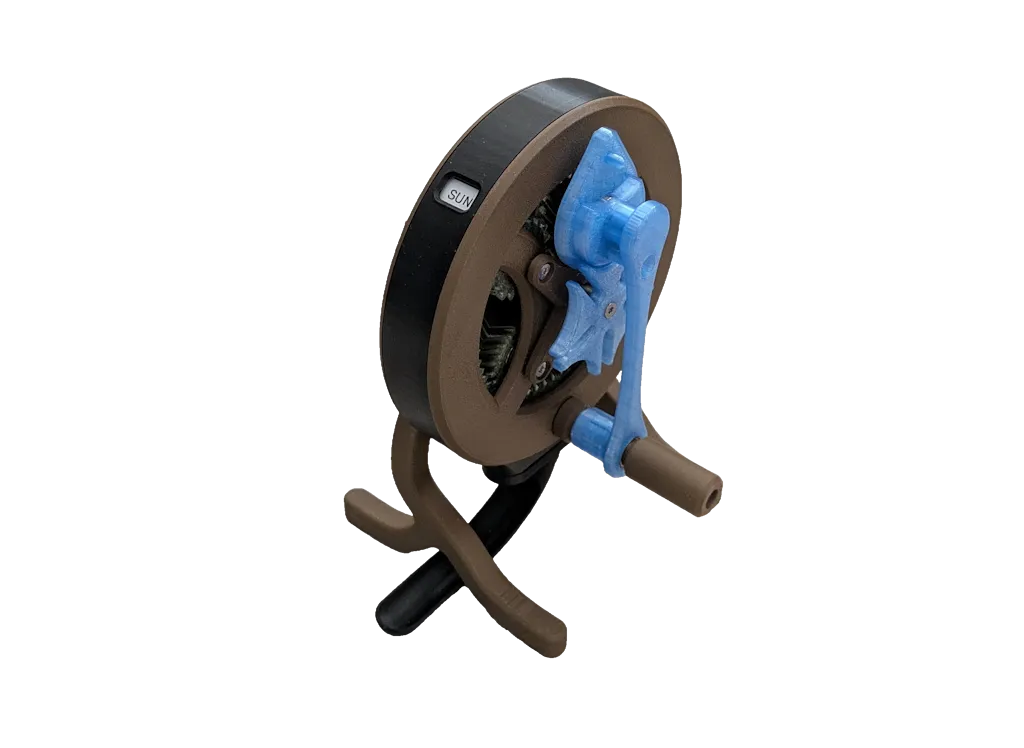
Done
Setup, Use & Refill
- Initial alignment: Set the ring to current day before loading doses.
- Loading: Fill 13 positions with doses; current day is left empty.
- Refill (magnet ring): Pull the slide out, refill, and reinsert.
- Refill (no‑magnet ring): Refill through the slot openings.
License



Comment & Rating (0)