
Star Trek Strange New Worlds Communicator EZ Build
Print Profile(1)

Description
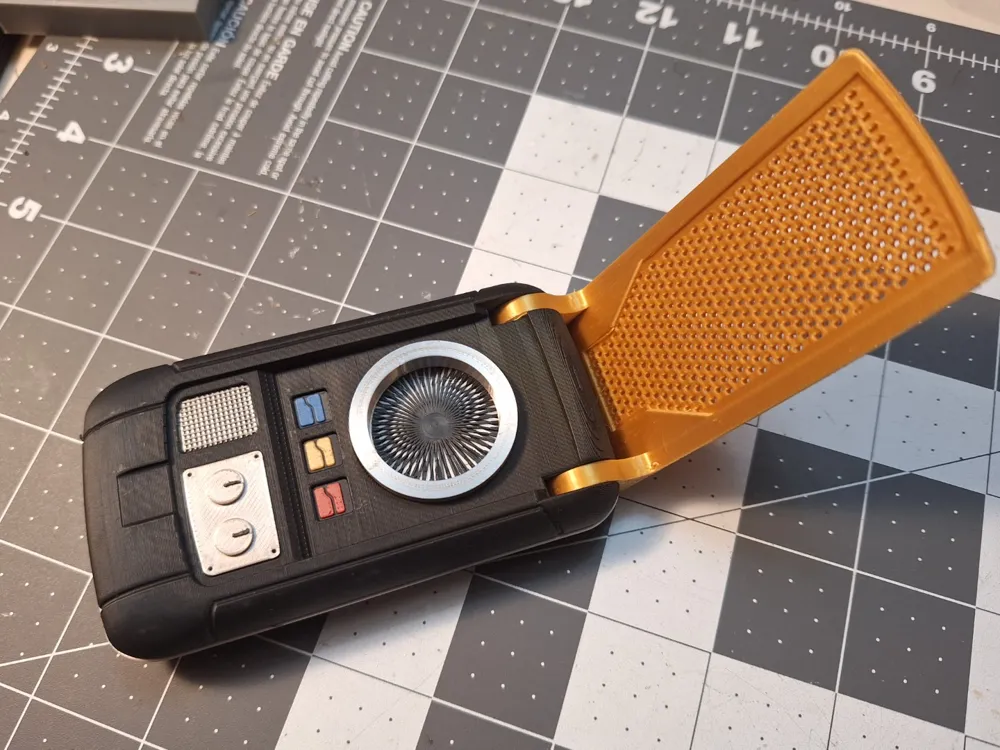
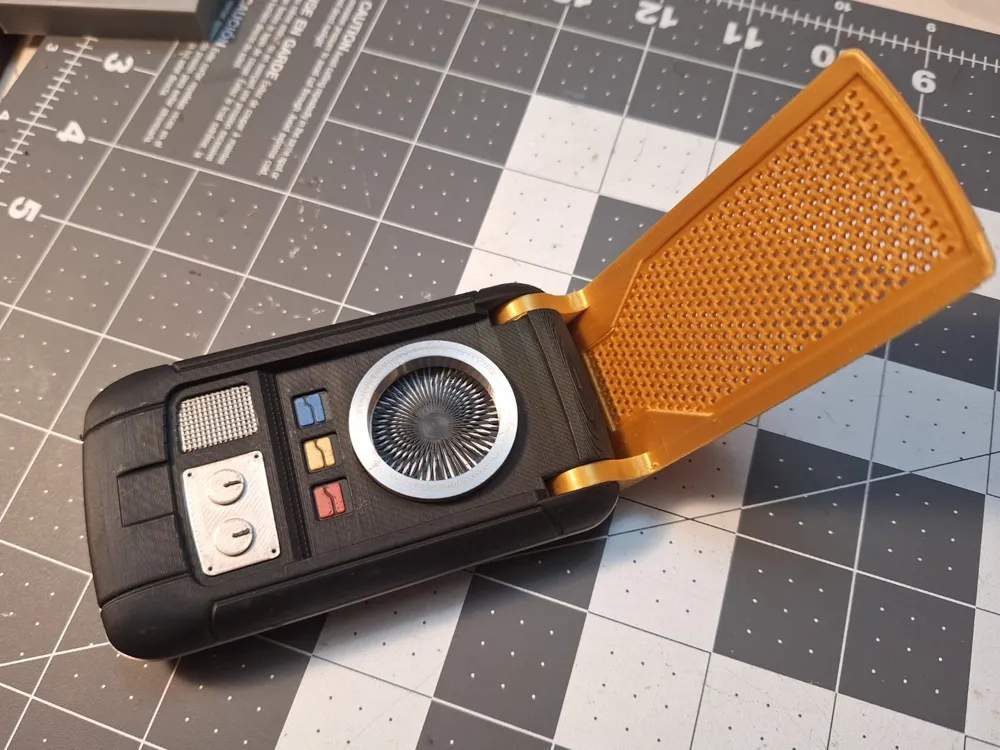
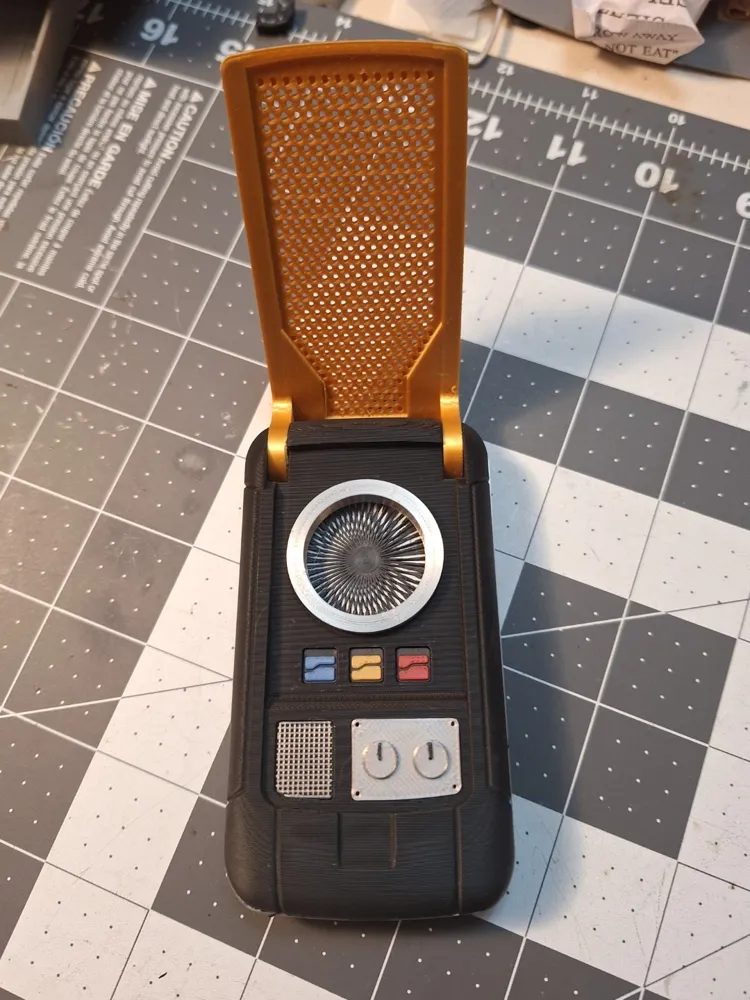
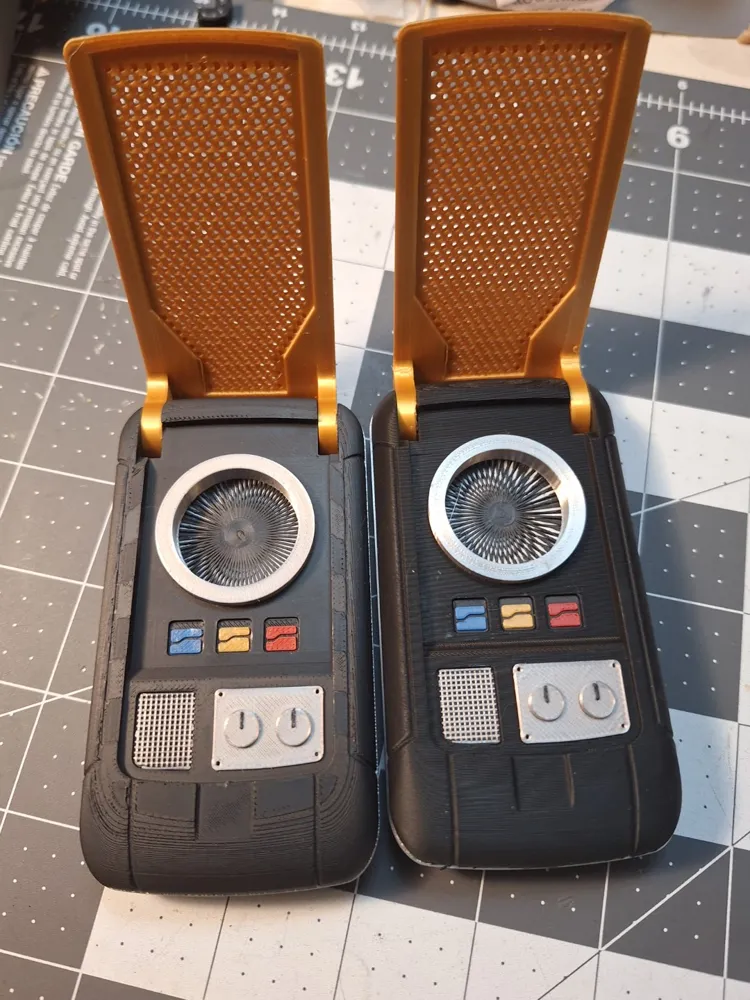
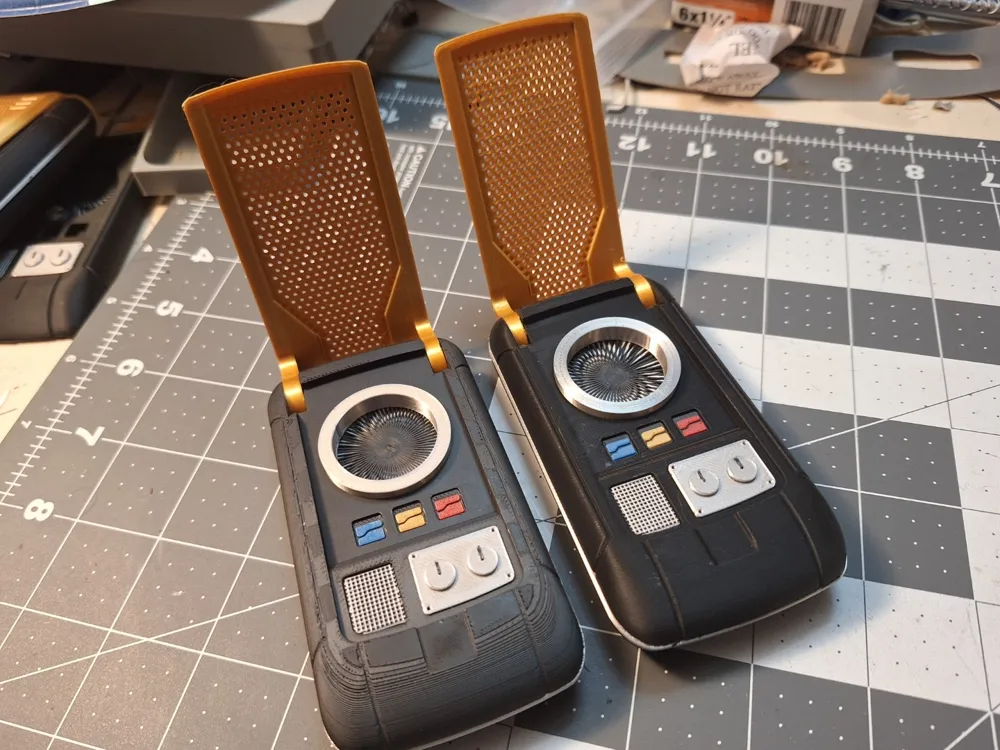
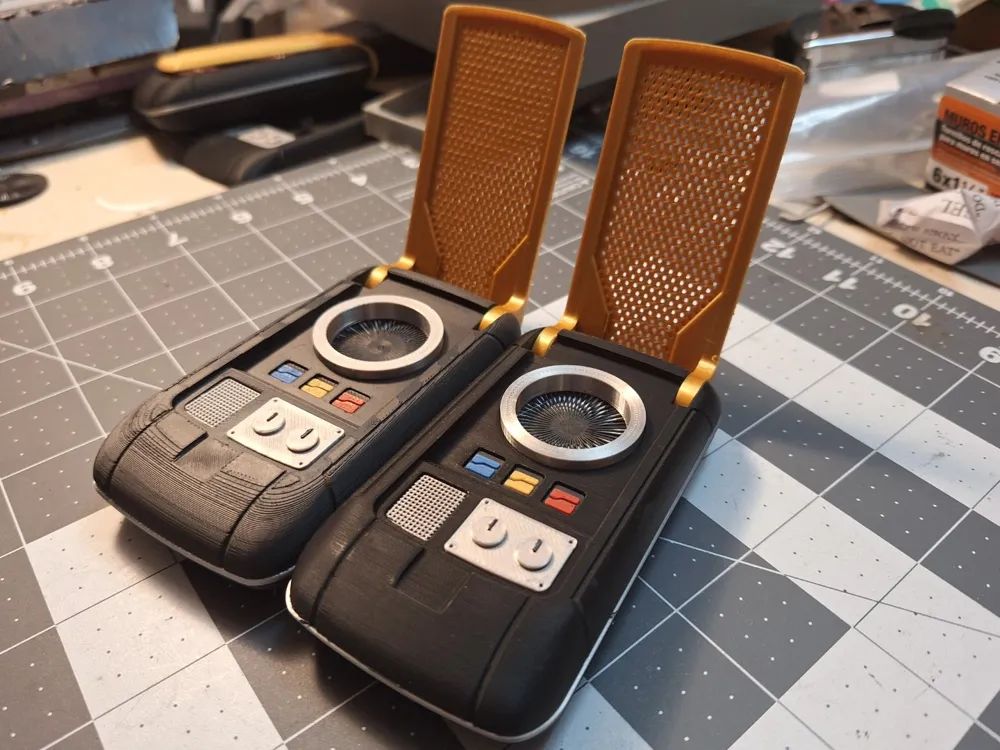
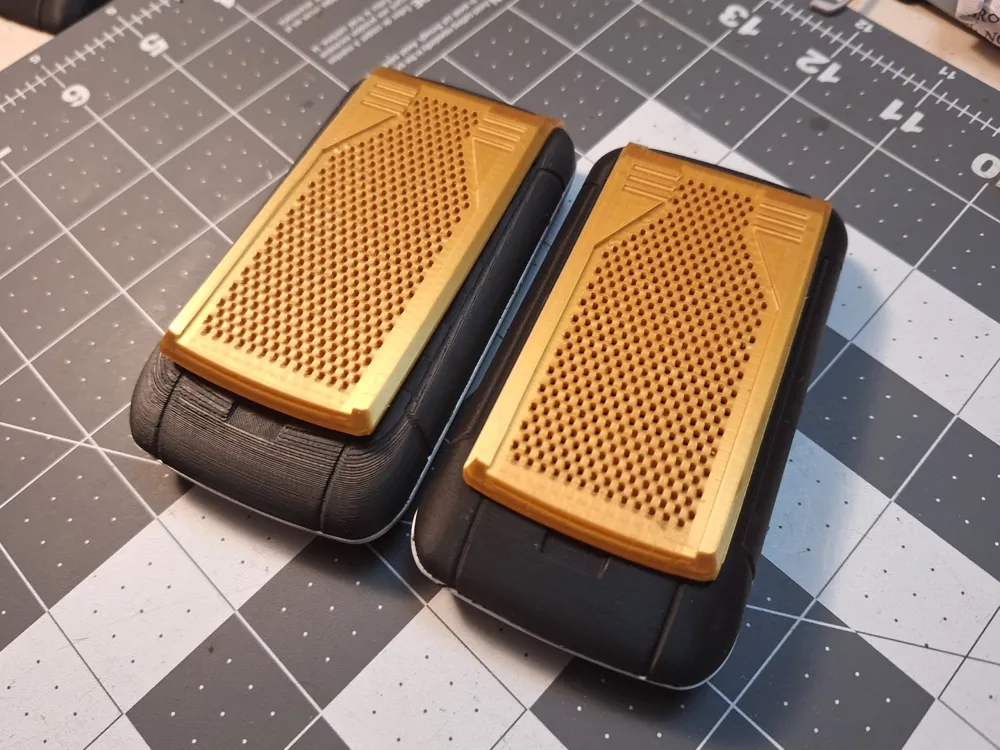
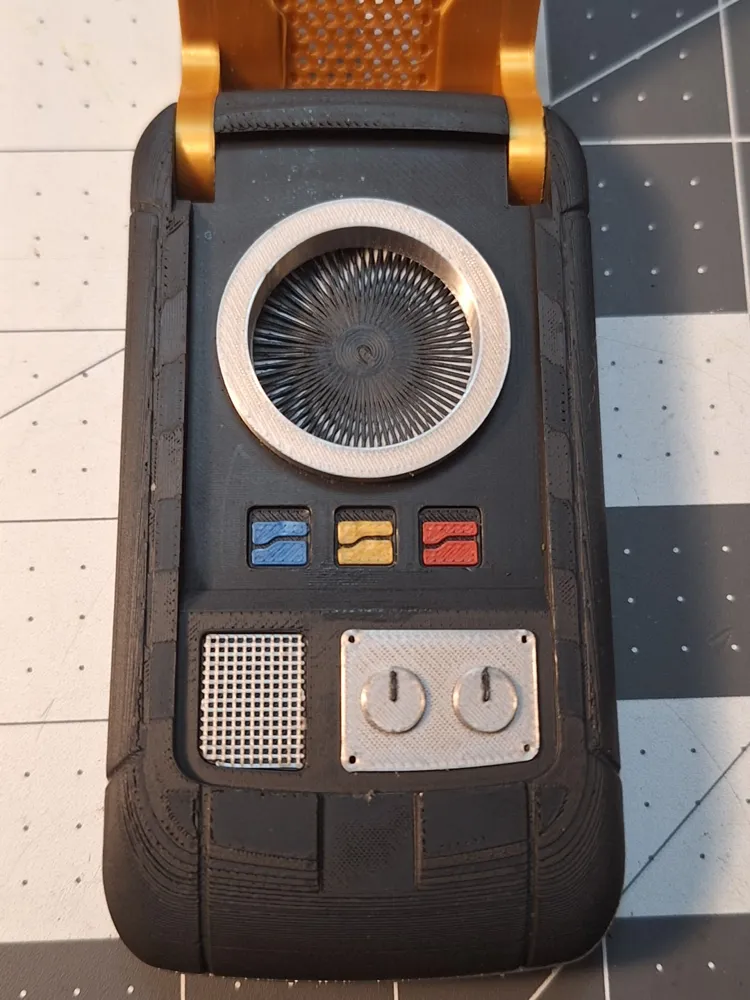
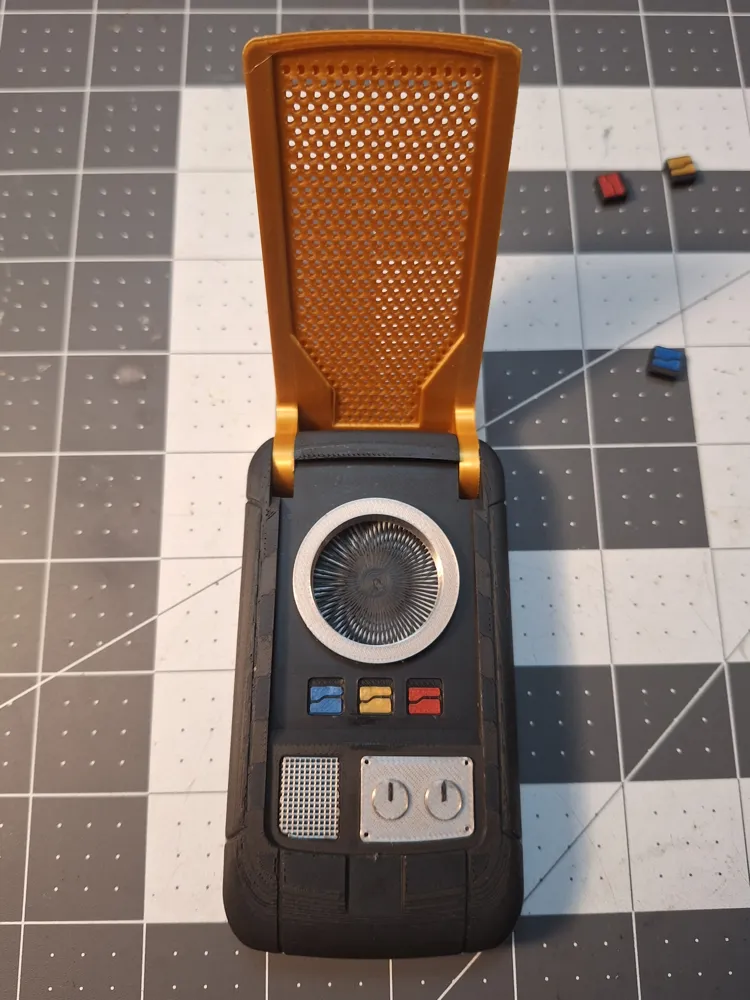
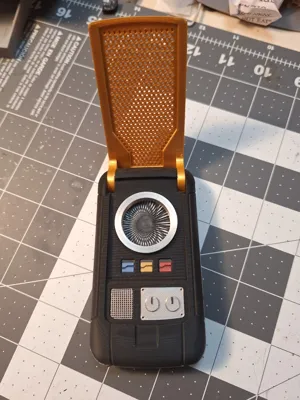
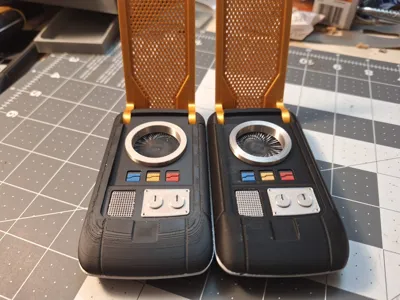
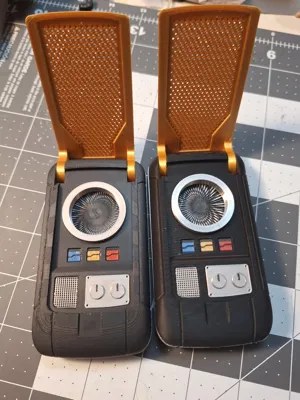
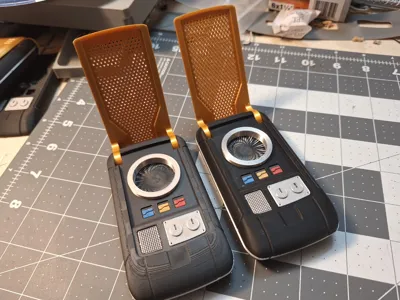
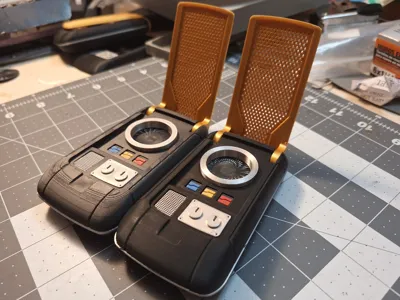
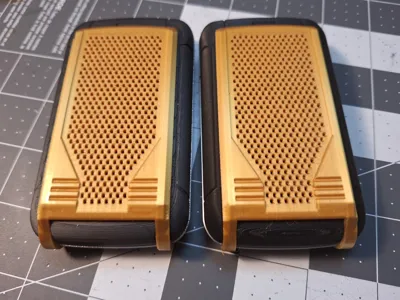
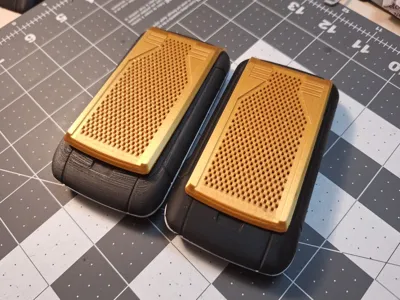
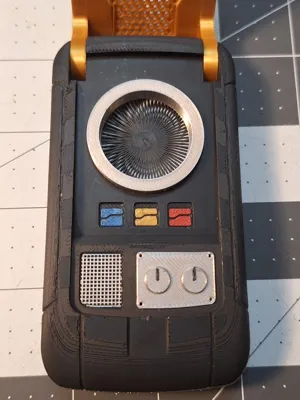
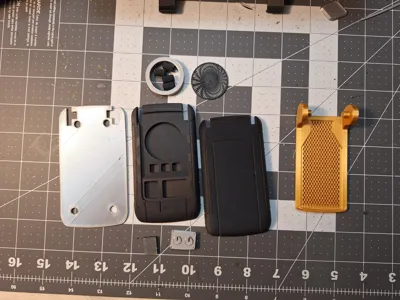
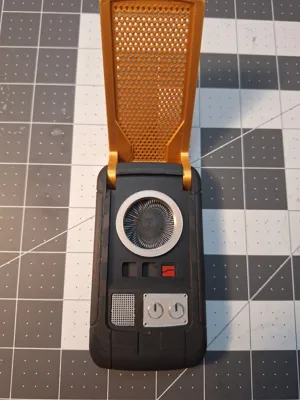
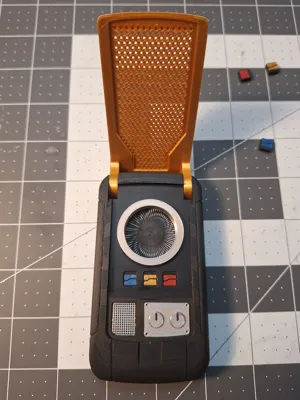
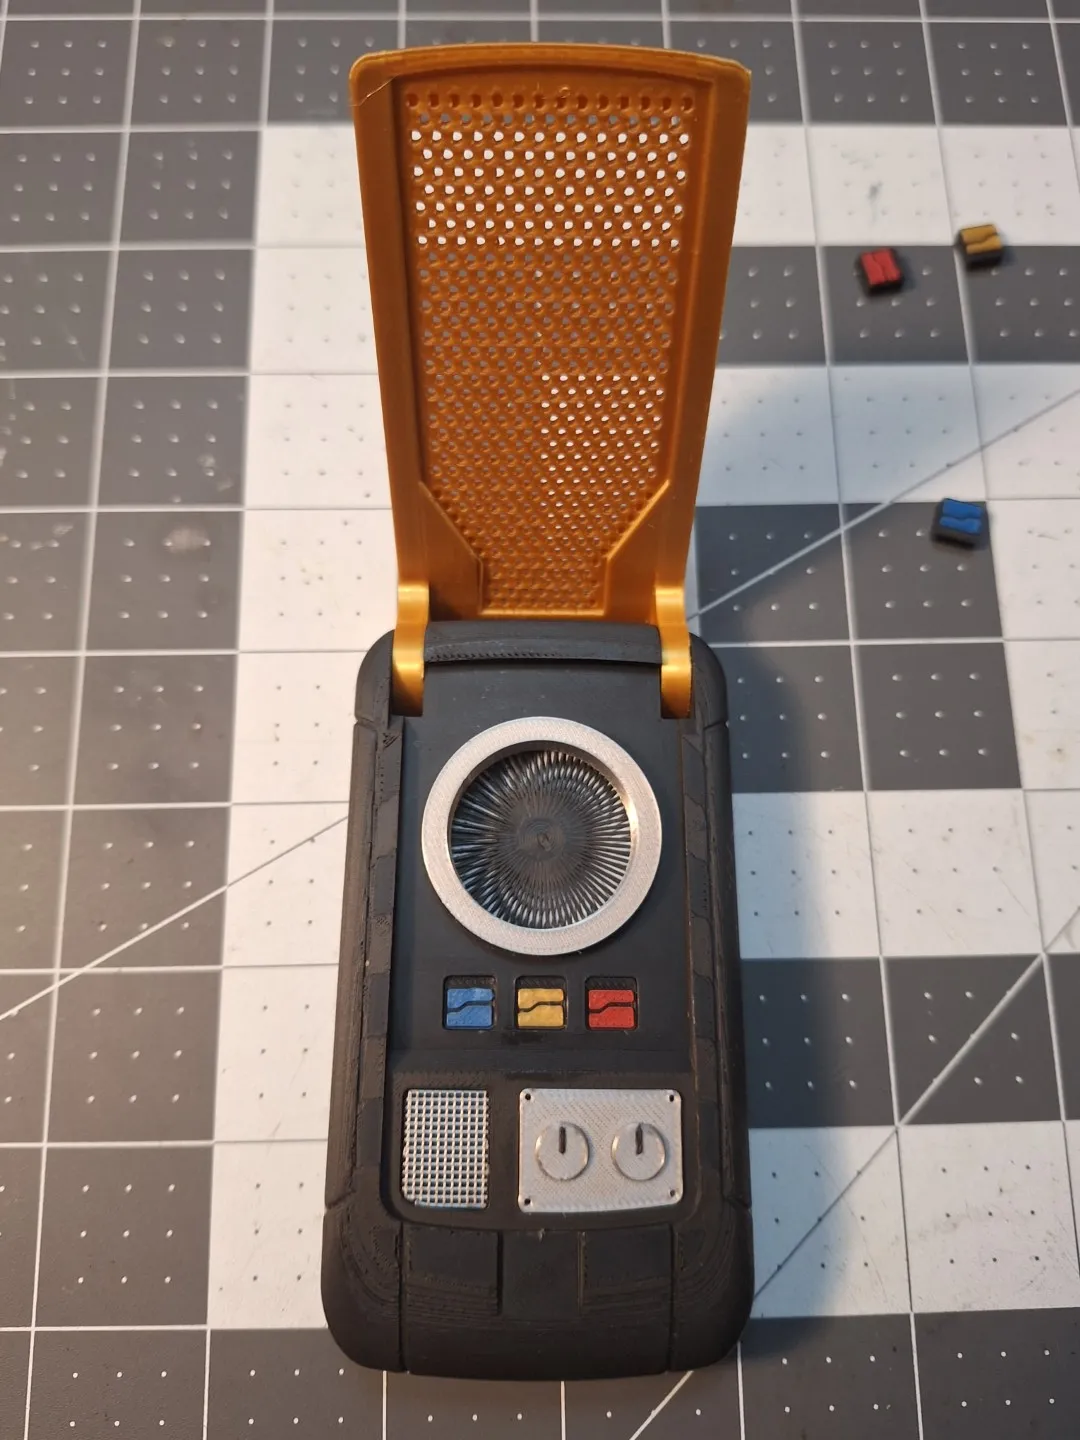
This is my remix of UnimatrixRed's great SNW Communicator from Printables. It differs from MrScott's remix here on MakerWorld in several ways. Mostly I made it easier to print and assemble. And I took a pass at making it look more like the real prop. I remade the speaker grill and figured out a way to print a decent looking moiré pattern for the center part.
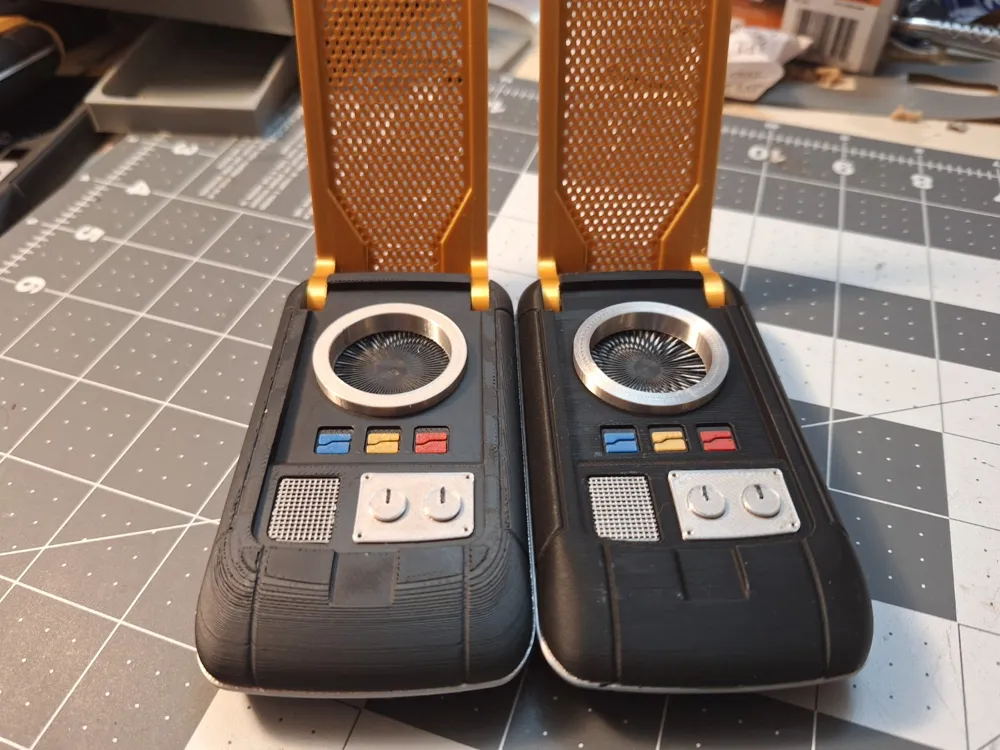
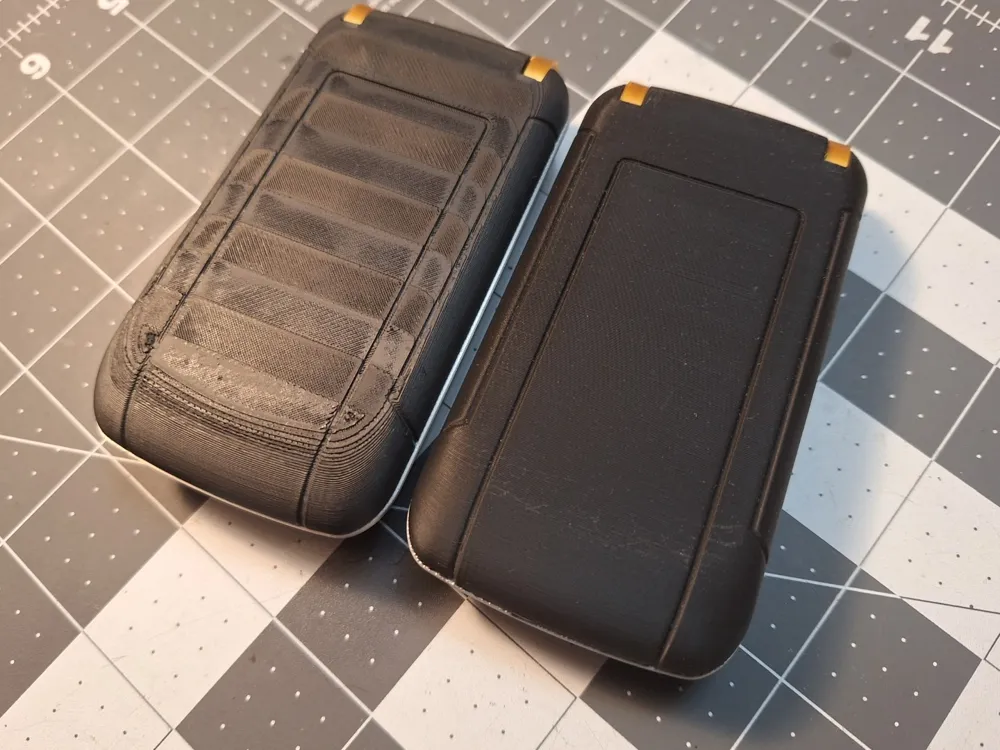
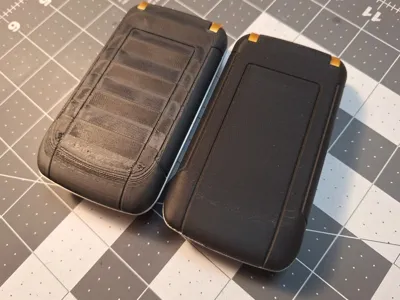
But the biggest visual improvement came from the way it is printed. Due to the way the original is shaped it is impossible to get a smooth front face if you print it flat on its back. Tilting it up 30 degrees provides a much cleaner overall look that better matches the real prop. BUT it takes twice as long to print and requires a bunch of supports. I included both arrangements and you can decide which you want.
Notes:
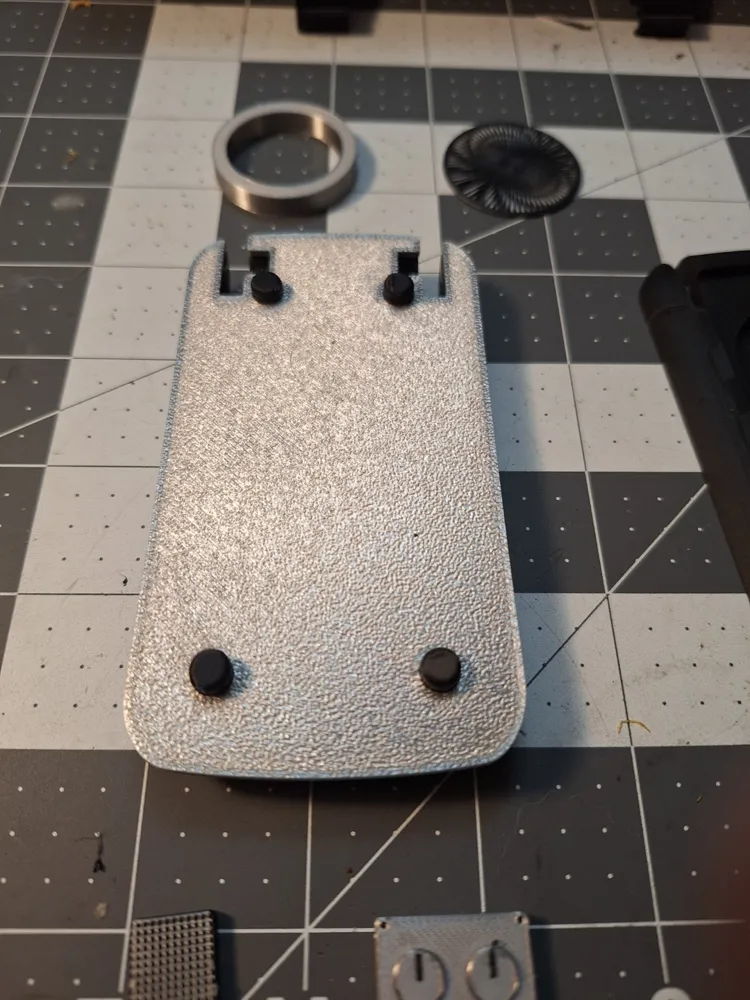
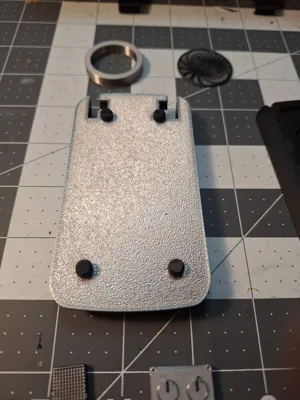
- I used round pegs for main body assembly. Much easier to install than the square ones and tight enough to not need glue.
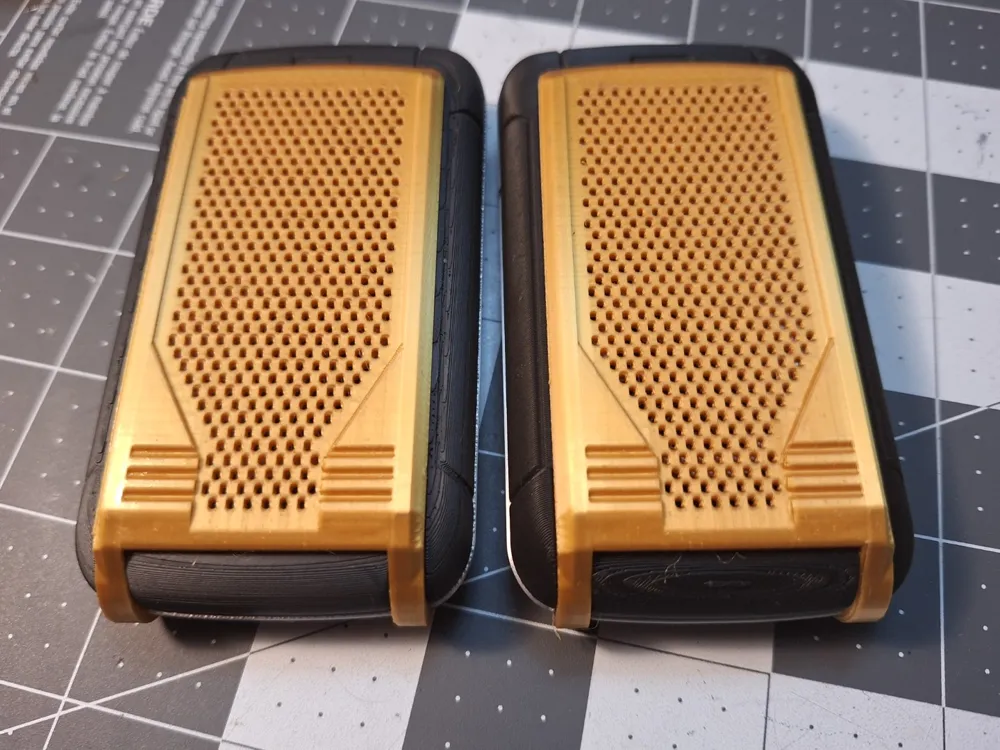
- Simplified the front grill so it is one piece and doesn't need glue. It prints on it's side for max quality. There is a danger of warping in this orientation, so make sure your filament is good quality and dry.
- Made buttons and front controls deeper and a tighter fit. No glue! If the fit is too tight I also included slightly smaller versions.
- I wrote a scad script that generates the moiré pattern object in the center. I found that for a .04 nozzle around 60 spokes looked pretty good. For an .02 nozzle, you can go as high as 90 and it looks almost as good as the real thing. There is a separate profile that has morie disks for the .02 nozzle.
- There are spare parts for the buttons and moiré pattern. The moiré pattern is fragile. And the buttons are so small it takes no time to print extras in case the colors don't look right on one. or you drop and loose one while trying to install it.
Assembly
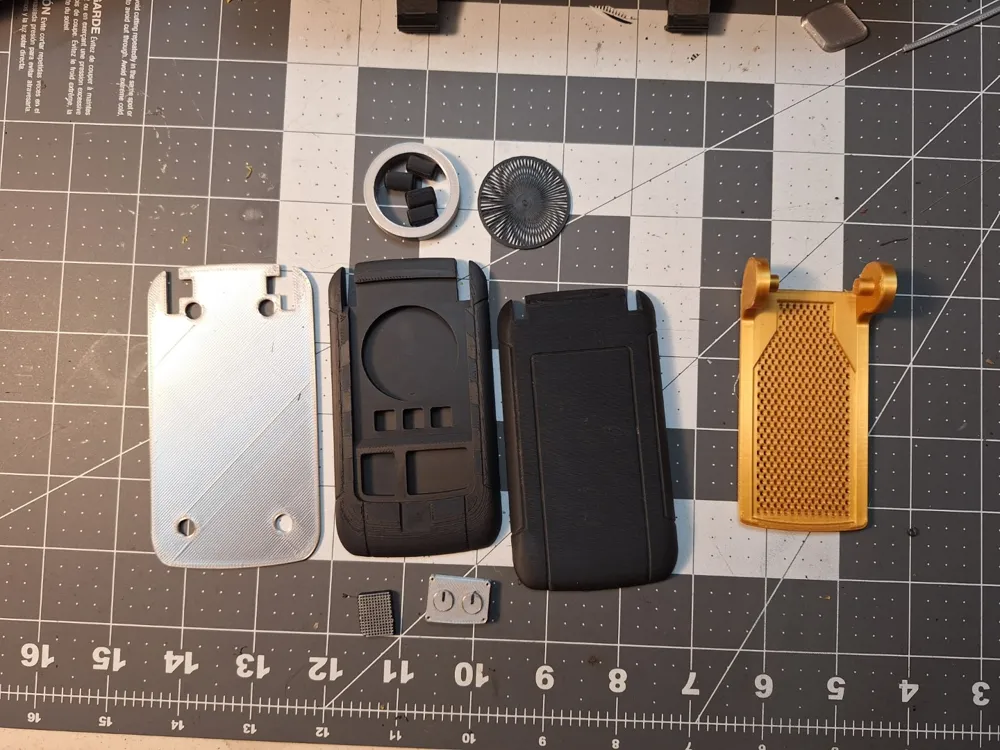
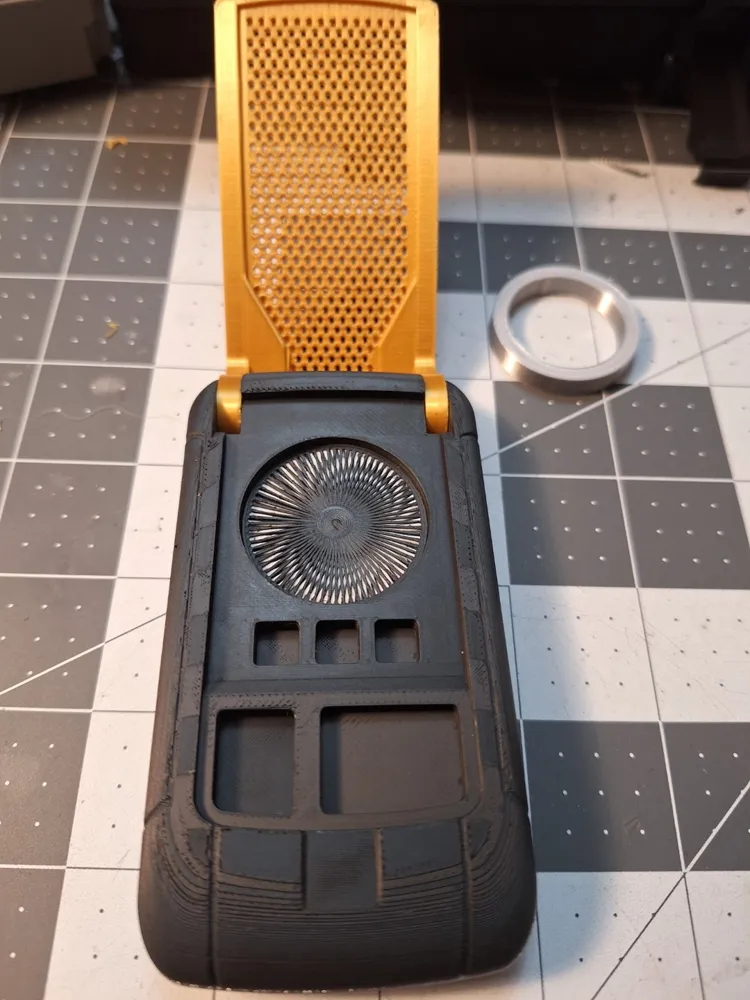
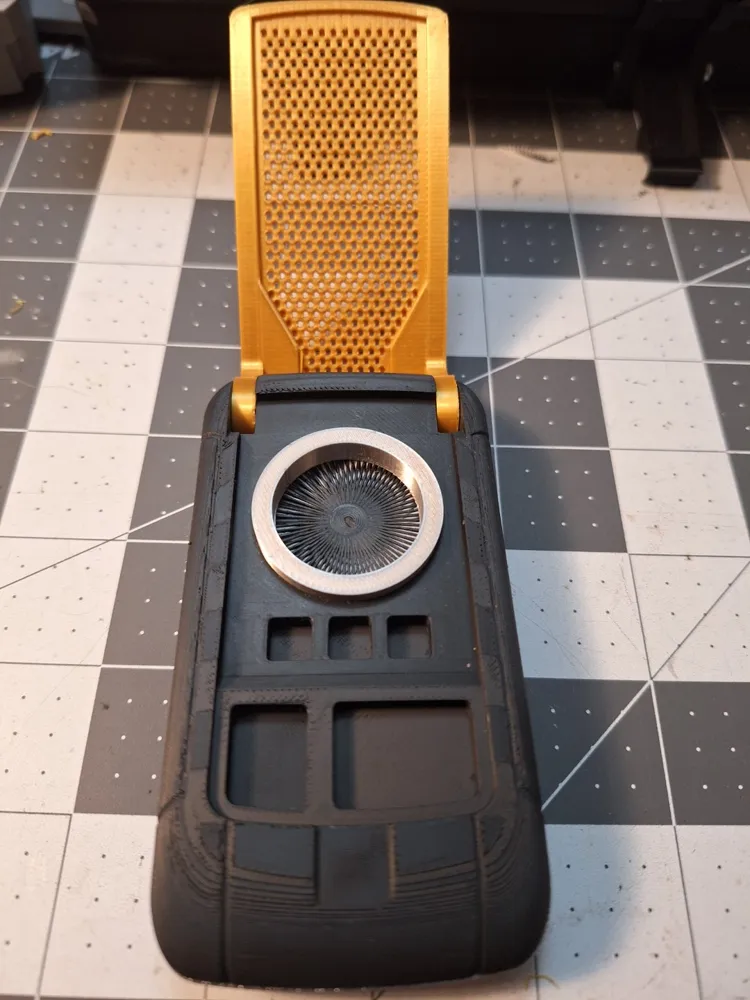
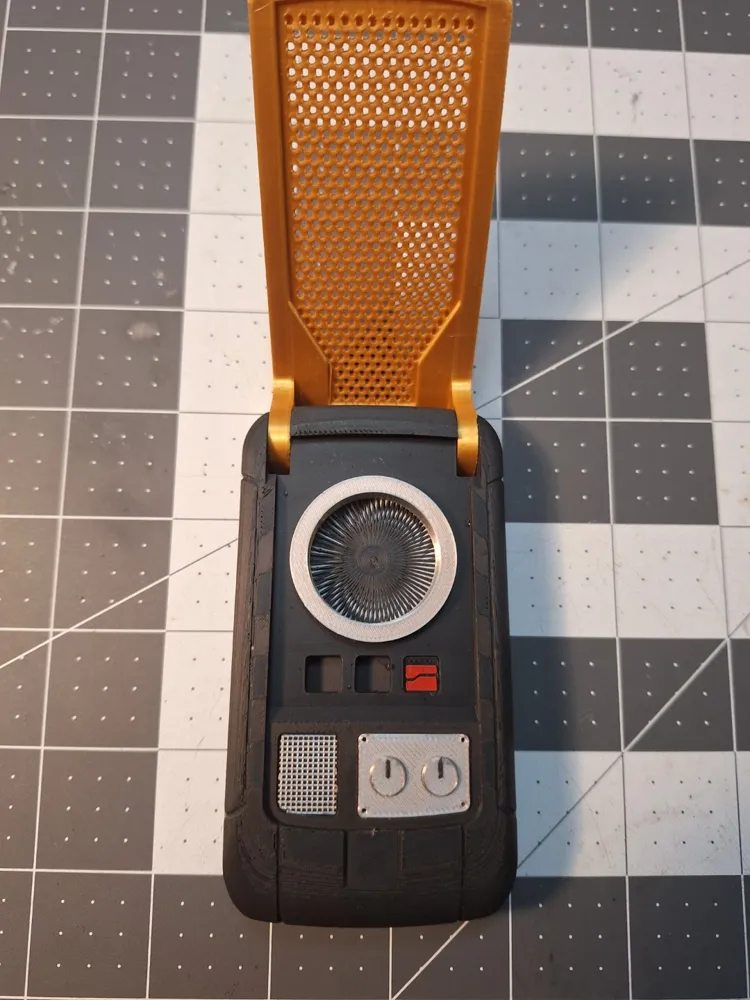
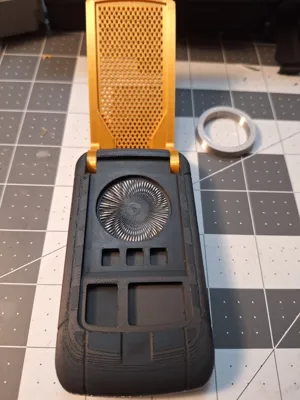
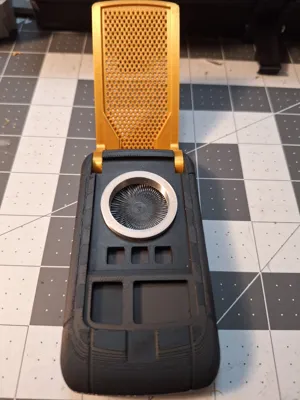
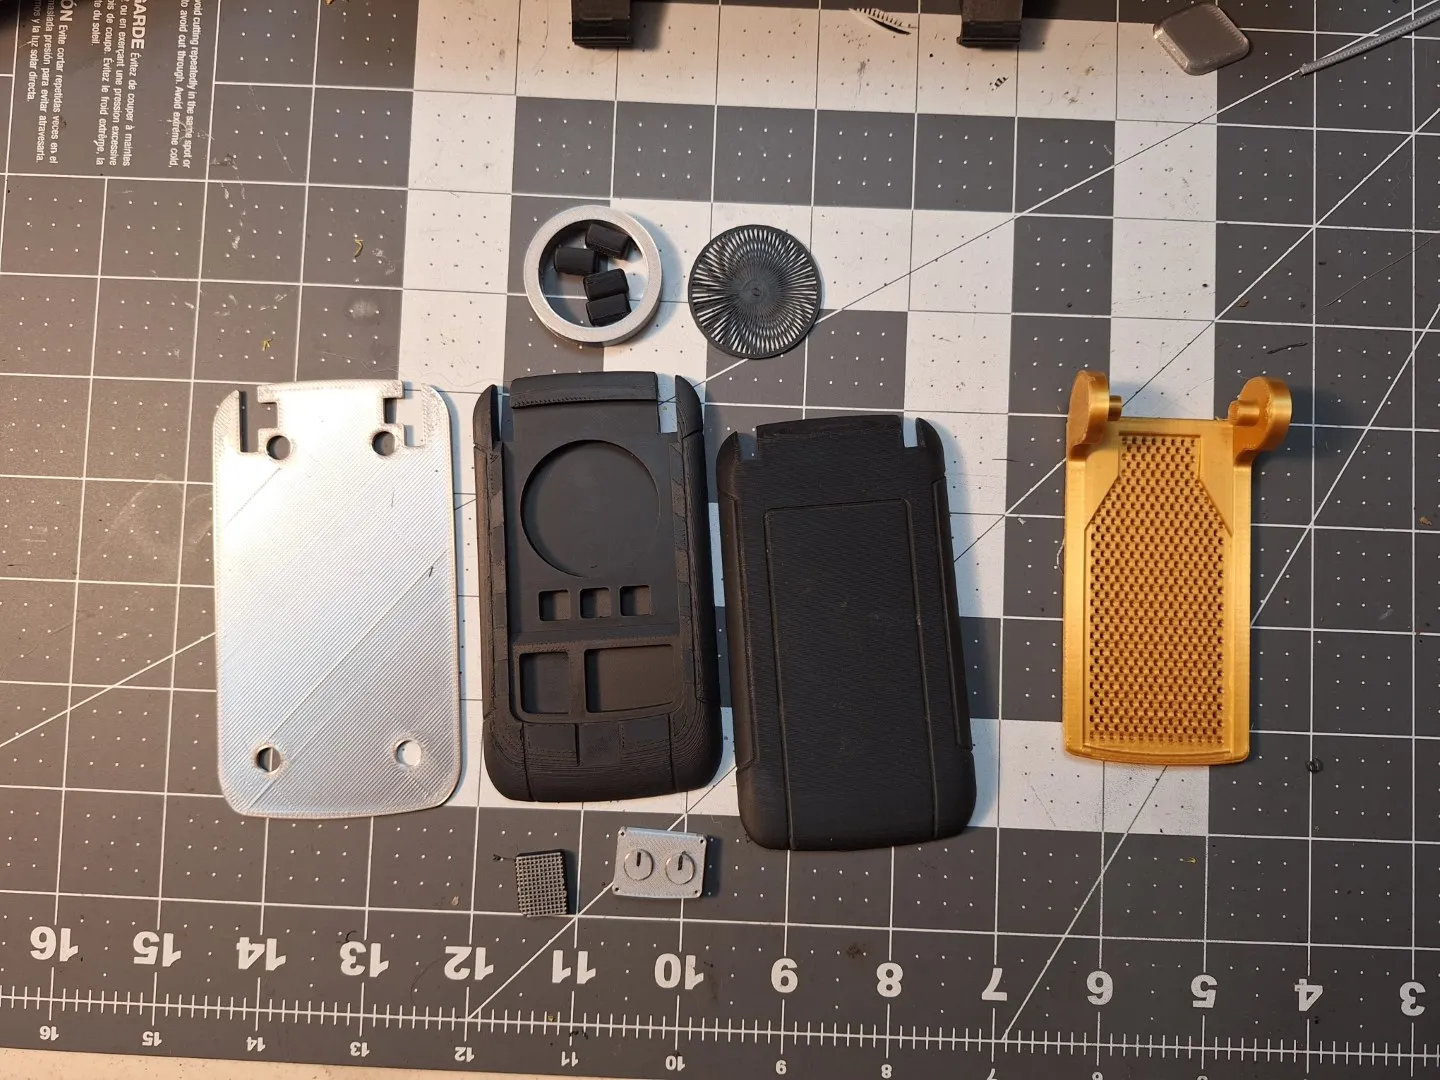
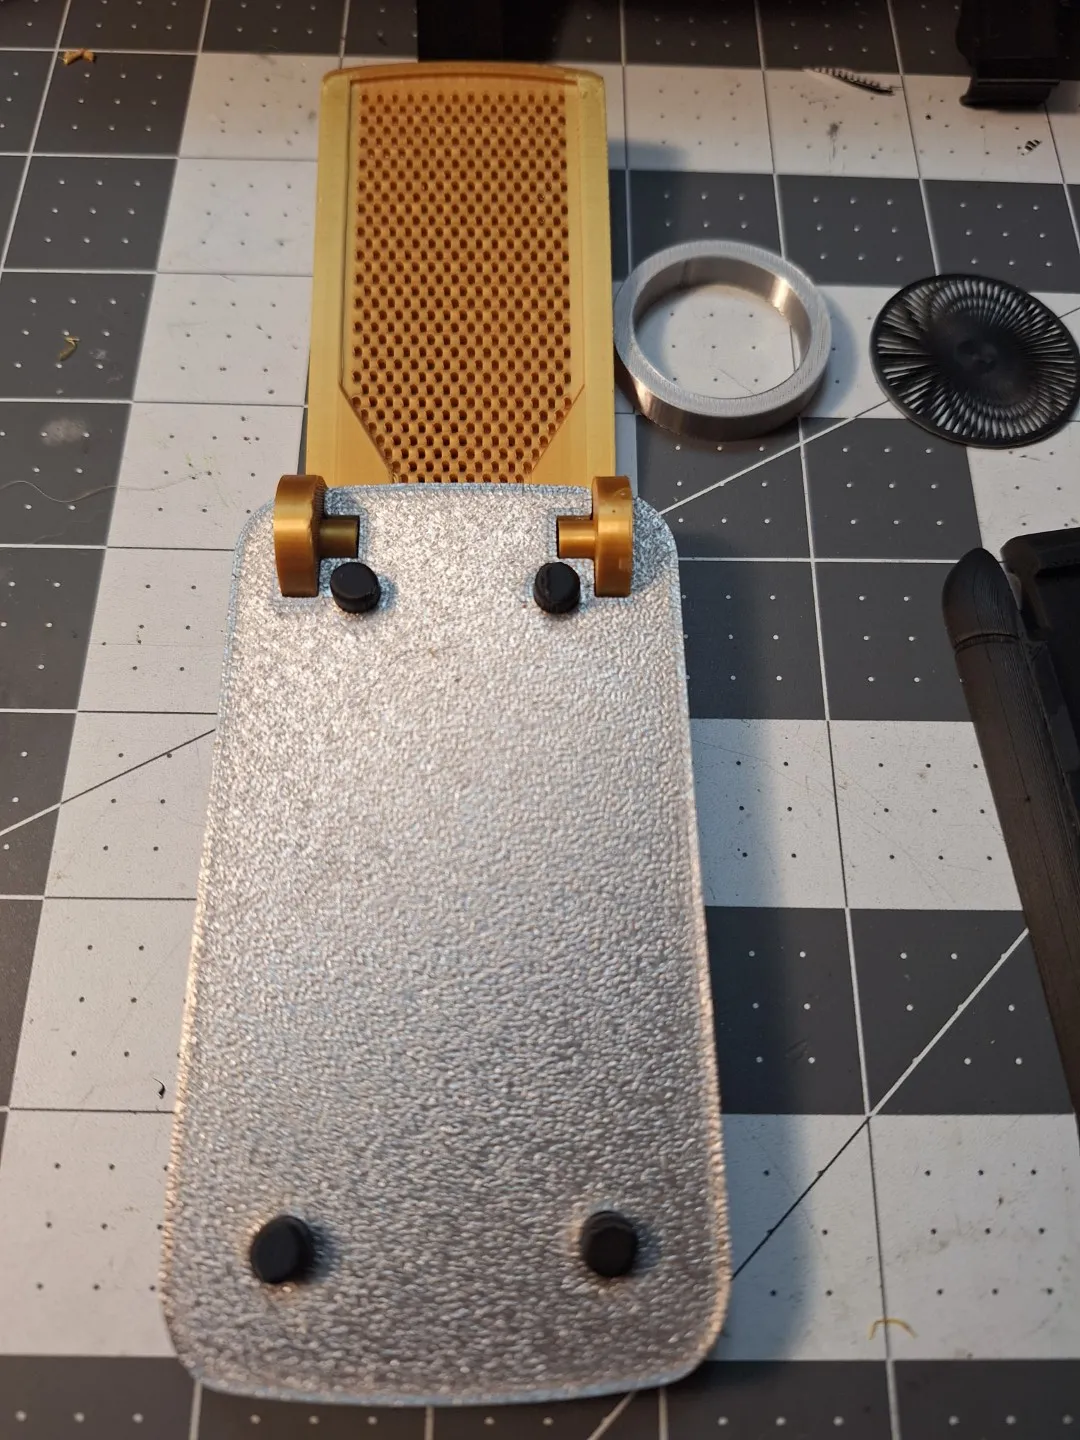
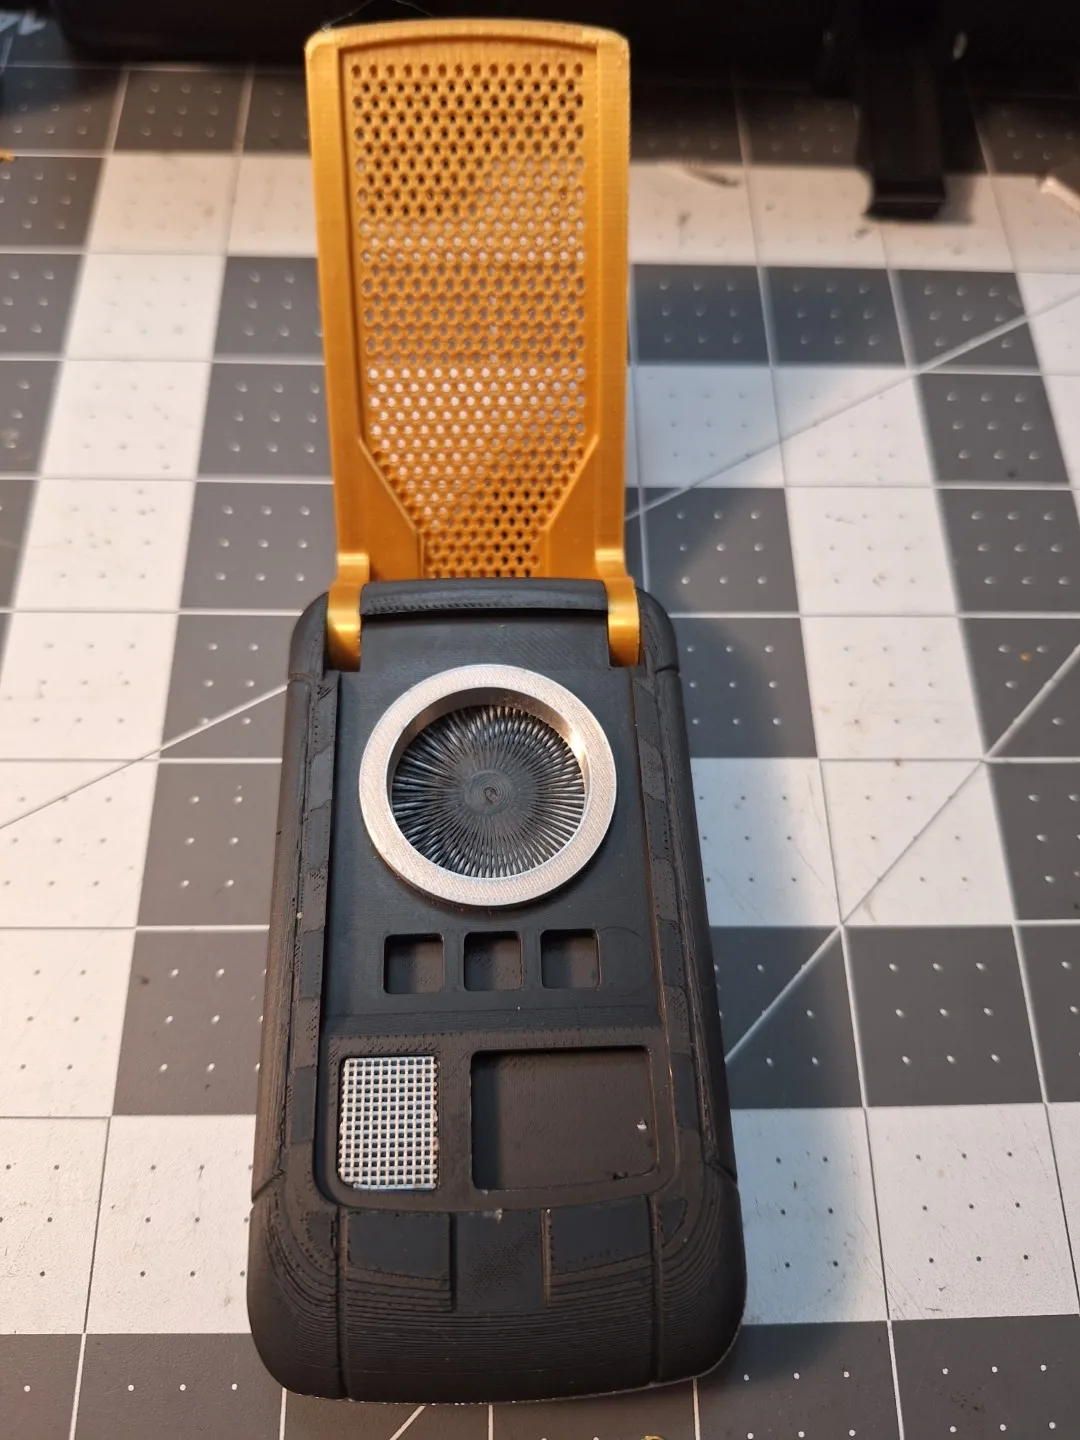
There are pics of assembly in the model pics
- Clean off supports on front grill hinges and inside the hinge cavity on the front and back.
- Dry fit the back, middle, grill and front before installing the pegs. Make sure the grill hinge moves smoothly. It will loosen up a bit after you open a close it a few times.
- Install the pegs in the bottom half
- Push the middle plate down firmly but evenly on the pegs.
- Install the hinge, make sure it is centered and moves cleanly while you…
- Place the front on top and push down firmly and evenly. the pegs should provied a nice tight fit.
- Push in Morie pattern disc
- Push in ring on top of pattern disc.
- Push in speaker grill and knob panel.
Push in the three buttons. Order is left to right, Blue, Yellow, Red. The widest black part goes on the top.
This remix is based on

License



Comment & Rating (23)