Electric Lantern Stick


Print Profile(1)

Bill of Materials


- G4 Socket x 1: e.g. https://www.amazon.de/dp/B0DWJXKXYQ
- Step Up Converter 3,7V to 12V x 1: e.g https://www.amazon.de/dp/B0CW9P4CQP
- LED for G4 Socket 12V x 1: e.g. https://www.amazon.de/dp/B0DB5BX4VK or https://www.amazon.de/dp/B0833XLDPS
- Carbon Tube (10x8 500 mm) or similar x 1: e.g. https://www.amazon.de/dp/B08XZ87L2V
- 18650 Lithium Battery Charger Module x 1: e.g. https://www.amazon.de/dp/B0CGVM55S3
- 18650 Battery Holder x 1: e.g. https://www.amazon.de/dp/B0CGVM55S3
- 18650 Battery x 1: e.g. Samsung INR18650-35E
- Rocker Switch 12V 10mm x 15mm x 1: e.g. https://www.amazon.de/dp/B0DD41BRT7
- 1,5m 18AWG 0,81mm² Silikon Wire x 1: e.g. https://www.amazon.de/dp/B0CZRGH4CT
Description
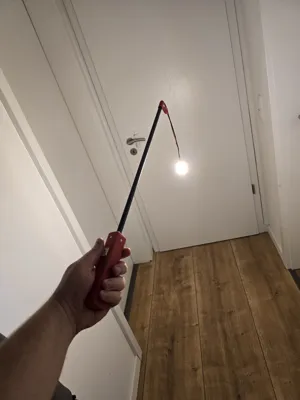
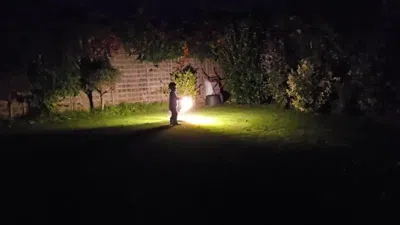
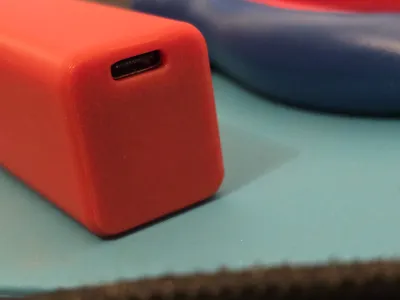
Most electric lantern sticks available today are made of cheap plastic and feel disposable. This model brings electric lantern sticks into the 21st century. It features a bright 💡 12V LED lamp, a 🔋 18650 battery cell, and a 🔌 USB-C charging port. Designed for children ages 3 and up.
🛠️ Assembly
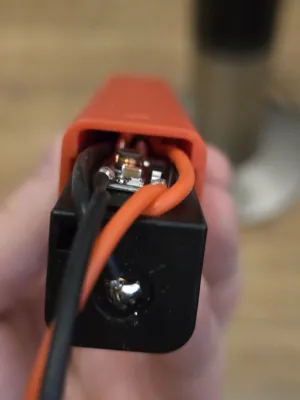
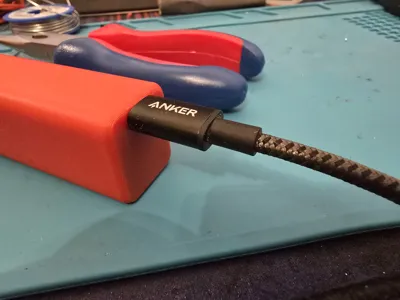
- Wire the charging board and the step-up converter. Place the switch before the step-up converter (unlike in the pictures). The switch must remain removable for later assembly. Use wire terminals or solder it afterwards.
- Glue the charging board and step-up converter to the flat side of the battery holder (see pictures). Cyanoacrylate glue works well.
- Insert the battery into the holder.
- Slide the holder into the handle so the USB-C port aligns with the hole.
- Connect and insert the switch.
- Pull the cables through the pipe holder and pipe. Leave ~30 cm of extra cable beyond the pipe.
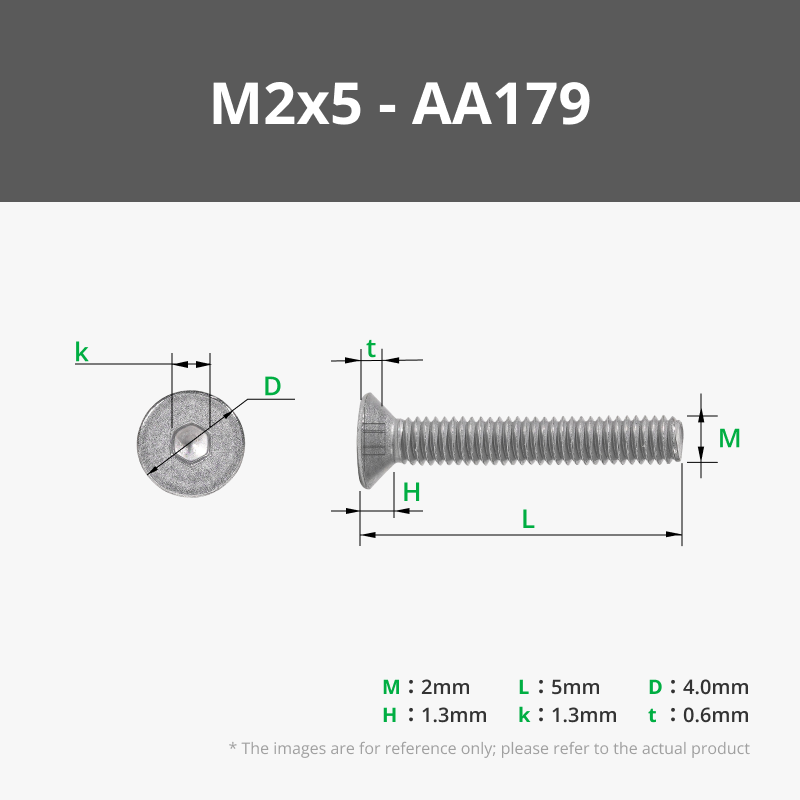
- Insert threaded inserts into the tube holder and insert it into the handle.
- Secure the tube into the holder and insert it into the handle.
- Pull the cables through the hook. The fit is tight; you may need to enlarge the hole and heat the hook to slide it over the pipe.
- Solder the G4 socket and insert the LED. Make sure the LED sits 20–25 cm below the hook.
ℹ️ The model is designed for the linked parts. Other components may or may not fit.
ℹ️ Tolerances are tight. You may need to warm some parts with a hair dryer to assemble them.
Boost Me (for free)
If you like this electric lantern stick design and want to support it, please consider leaving a boost. Thanks!
🏮About St. Martin Tradition
In some European countries, children join lantern parades called Martinszug. They carry handmade lanterns and sing traditional songs while walking after dark. The day recalls St. Martin of Tours, the Roman soldier who famously shared his cloak with a beggar —a story teaching charity and sharing. Parades often happen on or near 📅 Nov 11, organized by schools and kindergartens.
License
You may create derivative works based on this object, provided that all such derivative works are published exclusively on the MakerWorld platform and include proper attribution to the original creator. You may not share, upload, host, distribute, or publish this object—or any derivative work of this object—on any other digital platform, marketplace, or distribution channel. Commercial use of this object and any derivative works is strictly prohibited. This includes, but is not limited to, selling, renting, sublicensing, or using the object in any context in which you receive monetary compensation or other financial benefits.
Comment & Rating (6)